
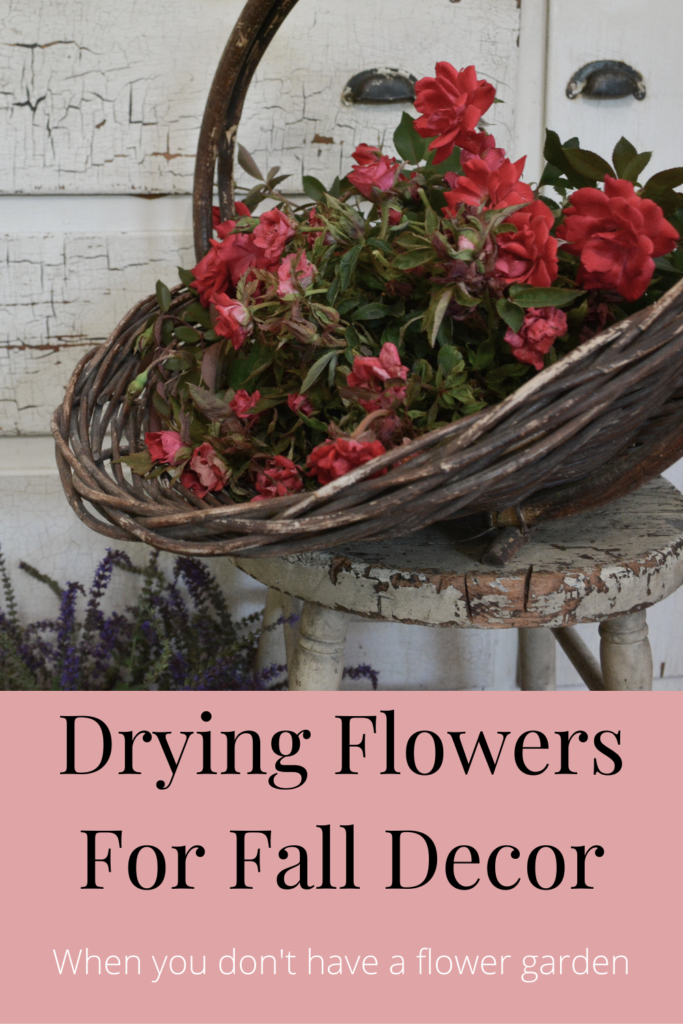
Today I am sharing my carefree, casual way of drying flowers. I don’t have a flower garden and I’m not fussy about how I dry the flowers, but they are almost always beautiful. I love using dried flowers in my decor year round, but I especially love drying flowers for fall decor. It’s surprising what you can find in the yard for drying, if you just take the time to look around.
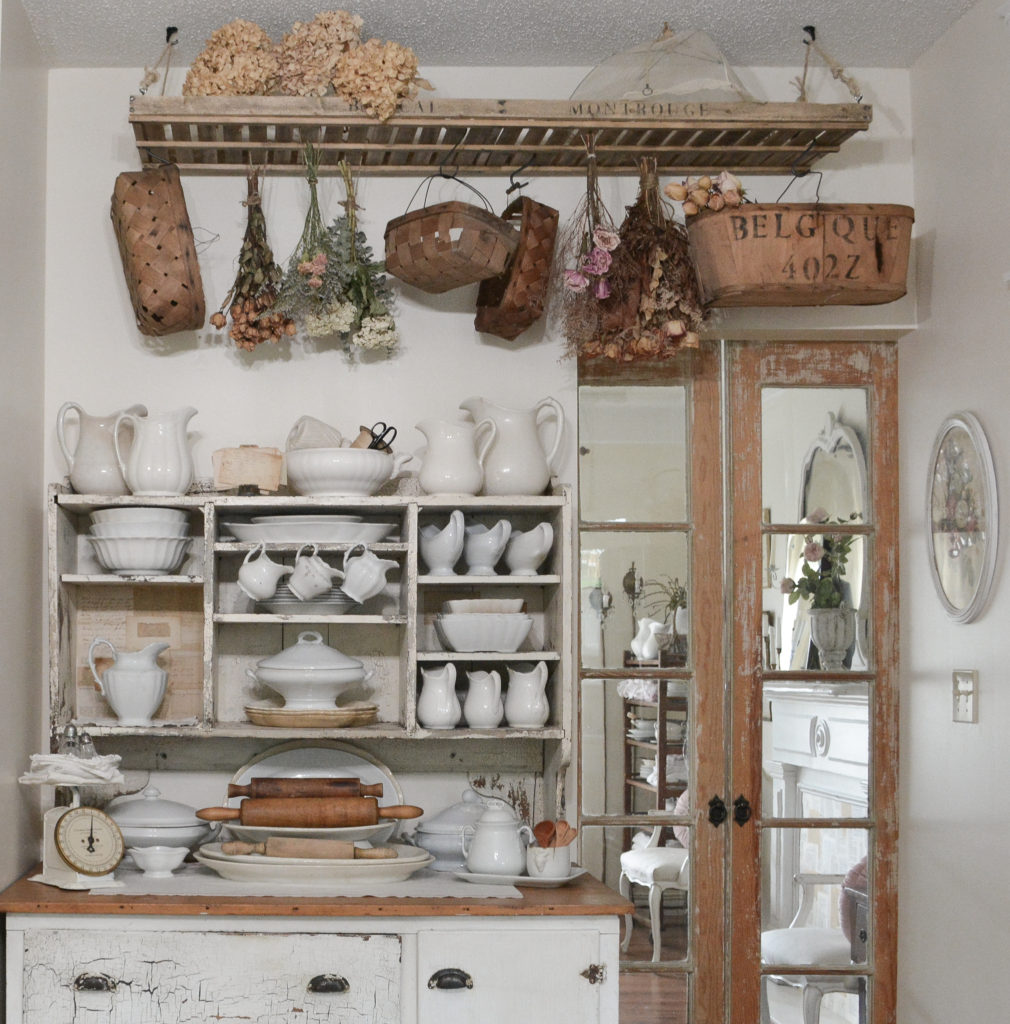
I made this dried flower hanging last year. You can see how I did it here. It was made with a few grocery store flowers, but most of it is from bits and pieces I found in my yard. This swag was perfect to use because I don’t have things with long stems, but the shorter bunches worked great. The flowers just dried on the hanging.
Now let me remind you, I do not have a flower garden (yet), so I am just an amateur drying things from around my yard. You will be completely inspired and informed if you visit the Floret Blog and read the post about discovering dried flowers. It would be a dream come true for me to grow and dry flowers like that!
An Amateur’s 4 Tips For Drying Flowers
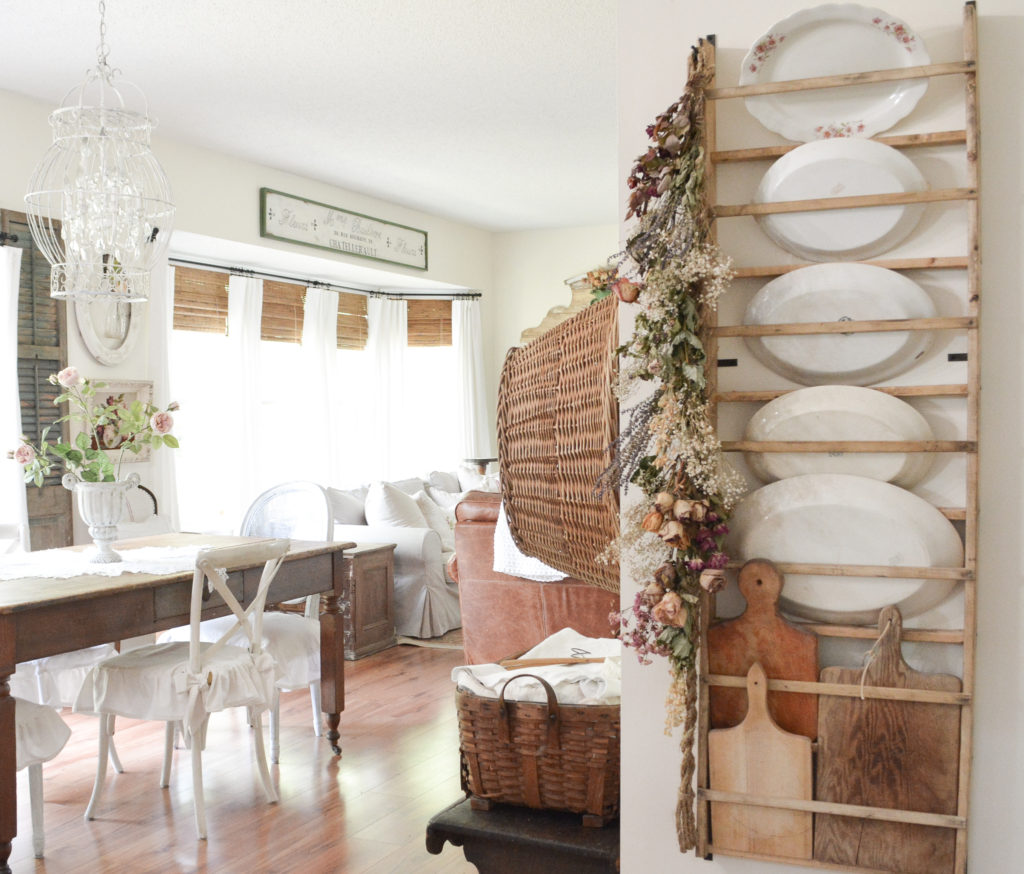
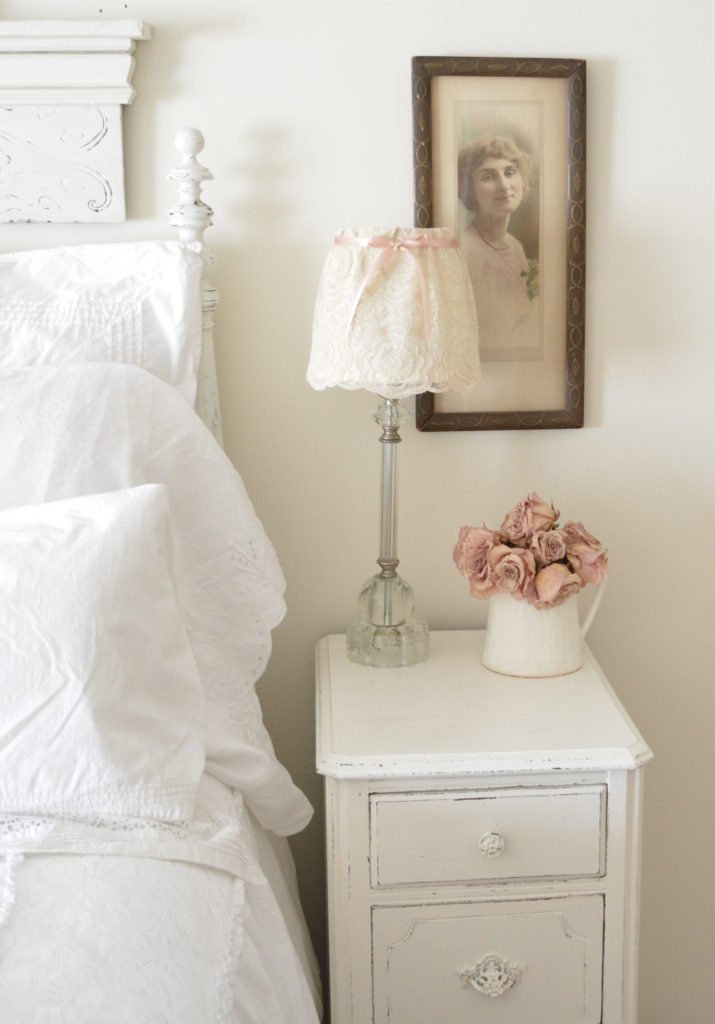
Tip 1: If you buy or receive flowers, tie up the stems and hang them to dry when they stop looking pretty. That’s where I got all the flowers that are displayed on my french drying rack.
The Floret Blog recommends removing all the leaves before you dry the flowers and hang them in a dark spot.
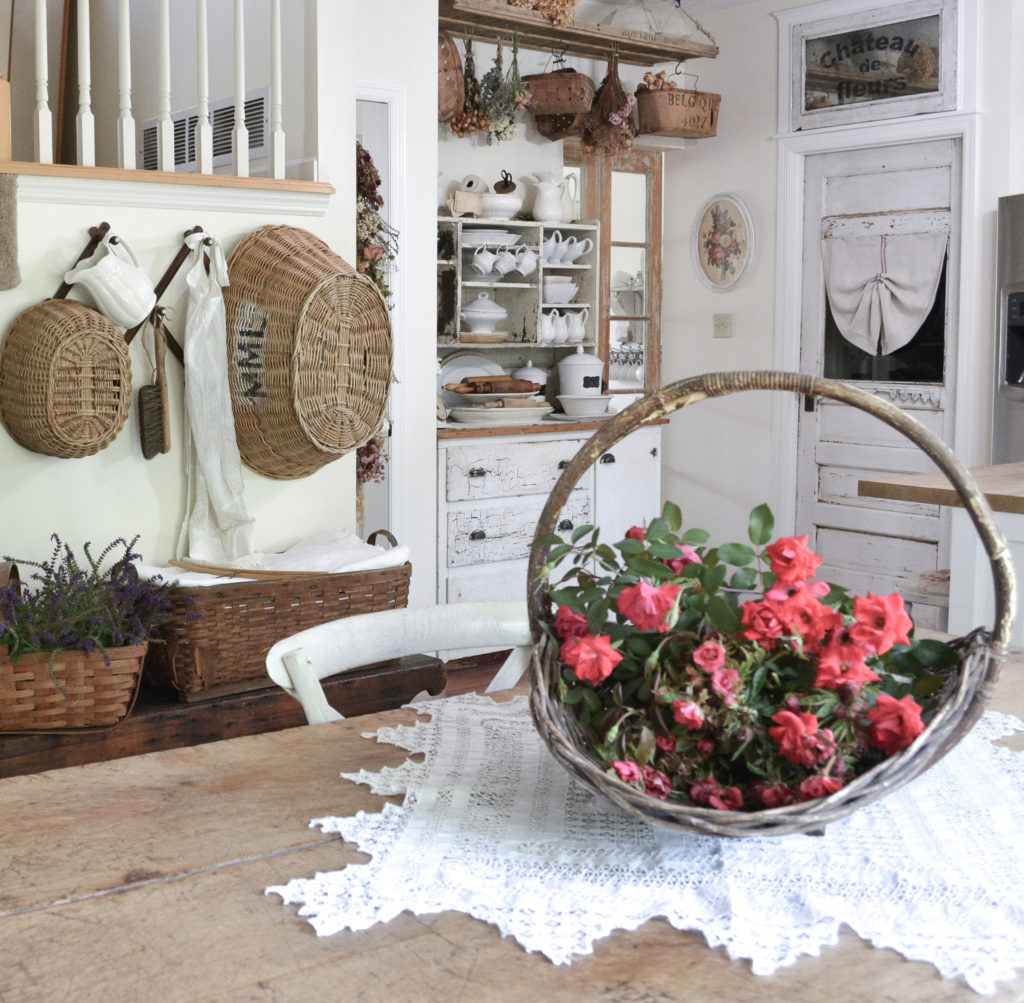
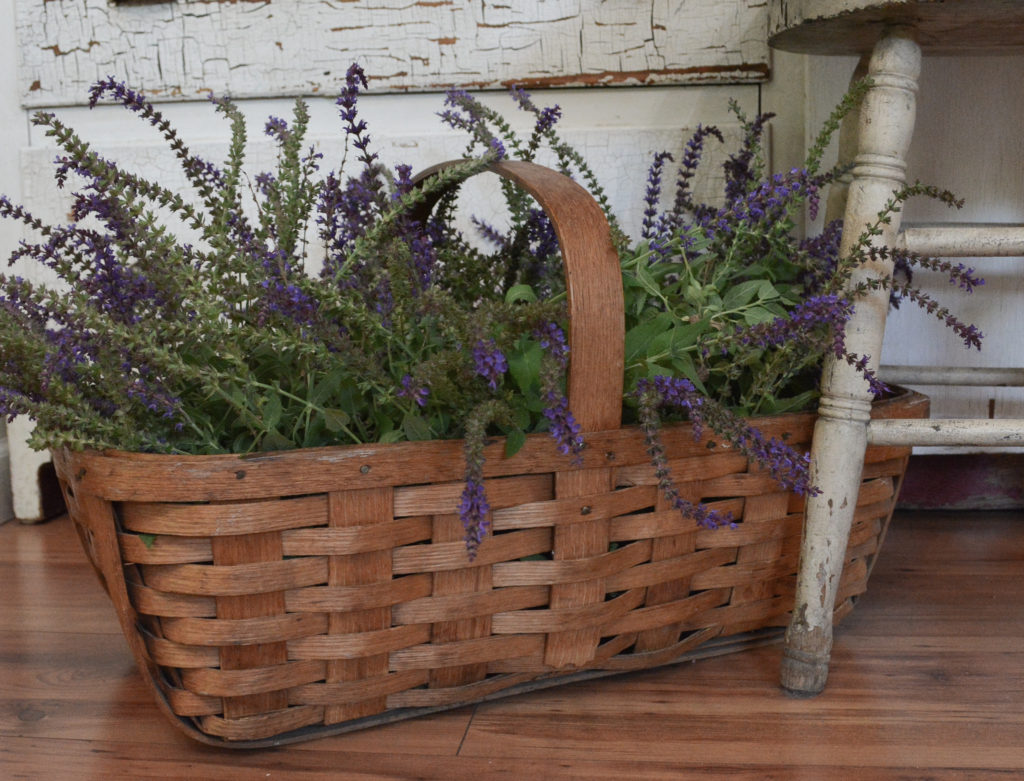
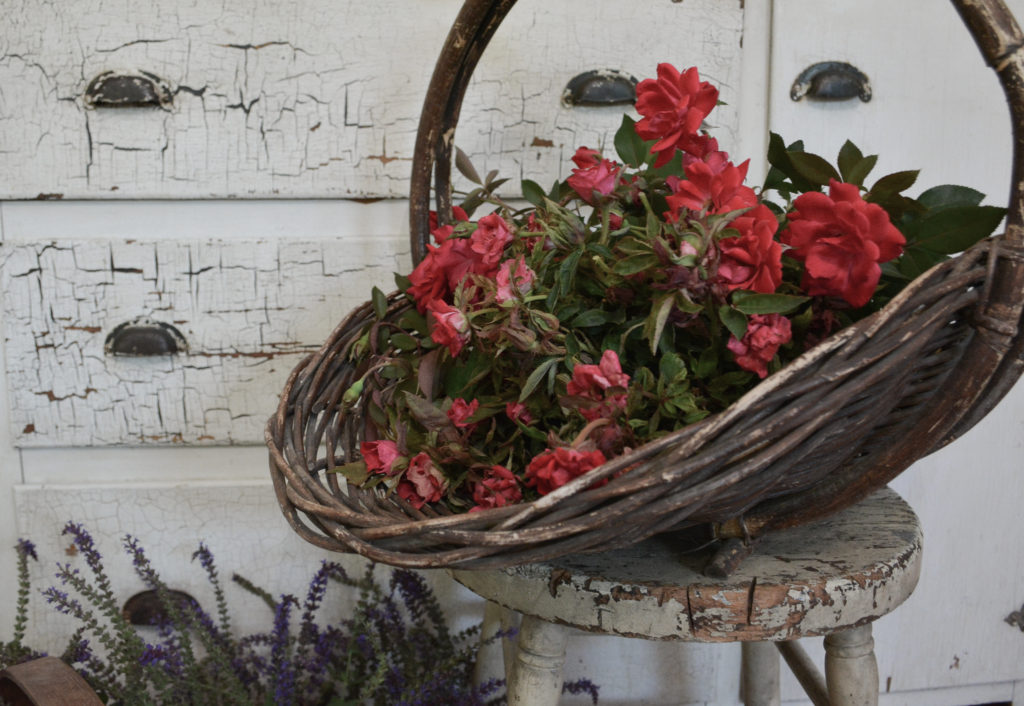
And these roses in the basket. I didn’t do anything else to them, and they have lasted for years.
Tip 2: You can just let roses dry in the container. I never threw these away, and this is how they turned out! They will dry in their fallen over position if you don’t hang them upside down, but in this case I think it looks perfect.
Tip 3: The color of the flower often changes as it dries.
I am always surprised at the color the flowers turn as they dry. The flowers above stayed pink, but other pinks turn purple. Brighter pinks usually turn to a purple, reds stay red, and dusty pinks often stay pink or turn brown. I’m not sure there is any guarantee however, as the flowers seem to do their own thing.
Hanging the flowers to dry in the sun can cause the color to fade as well.
Tip 4: If you use insect control, spray the day before you cut the flowers so bugs aren’t all over them. We are having a really bad year for that.
The Types of Flowers I Am Drying For Fall
I dried some small bundles of Salvia for my swag, and they did quite well and seem to be a good substitute for lavender. They don’t have the lovely scent of lavender though, and are a little free and wild looking. This year I am filling a basket and letting them dry in place. I also plan on making some bundles to hang and dry.
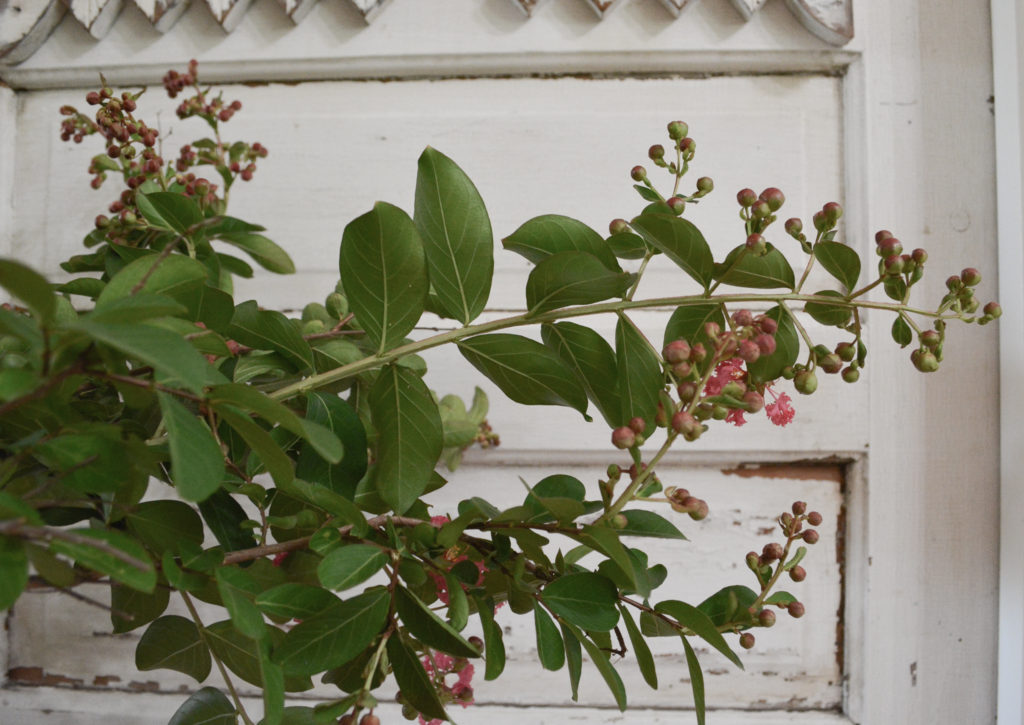
I am also sacrificing some blooms from my crepe myrtle to dry branches with buds.
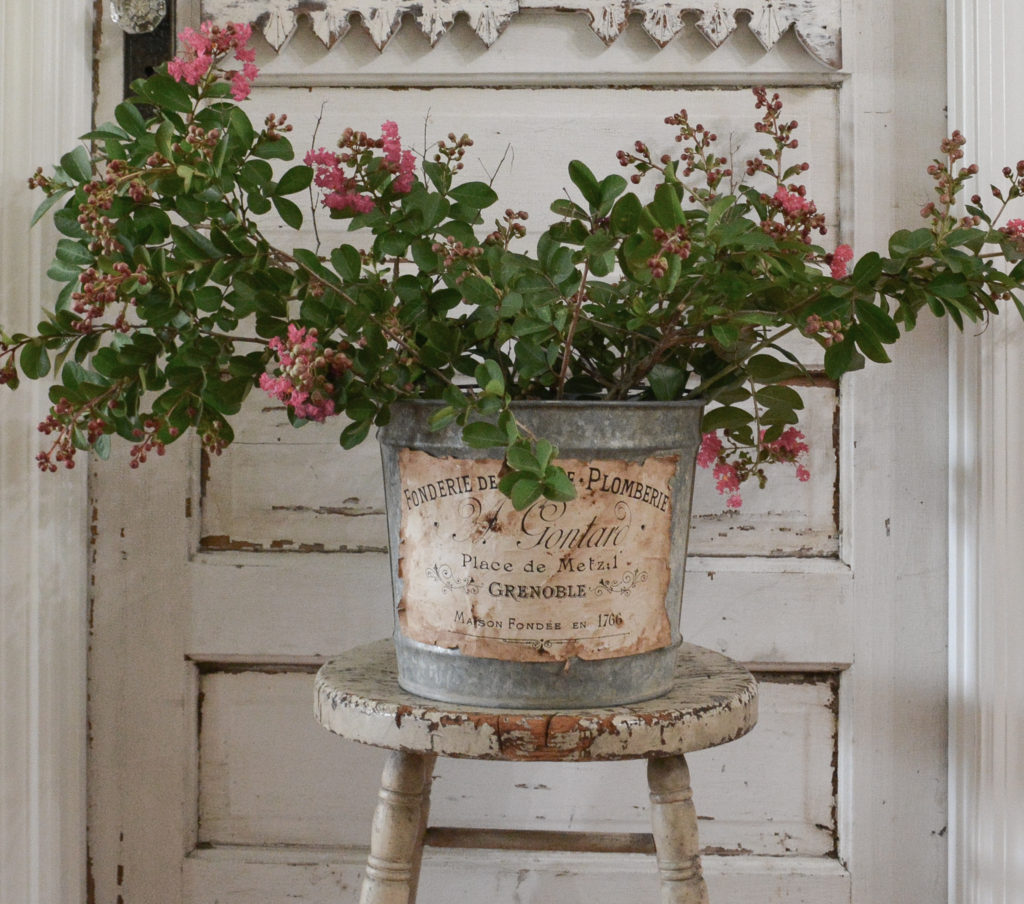
When they dry, I hope that they look a bit like berries. These will be hanging in the basement to dry so they will be more straight. Perhaps I should remove the leaves? These are a total experiment.
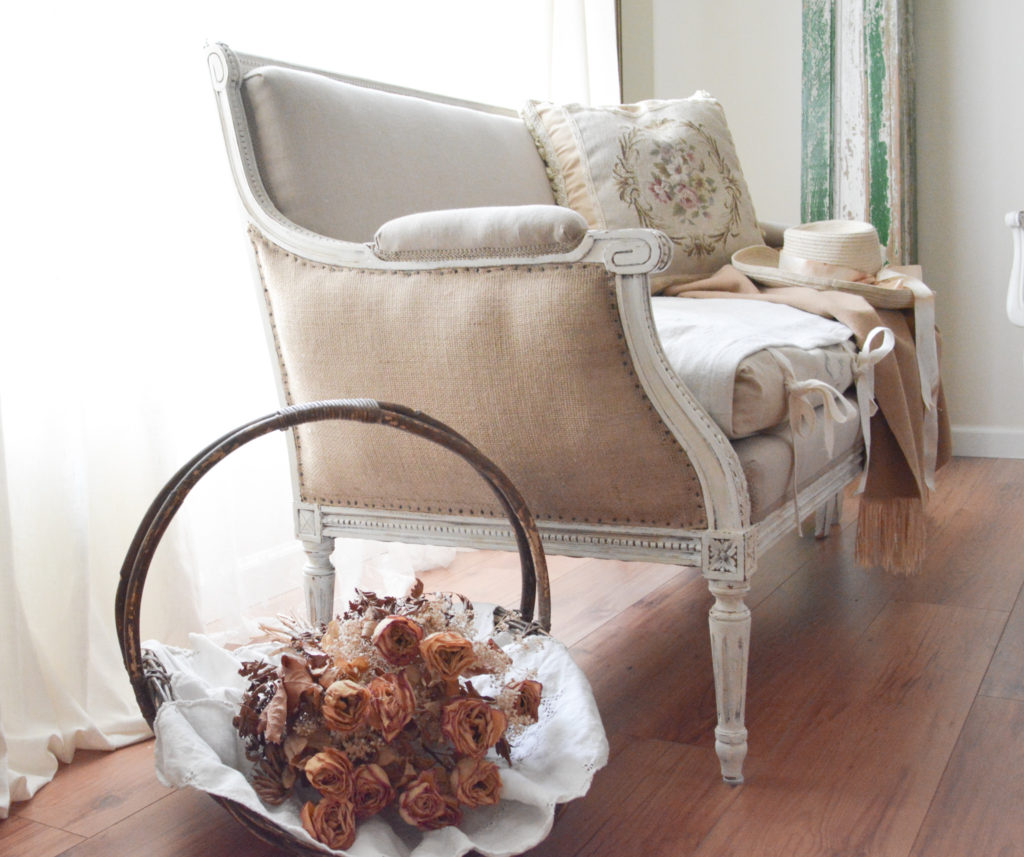
These branches are from the knockout rose bushes in front of my house. The brighter pink turns purple, and if I can find the dark reddish pink, they stay true to their color, just darken.
I really hope these stay red. They will get bundled, tied, and hang to dry.
It is also recommended to cut the flowers before they are in full bloom. The full blooms tend to fall apart as they dry. I suspect some of these will as well.
And don’t feel bad about buying flowers at the store to dry. You get to enjoy them fresh and then dried for as long as you like!
So this is my casual, carefree way to dry flowers. They always seem to be pretty, whether you follow all the rules or not. If you planned to use them for wreaths or more important projects, I definitely think you would want to be more careful with the drying technique.
PIN IT FOR LATER!
Thanks for stopping by,
Janet
Beautiful Janet!!!
Thank you Tracey!
Love your post 🌸 everything is beautiful
Thank you Joanna!