
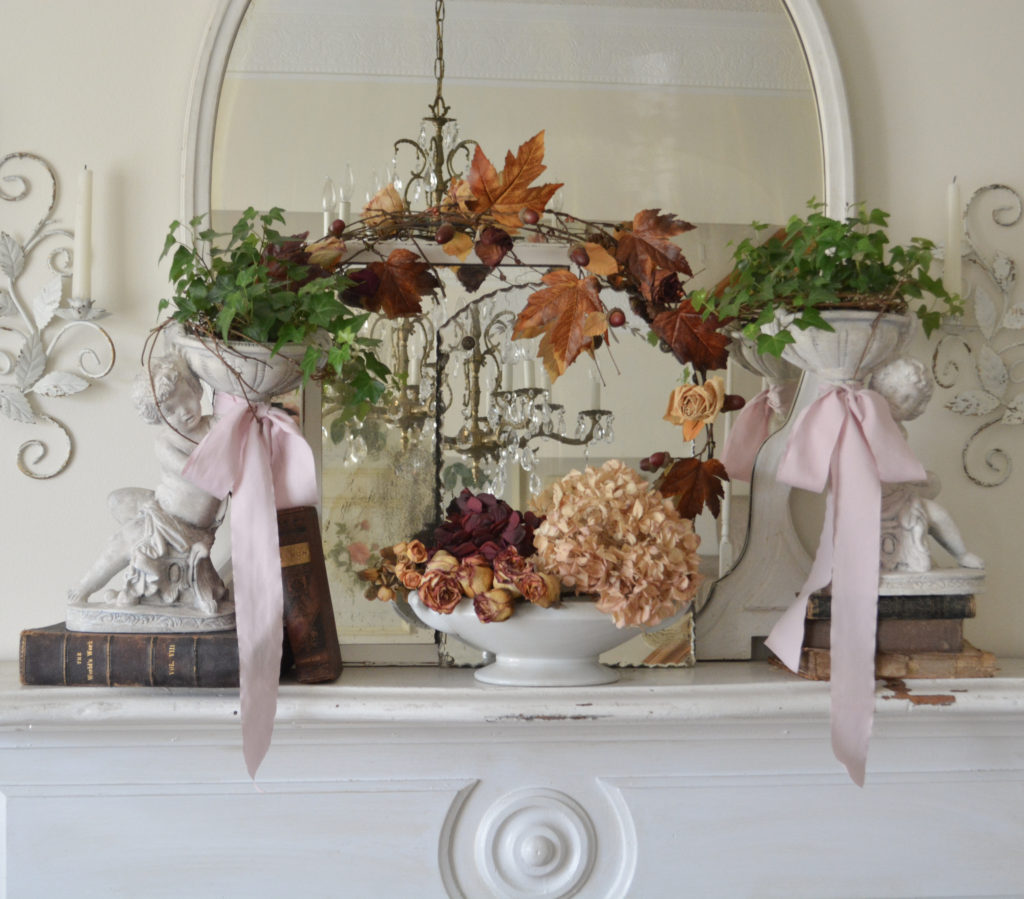
Do you love the look of stone garden statues and planters? I do, but they can be quite expensive. When I found a couple of ceramic statues at the thrift store, I knew I wanted to give them a makeover. I discovered how to create a stone painted look in three easy steps.
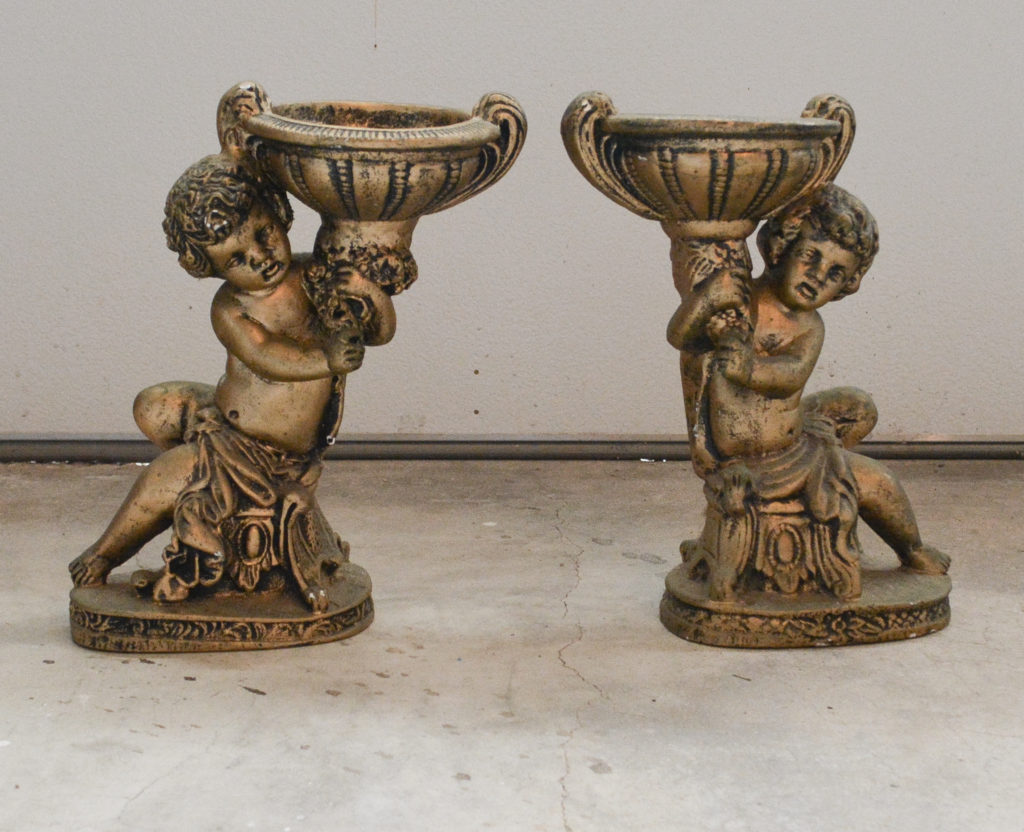
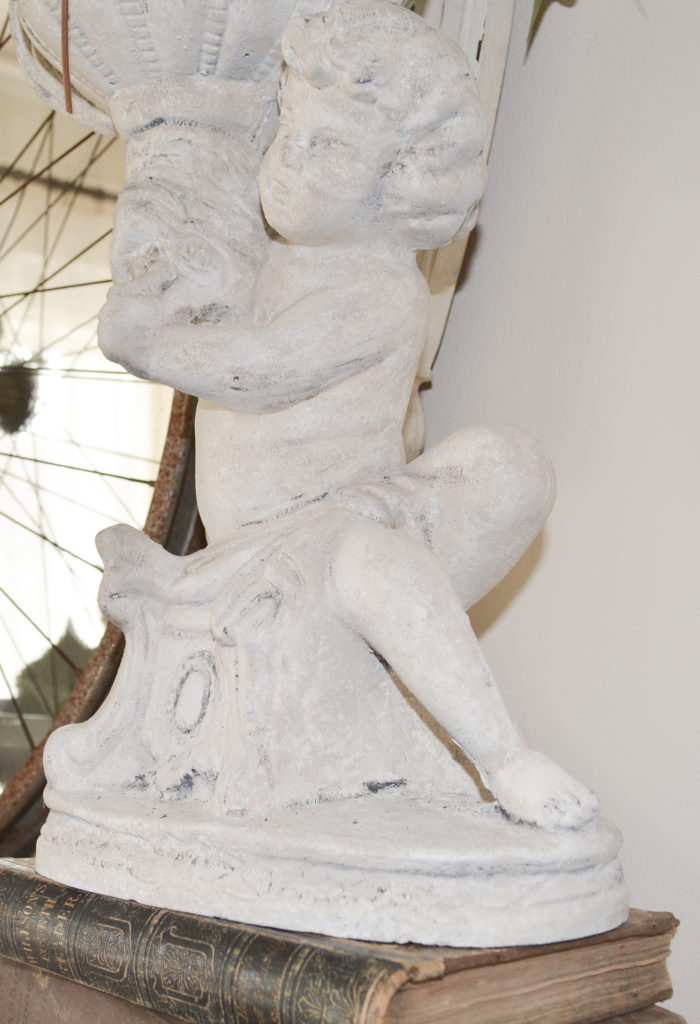
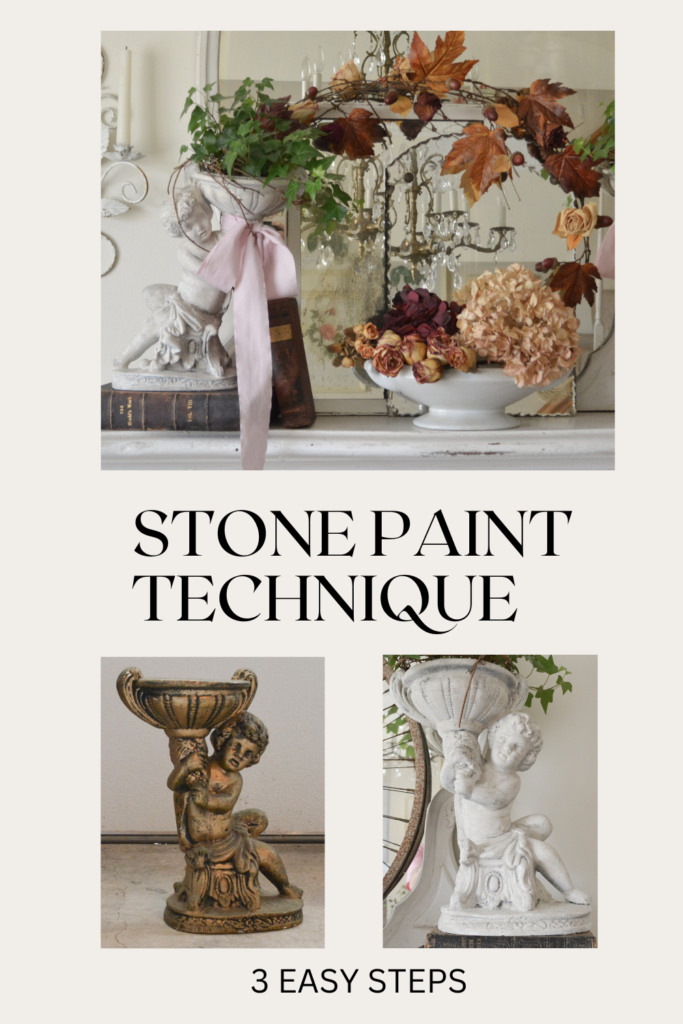
These are the gold cherub statues I found at the thrift store. The gold was a bit much for my space, so they got a makeover. I wanted these to look like stone garden statues. I tried the same technique that I used on this antique urn makeover, but it just didn’t look like stone. This is what I did instead.
Quick And Easy Stone Painting Technique
Supplies
White spray paint – I used Rust-oleum Chalked in Linen White
Linen craft paint – I used Folkart chalk in French Linen from Hobby Lobby
Black craft paint
Artists paint brush
Step 1 – Spray Paint White
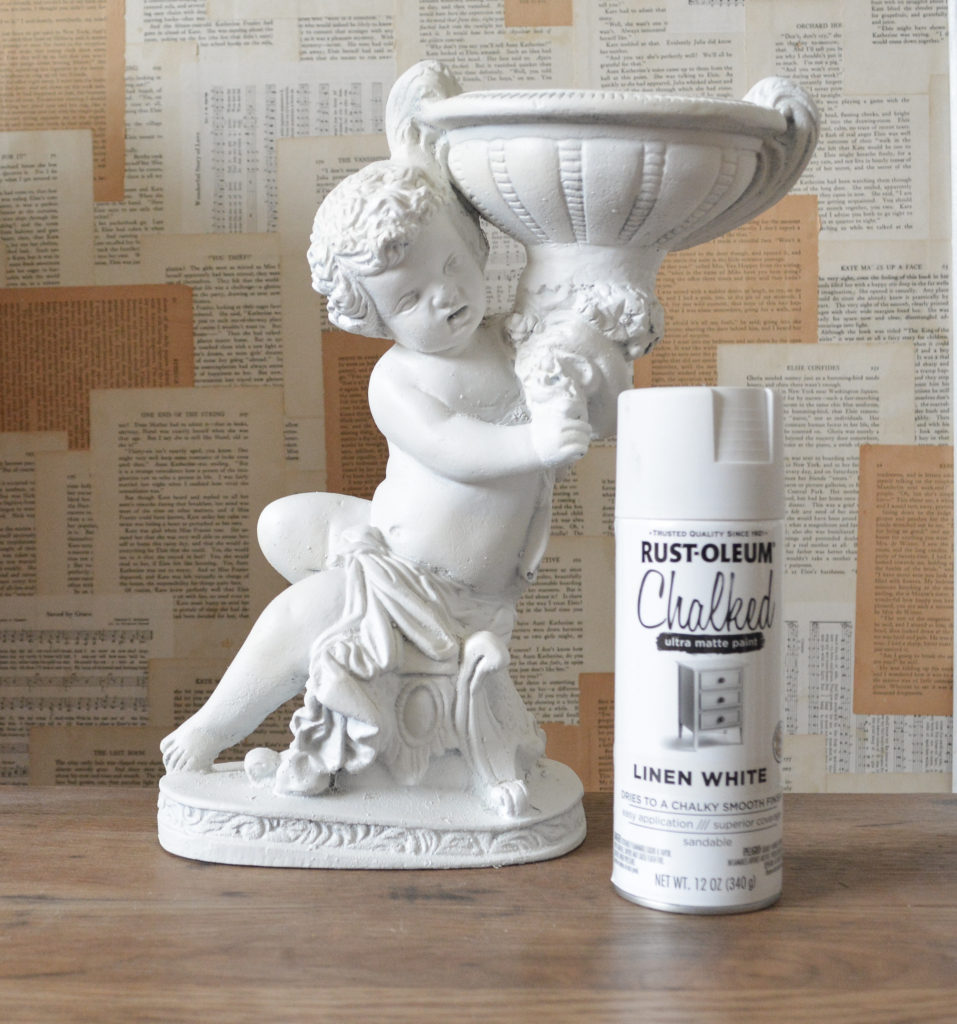
Spray paint the statues white. These statues already had a rough texture, so spray painting worked well. If your item is smooth, you could brush on white paint with baking soda mixed in to add texture.
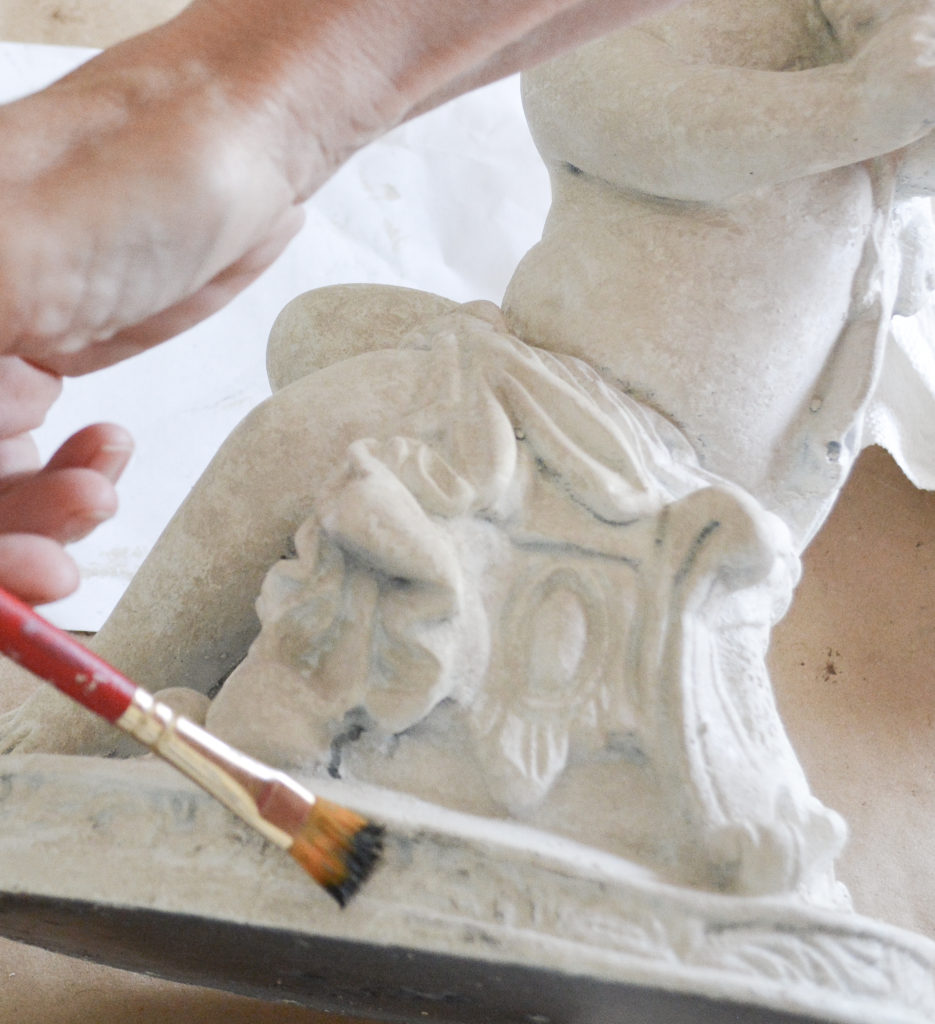
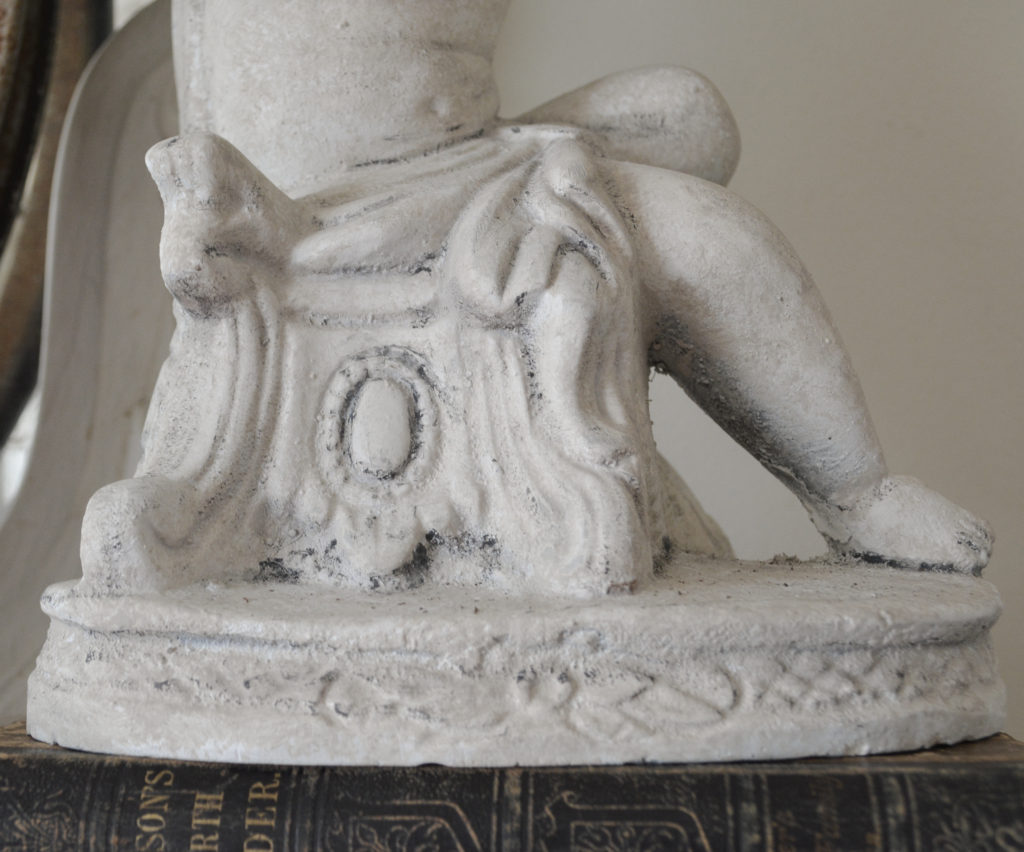
Step 2 – Add Texture With Paint
I took a small paint brush, dipped it into the linen paint, and pounced and dabbed it over the statue.
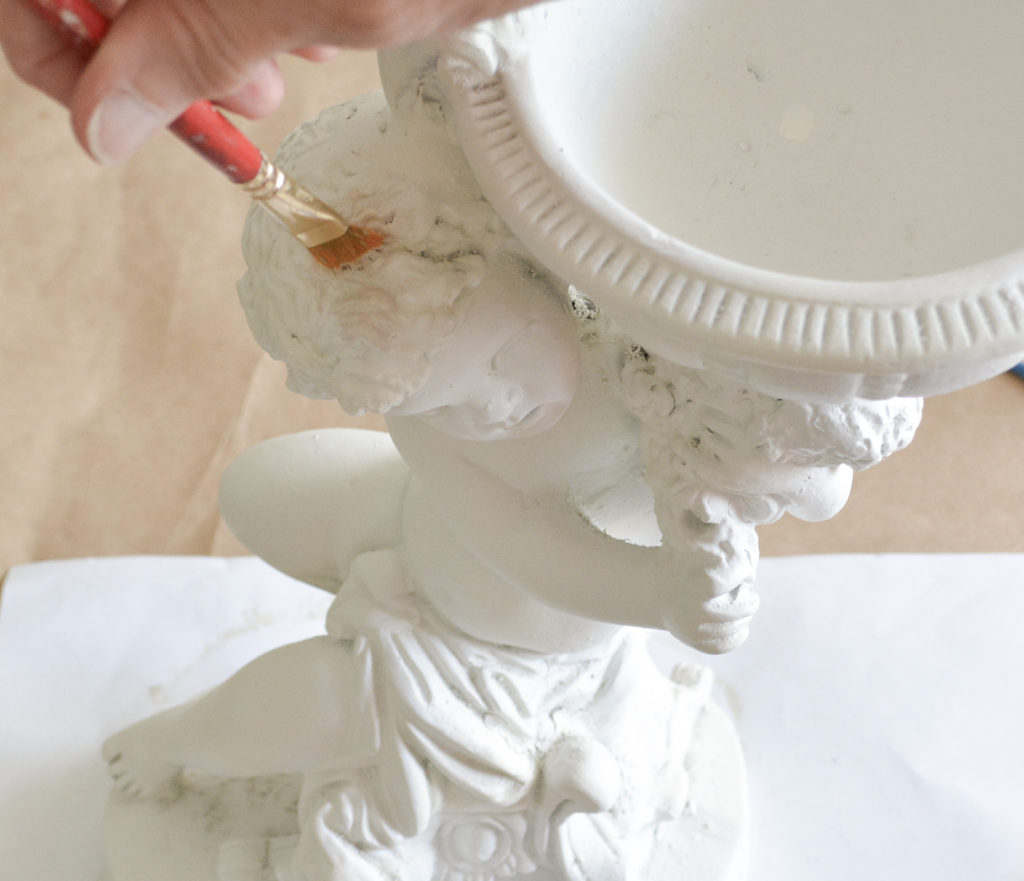
I would start with the loaded brush and keep pouncing until it got light, that way there were variations in the color of the linen paint.
Step 3 – Antique With Black Paint
Adding a little black paint gives it age and dimension. I honestly went pretty light with the black, just highlighting a few spots and in the cracks.
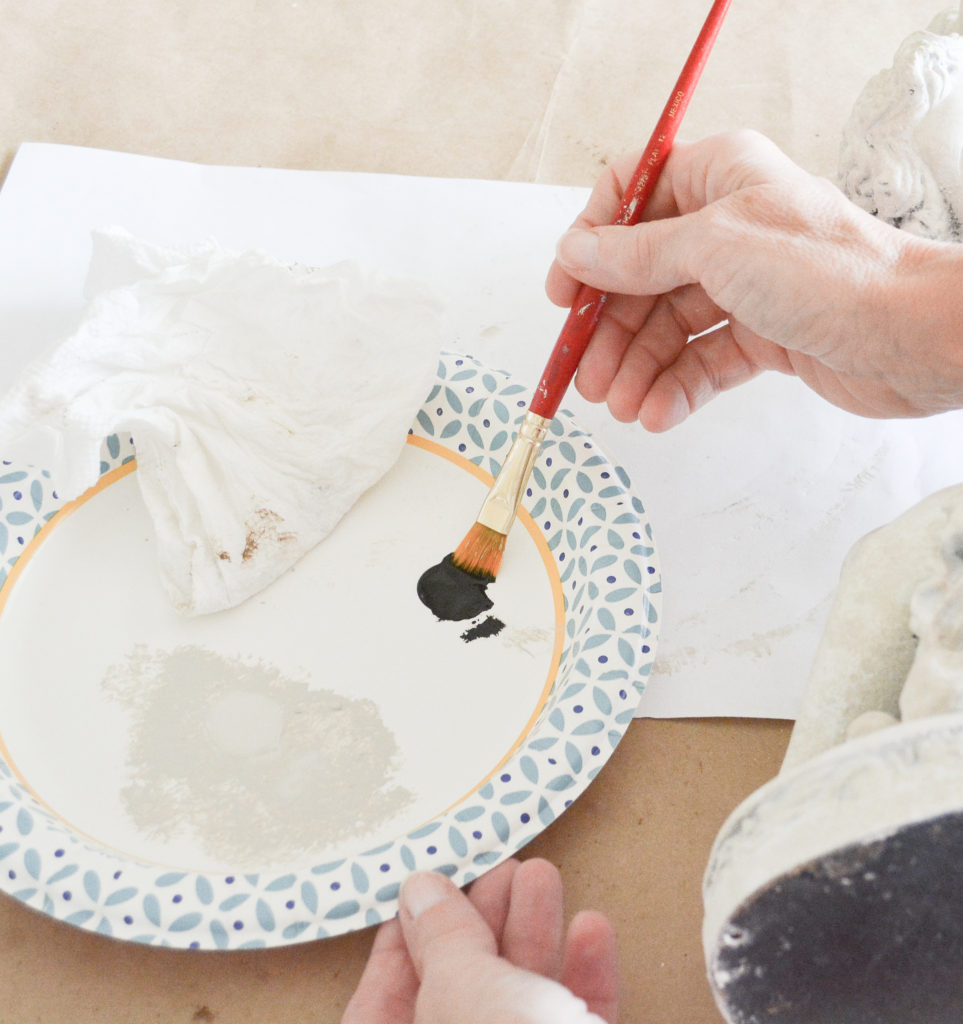
Use a dry brushing technique to add highlights. Dip the brush in the paint.
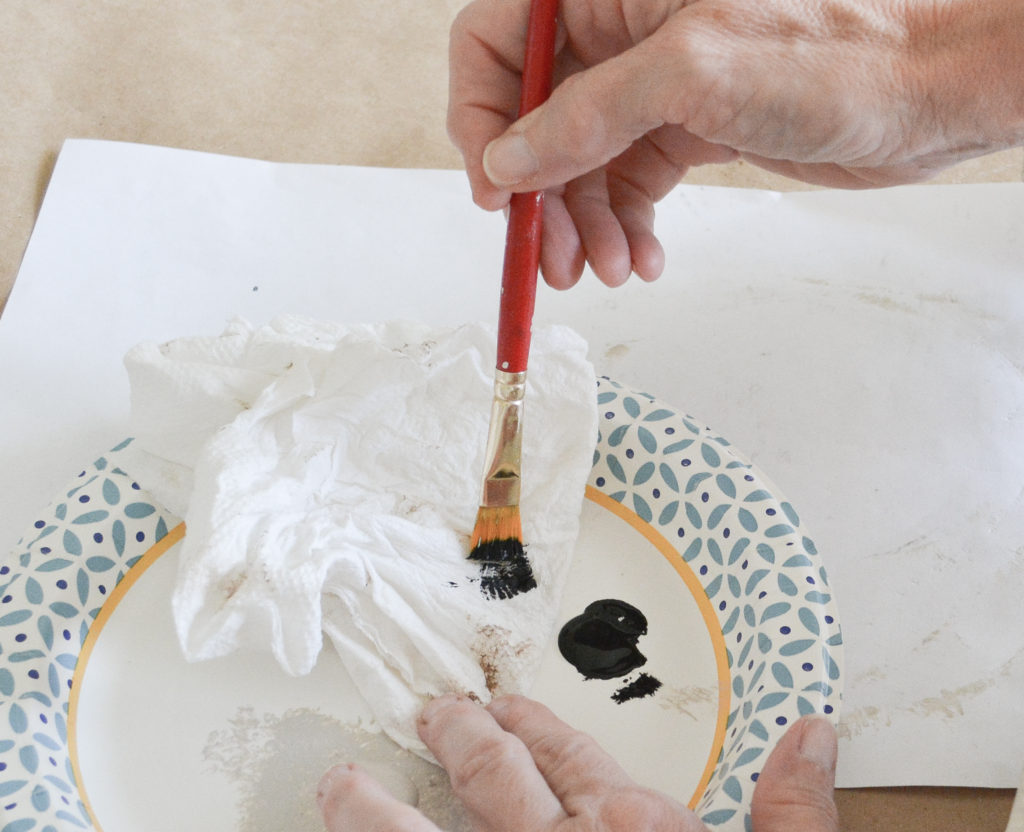
Wipe most of it off on a paper towel.
Then lightly pass the brush over the raised areas.
I also dabbed black paint into the corners and crevices. Keep a wet paper towel handy to wipe off any places that get too much paint.
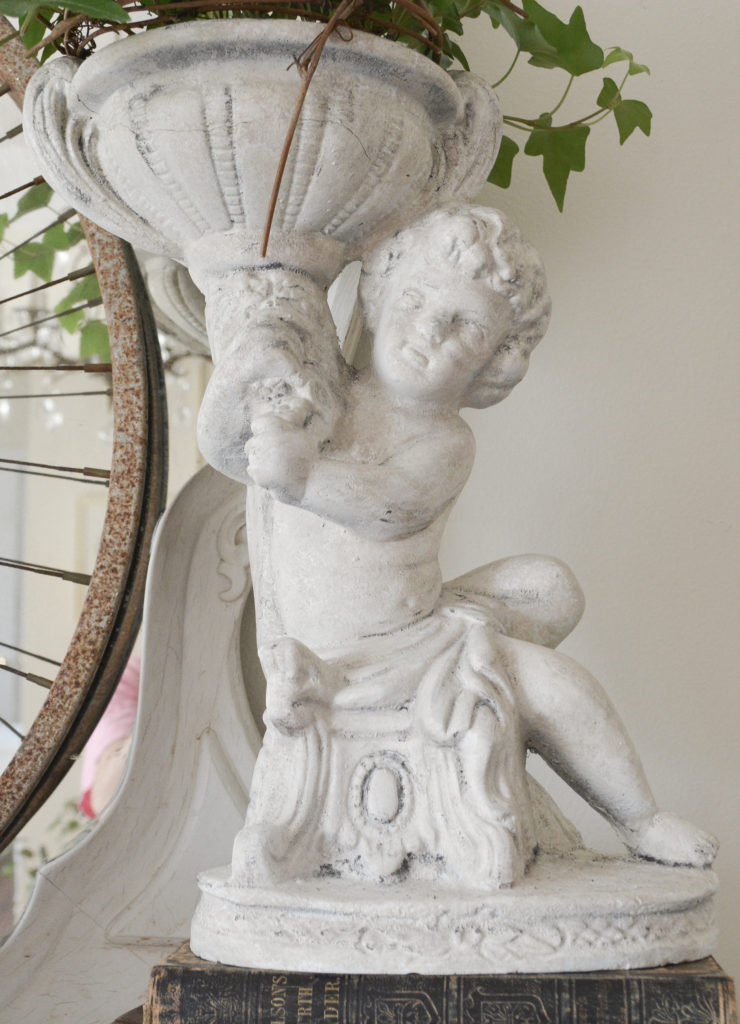
It is really hard to get this technique to show up on camera, but it turned out so good! And that’s it, how to create a painted stone look in three easy steps!
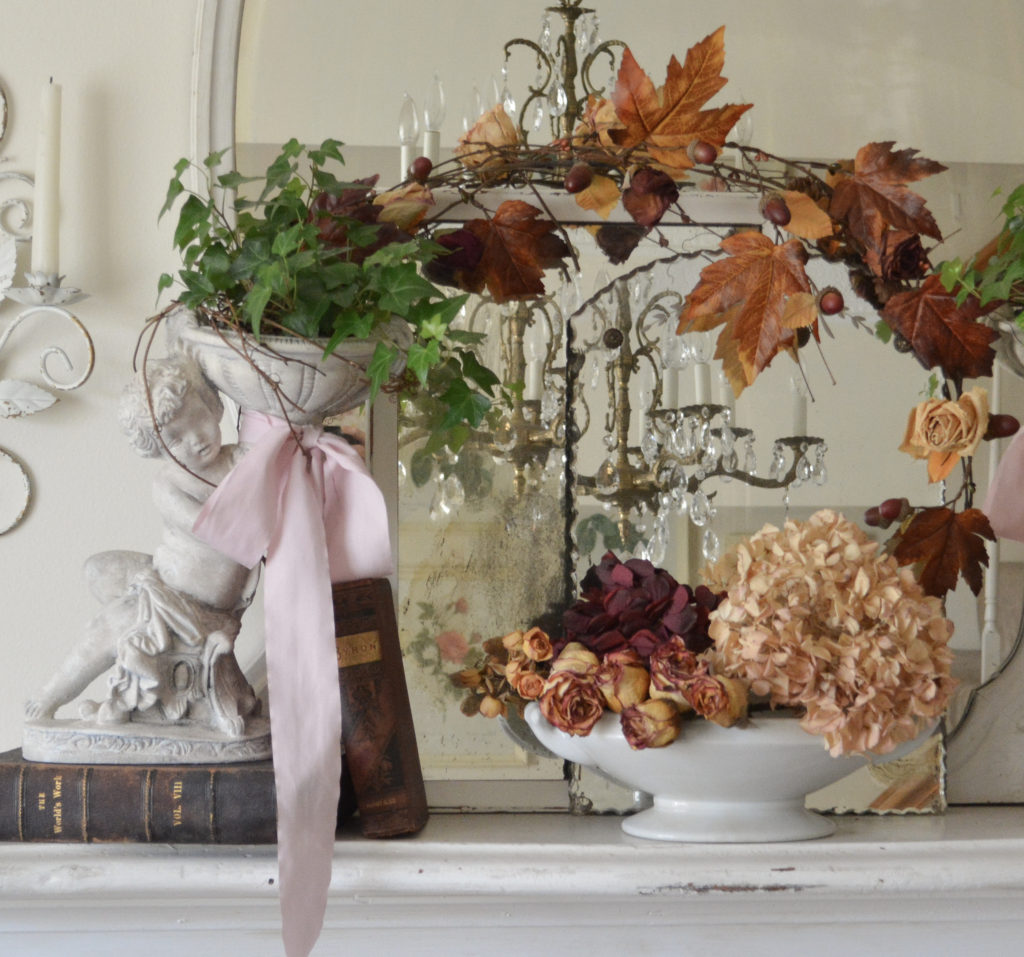
PIN IT FOR LATER!
Thanks for stopping by,
Janet
Hi Janet, I been following you for a while, love your style, this is great technique thank you for sharing your knowledge!
They came out beautiful ! I’m an artist myself and love to create and learn new techniques 💕
Thank you Blanca! I was really happy with how they turned out, can’t wait to try it on something else!
So cute!! What a awesome idea. They turned out beautiful!
Thank you Anita! Makeovers are so much fun!
Wow! What a great find! Your technique is flawless. Well described and easy to follow. Your home is my dream home! Keep up the great creative work. Thank you! ❤️
Thank you Elizabeth! I appreciate that so much!