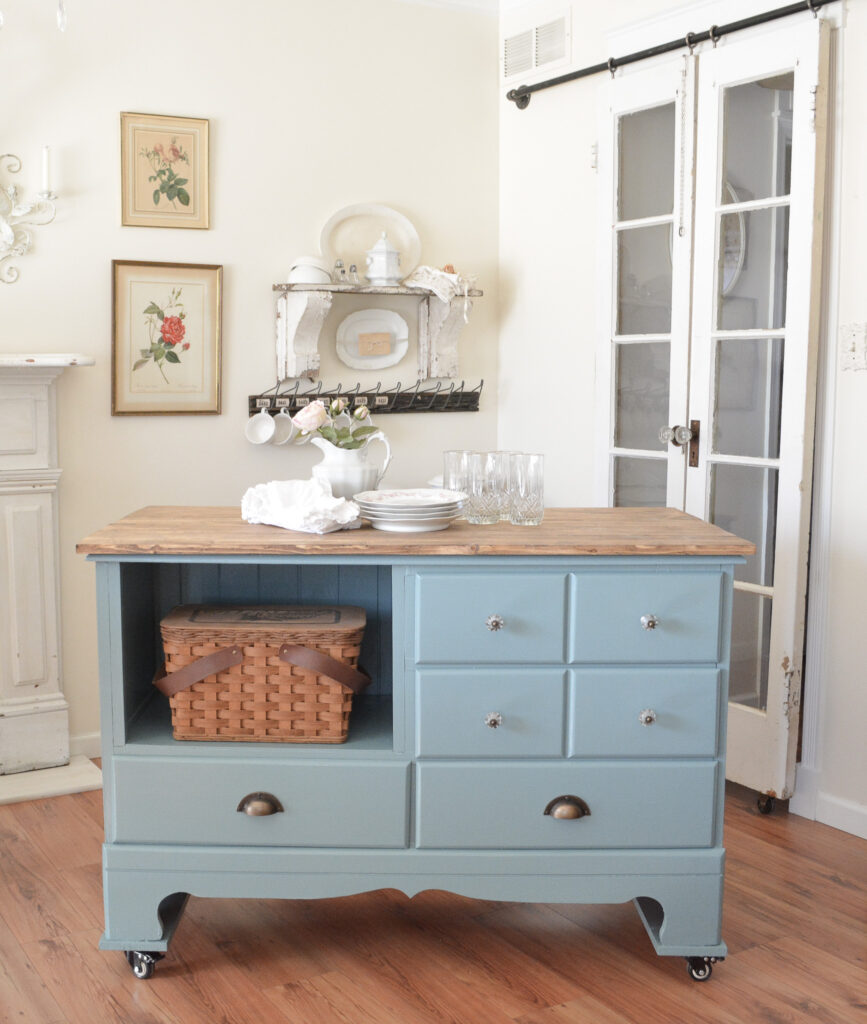
My sister wanted to make a rolling kitchen island out of an old dresser and asked for my help. Of course I was all in, and I just love how it turned out! Coming up with a design proved to be a bit of a challenge. Every dresser is going to be different, so there is no magic formula to follow. I am going to show you our method with this particular dresser. Here is how to make a rolling kitchen island from a dresser.
This post contains affiliate links, which means I make a small commission at no extra cost to you. See my full disclosure here.
The Before
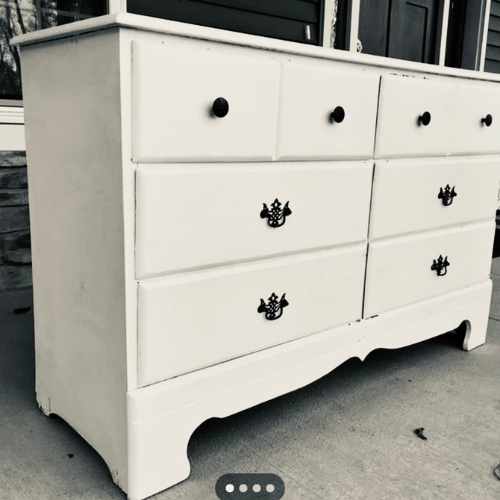
I got so excited to start this project that I forgot a before photo, but this is the Marketplace photo.
The Kitchen Island Design
Before we got started, we decided on the height, size of the top, and what kind of open shelving /drawers she wanted to have. We decided on 36 inch counter height with a 10 inch hangover on the top for seating. She wanted an open shelf to store appliances, specifically her air fryer. She also wanted to be able to store it away after use, so wheels were going to be added.
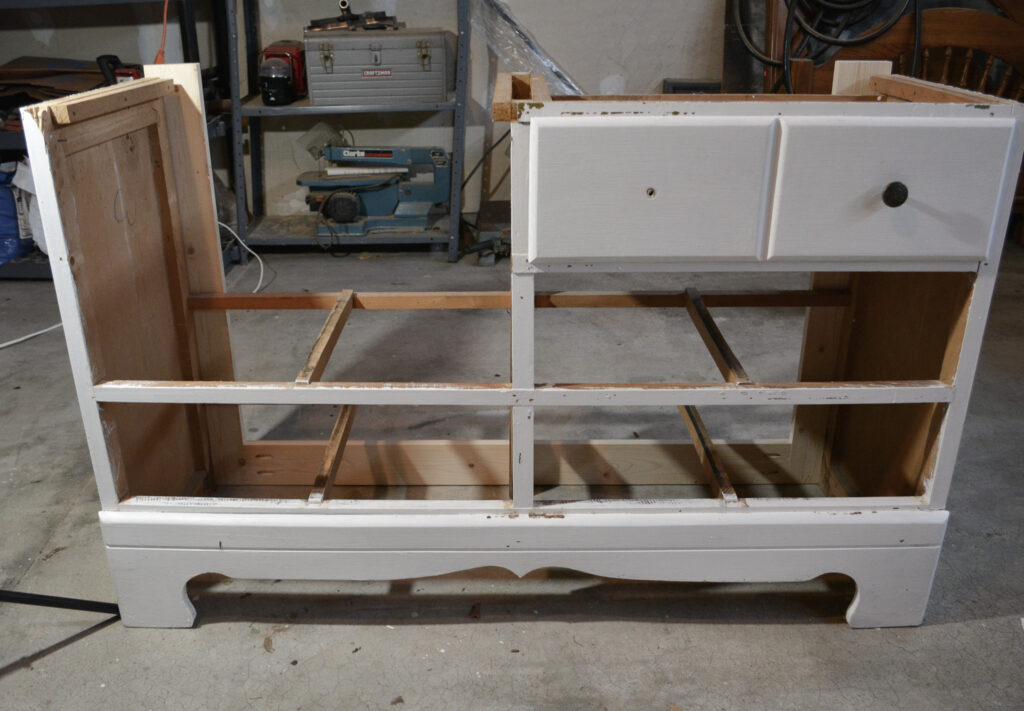
The first thing we did was remove the top and take out the left top drawer supports to create the open shelf. Actually building the shelf will come later.
Create a Back Frame for the Island
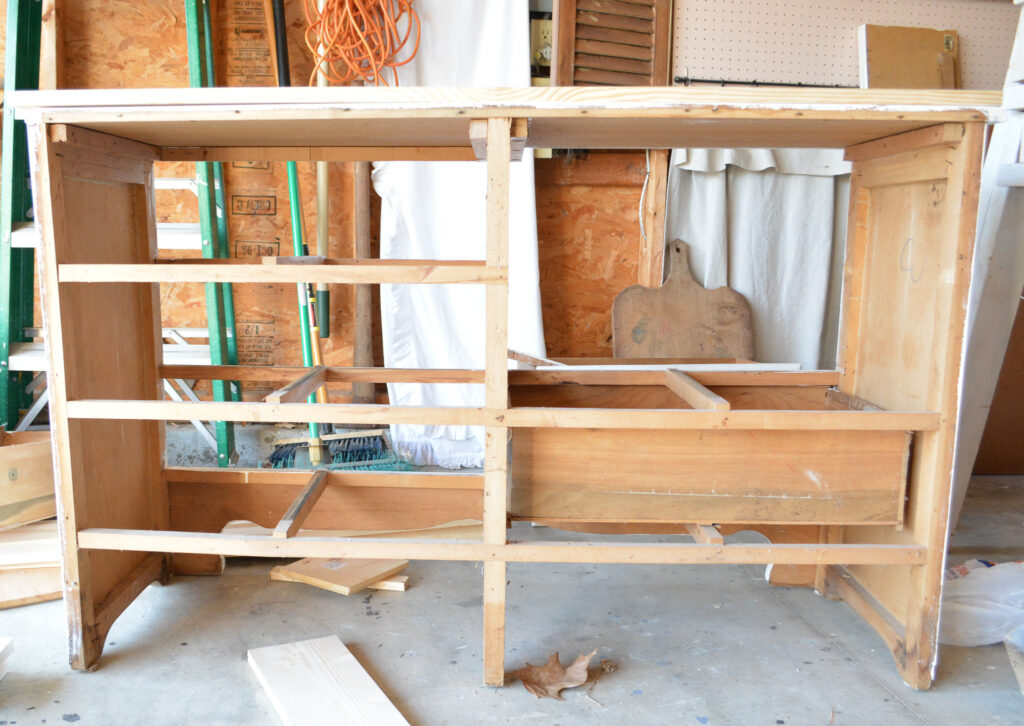
The key to the whole project was getting the back framed out. It needed to be sturdy and capable of supporting wheels, and of course it needed to be pretty! We removed the flimsy plywood back and built a frame out of 1×4 boards.
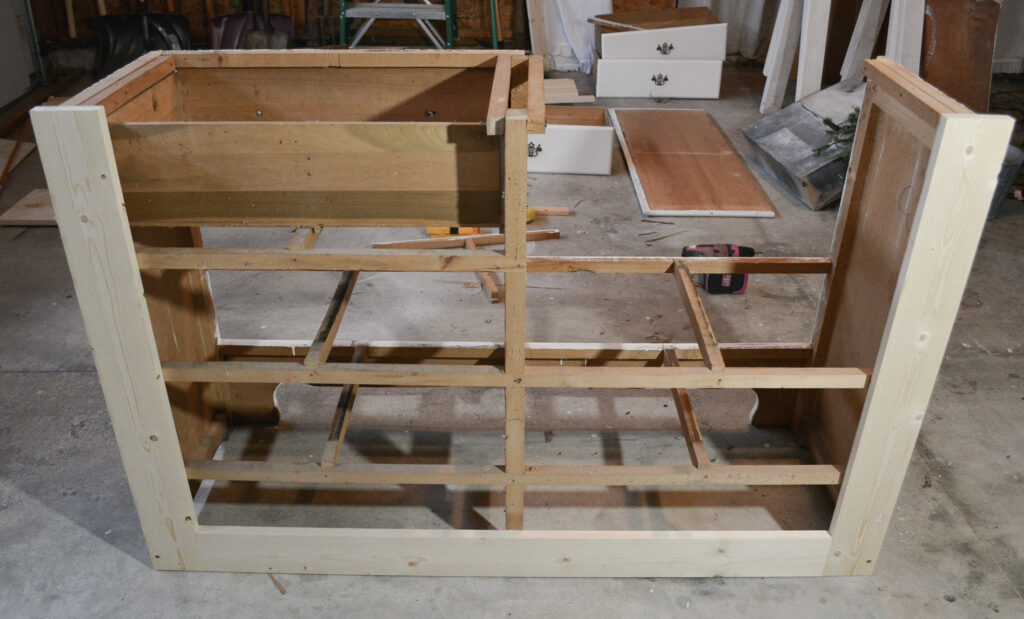
The boards were attached together and then screwed into the dresser back.
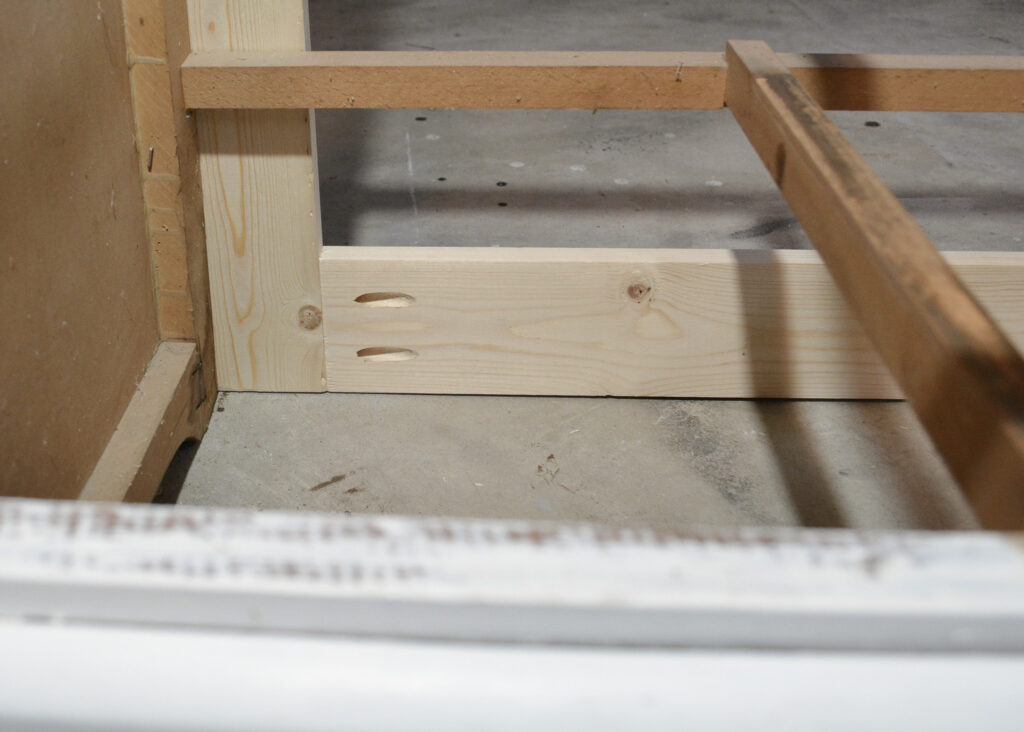
The boards were attached together using pocket holes made with a Kreg Jig.
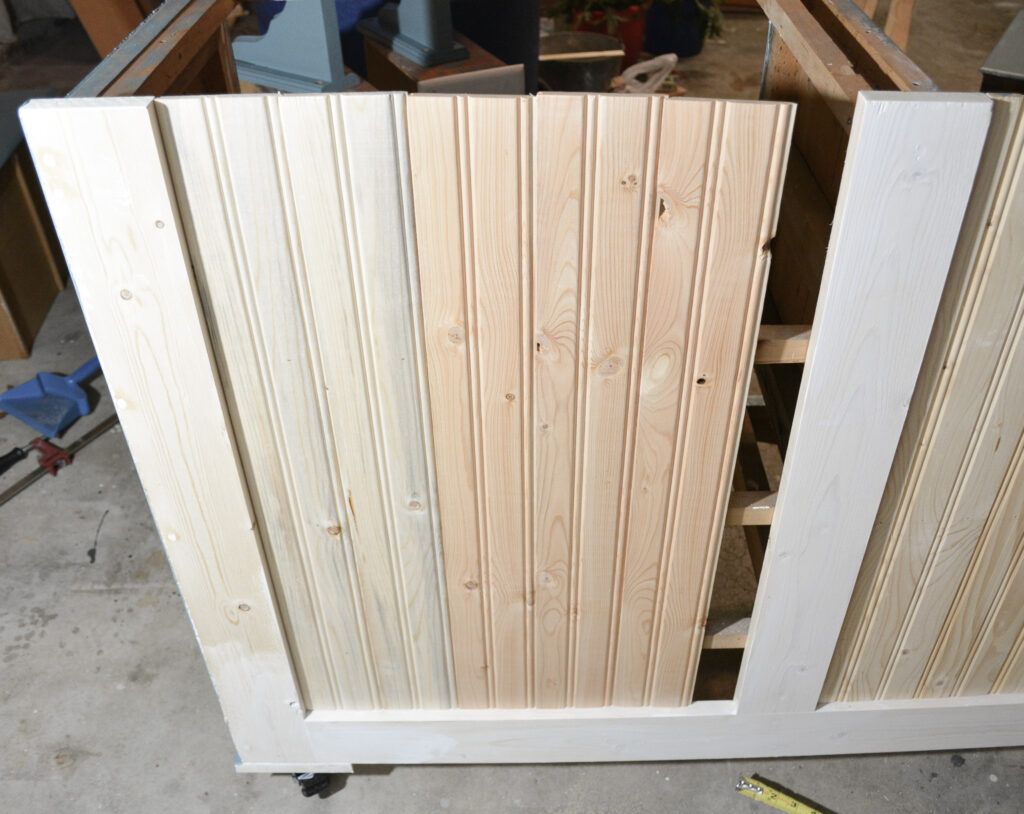
A center board was also added and screwed into the middle back support. The bead board was added later, but you can see how the center board was used.
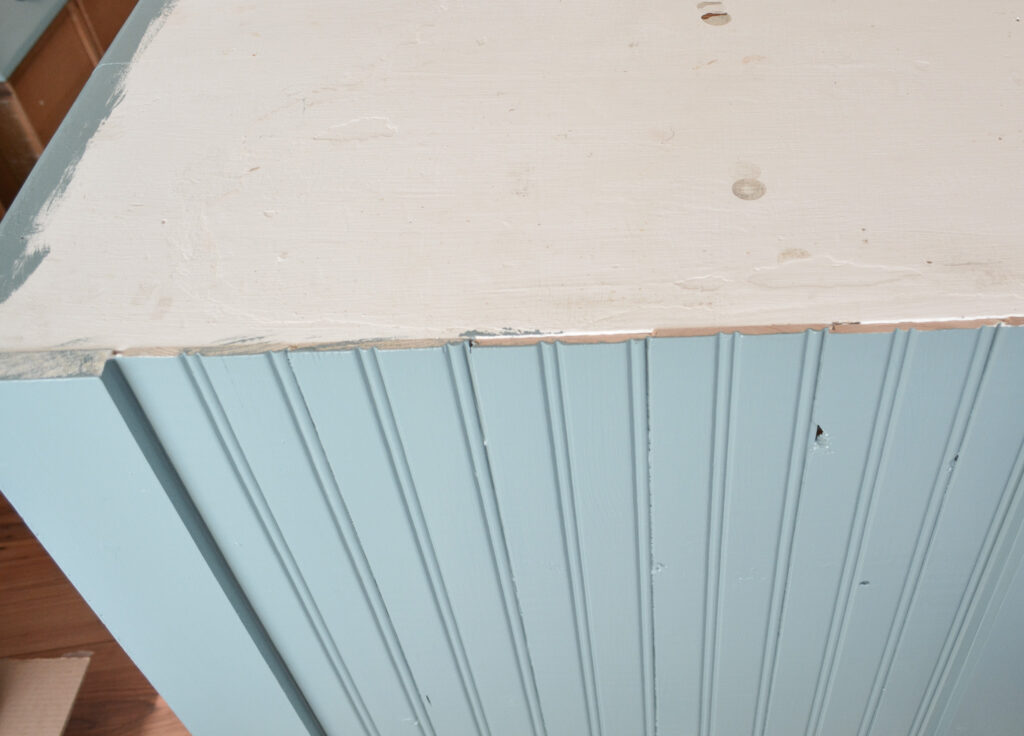
We planned on keeping the original top and covering it with wood, so the boards were cut to include the width of the top.
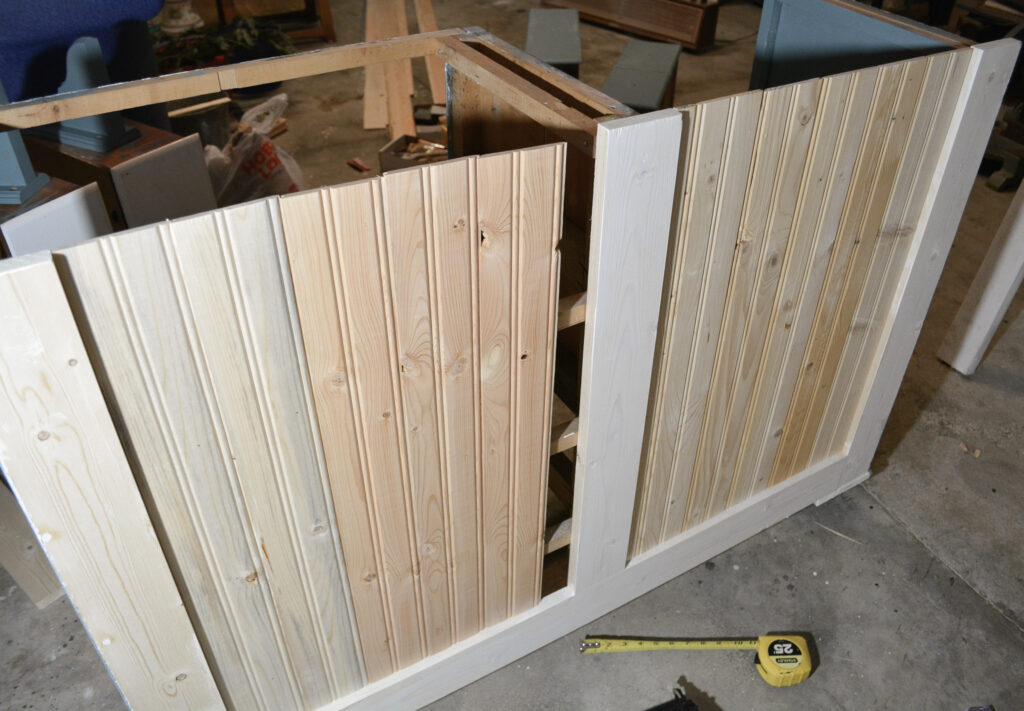
These boards created a frame for the bead board, a sturdy place to attach the wheels, and a place to attach brackets to support the top.
Make an Open Shelf for the Island
I mentioned earlier that we wanted to create an open shelf large enough to store her air fryer. That meant cutting out drawer supports and adding sides and a bottom.
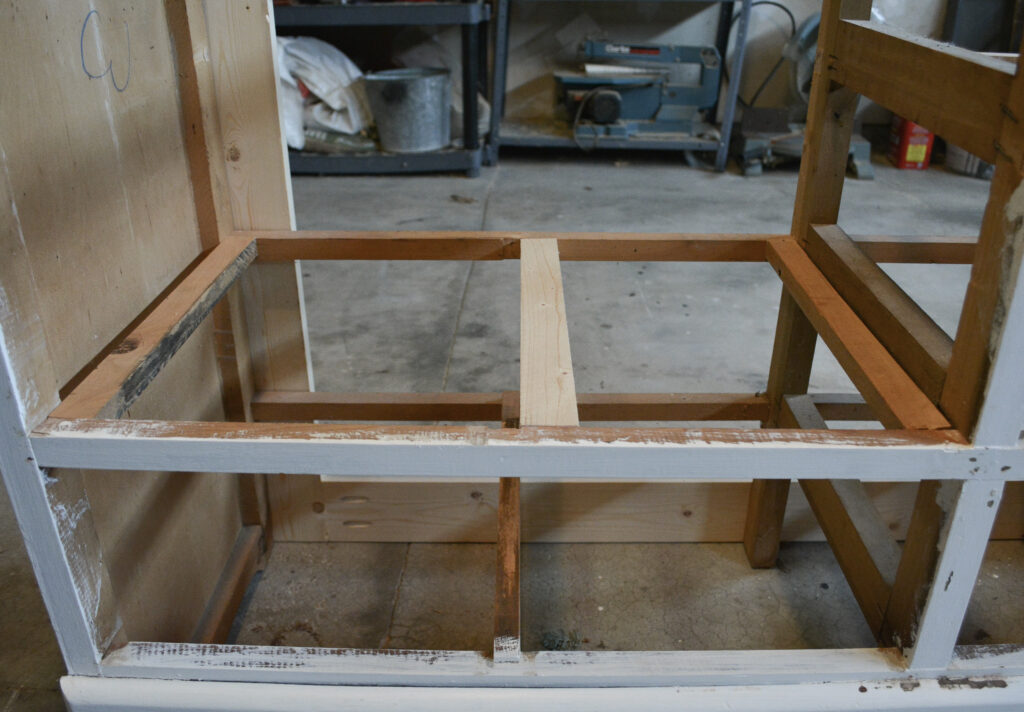
With the drawer supports removed, we needed to create a bottom and sides for the shelf. The first step however, was to add a center support for the shelf. Originally there was a drawer runner in the center, but it was not flush. It was removed and replaced with a 1×3.
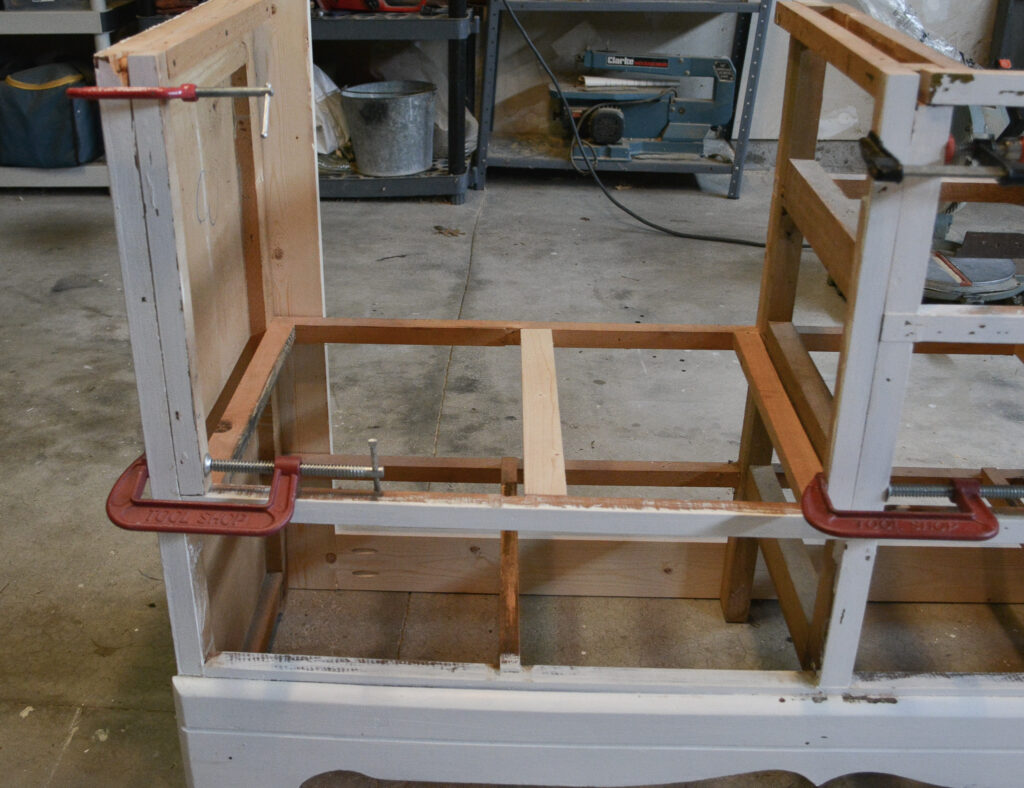
Next we cut down the drawer supports that were removed to create the front trim. This trim would cover the edges of the plywood sides.
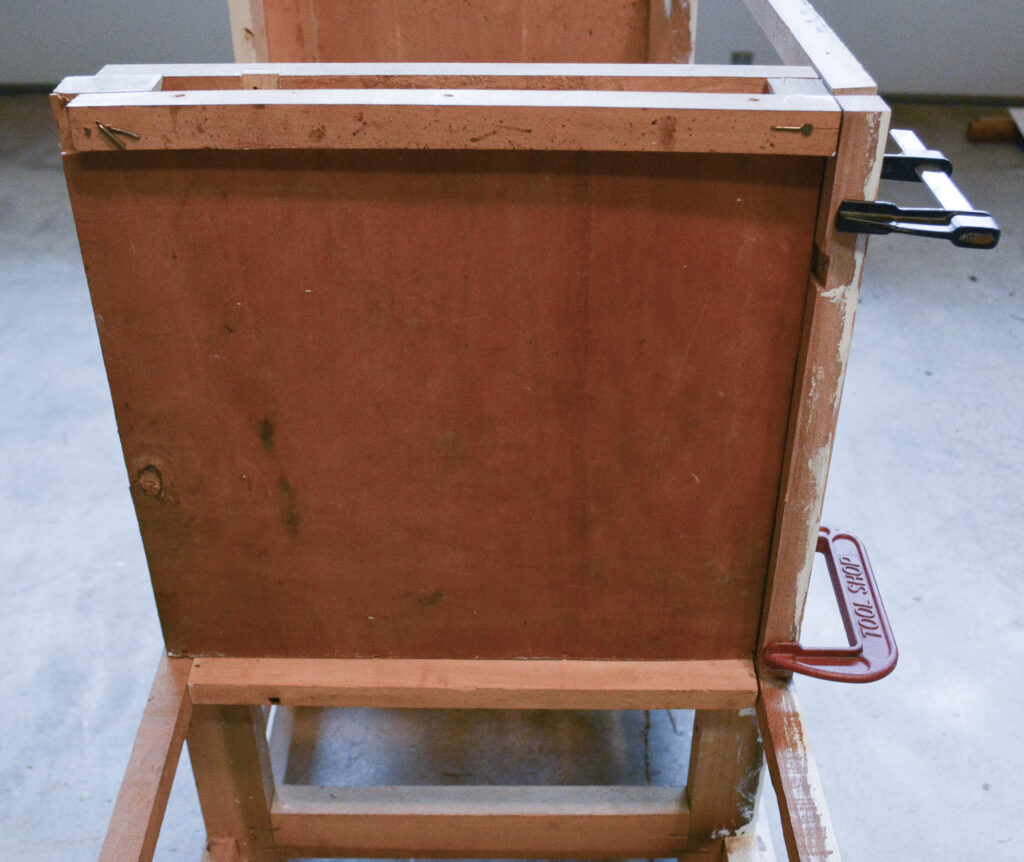
We were trying to keep costs down, therefore the old dresser back was cut down to use as the sides. We removed the bottoms from the two unused drawers to create the bottom of the shelf.
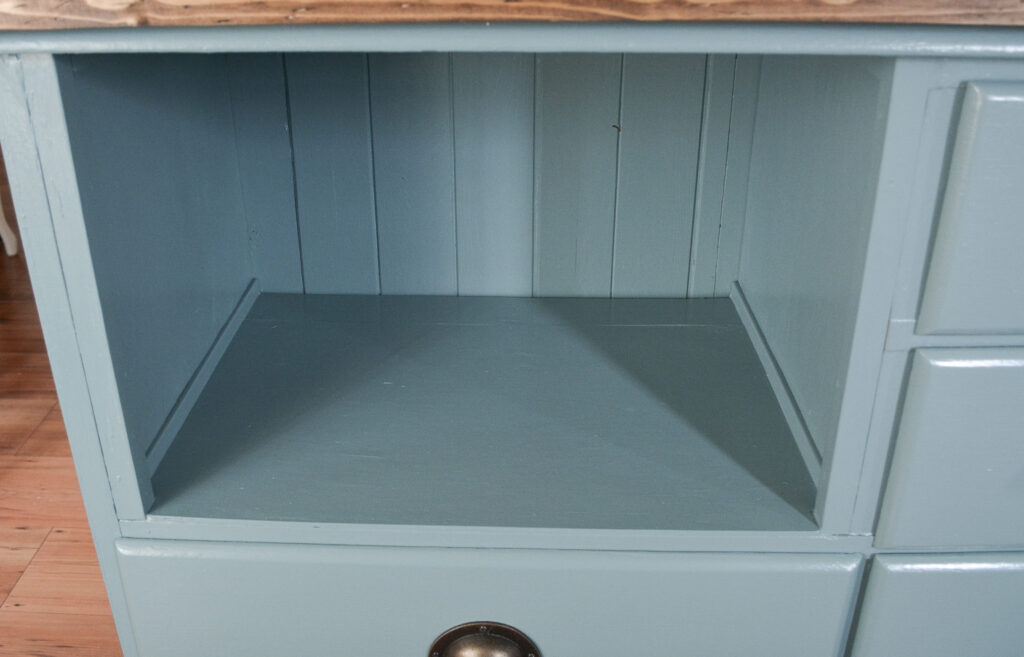
I think these appliance rollers would be perfect to put on the bottom of the air fryer. We wouldn’t want to scratch up this beautiful paint!
Add Wheels for a Rolling Kitchen Island
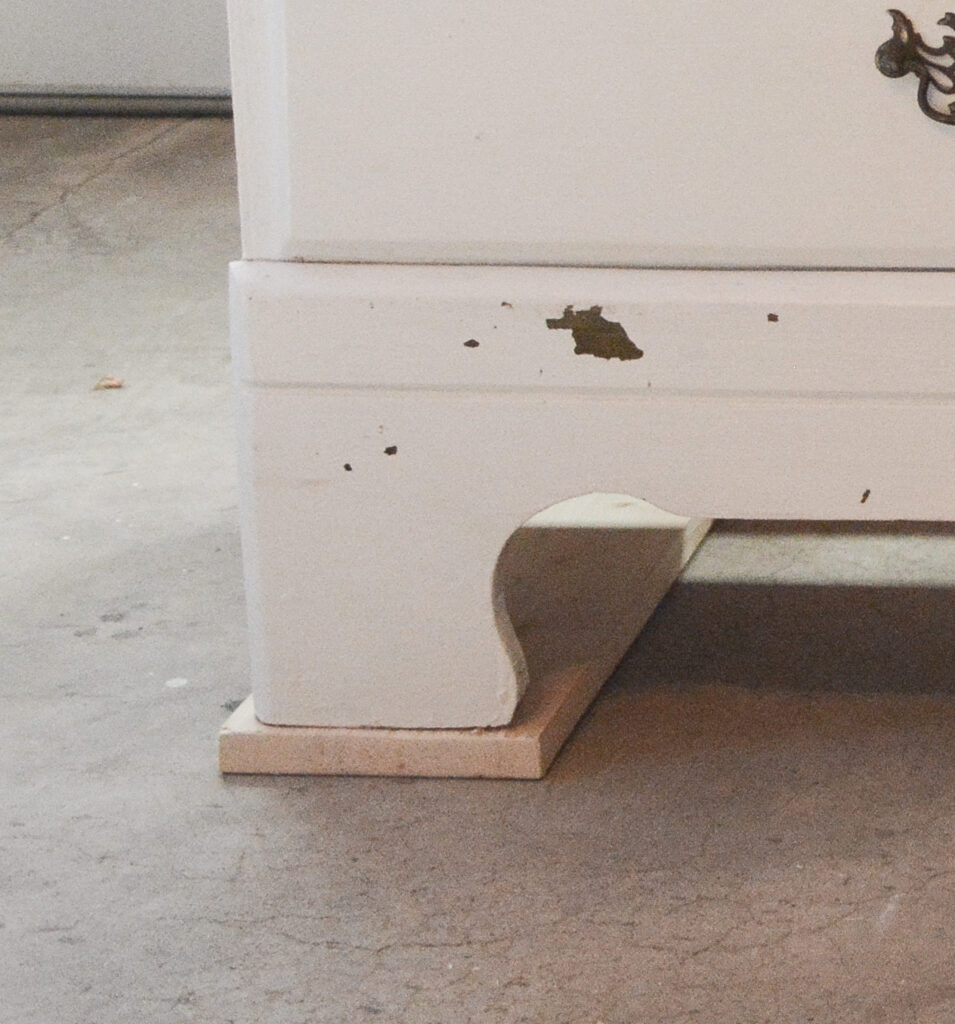
Sometimes simple is best. Attaching a 1×4 to the front legs and back frame created a spot to add screw on wheels. Make sure the wheels can hold the weight and can be locked! We used these wheels.
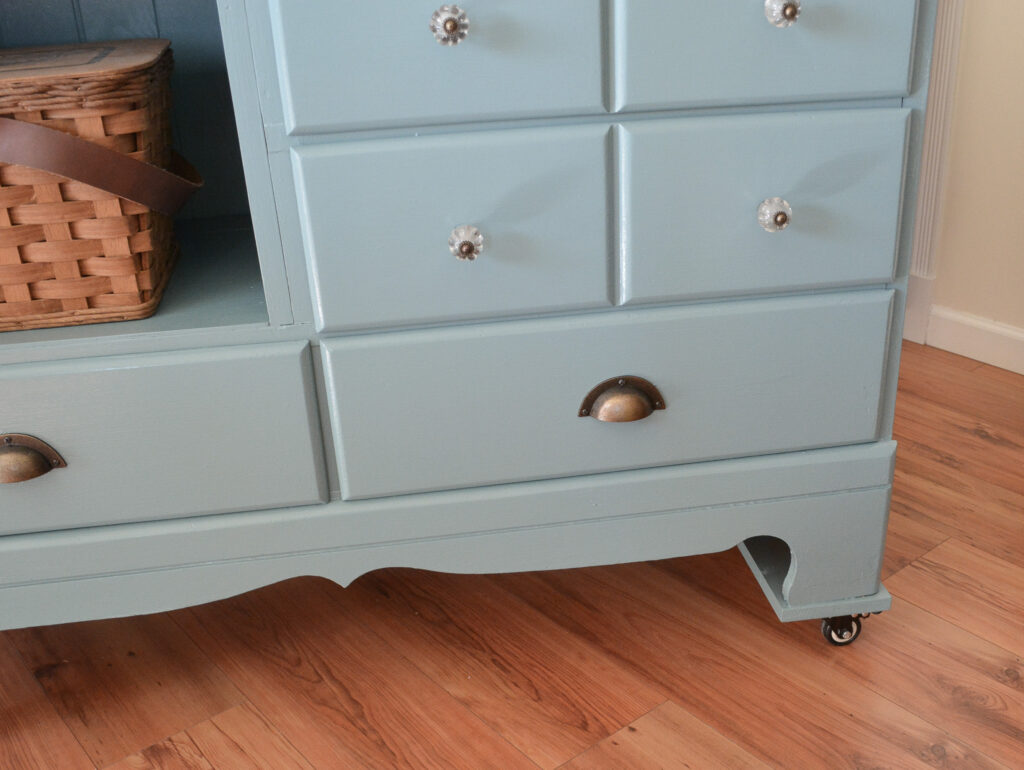
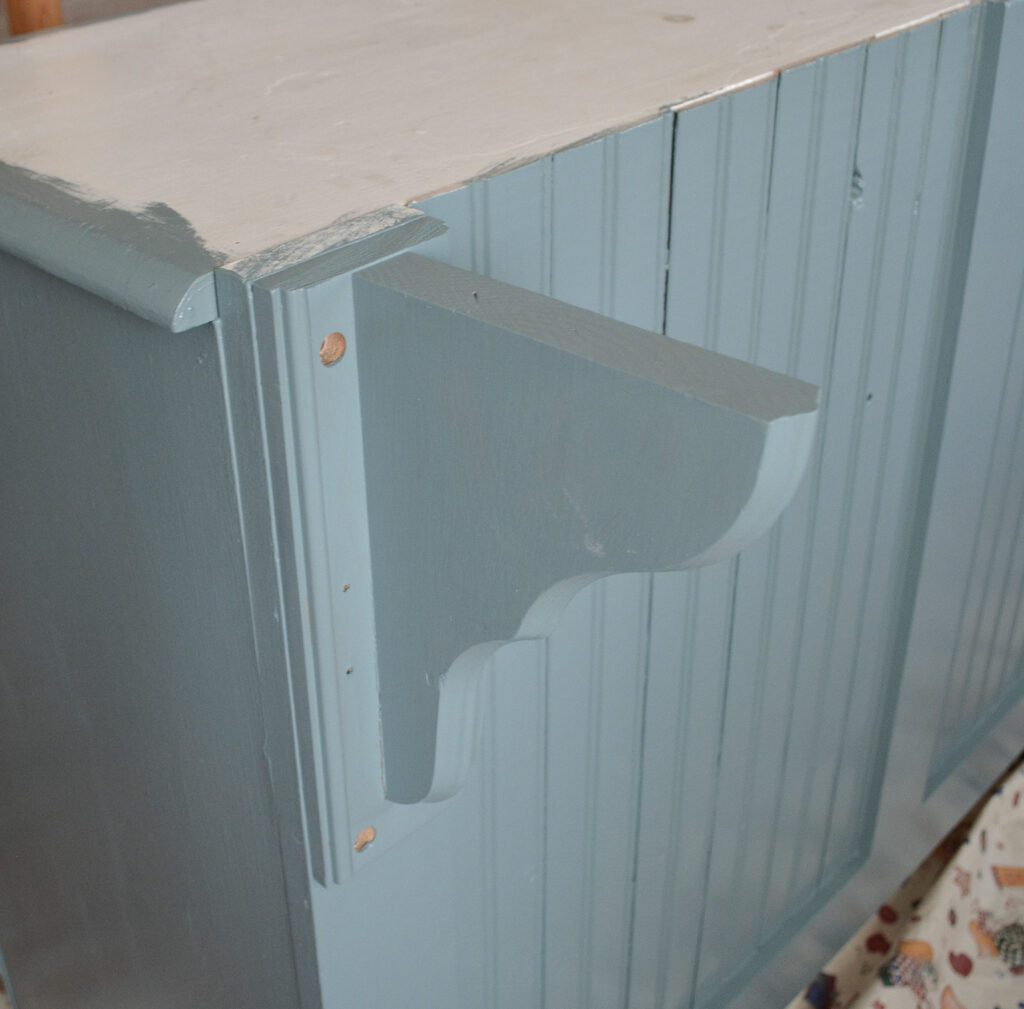
We added bead board and brackets to the boards on the back to support the overhang on the top. I had these brackets leftover from another project, so more savings!
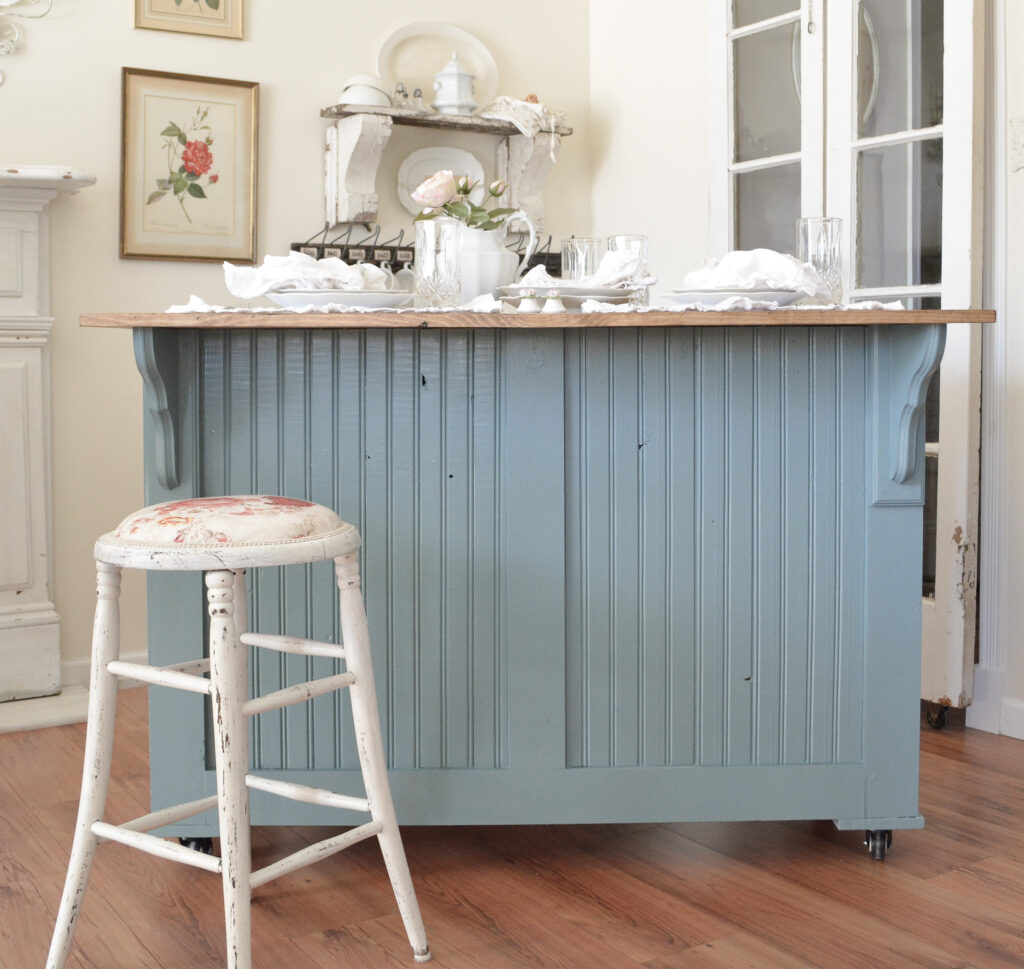
Hello gorgeous back!
Adding a Distressed Wood Top
We wanted a reclaimed wood look for the top, so common boards were distressed and stained to recreate the look.
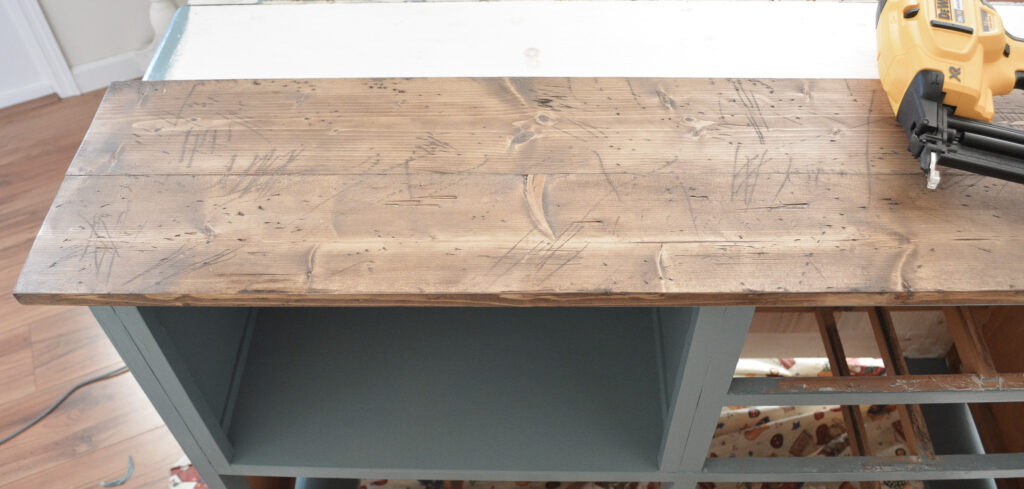
The boards were glued and nailed onto the original dresser top. I used my cordless brad nailer for the job and this wood glue.
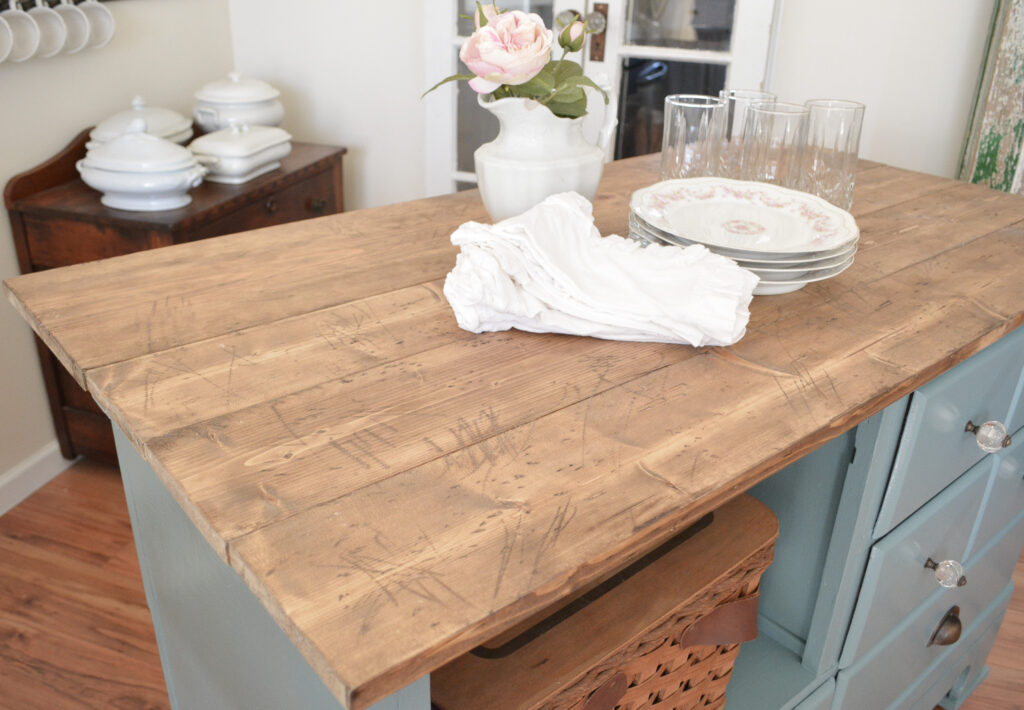
Using a variety of board widths allowed us to get the perfect size for the top, making sure the overhang was one width. We used a 12″ piece.
The Finishing Touches
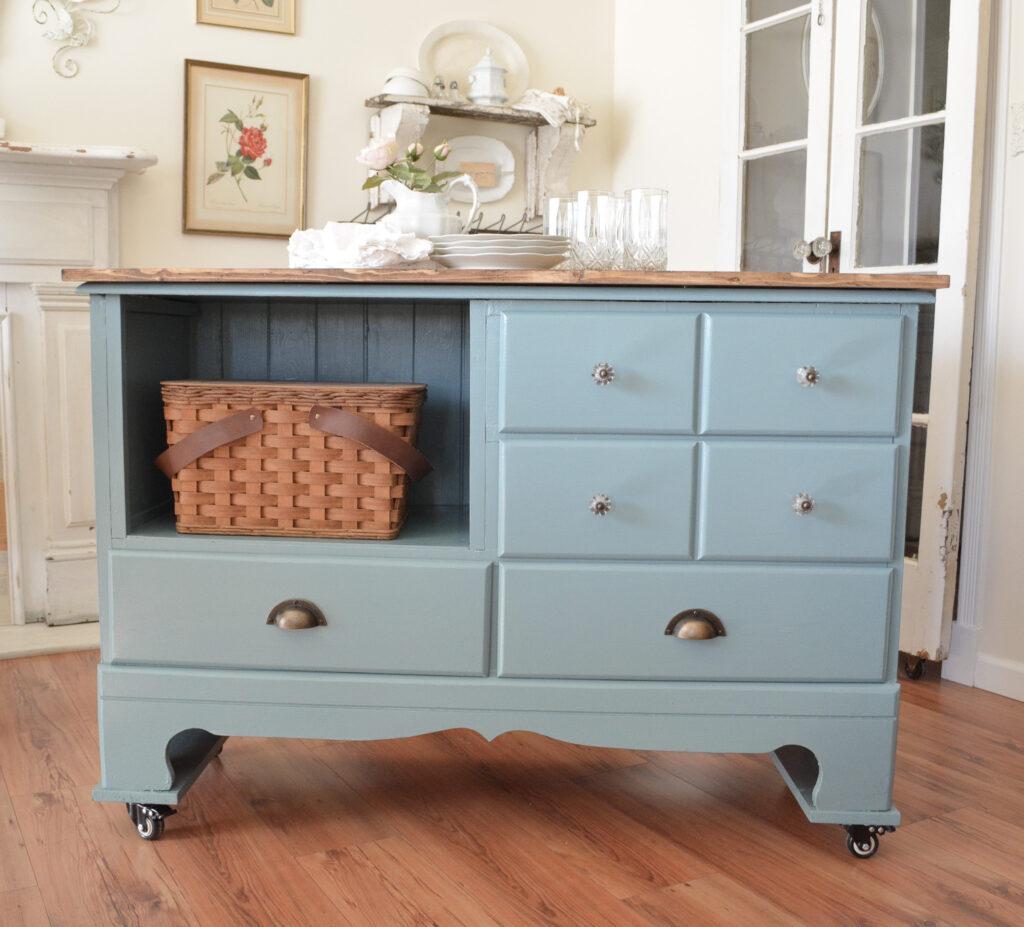
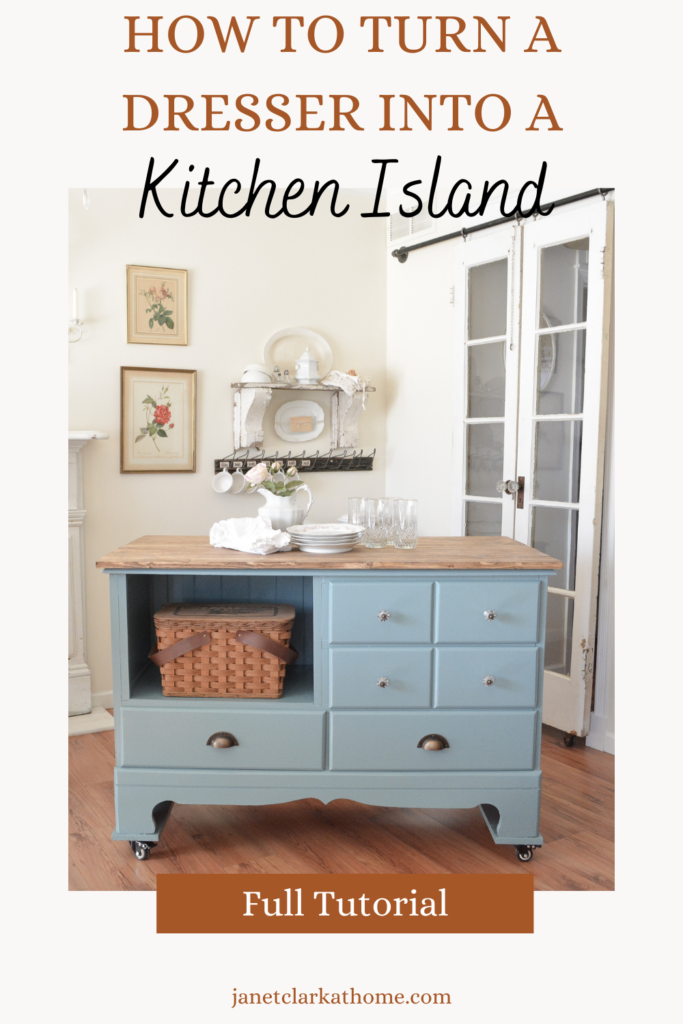
Can we just take a minute to admire this beautiful paint color? My sister chose Behr Dragonfly and I love it! I don’t use color very often, so this was a lot of fun for me. The hardware is from Hobby Lobby. And the top does need to be sealed, but she is going to that after she gets it home.
PIN IT FOR LATER!
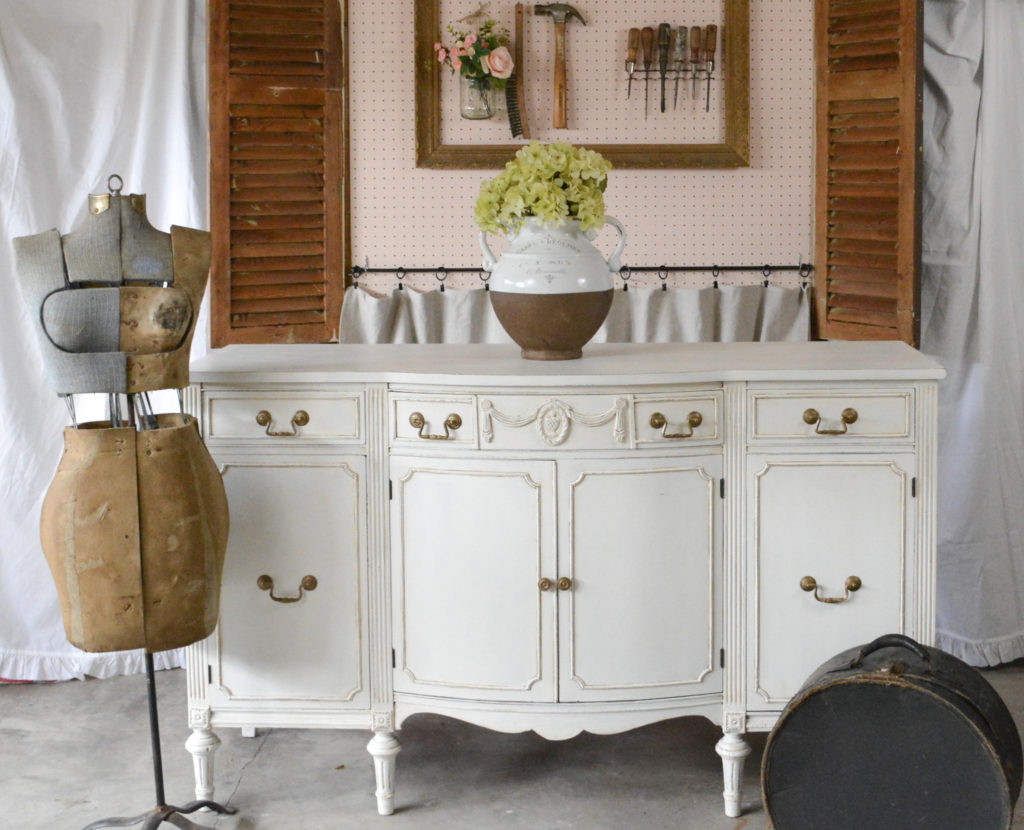
If you like furniture makeovers, you might like this post on my buffet makeover. I used Bondo to replace the missing appliques.
Thanks for stopping by,
Janet

Wonderfully made putting love back into a old piece