
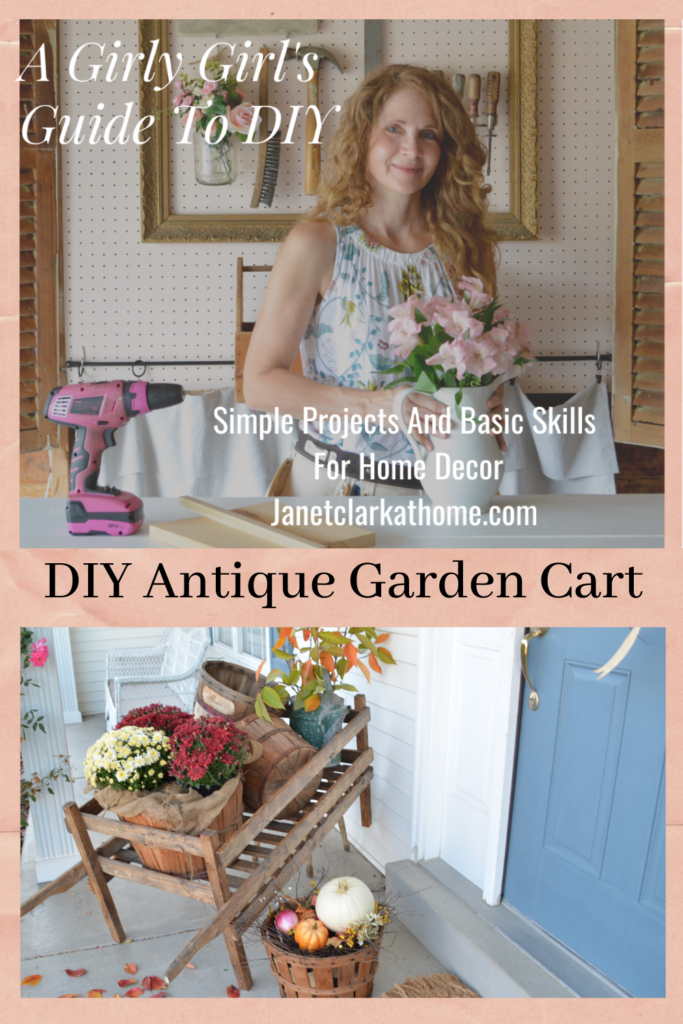
A Girly Girl’s Guide To DIY – Beginning Builder Series Project 3
Level: Beginner
Skills: Hammering a nail
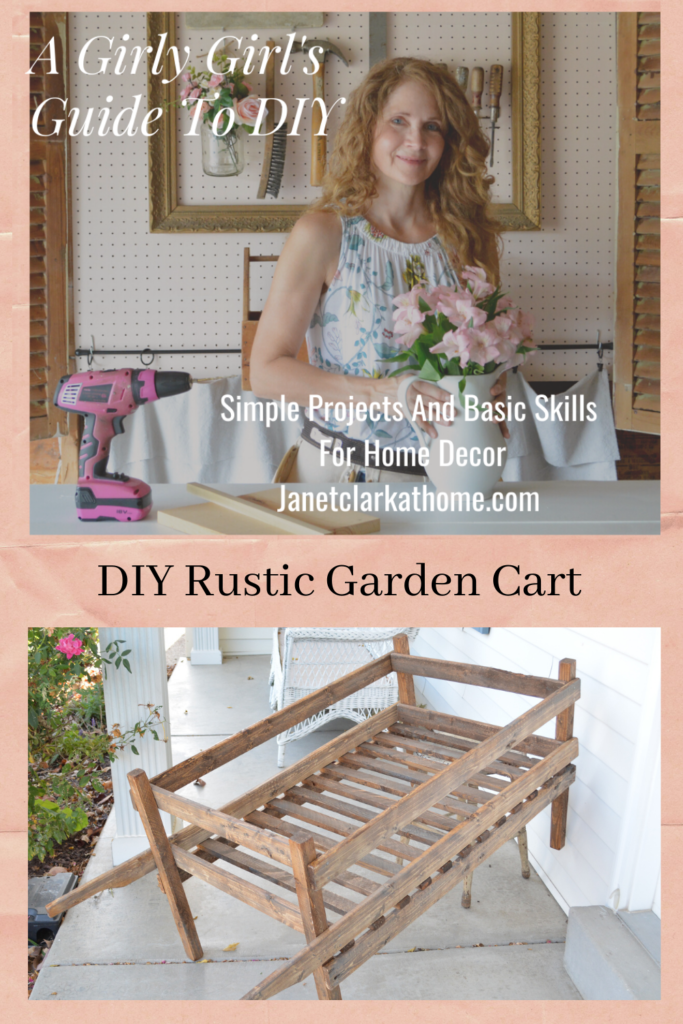
Learn how to build this antique rustic garden cart for outdoor decor using only a hammer and nails. If you built the french market crate, this is almost the same, just bigger pieces of wood!
This build includes an optional shaped handle. It can be built leaving the handle square and it will be just as cute.
And as always, I recommend at least reading project 1 and project 2 before beginning this one.
Supplies
I used inexpensive furring strips in three sizes. Remember to have the home improvement store do your cuts for you.
Lumber – furring strips
1 – 8 foot 2×2 – cut into 4 – 24″ pieces for posts
4 – 8 foot 1×3 – cut into 4 – 42″ pieces – (sides), 2 – 54″ pieces (handles), 4 – 24″ pieces (ends)
4 – 1×2 – cut into 12 – 25-1/4″ pieces for bottom slats
Wood Glue-not shown, but use on all nailed boards
Wood stain – I used Minwax English Chestnut with gray blended over it
1-1/2″ common nails
Hammer
Optional jigsaw or wood chisel for handle
Build the Frame
4 square posts (24″ 2×2)
2 end pieces (24″ 1×3)
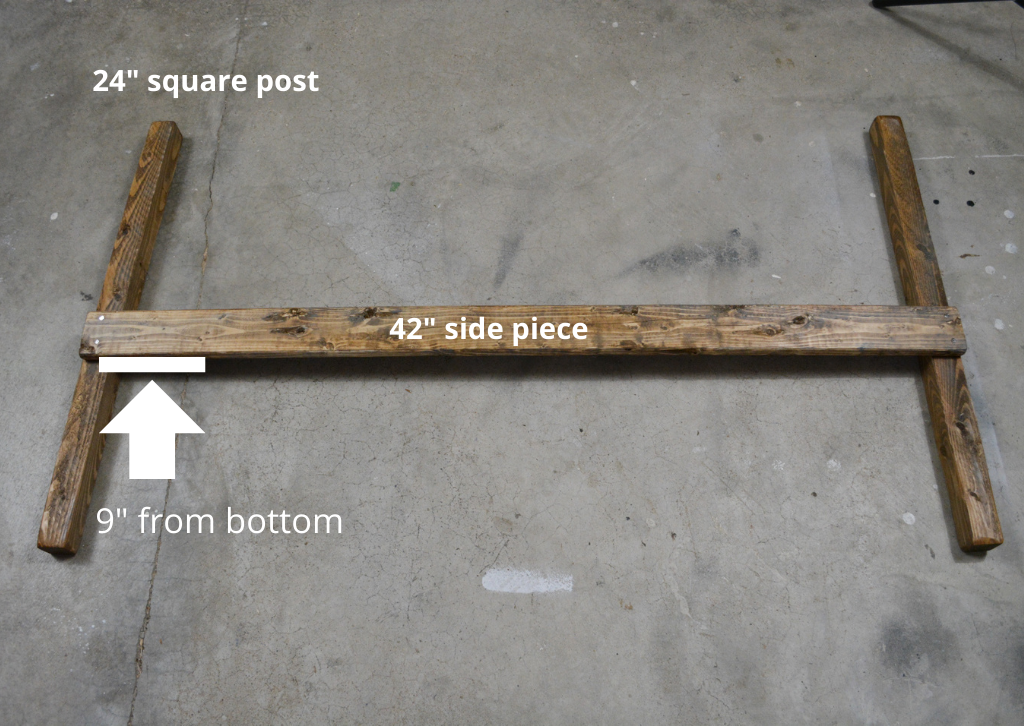
2 side pieces (42″ 1×3)
Glue and nail the side piece (42″ 1×3) to 2 square posts ( 24″ 2×2), aligning edges and 9 inches from the bottom. Do one for each side.
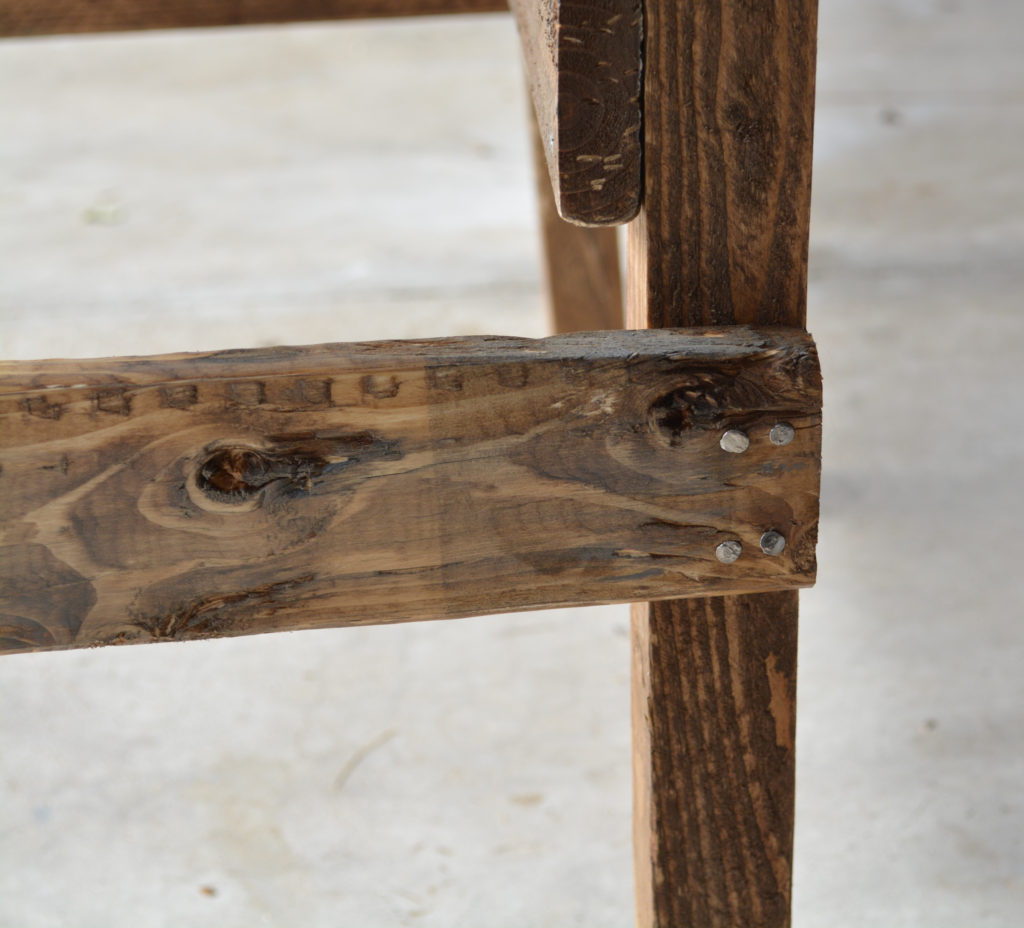
I went back and added 2 more nails for a total of 4. This joint needs to be secure to hammer on the slats.
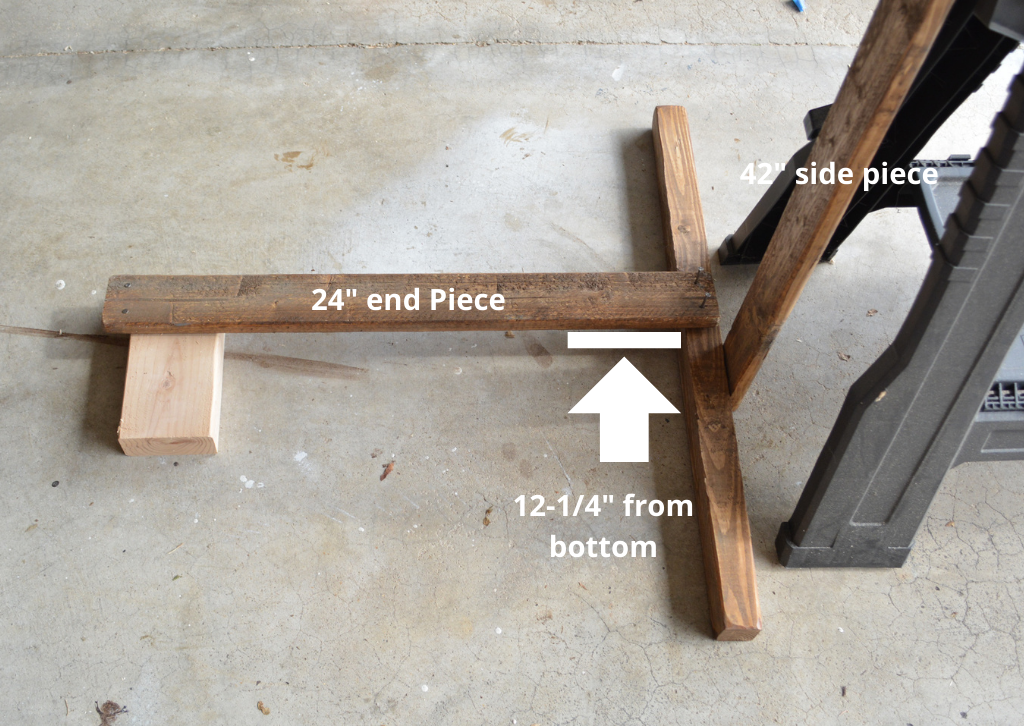
Add the end piece (24″ 1×3) by nailing and gluing to the square post 12-1/4″ from the bottom. This is on the inside of the frame and the side pieces are on the outside.
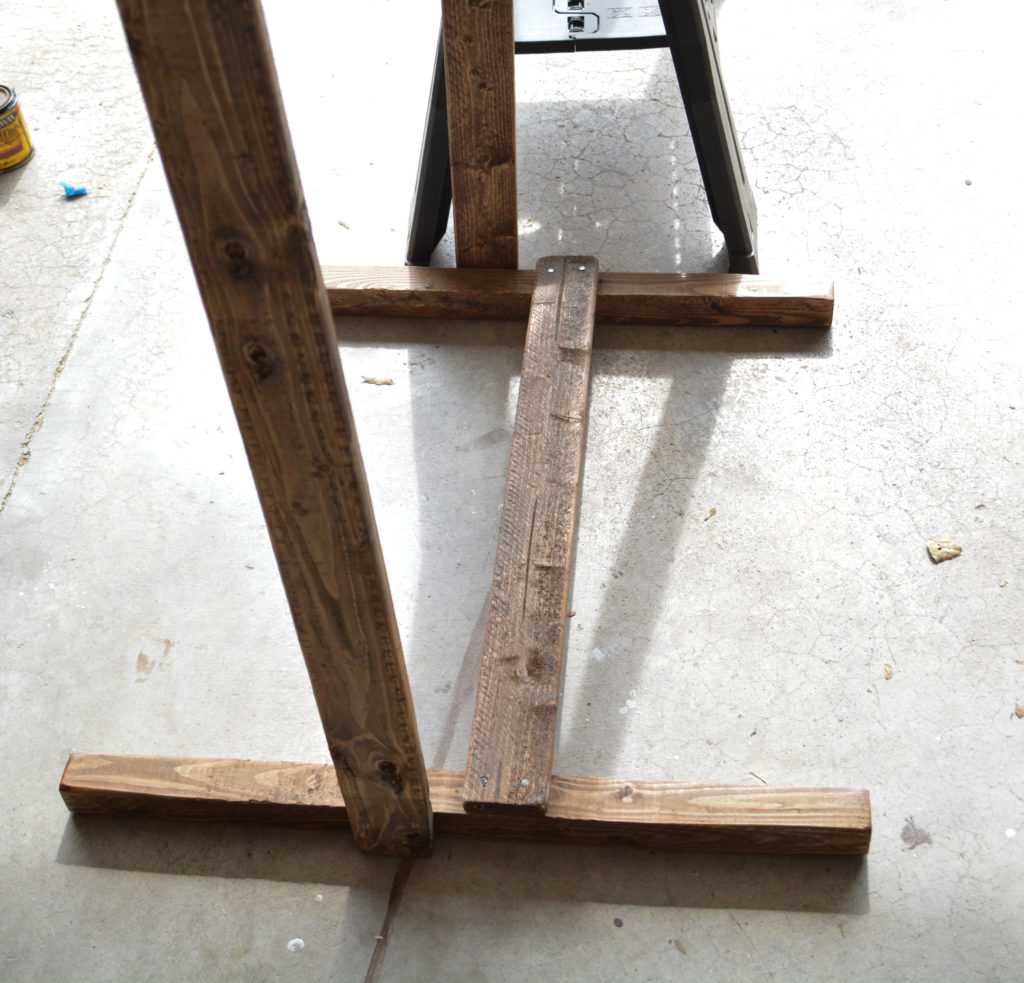
Nail end piece to the other side and do the same to the other end.
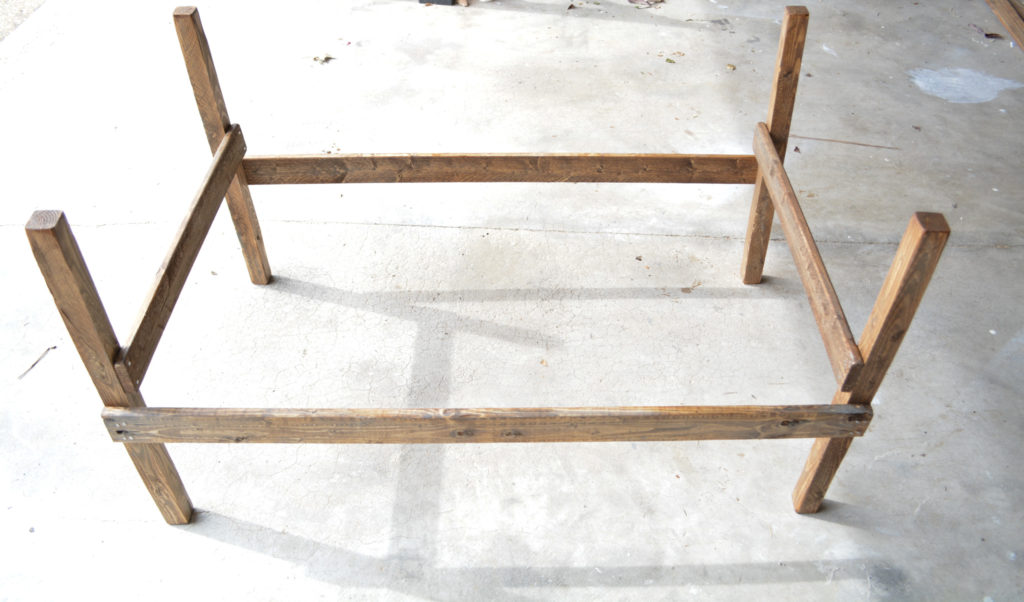
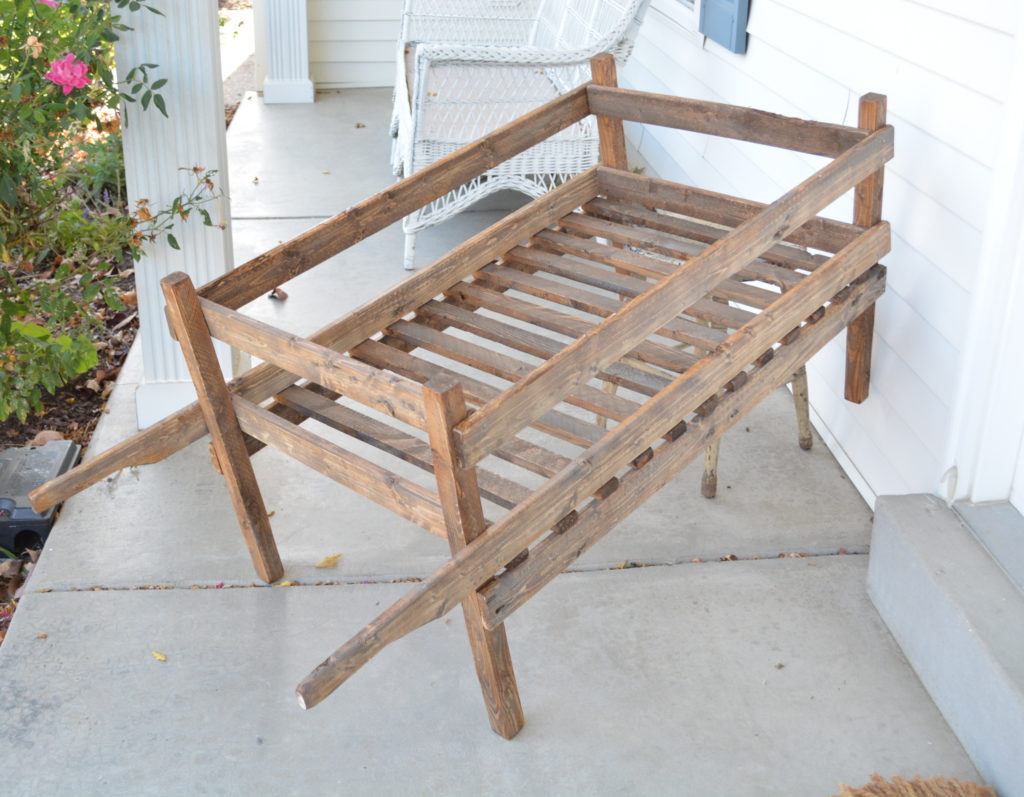
This is how the completed frame should look.
Build the Bottom
12 – 25-1/4″ pieces (1×2)
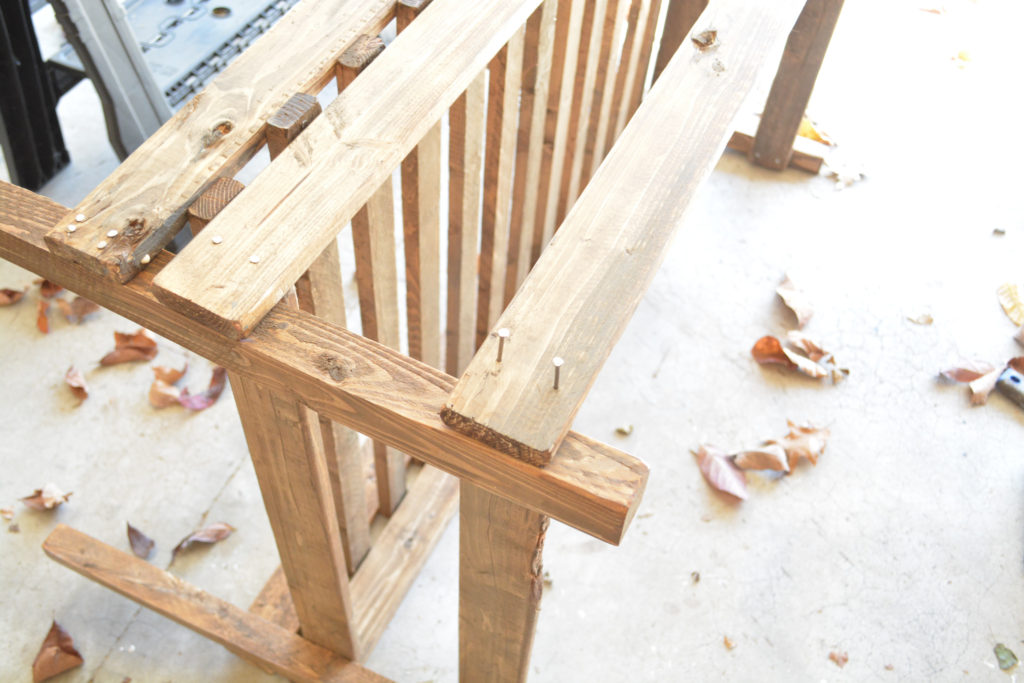
Prepare the 12 bottom slats by starting the nails on both sides.
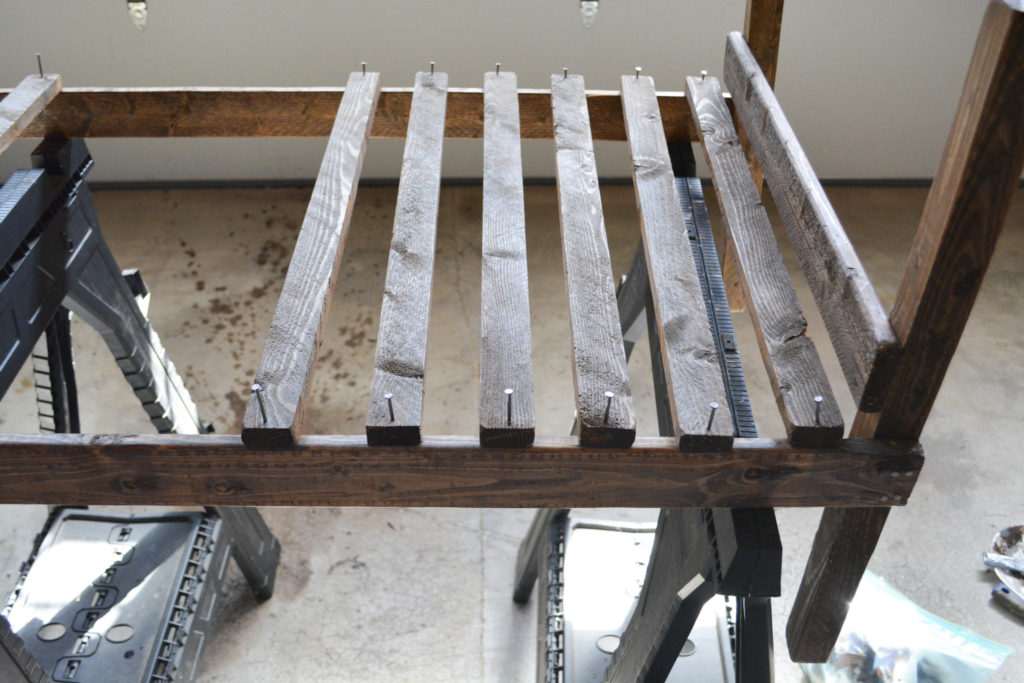
Attach the slats to the frame. I just laid the slats out ahead of time to eyeball the spacing.
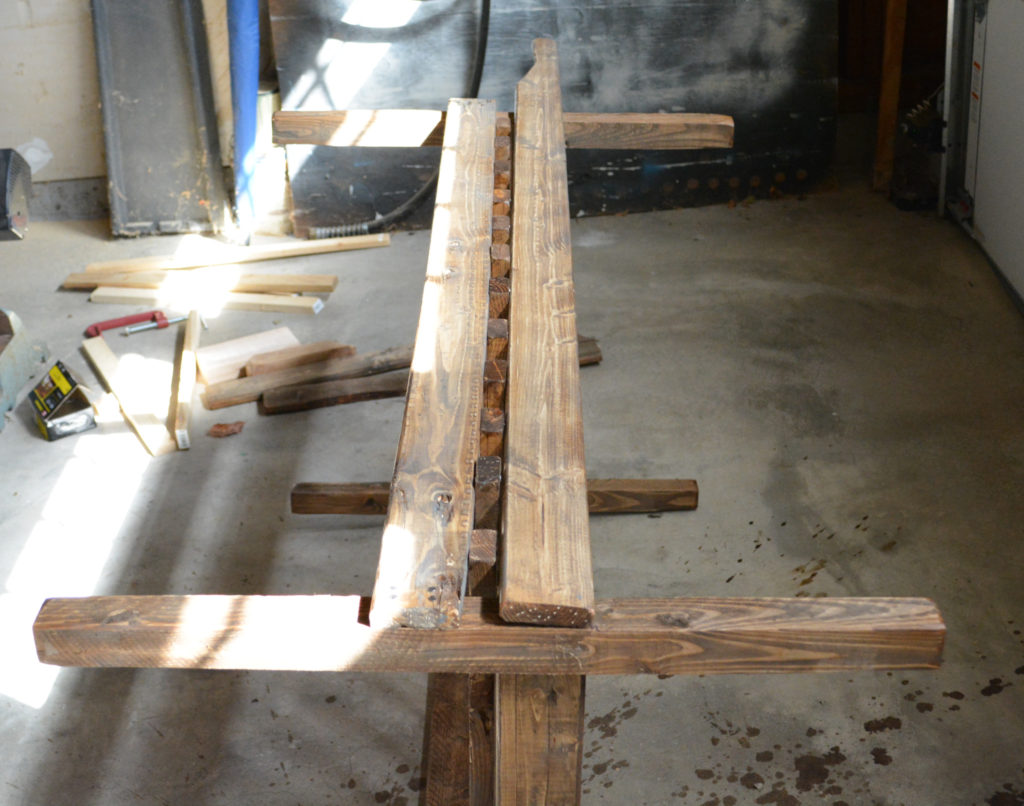
I decided to put the frame up on saw horses to make hammering easier and to support the side pieces.
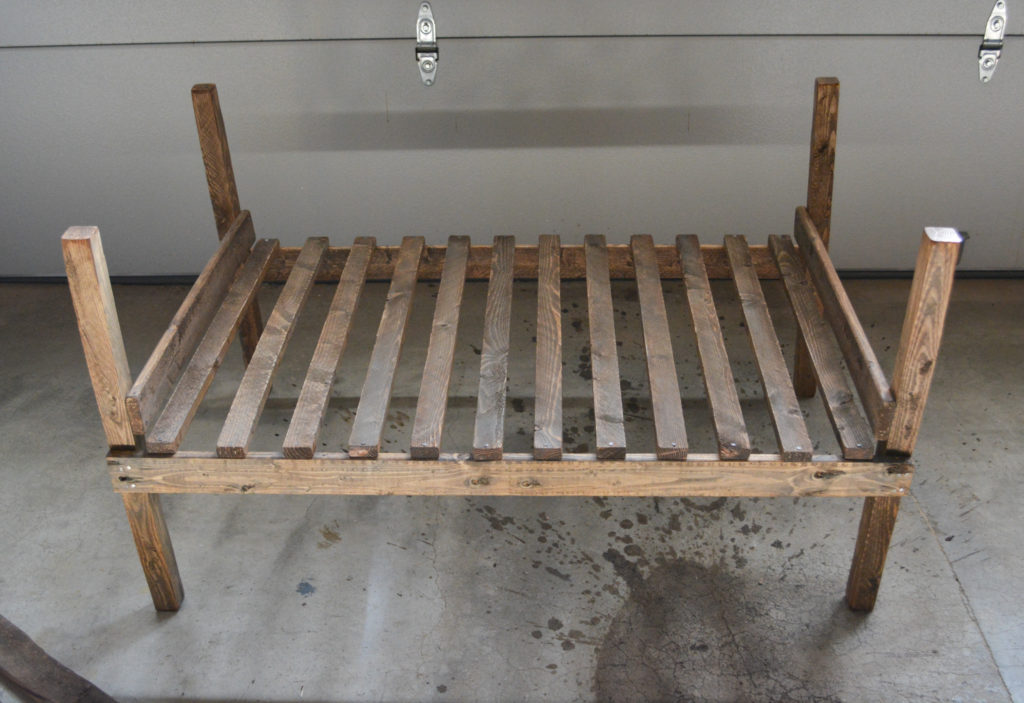
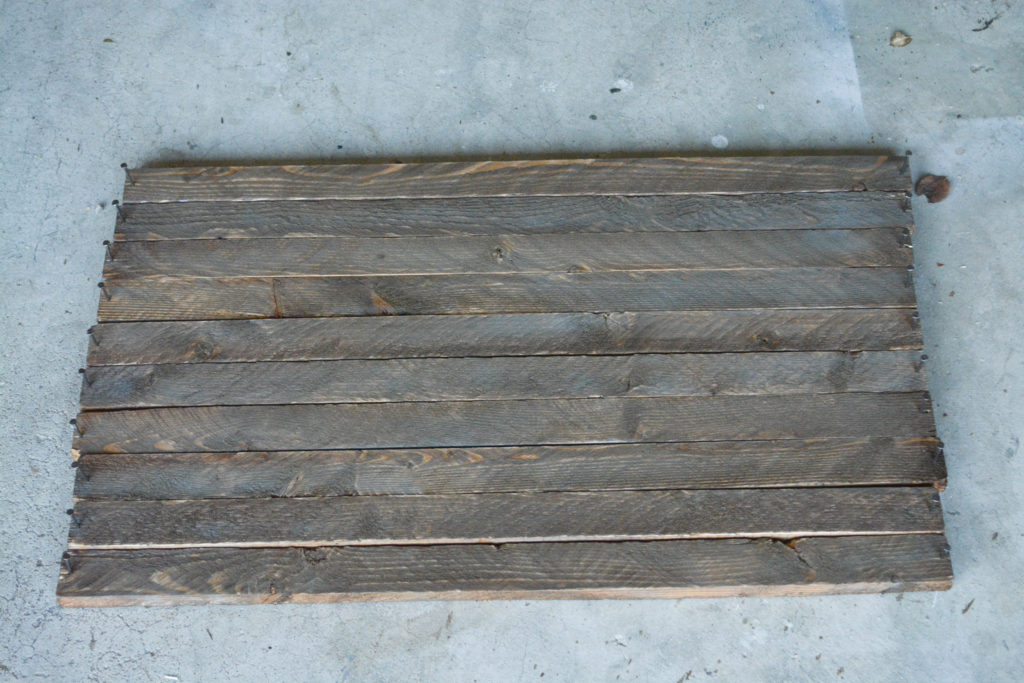
The completed frame with bottom slats.
Add the Ends
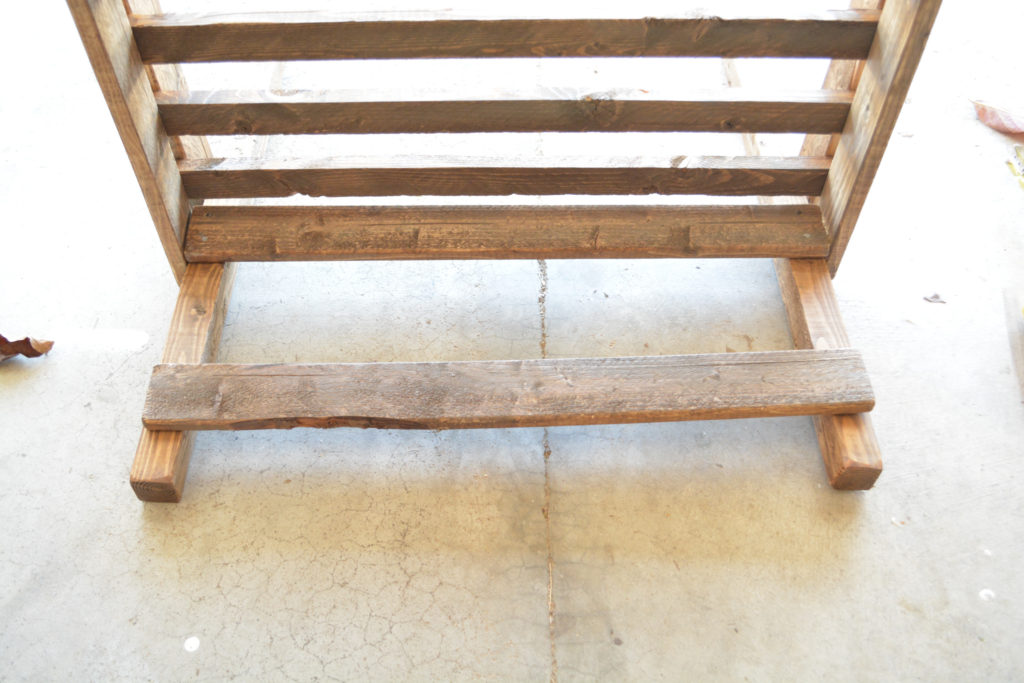
Turn the frame on the short end and add the second 24″ end piece on the inside of the frame, 2″ from the top.
In this picture I had already added the side handle pieces, but you want to do the end pieces first. I was not able to turn the cart on the handle end and had to prop it.
Optional Shaped Handle (skip to the next step if you don’t want to do this)
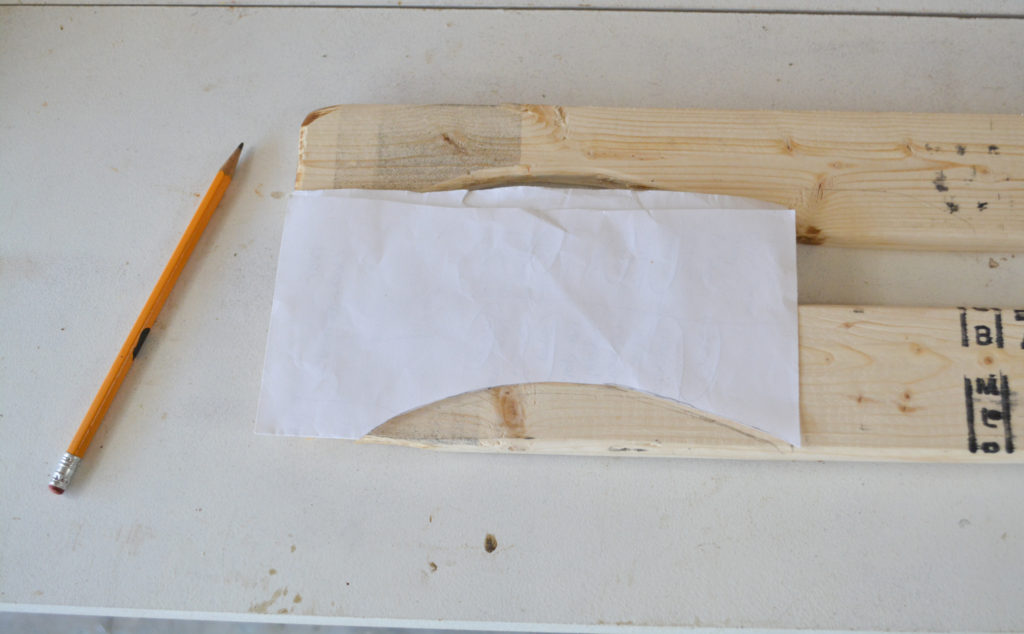
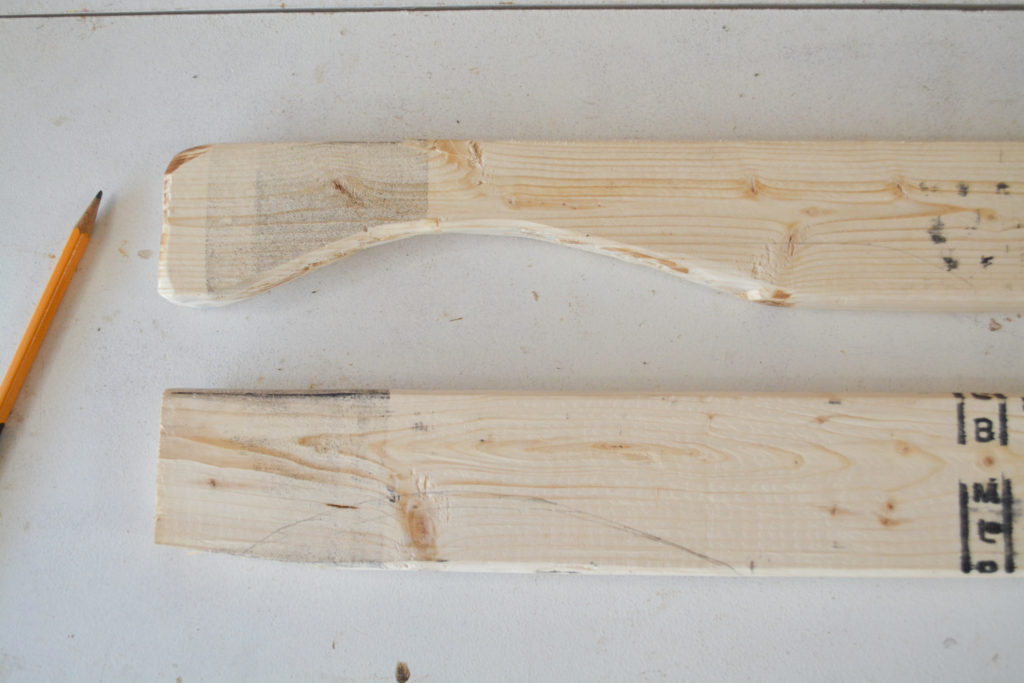
I made a paper template for the handle shape I wanted and drew it on the 2 (54″ 1×3) handle side boards.
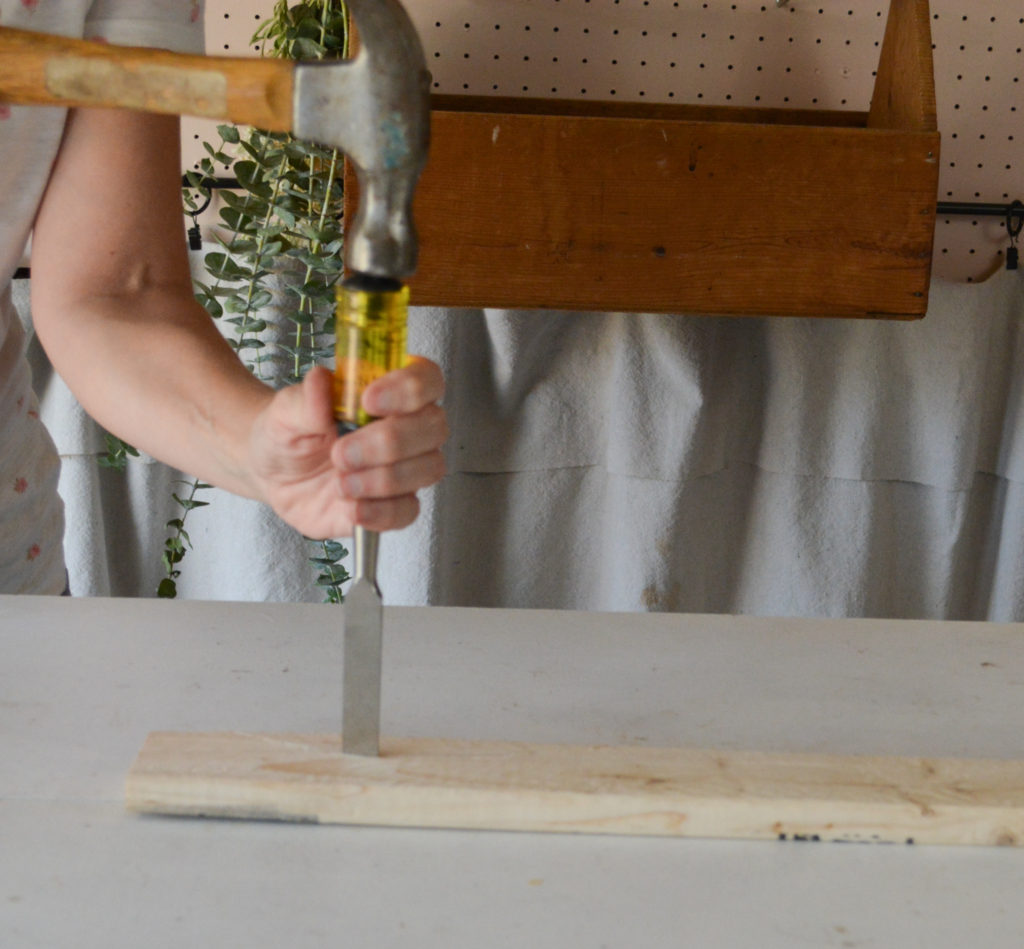
Now you could definitely use a jigsaw for this step, but I wanted to try doing it by hand. I think originally they would have made a carved wood handle, but I haven’t done any carving yet. I used a wood chisel and hammer.
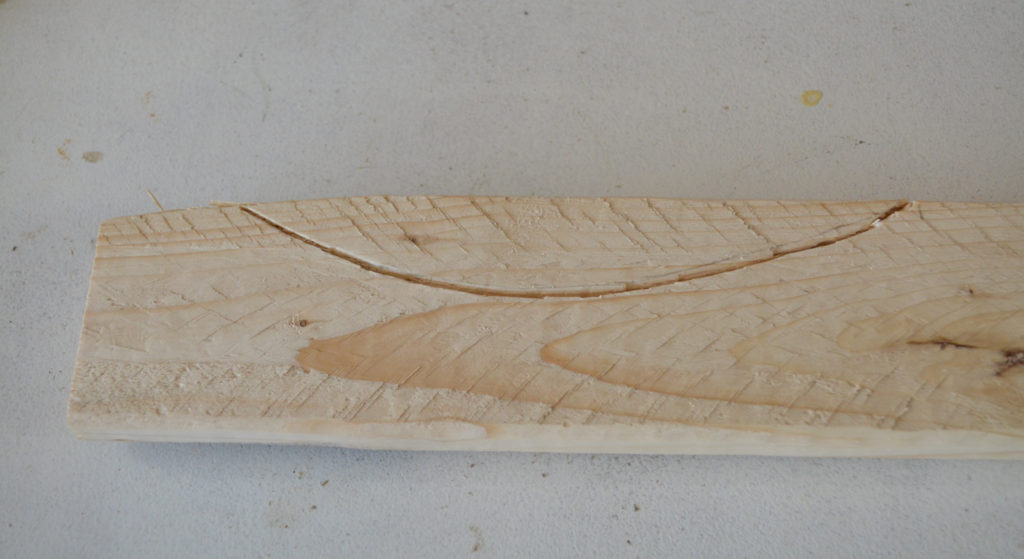
I made an outline, and then just continued hammering on this line until the piece broke off.
Full disclosure: on the second handle the end piece split straight across. It looked way better like that, so I just chiseled the other piece to match.
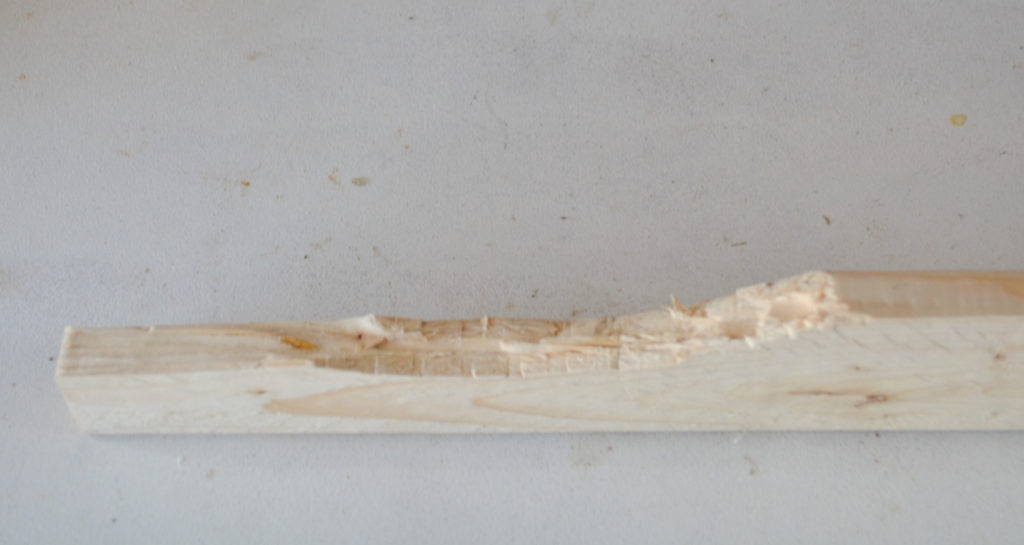
I sanded it a little, but not too much. I wanted that handmade look.
Add the Sides and Handles
Add the long handle side piece (54″ 1×3). Make sure if you shaped the handle, that the curve is facing toward the bottom. Nail and glue into the end piece. I don’t nail into the square post because it is not supported and may come lose. You can add more nails later if you wish.
Add the handle to the other side.
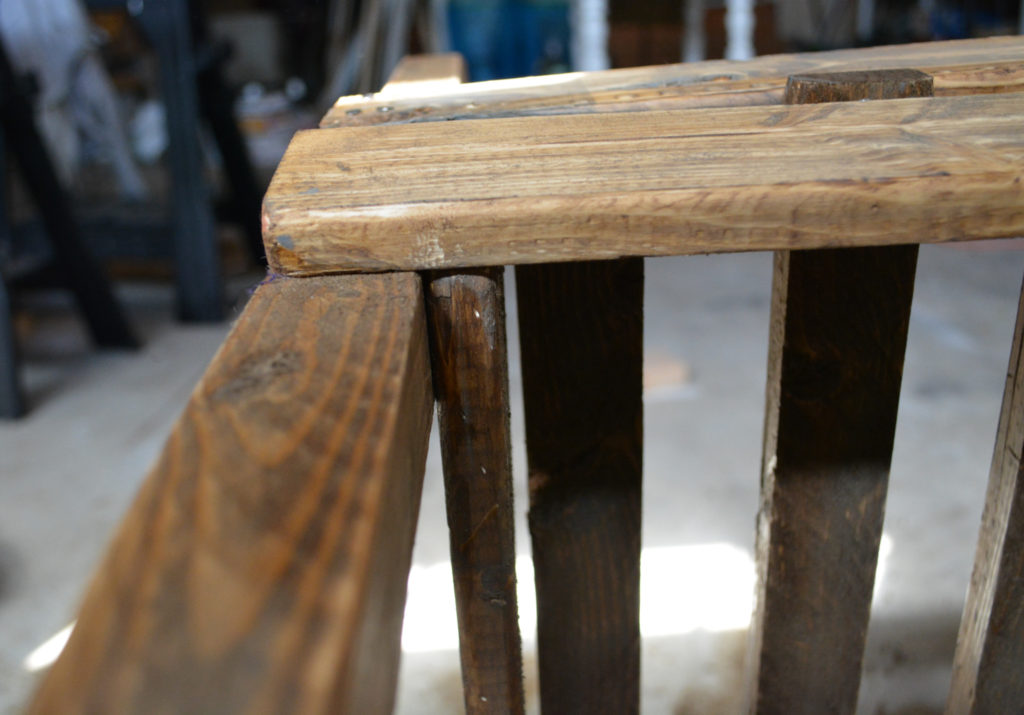
Align the side handle with the end piece.
Add the third side piece 2″ from the top, aligning with the top end piece. Again, nail into the end piece, not the square post.
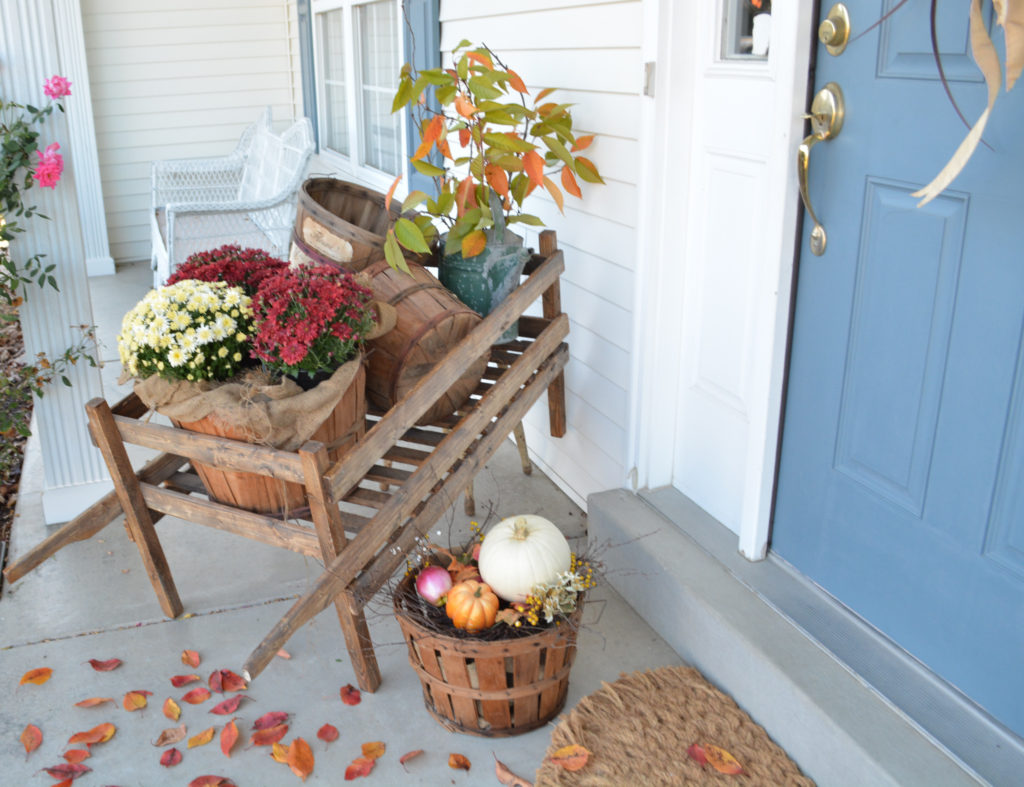
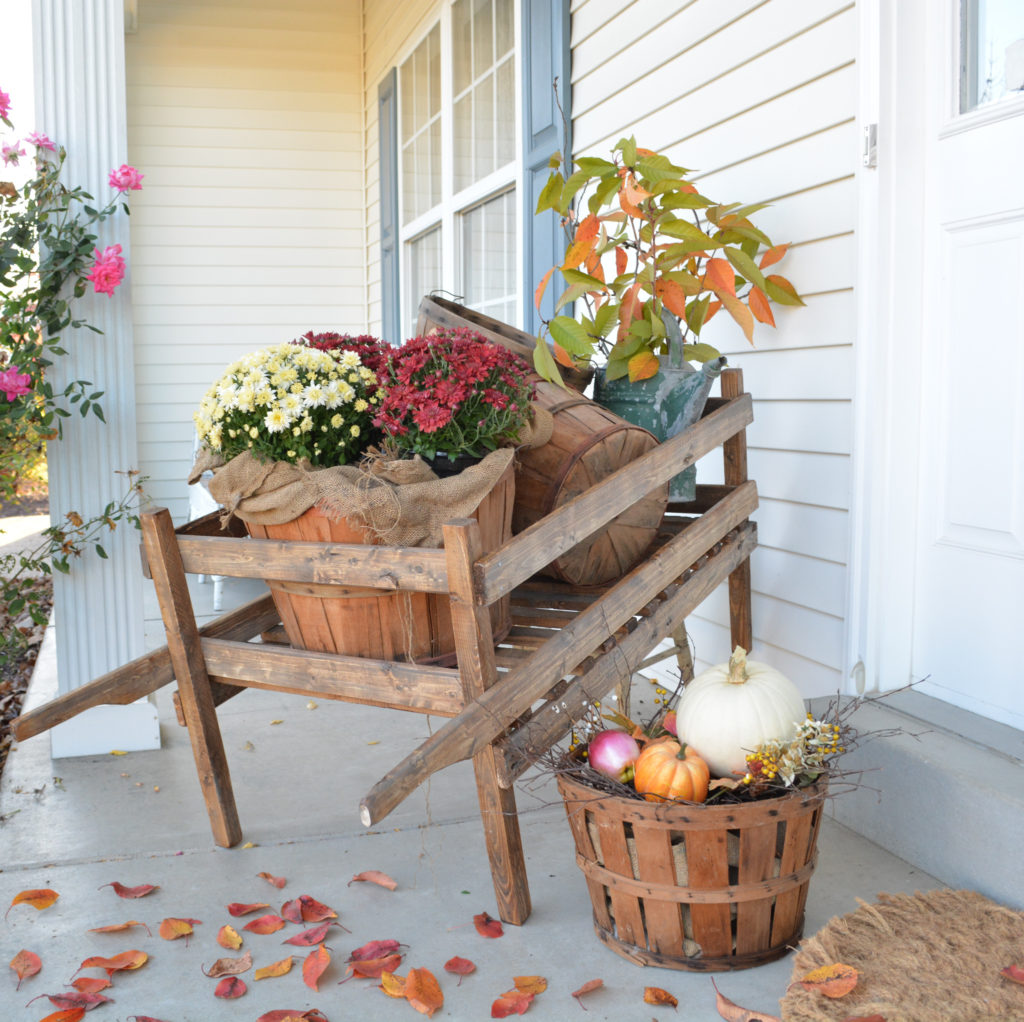
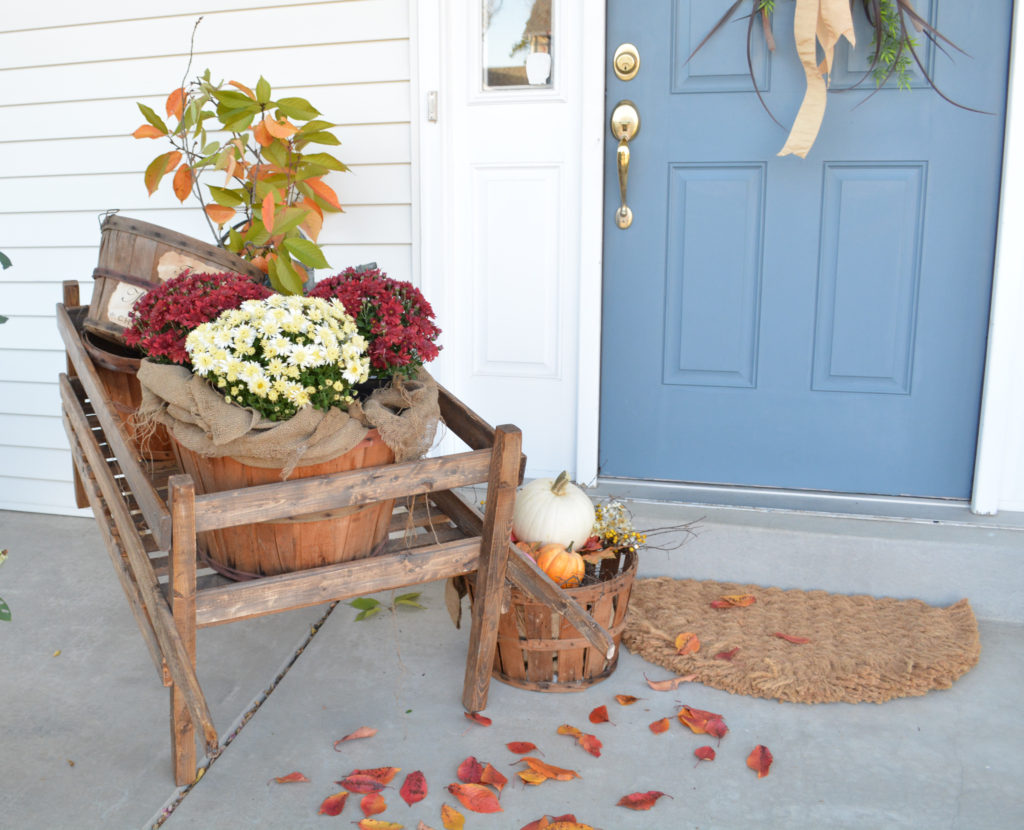
I absolutely love how this turned out! I can think of so many ways to use it in all seasons.
Little evergreen trees for Christmas.
Filled with pots of flowers for spring and summer.
And what I think I might do – in the spring, put sealer on it and display it in the flower bed, filled with more flowers of course!
Pin It For Later!
Joining Wonderful Wednesday Blog Hop
This is so cute! Love how you styled it! Your work space looks so pretty too! Visiting today from the Wonderful Wednesday Link Up. I’m #198 😉
Thank you so much! And thank you for visiting!