
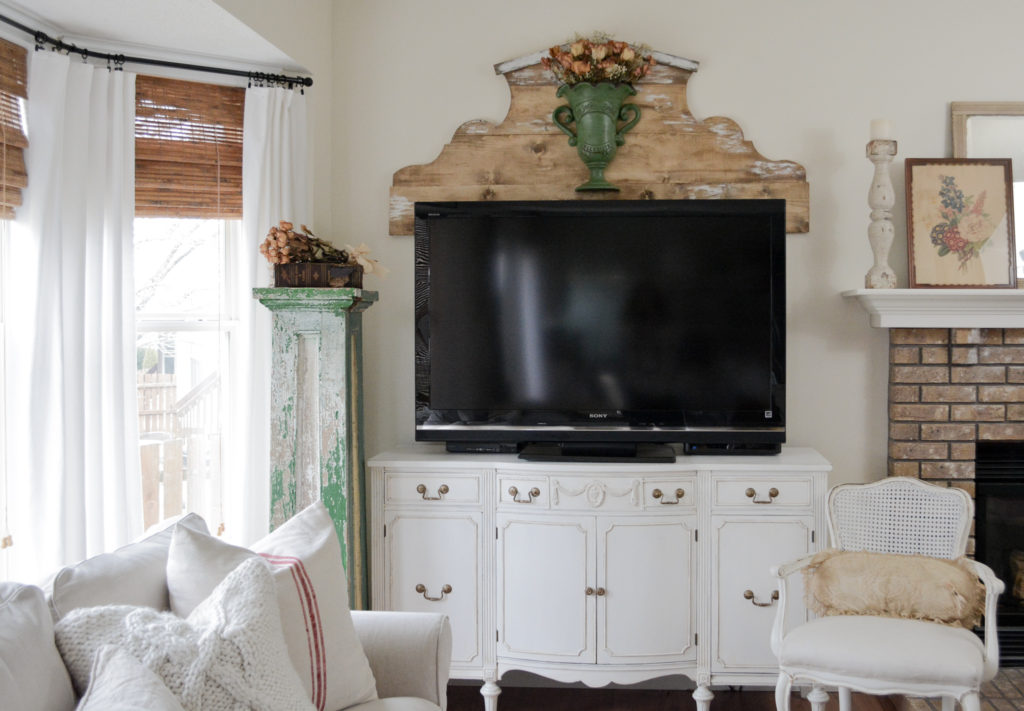
I fell in love with the wooden Pruvost wall plaque that I saw at Ballard Designs, but I was not in love with the price. I decided to build my own Ballard Designs inspired wall Plaque , and I actually like it better! I definitely like the price better.

It all started when I switched out my contemporary tv stand with a vintage buffet. You can see the buffet and how I gave it a makeover here. Anyway, I was looking for something to hang over the tv.
In my ideal world, I would not have a tv in the main living room of the house, or I would have one small enough to fit in a cabinet. The others in my household disagree. They will not budge when it comes to a large tv or comfy seating.
I have to admit, I usually get my way when decorating, I guess I can give them this much. So, if you can’t beat ’em, decorate ’em? Something like that.
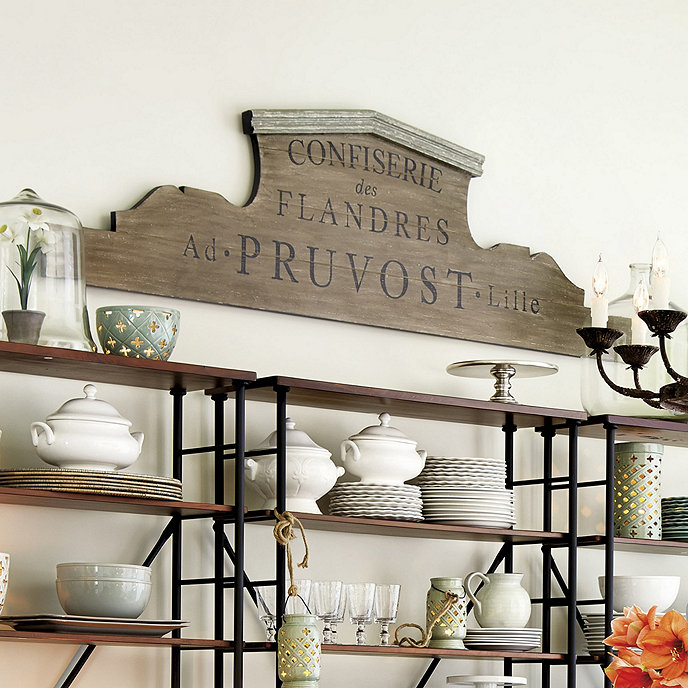
Here is a photo of the inspiration piece. You can also see it here.
I was originally calling this a “knock off”. I ended up changing it and customizing it along the way to suit my space, so I decided it was more “inspired by”.
How I Built A Ballard Designs Inspired Wooden Plaque
This was actually a very simple project. The most challenging part for me was cutting the design with the jigsaw. Mine isn’t perfectly cut, but I think it is perfectly rustic and hand crafted.
Resources
Size of boards will depend on the design you choose. The Ballard’s Plaque is shorter than mine, so you could use 6 inch wide boards instead.
- jig saw
- Kreg Jig or optional mending brackets to join the wood
- Drill
- screw driver
- screws
- clamps
- wood glue
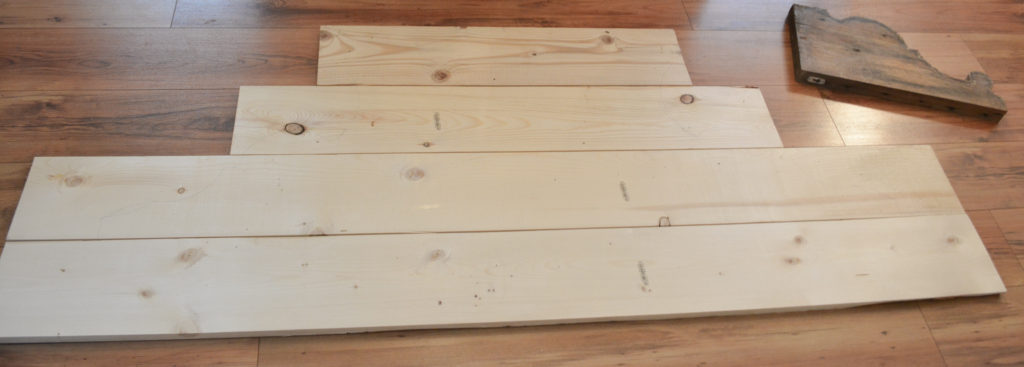
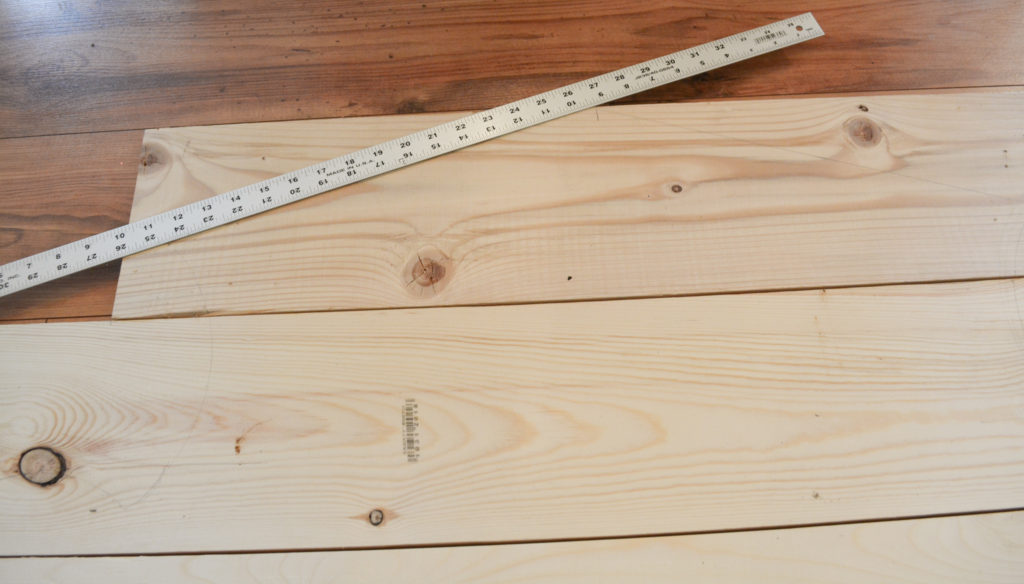
- pine boards – I used 3 standard pine 1x8x6 boards, 2 at 6 feet, 1 each of 42″, and 28″
- 1×1-1/2 boards for top trim
Step 1 – Draw the design
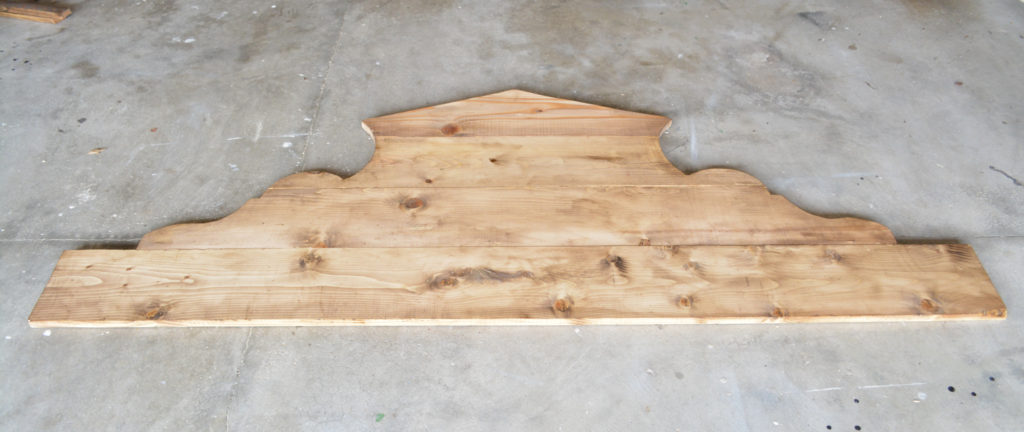
I laid out the boards and drew a design to cut with a jigsaw. You could easily free style this, but I prefer tracing if possible. I didn’t attach the boards together first, because I didn’t want to put a screw in the path of the jigsaw.
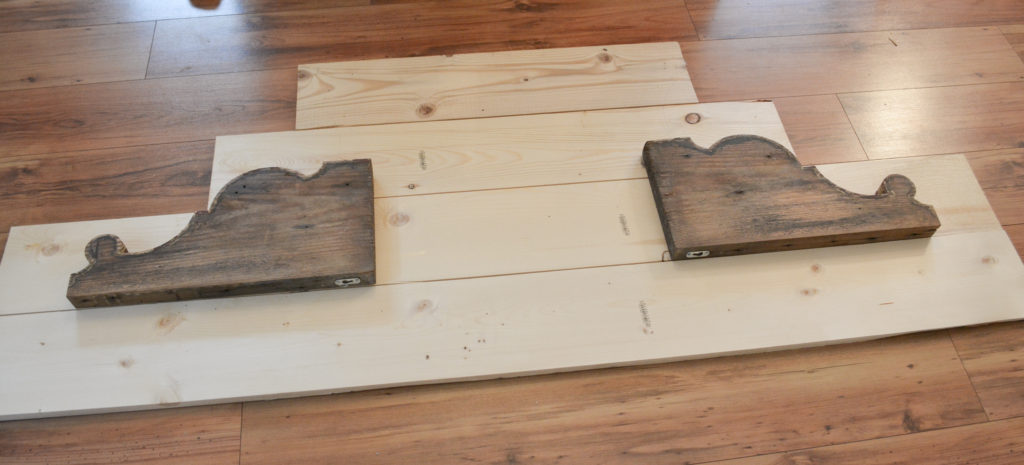
The bottom board does not get cut with the design, so I started on the third board.
I used two corbels that I had on hand to trace the bottom part of the design. I left out the circle part to make cutting easier.
To make the curve towards the top, I traced around part of a plate.
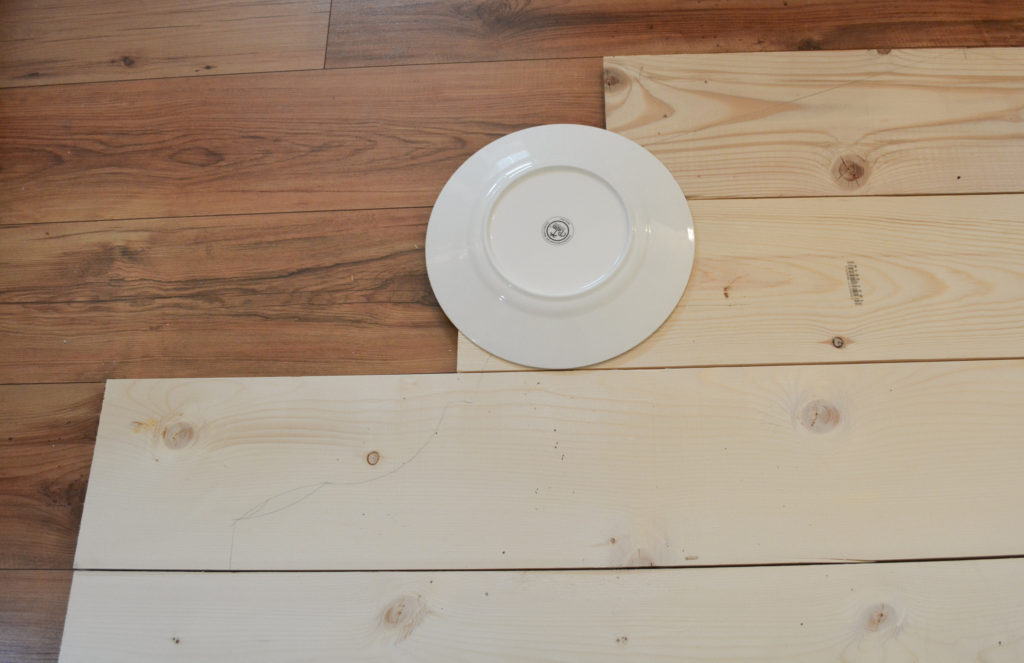
And then I used a straight edge to draw the top peak.
Step 2 – Attach the top three boards together
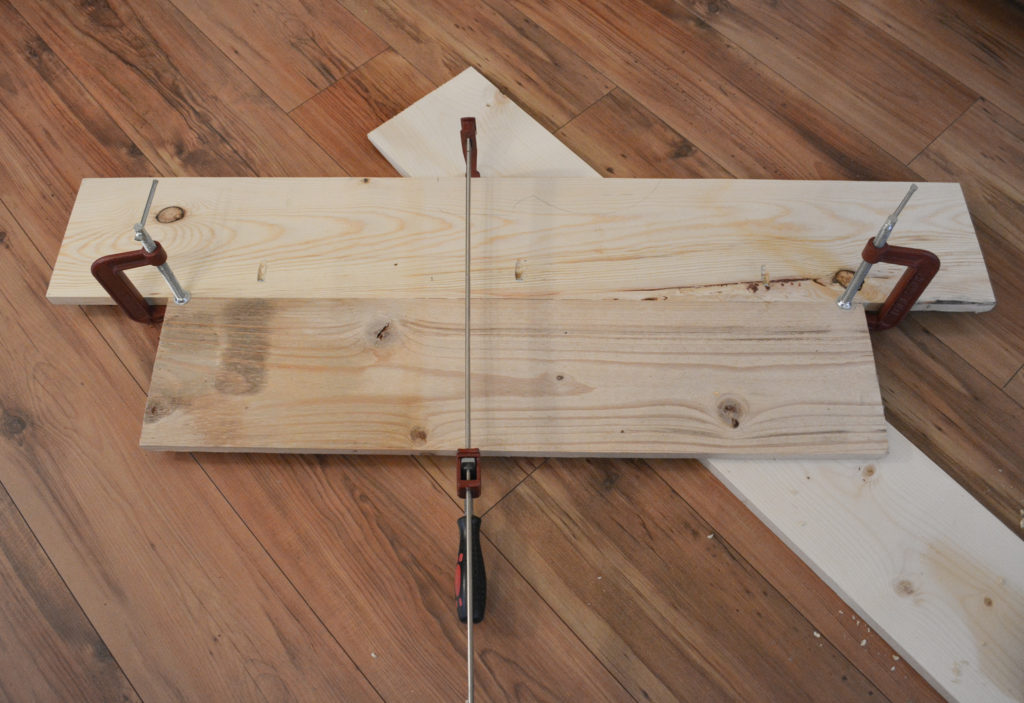
After the design was drawn, I attached the top three boards together using a Kreg Jig to make pocket holes for screws.
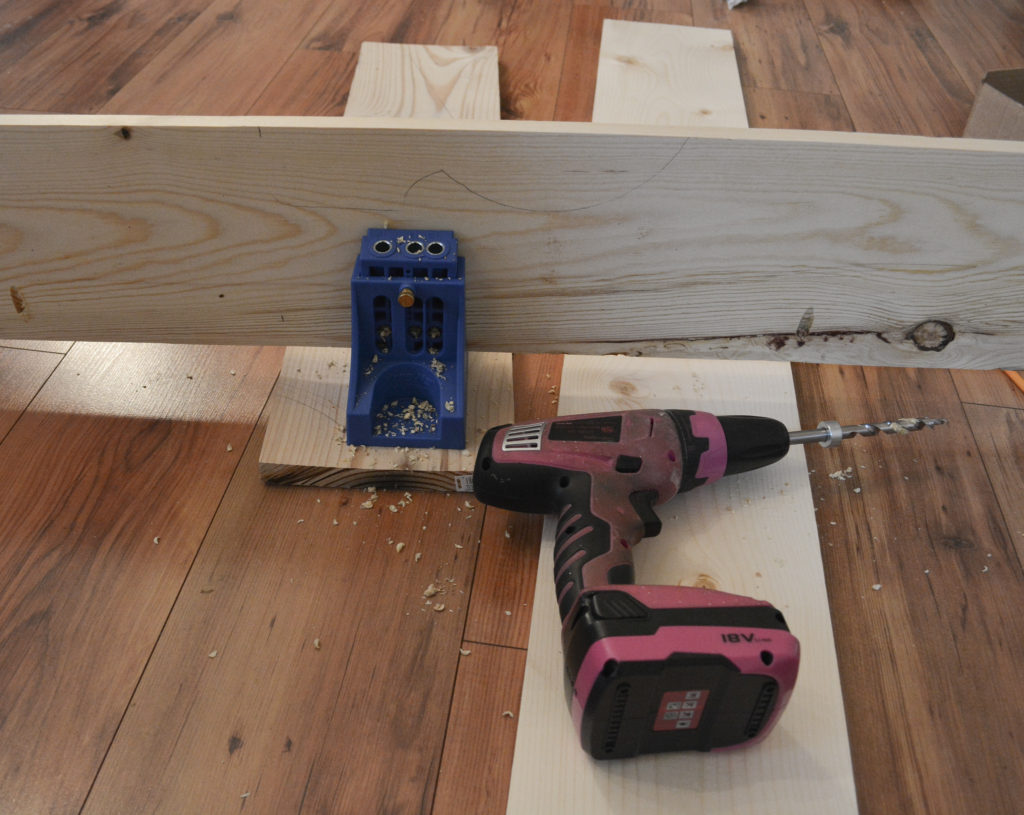
I glued and clamped the boards, and then screwed them together using the pocket holes. I used 4 – 5 screws per board The Kreg Jig is very simple to use. You can check out this video to see how to use one.
If you don’t want to use a Kreg Jig, you could just use mending brackets to hold the boards together.
Step 3 – Cut out the design with a jigsaw
After the three boards were attached together, I cut out the design I drew with my jigsaw.
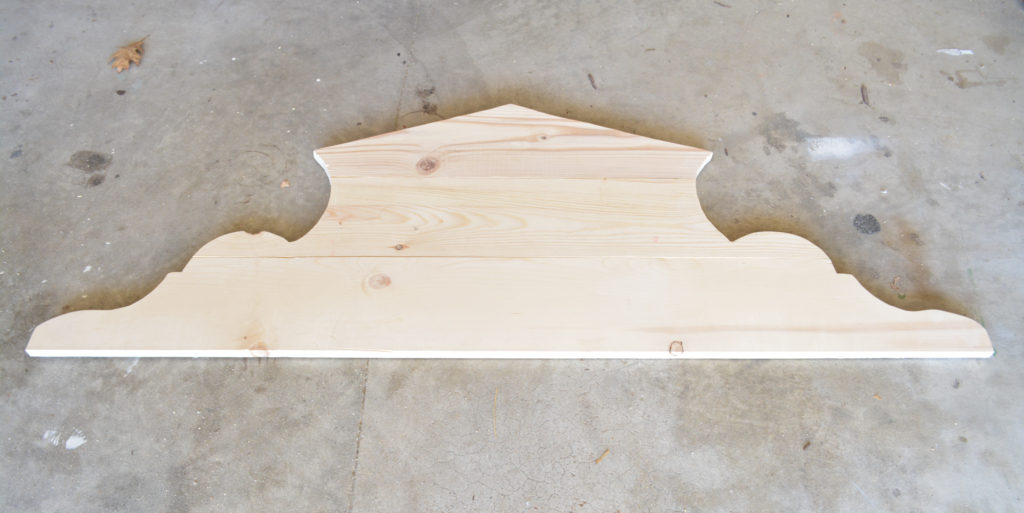
Step 4 – Attach the bottom board
The bottom board was then attached and the entire piece was stained.
Step 5 – Stain the wood
I did a coat of Minwax weathered oak followed by accents of special walnut.
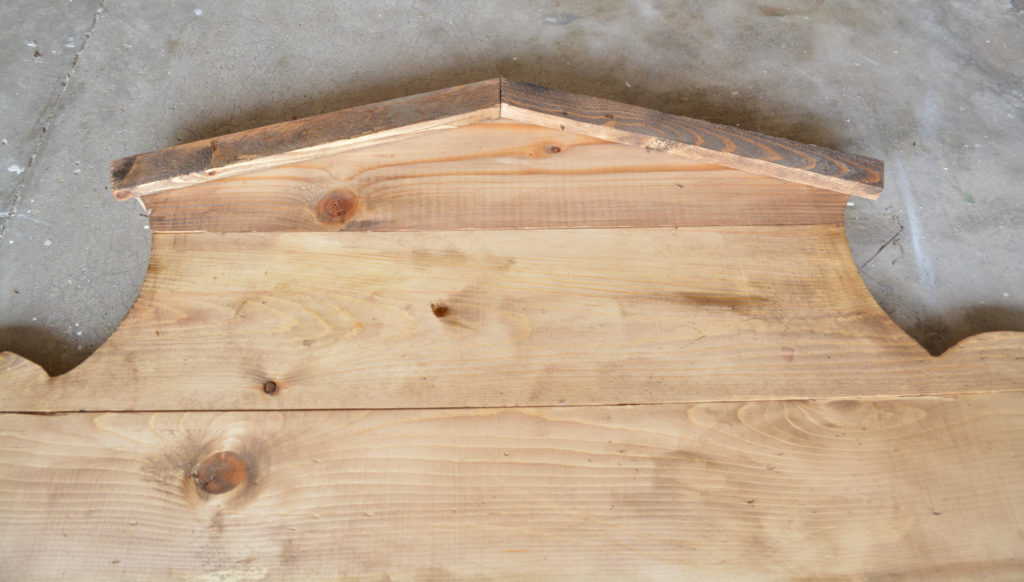
Step 6 – Add the top detail
To finish off the top, I added 1×1-1/2″ boards cut at an angle. I ended up just gluing them on.
Step 7 – Add any paint finishes and accessories
I wanted to add just a bit of chippy white, like it had almost all weathered away. I added patches of white paint, using the method shown below.
How to Create a Weathered, Chippy White Paint Effect
Take a chip brush, and dip it into Vaseline. Brush the Vaseline onto a stained board. The more you use the less paint will stick.
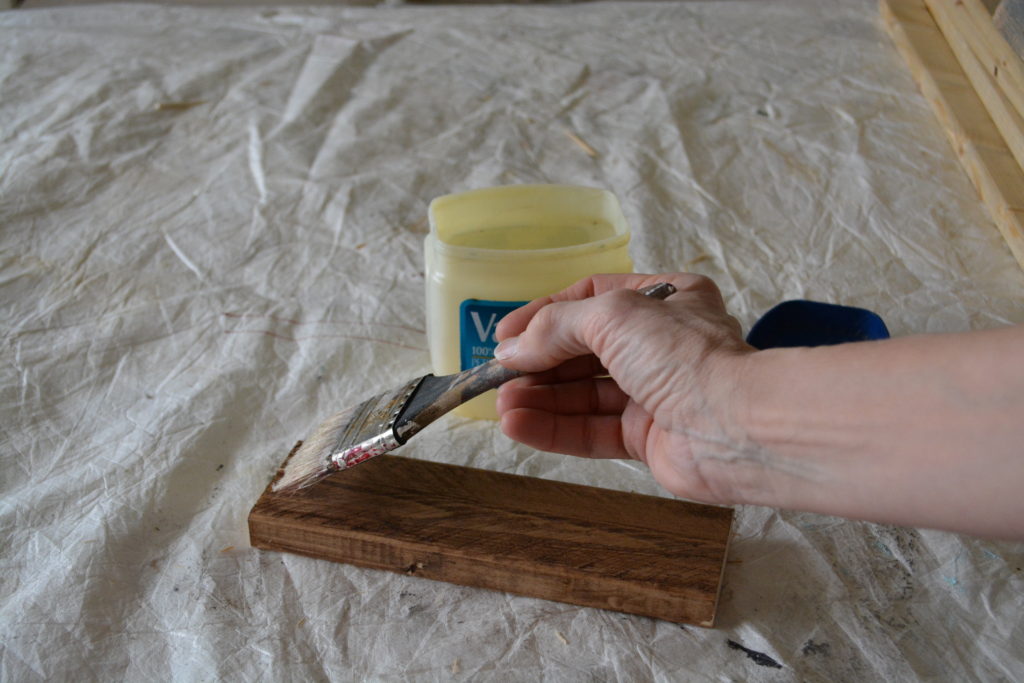
Paint the board with white paint.
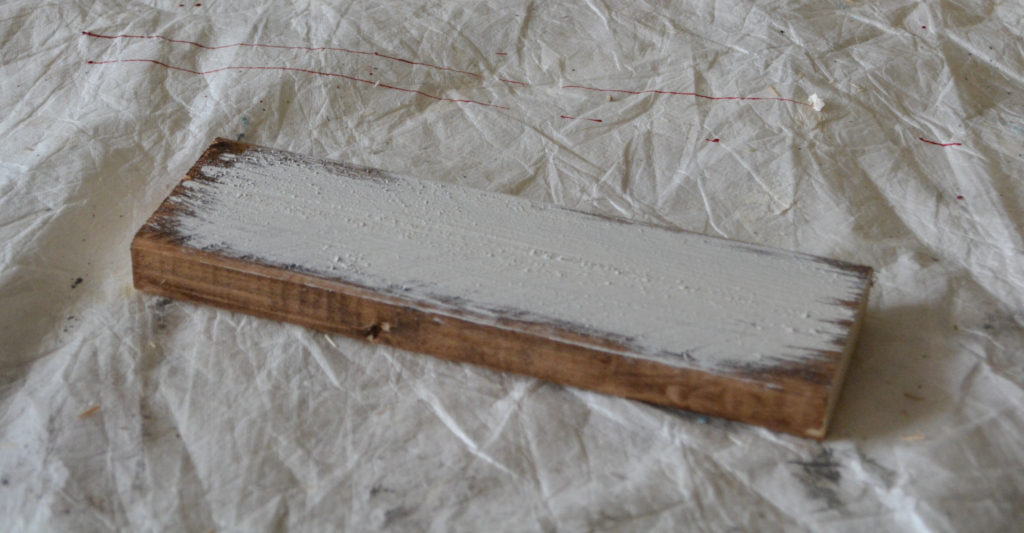
After the paint dries, sand the board. Everywhere the Vaseline was, the paint will just come right off.
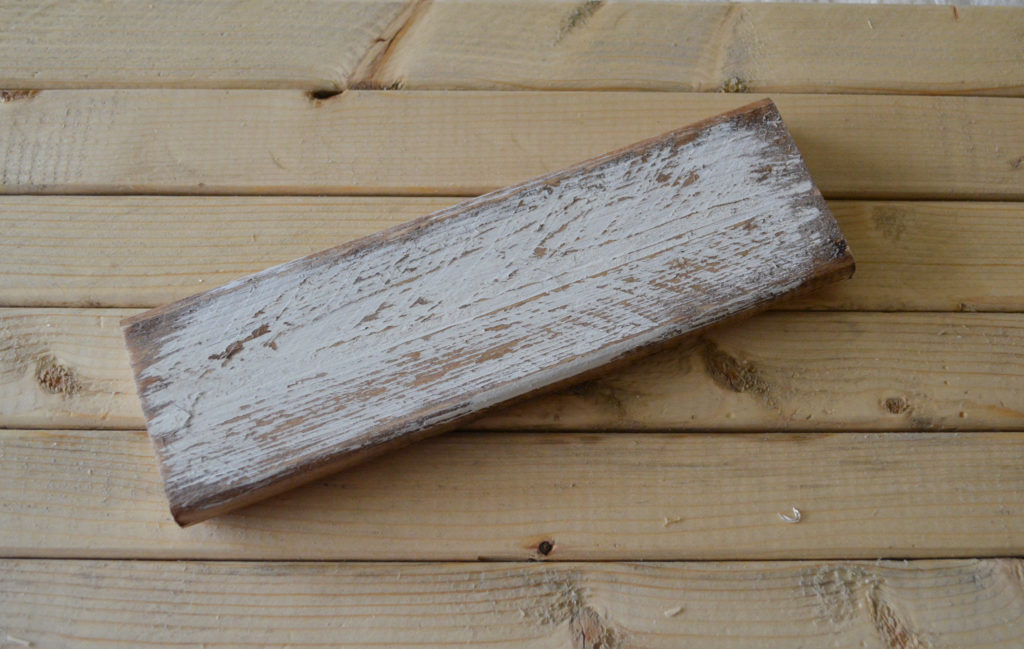
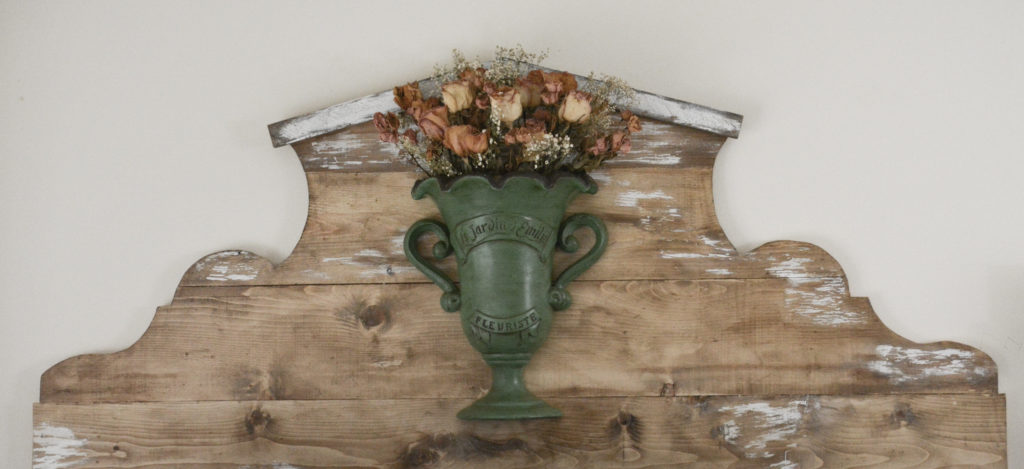
You may notice that I had to cut the ends off of my bottom board. I actually made it too long. The Ballard design plaque did have the long piece on the bottom.
A French inspired wall vase and dried roses complete the look. The inspiration plaque had lettering. I chose not to do that, but it would be very simple to stencil some on.
Price Comparison
The price of the inspiration plaque – $389.00 + delivery.
Mine – $18.57 for lumber. I had everything else that I needed and used scrap wood for the top trim.
Using this method, I could easily have made my plaque look almost identical to the Ballard’s plaque, but I love to make things my own to match my decor.
I would definitely recommend this project, whether you make it just like the inspiration or create your own version. Have fun!
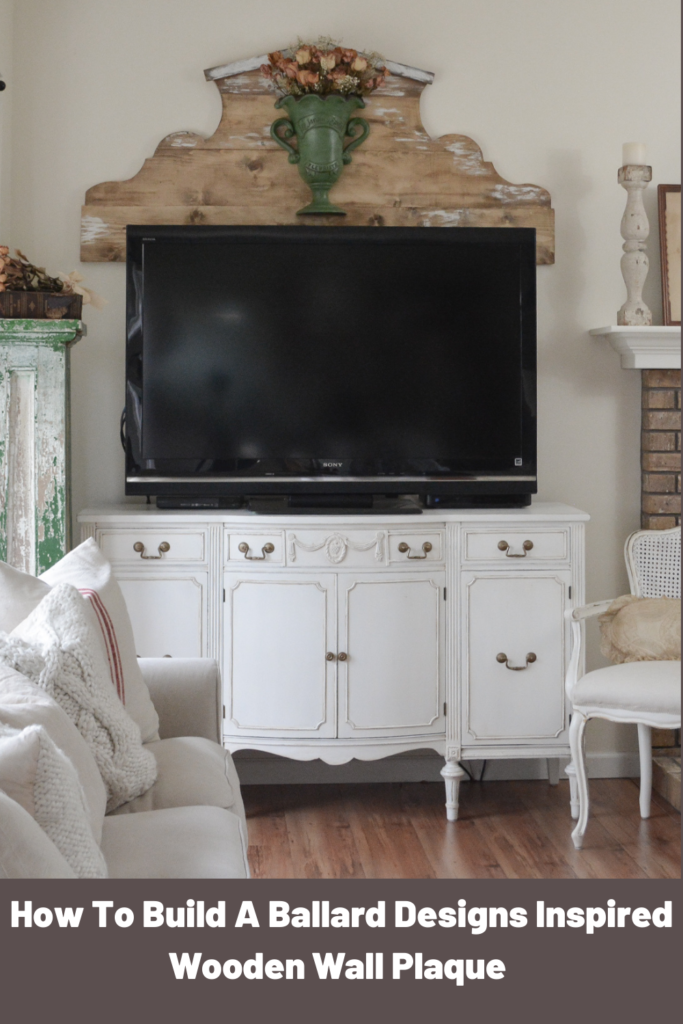
Pin It For Later!
Thanks for stopping by,
Janet