
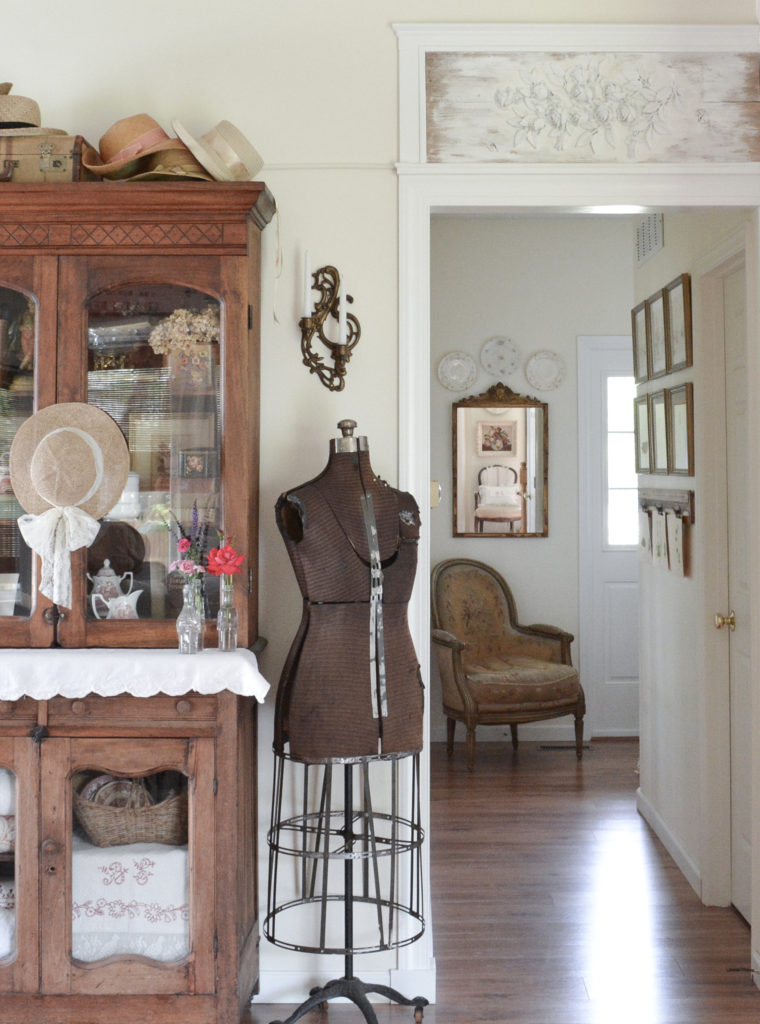
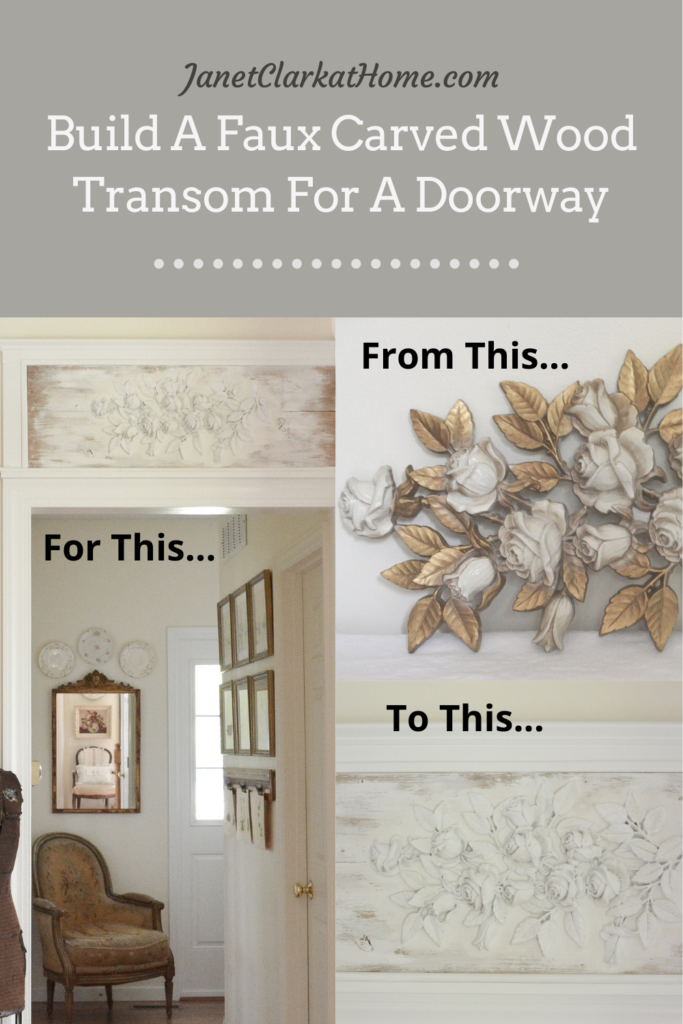
I am continuing to work on my family room refresh, and another area is done! Well Almost. I still have a few things I would like to do, of course! Today I am going to show you how to add molding and how to build a faux carved wood transom for a doorway. Oh and how to hide an unsightly cord.
A Doorway Makeover Adding Trim and A Faux Carved Wood Transom
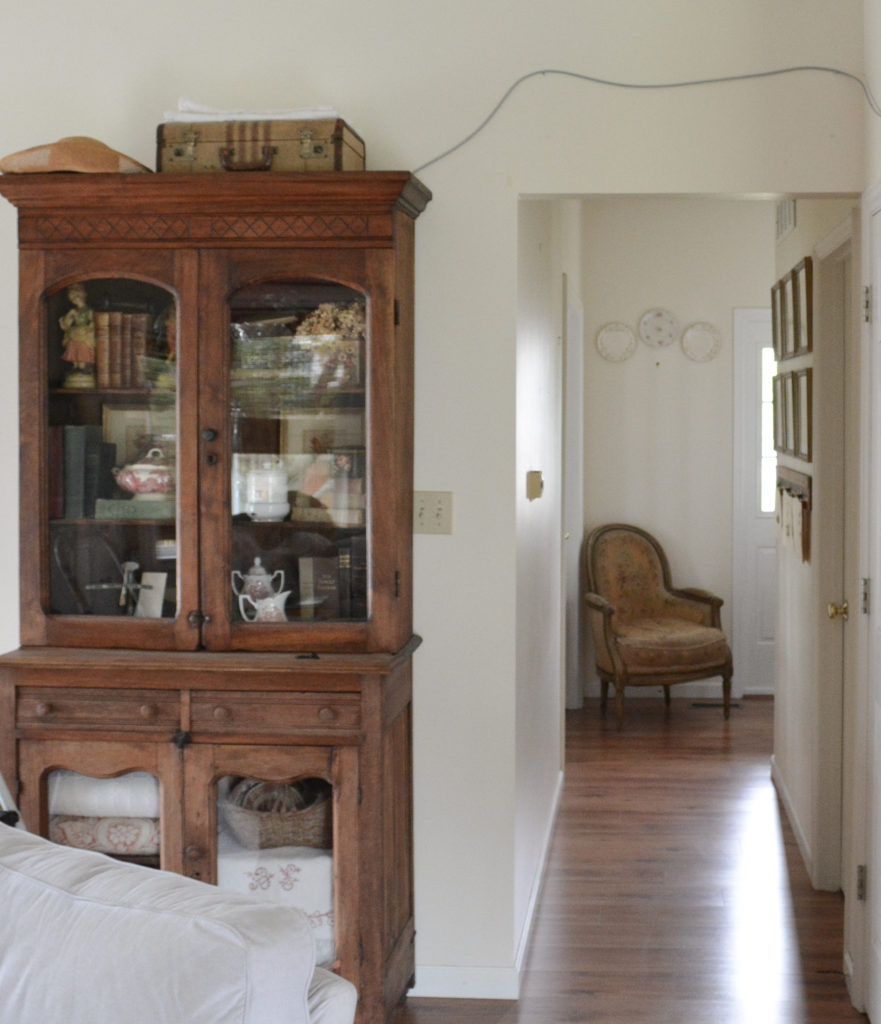
This is the before of the cut out opening going from the family room into the entry. No architectural interest and a crazy cord running across my walls. Eventually this cord will be run through the floors and attic to get where it belongs, but not today! My mission was to add a little character to this area and hide that cord!
How I Added The Door Molding
As I said, the doorway is really just a cut out opening to the hall. I don’t think it was intended to have molding. Ideally the inside of the doorway would be framed with wood, however the other side would just look like a random board running down the wall.
I decided to put common door molding, similar to what is in the rest of the house, around the family room side of the door. The only trick to that was making the baseboards work. I decided to add wood blocks to the corner, making a flat surface to meet the molding.
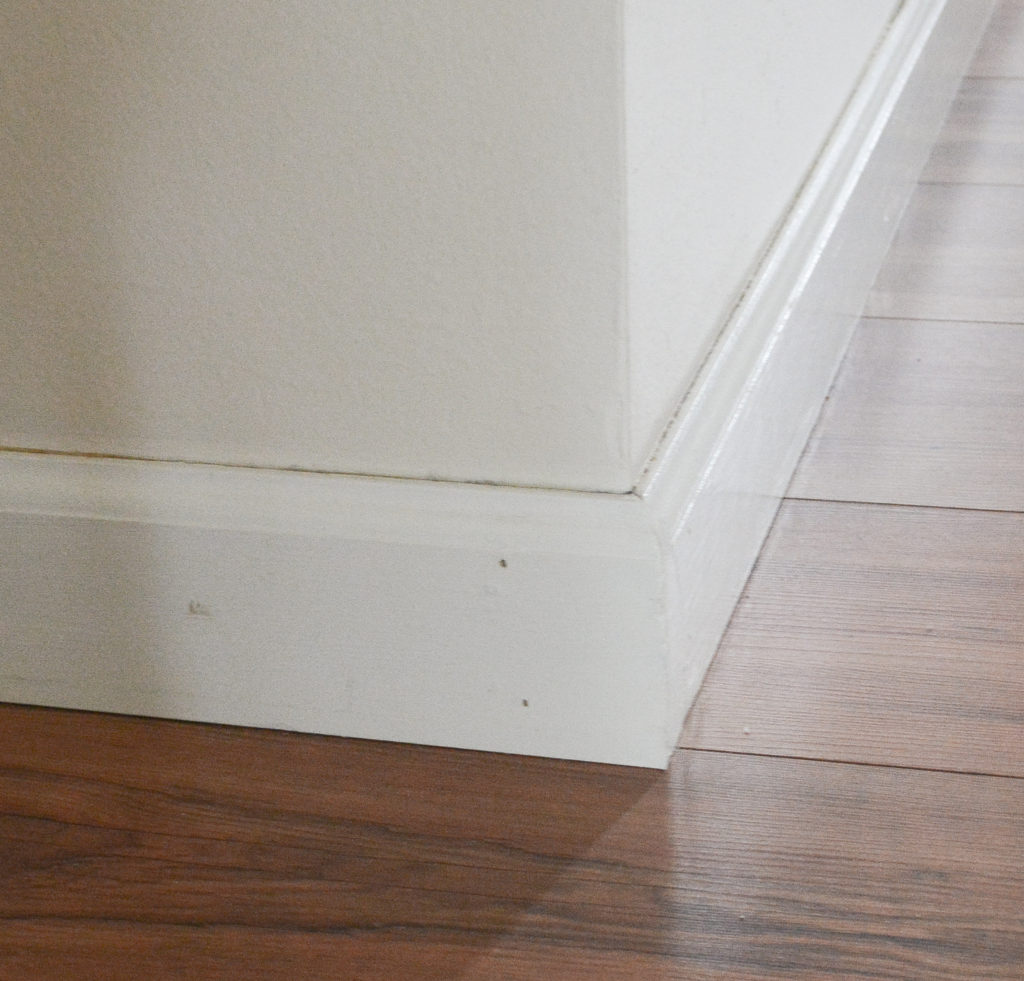
Measuring out from the corner, I marked a line just a little bit wider than the door trim I was going to install. Since I don’t have any fancy tools to cut the base board, I just used a saw, protecting the floor with a putty knife.
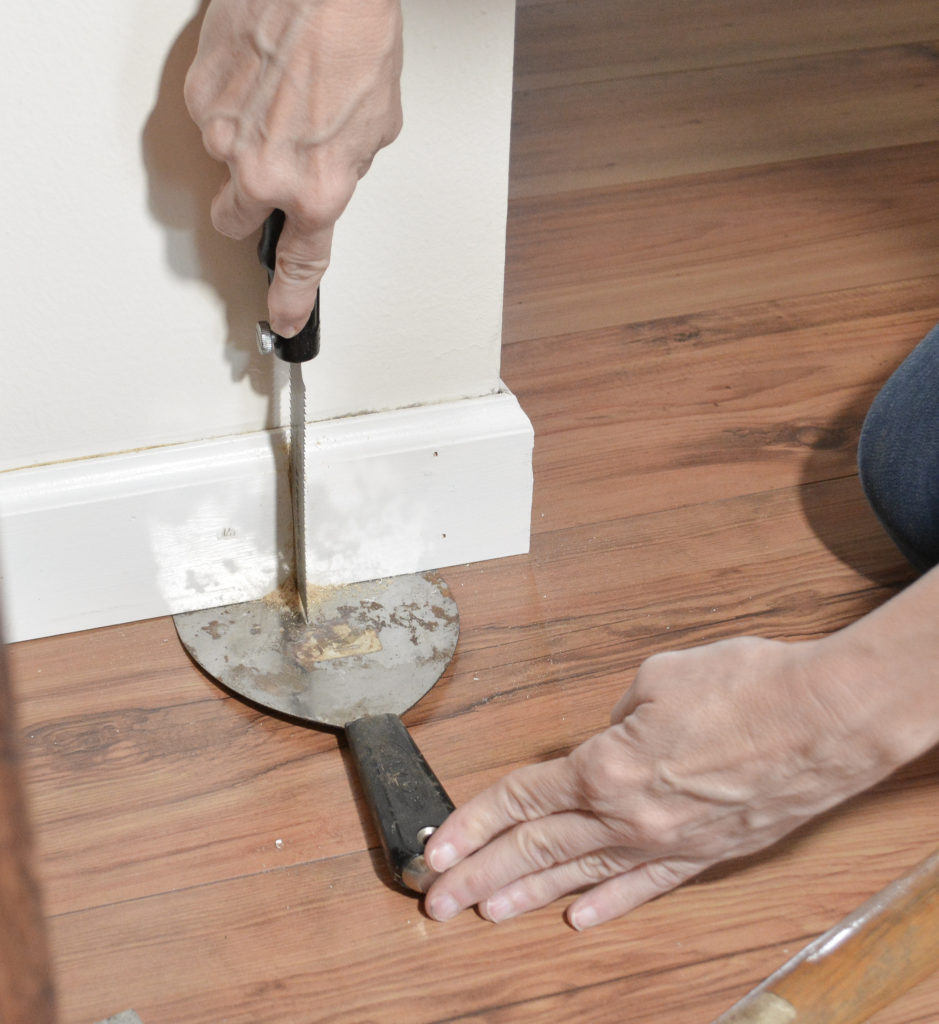
When the wall is almost reached, I insert the knife into the cut and hit with a hammer, breaking apart the baseboard.
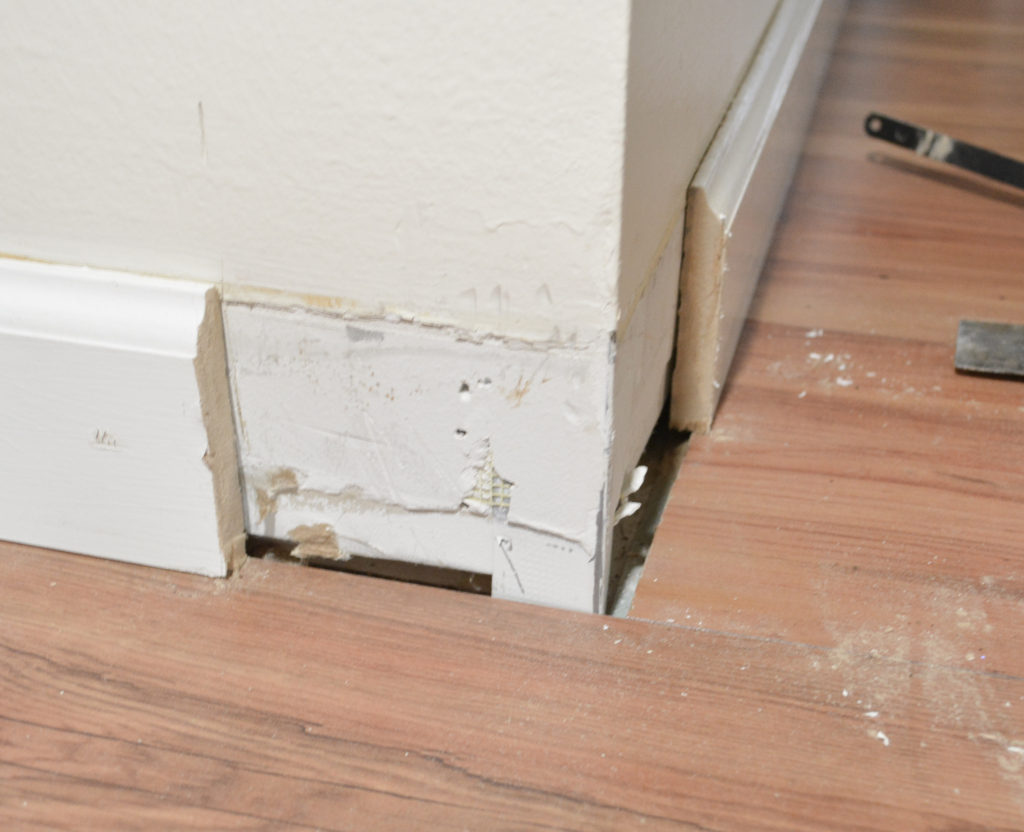
Cut both sides of the doorway.

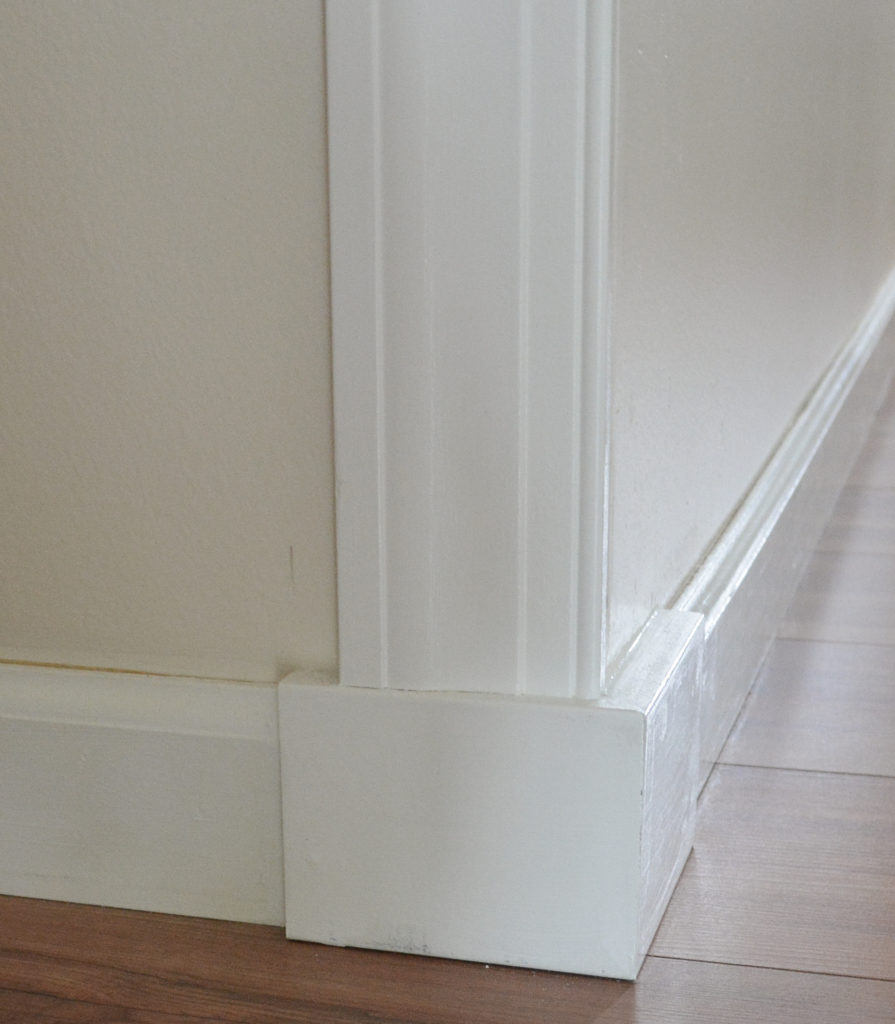
To finish the corner, I cut two blocks of primed MDF board and mitered the corners.
After the door molding was put up, I built the transom the same as I built this faux transom window you can see here.
How To Make A Faux Carved Wood Transom
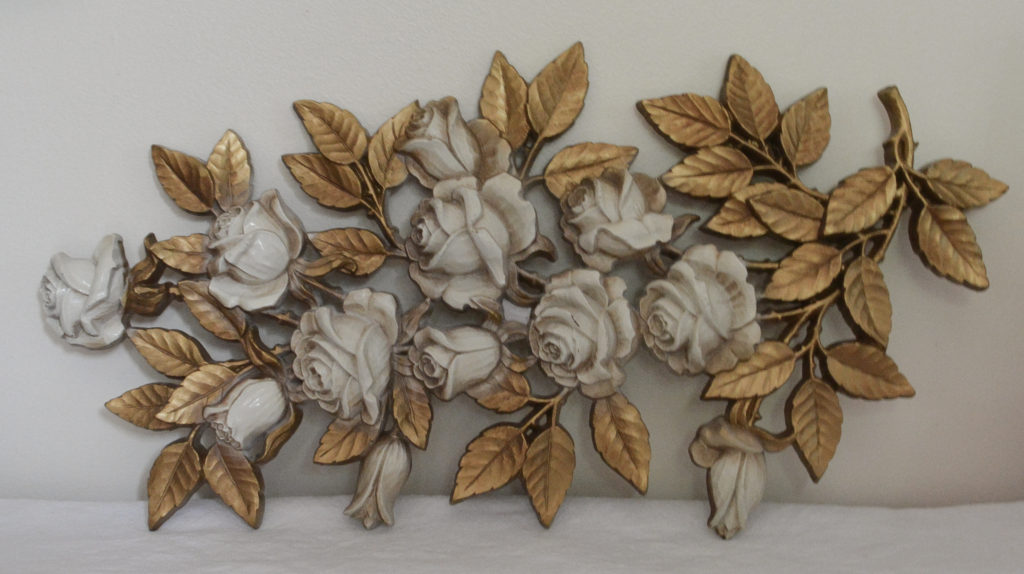
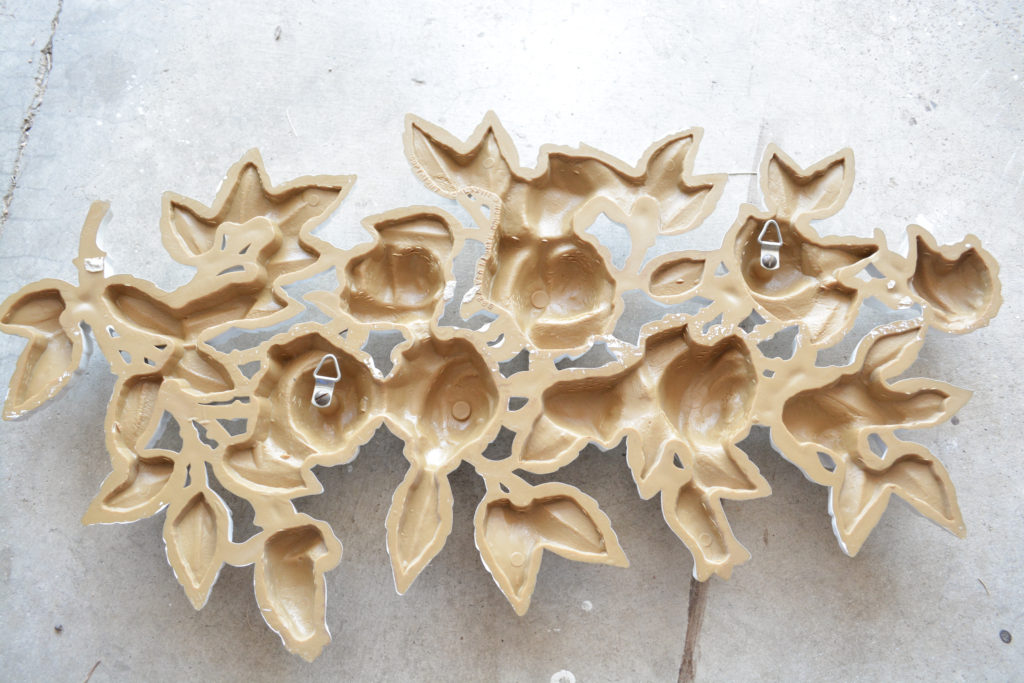
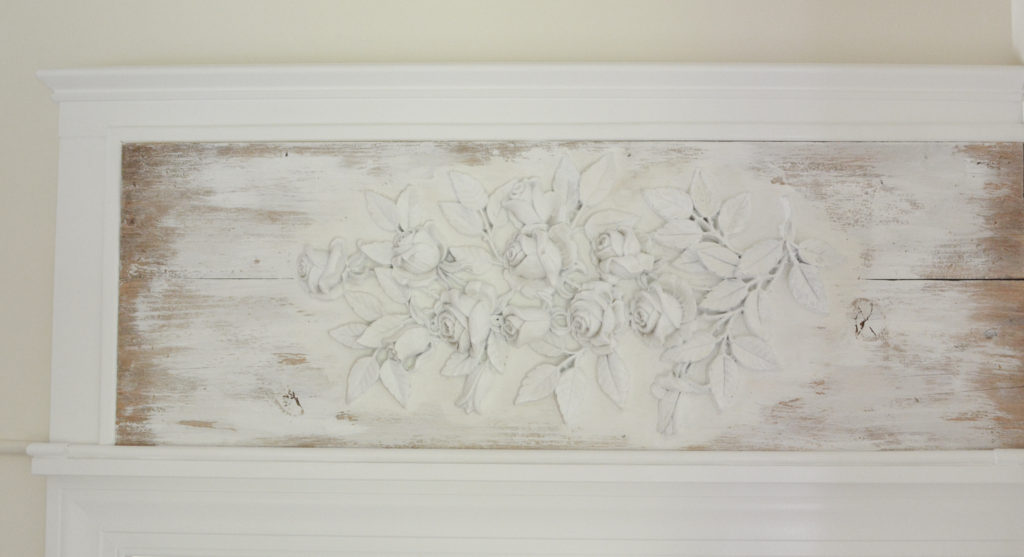
This plastic plaque that I purchased for $2.00 at Goodwill was the inspiration for this project.
Make The Back Board

I used two common boards to make the back for my roses plaque. My original design had a topper board, but I ended up removing that when I decided to frame the board over the doorway.
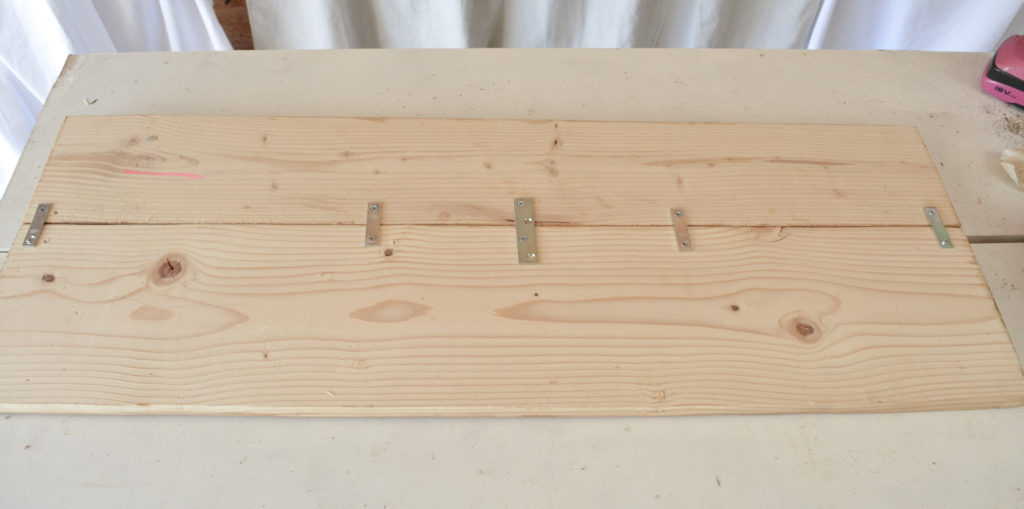
The boards were joined together using glue and mending plates.
Paint The Board And The Plaque

First, I spray painted the plaque with Krylon chalky finish in classic white. The board was stained and then painted using the weathered white paint technique that I shared here.
Attach The Plaque To The Board
The back of the plaque had two hangers, so used screws on the board to hang it. I also used E6000 glue all around the edges. That way, if for some reason the glue didn’t hold, the plaque would not fall on someone’s head! I worry about these things.
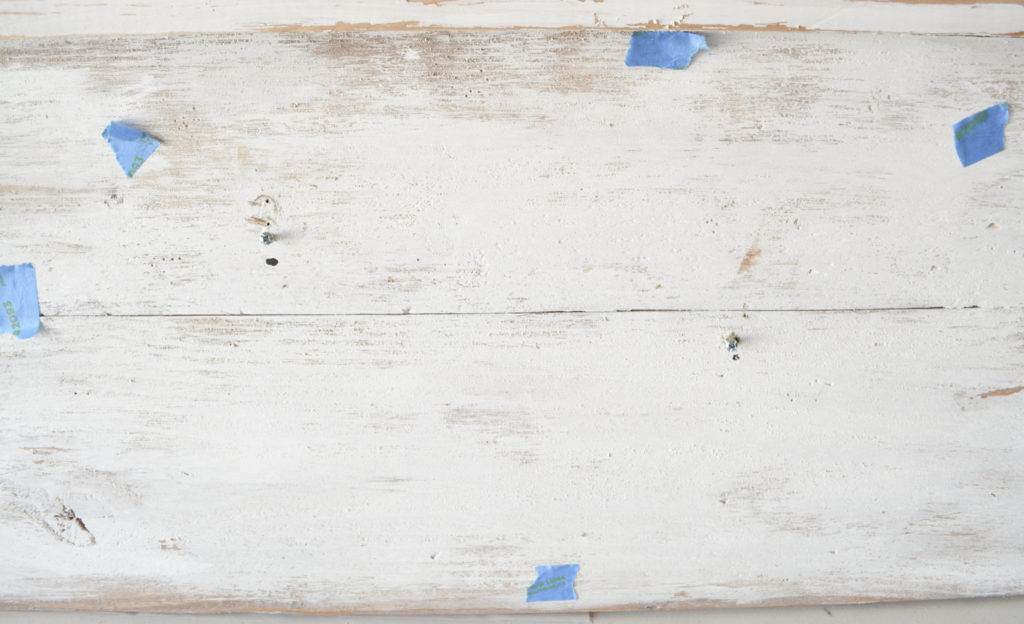
The blue tape just helped me get the plaque centered and straight on the board.
The Step That Really Made The Piece Realistic
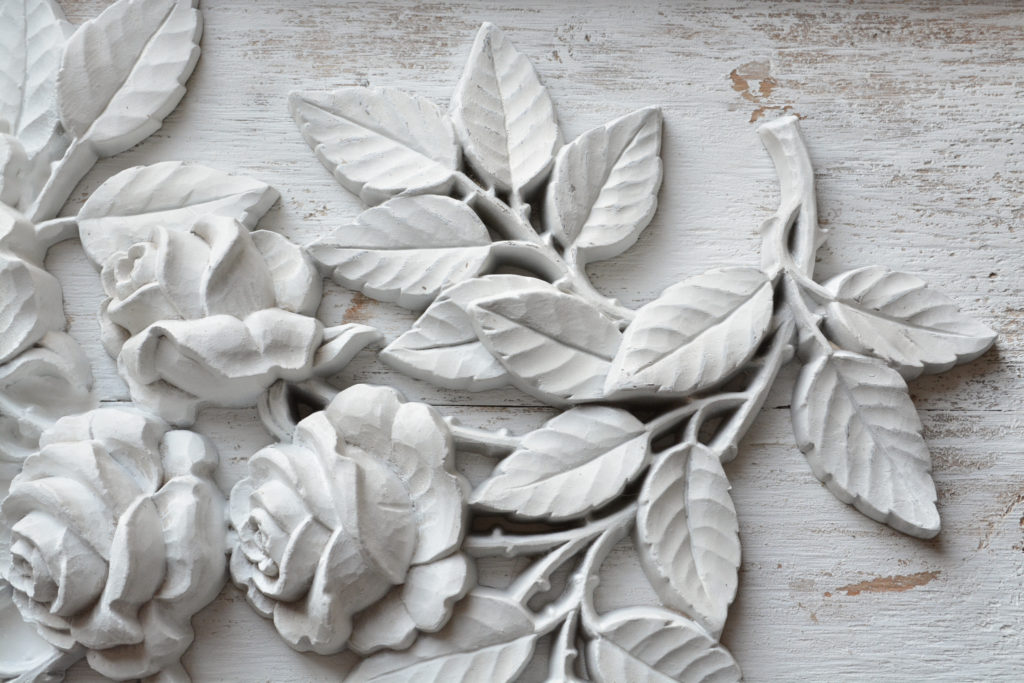
In the picture above, you can see all the gaps and edges of the plaque. I wanted this to look like carved wood or plaster. To achieve this, I used a mixture of light weight spackling and paint. There are lots of other ways you could create this texture, like adding plaster of Paris or baking soda to your paint.
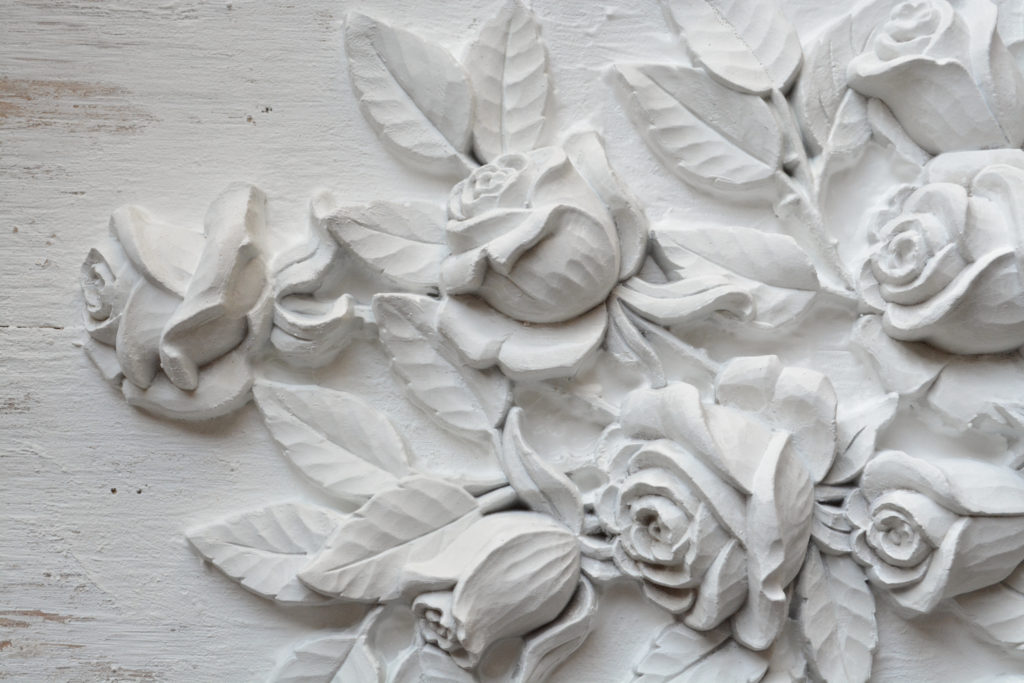
I just took my thick, gloppy mixture, and used a small paint brush to apply it in the openings and along the edges. You can see how it really transformed this piece.
Hiding That Cord
Oh and for that pesky cord, I used the hide a cord system from the home improvement store. I painted it wall color on the wall, and white on the molding. You can still see it, but it is so much better.
Pin It For Later!
Thanks for stopping by,
Janet
You are always so full of creative wonderful ideas Janet! Love this!💗
Thanks Tracey! Appreciate it!
Love it
Thank you so much!