
A Girly Girl’s Guide To DIY – Beginner Building Series Project 4
Level: Beginner
Skills: Hammering A Nail and Introducing The Miter Box And Back Saw

Learn how to build this “antique French” drying rack. This rack can be built in any size and used in many ways. Hang it from the ceiling or use as a table centerpiece.
If you can’t or don’t want to spend the money on a true french drying rack, this is the project for you! It is so authentic looking. I love it!
I recommend only hanging light weight items on this rack, such as baskets and dried flowers.
This is the fourth project in the series. If this is your first build, you may want to start at the beginning with project 1.
Supplies
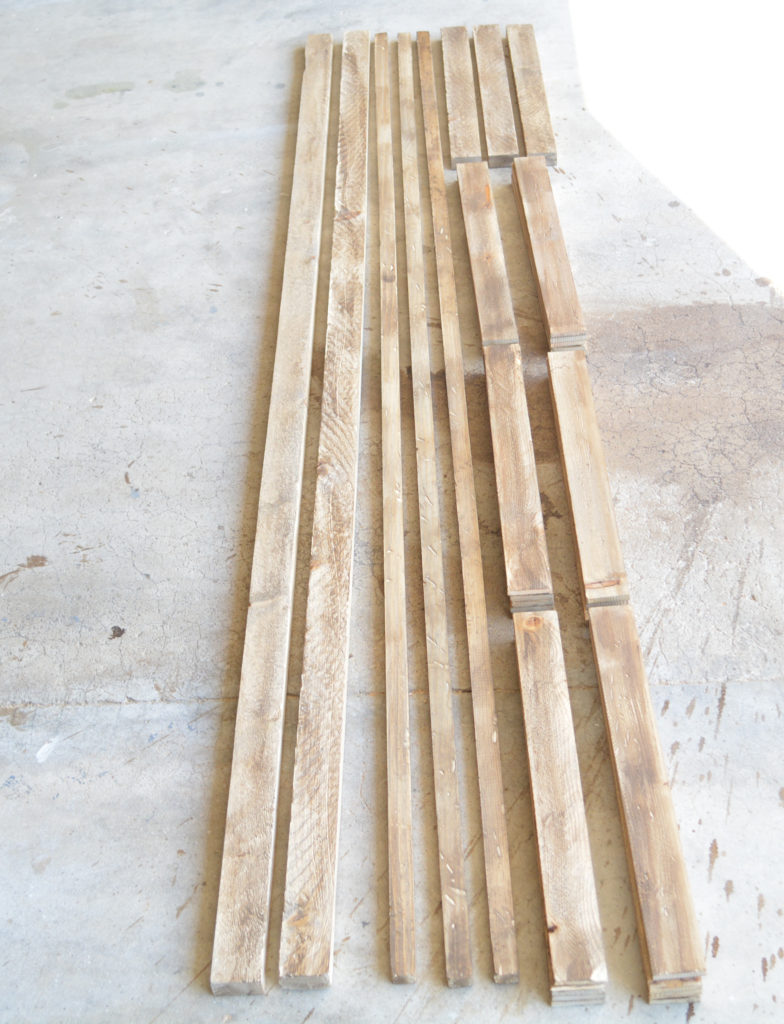
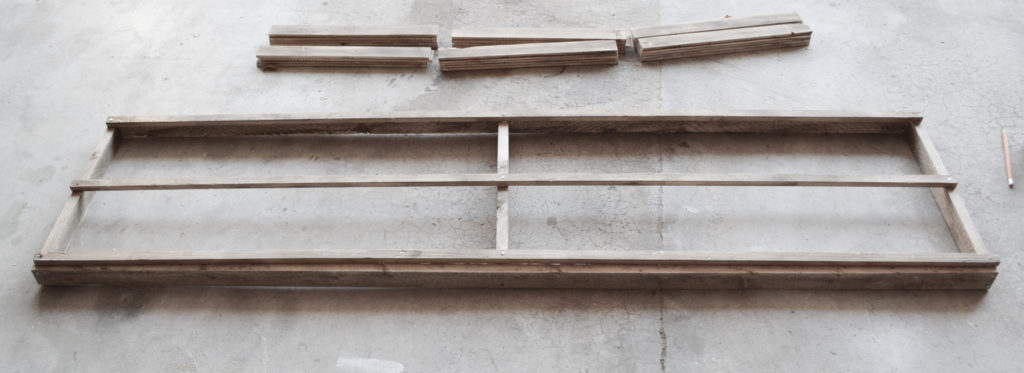
Lumber – measurements for a 60″ X 16″ drying rack
2 – 8 foot 1×2 furring strips – cut into 2- 60″ pieces (sides) and 3 – 14″ pieces (ends and center) – cut at home improvement store
3 – 1 x 1/2″ trim piece boards cut into 3 – 60″ pieces (bottom supports).
Lath strips (bundle) cut into 28 – 14-1/2″ pieces (slats)
Tip: Build the frame first and cut one piece of lath to check the fit before cutting the rest.
I don’t think the store will cut the trim piece or lath for you, so I’m going to show you how to cut it with a miter box and back saw for a no power tools project.
Tools
Hammer
Miter box and back saw (if no power saw available)
Wood Glue (use on all joints before nailing)
1-1/2″ common nails
1/2″ no.6 blued tacks
If hanging
ceiling hooks
4 screw eyes
jute rope
How to use a Miter Box to Cut the Lath and Trim
If you don’t have or want to use power tools, a miter box is an easy and inexpensive way to cut wood. I suggest reading this post by The Handyman’s Daughter to learn all the ins and outs of using a miter box.
You can buy a miter box and saw set for under $20 at the home improvement stores.
I’ll just go over the quick basics for a straight cut.
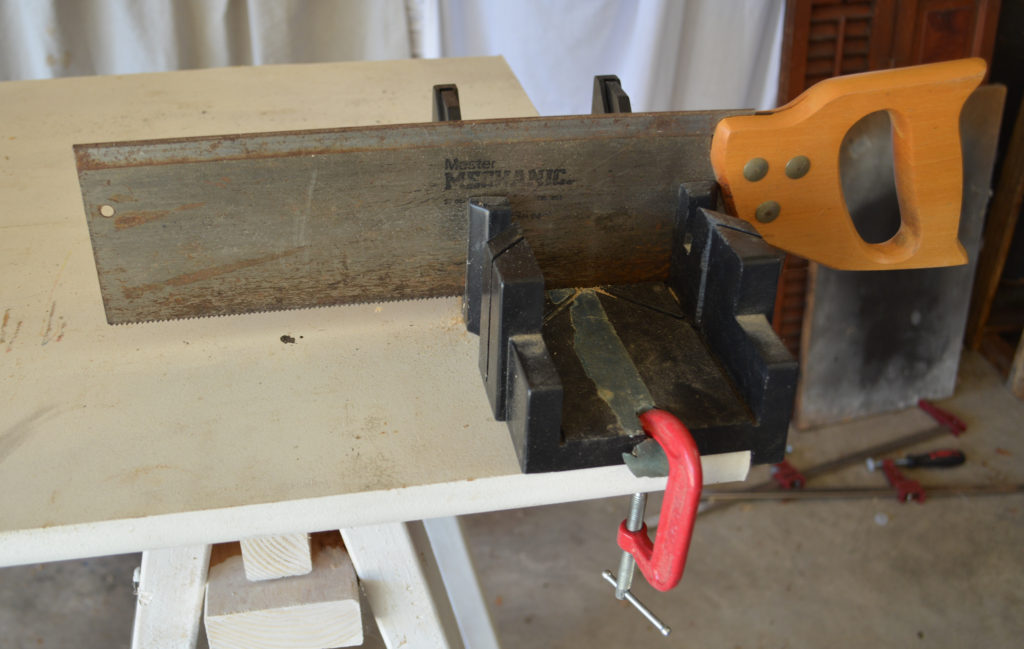
My set up is an old hand me down. Doesn’t look pretty, but works fine! Use clamps to hold the box.
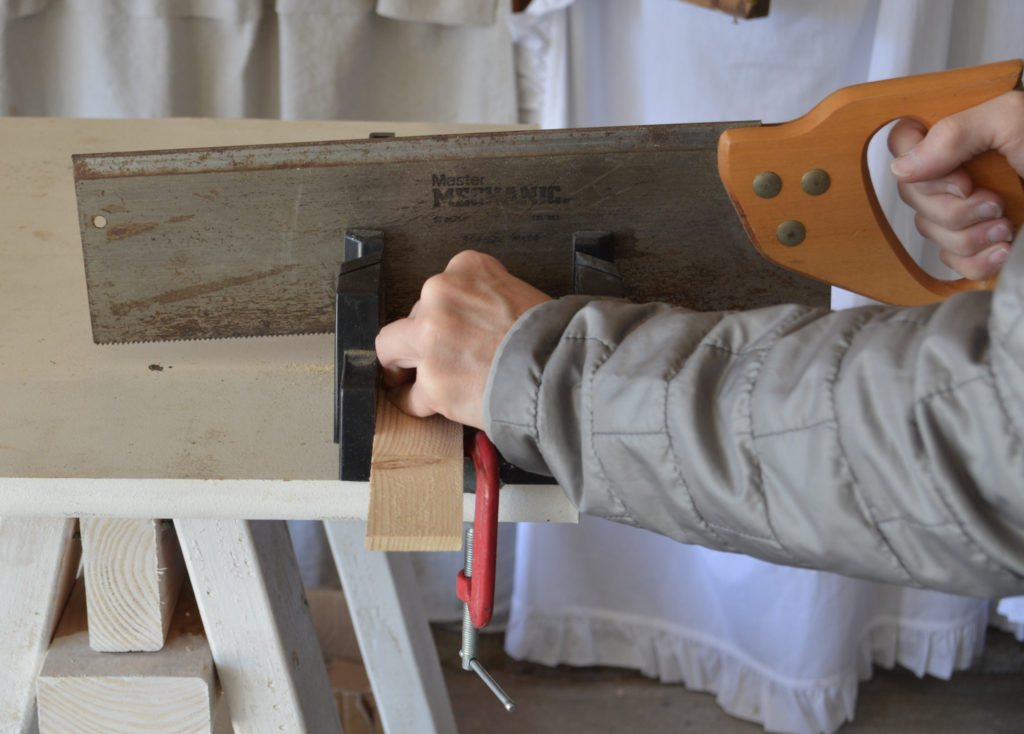
For a straight cut, use the center guide to put the saw in. The wood should be pushed up against the side away from you.
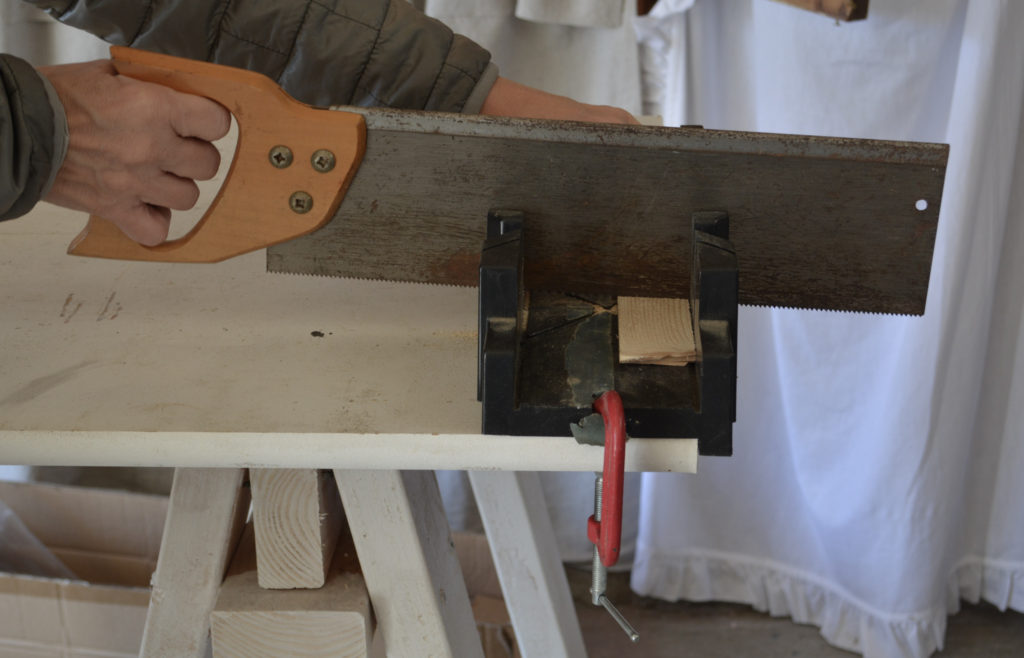
Hold the piece of wood against the side with your fingers. Saw back and forth, keeping the saw in the lines until you cut all the way through the wood.
Not going to lie, you will get a workout cutting all these slats. But I think it is worth it!
Step 1 | Distress and Stain the Wood
I always stain the wood before building. I put a coat of Minwax weathered oak followed by a bit of dark walnut dabbed on and blended in.
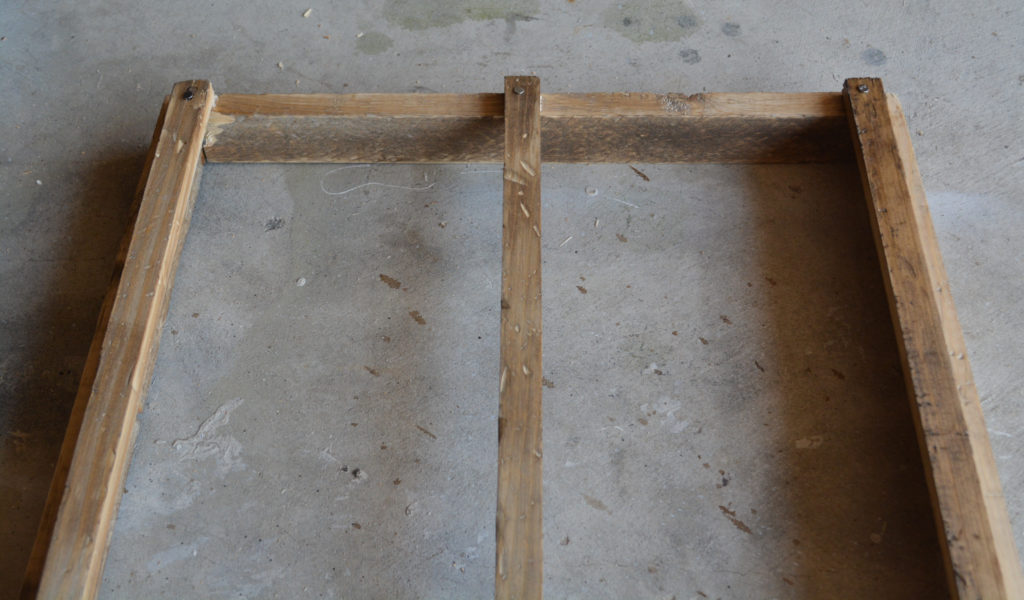
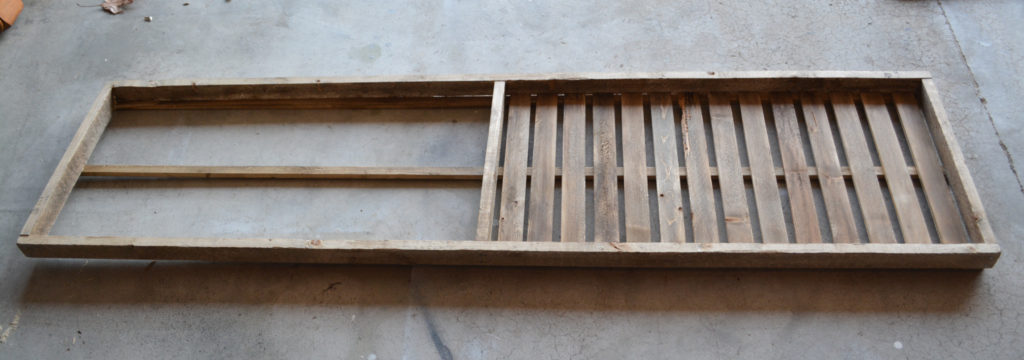
Step 2 | Build the Frame
I went with the furring strips, as per usual, for the frame. I used 1″x2″s. You will need two long pieces for the sides and three short pieces for the ends and center. I custom built this for the space in my home, but you can choose any dimensions that you like.
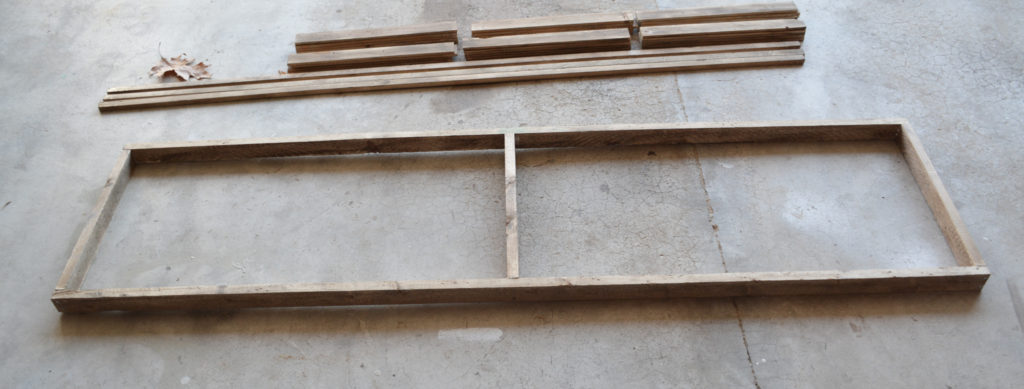
The completed frame is shown here.
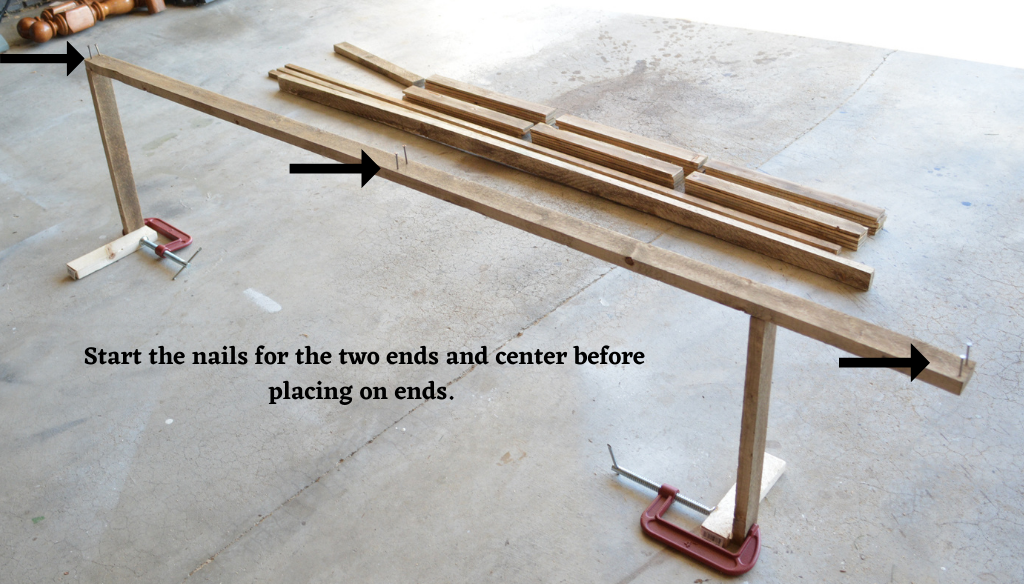
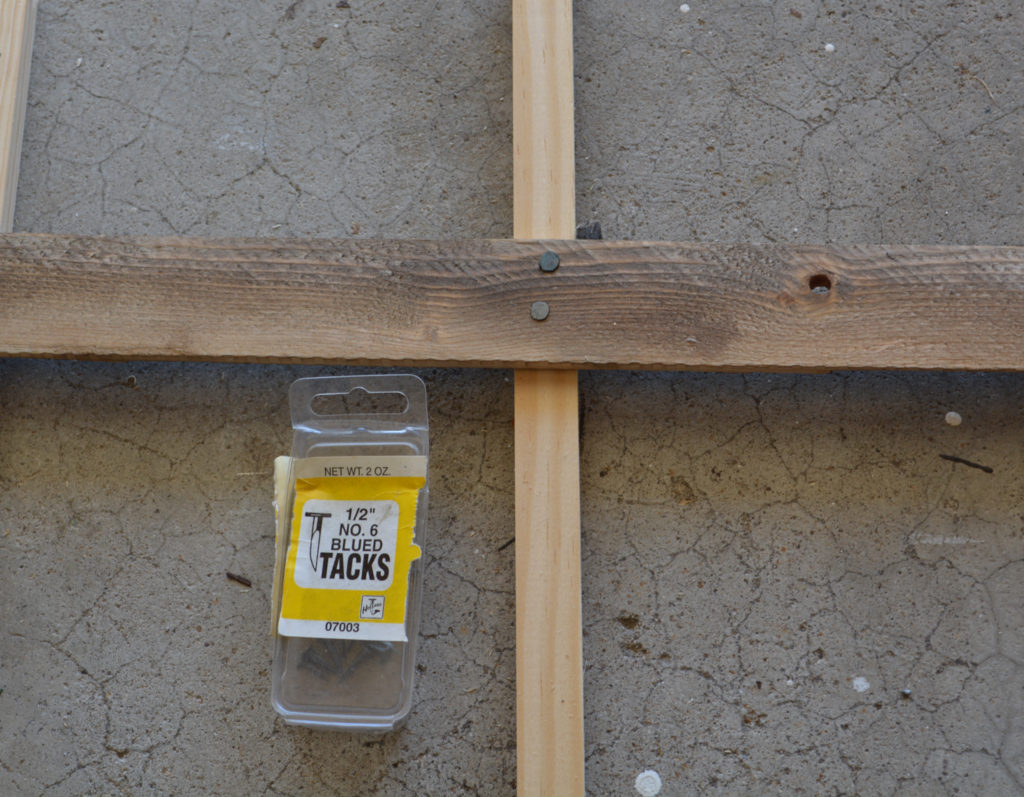
To start building the frame, hammer your nails in part way to get them started. I used two nails on each end. Find the center of your side board and start two nails there as well.
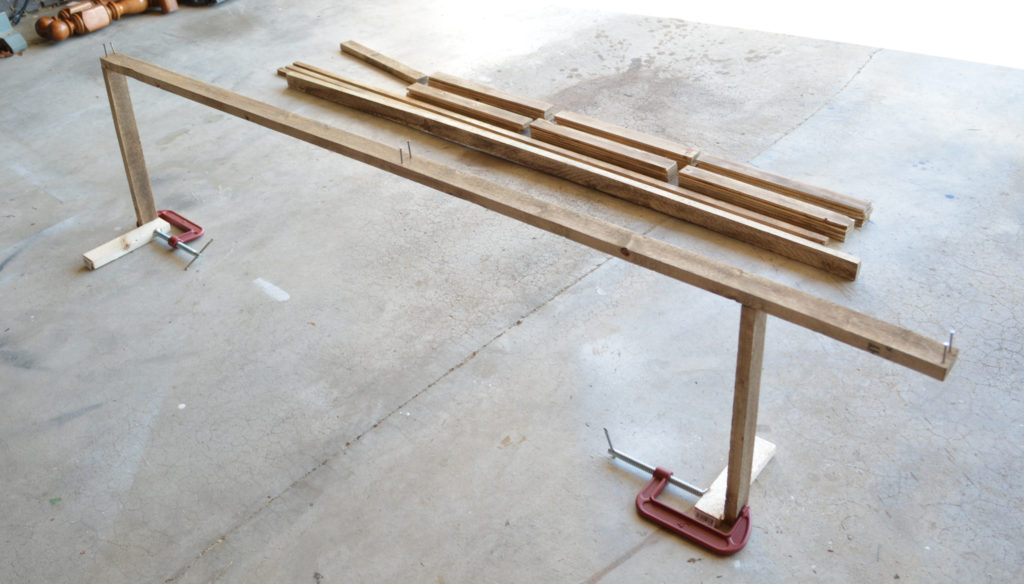
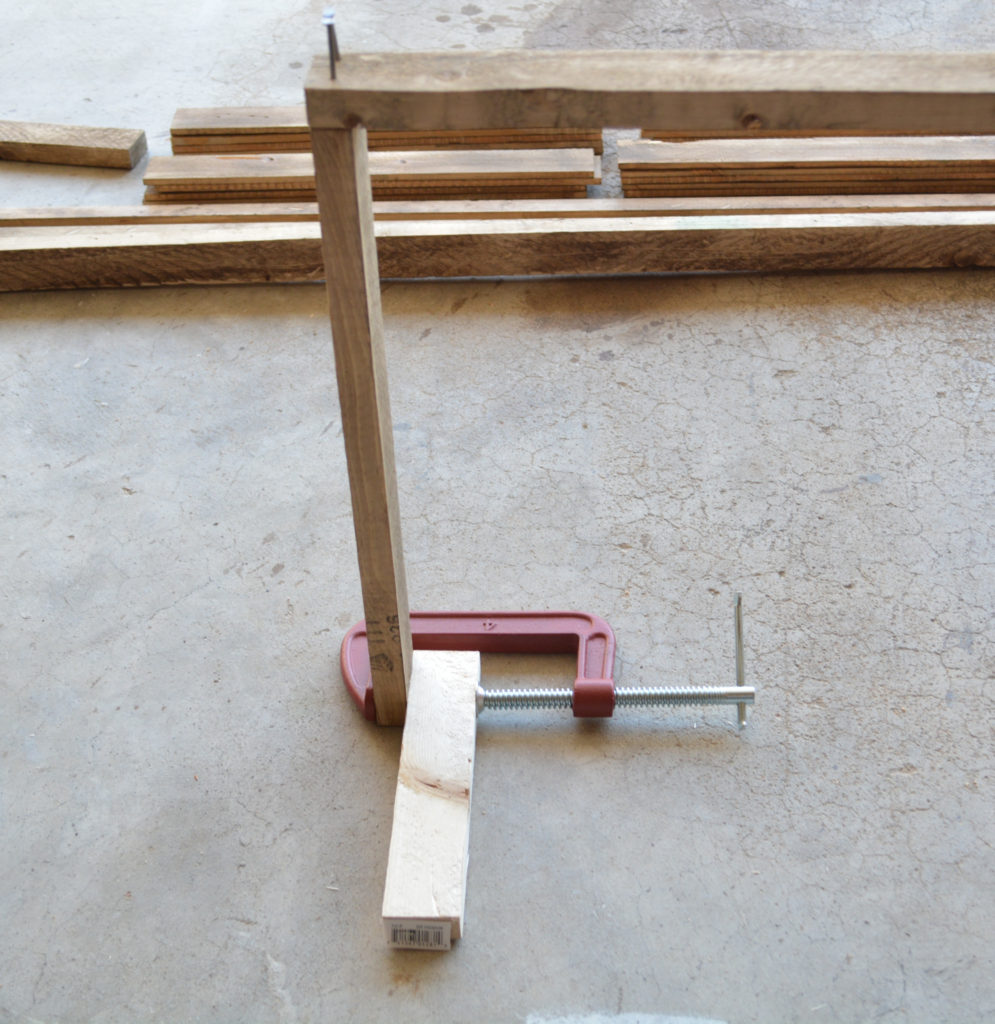
I used a C clamp and a scrap piece of wood to hold the end pieces upright while I hammered in the nails.
Apply wood glue before nailing.
Line up the side piece over the end and nail in place.
Line up the other side and end, then nail.
Do the same with the center piece.
Flip the frame over and nail on the other side piece.

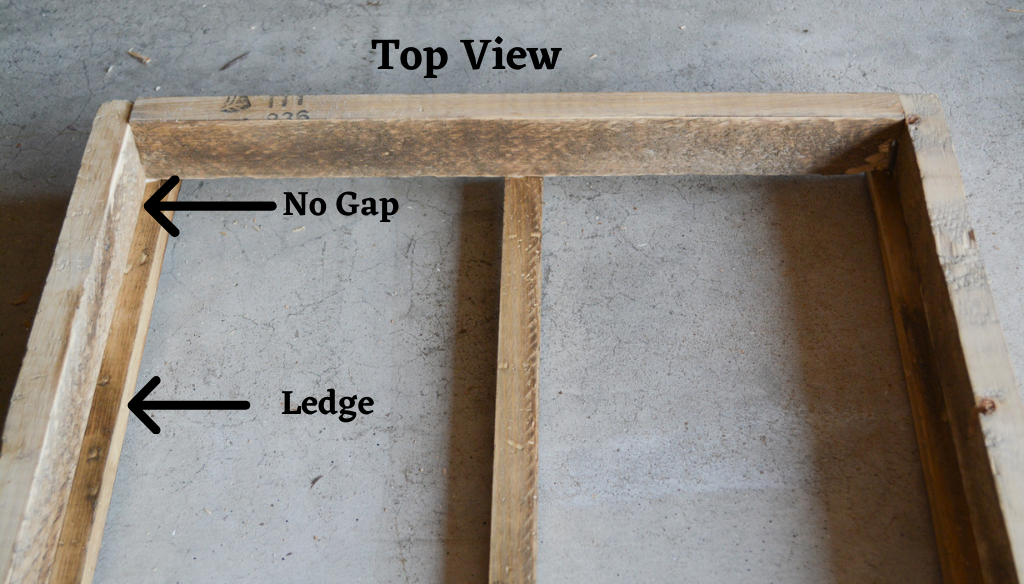
Step 3 | Add the Bottom Supports
The three 1″x 1/2″ boards will be the bottom supports and hold the lath slats.
Place one bottom support under each side, just far enough under to not have a gap. The rest of the board needs to create a ledge for the slats (see photo).
Attach the third support down the center, nailing into each end piece and into the center piece.
This will be the bottom of the rack.
Step 4 | Add the Lath Slats
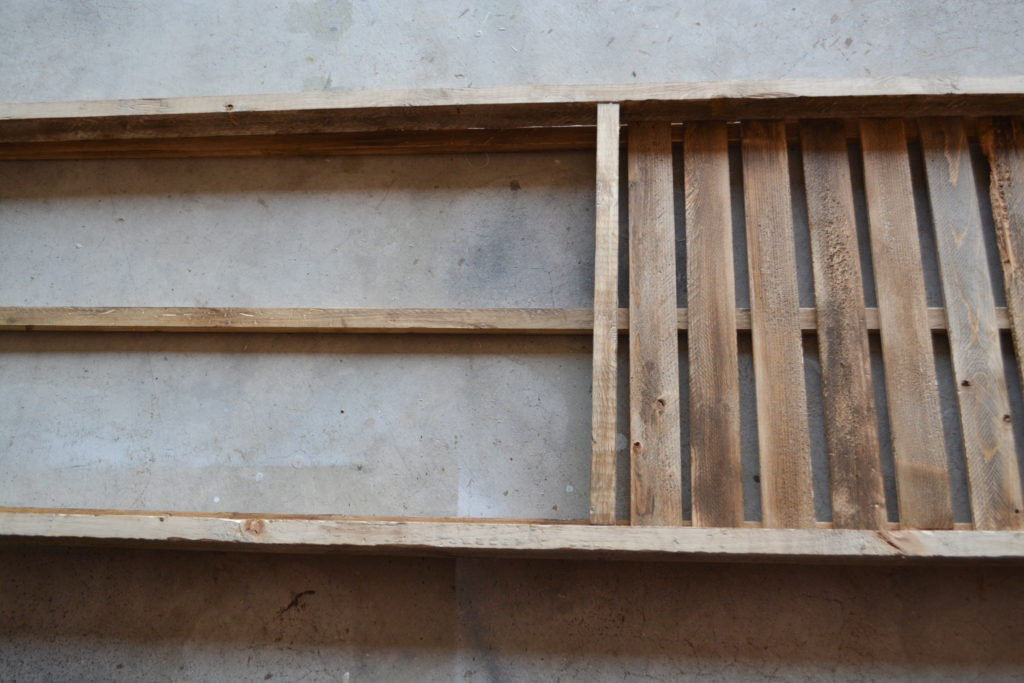
Lay the slats inside the frame, resting on the bottom supports.
I spaced all the slats out, glued them in place and let dry.
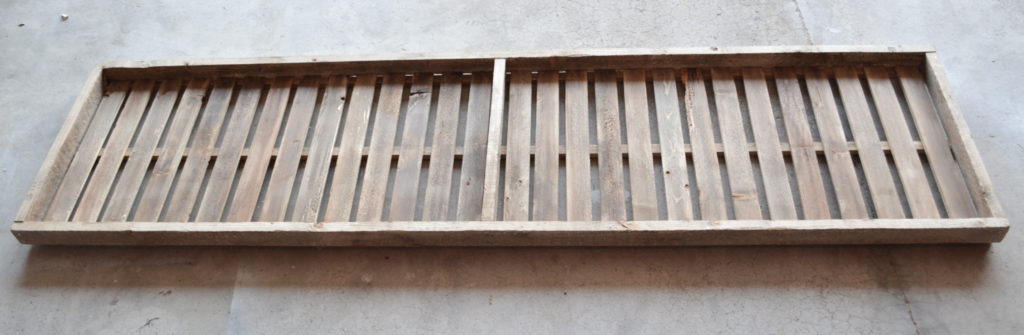
After the glue dried, I went back and added two of the tacks to the center of the slats. Somehow I didn’t get a picture of that step, but this is what it looked like.
Step 5 | Hanging the Drying Rack
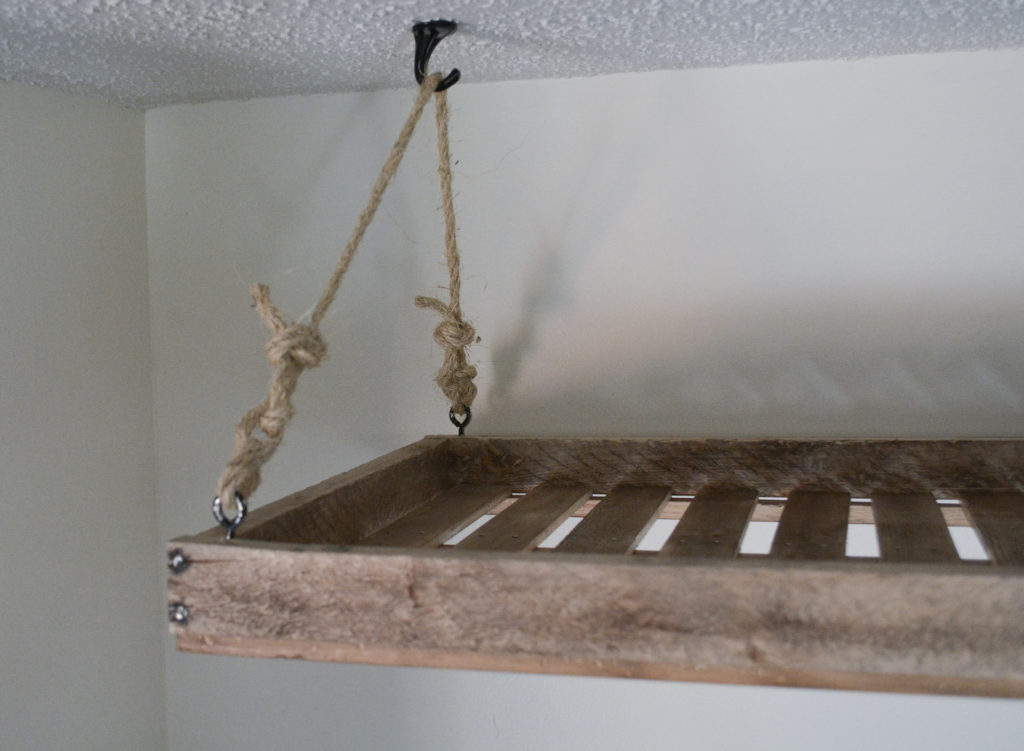
I used screw eyes and rope to hang the drying rack. Make sure your ceiling hooks are secure and again, I don’t recommend hanging anything heavy on this. The rope I just tied in random knots and hoped for the best.
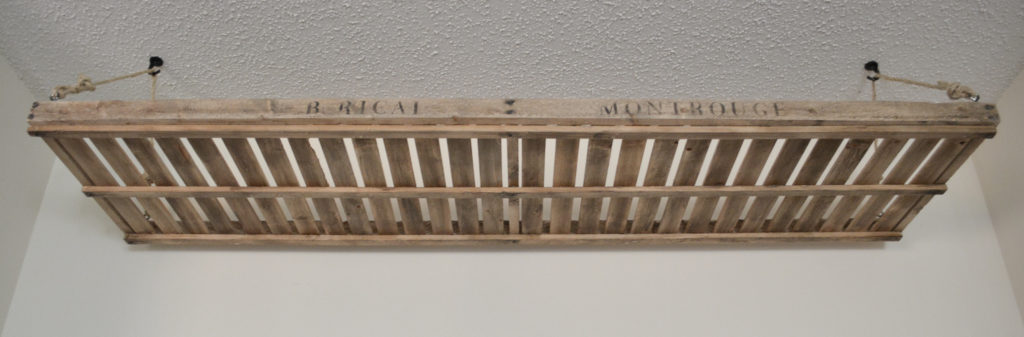
And of course, I added a stencil.
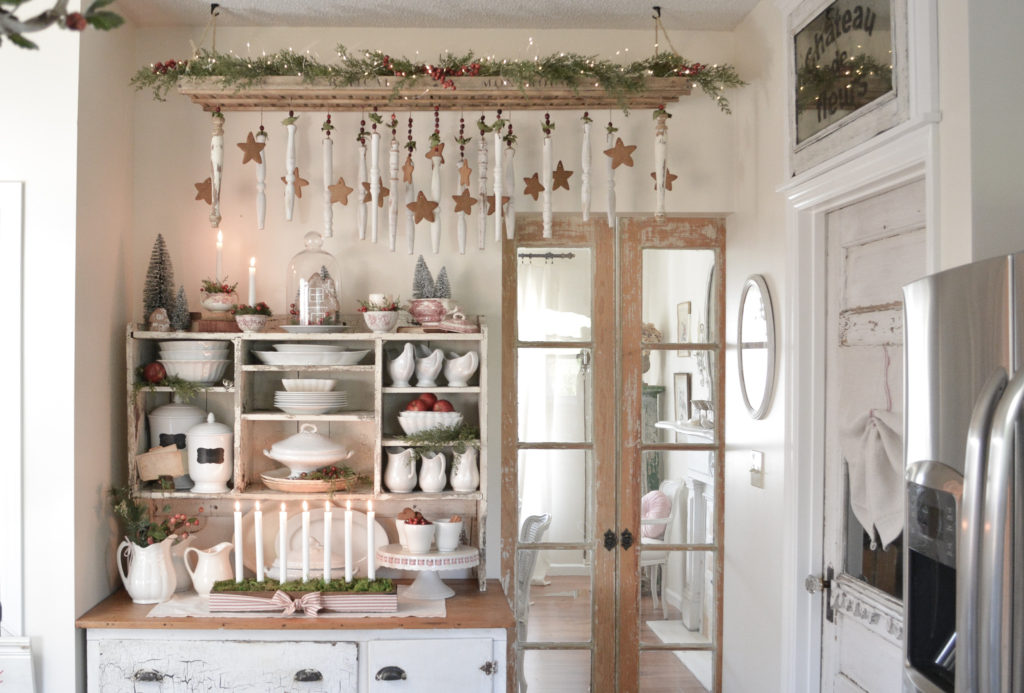
And here it is , all decorated for Christmas!
I love, love, love this project. It turned out so good and was very easy. I hope you love it , too!
You might also enjoy the other projects in the beginner series.
Thanks for stopping by,
Janet