
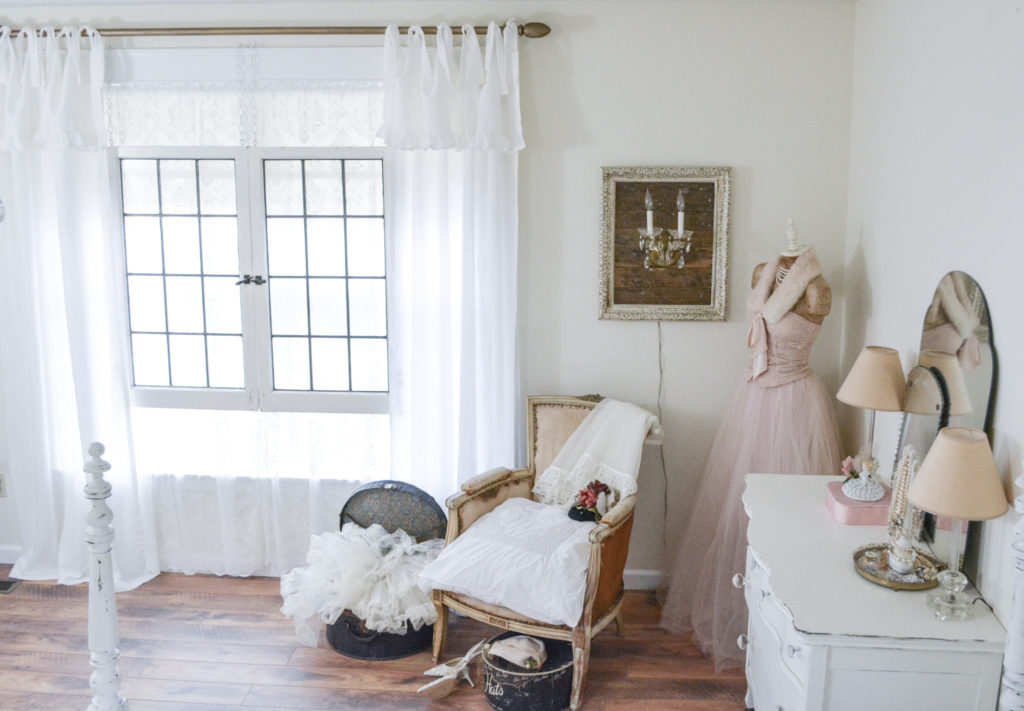
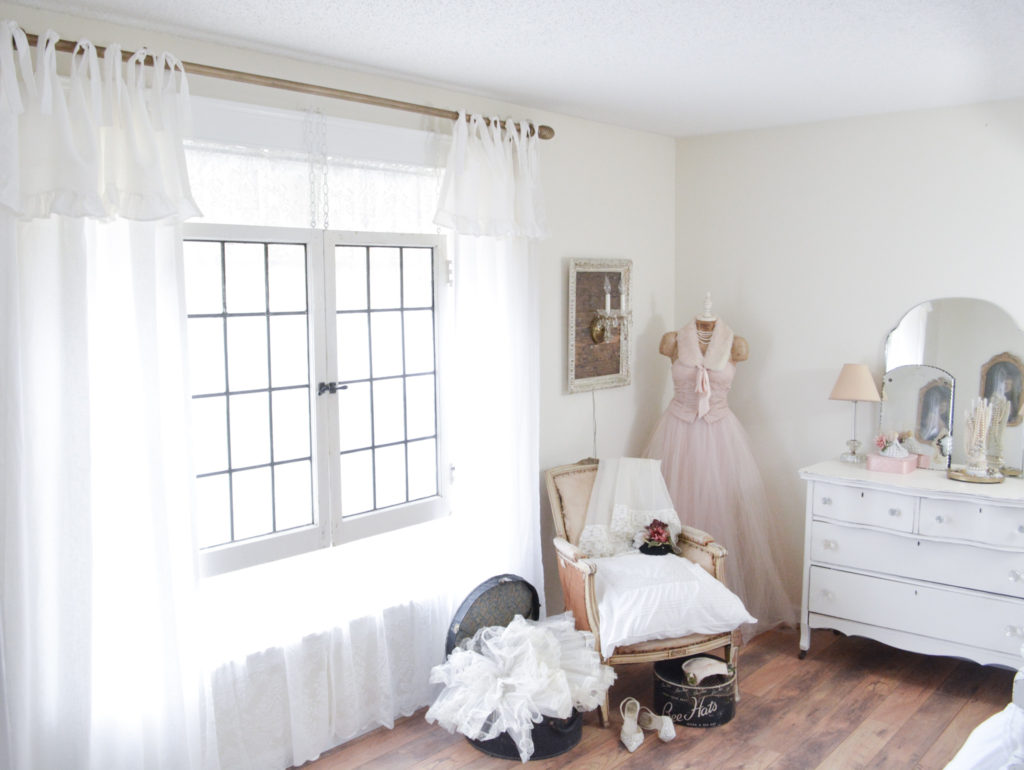
And New curtains in the Bedroom
Today I am going to show you how I made a super easy and inexpensive DIY antique brass curtain rod.
I needed new curtains for my bedroom and as per usual, I didn’t want to spend much money. And I am proud to say, this was a zero dollar project for me. I used things I already had.
I am not so proud to say that this project started at least a year and a half ago. I had curtains in here, but knew I wanted to change them eventually. So when I wanted new curtains in the dining room, I took the curtain rod from the bedroom to put in the dining room. Fast forward 1-1/2 years, and I finally attacked this project.
I wanted a chunky antique brass curtain rod, but discovered they can be quite expensive. I had a makeshift curtain rod stored in the basement, so I decided to try and make my own.
Make a Curtain Rod Using a Wood Closet Pole

This a look at the curtain rod before. It is made from a wood closet pole and two purchased wood finials. Previously, the curtain covered the rod.
The poles can be purchased in the wood trim section of home improvement stores. I priced them at $1.49 per foot.
Cut the pole to size and drill holes in the ends to screw in the finials.
3 Easy steps to an Antique Brass Finish
One | Spray Paint Black
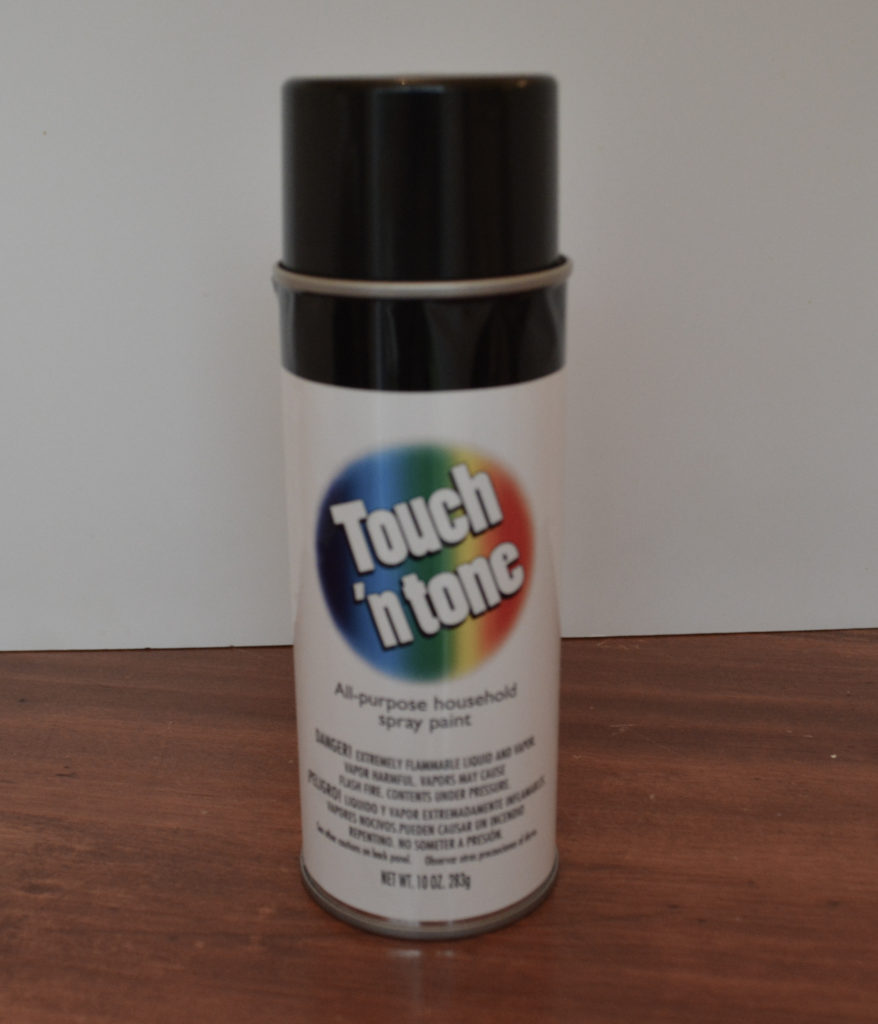
I spray painted the pole, finials, and brackets black. I used some inexpensive paint I had. This acts as a primer and base for the gold paint. By using the black, you won’t need as much of the more expensive gold paint, and it fills the crevices with black, perfect for the antique finish.
Two | Spray Paint Gold
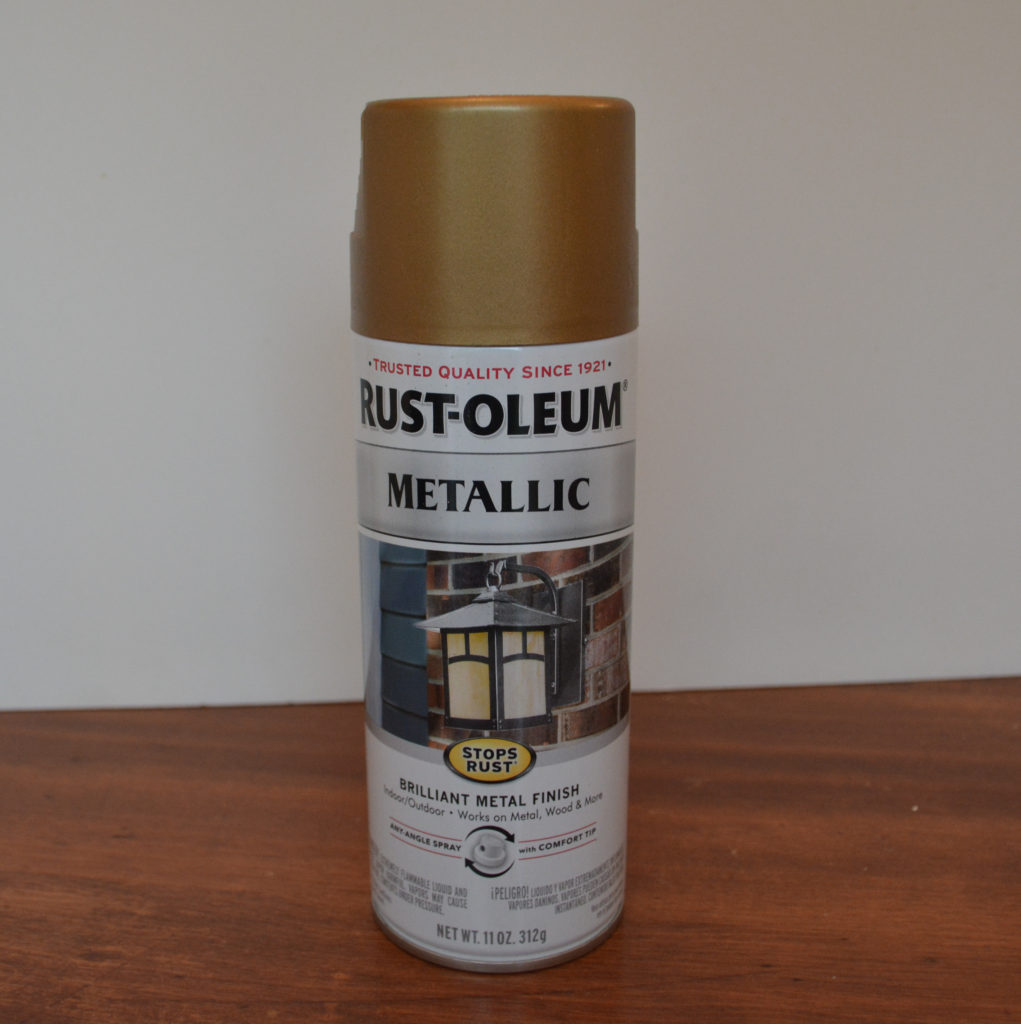
Spray over the black with Rustoleum metallic champagne bronze. Doing a light application allows the black to come through a bit for that antique look. Apply until you achieve the desired look.
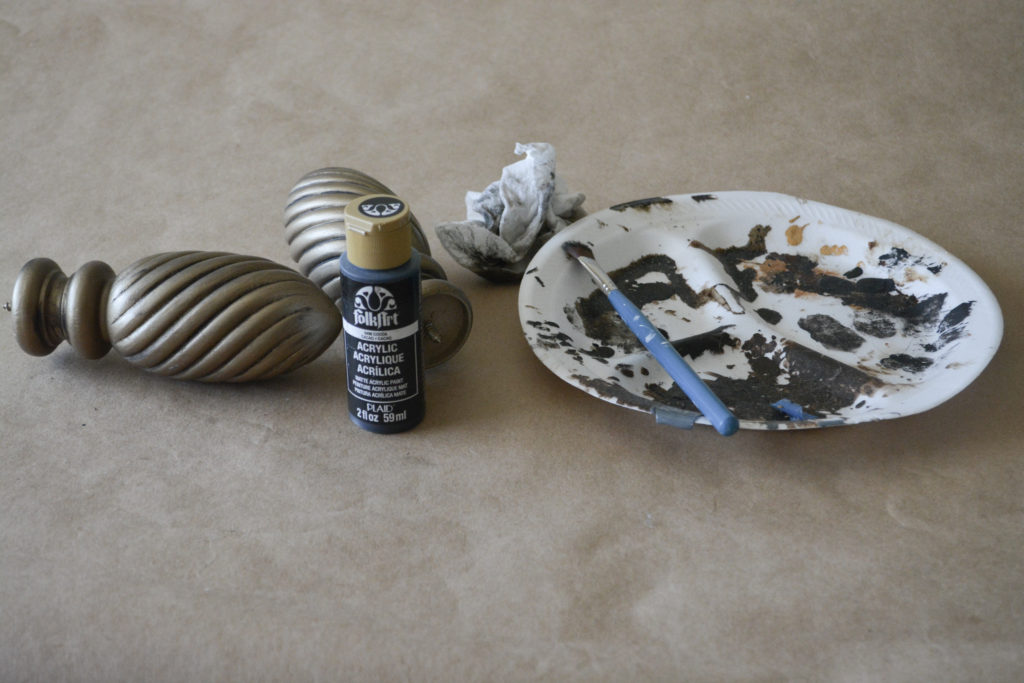
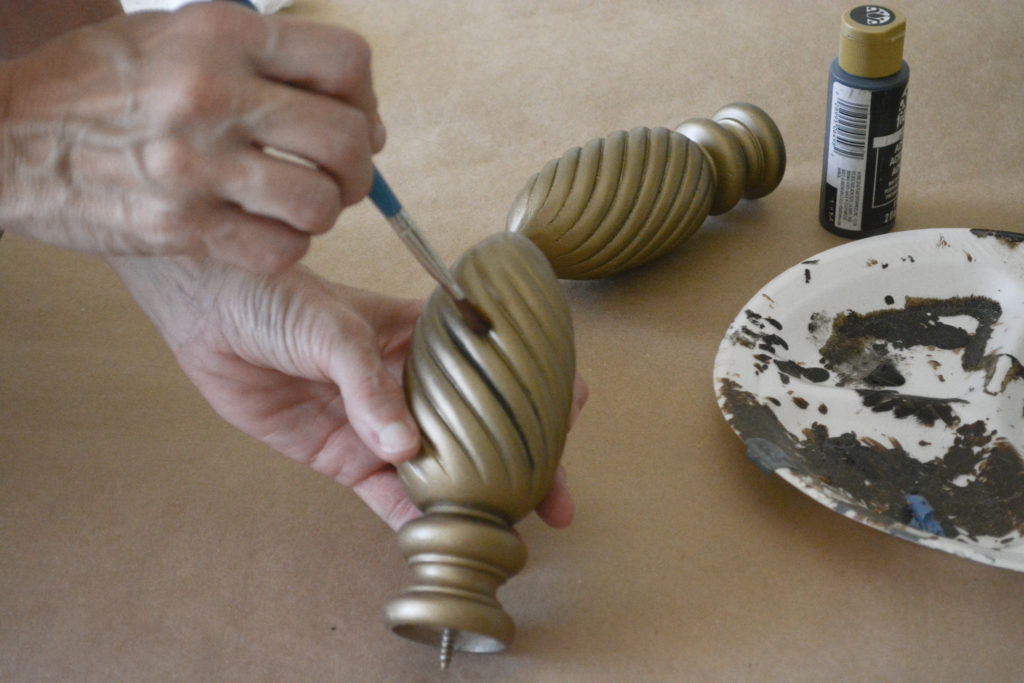
Three | Add The Antiquing
I did this same antiquing technique on the hardware in my extreme buffet makeover.
My craft paint color was cocoa, but you could also use black.
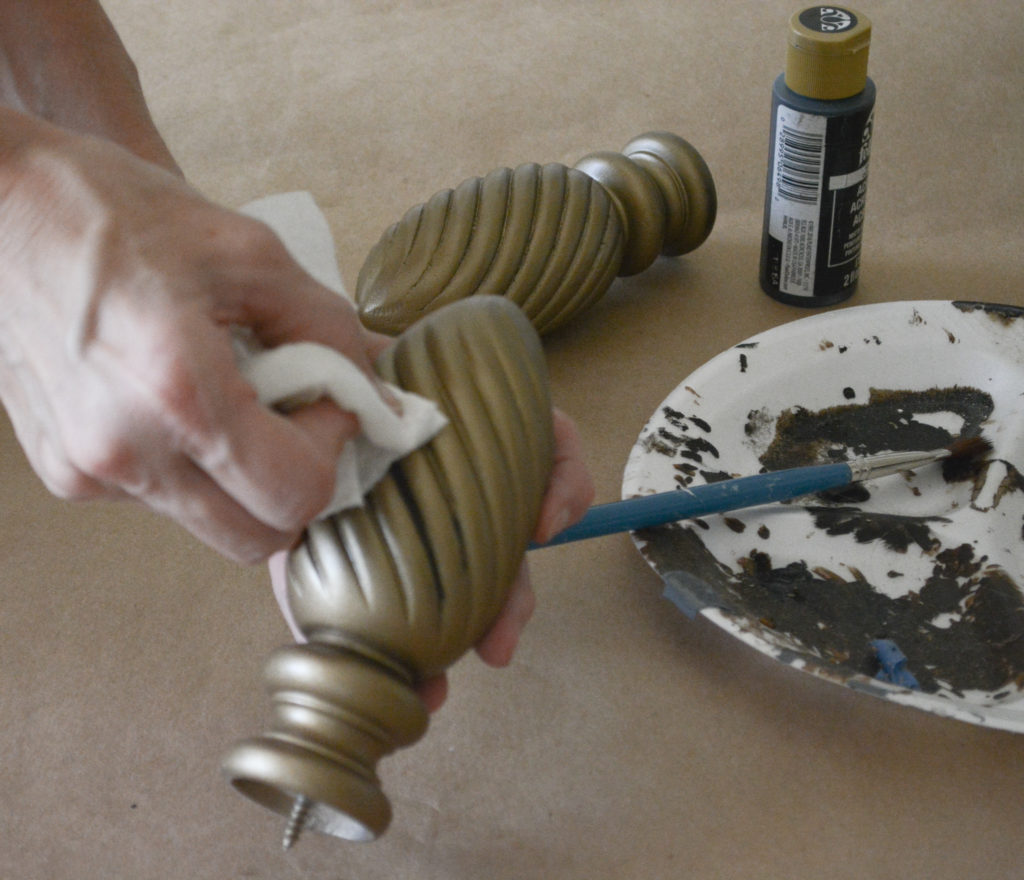
Use a small paint brush to apply the craft paint in the crevices and then immediately wipe off excess with a paper towel. Over smooth surfaces like the pole, lightly brush on and then wipe off the craft paint, knocking down the gold to a more antique look.
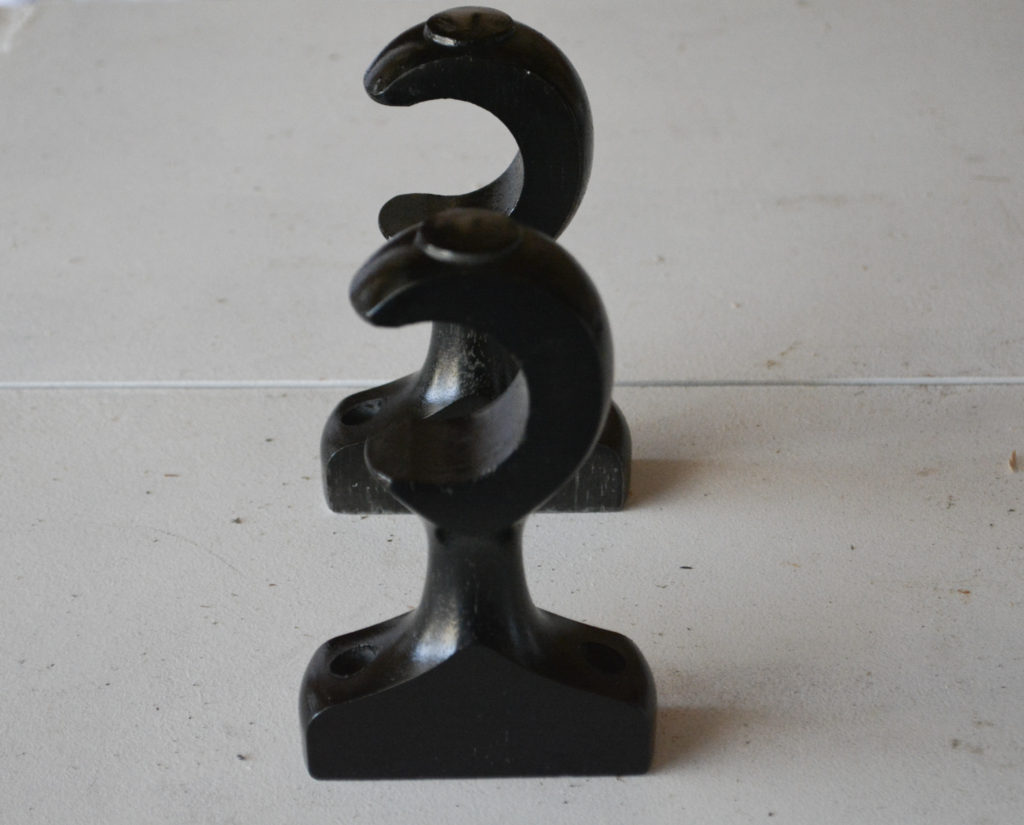
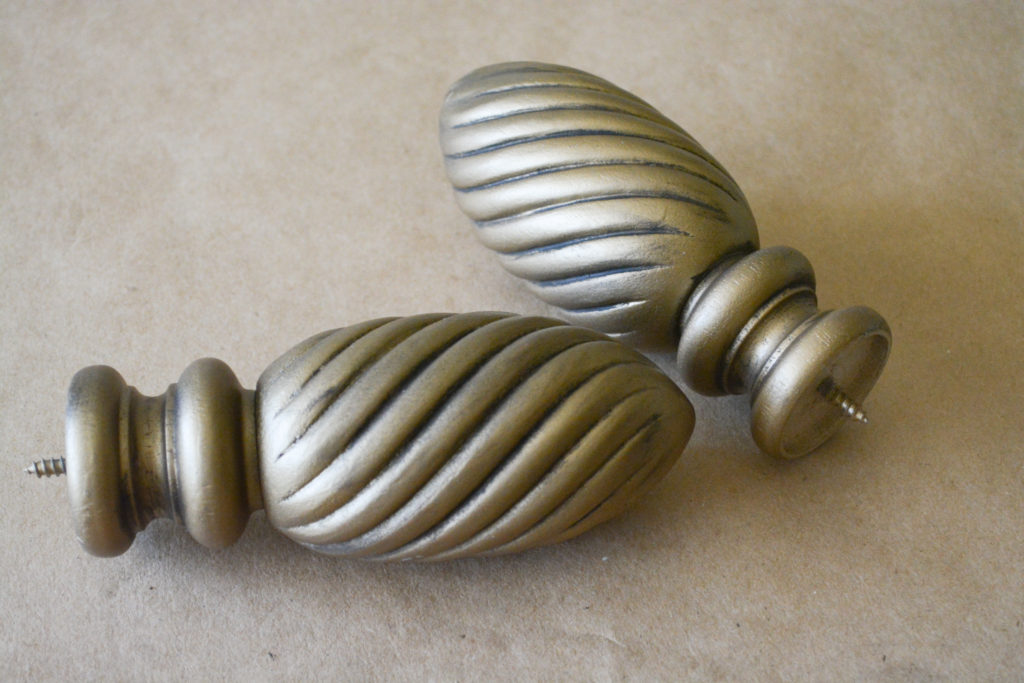
Below is a picture of the finials before.
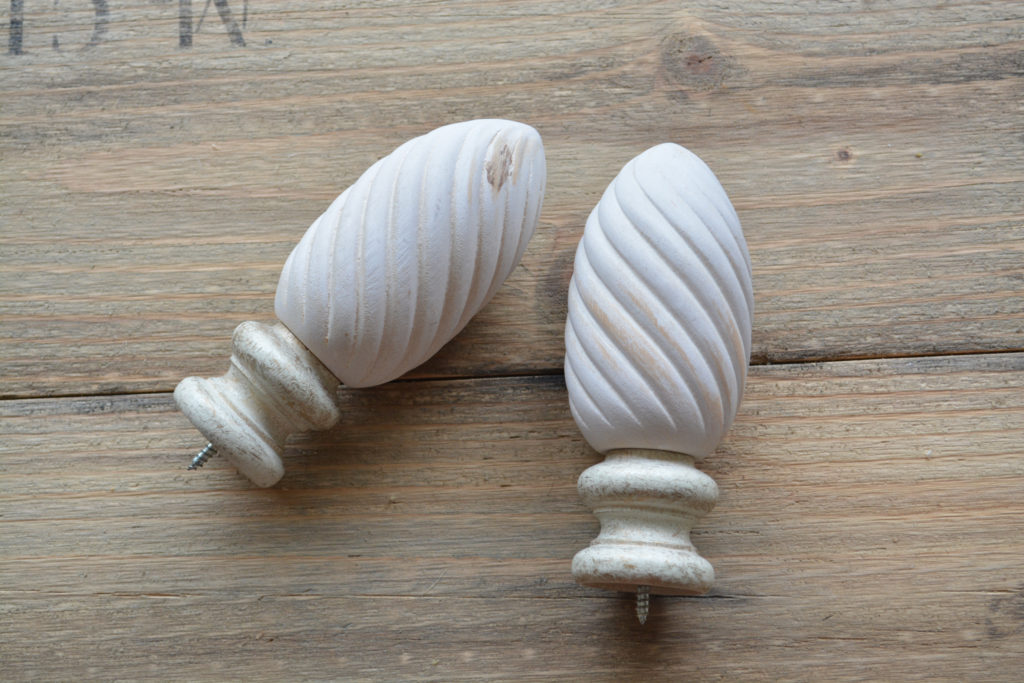
And after.
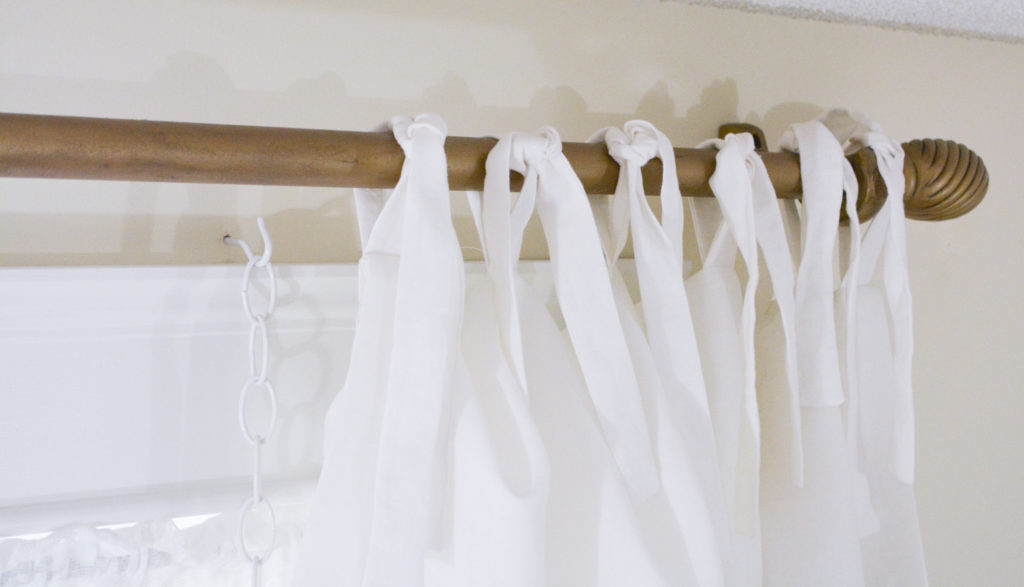
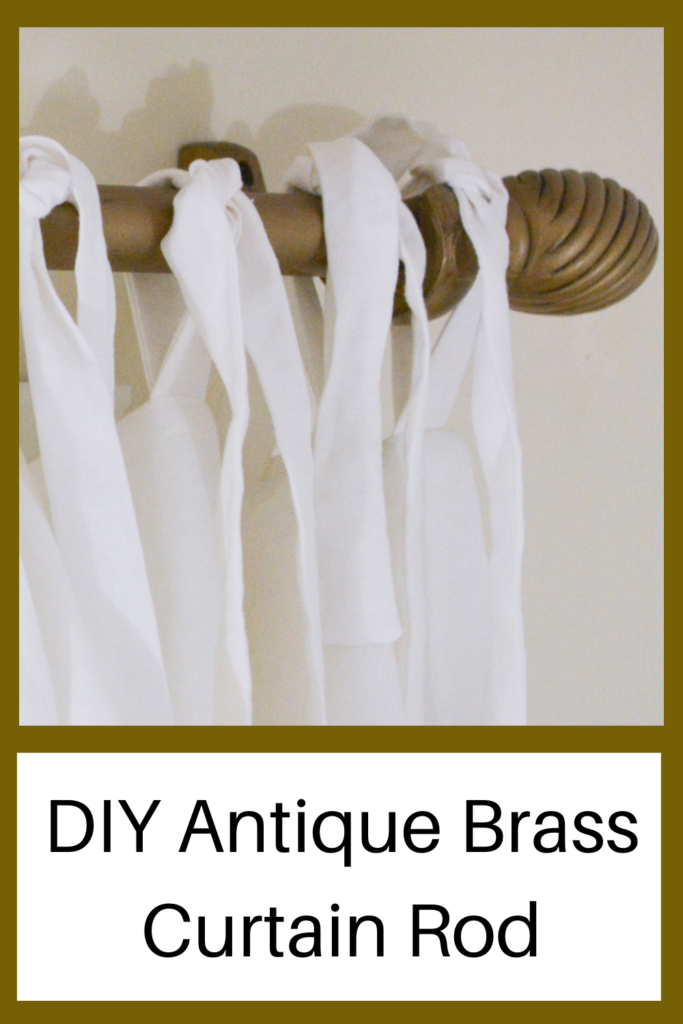
And a close up of the pole.
I am really happy with the way this turned out and it looks so pretty in person (pictures of windows are hard!).
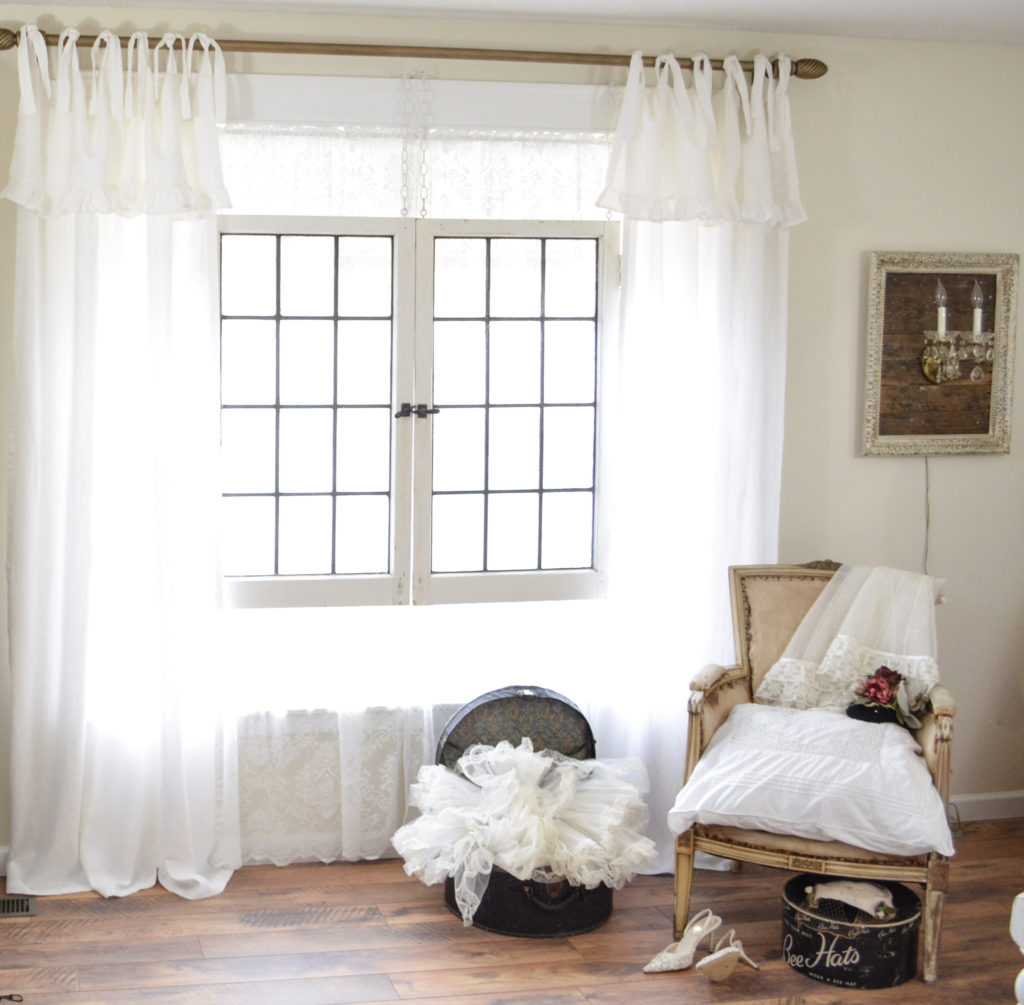
Adding The Curtains
I made these tie top curtains by piecing together curtains I was no longer using in my family room. See, zero dollars.
If you would like to make your own tie top curtains then visit Farmhouse on Boone for a great tutorial. The only thing I did differently was to add the fold over and ruffle on top.
Oh, and trust me, perfection is overrated. Tie the curtains and walk away.
And the cherry on top? I’ve had these old window for years and I am so happy to finally use them.
Pin It For Later!
Thanks for stopping by,
Janet