
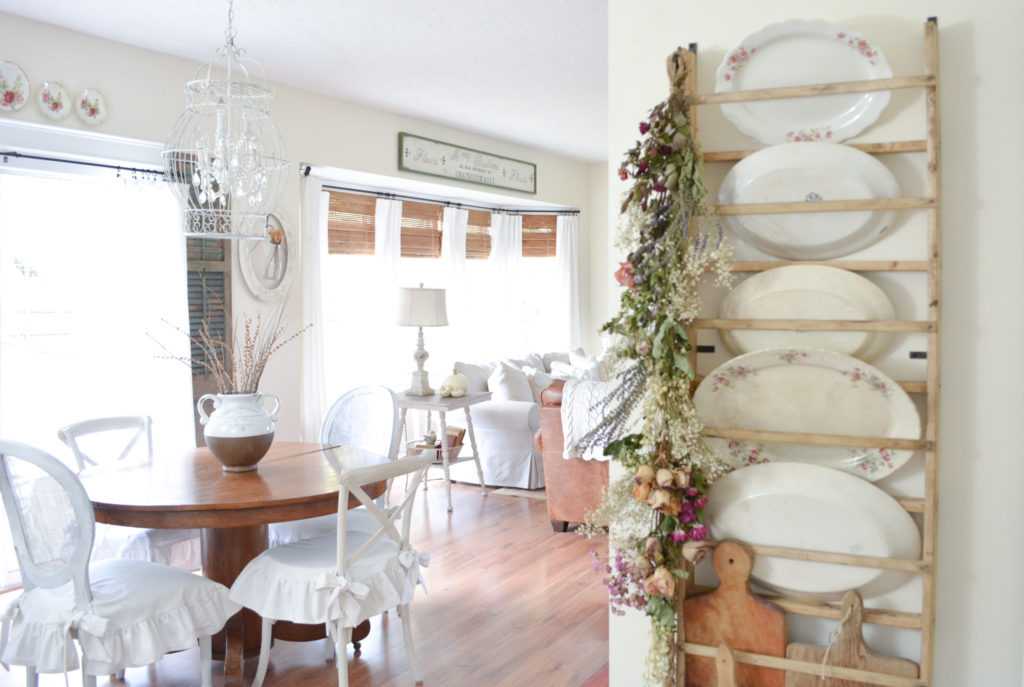
As the summer comes to an end, it is time to harvest the last of the summer blooms. I love to dry flowers, and I know many of you hang and dry herbs. I love the look this natural dried flower/herb hanging brings to a space, pretty and practical.
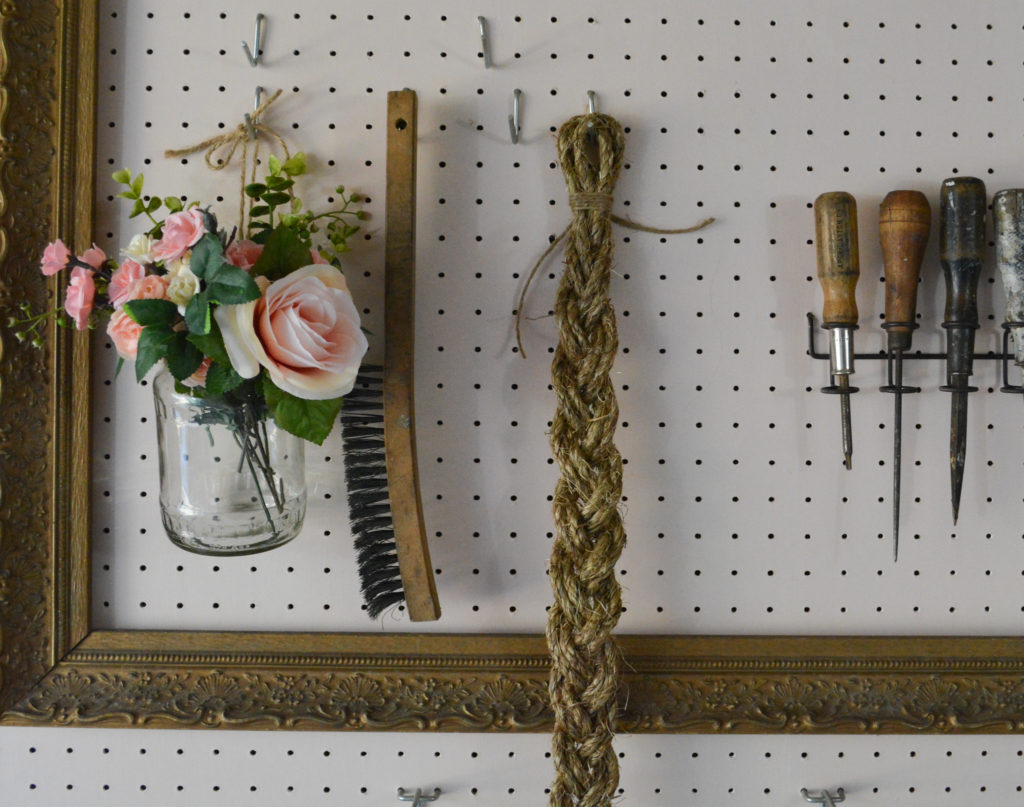
The hanger is made from a braided natural fiber rope.
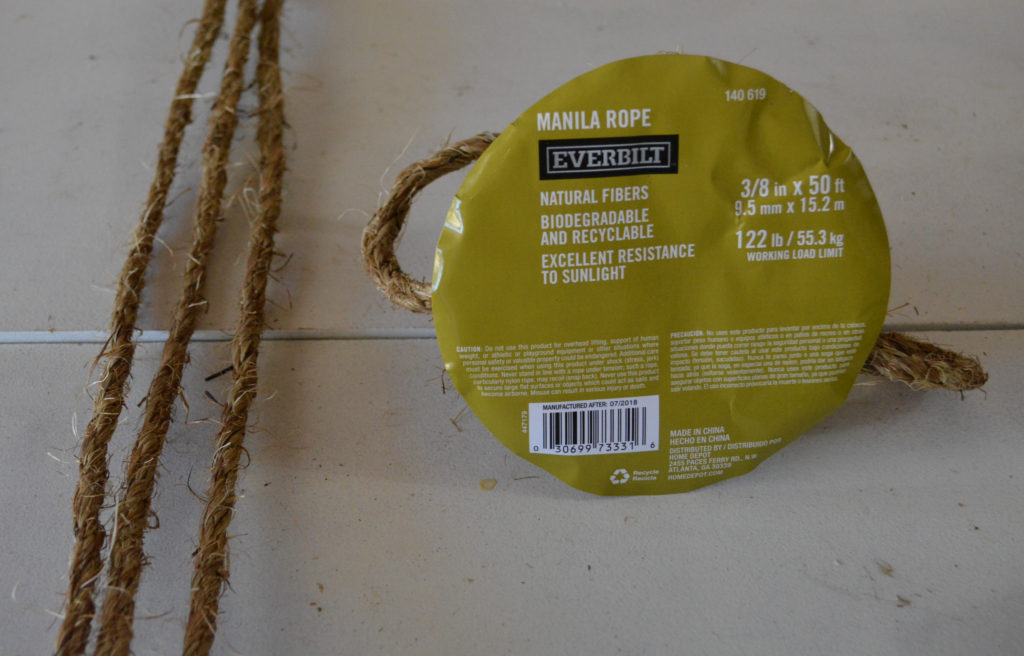
I cut three strands, three times the length I wanted my finished length. I had plenty left over, I think the smaller the rope, the more the braid would shorten?
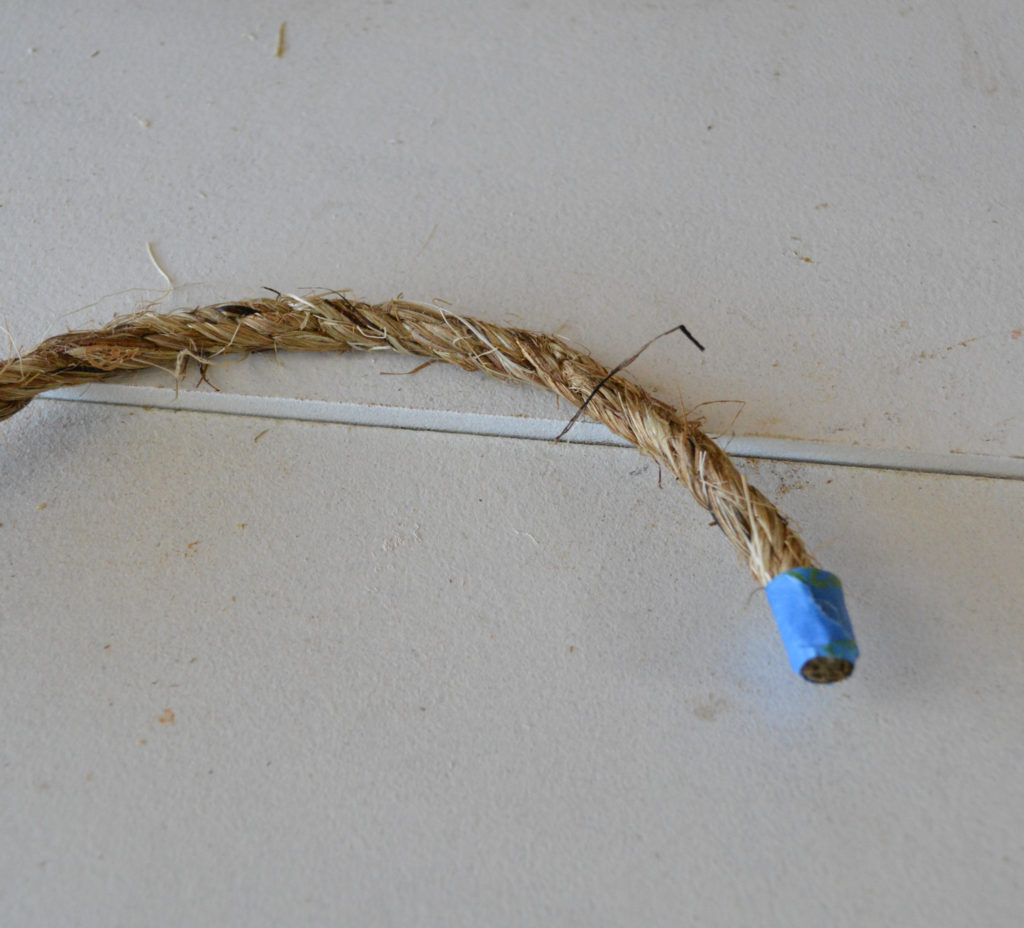
Wrap the ends of the rope with tape when you cut them, so they do not unravel while you are working.
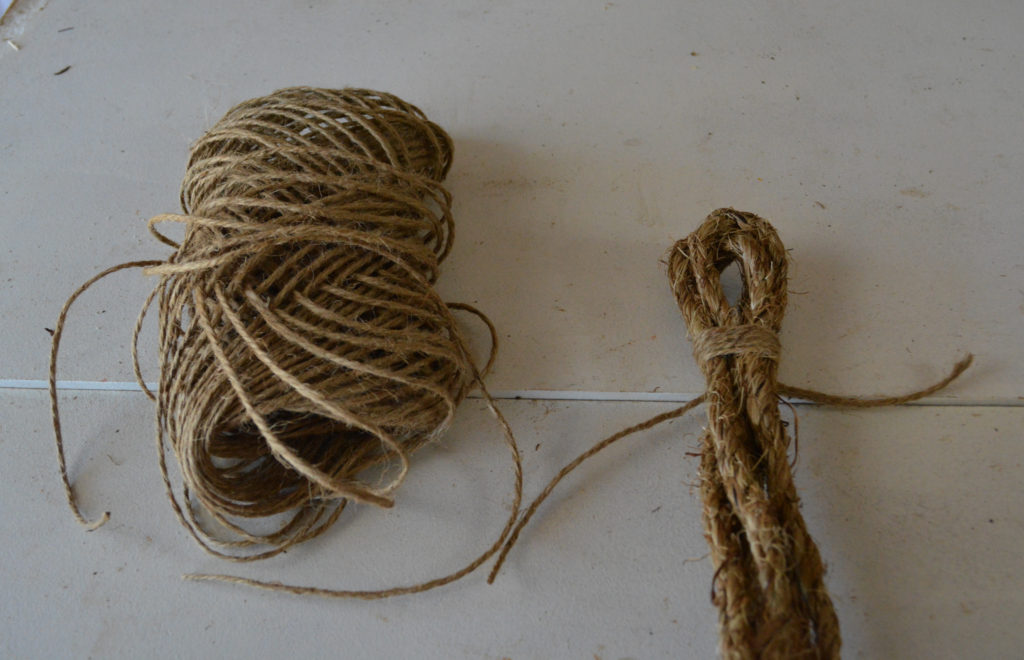
Fold the strands in half so you have six strands. Take a length of jute twine, mine was 24 inches, and wrap around the top and tie in back, making a loop for hanging. If you wanted to use a thinner rope or twine, you could use six strands folded in half to make twelve. It just needs to be divisible by three.
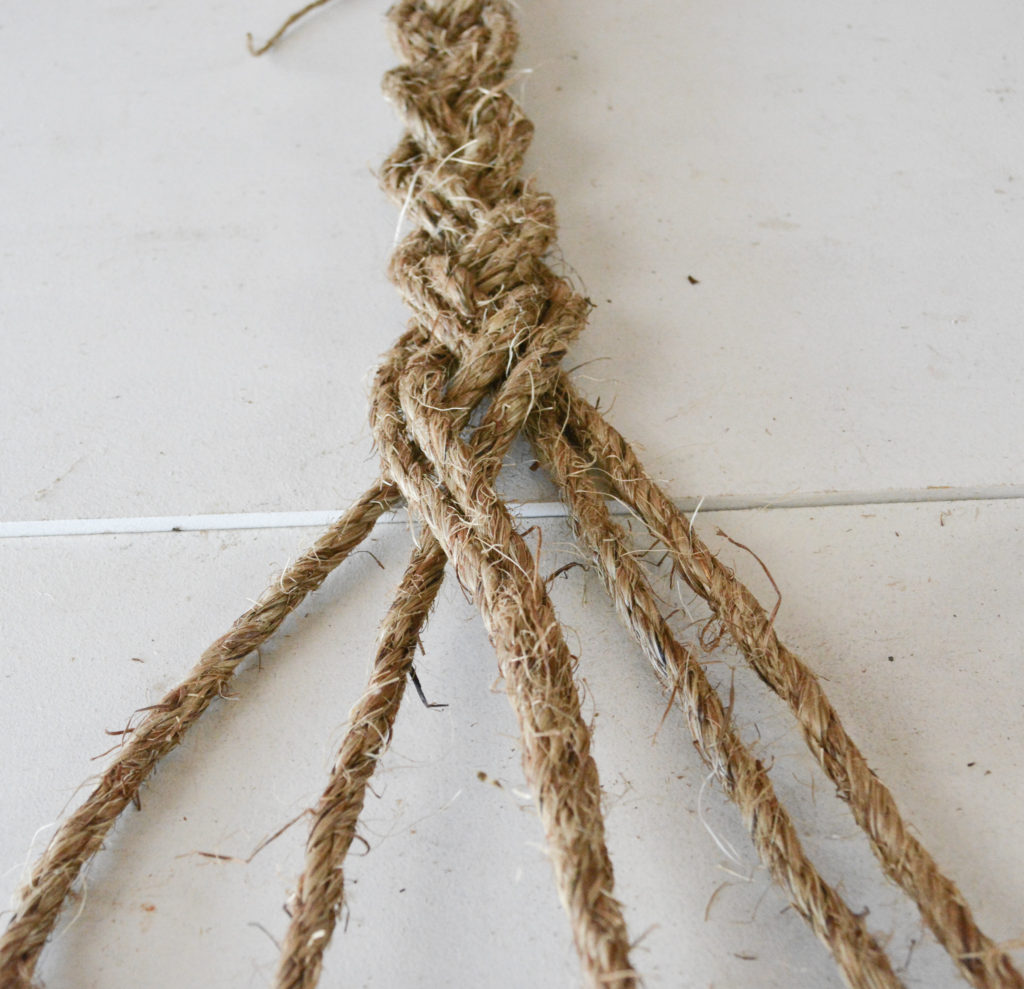
Divide the rope into 3 sets of 2 strands and braid.
It is much easier if you hang the rope to braid.
When the braid is the desired length, wrap the end and cut off the excess.
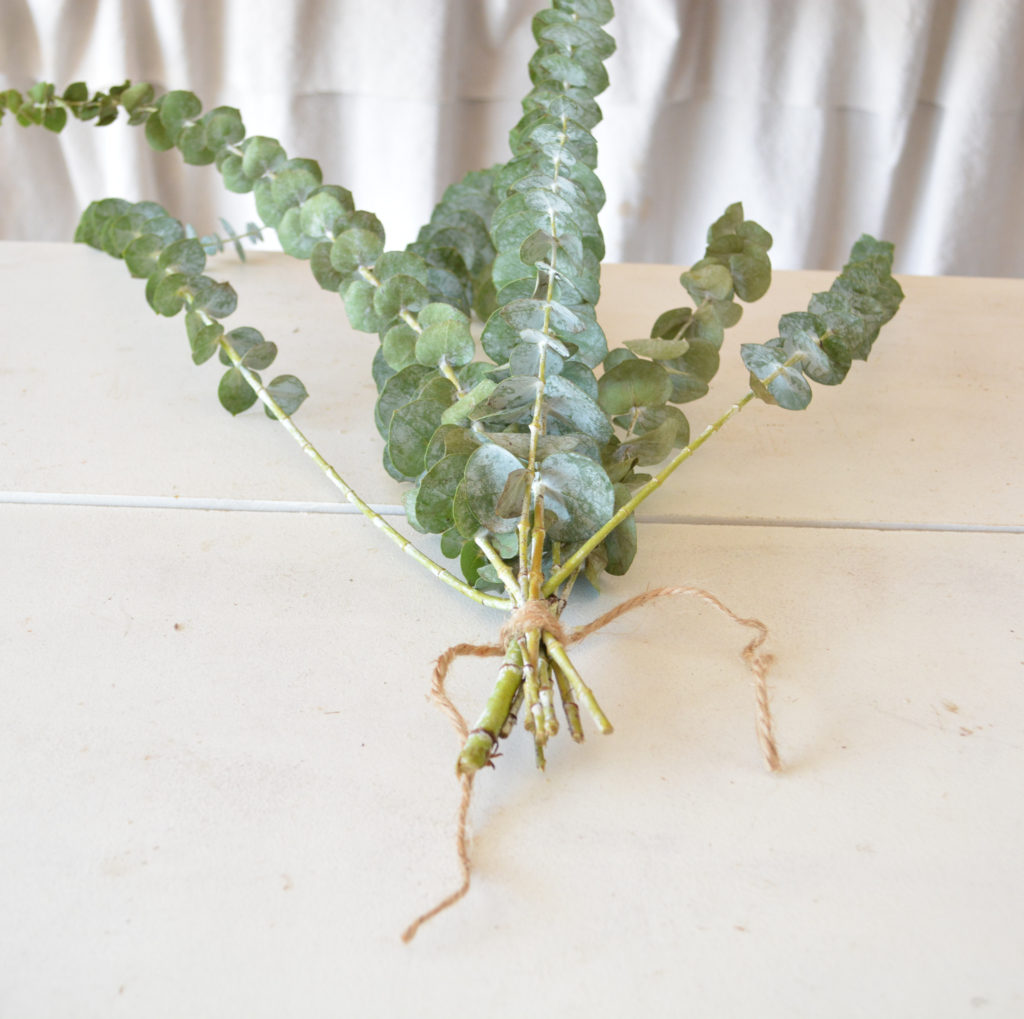
Create flower bundles by wrapping jute twine around the stems and tying in the back. Leave extra twine at the ends so you can attach the bundles to the braid.
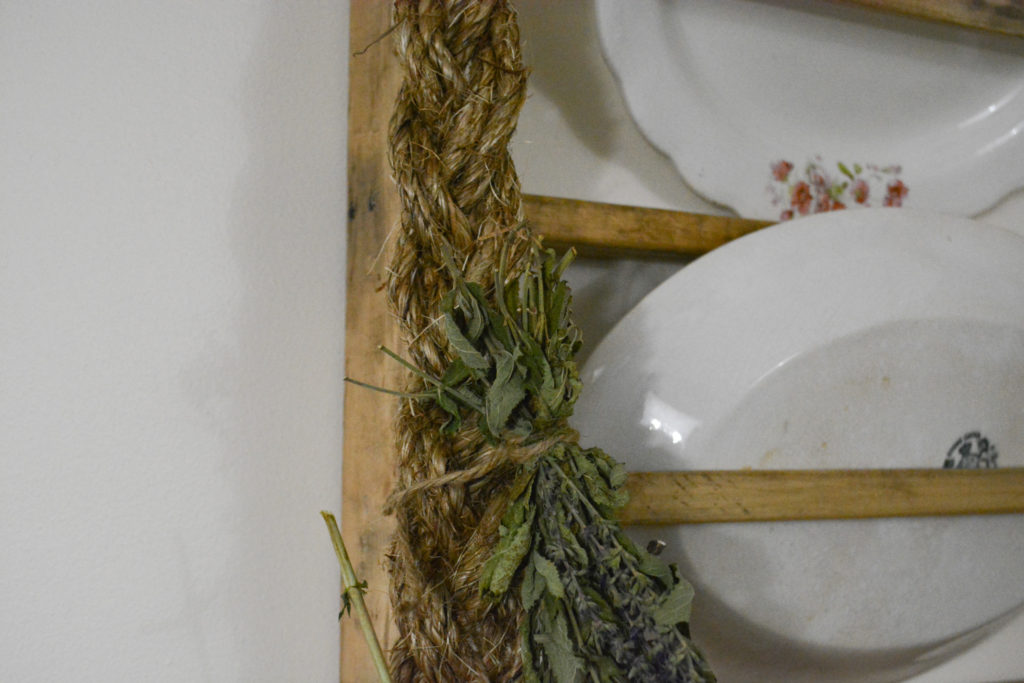
Tie the bundles onto the braid. With most of the bundles, I put the twine through the space in between the braid. I think this would look best if the top of your bundles were going to show. Mine was so full that it didn’t show, so I tied some of the bundles around the braid.
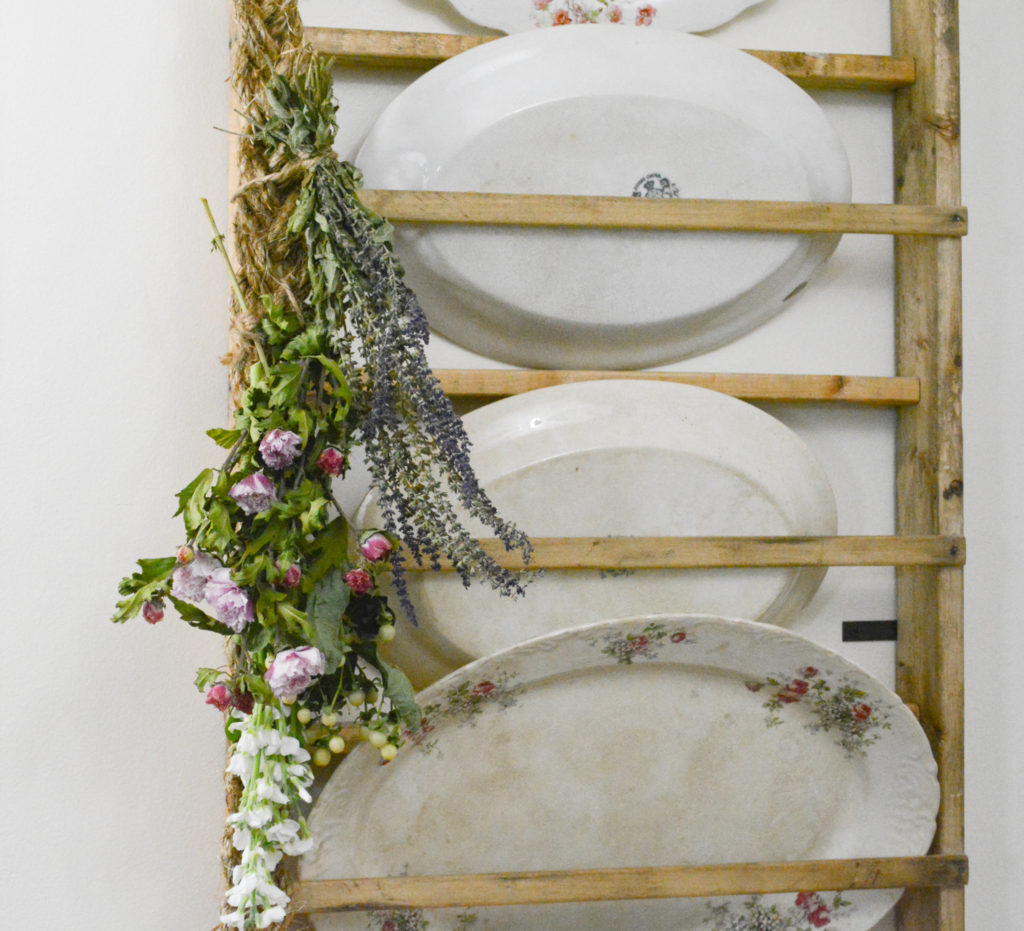
Continue adding bundles until you achieve the desired look.
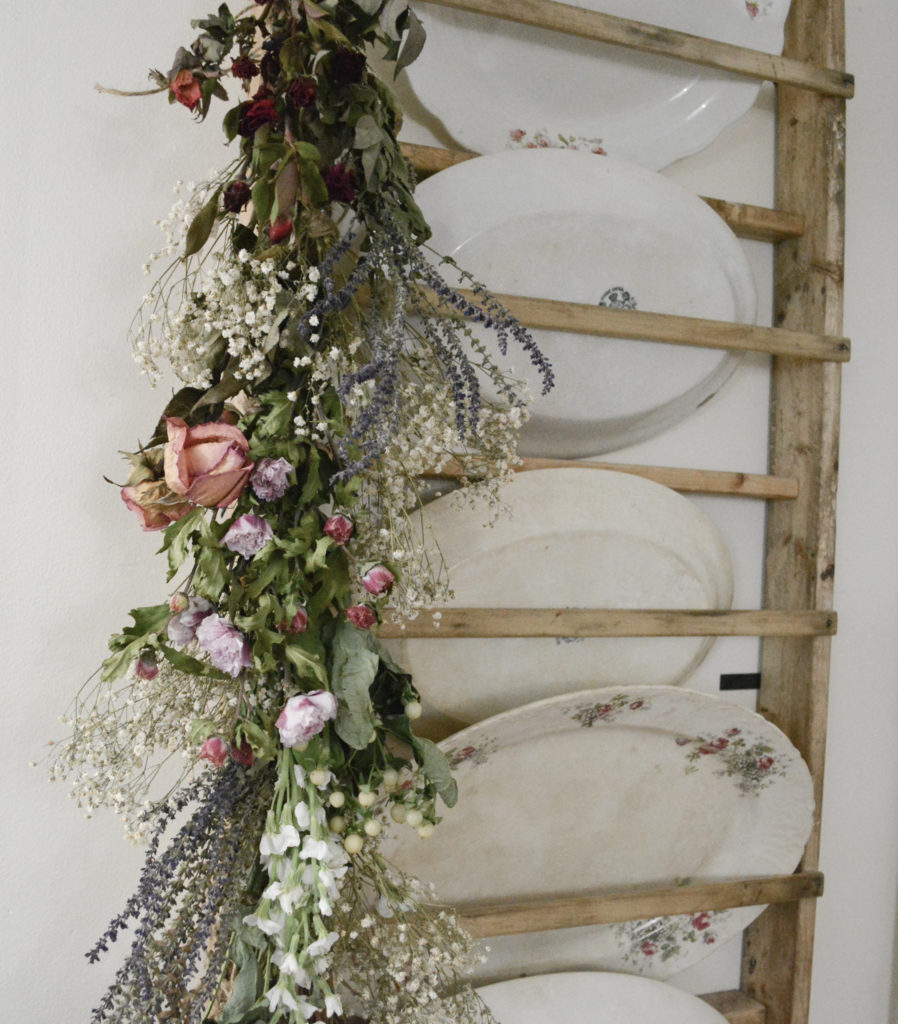
This flower hanging allows me to enjoy summer’s bounty long after the warmth of summer has passed and the blooms have faded.
Pin It For Later!

Thanks for stopping by,
Janet
Beautiful 💗💗💗💗
Thank you and thank you for visiting the blog!
Oh wow! This is so beautiful! What a wonderful idea! Thanks for sharing it at Charming Homes & Gardens!
Thank you so much! It was such a fun project.