
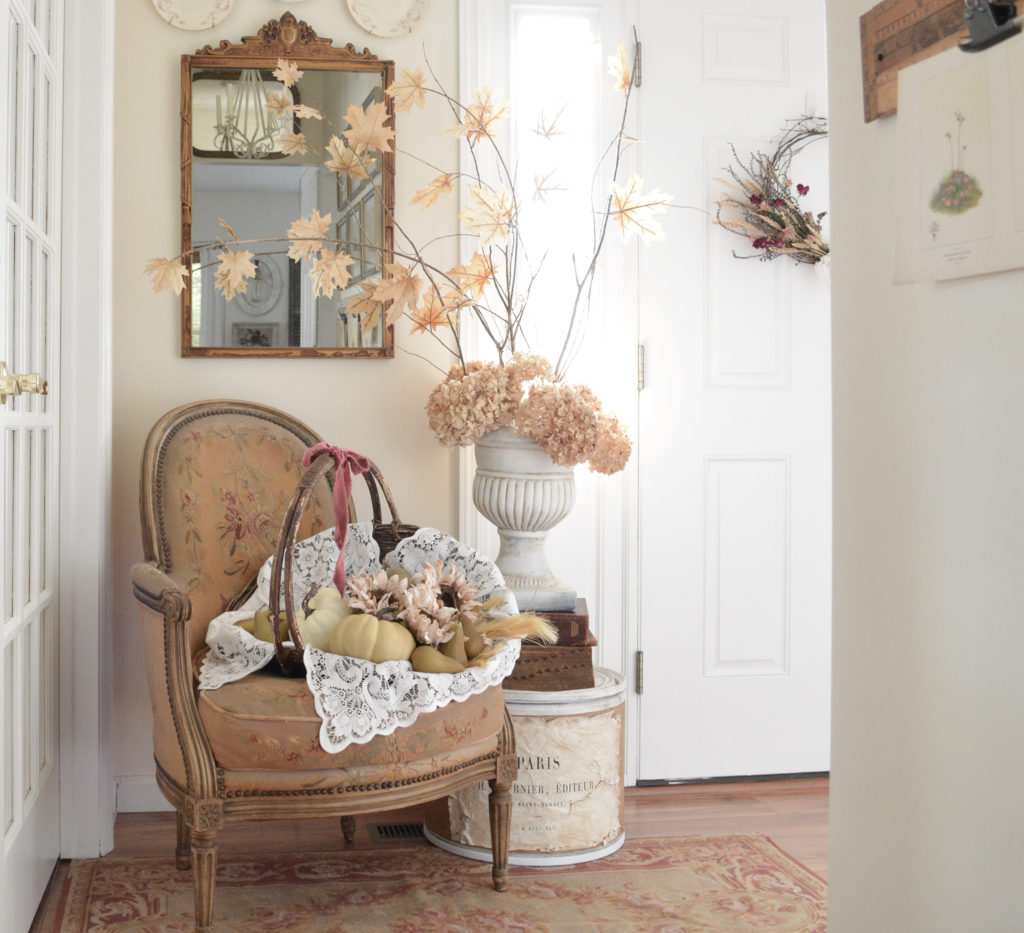
Continuing on with my budget friendly and simple fall decor, I made some DIY fall branches. In my last post, I shared a simple fall garland using a twiggy grapevine base. These branches are the perfect compliment. They are made using real twiggy branches and faux leaves.
DIY Fall Branches
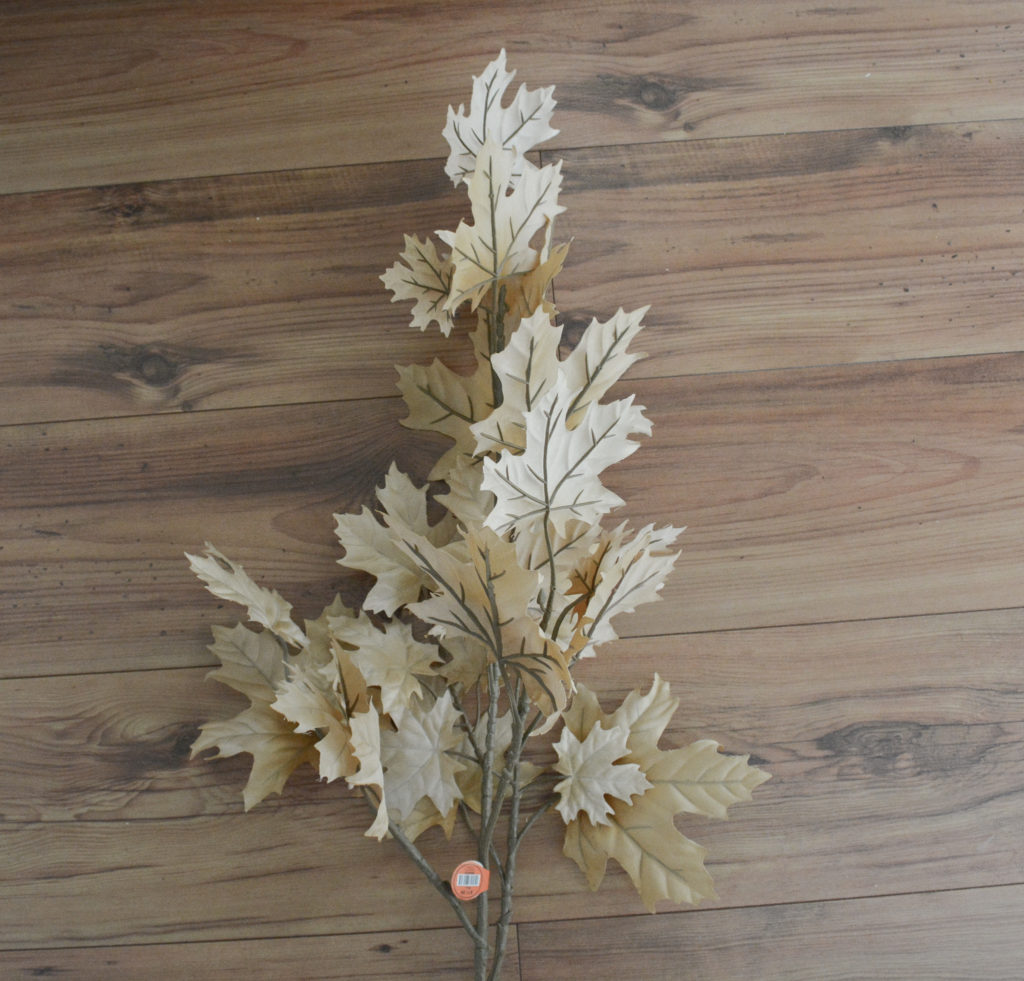
While shopping for neutral fall decor, I came across these leaves from Hobby Lobby. But guess what? There was only one branch left! I wanted to make a big impact with these leaves, so I had to figure out a way to stretch them.
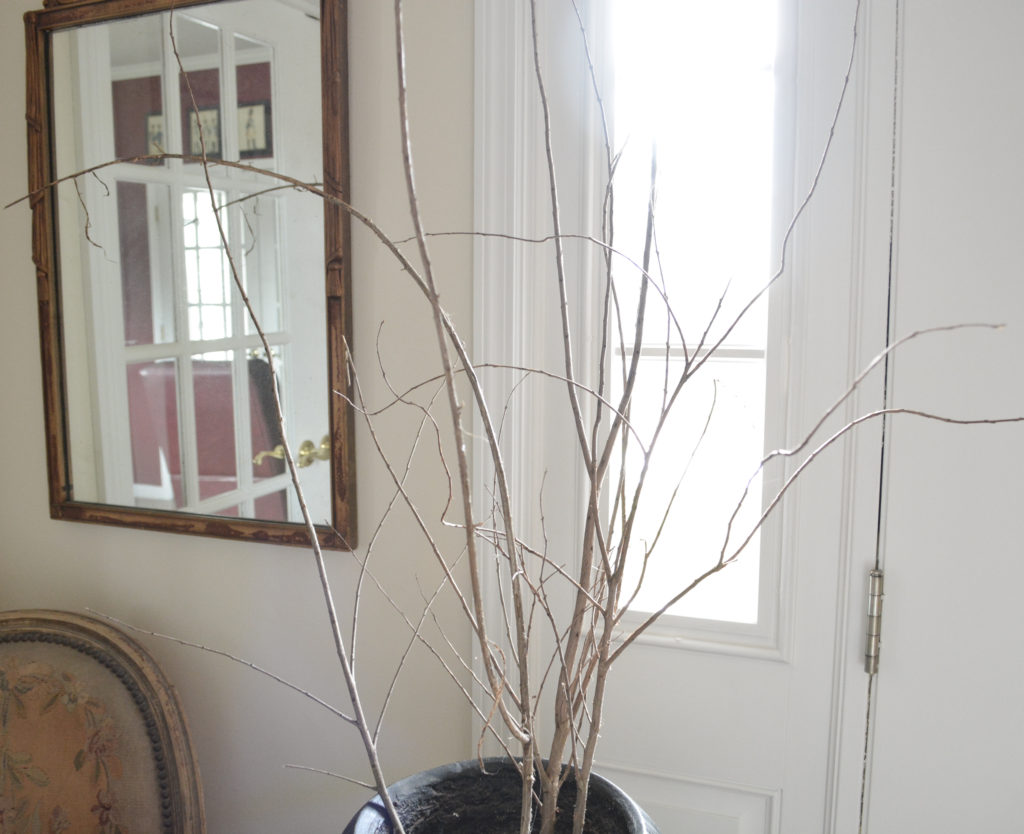
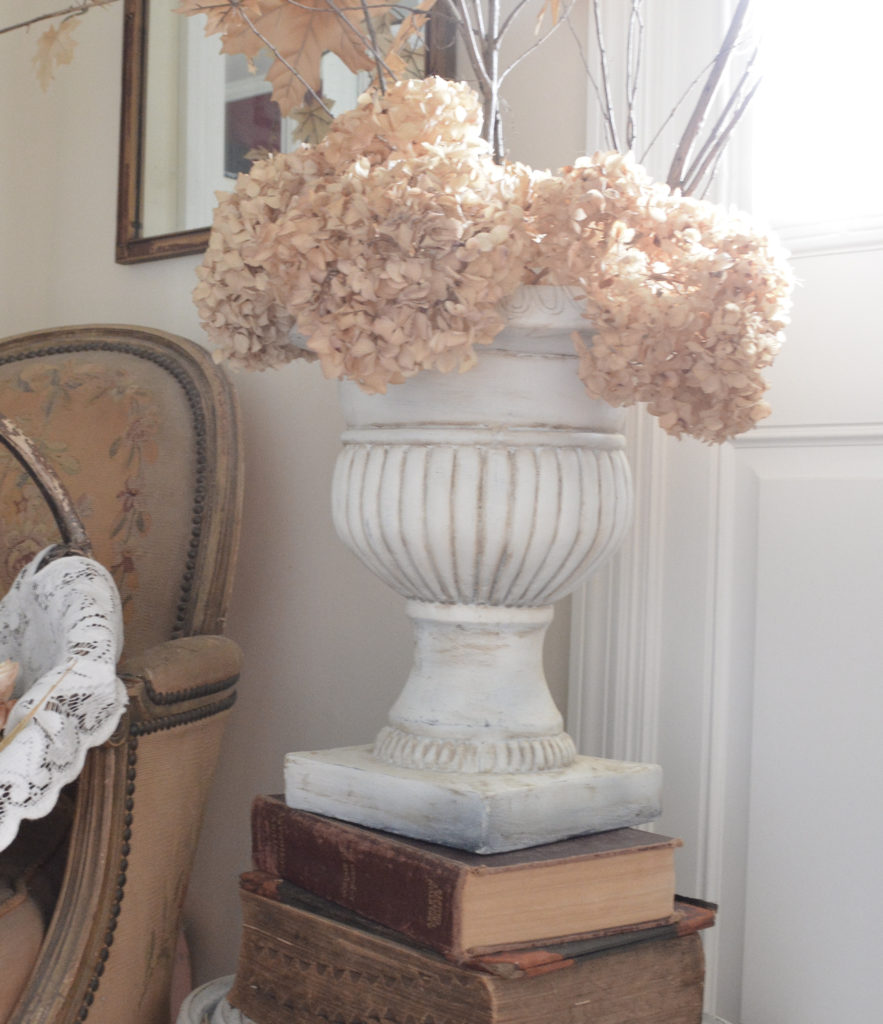
I gathered some branches from the yard and placed them in an urn I found at Goodwill.
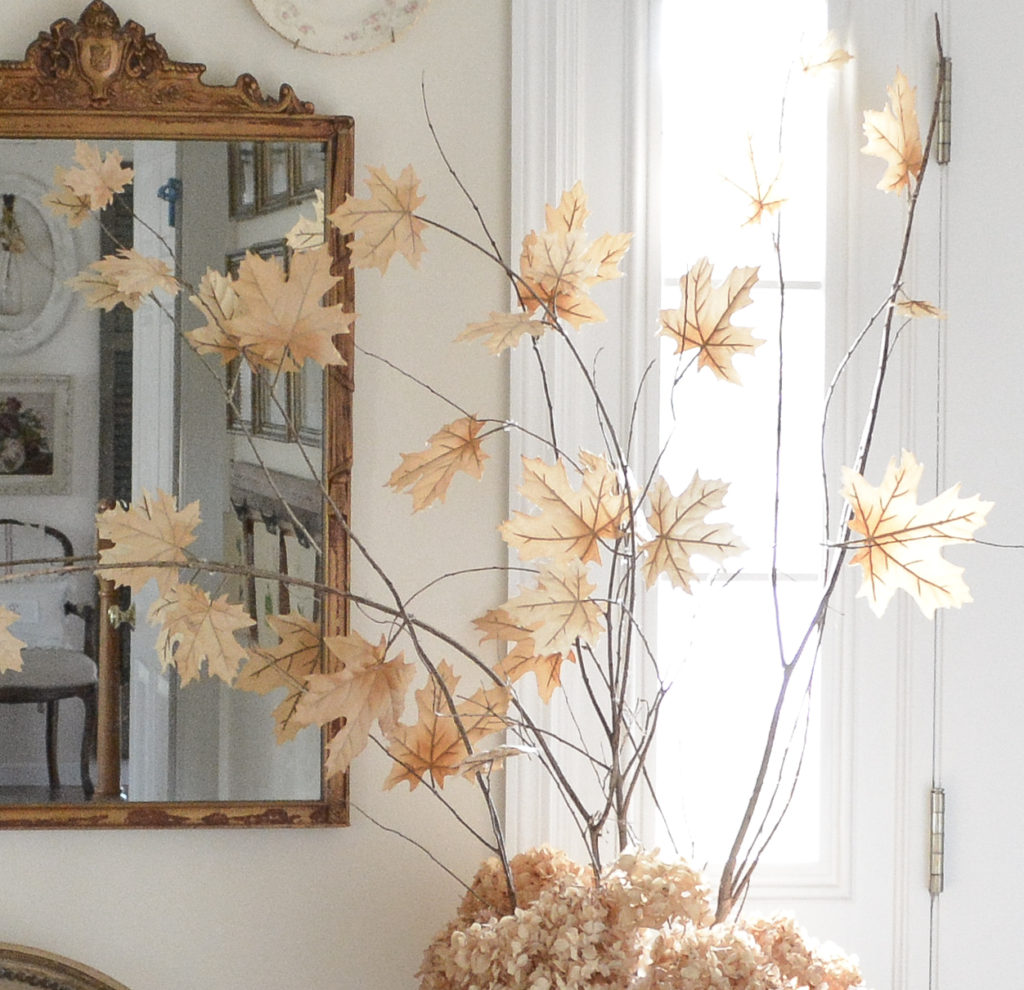
You may remember my spring branches that I made. I used the same idea, I separated the leaves from the plastic stem and hot glued them to the real tree branches.
Giving An Urn An Antique Finish
This ceramic urn from the thrift store needed a little makeover before it was ready to hold my DIY branches.
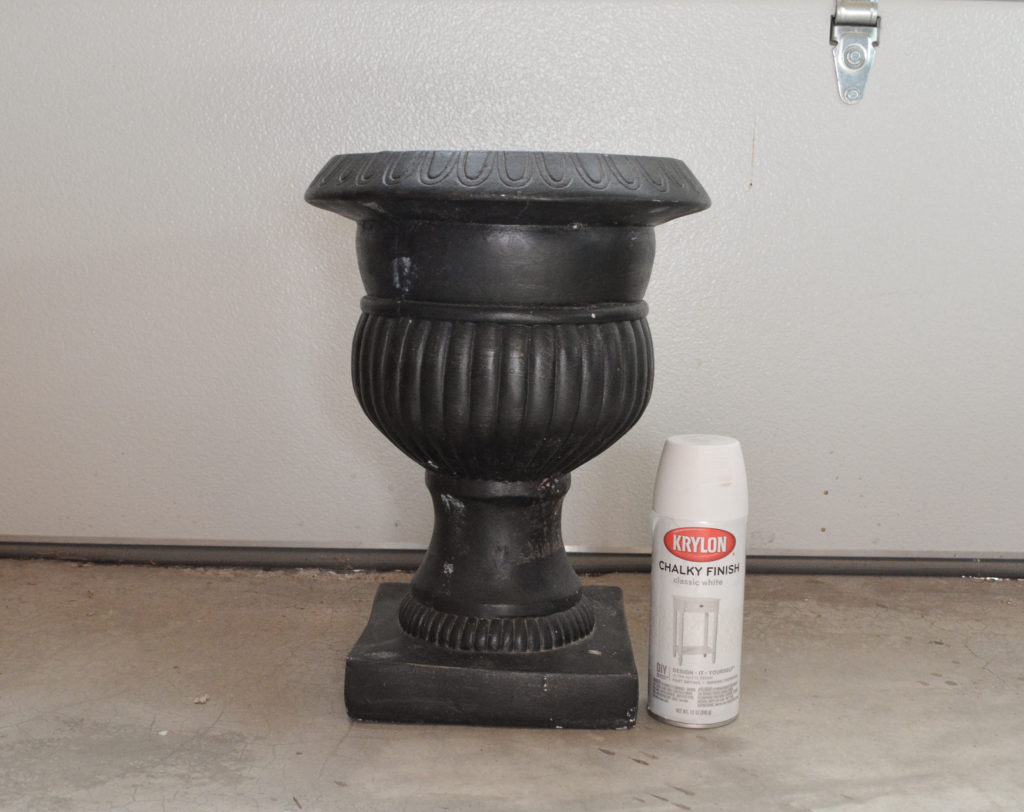
I sprayed it with Chalky Finish spray paint, leaving an uneven finish with some black showing through.
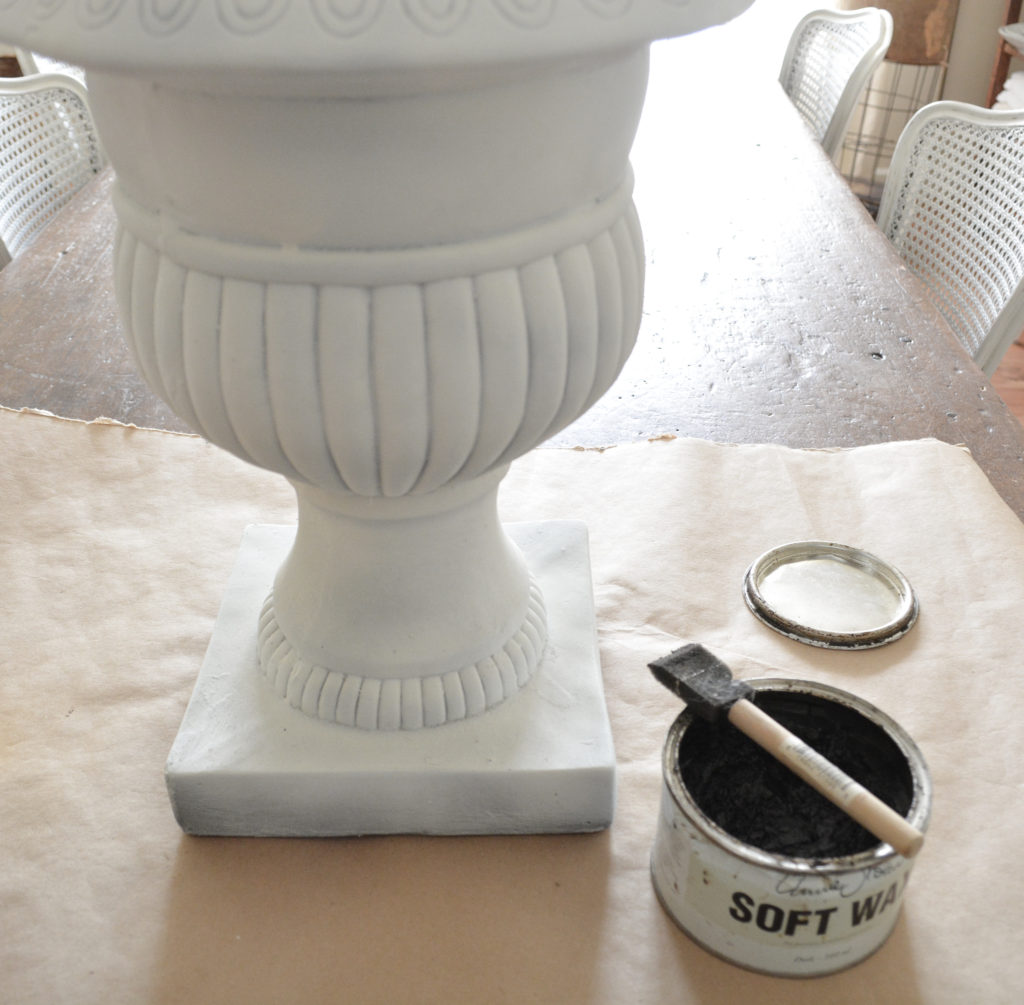
To give the urn an aged appearance, I used dark wax and a foam brush.
I applied the dark wax to all the crevices.
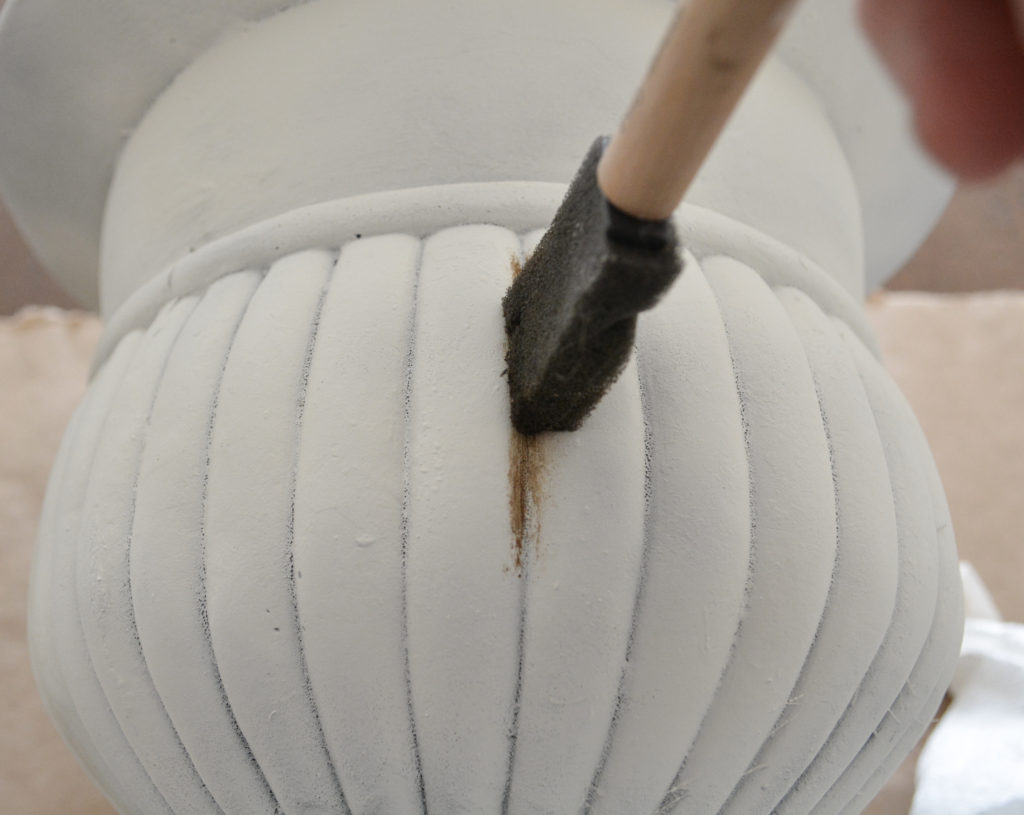
Then before the dark wax dried, I dipped a rag in clear wax and wiped off the excess and blended it in.

I also lightly brushed the dark wax over random areas, particularly rough areas.
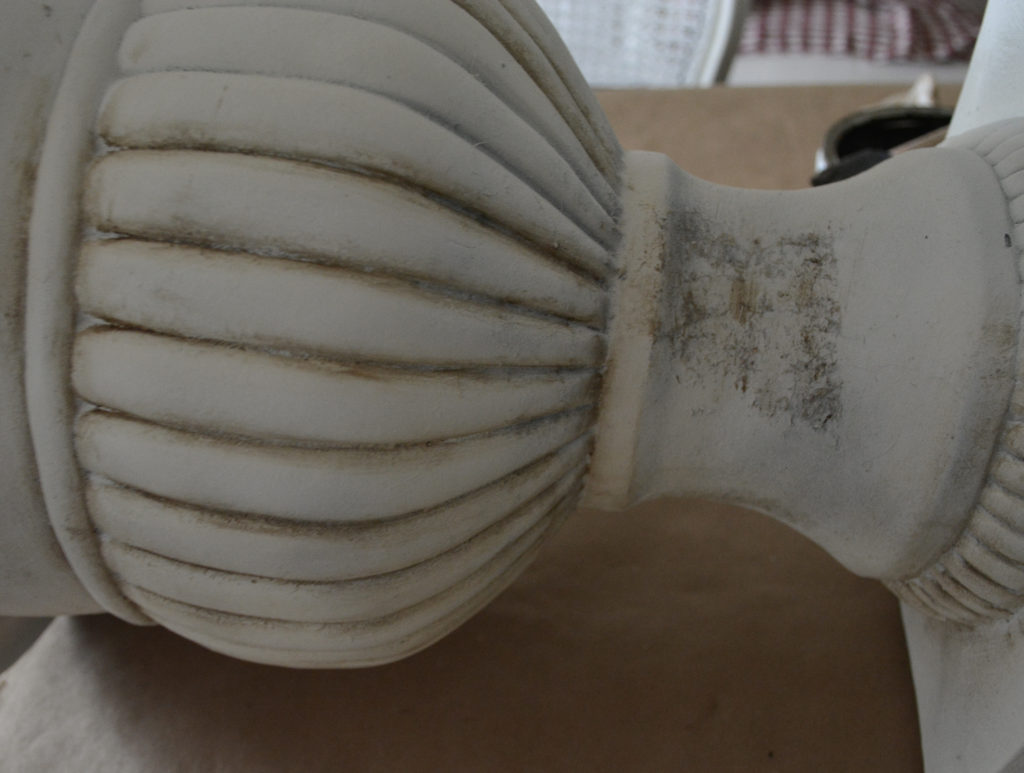
Just continue adding and blending the wax until you get the look you want!
A little light sanding revealed more of the black underneath, adding to the aged appearance.
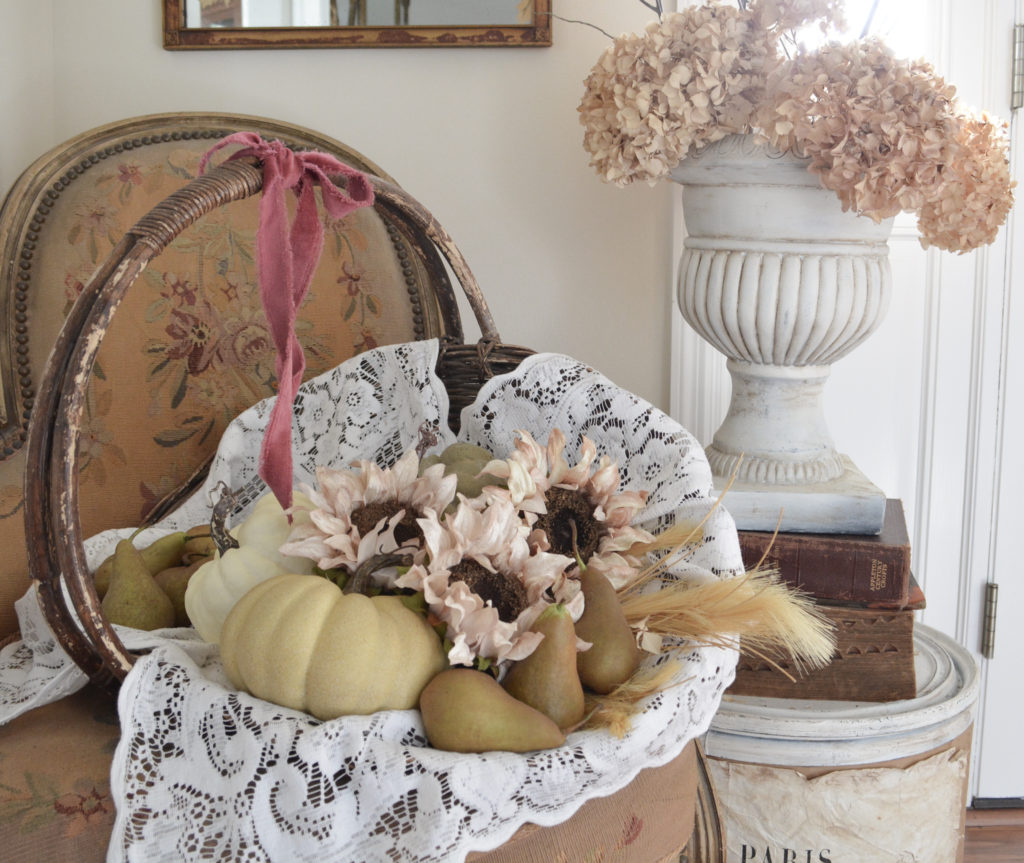
Now the urn is perfect for my branches! I filled in around the bottom of the urn with the few real dried hydrangeas I have.
I love this quick and easy DIY fall branches project! And you better believe this urn will make an appearance in my Christmas decor!
Pin it for later!

Thanks for stopping by,
Janet
so beautiful, I love that you used the dried hydrangeas at the base of the urn. Loving all your lovely fall decor!
Thank you! Dried hydrangeas are my favorite for fall, sadly I didn’t get any blooms this year, so I only have a few from last year!