
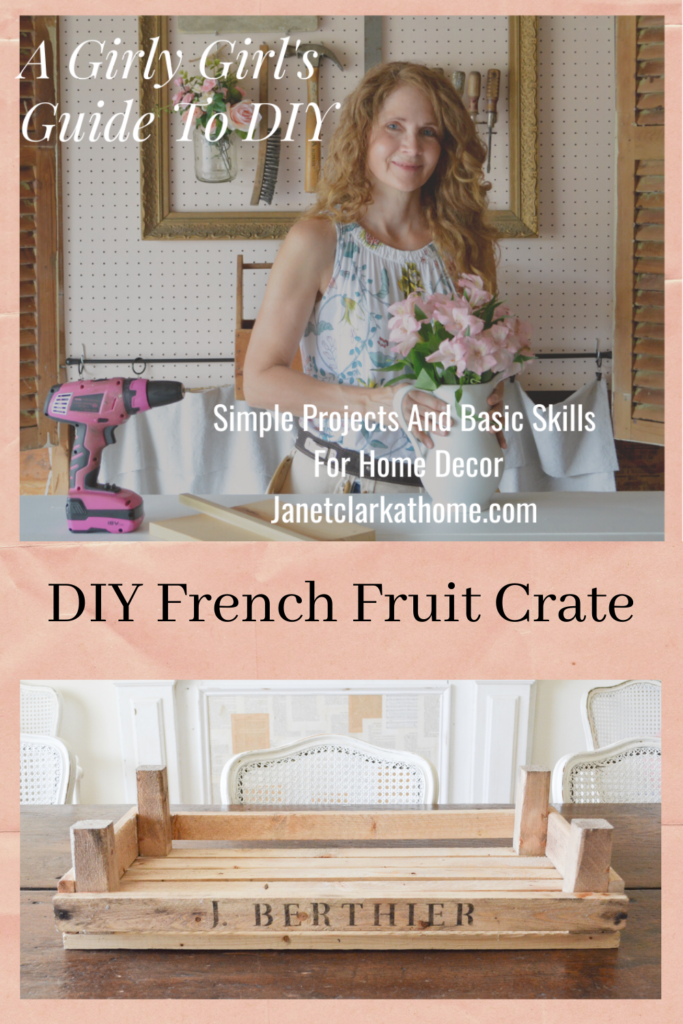
A Girly Girl’s Guide to DIY – Beginner Building Series Project 2 – A DIY French Fruit Crate
Level: Beginner
Skills: Hammering a nail
Supplies: hammer, 1-1/2″ common nails, wood glue, optional C clamp.
Can’t find or afford authentic French wares? Try building this “french” fruit crate. It is a simple DIY that only requires a hammer and nails to build.
I recommend reading my post for Project 1 to learn the skills for Project 2.
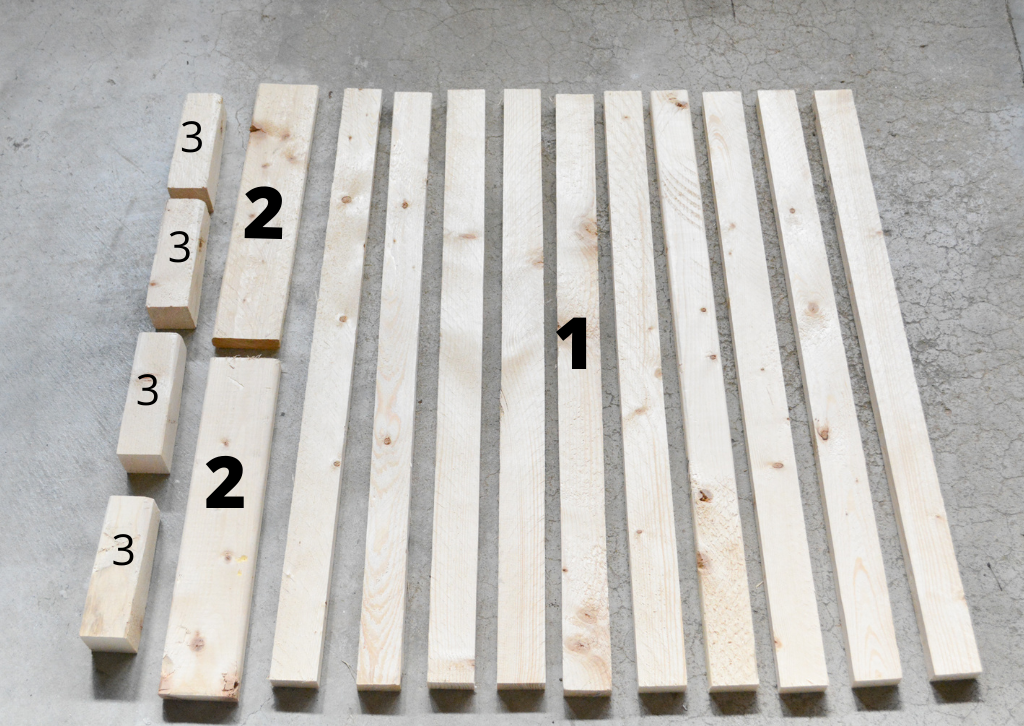
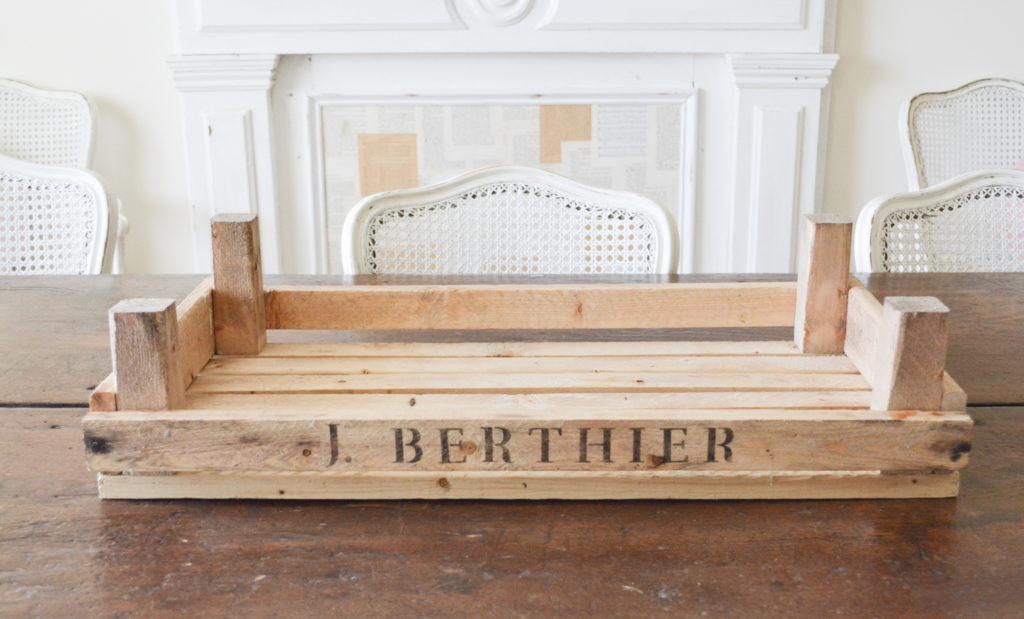
Cut List – You can have them cut at the home improvement store
- Sides and bottom. 1×2 furring strips cut into 9- 24 ” pieces ( my picture accidentally shows 10)
- Short ends. 1×3 furring strip cut into 2 – 12″ pieces
- Square posts. 1-1/2×1-1/2 furring strip cut into 4- 5″ pieces
Prepare the wood
I distress and stain the wood before I build. I followed the same steps for the crate as I did for the DIY weathered Wood Tray.
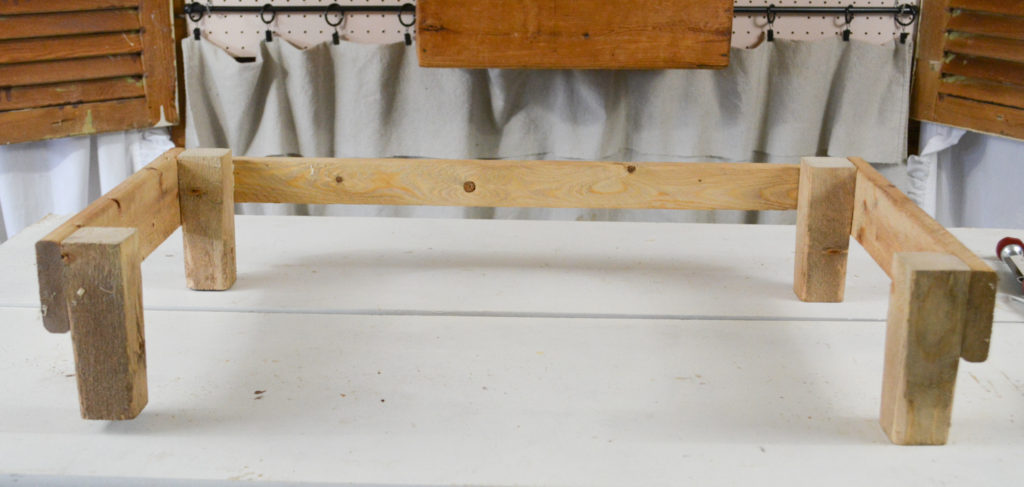
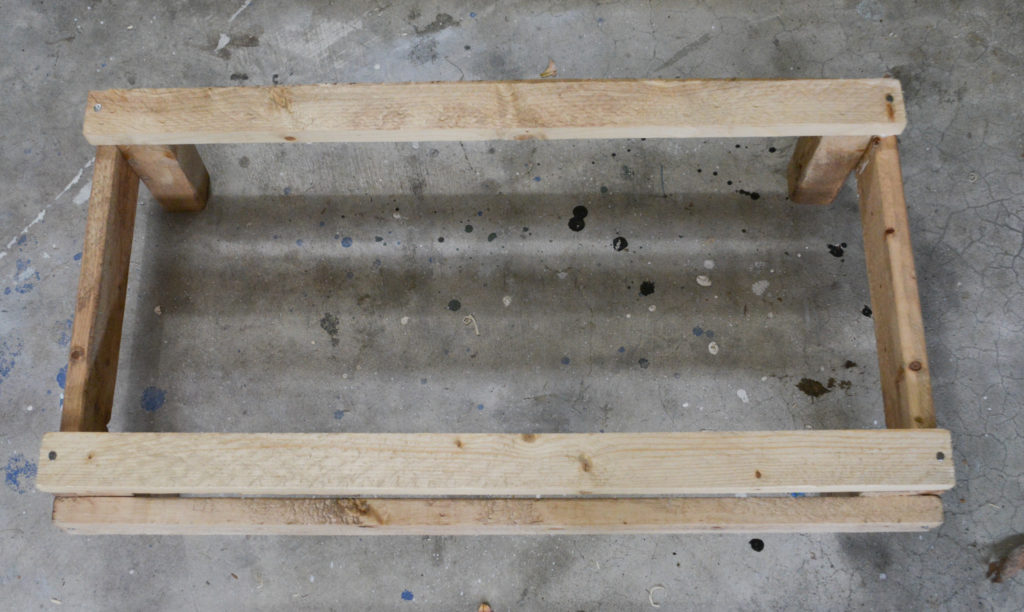
Build a rectangular box
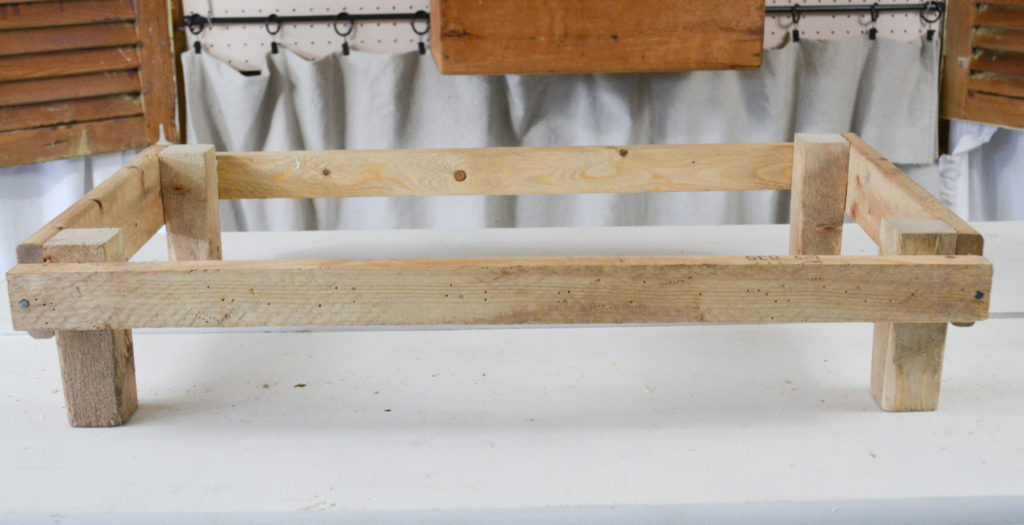
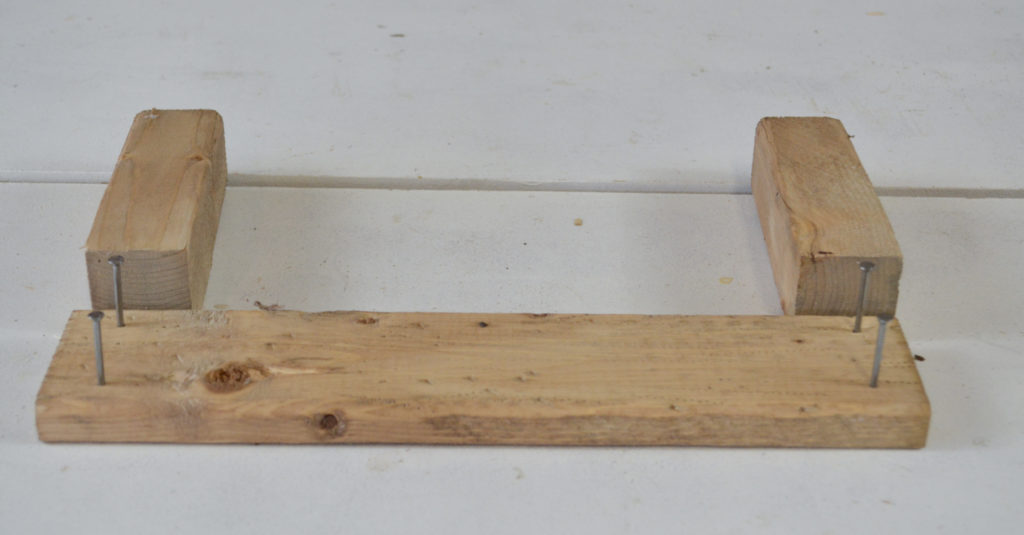
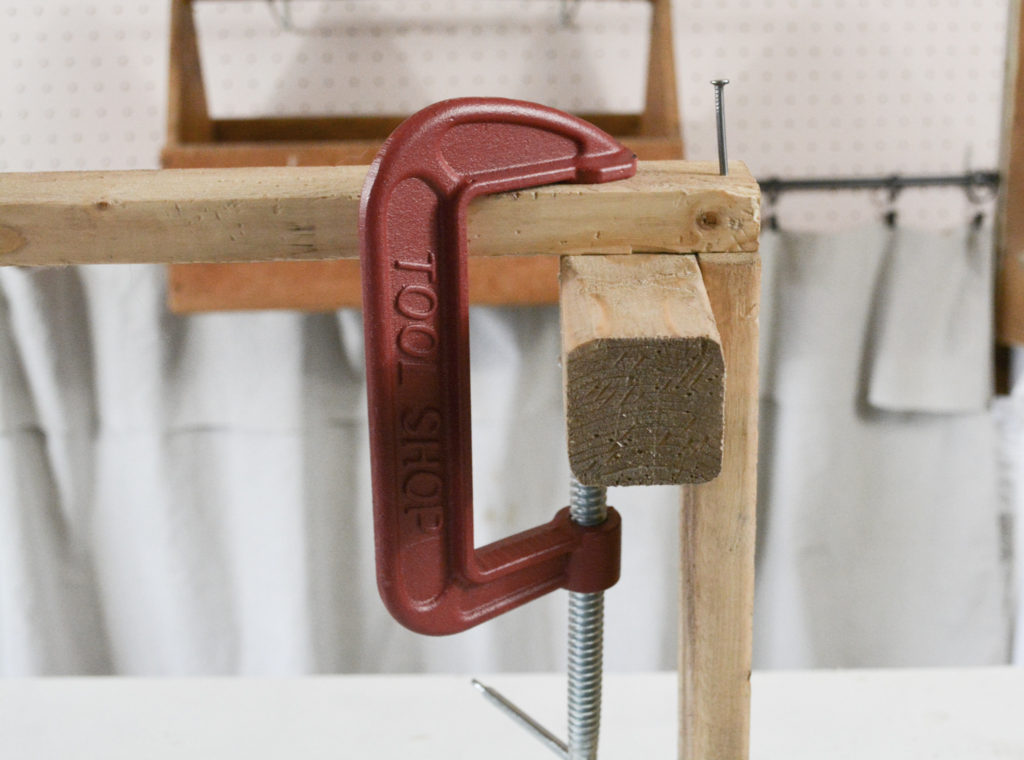
Assemble the short ends
To get the nails started, hammer nails in part way on the short end pieces (2).
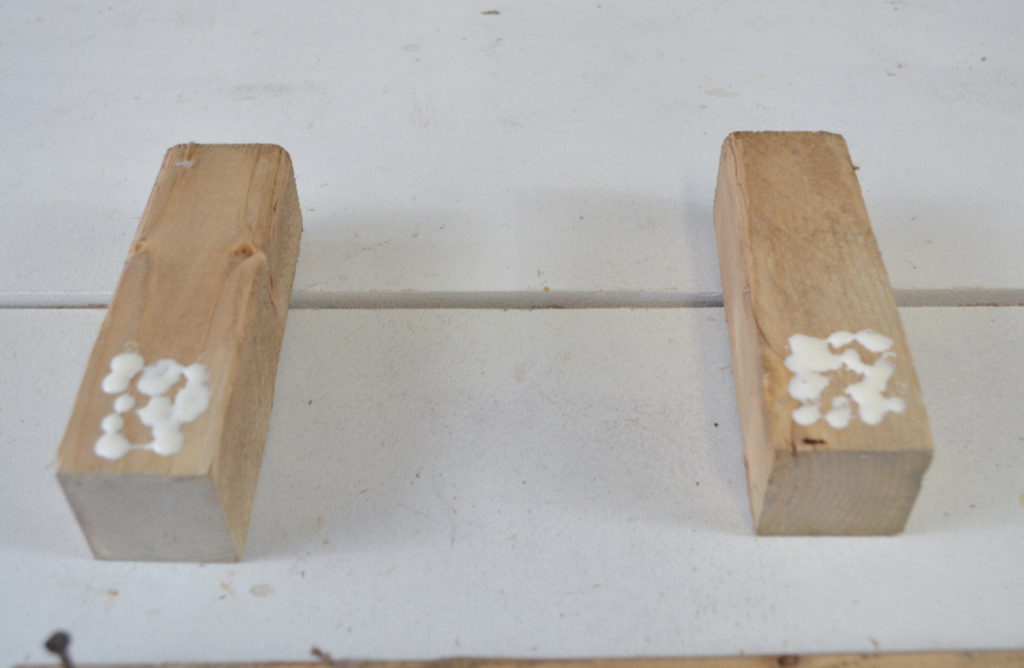
Apply wood glue to the bottom of two short square posts (3)
Place one end board (2) across two of the square posts, aligning the posts on the edges and bottom. Hammer in the nails.
Girly Girl Tip: If you have trouble with your pieces moving when you try to hammer in the nails, apply glue and allow to dry, then hammer. It will be held together for you.
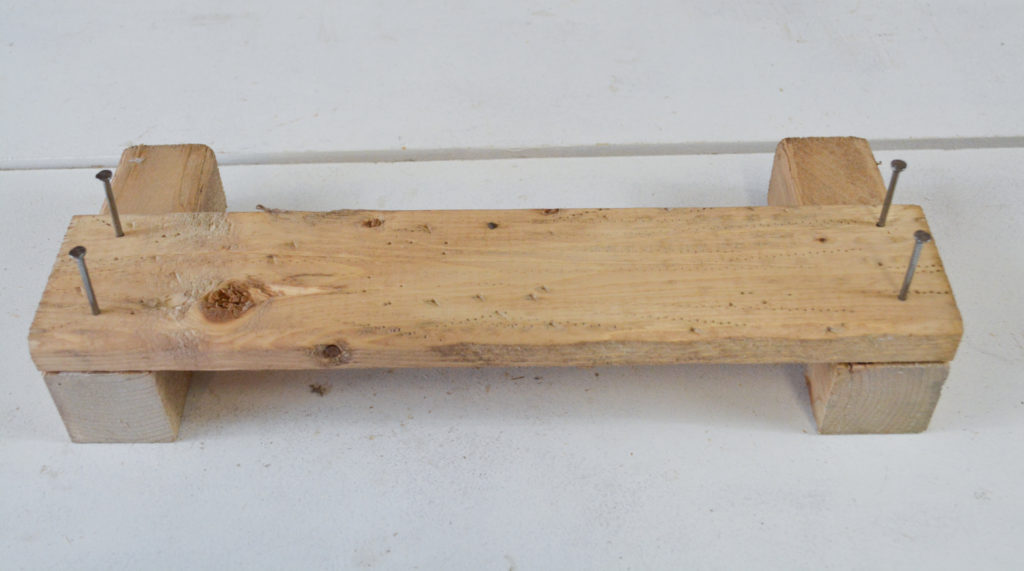
Assemble both ends.

Attach the sides
Apply wood glue
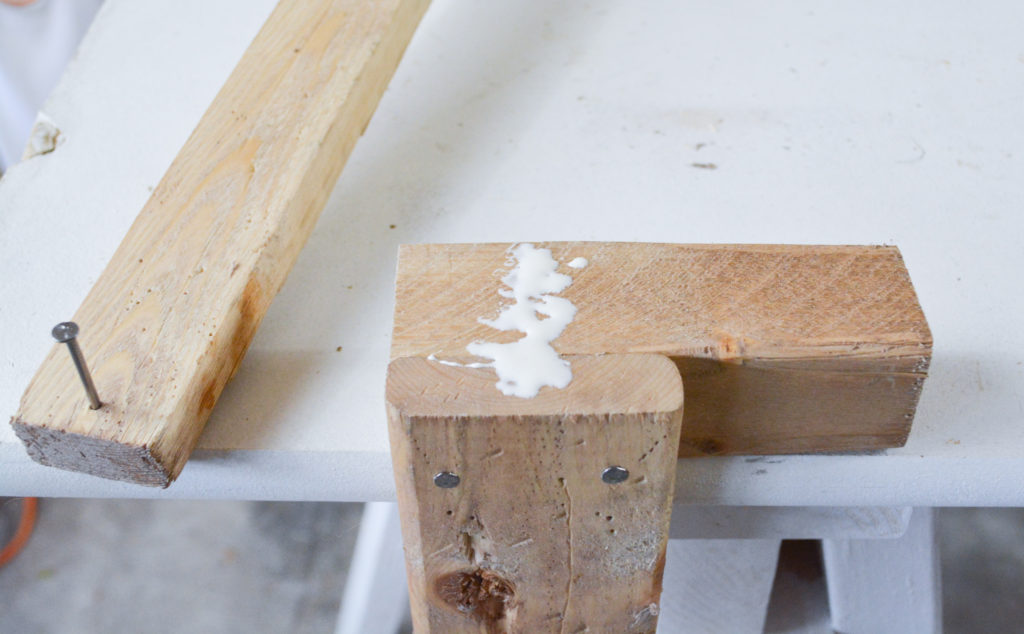
The long side piece (1) will be centered on the short end piece and post, ends aligned.

Stand the ends up and place the side across the top. I highly recommend using a C clamp to hold this together while you nail. This is a 4 inch clamp and it cost about $5.00. If you don’t want to use a clamp, I suggest following the Girly Girl Tip above and allow the glue to dry and hold it in place for you.
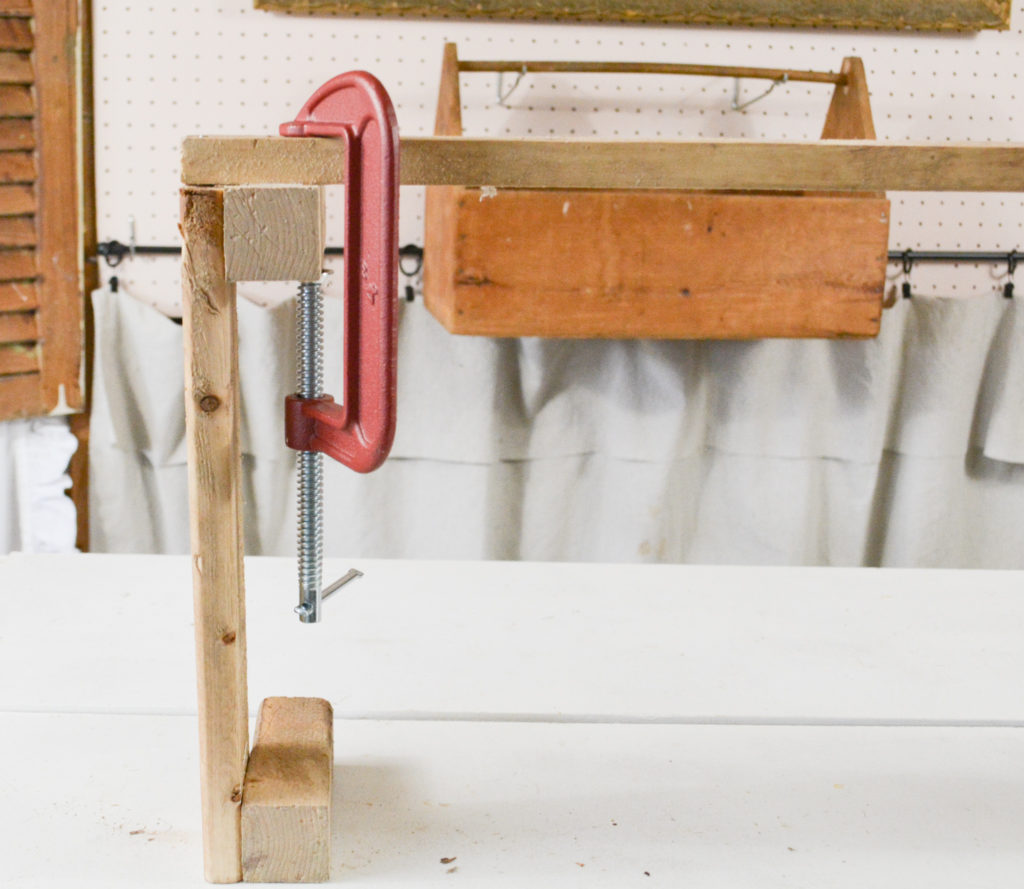
Nail both sides.
Apply glue to the other side.
Clamp and nail.
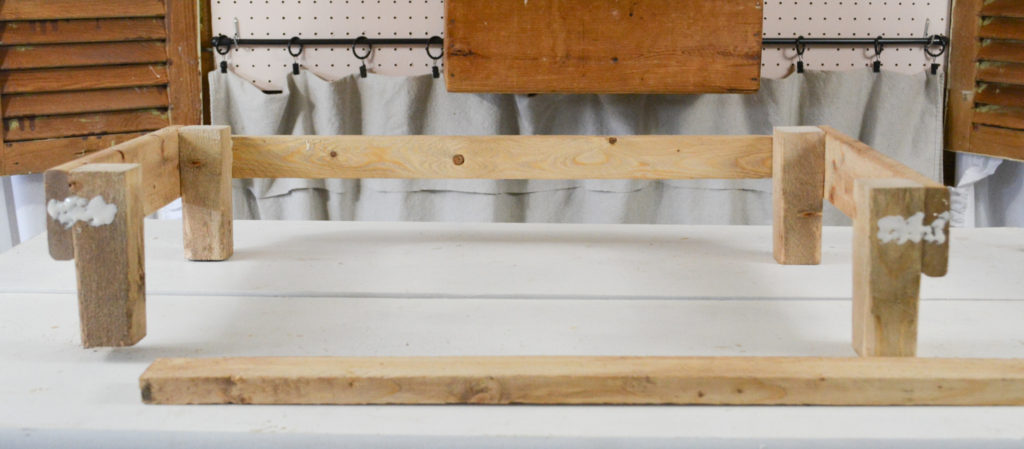
The frame is now complete.

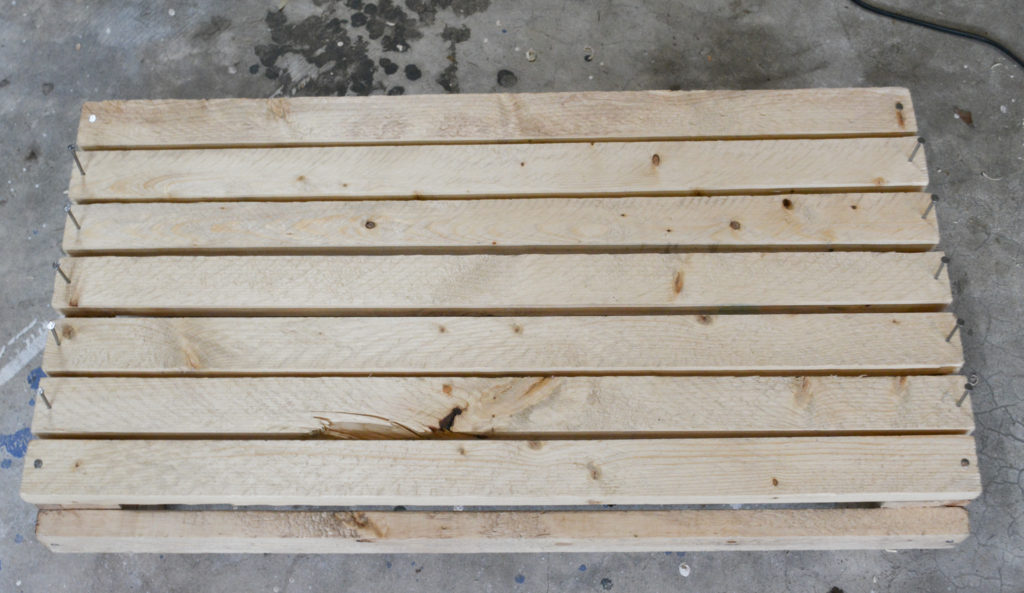
Add the Bottom
I moved to the floor at this point because it was easier to hammer. Apply wood glue to all the pieces before attaching. Add bottom pieces (1) across the top of the posts and nail into the end pieces (2). I do not nail into the posts as it may knock the frame apart.
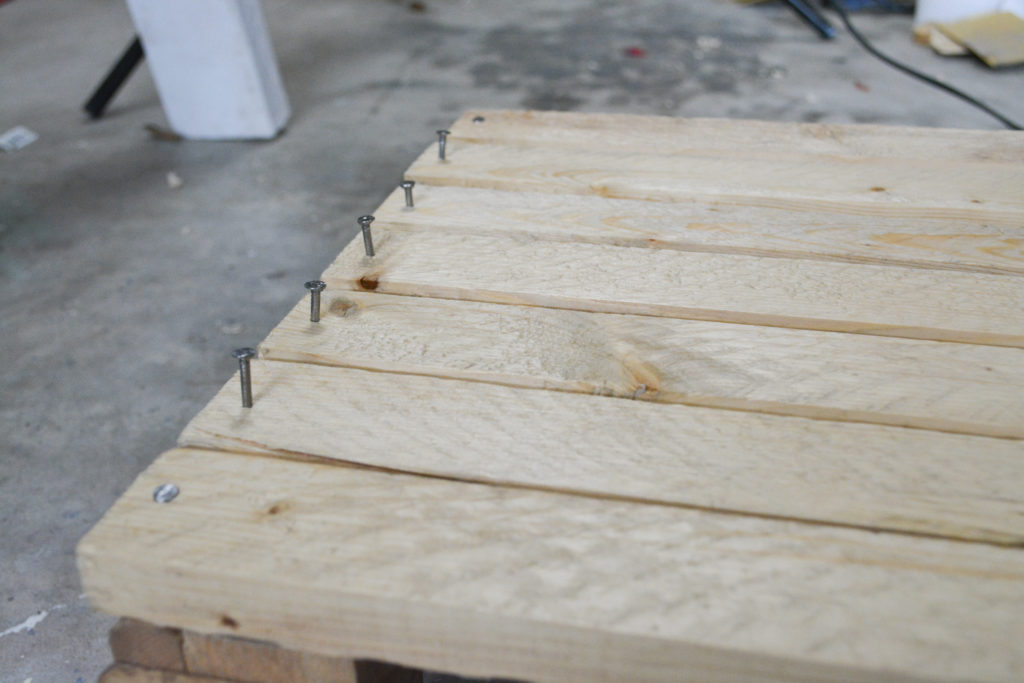
Line up the other five bottom pieces across the bottom, spacing evenly. I did start my nails before I lined up the pieces.
Girly Girl Tip – Don’t hammer the nails all the way in until the bottom boards are all positioned. That way if they are uneven, you can easily remove the nails to reposition.
Hammer in the nails completely and your crate is done!
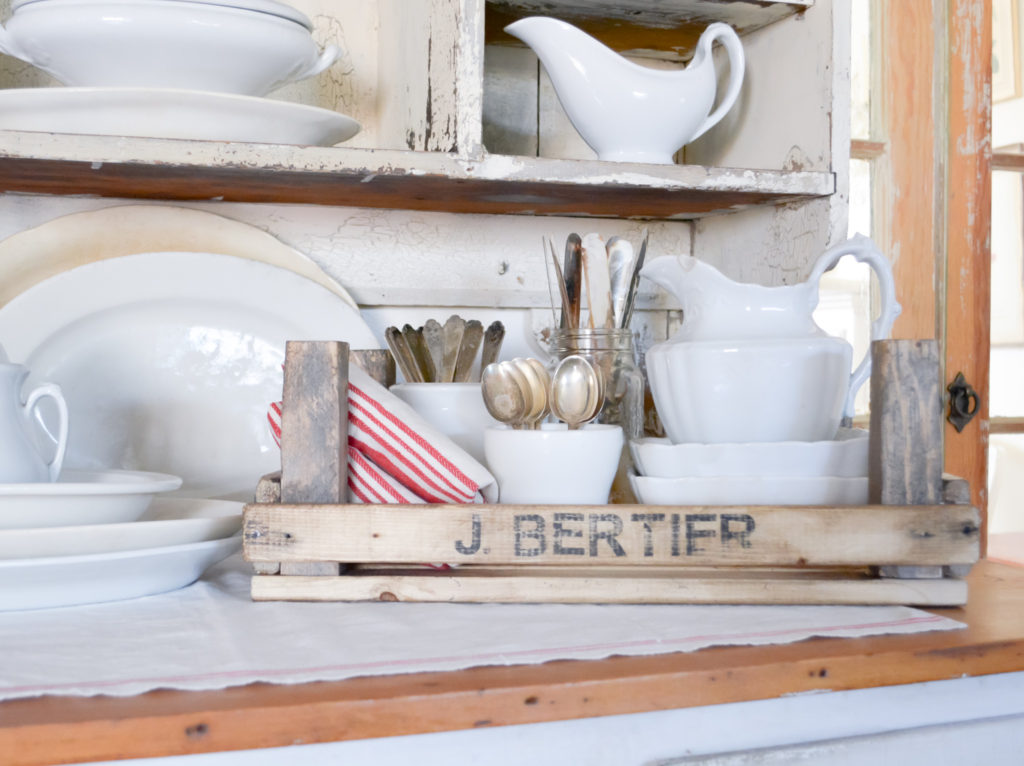
Add the finishing touches with black paint and stenciling.
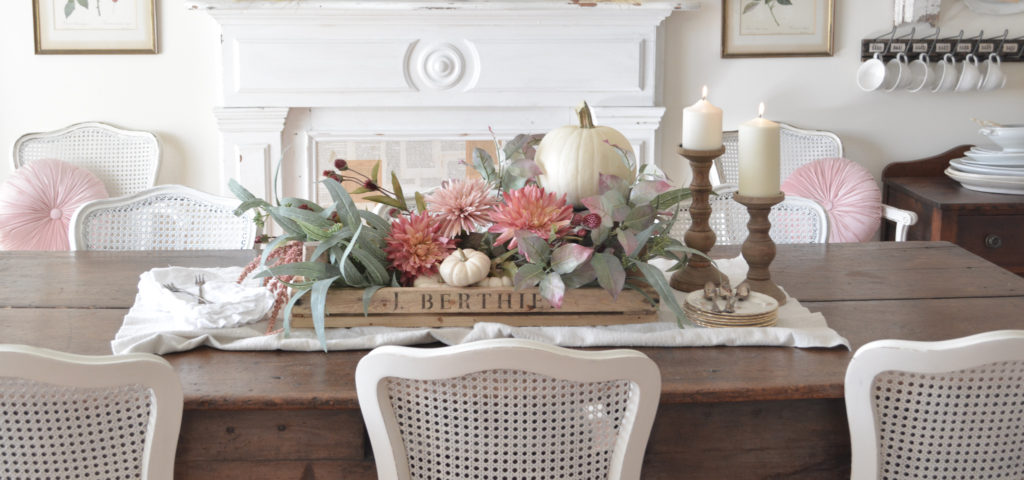
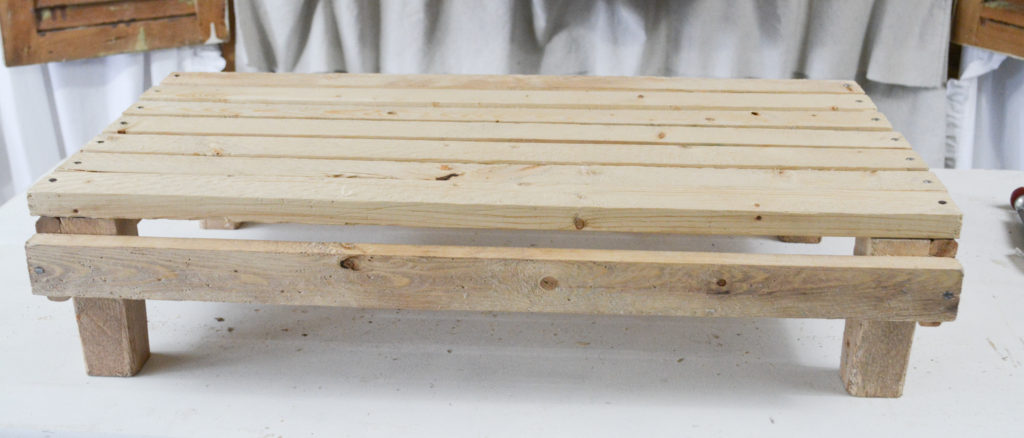
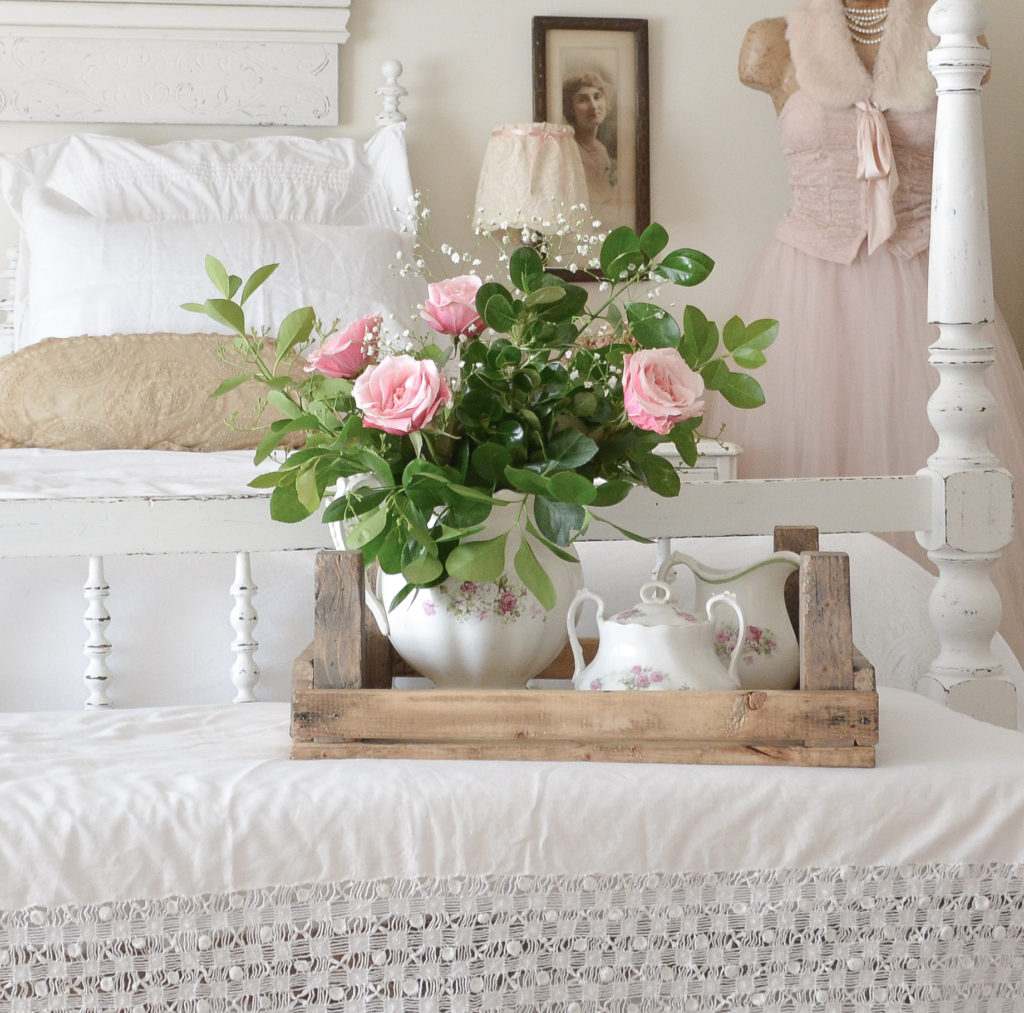
Fill and display!
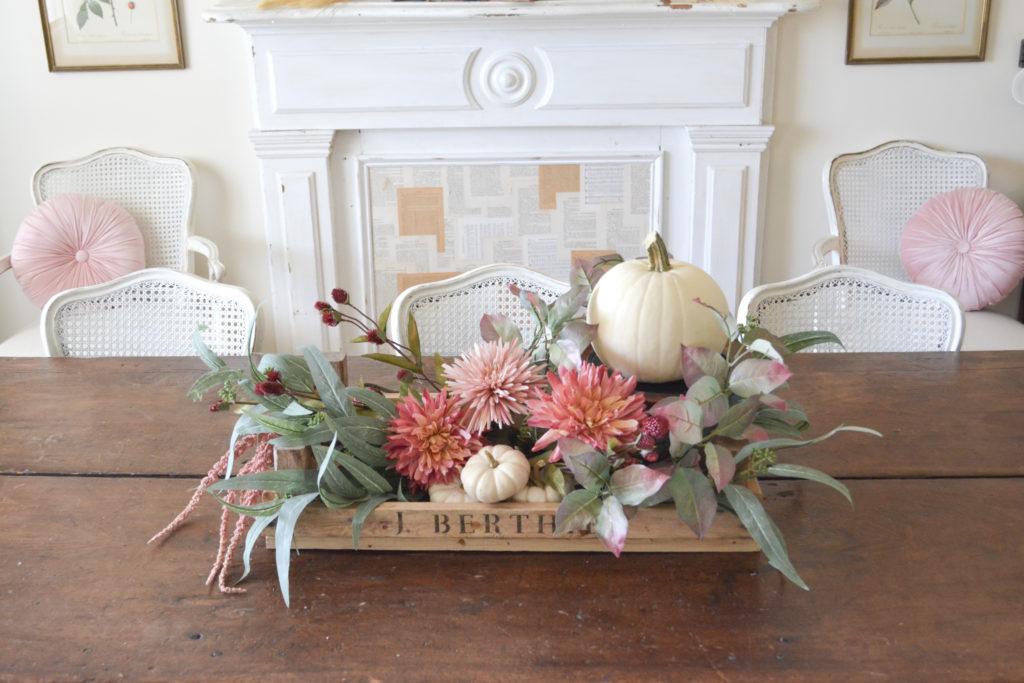
I love this project. It came in under $10.00 and only took a couple of hours.
I use the tray all around the house.
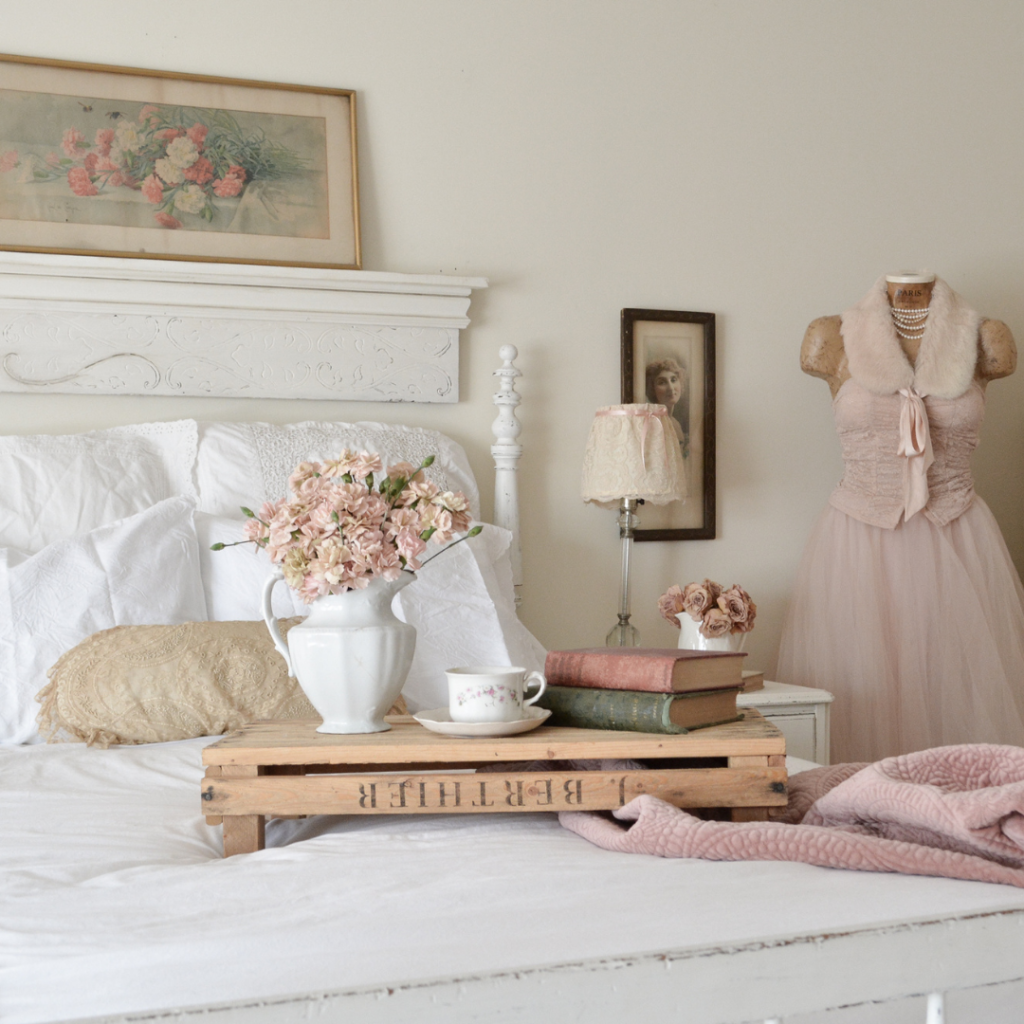
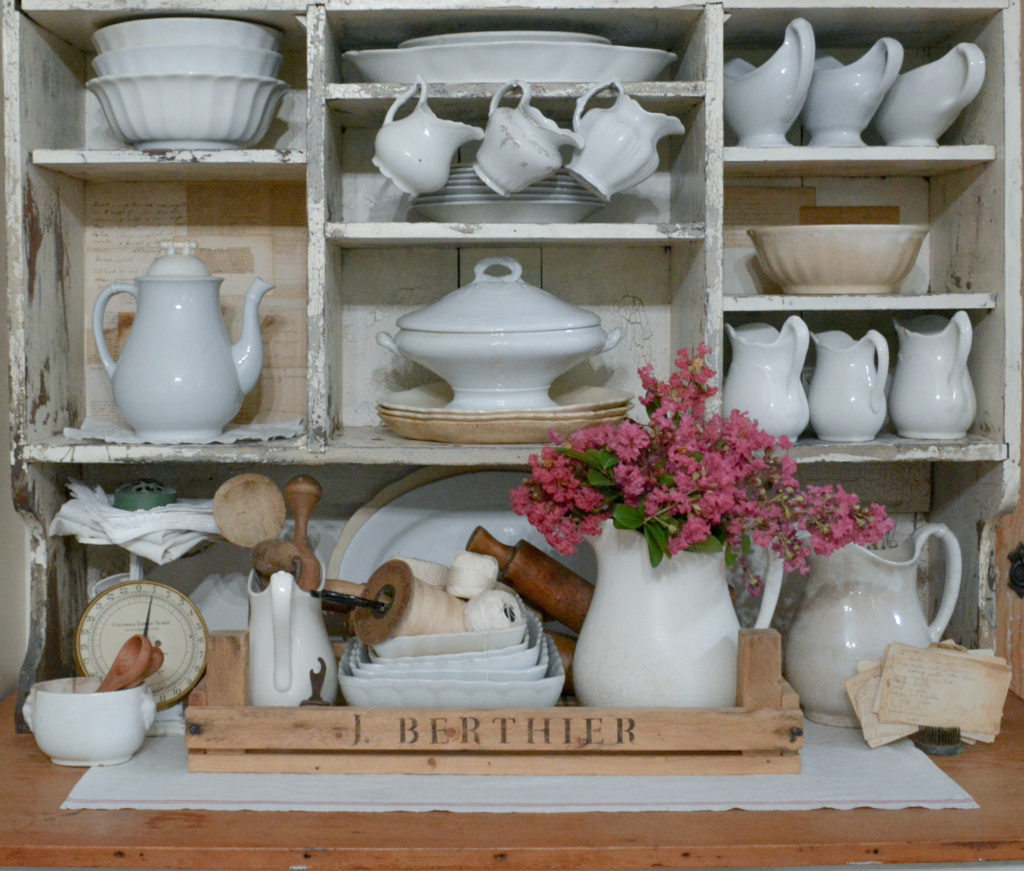
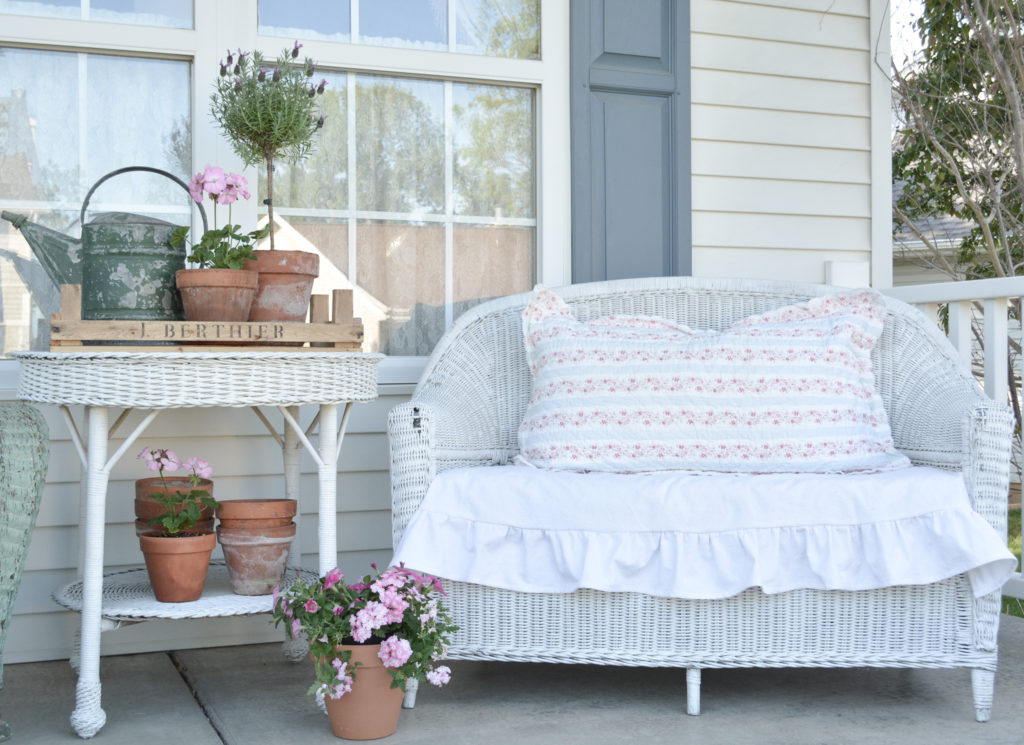
Here is the crate in a smaller size. It can be customized in so many ways to work for your space.
Pin It For Later!

Thanks for stopping by,
Janet
I have been looking at vintage trays like this. I may need to try to one for myself!
You should! It’s really easy. I have made a couple and want to do more. I need a stack!