
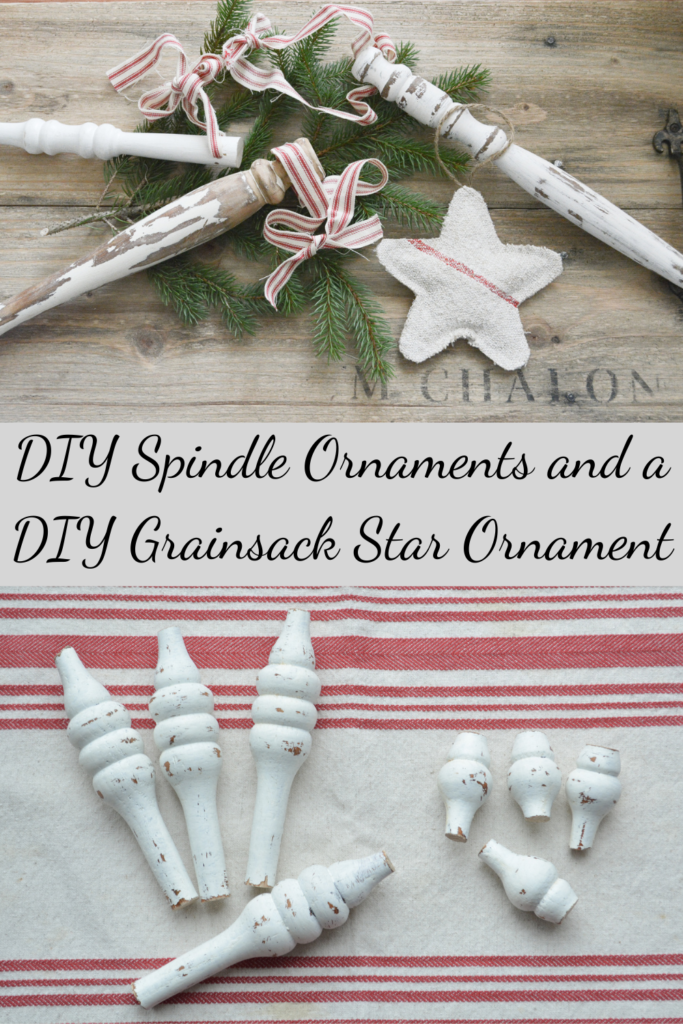
Learn how to make these DIY spindle ornaments and quickly sew this grain sack star tree topper.
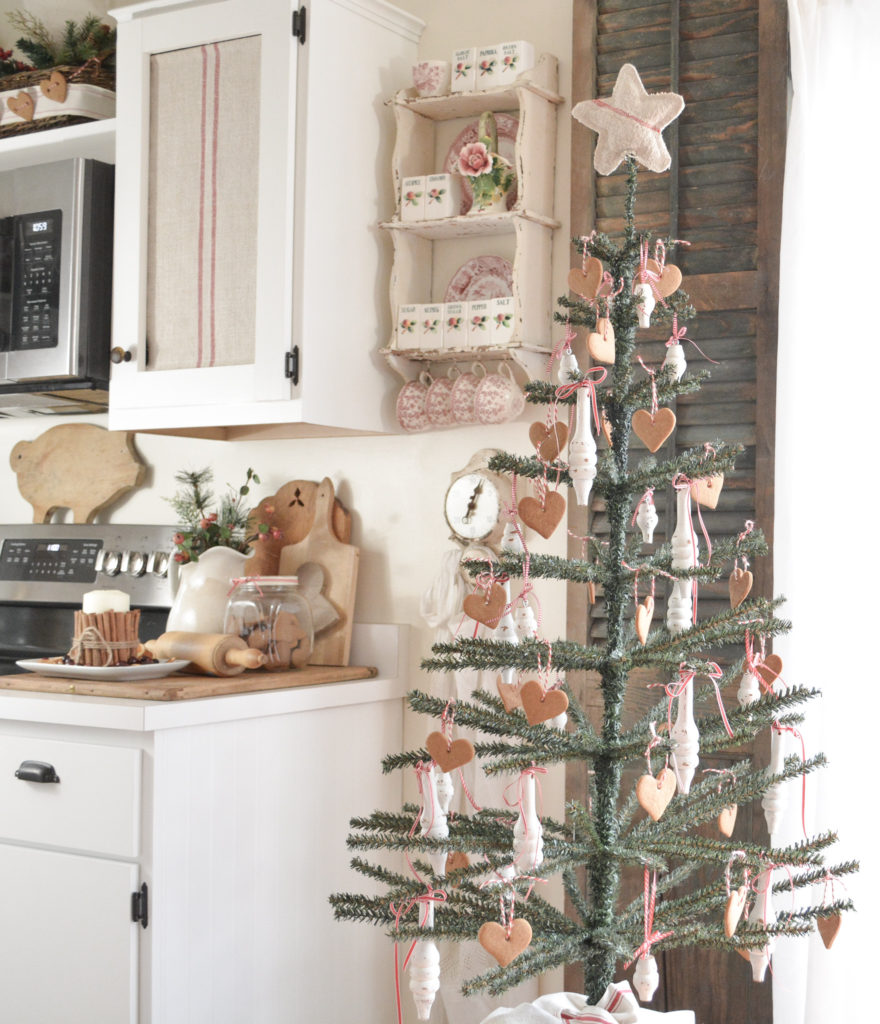
I decorated this small tree in my kitchen with spindle ornaments, gingerbread hearts, and a grain sack star tree topper. Using spindles cut from a $2.00 headboard, scrap fabric, and last year’s clearance ribbon, I hardly spent any money on this project. This was truly an easy and budget friendly DIY Christmas project.
Making the Spindle Ornaments
I saw this headboard at the thrift store and knew these spindles would make the perfect ornaments for my small tree. And only $2.00? Sold!
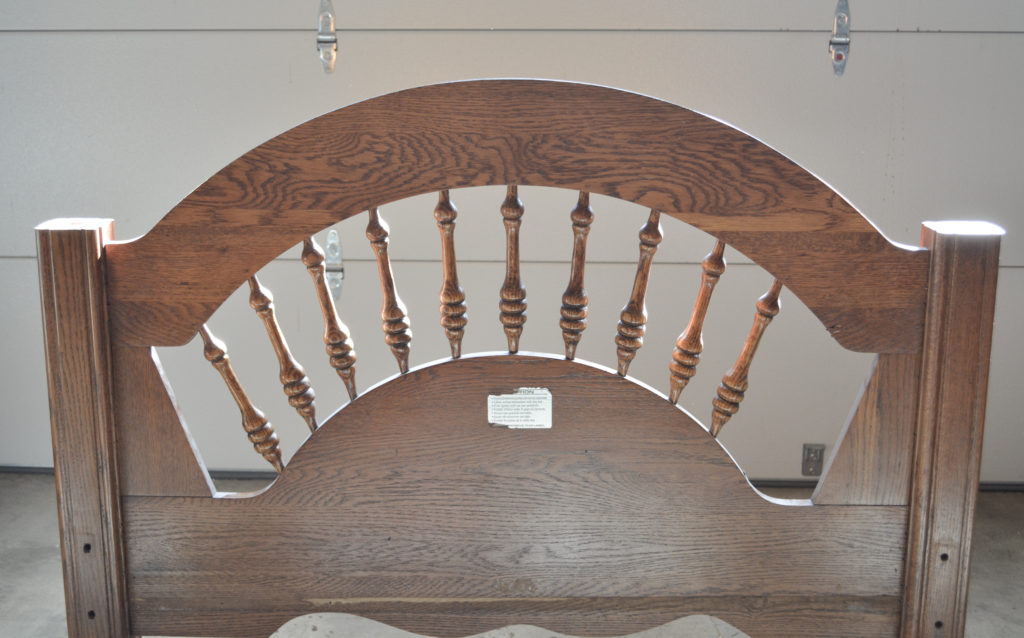
I got smart and painted the spindles before I cut them off. There was a super shiny finish on them so I used my homemade chalk paint. You can find the recipe here, in my post about a buffet makeover.

I painted the spindles, sanded to distress, and sealed with a clear wax.
I cut the spindles off the frame with a jigsaw.
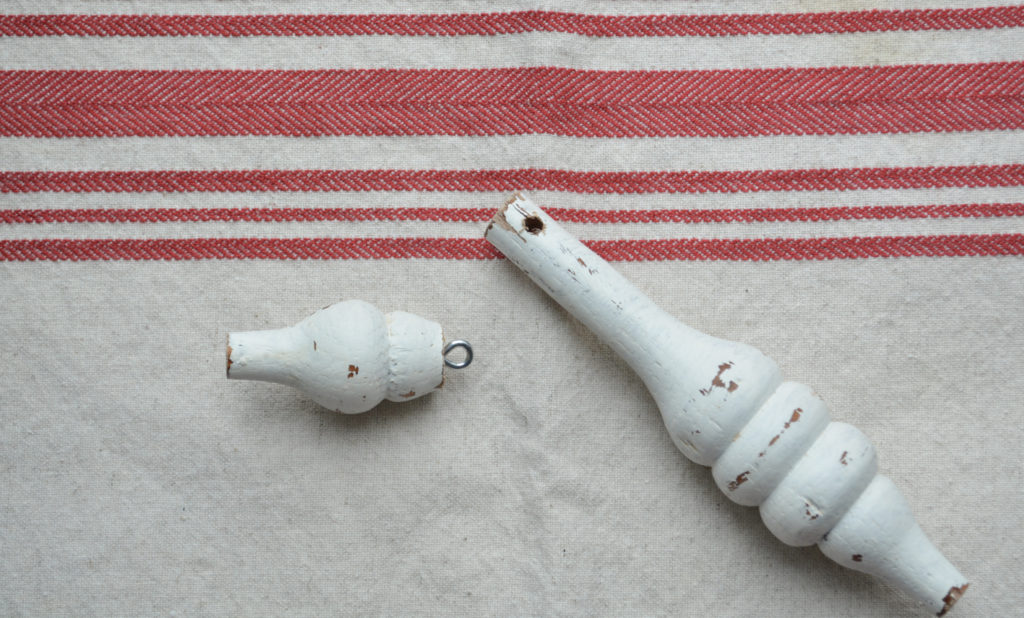
I wanted the spindles small, so I cut them into two pieces.
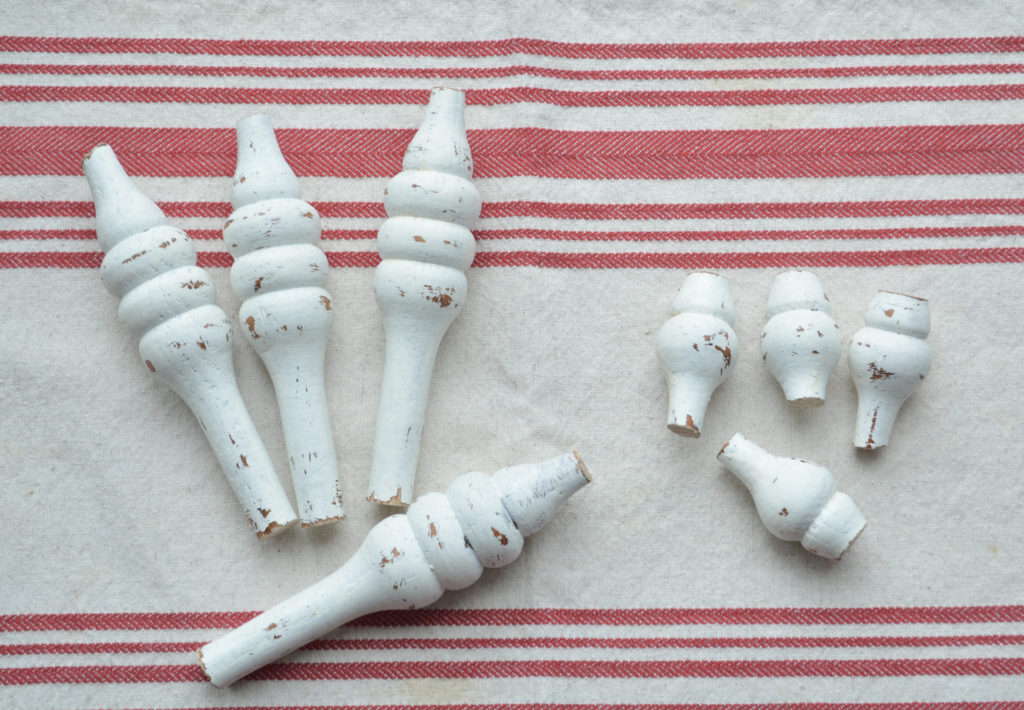
To hang the ornaments, I drilled a hole through the top of the larger ones, and added a screw eye to the smaller ones.
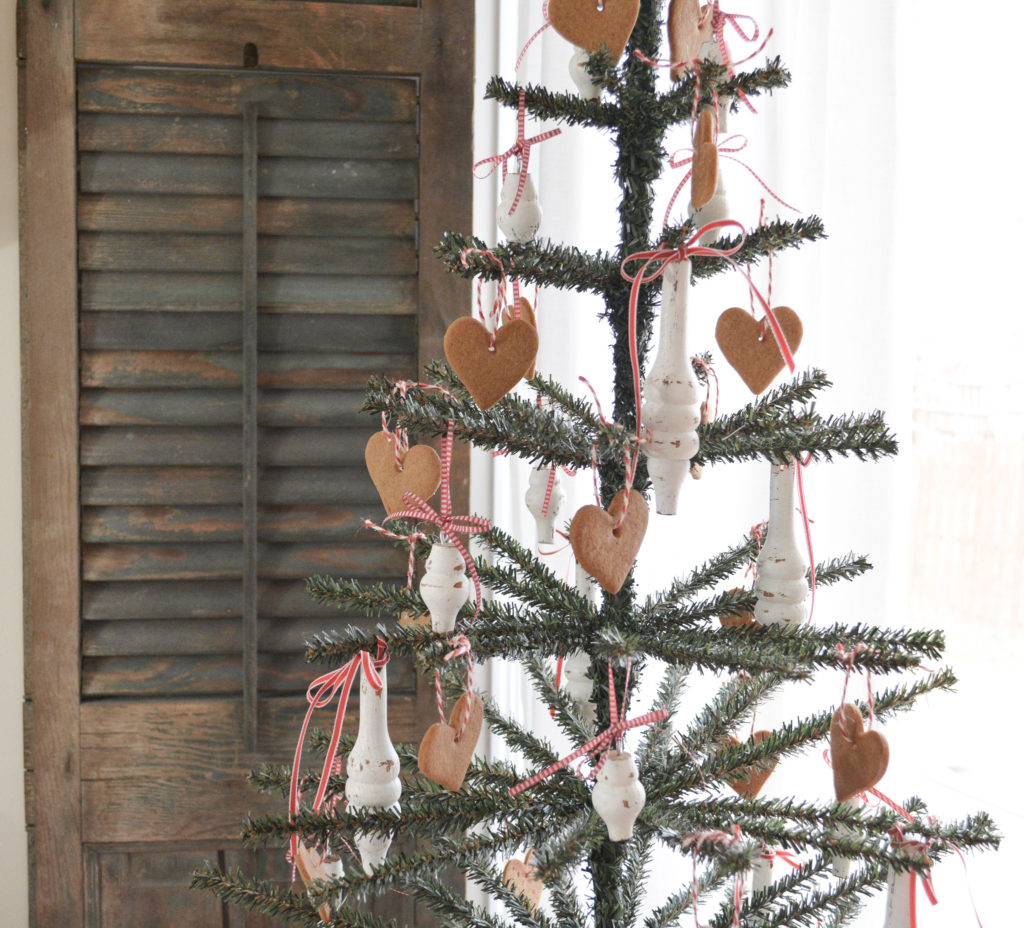
Pretty ribbon tied in a bow adds a pop of red.


How to Make a DIY Grain Sack Star Tree Topper Or Ornament
A cookie cutter provided the perfect shape and size for my tree topper. And I had a piece of a grain sack leftover from my kitchen curtains.
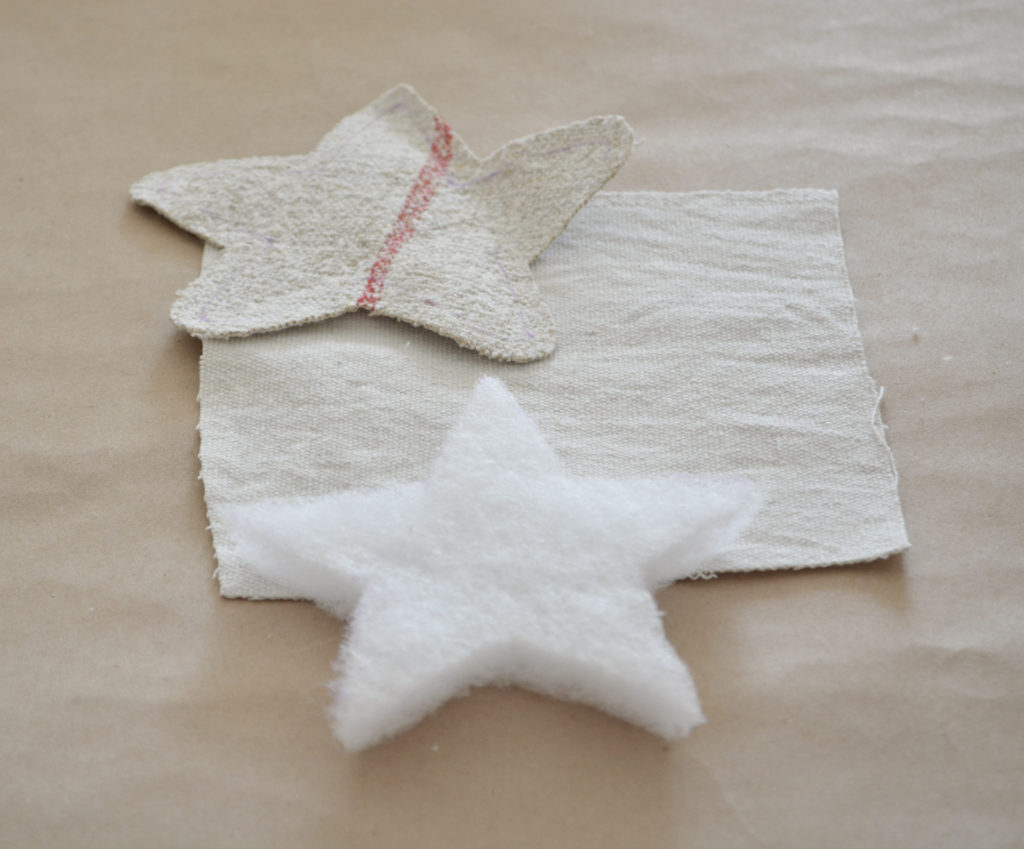
The star is made from a star cut out of grain sack and a square piece of fabric for the back. A star cut out of 1 inch batting is sandwiched in the middle to add shape.
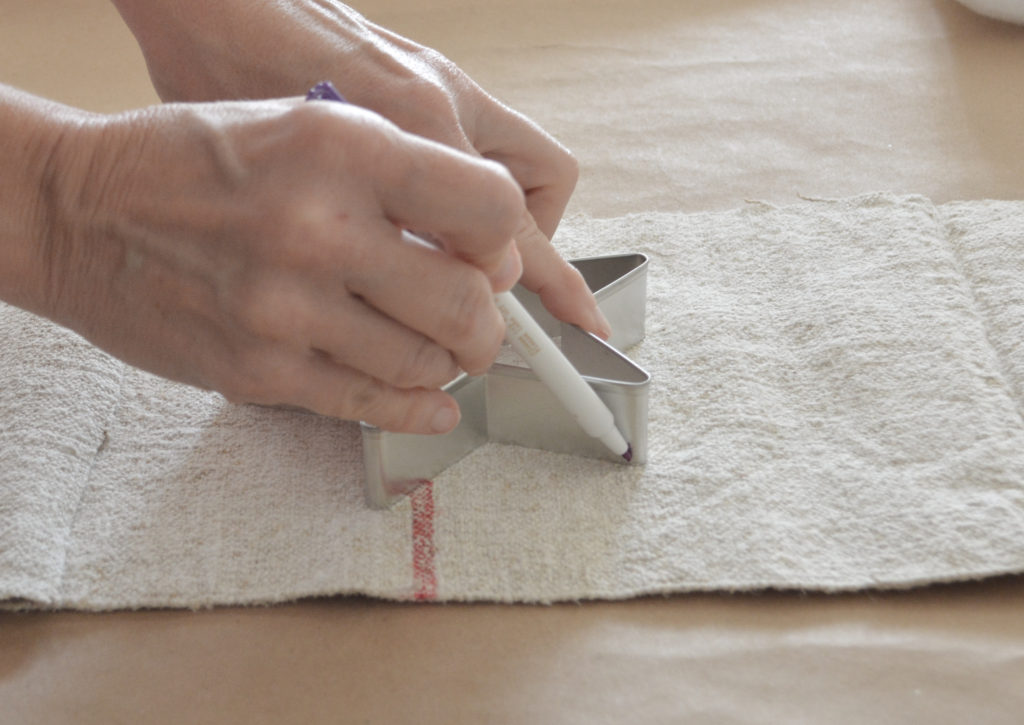
Step 1 – Trace the Star Cookie Cutter
You could also make your own pattern to trace. To trace around the cookie cutter, I used a water soluble marking pen. These can be found at fabric or craft stores.
Trace around the outside of the star.
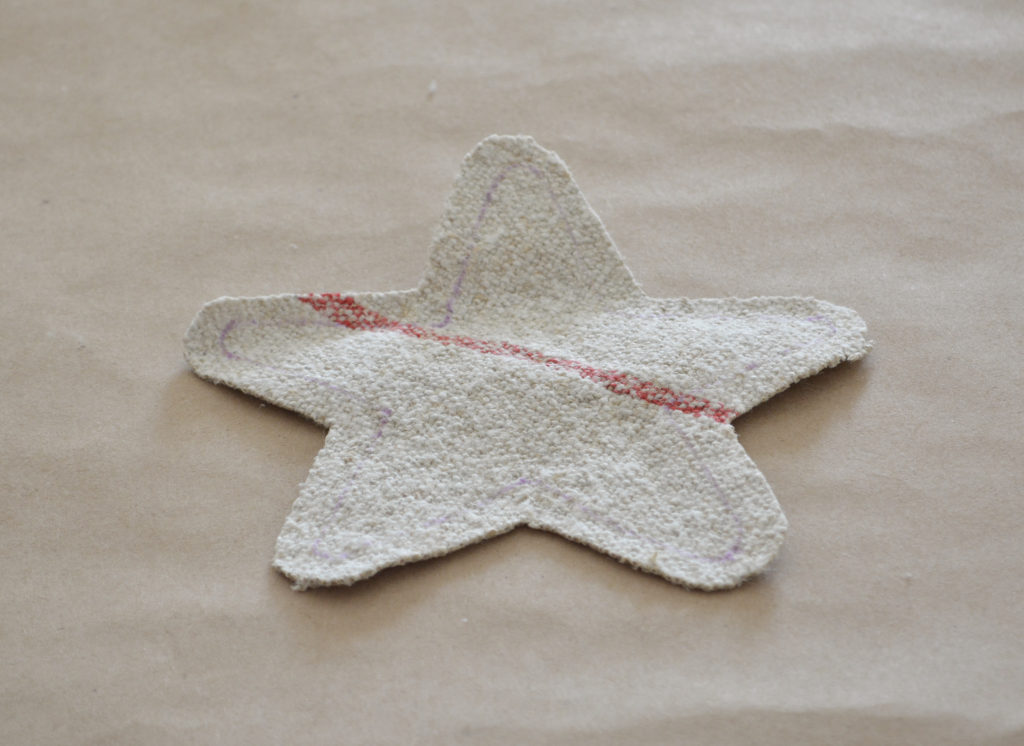
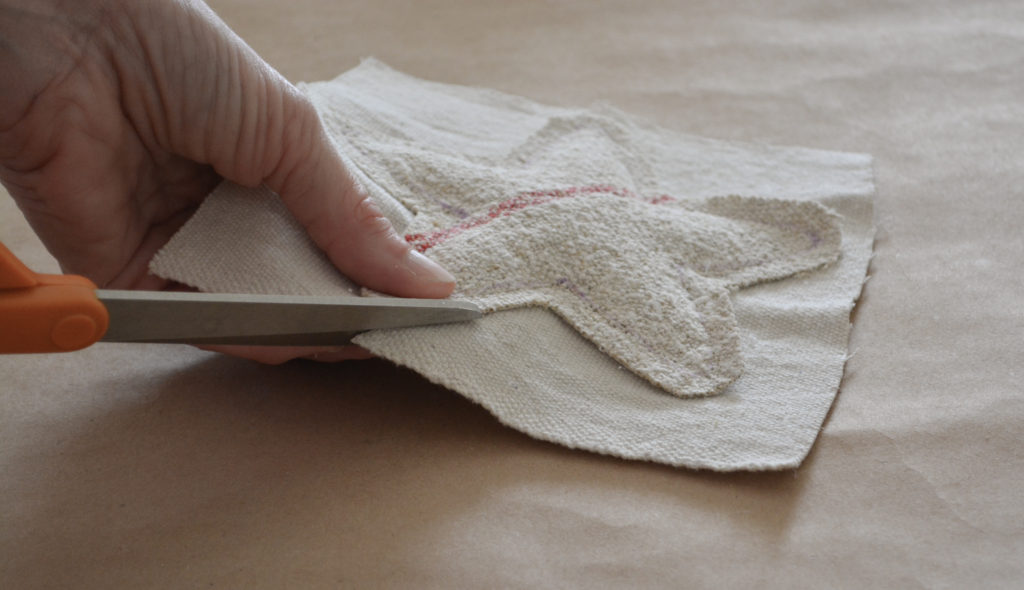
Step 2 – Cut Out the Star
Cut out the star adding a 1/4 inch border. The marked line will be your stitching line.
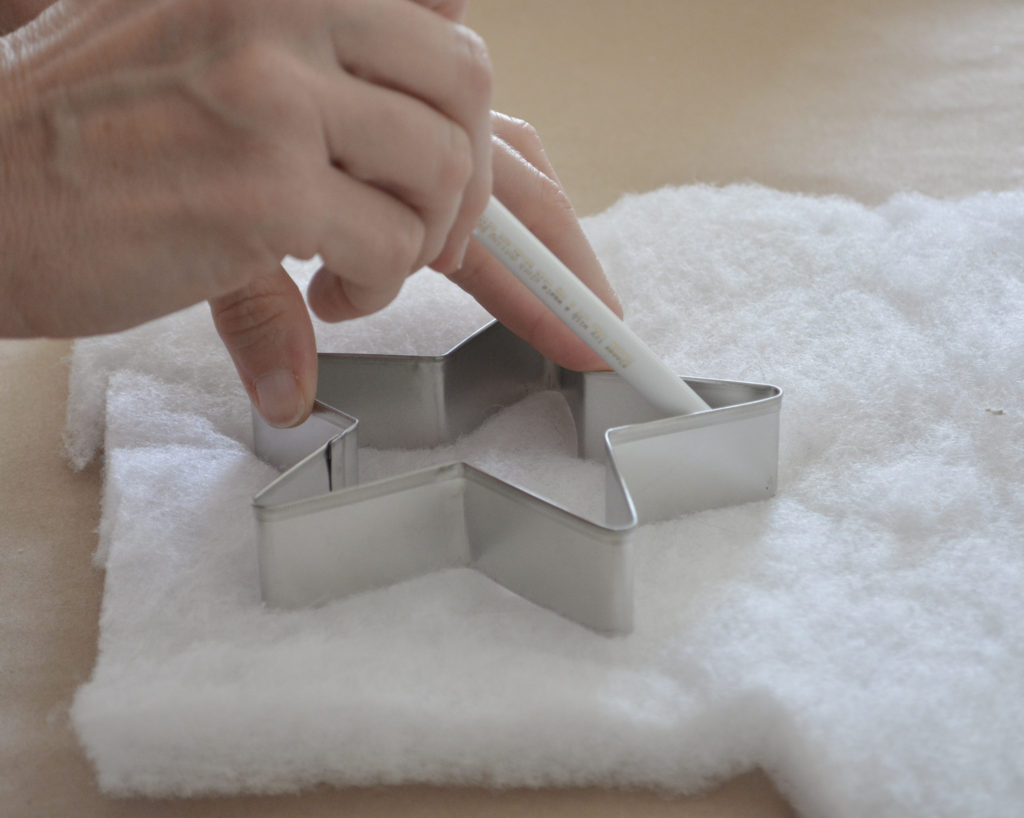
Step 3 – Cut a Star Out of Batting
The batting star needs to be smaller than the fabric star, so trace inside the cookie cutter.
A square is used for the back to make it easier to sew, not as much slipping around.
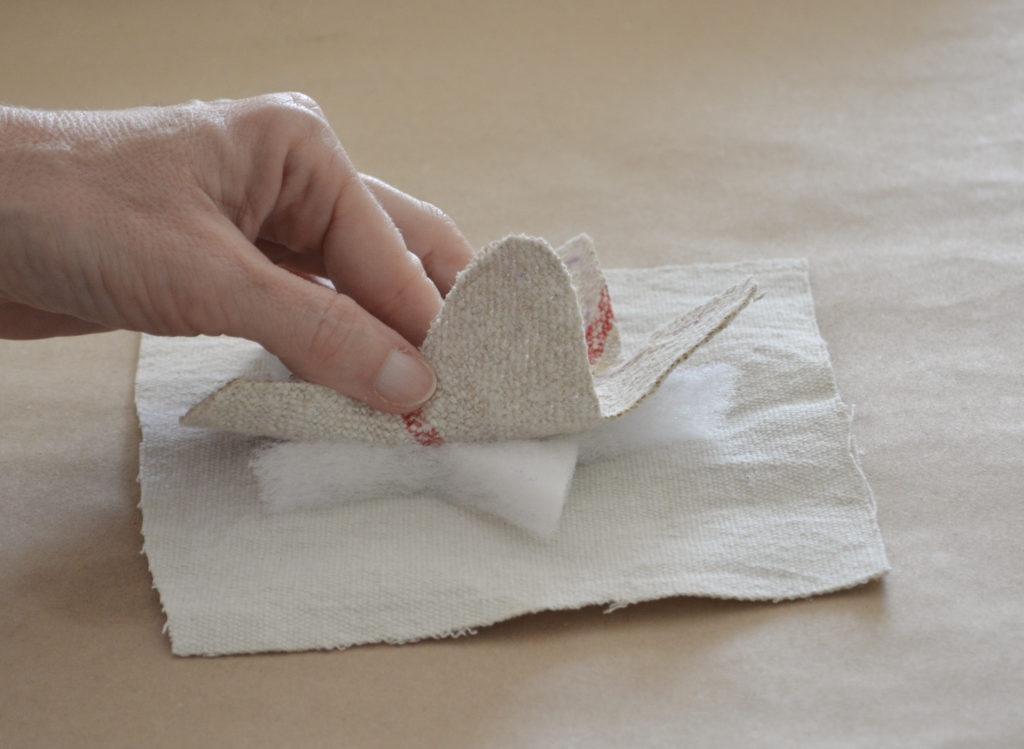
Step 4 – Assemble the Pieces
Place the batting between the star and the square. You don’t want to stitch the batting, so make sure it is small enough.
Pin it all together. To make the star a topper, I just left the center bottom open, so it could slip over the tree branch.
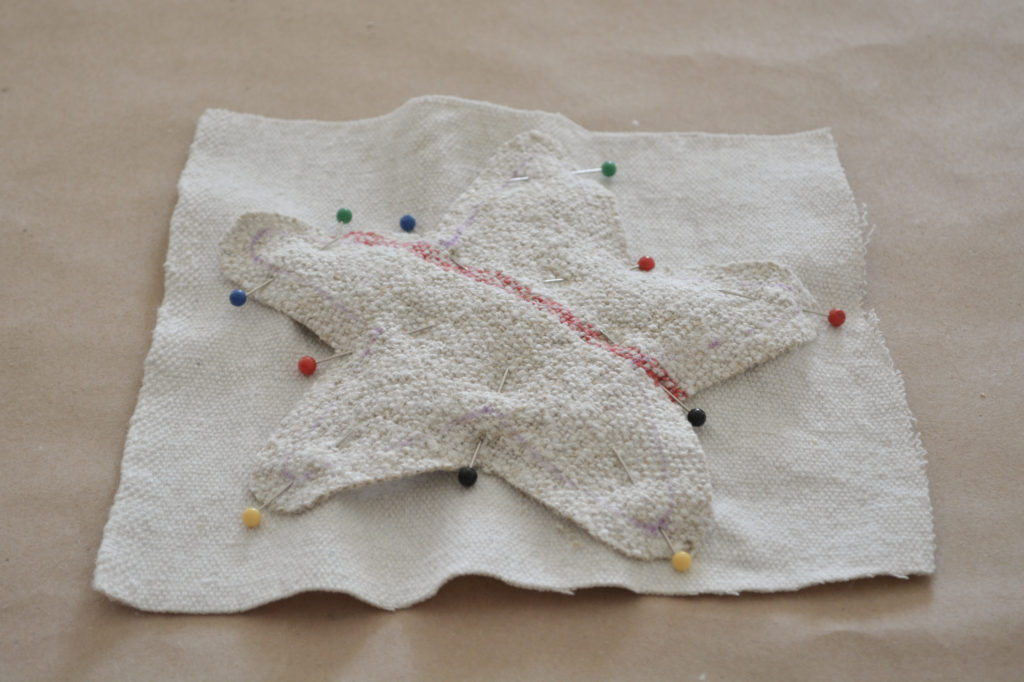
At this point, if you want to make it an ornament, insert a ribbon or string at the top before sewing.

You can see how I made these larger spindle ornaments here. And how I displayed them hanging from a DIY french drying rack.
Step 5 – Sew
Stitch on the outside on the marked line. I used my sewing machine.
Optional hand sewing method- use embroidery floss and hand stitch around the star. I think that might even look cuter!
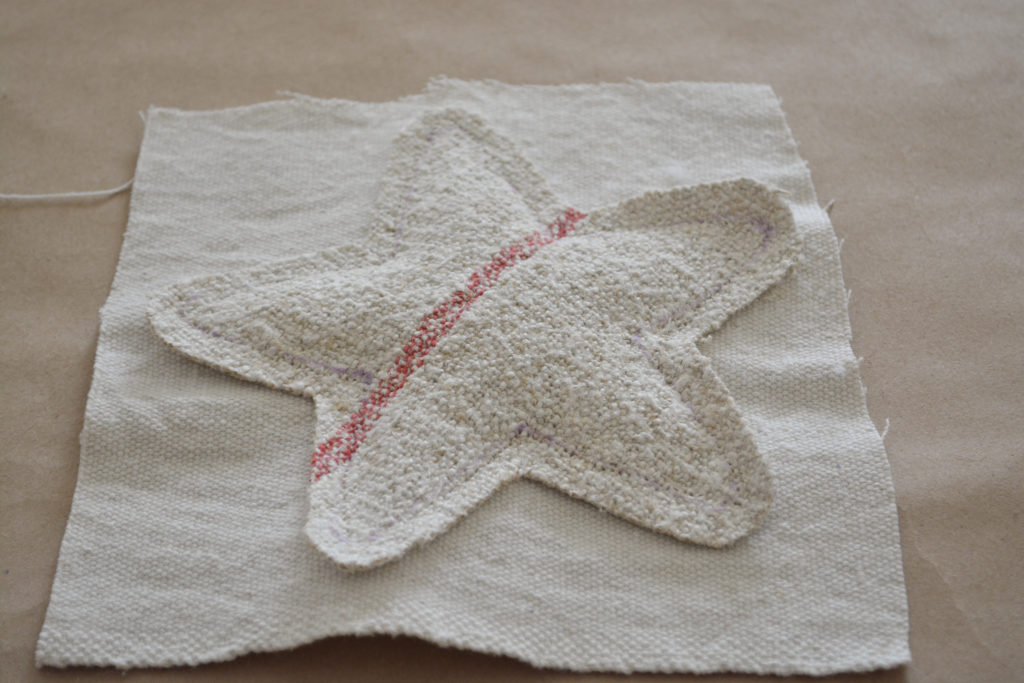
Step 6 – Cut Out the Star
Step 7 – Remove Pen marks
The water soluble pen mark can be removed by wiping with a damp cloth.

And the completed star! Such a cutie and so simple.
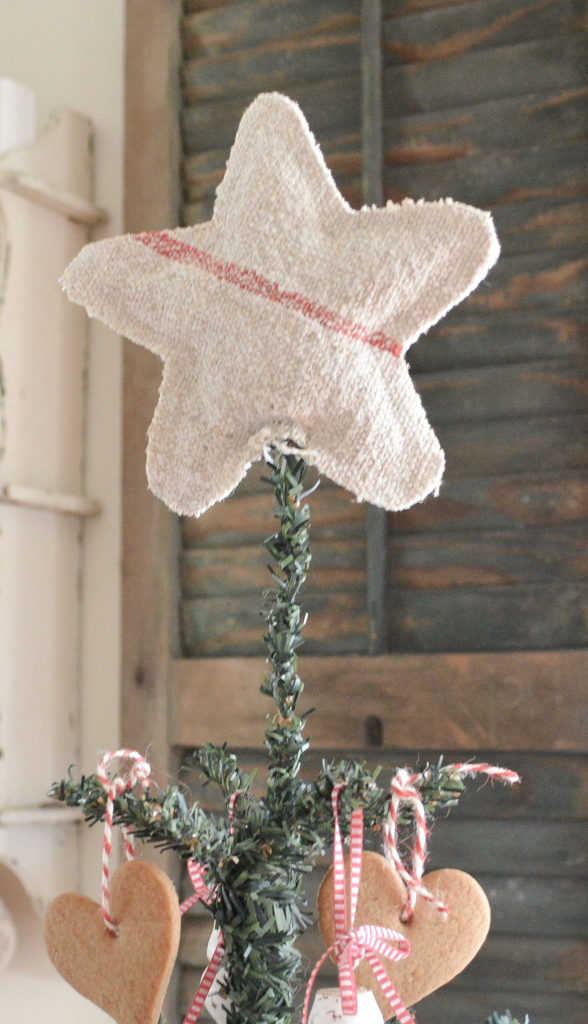
I will definitely be making more of these to use as ornaments.
I hope you enjoyed seeing how I decorated my budget friendly little Christmas tree. This year is all about using what I have or making what I need, and staying on budget.
Pin It For Later!
Thanks for stopping by,
Janet
So cute! Will be on the look out for spindles this year!!
Thank you! And thank you for visiting my blog. It means a lot.