
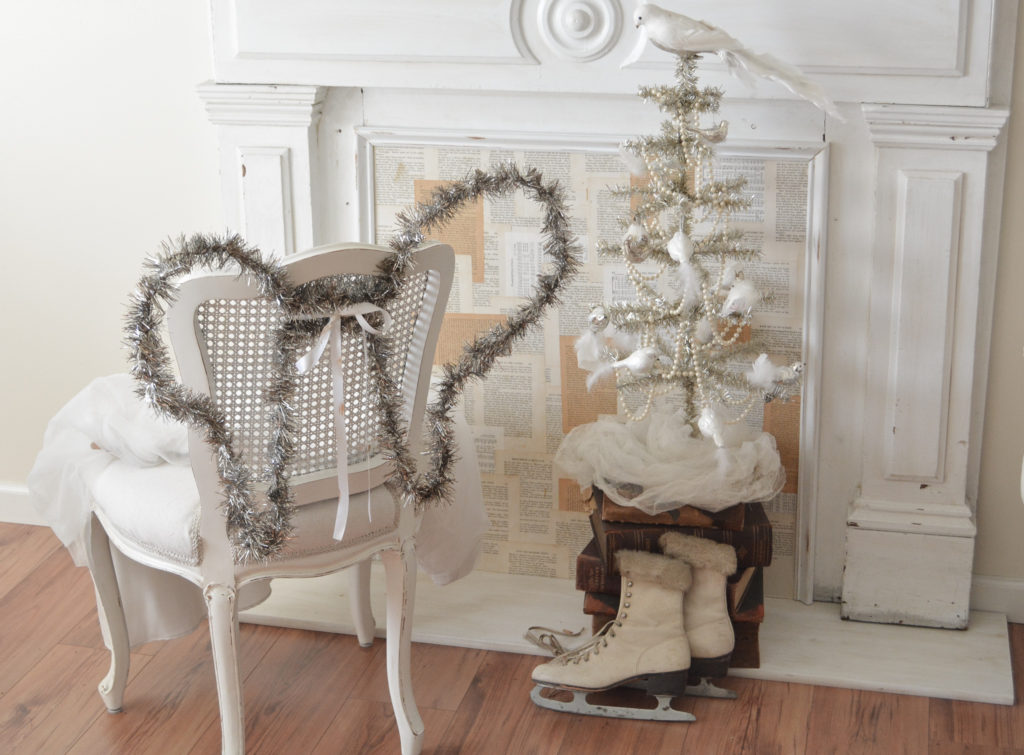
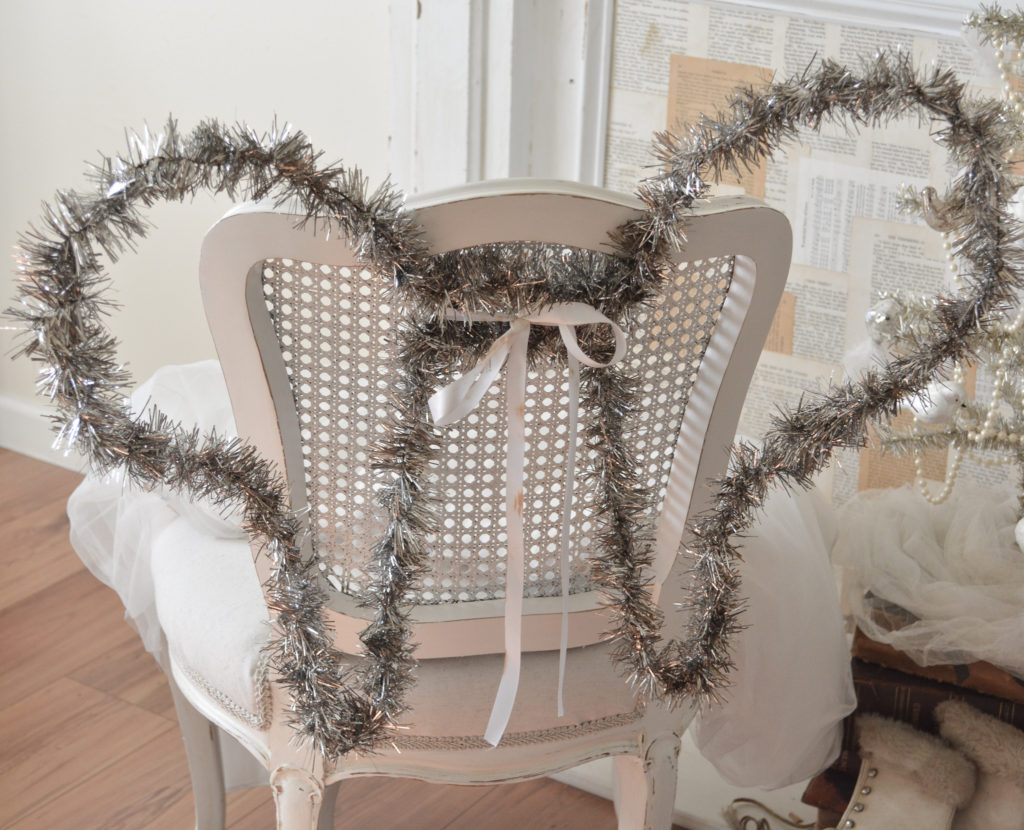
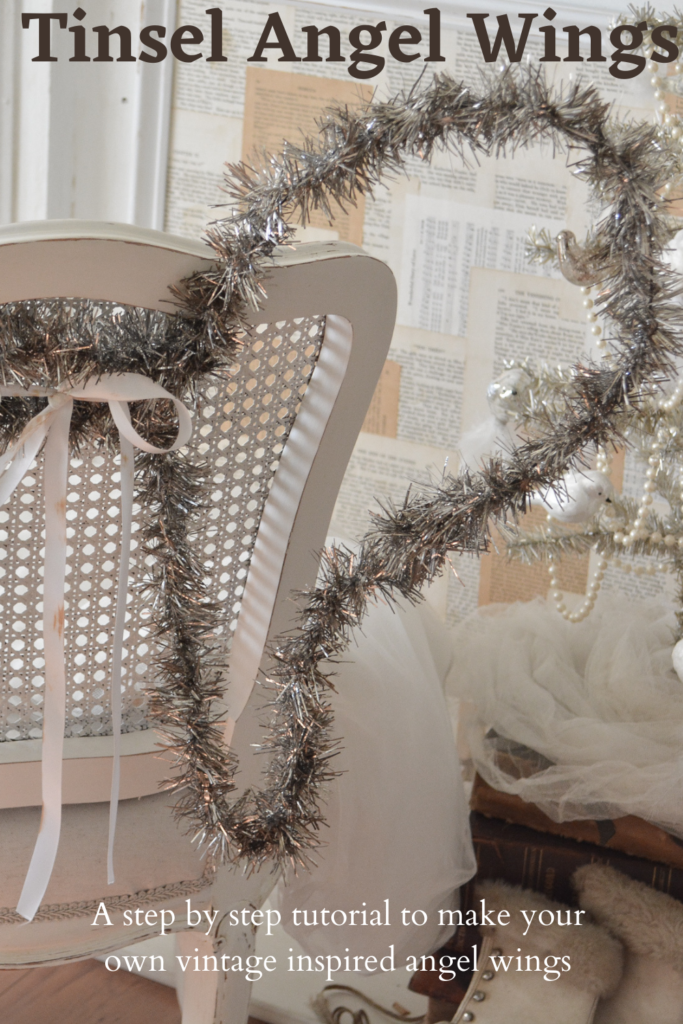
This year I am adding a vintage angel theme to my dining room Christmas decor. I have always loved vintage | antique angel wings. Many were worn in holiday church processionals and others were used as theater costumes.
I plan on making six of these vintage inspired, tinsel costume wings for my dining chairs.

Let’s talk about wire for a minute. I found very little information on bending wire for crafts. It is a bit of a tedious process to make the wire go the way you want it to. There may certainly be tools out there that would help, or using a smaller gauge wire may be easier, but this is how I went about it. I am currently practicing with a soldering iron to secure the joints, but did not use it in this demonstration.
Steps to making Angel Wings
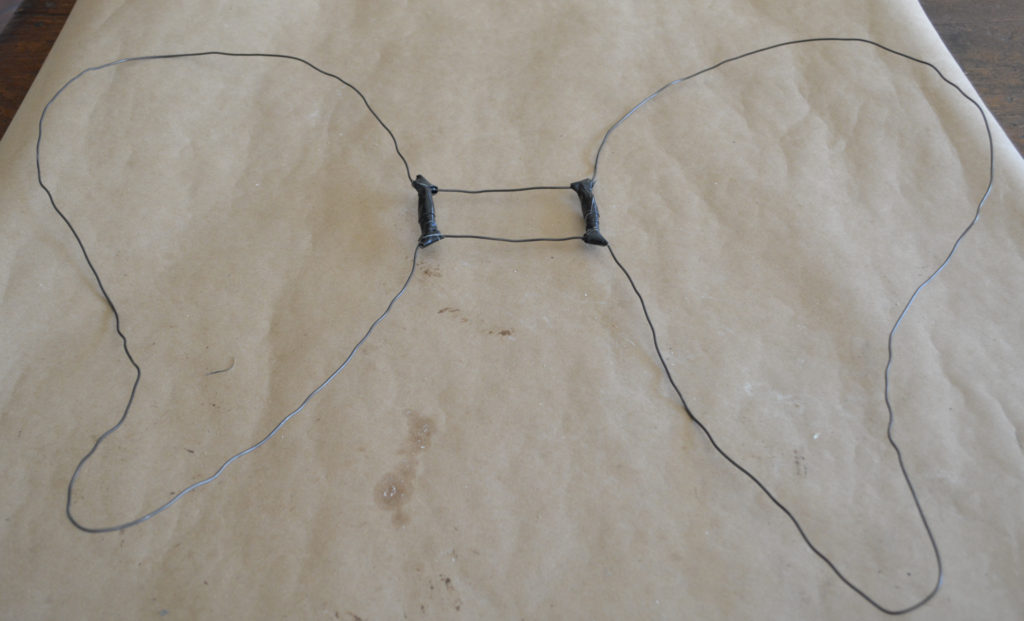
This is what the completed wing form looks like. It is made from one continuous strand with two small wire pieces to form the rectangle in the center. The size of the wings is up to you. Mine are 20″ tall and the wing is about 9″ wide.
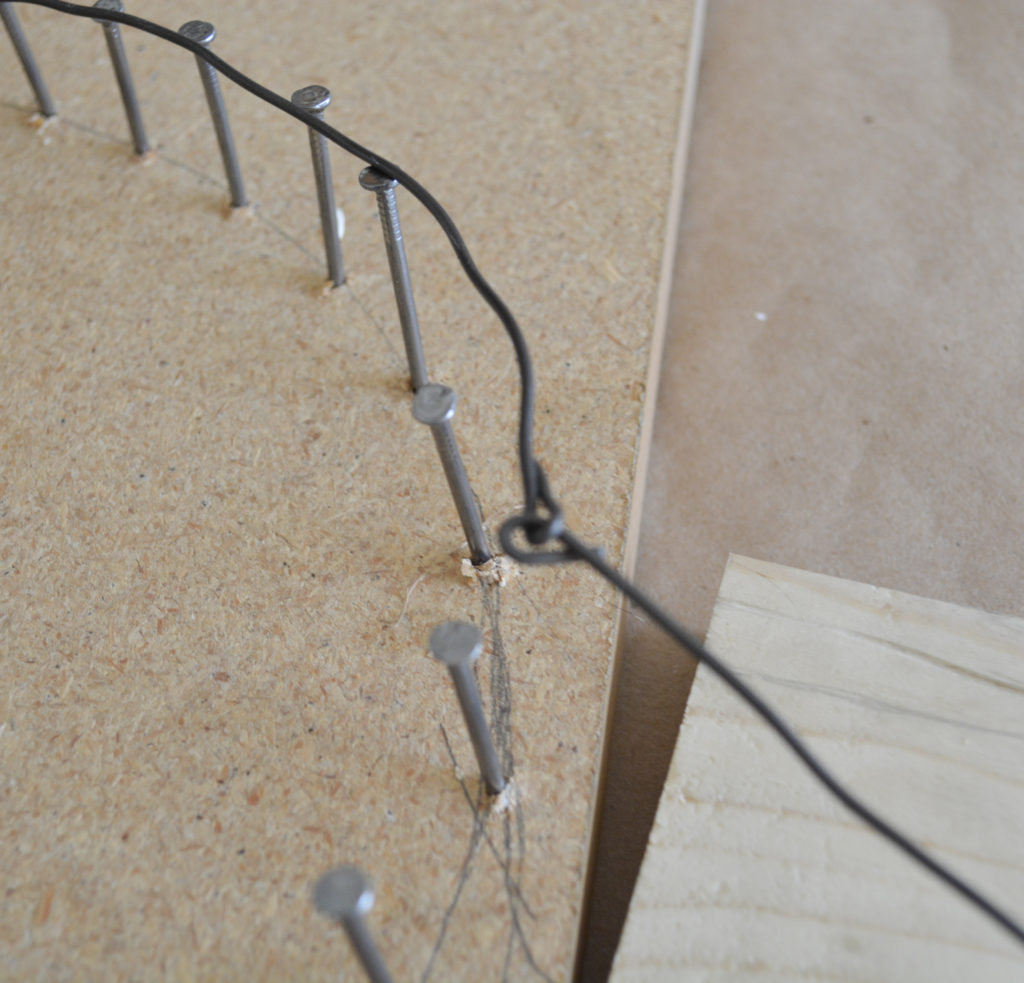
One | Make a Template to Shape the Wing
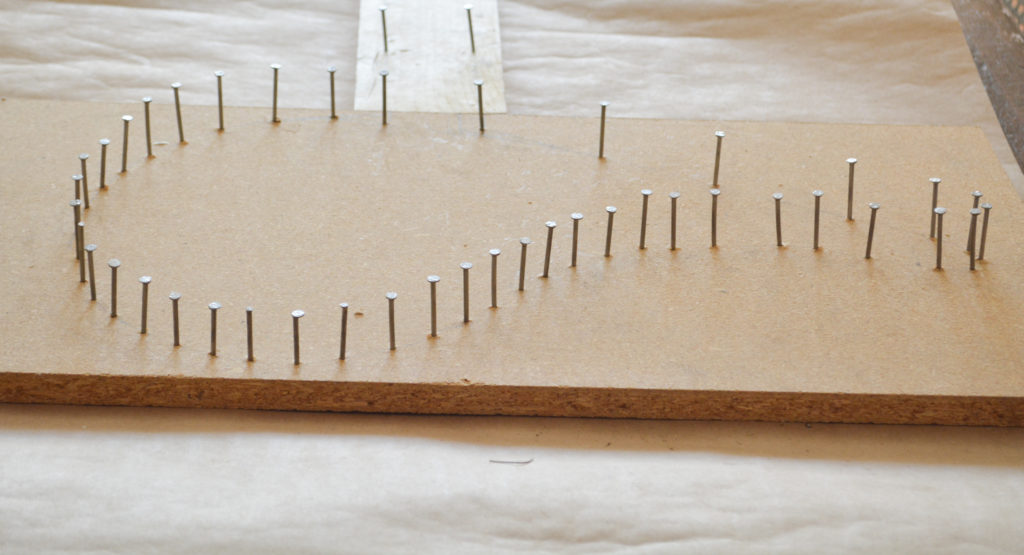
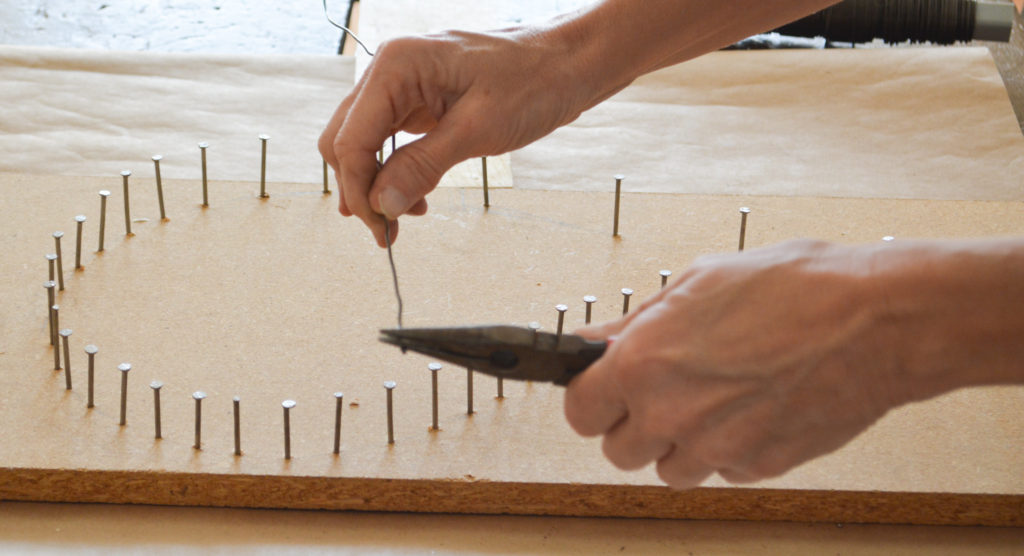
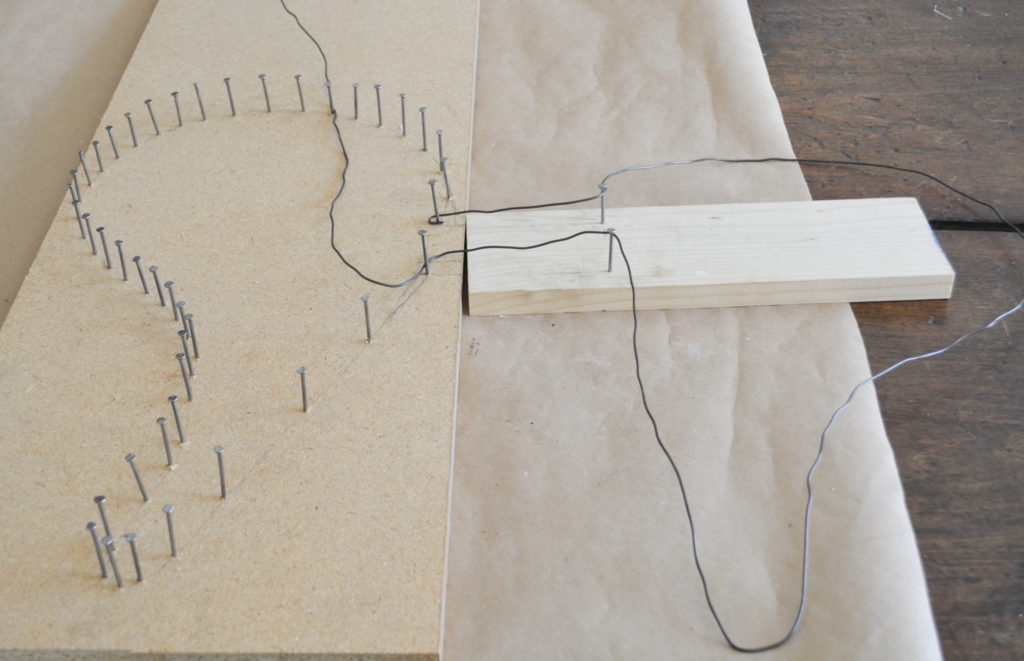
I drew a pattern of my wing and traced it onto a board. I then hammered nails along the line. My board was too narrow to fit the center connection of the wing, so I added a small board to the side.
You could try to shape it by hand, but I found it very difficult to handle. Another alternative is to cut a cardboard wing and shape the wire around that. They worked OK for me, but since I was planning on making multiples, I decided to use the board and nails. It only took about 10 minutes to hammer the nails, so it was definitely worth it.
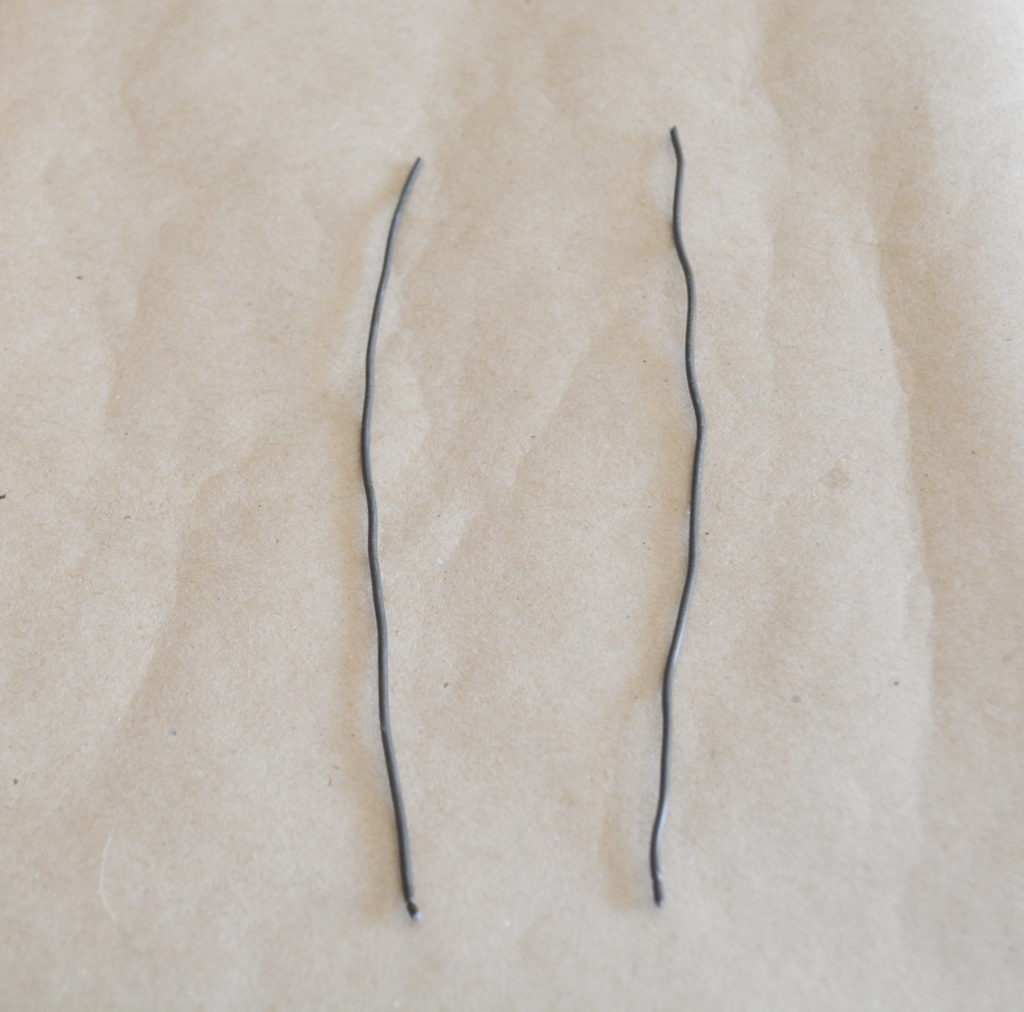
Two | Straighten the Wire
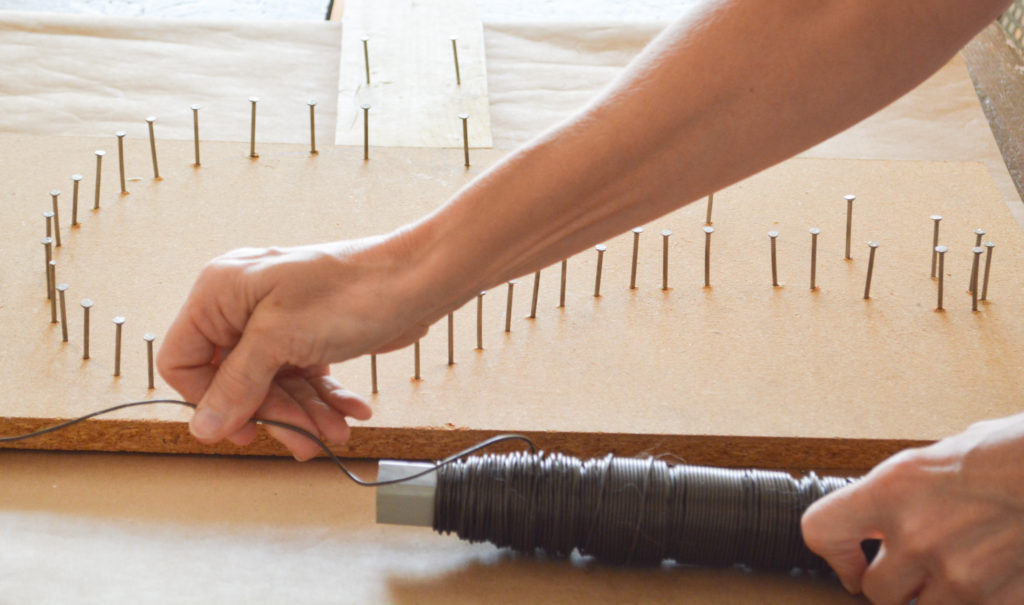
This part is also a bit challenging. You will need to straighten the entire length of wire you need to use. Pull out all the kinks, and get it as flat as possible. I stretched it out on the floor so I could tell it was flat. It will not be completely smooth, but the little waves won’t show under the tinsel.
I used a 16 gauge all purpose wire from a home improvement store. Expect to get your hands dirty, the wire has a greasy residue on it.
Three | Shape the Wire into Wings
The wing will be made by shaping one side, and then flipping it over to shape the other side.
To start shaping the wing, use needle nose pliers to bend a hook on the end of the wire.

Attach the hook to the far nail of the center connector. Start wrapping the wire around the outside of the nails, pulling tight as you go. I wrapped the wire around the inside of the first nail to hold the wire while I shaped it.
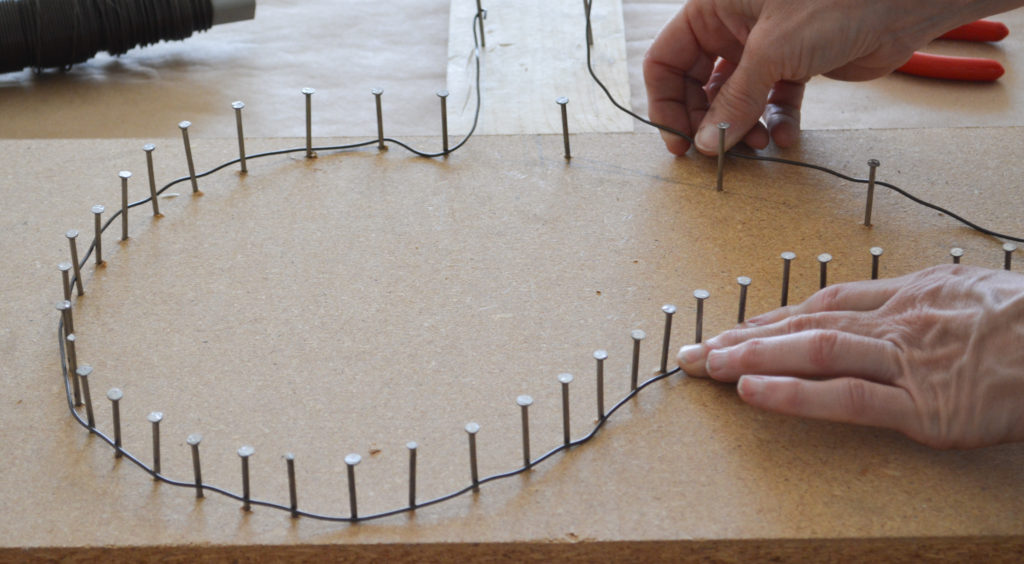
When you get back to the center, flip the wing over and start shaping the other side.
After you complete the second wing, make a hook in the end of the wire to connect to the other end.
Squeeze the ends together with the pliers.
Four | Complete the Center Connector
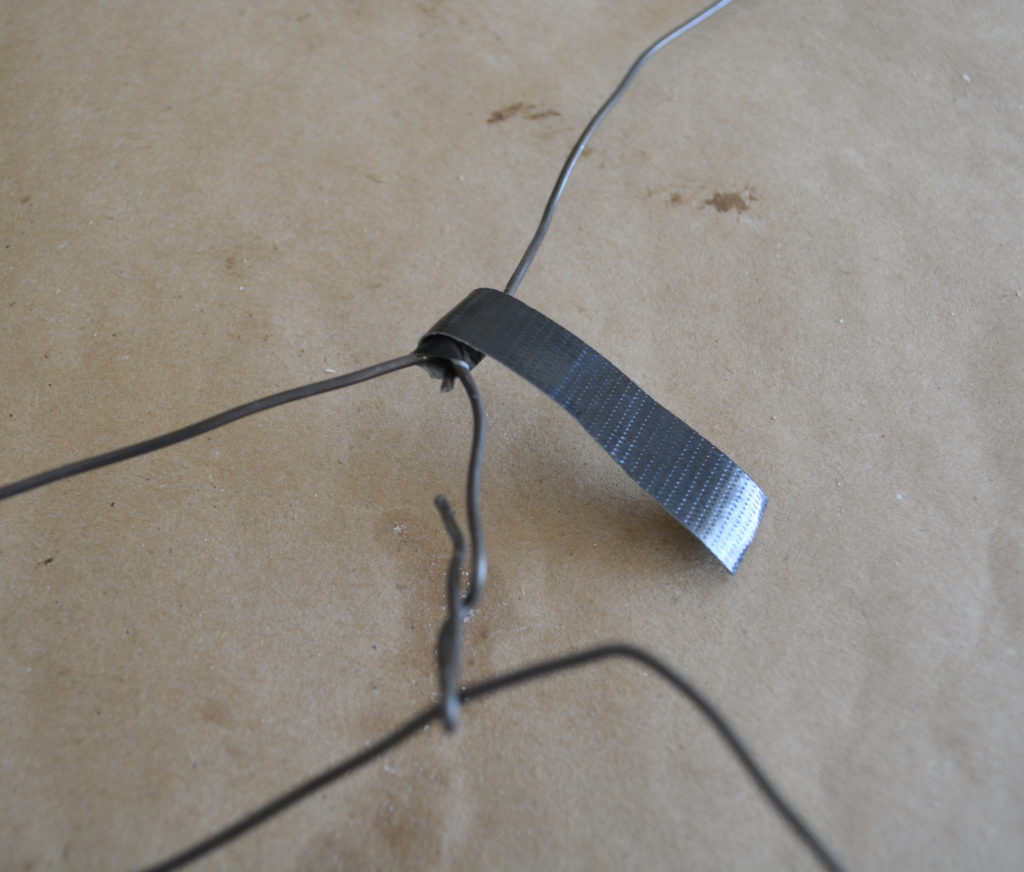
Cut two short pieces of wire (about double the width of the wing connector).
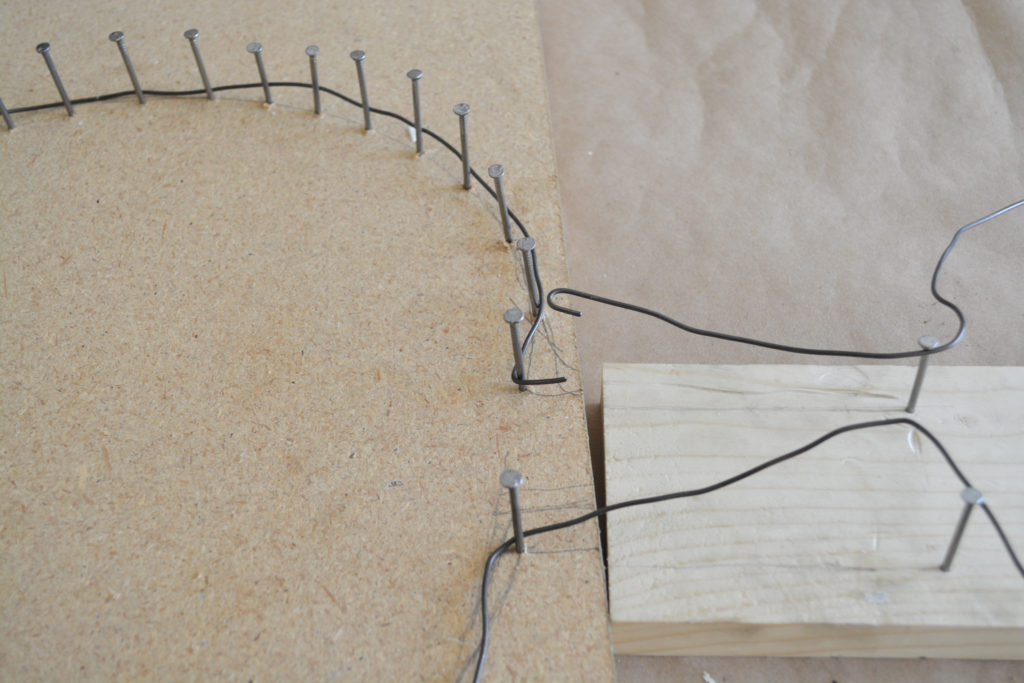
Here is where it starts getting a little wonky. The short pieces move all over the place. On my second pair of wings, I used duck tape to hold the center down while I attached the wires.
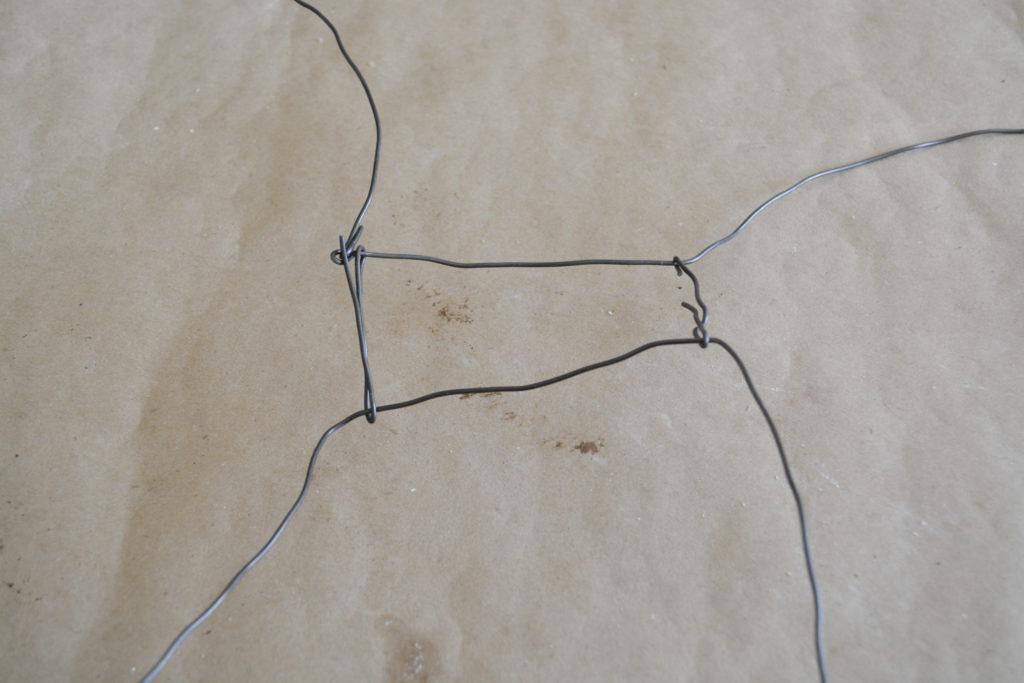
Twist the wire at the top and bottom .
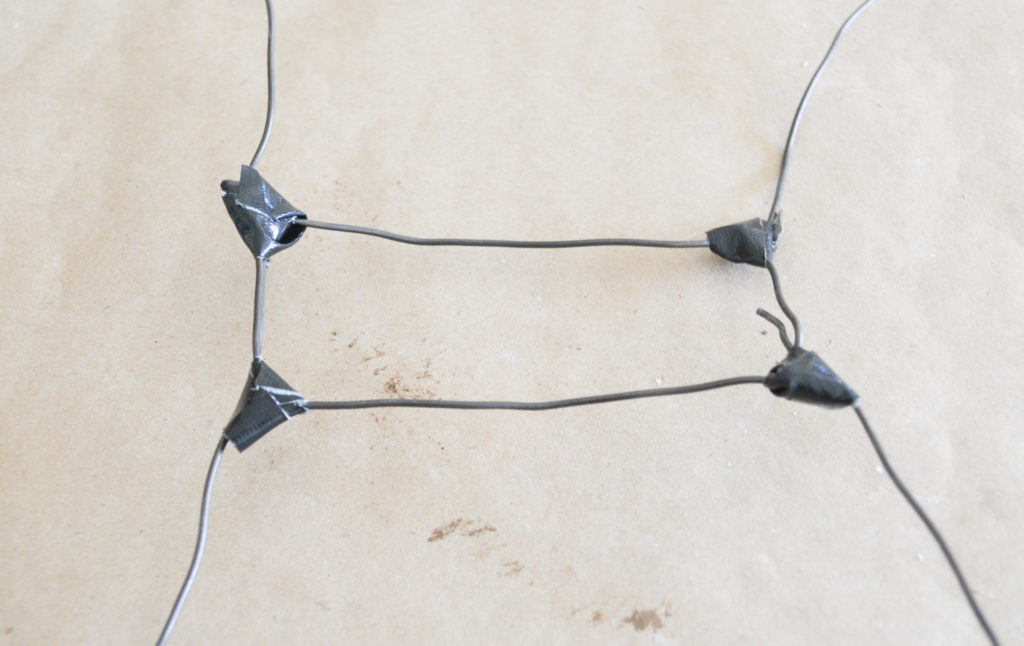
Five | Add Tape to Secure the Connectors
Using a strong tape, like duct tape, cut into small strips to wrap around the corners.
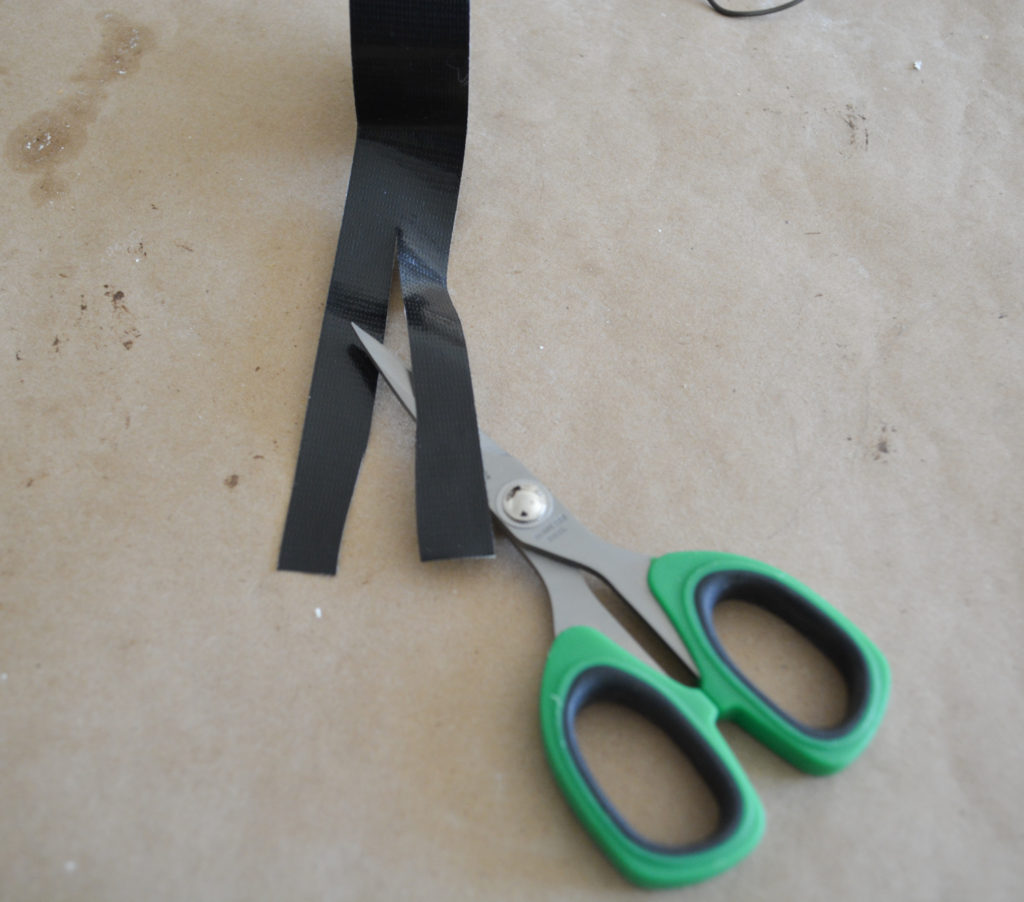
Secure the corners with tape, making sure it is all square.
Do all four corners.
And then I wrapped the entire wire.
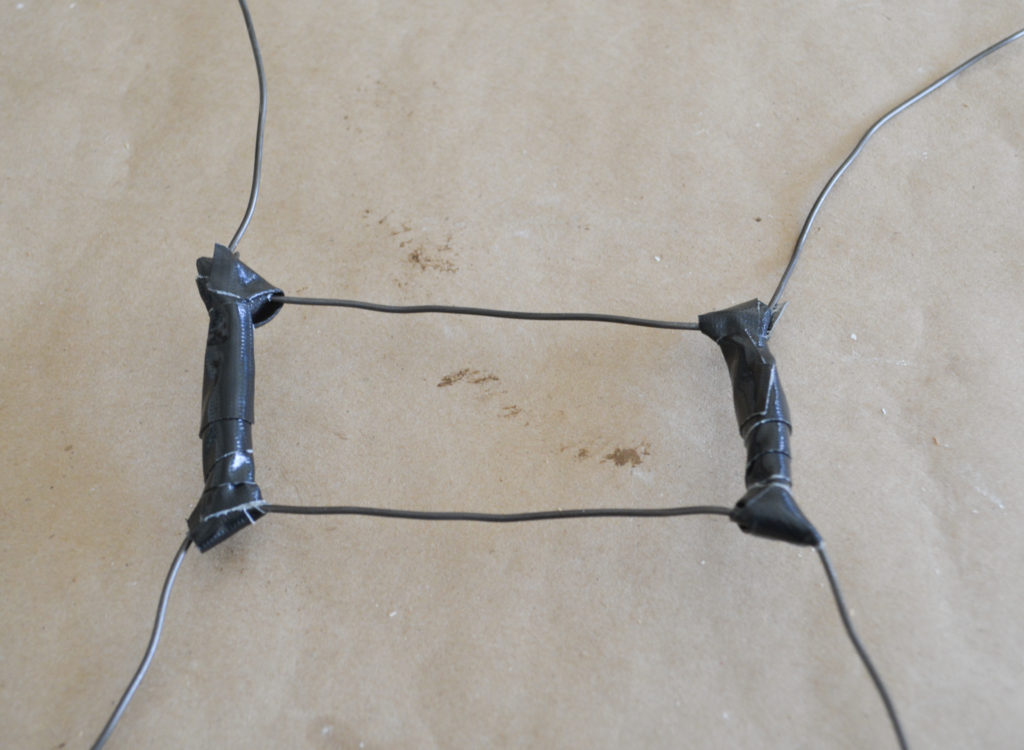
Now it is all secure and you can re-shape as desired.

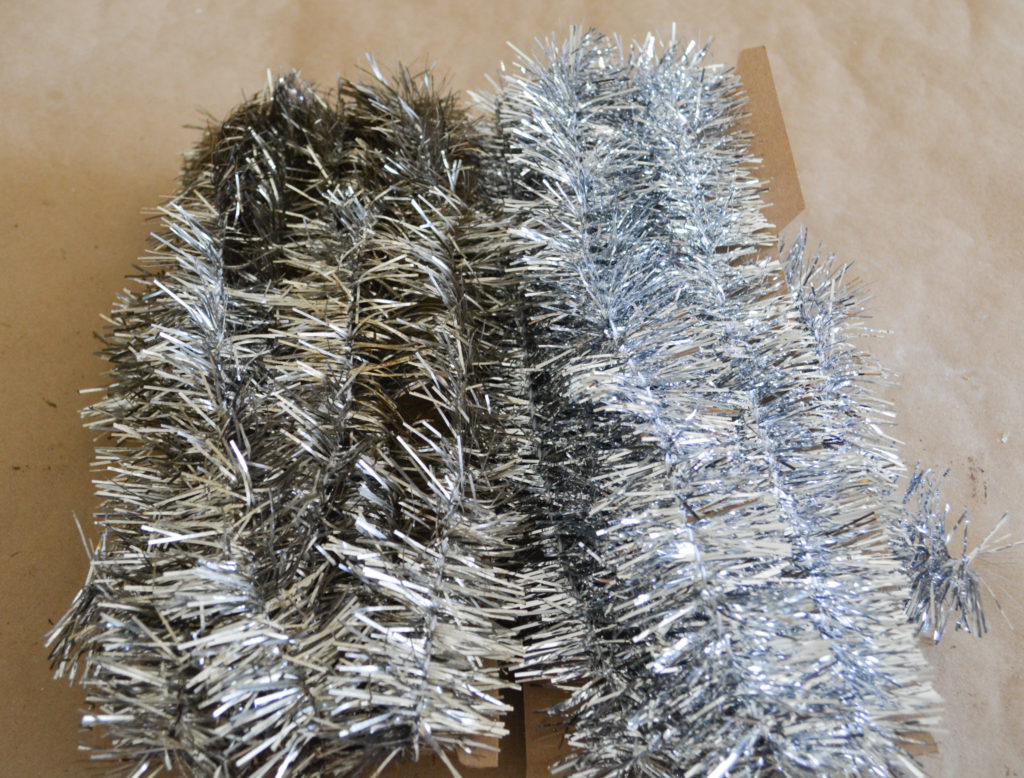
Six | Antiquing the Tinsel Garland
To achieve a more authentic vintage look, I used a dark wax on the garland.
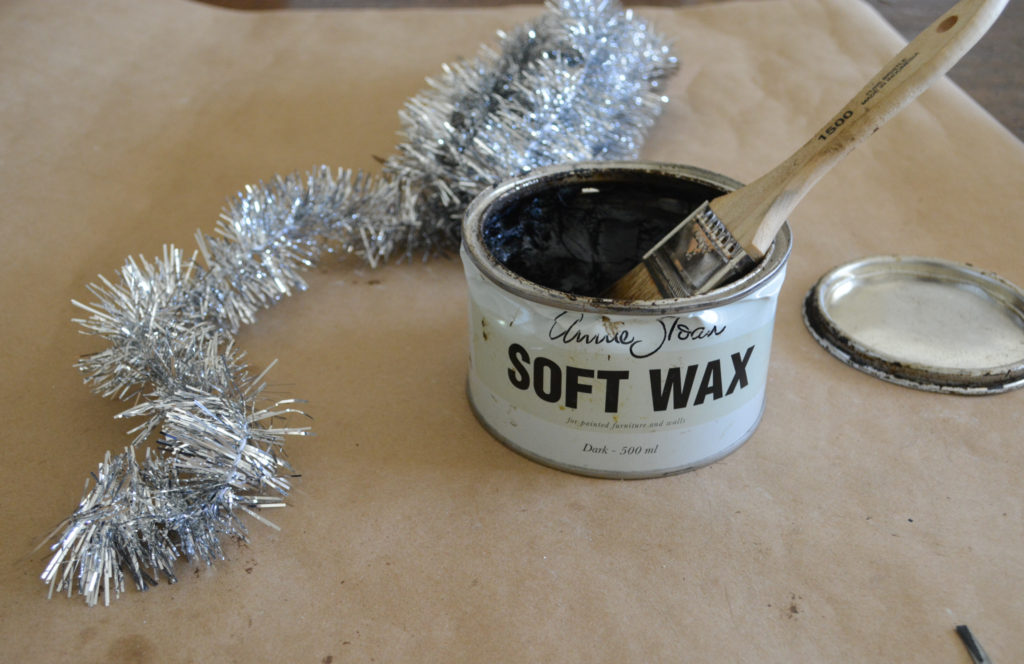
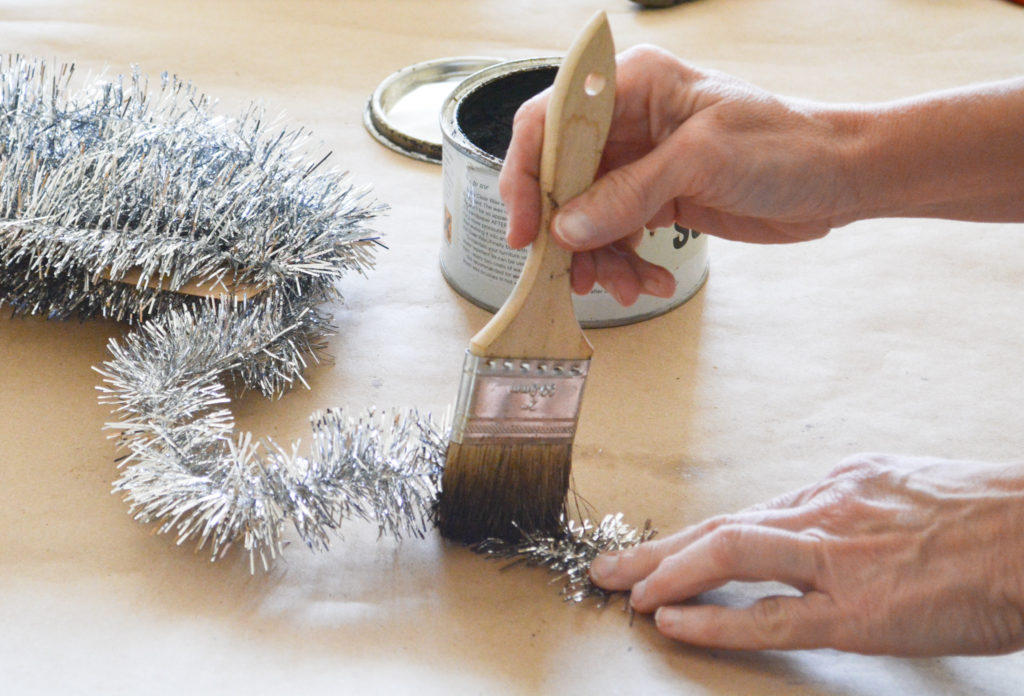
You can really see the difference it made. It took a while to dry, so be cautious when handling.
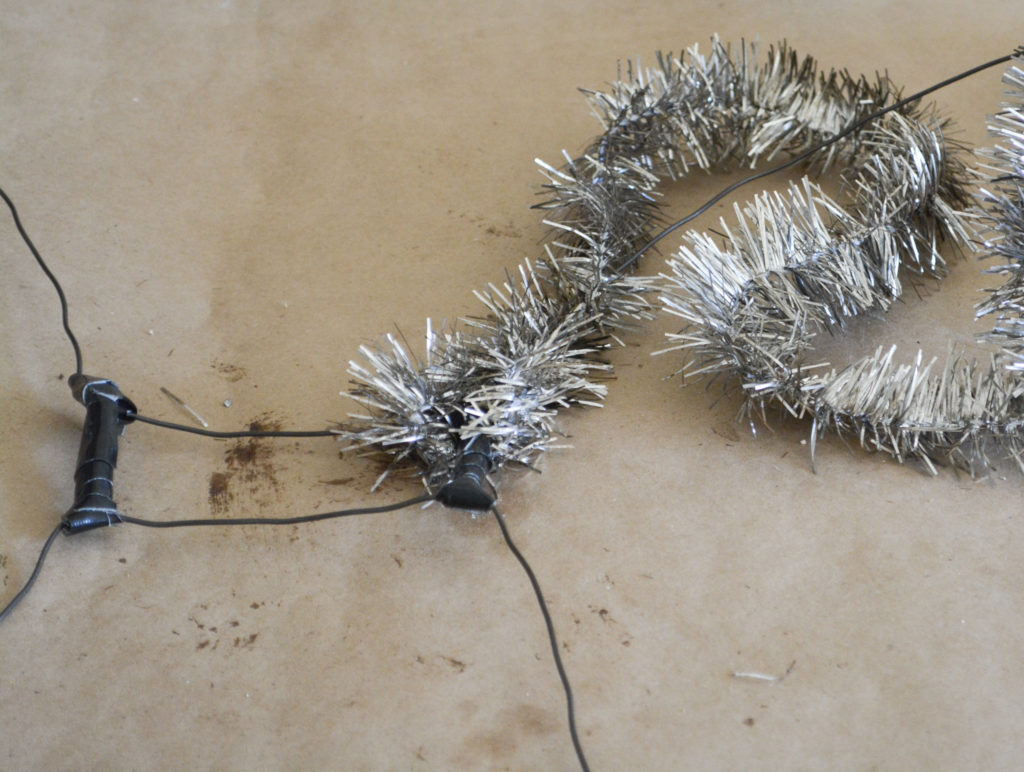
Seven | Applying the Garland to the Wire
And now the easy part! Just wrap the garland around the wire, hot gluing the ends to secure.
Working with the wire gets easier with practice. If you have any tips for working with wire, I would love for you to leave a comment. I always want to improve!
Coming soon, Angel wings for my mannequin.
Pin It For Later!
Thanks for stopping by,
Janet
Thanks for sharing this I hope to make one with antique lace ! Looking forward to the next tutorial 🤗
Thank you for visiting my blog! I’ve always wanted to make lace wings, too!