A Girly Girl’s Guide To DIY

Beginner Building Series Project 1: A DIY Weathered Wood Tray With Optional Handles
Level: Beginner
Skills needed: Using A Hammer
There are so many home decor projects that can be built using just a hammer and nails. Simple projects like this tray, but also much more substantial builds and renovation projects. And until (or if) you ever want to buy a nail gun, hammering a nail is a skill worth mastering. There is a correct way to do it.
“Who hammers a nail wrong?”, you might ask. Well me, for one! I could never understand why I had so much trouble hammering a nail in. They bent. They went crooked. They wouldn’t go all the way in. So one day I looked up how to hammer a nail. And guess what? I was doing it all wrong!
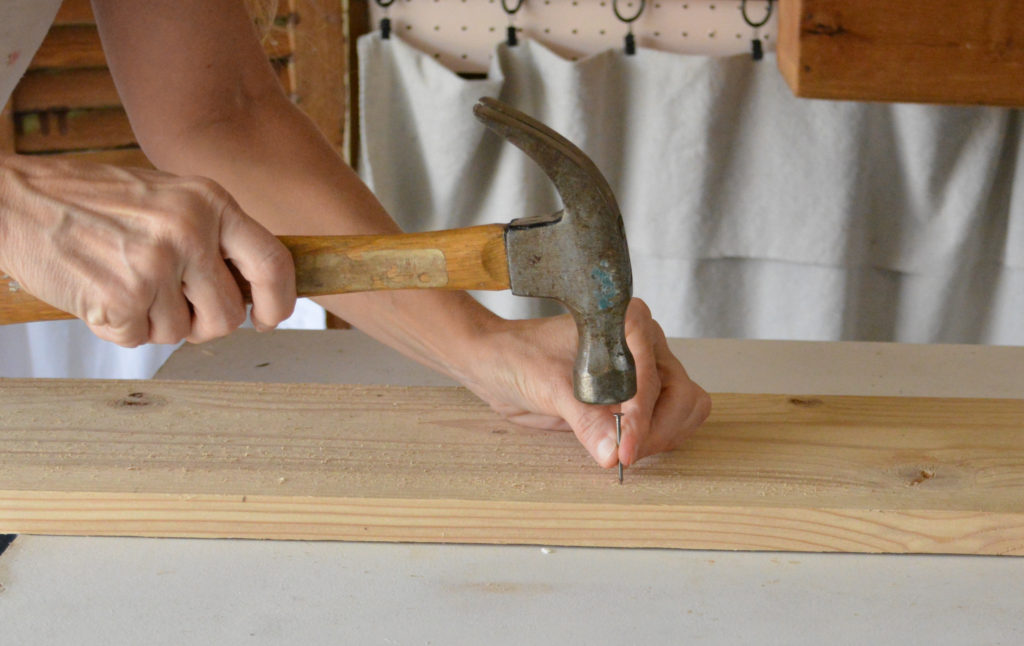
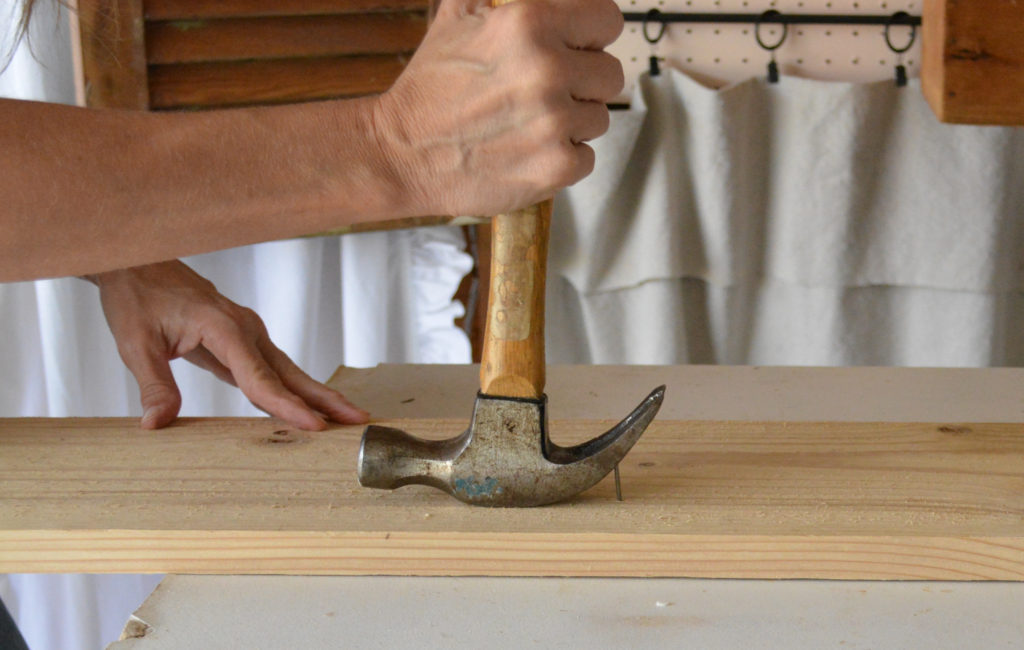
Step 1: Learn How to Hammer a nail
I’m hoping to add my own videos one day, but for now, do yourself a favor and take 5 minutes to watch this video on how to hammer a nail. My tip would be to watch your elbow placement. Keep it close to your side. I was swinging mine all over the place and therefore not hitting the nail straight on.
Step 2: Select Your Boards
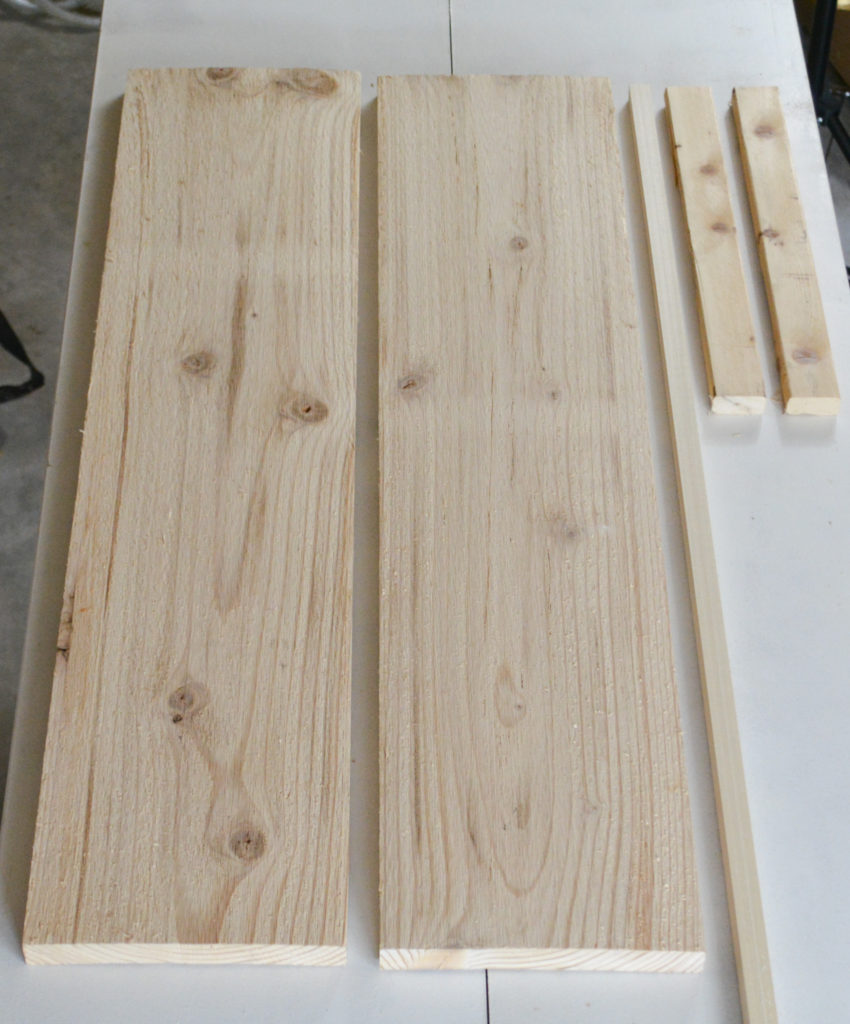
When making any of these rustic reclaimed wood look projects, I like to use the roughest wood I can find. This also makes it very budget friendly because it is the cheapest wood, too.
For this project I chose rough sawn pine. I bought a 1×8 board that was 8 foot long and cut two 32 inch pieces. You can have the boards cut to length at the home improvement store.
For the base, I used an 8 foot long 1×2 furring strip cut into two 13-3/4 inches. I wanted it just a little shorter than the top boards which were 14-1/2 inches put together.
Disclaimer: I did not use the square dowel in the picture. I was going to make my own handle, but decided to keep it simple and purchase one.
Girly Girl Tip: Boards are narrower than stated in the description at the store.
My 1×8 was actually 7-1/4 inches wide not 8. And the 1×2 was 1-1/2 inches not 2.
Step 3: Prepare The Boards
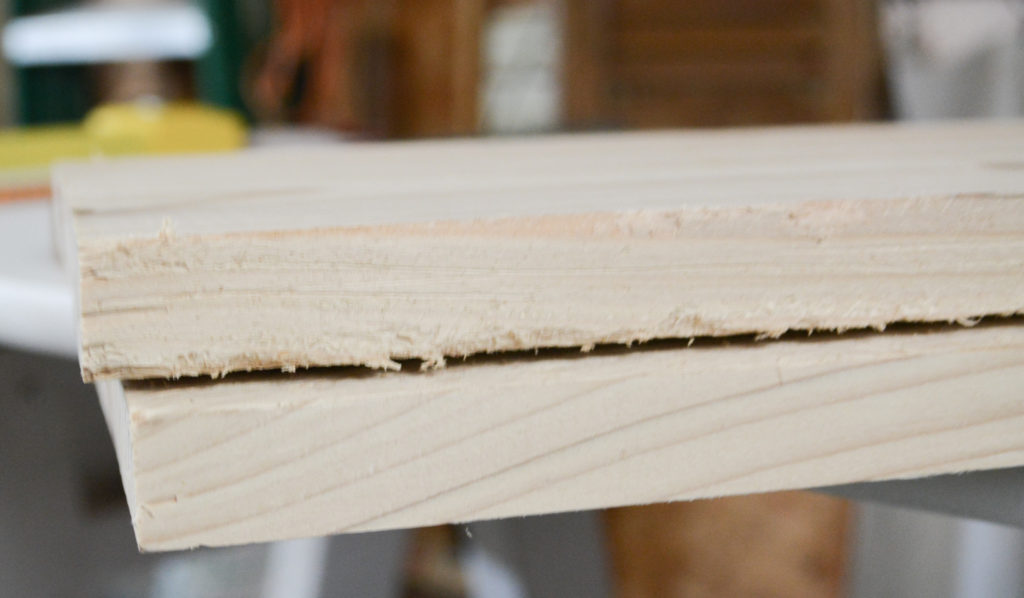
Even though this wood is rough, I still add lots of distressing to make it look old and well used. The top board shows how it looks after the distressing. I do the sides, ends, and top.
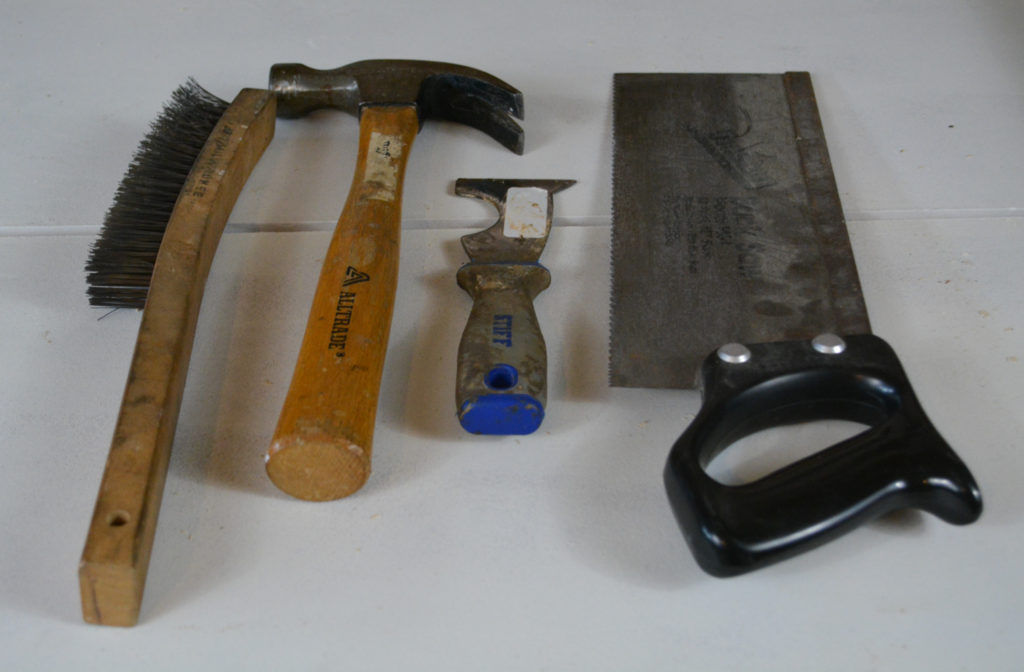
These are my favorite implements of destruction. I saw, poke holes, hammer edges. You can use anything you have around, just beat it up. Have fun!
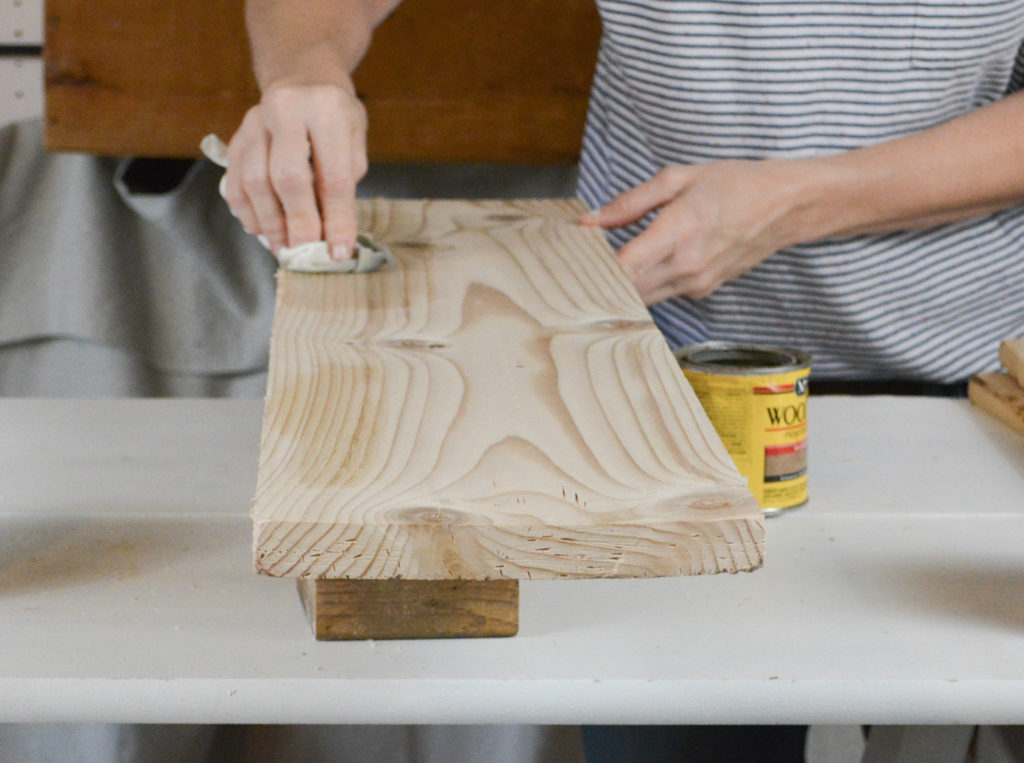
I like to stain my boards before I put them together. It makes it so much easier than trying to get stain in the cracks after.
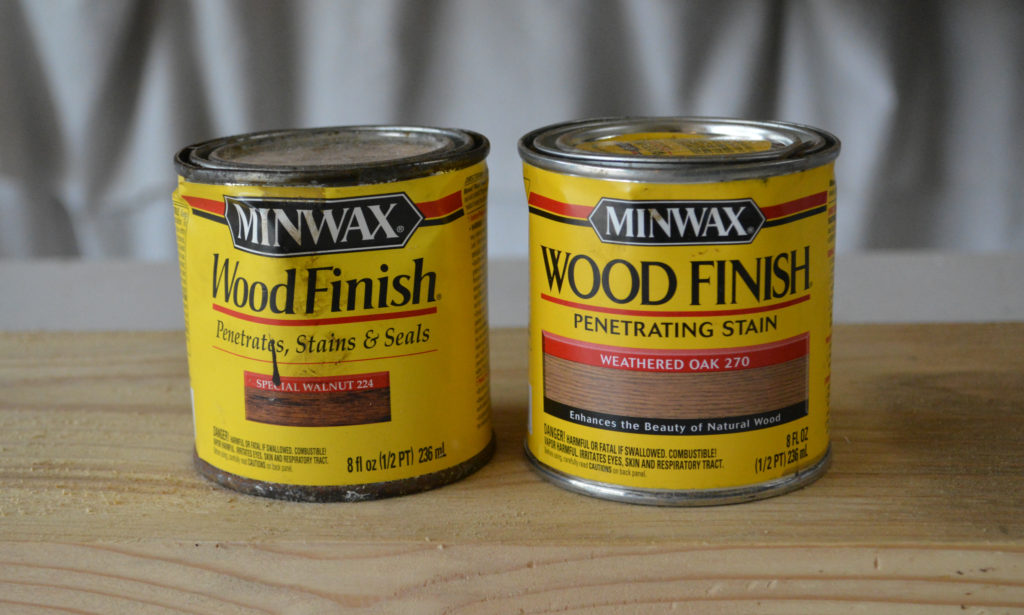
I covered the entire board with weathered oak and then added accents of special walnut.
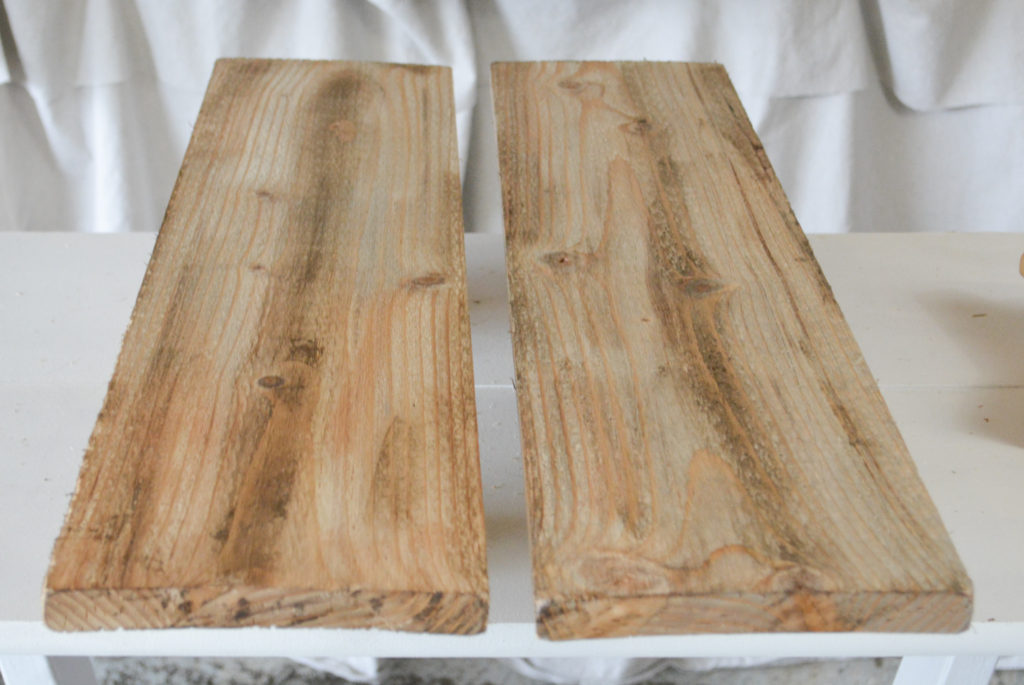
This is how the boards looked after I stained them. You can see how I added the dark stain in kind of a line following the grain in a few spots.
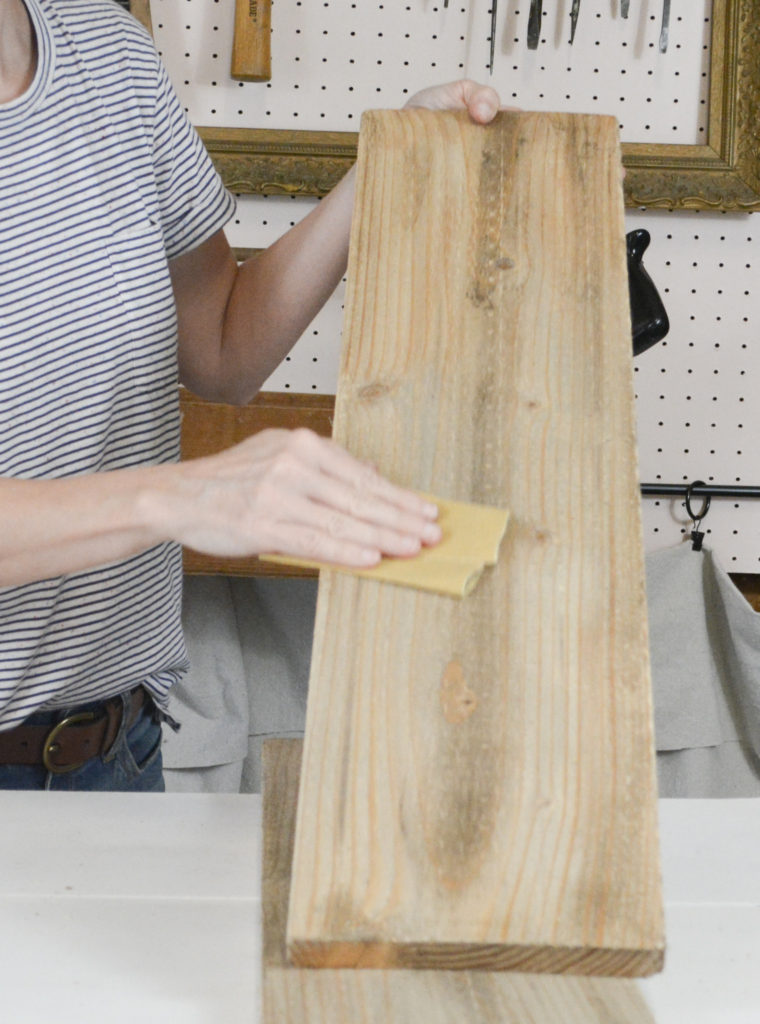
This is the point were I sand it all down to blend the stain colors and knock down all the splinters from the distressing.
Step 4: Assemble the Tray

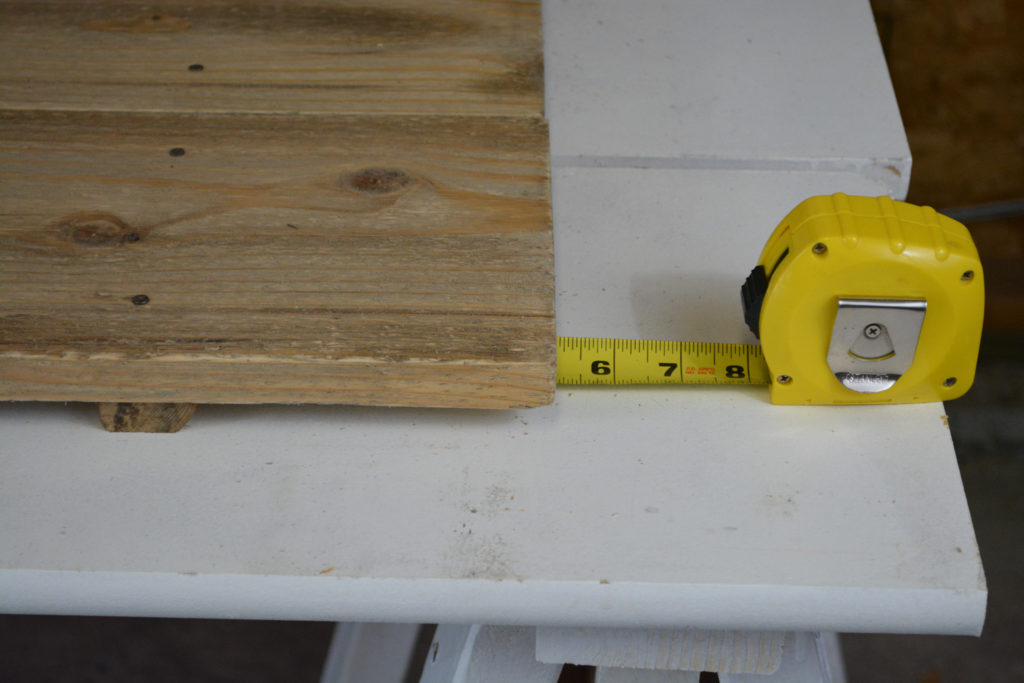
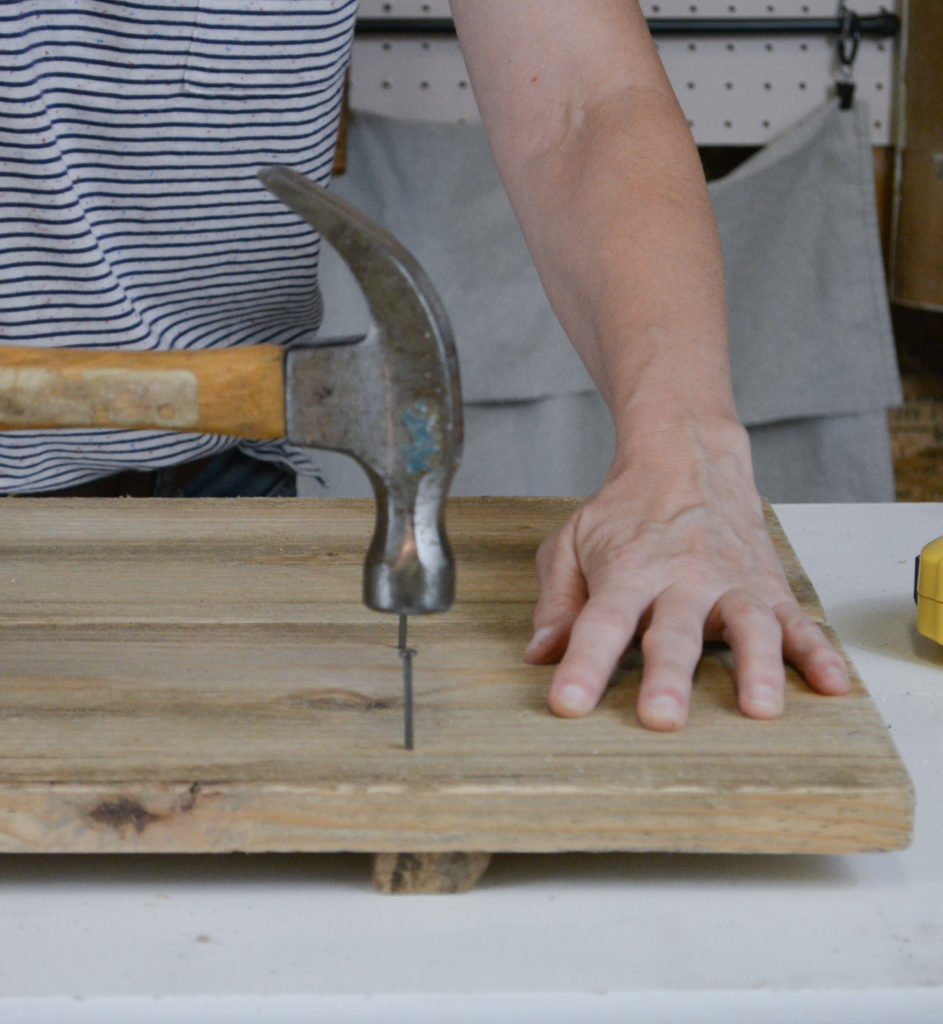
Mark the placement of your nails. I just made a pencil mark 6 inches in from the end and 1-1/2 inches from each edge of the board for 4 nails on each end.
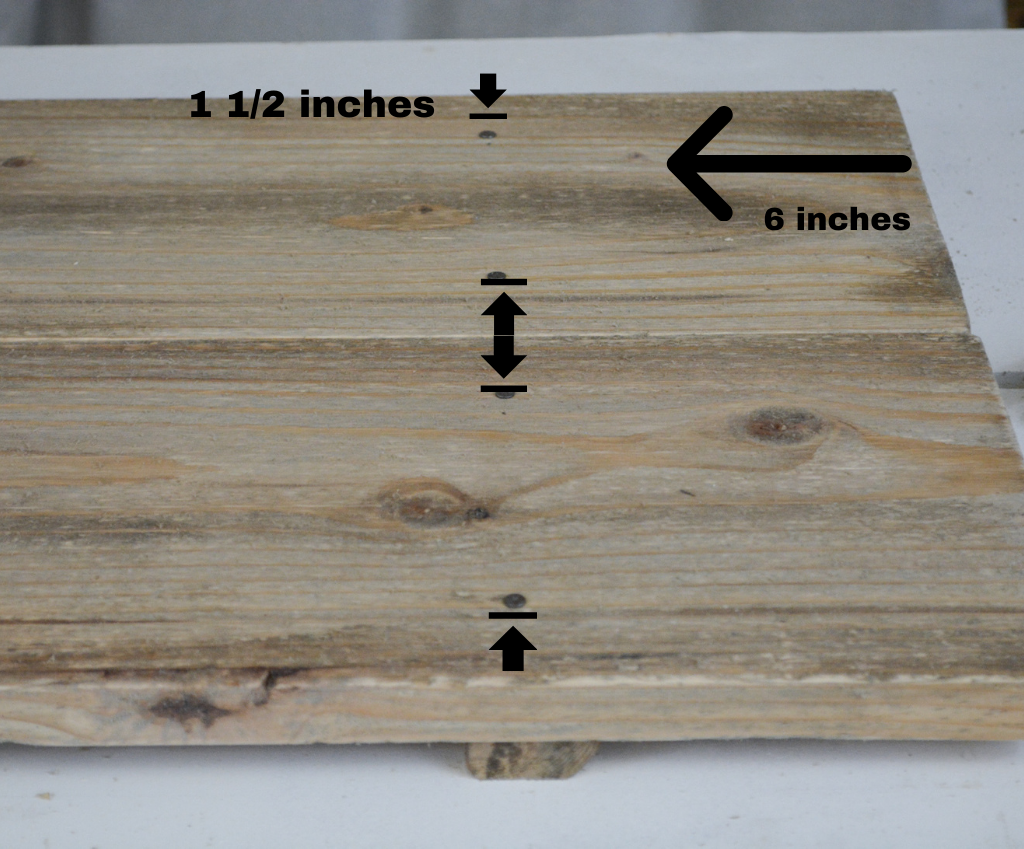
You want the nails to go through the center of the board underneath. My board was 1-1/2 inches, so I placed the edge of the board 5-3/4 inches from the end of the tray.
Before nailing the boards together, put wood glue on the top of the bottom board.
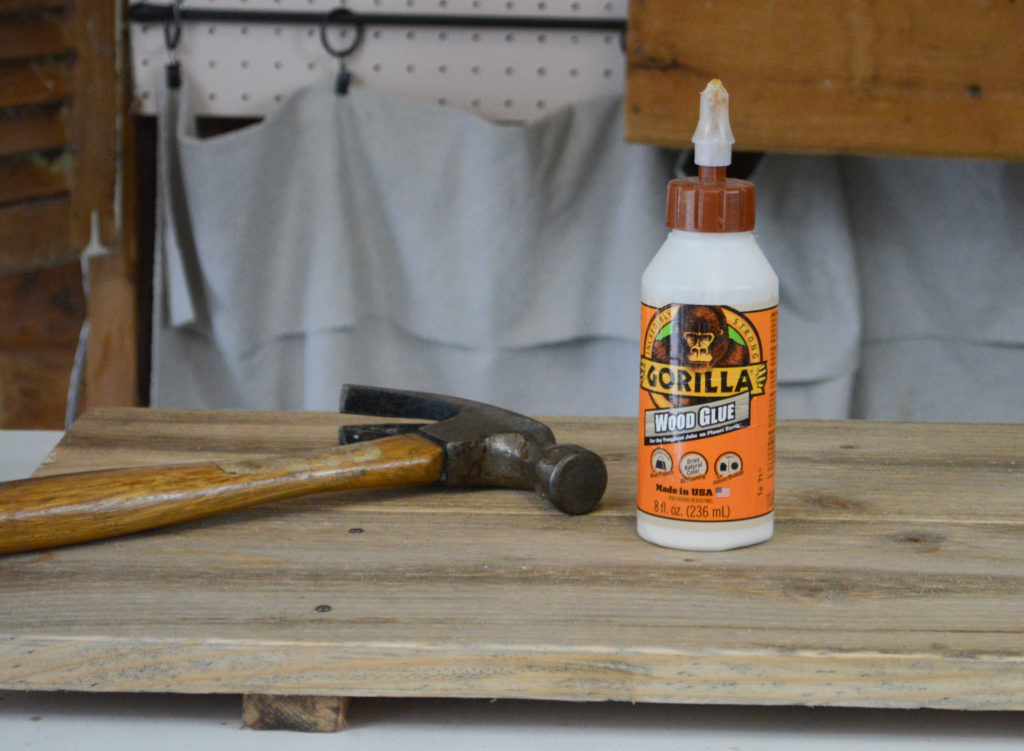
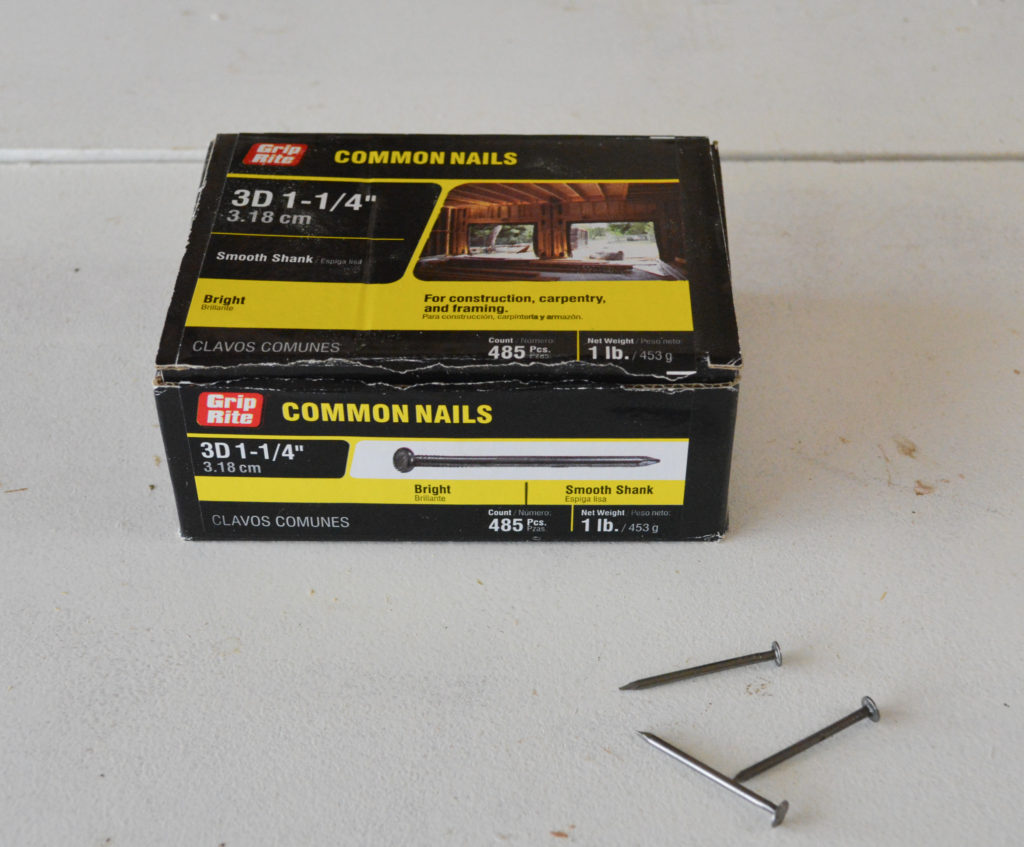
I used 1-1/4″ common nails. They were long enough to be secure, but not too long to go through to the other side.
Hammer in the nails and repeat on the other side.
Step 5: Adding the Handles (optional)
I’m saying the handles are optional because they are! This would still be super cute without them and you may prefer that, or you might not want to deal with screwing them on. If the second case is the reason, let me assure you it was very easy.
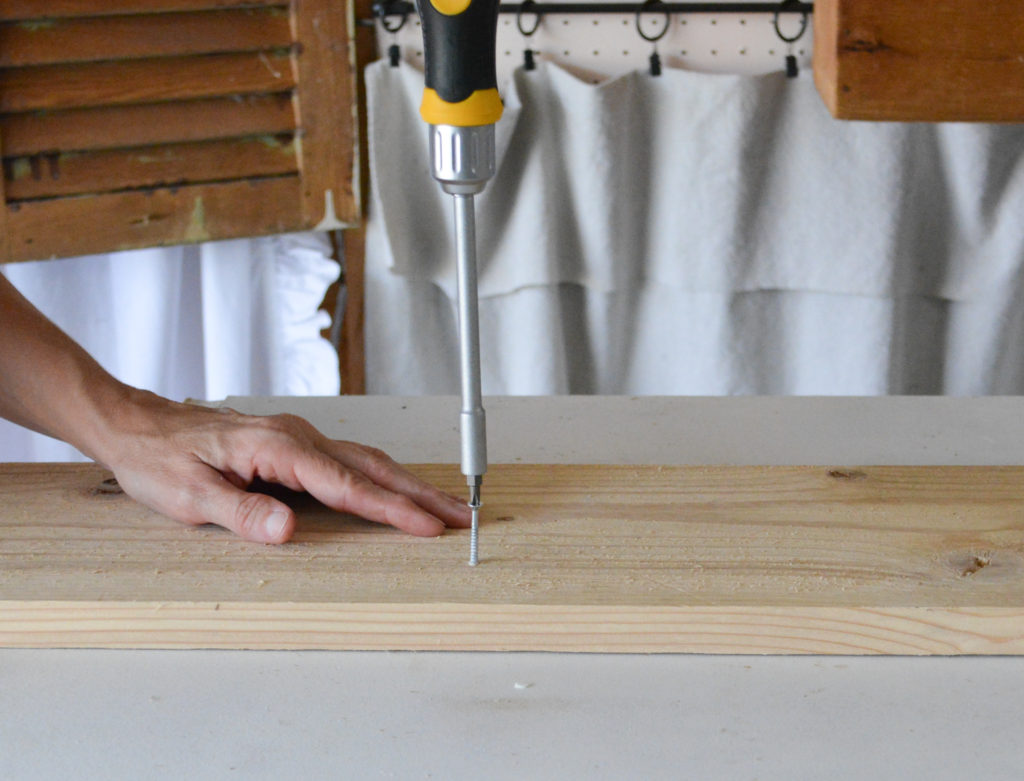
Select handles that screw in from the top for best results. Mine are from Hobby Lobby. I gave them a little extra detail by dabbing on some gold craft paint.
Then just screw them in. This wood is fairly soft, so it was easy to do. I just centered them 2-1/2″ from the edge.
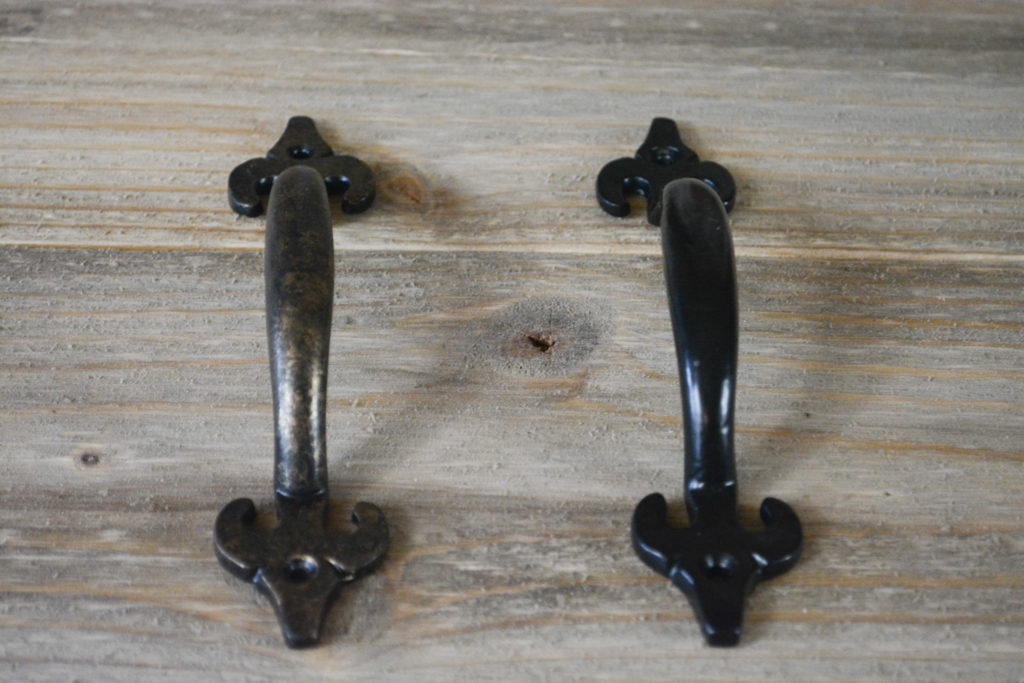
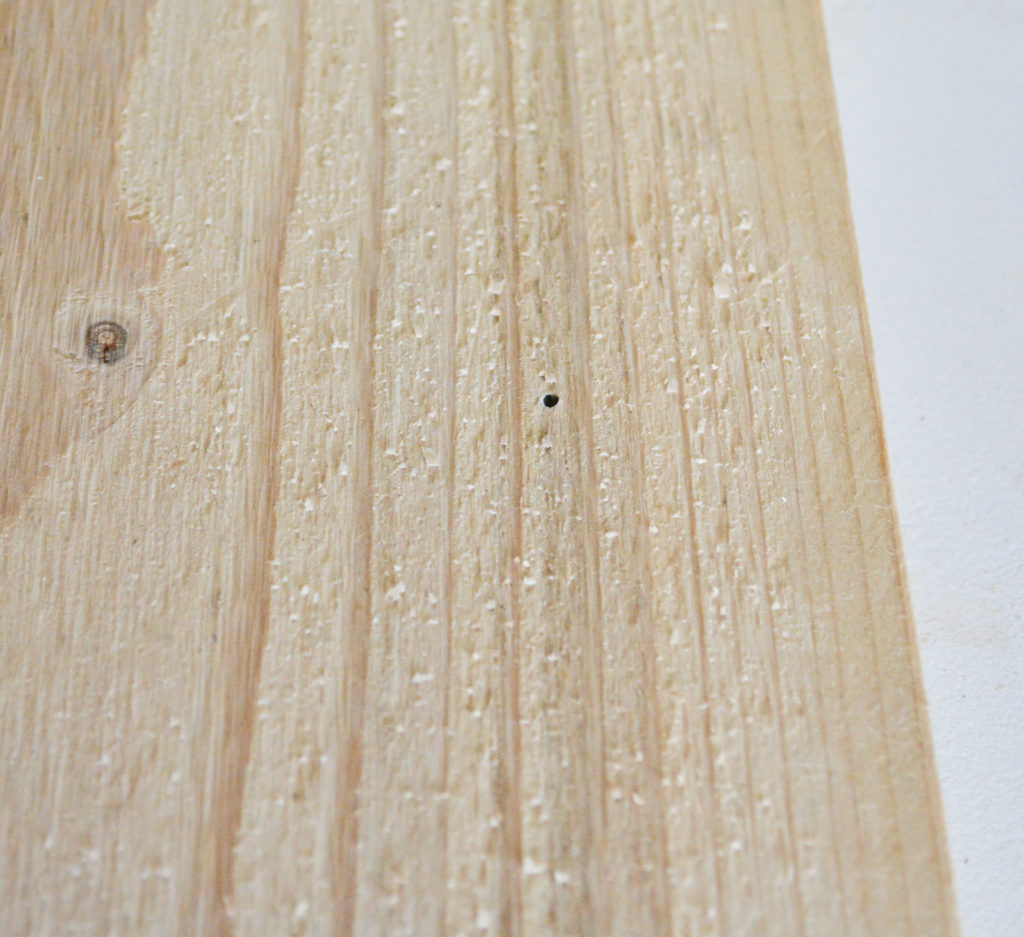
Girly Girl Tip: To start a screw hole without a drill, hammer in a nail a little way and then remove. Only do this on boards like this that won’t split.
Step 6: Finishing Details
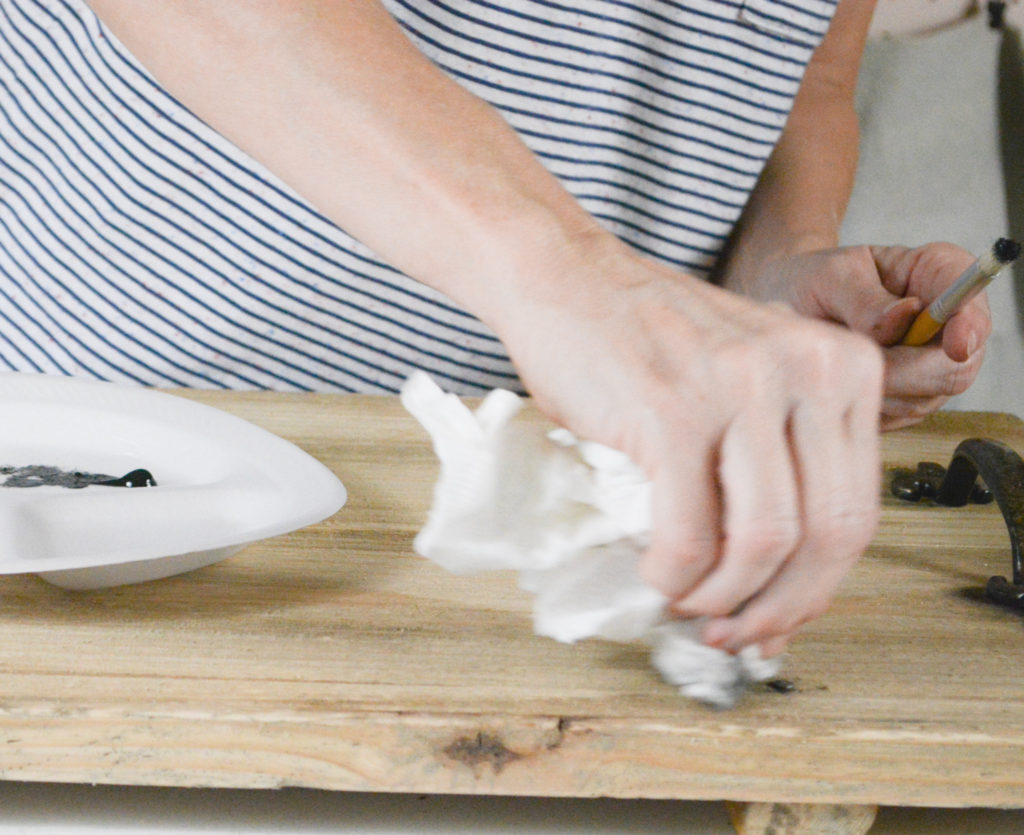
As a finishing touch, I like to add black paint for extra patina. I pounce some on and around the nails, and then rub it in the wood to give the appearance nails that have rusted onto the wood. I also use a damp cloth and rub the paint into random spots on the wood. If the paint looks too dark, just sand it a little to blend.
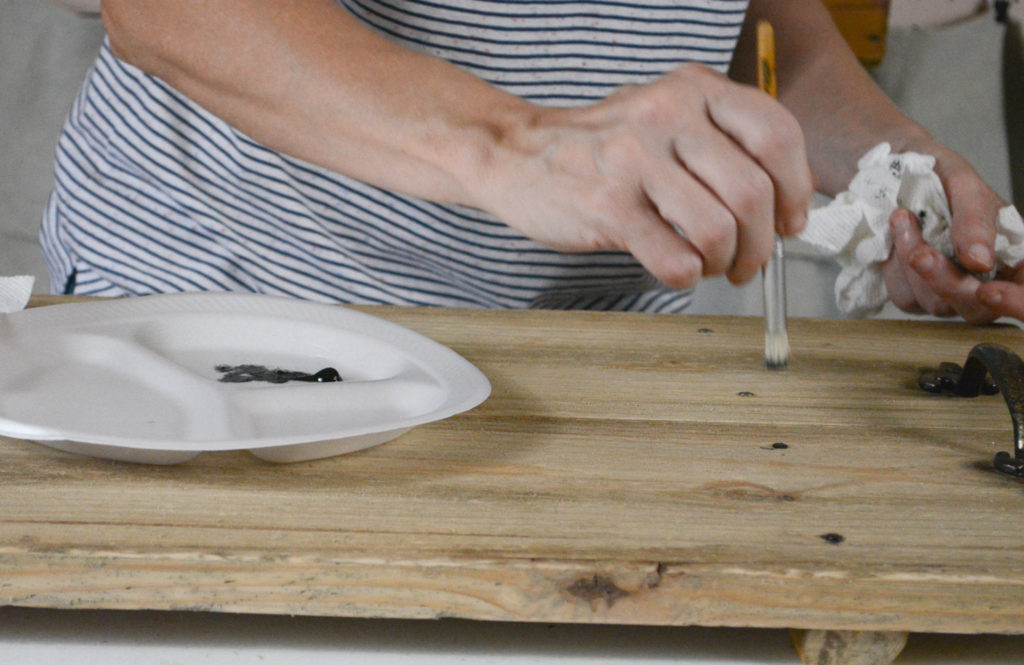
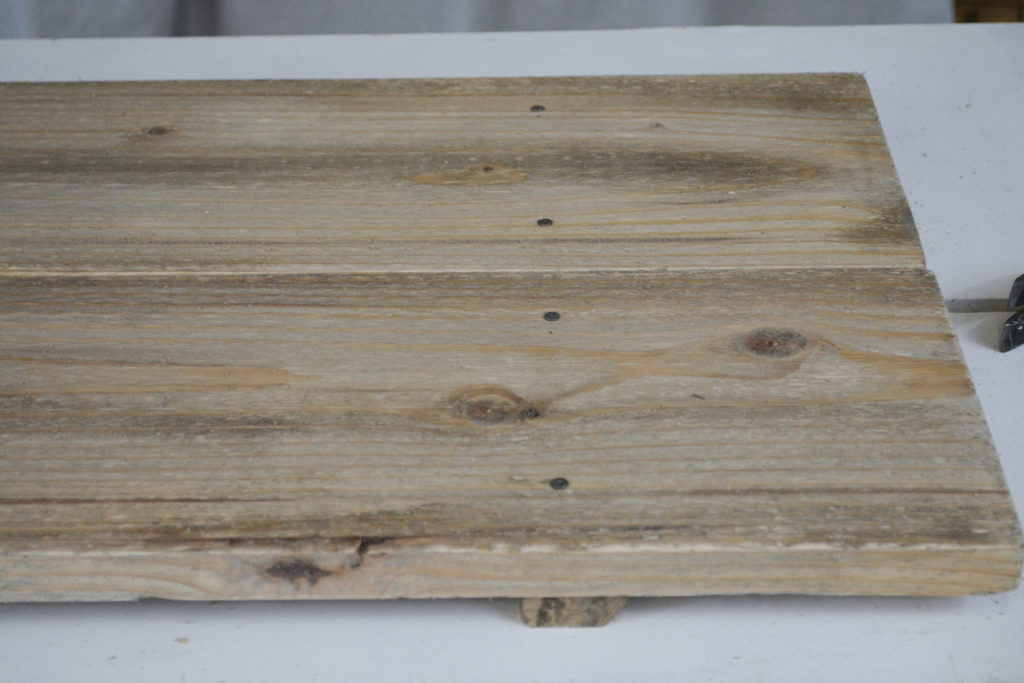
In the picture below , you can see the black details. I also added some around the handle.
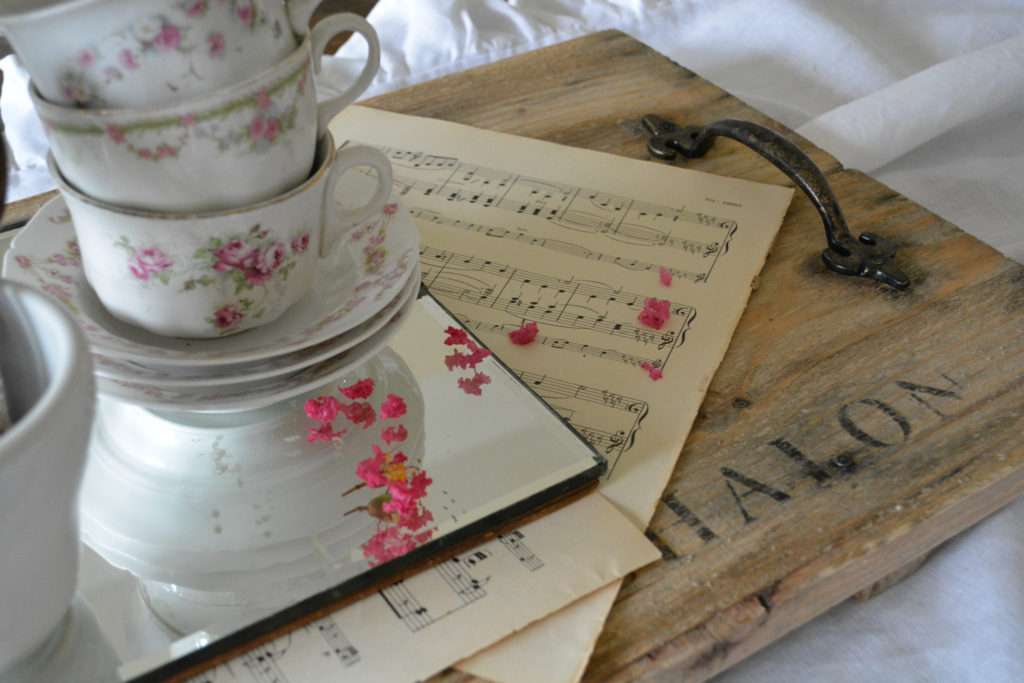
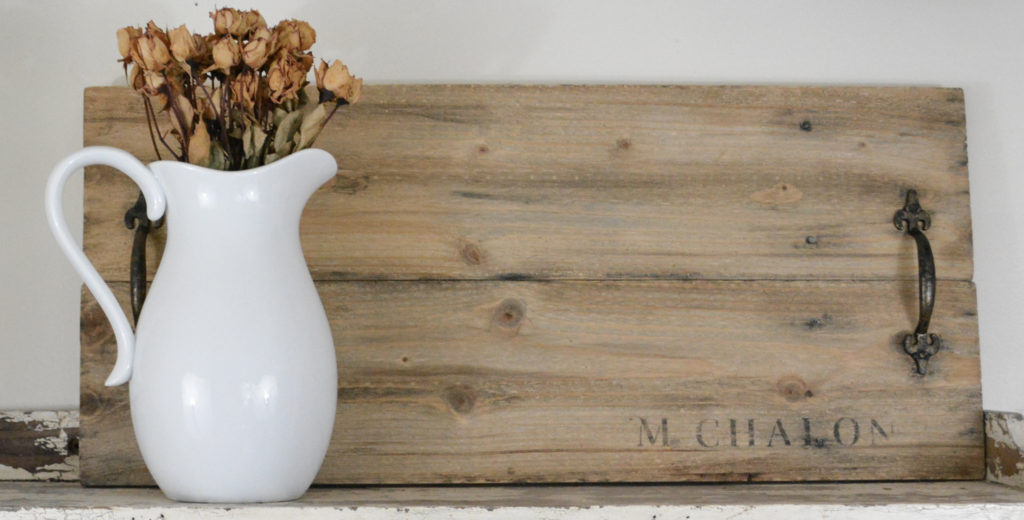
And you might have spied another finishing touch. I stenciled on a name with 1 inch stencils I got at Hobby Lobby.
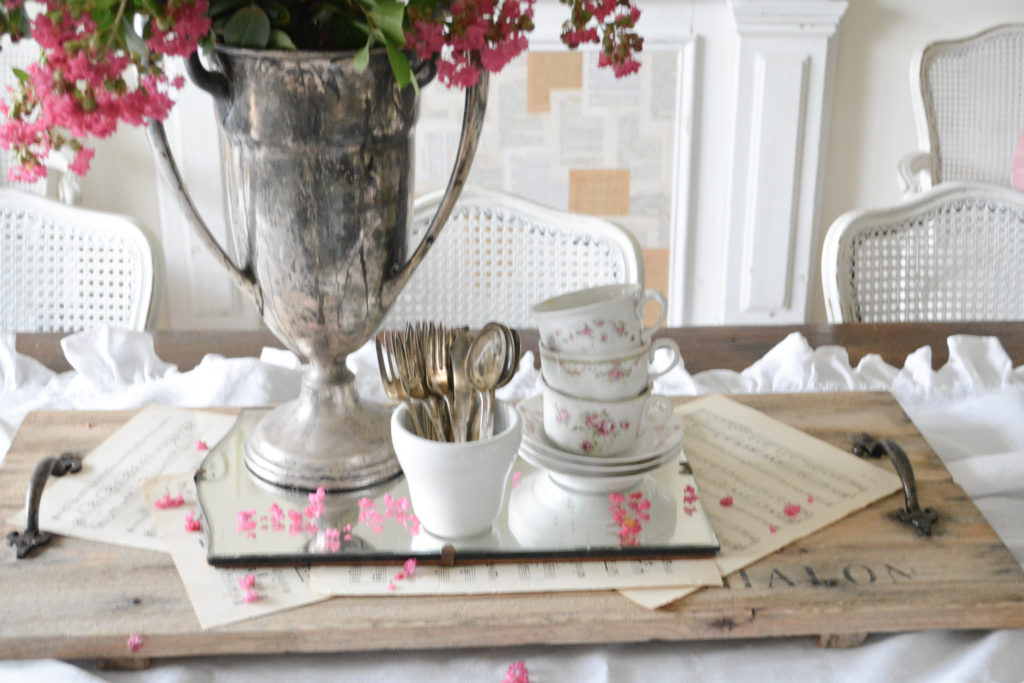
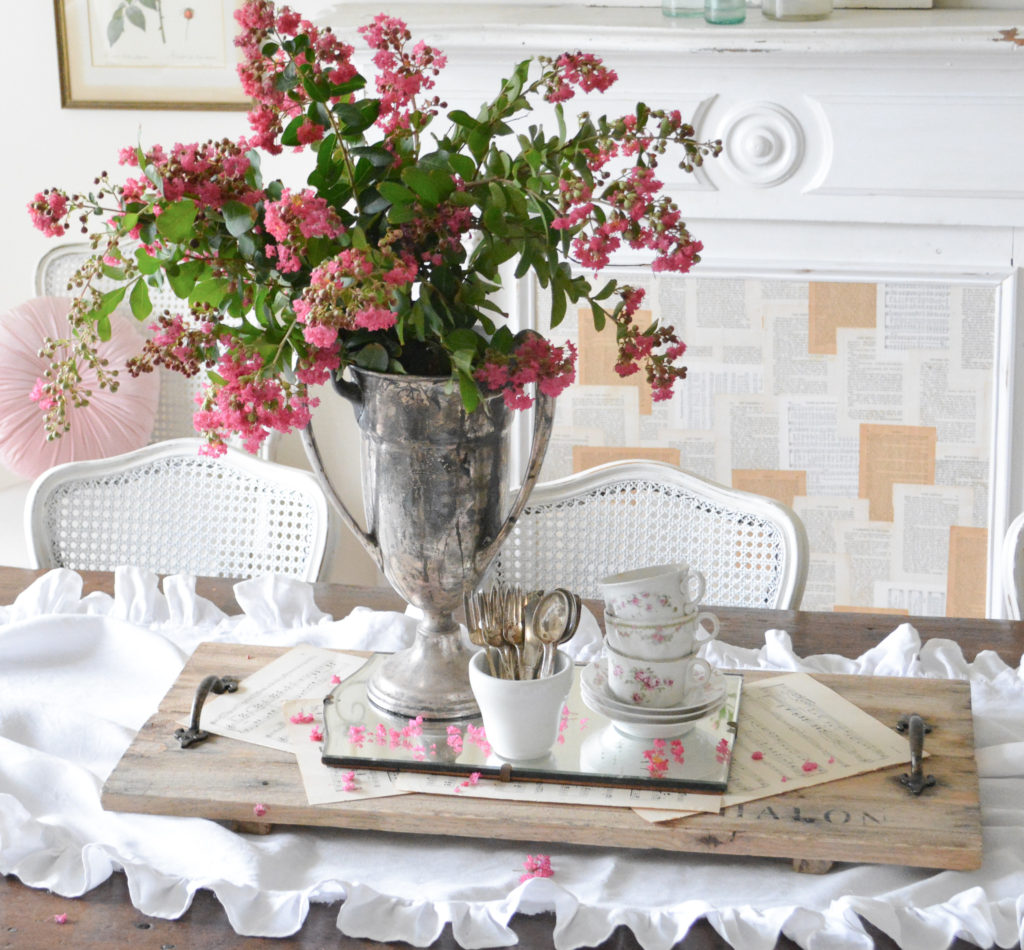
Here is the tray styled for late summer.
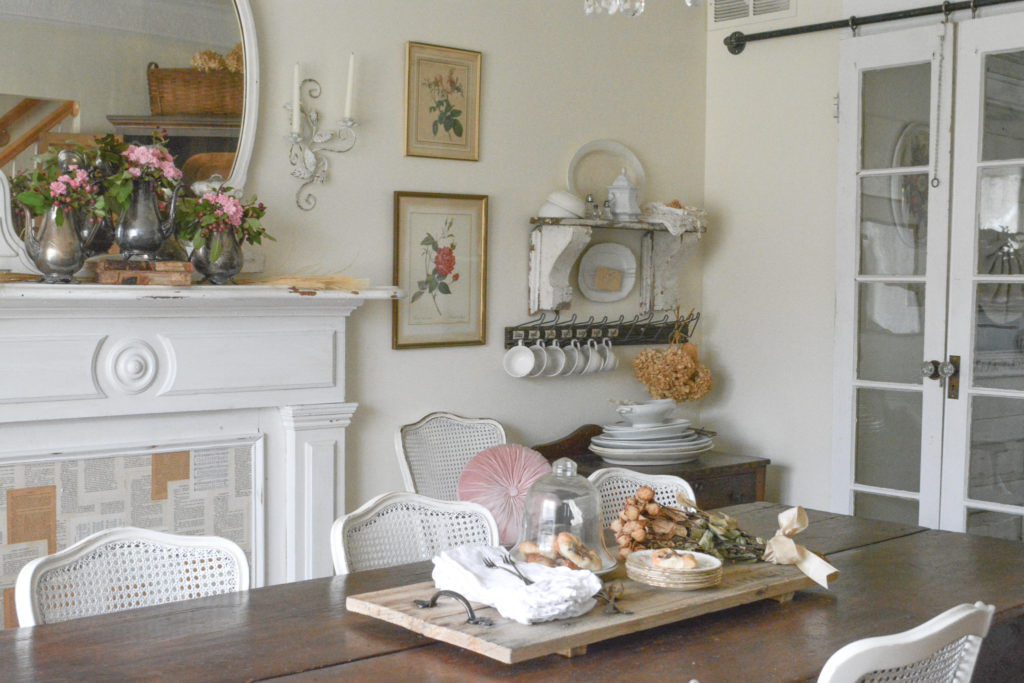
And styled for early fall.
This was a super easy and fun project. I hope you will grab a board and some nails, practice your hammering skills, and then give this project a try.
Pin It For Later

Thanks for stopping by,
Janet
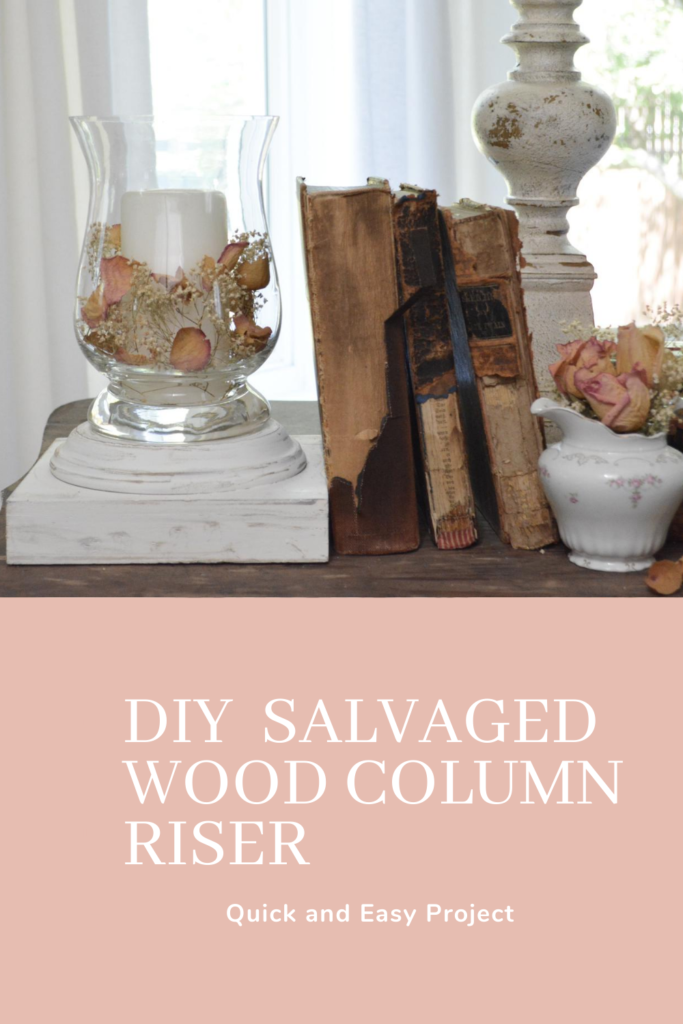
You might also like how to build a DIY Architectural Salvage Wood Riser