
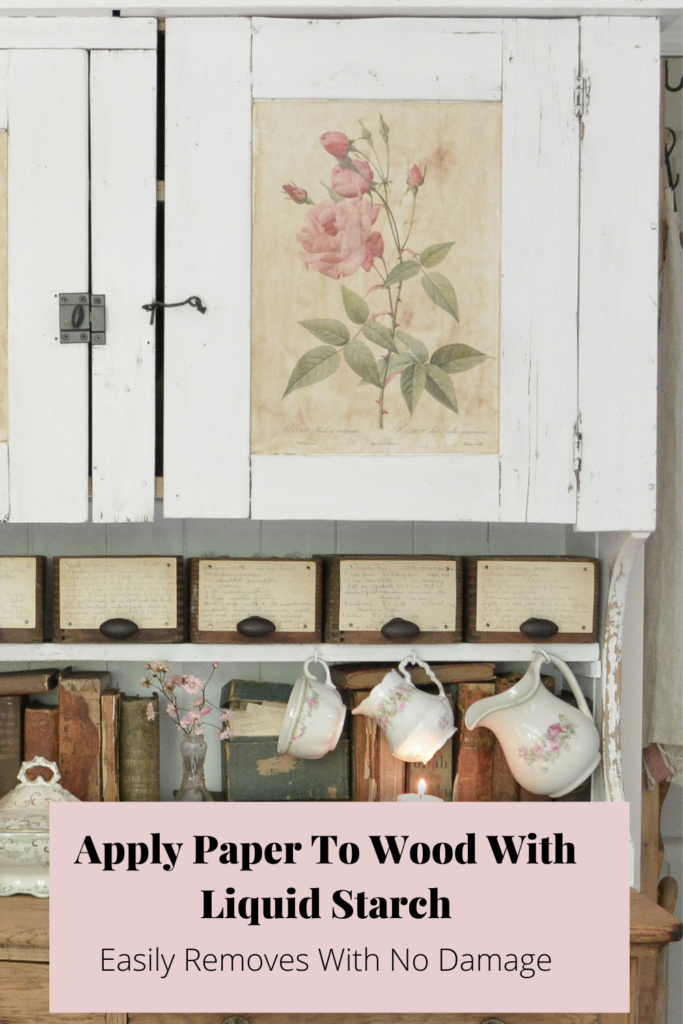
Did you know you could adhere paper to wood in a way that is semi-permanent, and damage free upon removal? Well you can! That was an amazing discovery for me, considering I have decor commitment issues. The secret is to use liquid starch.
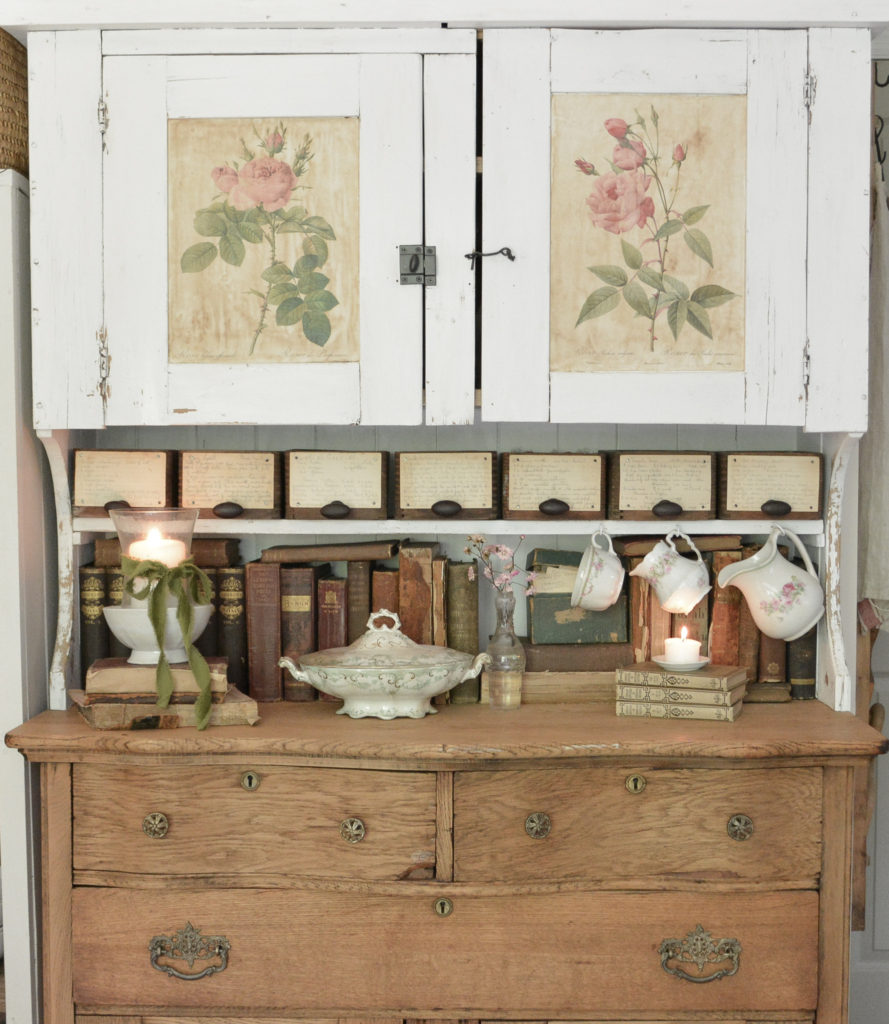
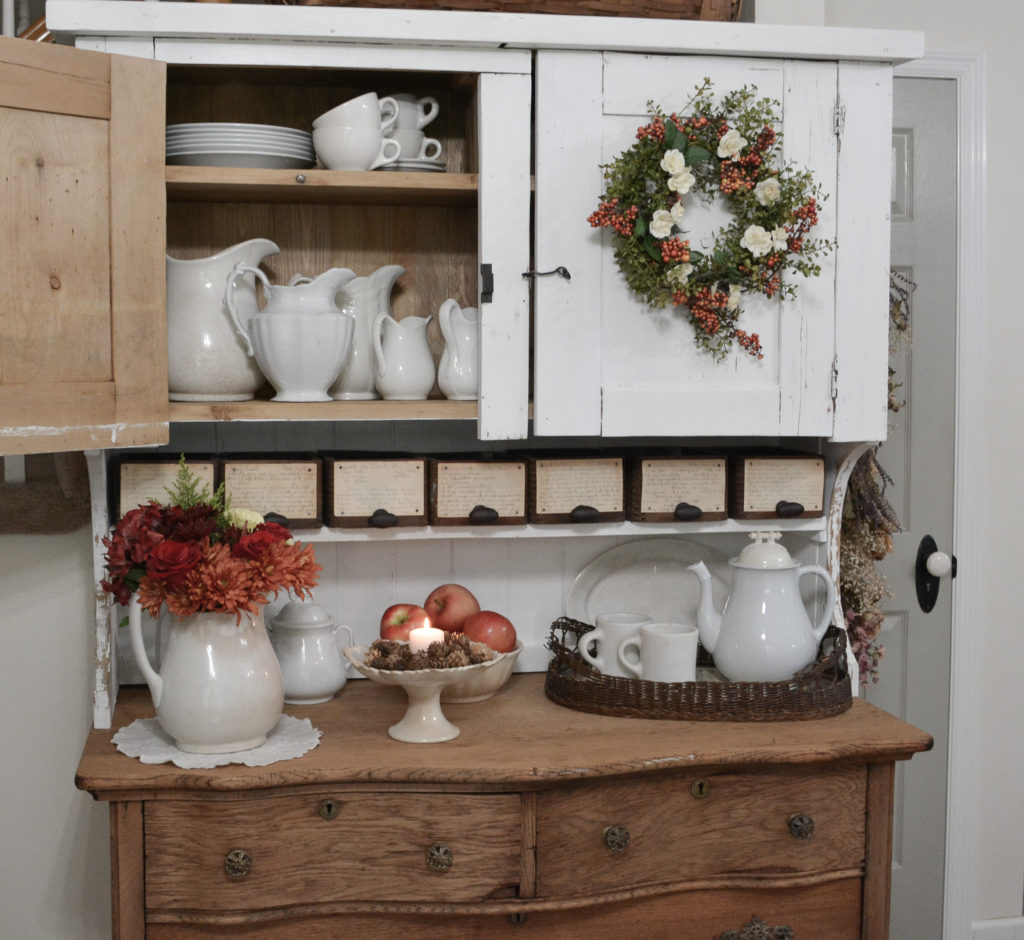
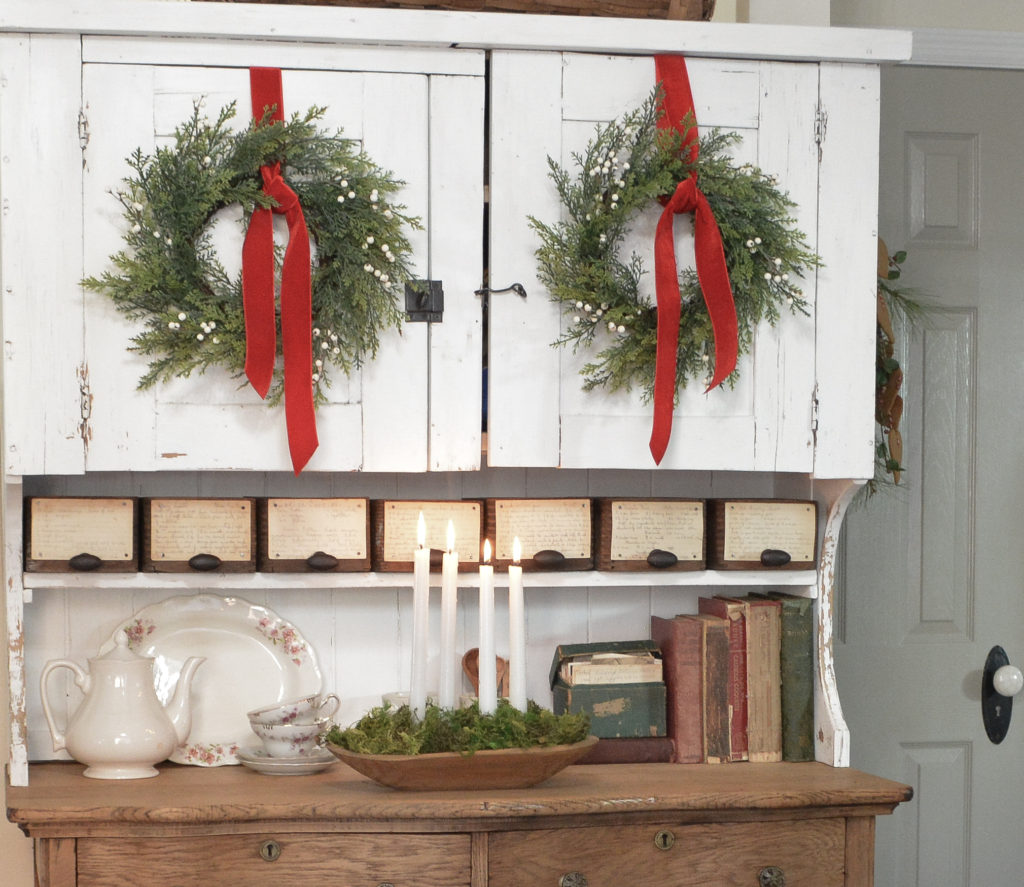
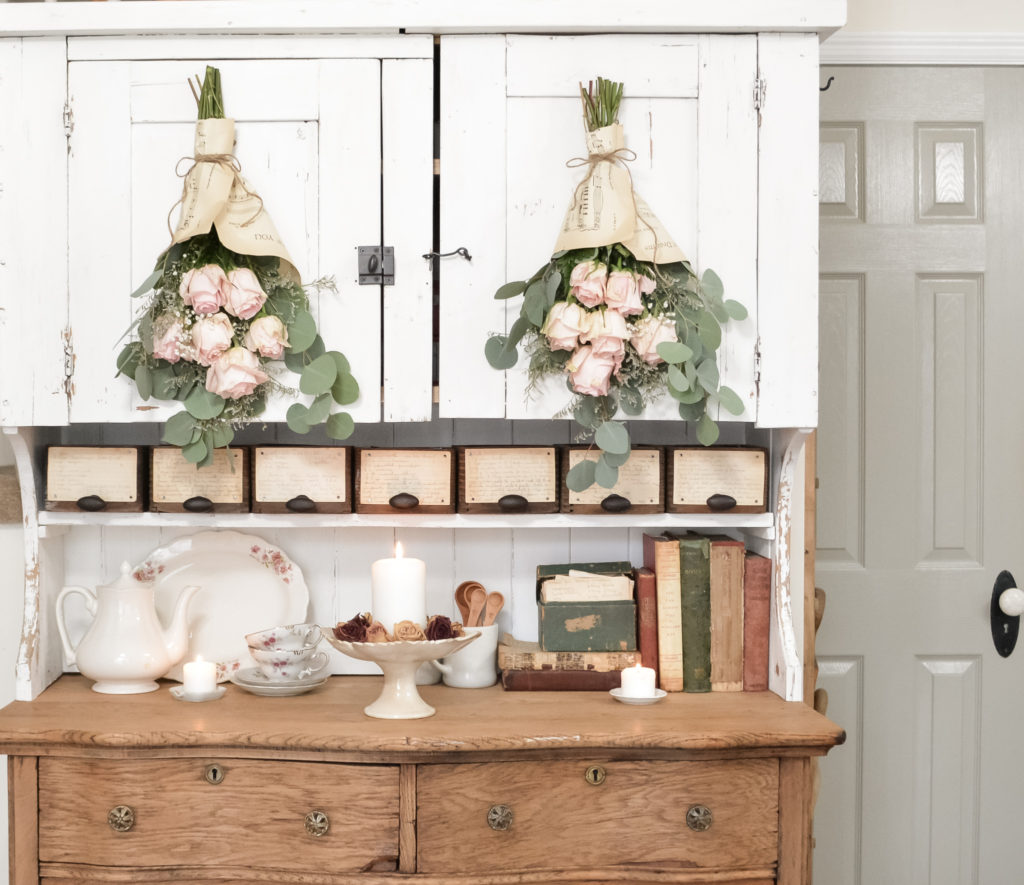
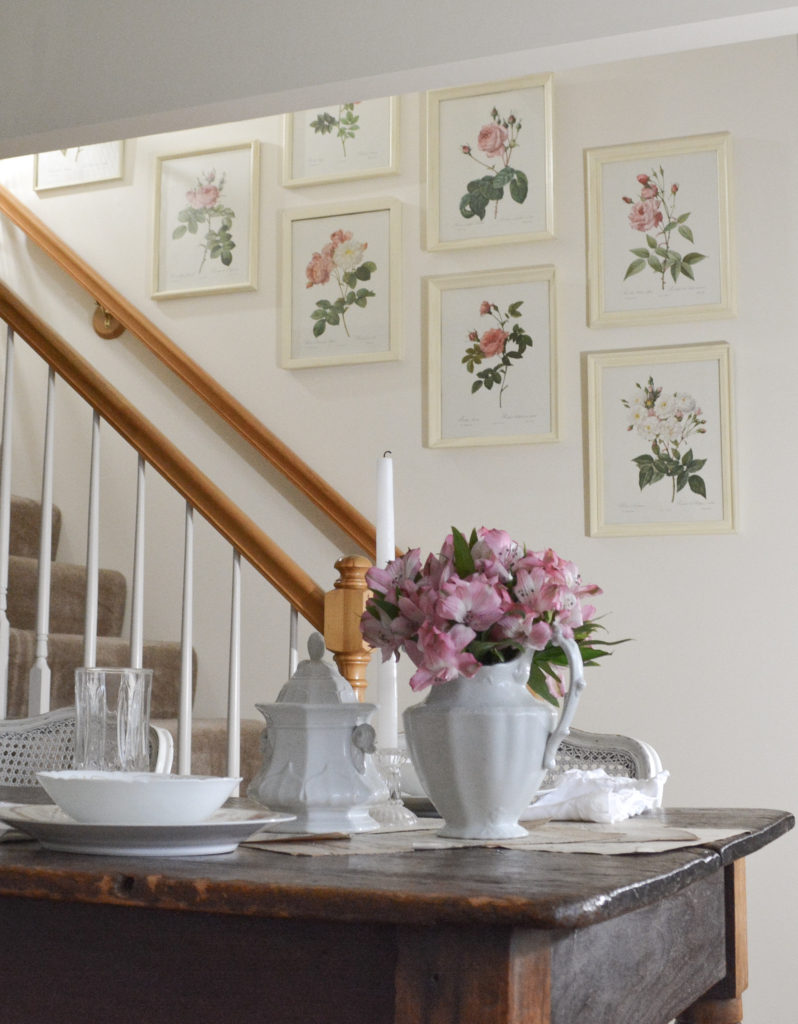
I love my hutch top that’s on my buffet, but for some reason I always want to put something on the doors.
A wreath…
Two Wreaths…
Dried flowers…
So this time when I was ready for a change, I decided to add floral prints to the doors. Of course I wanted them to be removable! I have used starch for several projects in the past, but I never actually removed them, and they are still going strong years later. I did a little test with one before I committed to the project, and it came right off. These will probably be removed to make way for Christmas decor.
The floral prints are just photo copies of some vintage prints that I already owned. Remember these framed floral prints?
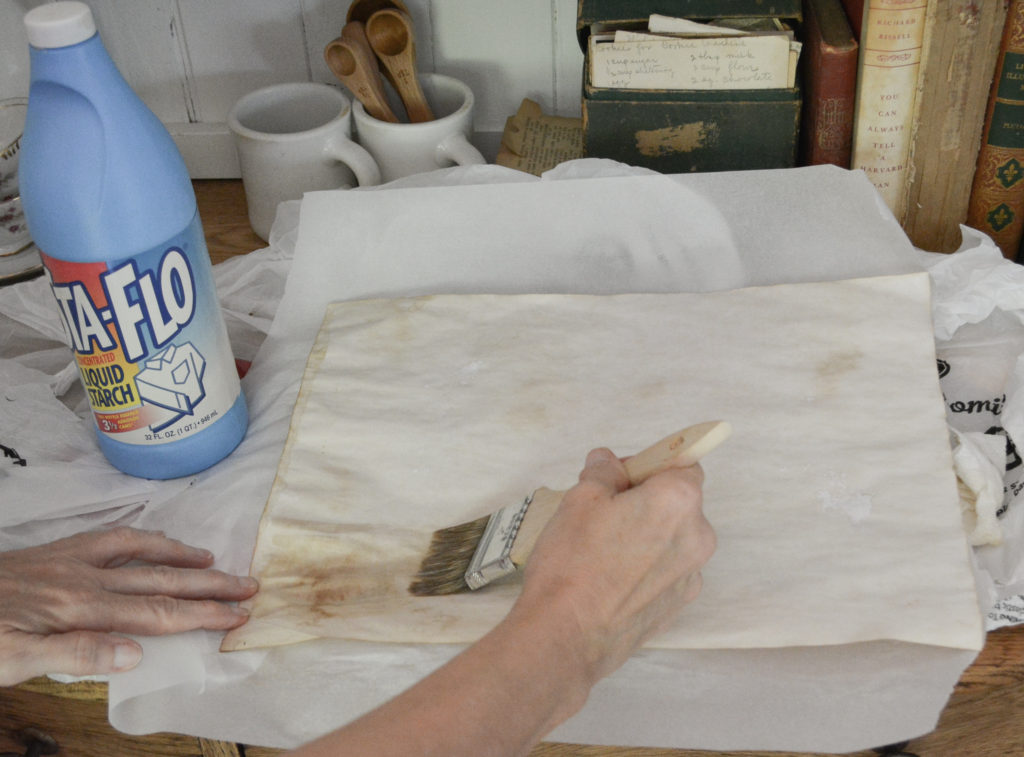
Because the prints were going to be removed, I didn’t want to use anything valuable. I tea stained the photo copies for an antique look. Click to see my easy tea staining paper technique. This time I used a paint brush dipped in tea instead of the teabag, but both techniques work!
You can have your own set of rose prints. Just get these free printables.
How To Use Liquid Starch To Bond paper To Wood
Step 1
When working on a flat surface, I prefer to dip the paper in the starch like I did lining a drawer with book pages. This proved way too messy when putting it up on the cabinet door, so I used a brush.
Brush a generous amount of liquid starch onto the back of the paper
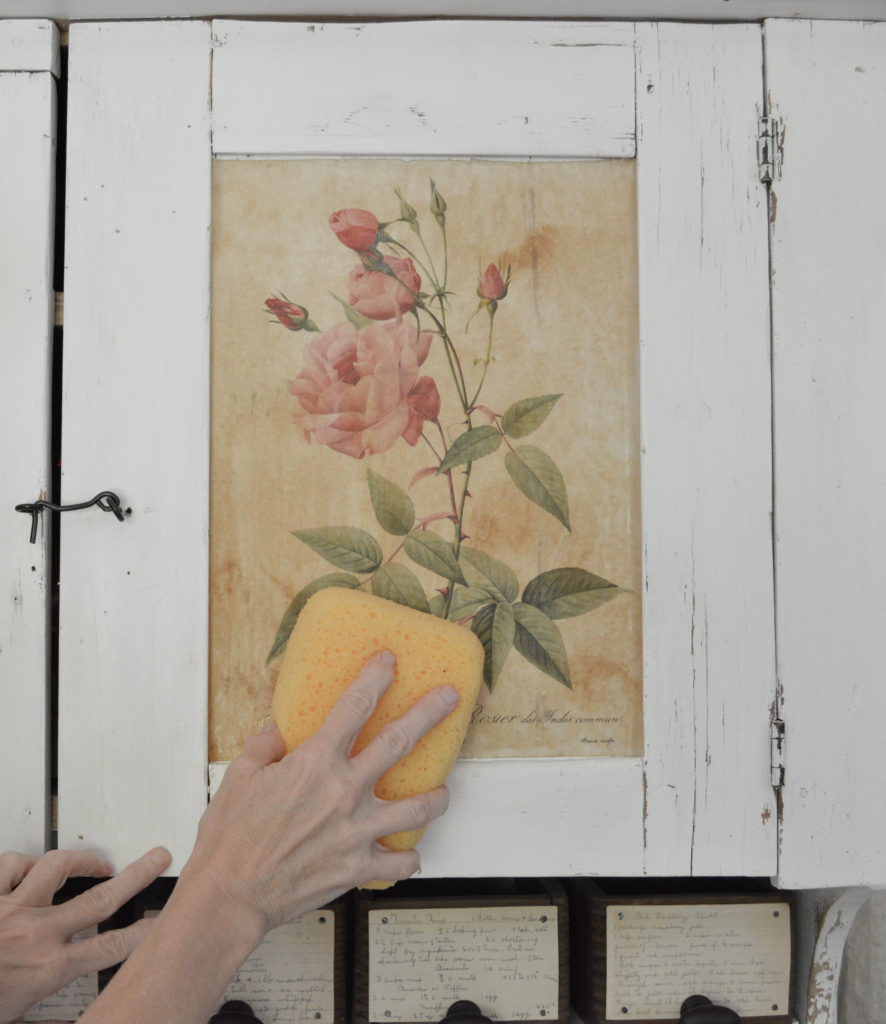
Step 2
Position and smooth the paper on the surface. I used a sponge to smooth the paper, wet paper can be very delicate and tear easily.
Step 3
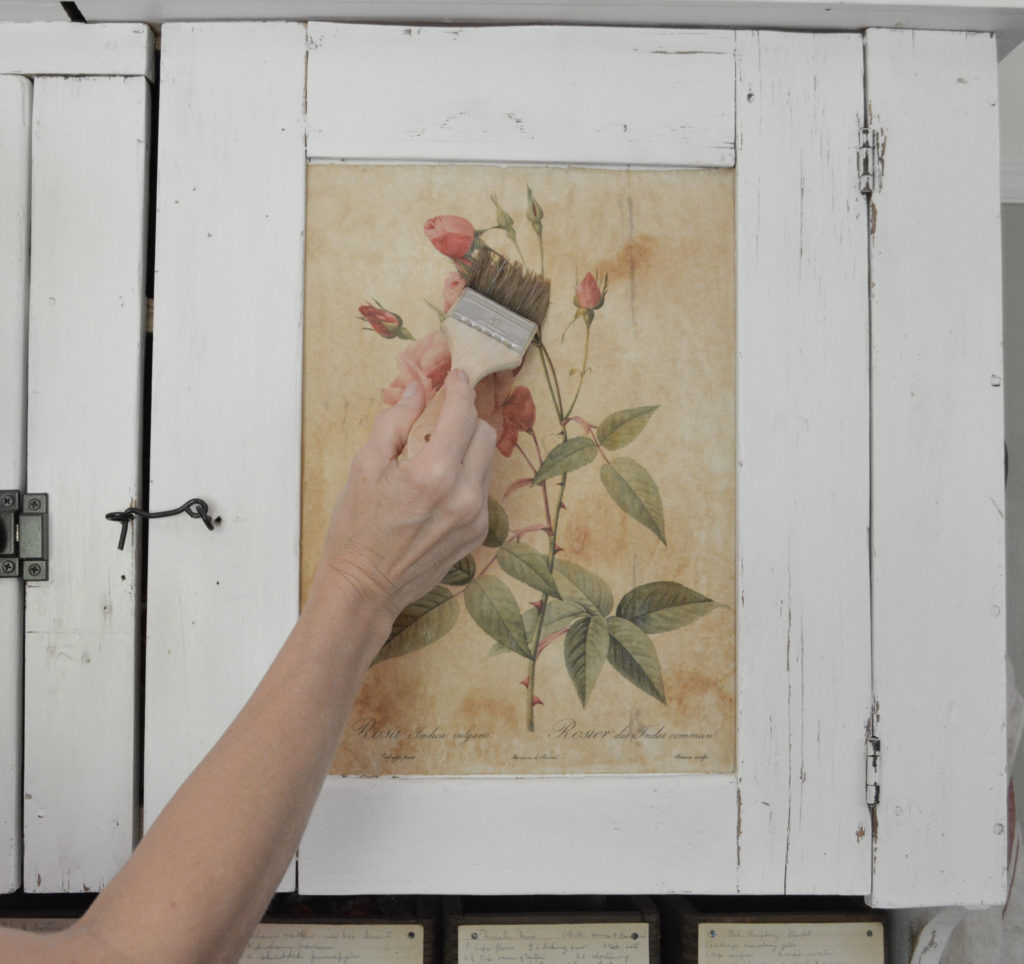
After the paper is in place, brush another coat of liquid starch over the top, making sure edges are saturated.
Step 4
Smooth the paper again, making sure to press the edges.
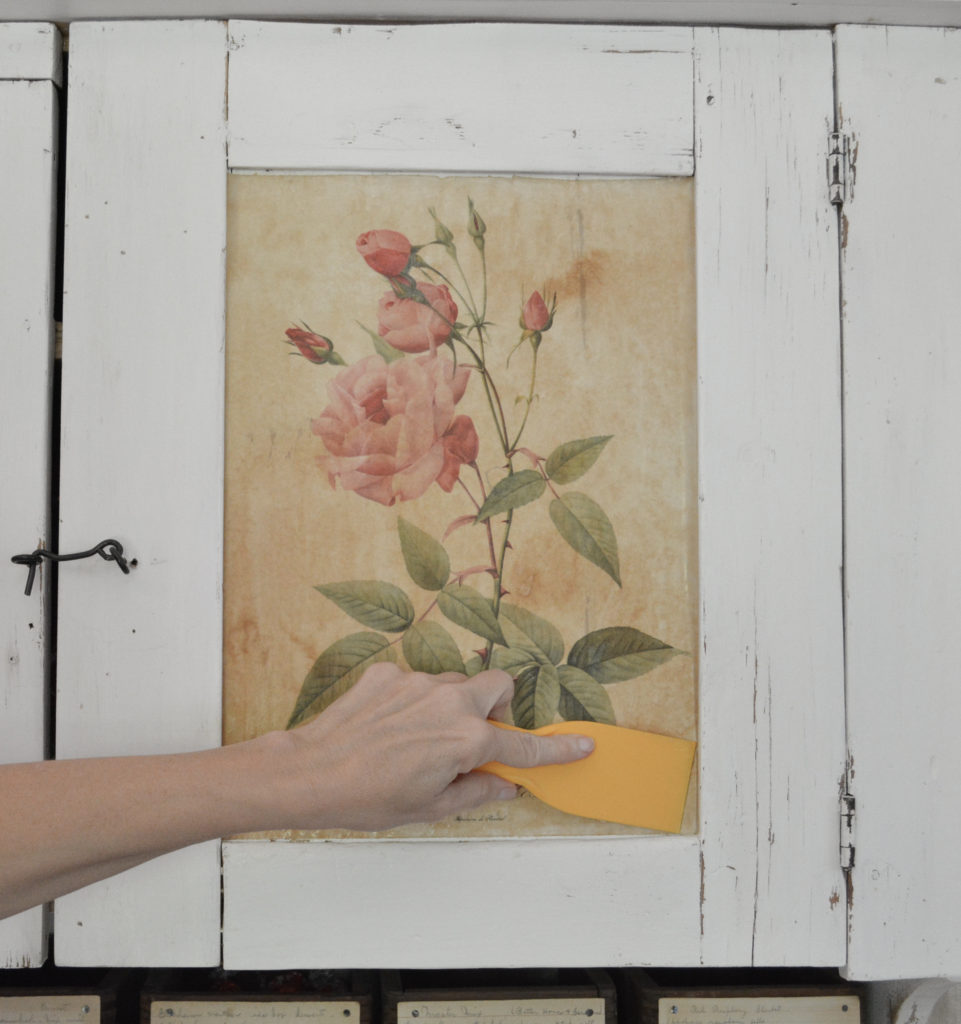
Tip: If any of the edges come up while drying, just brush more starch on the front and back and press down the edges.
My prints have been holding tight for a couple of weeks now. As I said above, I did a test, and the paper removed easily. I would recommend doing a test spot on an inconspicuous area. I usually use this technique for my rustic pieces, so it’s not usually a big concern to me.
It’s so much fun to be able to change things around seasonally, or just because, so I love this method of using liquid starch to bond paper to wood. It holds well, but then comes right off!
PIN IT FOR LATER!
Thanks for stopping by,
Janet
What a nice idea….i had afriend many years ago that had done a similar thing with fabric…she used starch also..on a half wall in her dining room..it was great…to be ableto change for the seasons….🌻
Yes! Fabric on walls was the first time I saw starch used as an adhesive. I have always wanted to try it. Maybe to line the back of a cabinet or shelves?