
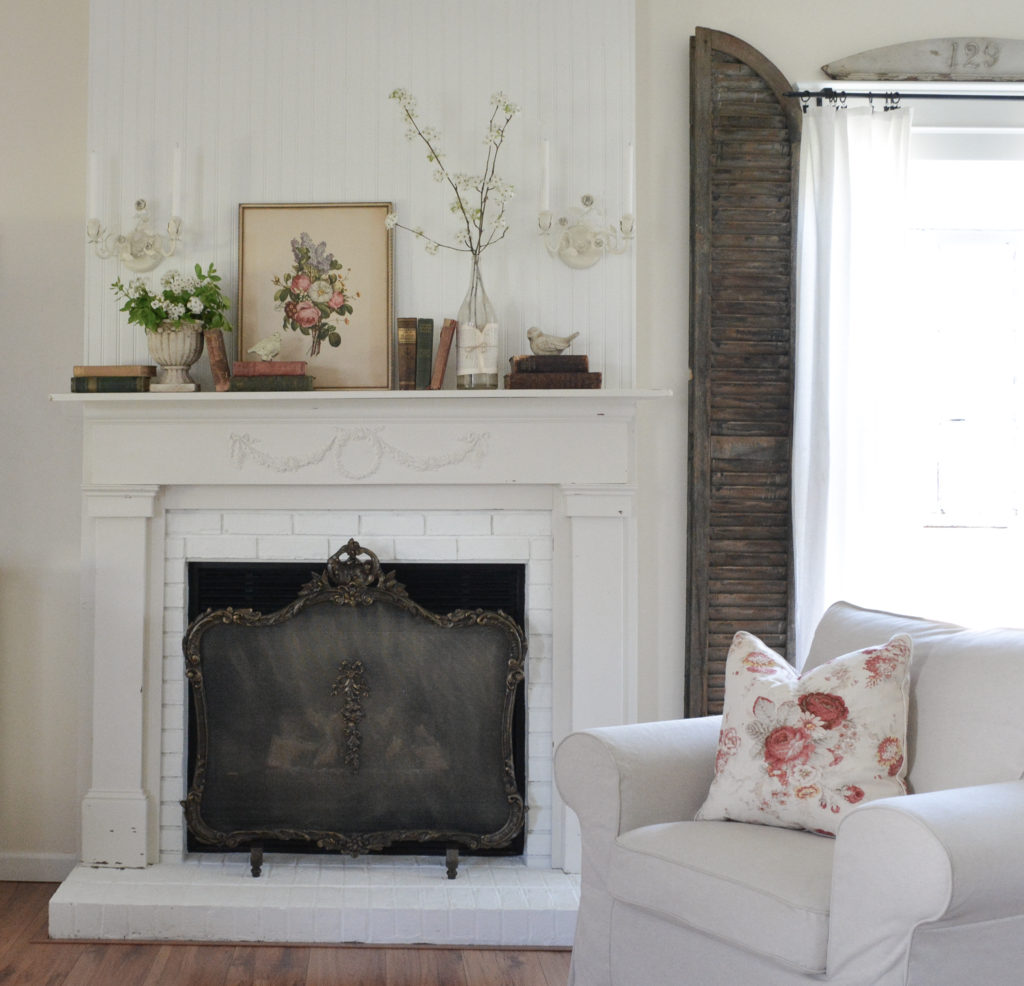
I was looking to turn my fireplace area into the centerpiece of my family room. First I added bead board over the mantel and then painted the brick white. You can read about that here. Today I am going to show you how I built a fireplace mantel for my family room.
Click to see how I made this fireplace screen from a $5.00 mirror frame.
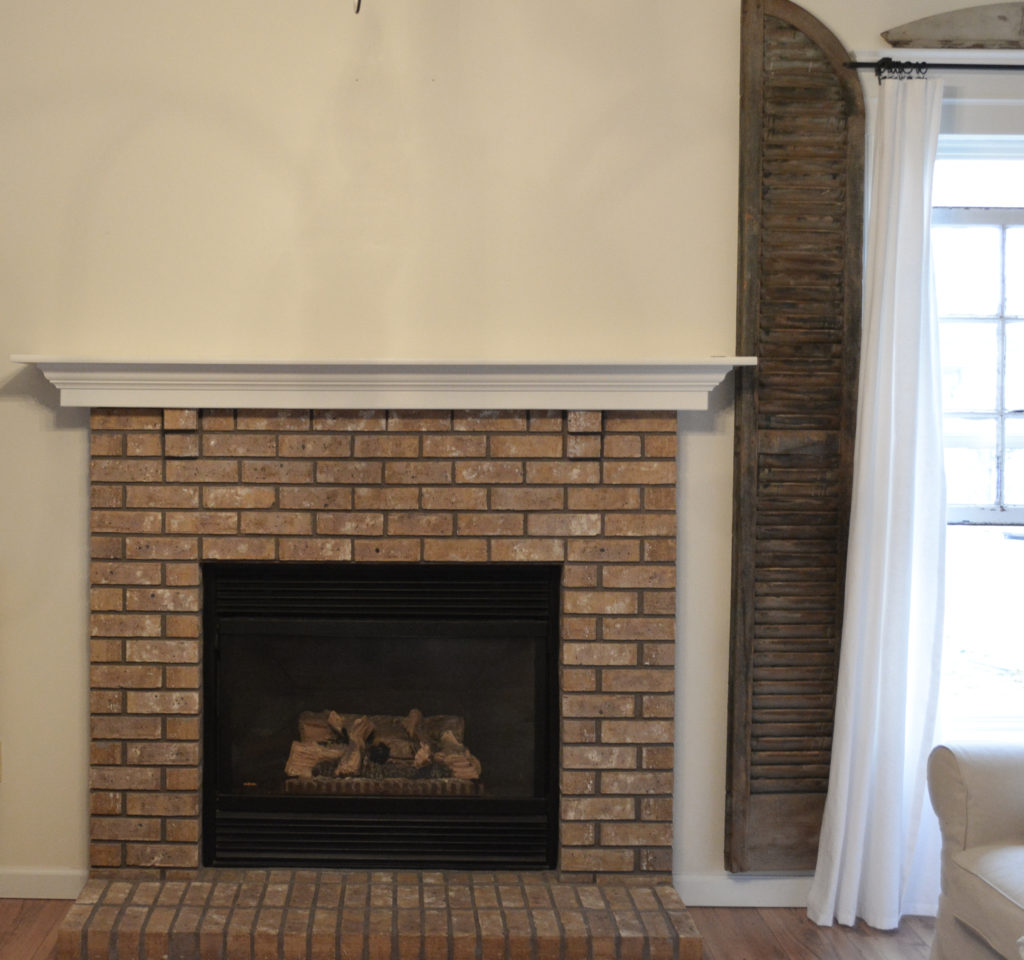
The Before
I was looking for a reclaimed mantel to use, but hadn’t found one. And can you see the brick brackets under the shelf? The mantel had to go over those, so I would have to rework an old mantel to fit. I just decided to build my own.
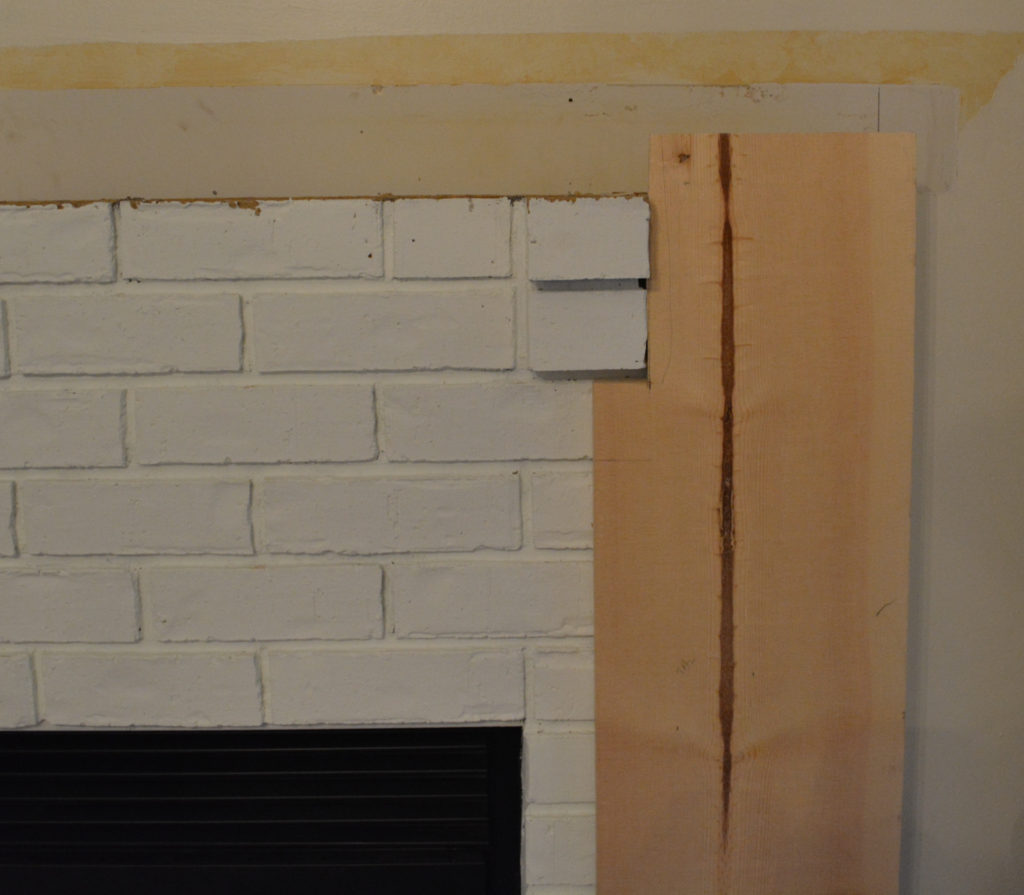
Because I wanted my mantel to look like I found it and just added it on, I did not make it to fit around the sides of the brick. The sides are even with the sides of the brick.
Measurements
The dimensions of my mantel are specific to my fireplace, so you can customize it to fit your needs. I will share the size of my boards in the instructions.
Lumber
I used inexpensive common boards for my mantel. Remember I was going for an old look, but you could use better boards for a more perfect, new mantel. I break down the boards and measurements in the list of instructions at the end of this post.
Tools
- Kregg Jig and drill for pocket holes
2. Chop saw
3. Jig saw (only if you need to cut around brackets like I did)
4. Nail gun
This Is How I Built A Fireplace Mantel
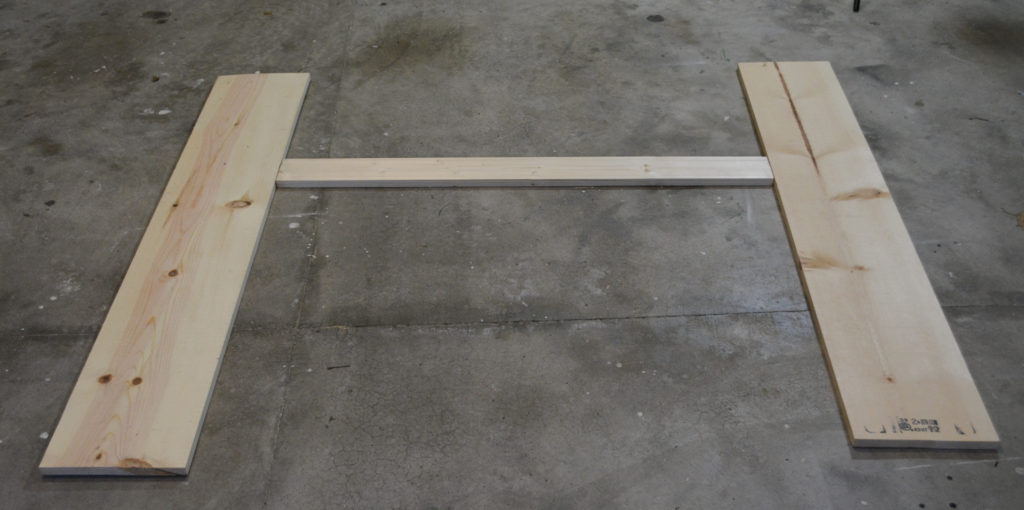
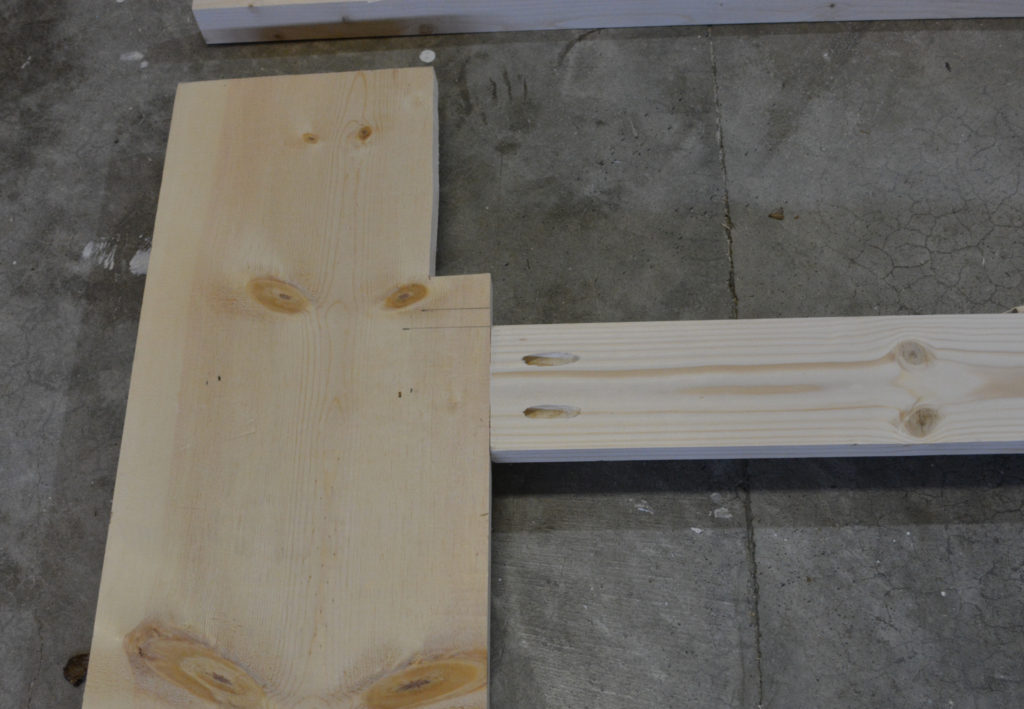
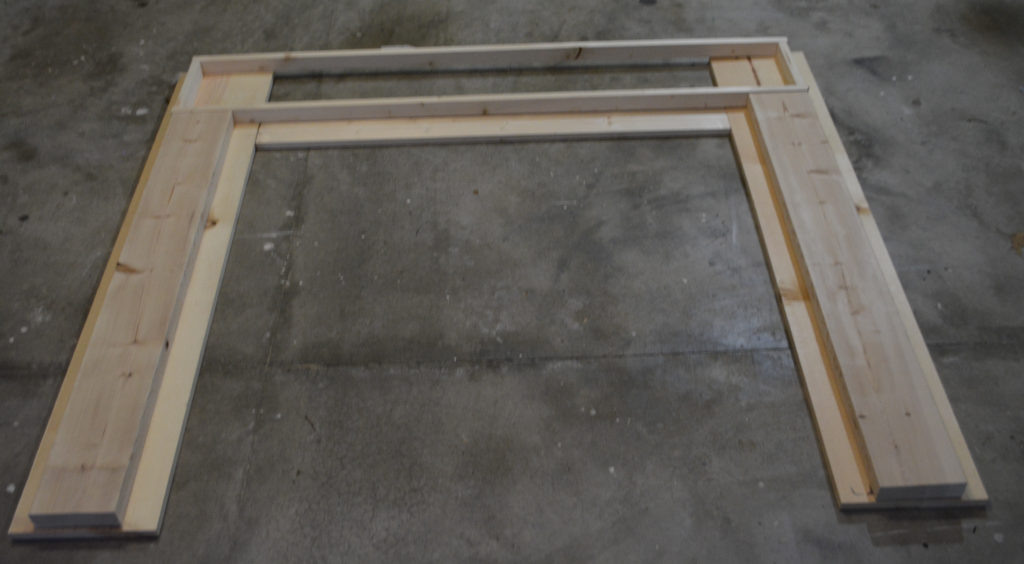
I started by making a frame with 2 – 1x10s as the sides and a 1×4 as the center piece.
To work around the brick brackets, I cut the edge to fit with a jigsaw.
I then attached the center board to the two sides with screws and pocket holes on the back.
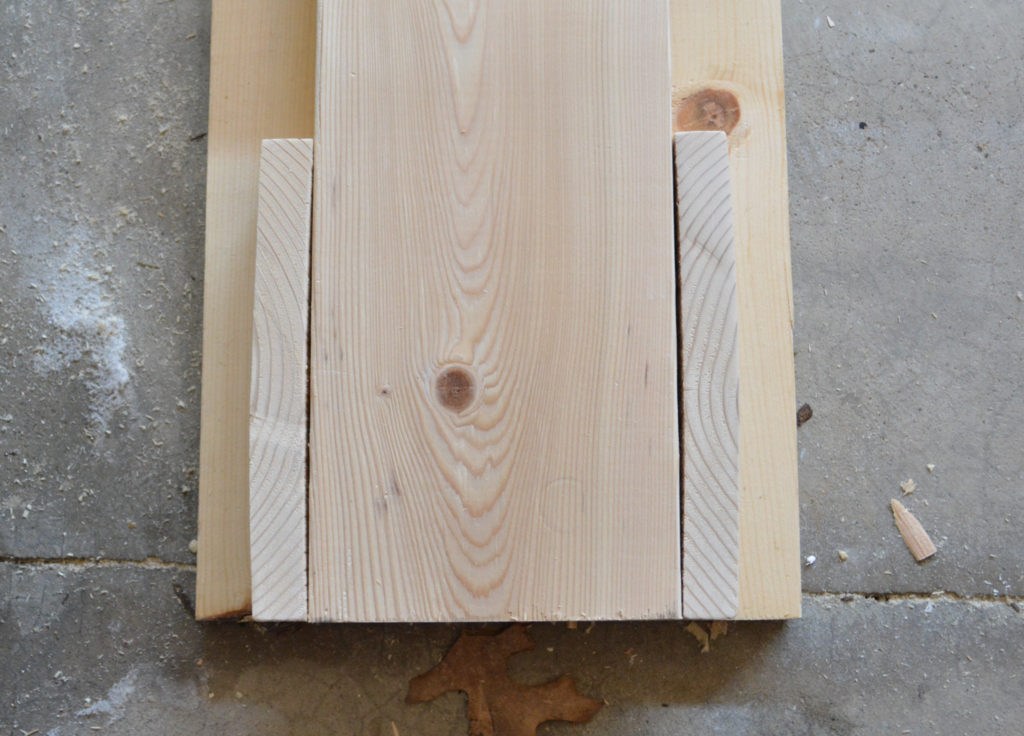
Next I added the 2×6 board”columns” to the center of the side pieces. I nailed them on from the back. The length of the columns was determined by the rectangular box built in the next step.

I built a rectangular box frame out of 1×2 boards to go around the brick bracket.

The frame needs to be the exact size of a 1×8 that will be the top of the box. It should run from edge to edge across the top of the columns and should be even with the top of the sides. I attached the frame to the center and the sides from the back with nails.
I put a 1×8 on top of the frame box and attached with nails.

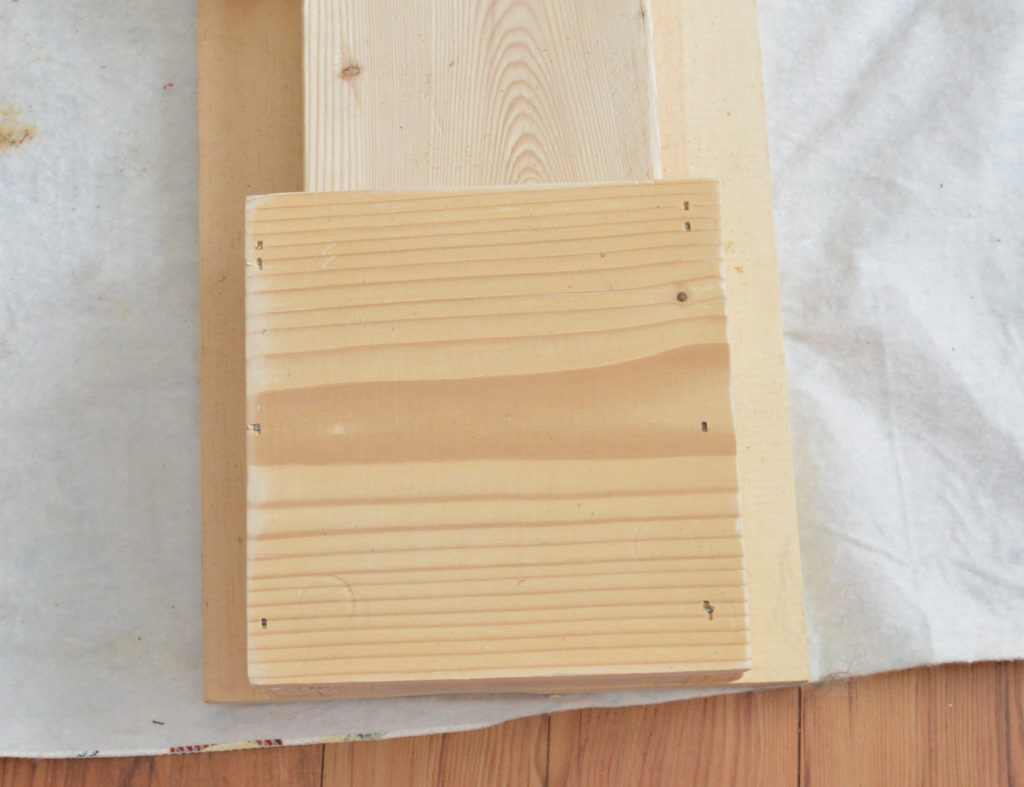
After the base was built, it was time to add the details. I framed the bottom of the “column” with a 1×8 cut to wrap the board.
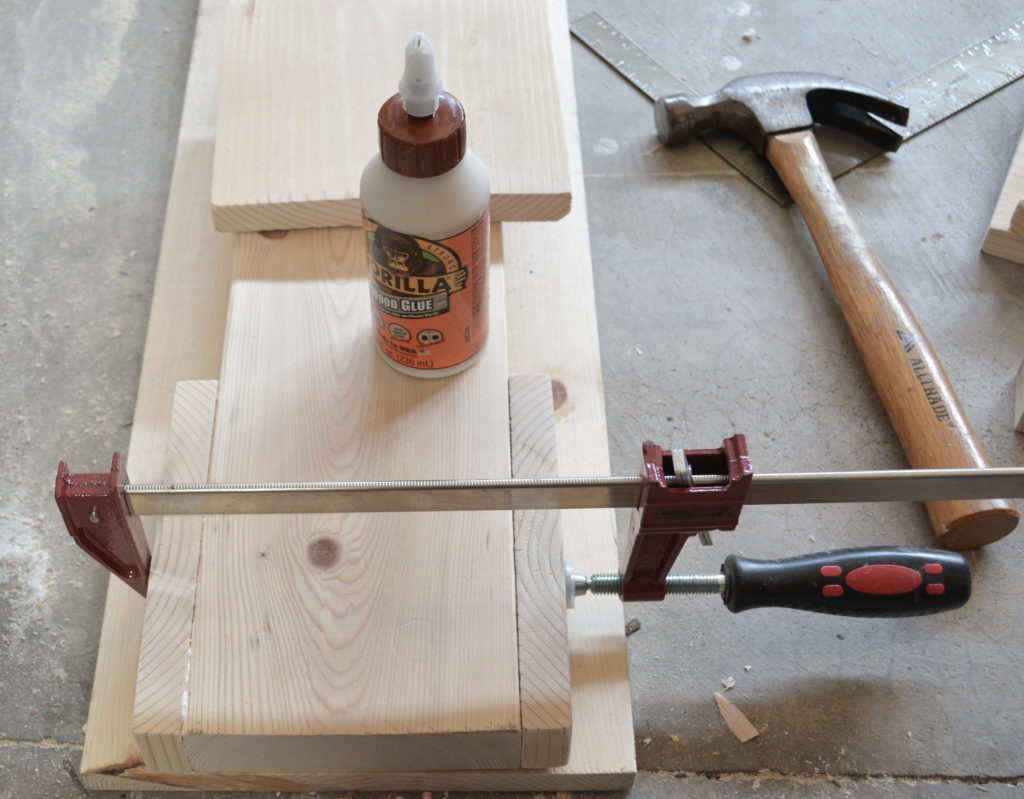
One piece on each side the same height as the column and nailed in from the side, and one piece to go across the two side pieces and column.
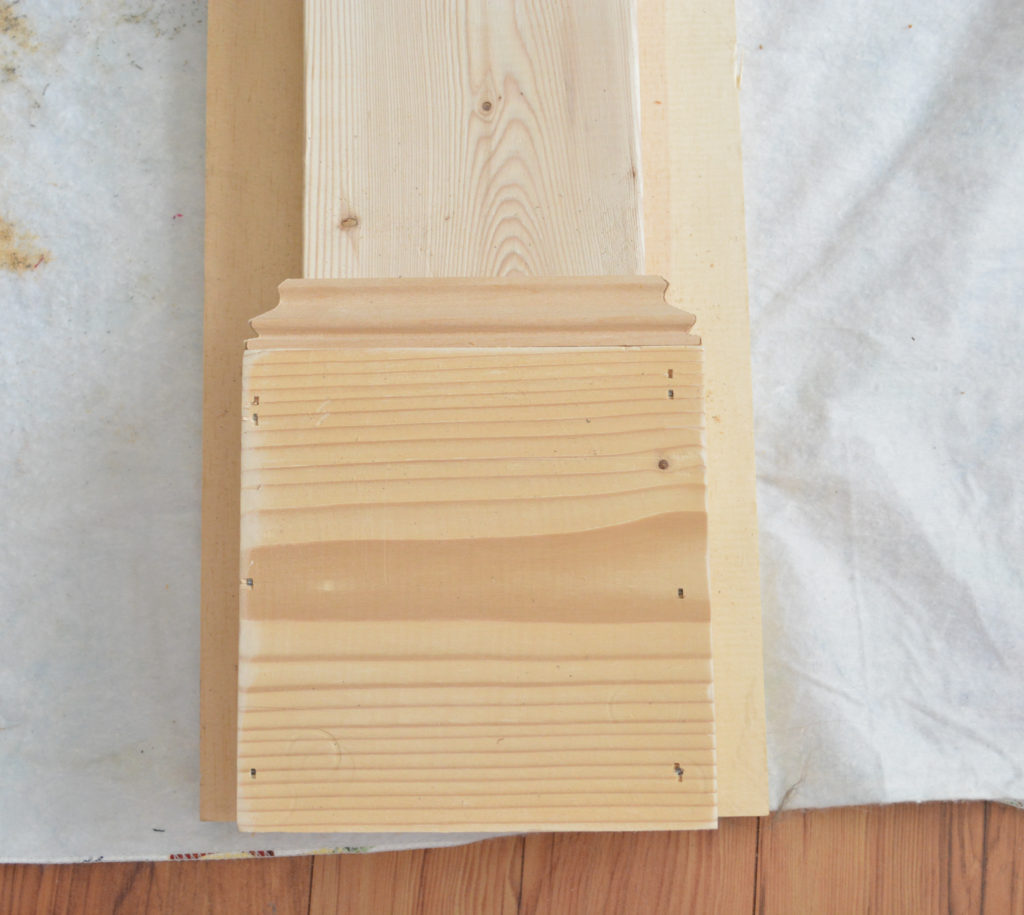
Molding was added above the wrap with the wider side facing down and corners mitered.
I repeated the same thing on the top of the “column” using a 1×4.
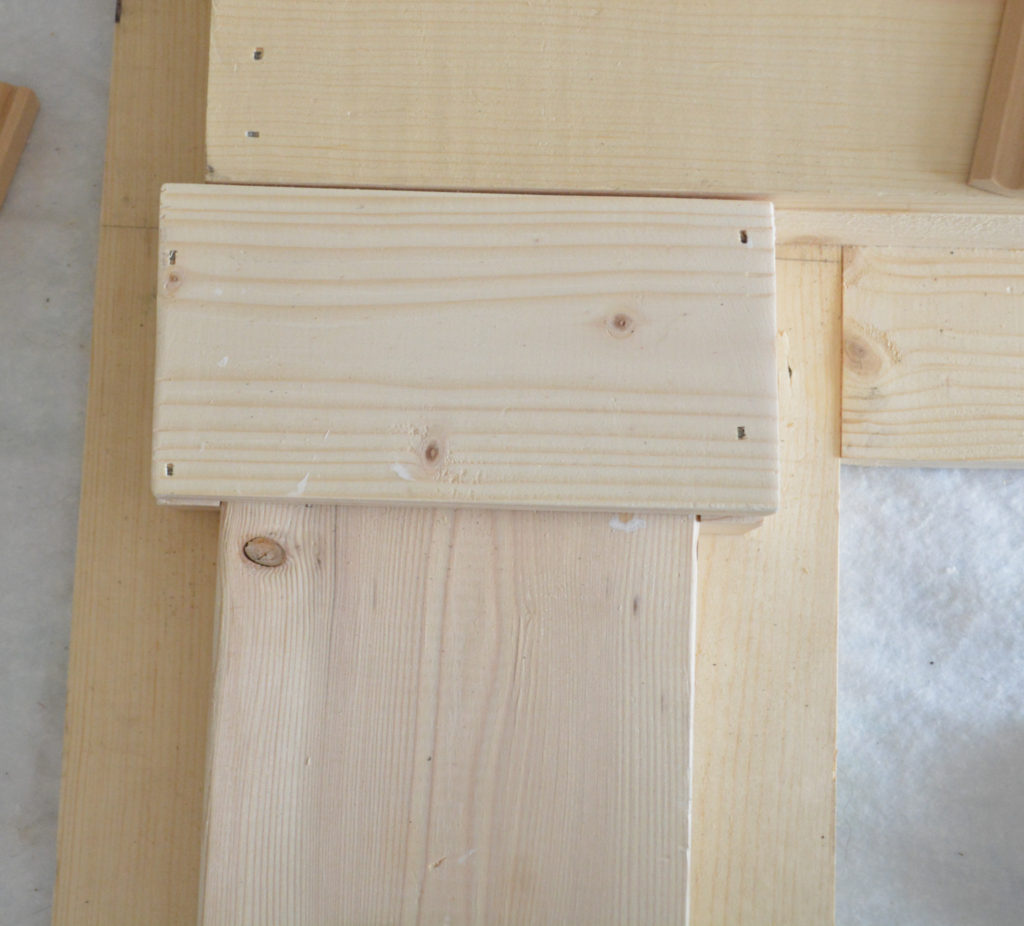
Then molding was added with the widest part on top and mitered corners.

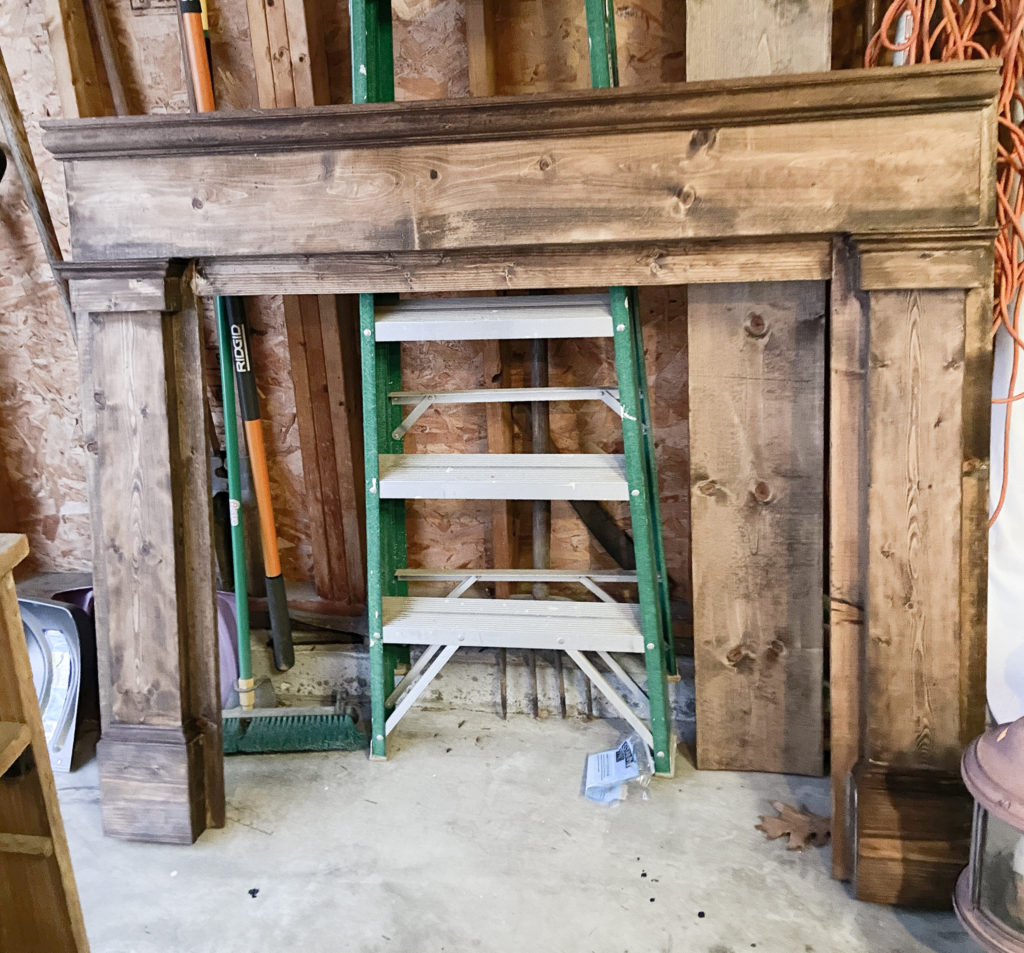
I then added molding around the top of the mantel face. A 1×10 was added on top for the shelf. I didn’t get a picture of this before the stain, but this is a picture of the completed mantel minus the shelf.
Instructions
- Cut two boards for the sides using 1×10 boards (mine were 51″)
- Cut a center board to connect the sides using a 1×4 board (mine was 42-1/2″)
- Connect the two sides and center board using pocket holes and screws on the back. The bottom of my center board was down 39-1/4″ from the top of the sides.
- Cut two boards for the “columns” on the sides using 2×6 boards (mine were 42″) Center the “columns” on the side boards, even on the bottom edge, and attach from the back with nails
- Cut a 1×8 board for the face of the mantel (mine was 57-1/2″). The board length should fit from one far edge to the other far edge of the column. The top of the board should be even with the top of the sides and the bottom of the board should go to the top of the columns.
- Build a rectangular box frame for the mantel face using 1×2 boards. The frame should go around the edge of the face board with the 1″side facing the board. Attach the frame to the side and center board from the back with nails.
- Attach the 1×8 face board to the frame on the front with nails.
- Add molding around the top of the face board.
- Attach a mantel shelf with a 1×10 board to the top frame with nails (mine was 65″)
Conclusion
This was actually a pretty easy build once I decided on a style. I suggest laying everything out and custom fitting before you cut the boards to length. I laid out the sides with the face in place to get the exact cut size for the “columns” and so forth.
What really makes a project is the finishing details. I plan on writing a post about how I added the appliques and the paint technique I used, so stay tuned for that. I hope you enjoyed seeing how I built a fireplace mantel, and are inspired to build your own!
Pin It For Later!

Thanks for stopping by,
Janet
First time commenting Wow you did great! Looks beautiful 💗
I appreciate that, thank you!