
To scrap or not to scrap? That was definitely the question when it came to this hutch top. I kept changing my mind, but ultimately, I couldn’t resist the challenge. Today I am going to show you how I rebuilt an antique hutch top and saved it from the scrap pile.
The Story Behind The Hutch Top
First let me tell you how I ended up with such an unpromising piece of furniture. I was at an estate sale and spied a hutch top in the back of the garage. It was a primitive antique piece at a great price. If you have ever been to a crazy estate sale, then you know that things move very quickly. I grabbed the tag and continued shopping. I paid for my purchases and went to load up the hutch top.
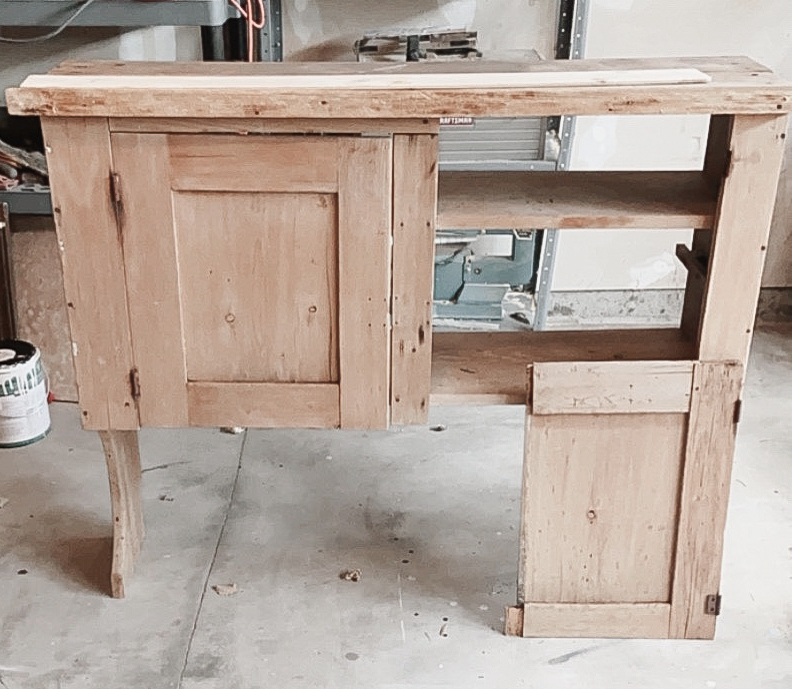
As the worker started to dig it out, I started to get nervous. I knew the door was off, but I didn’t know it was broken! It was wobbly, missing the back, and didn’t have any hardware. However since the price was so low, I just went with it and loaded it into my car.
The hutch top was sitting in the garage, and the look on my husband’s face when he saw it almost sealed the fate of this piece. But the more I looked at the piece, the more I began to appreciate its charm. I was later told by an Instagram friend that these were called “make do” pieces. And I love that! I am always trying to make things with what I have and not spend money.
In true “make do” spirit, I began to fix it up using what I had. I definitely didn’t want to put any more money into it!
How I rebuilt an antique hutch top
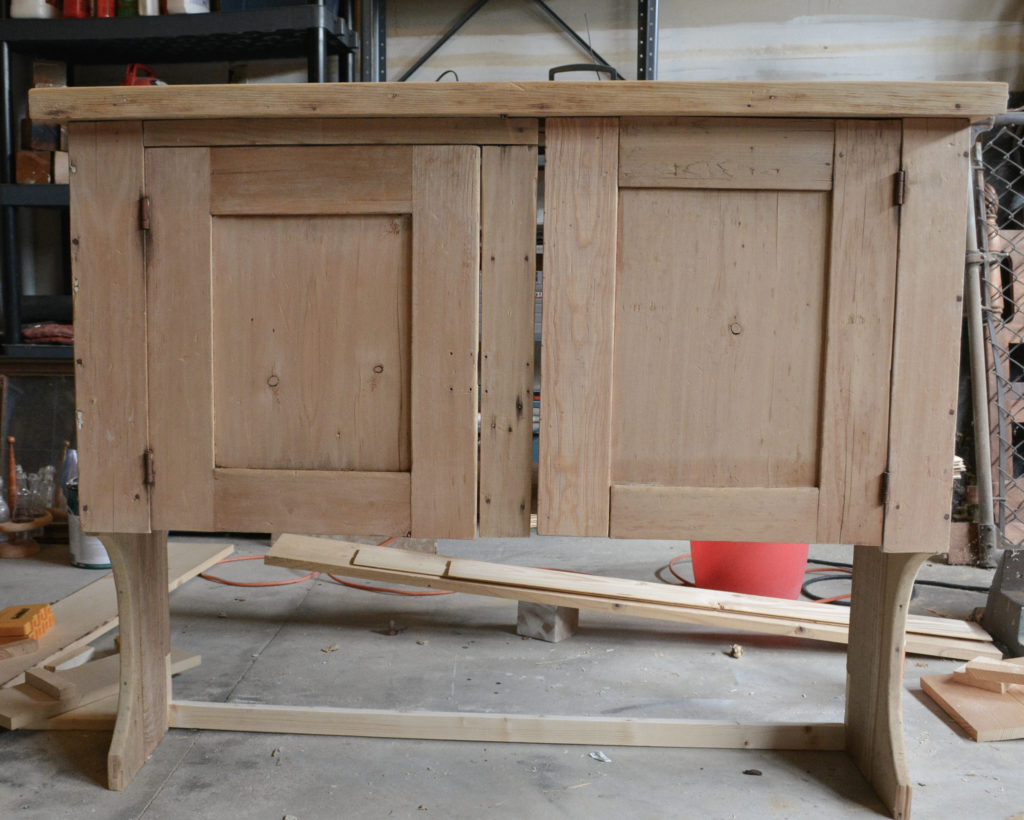
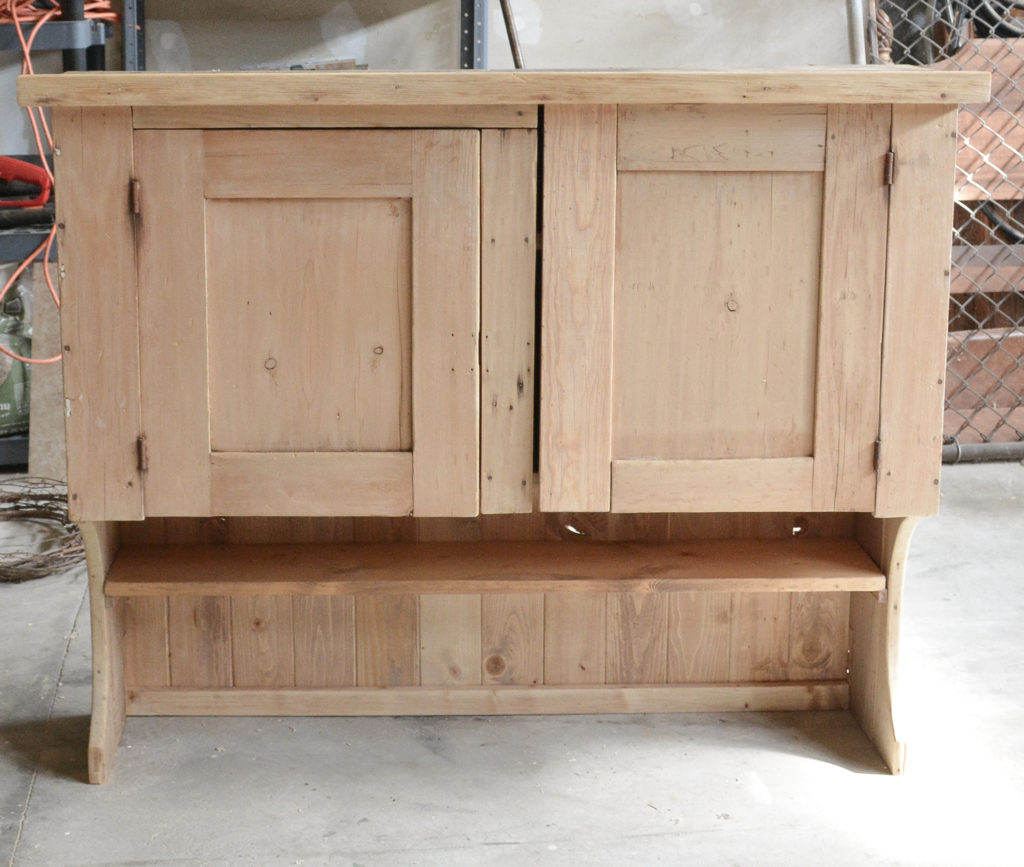
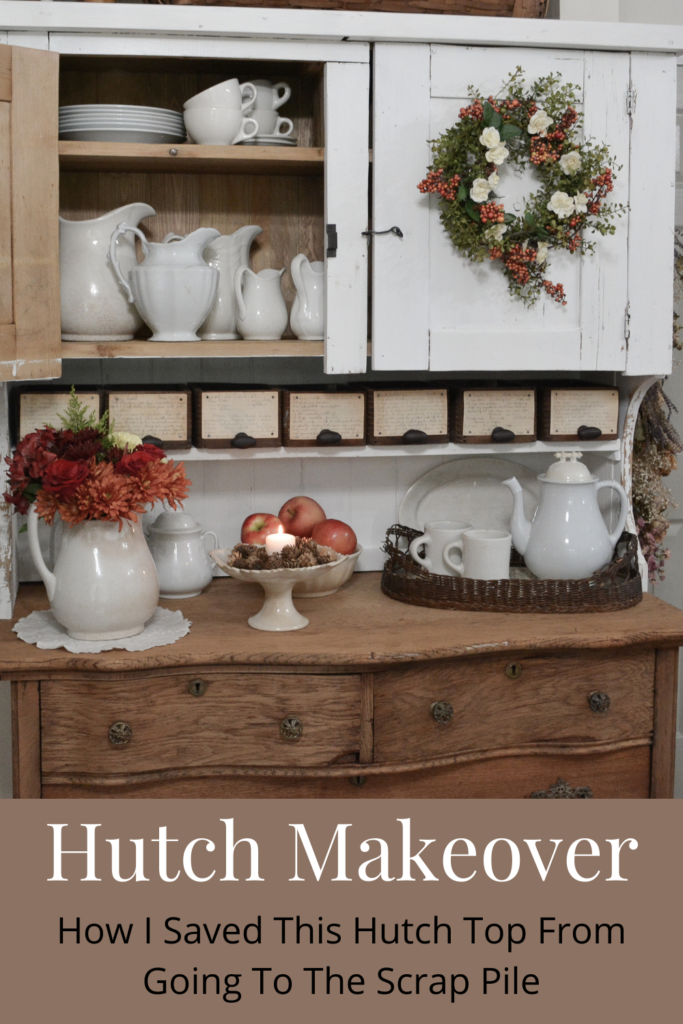
First, I added a new board to repair the door. It was at this time that I realized the two doors were completely different. More charm, right?
The hutch was wobbly and leaned to the side. I hoped adding a back would give it stability. I decided to use the reverse side of some left over bead board for the back.
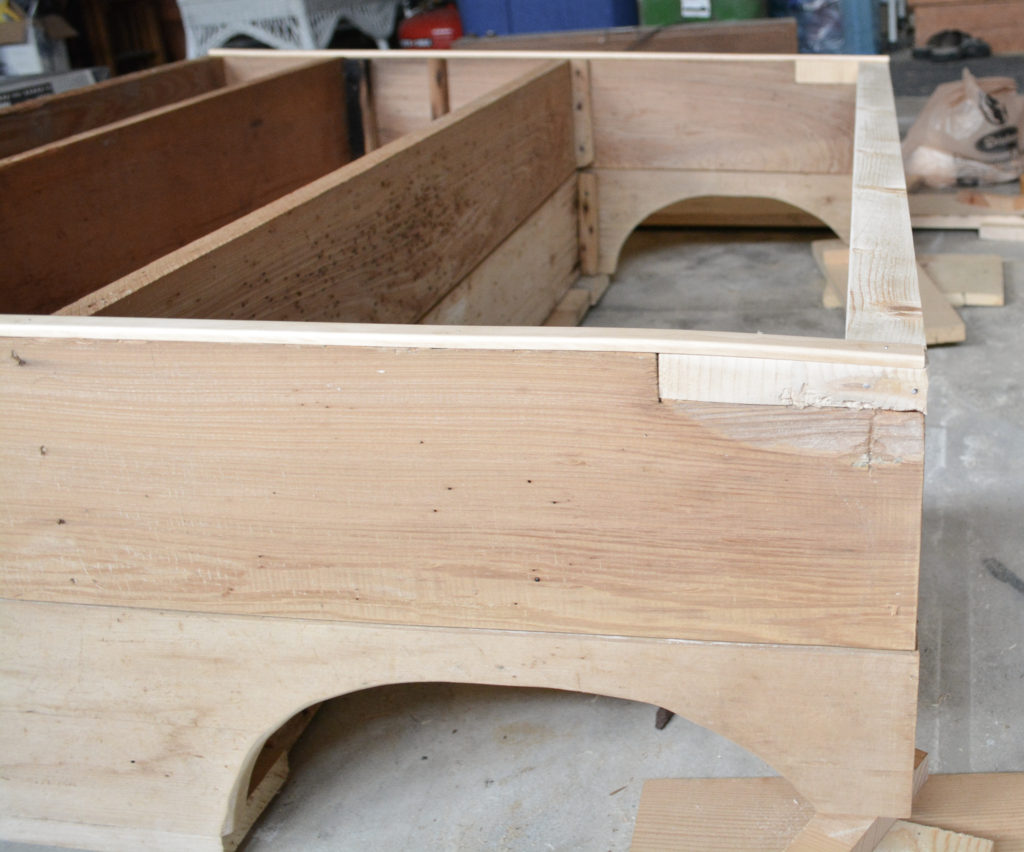
The bottom back had been notched out, so that had to repaired before a back could be attached. At this point, I felt like I was just making it worse. But now that it’s all done, this isn’t really noticeable at all.
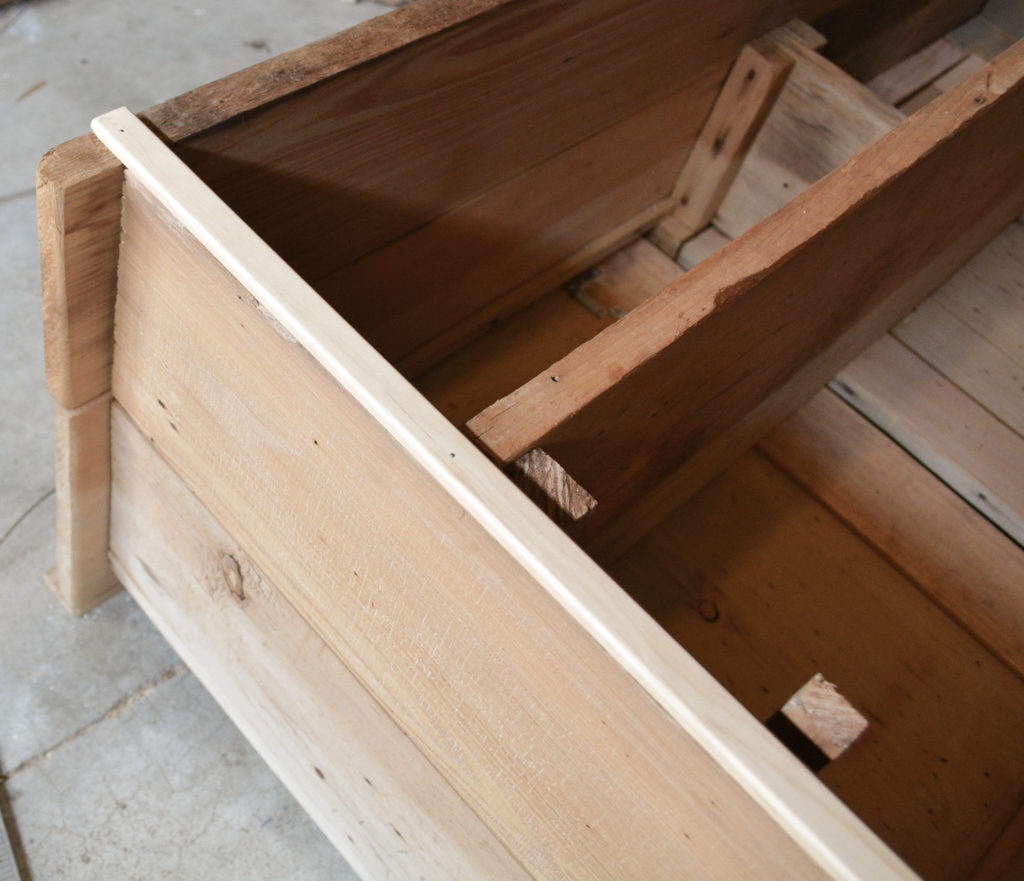
The only thing I had to buy for this project was a piece of screen molding. I ran that down the sides to trim out the bead board.
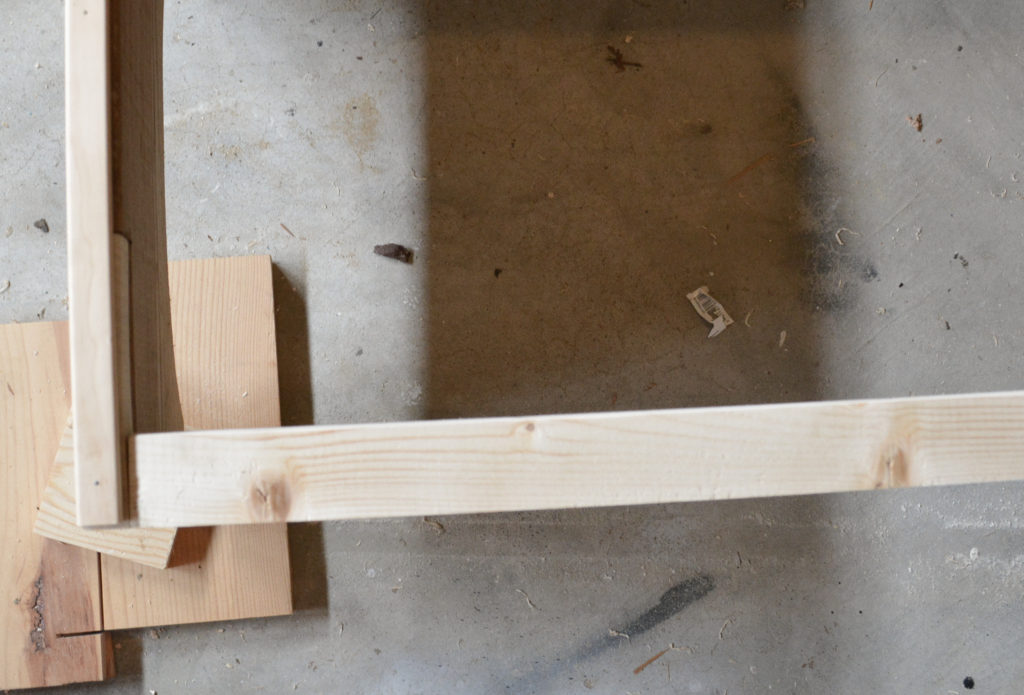
I attached a 1×2 across the bottom to hold the bead board.

The bead board was nailed into the top, bottom, and the back of the cabinet shelf.
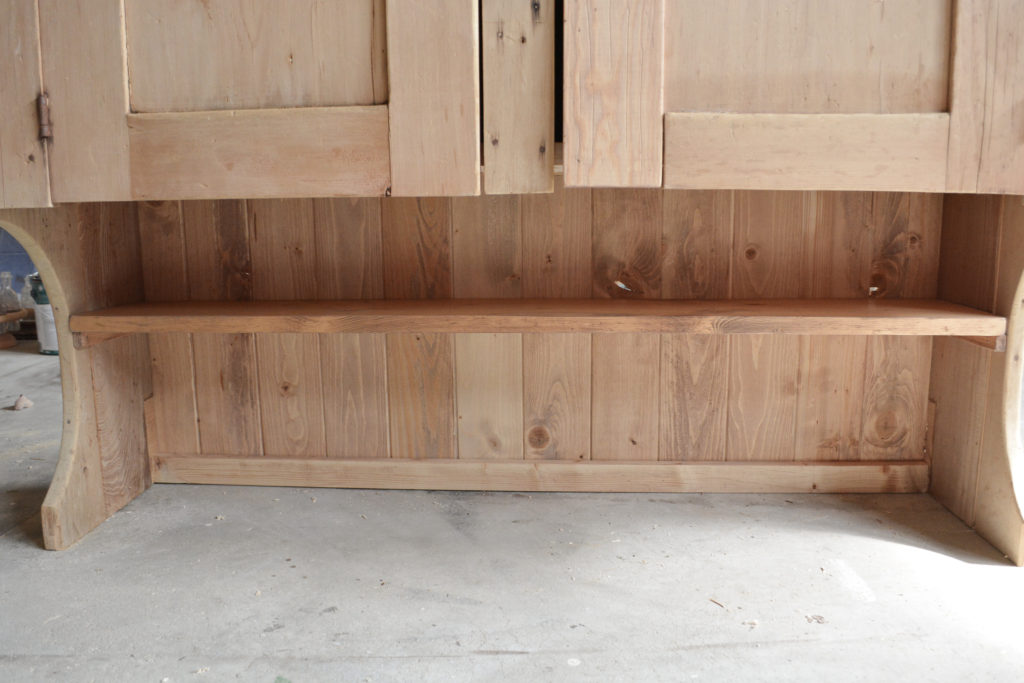
In the front, I added a shelf using simple brackets, mimicking the shelves inside the cabinet.
All the new wood was stained to match as closely as possible to the original wood. That helps to create a more uniform finish under the paint.
Finishing The Hutch Top
I gave the cabinet a worn chippy finish using the Vaseline resist method and my homemade chalk paint. The paint color was Valspar Falling Snow in satin. I sealed the paint with a clear wax.
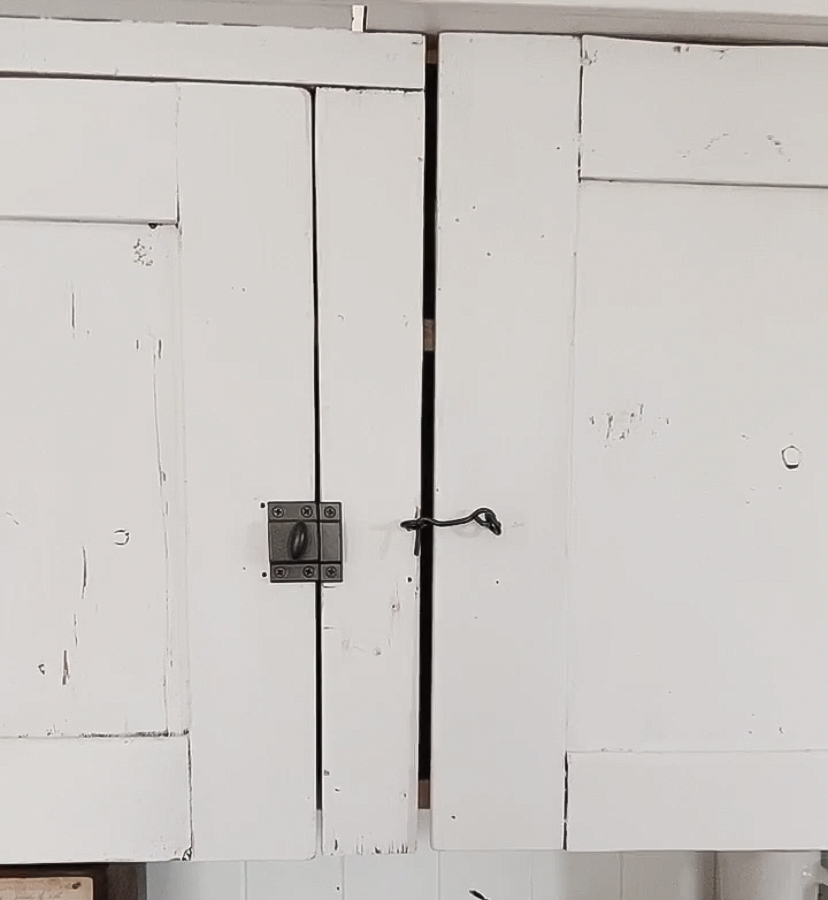
It only seemed fitting to use mismatched hardware on my mismatched doors. Also the gap on the repaired door didn’t allow a regular latch. I image this as the latch fell off and was replaced with this hook.
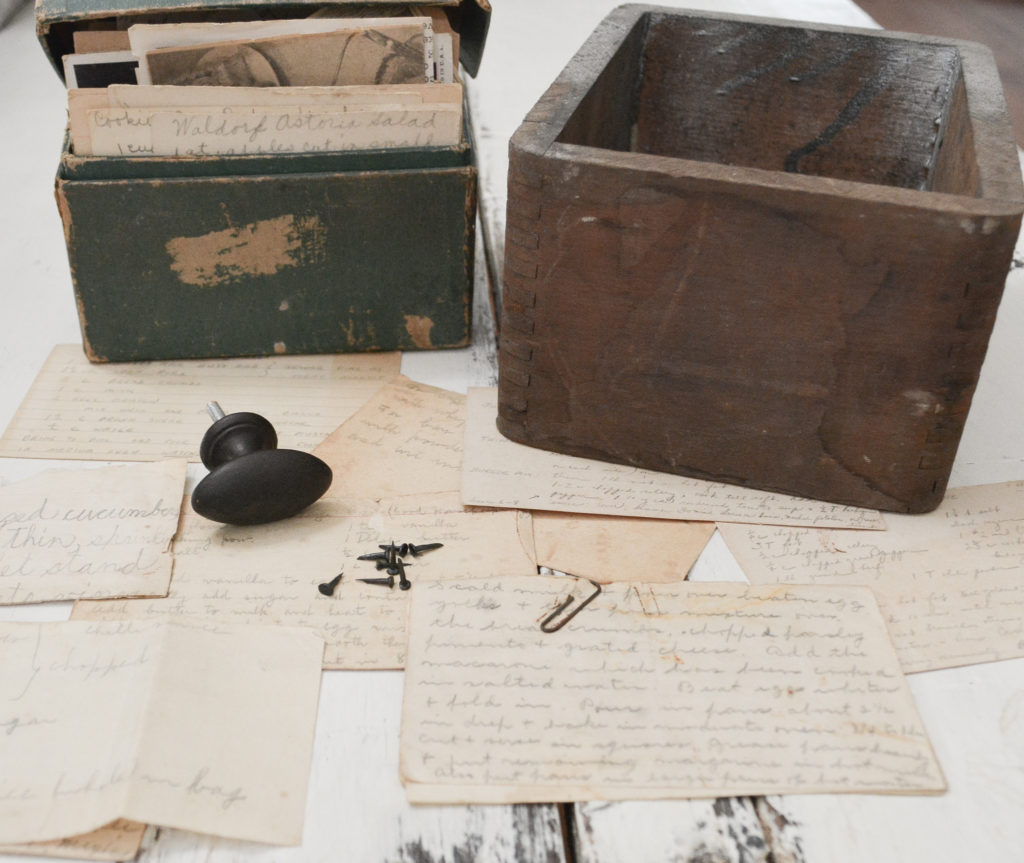
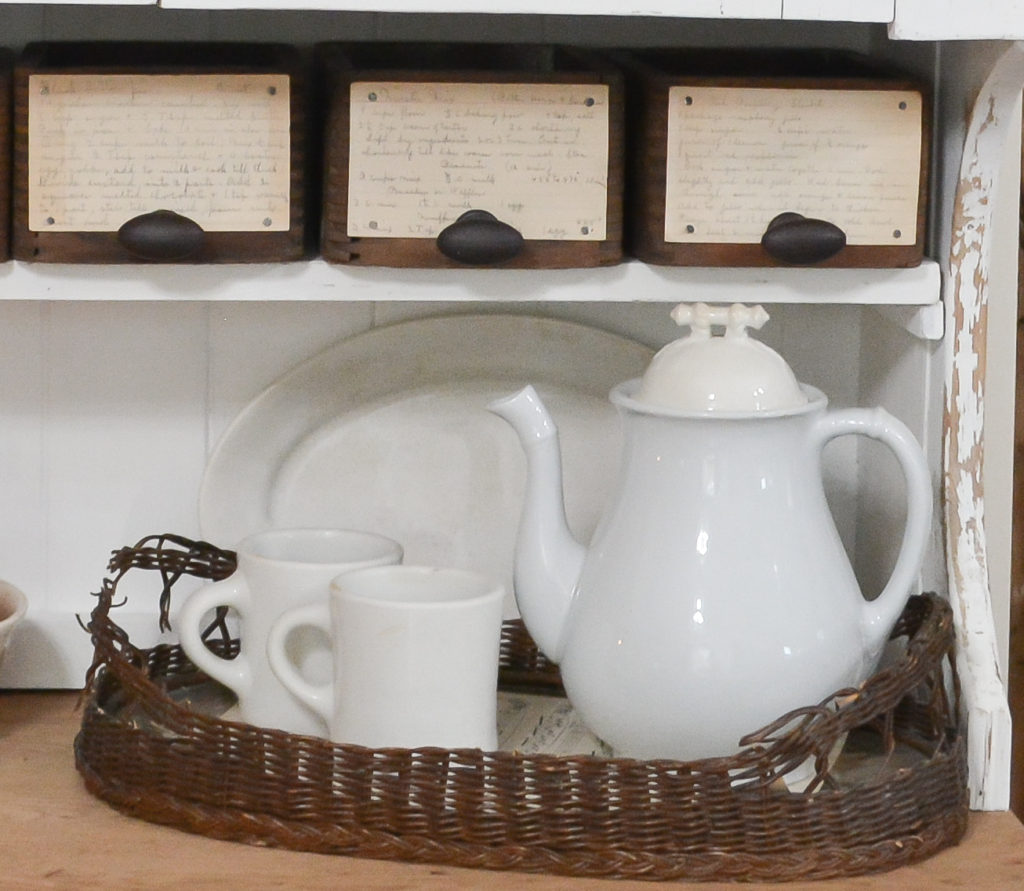
I had a bunch of these old wooden drawers, and thought they would be perfect on my new shelf. Old recipe cards and knobs from Hobby Lobby were the finishing touch.
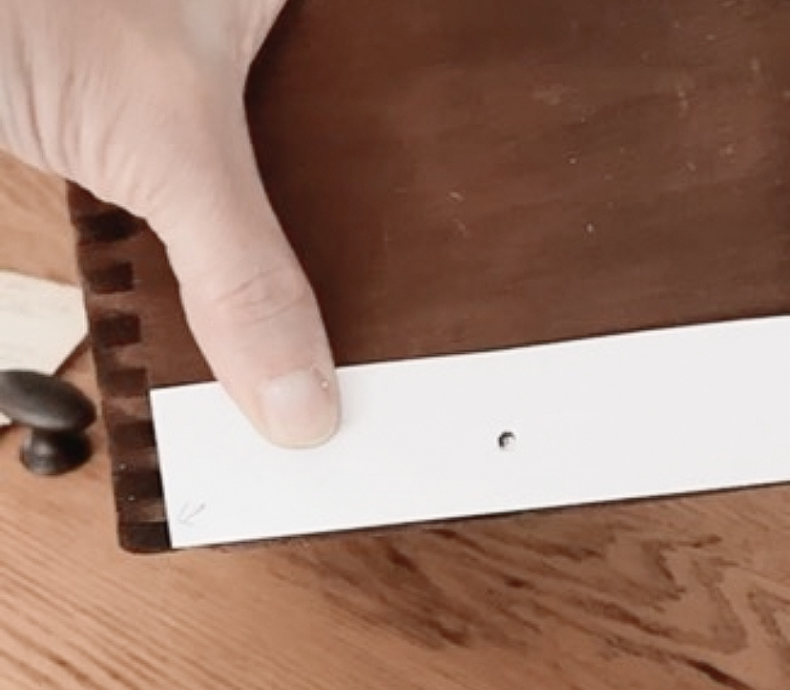
A paper template made quick work of marking the holes for the knobs.
I attached the recipe cards with recycled upholstery tacks from a previous project.
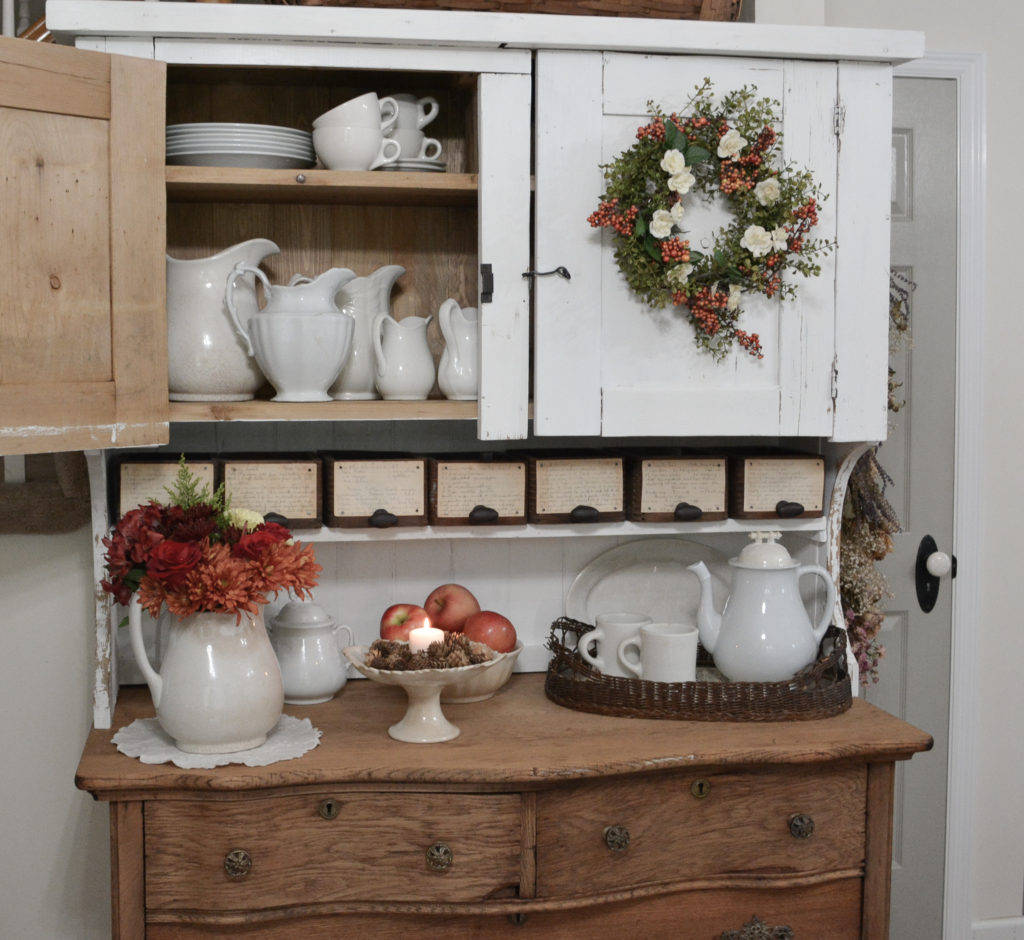
So that’s how I rebuilt an antique hutch top. This was such a fun project and I have no regrets putting the time in to fix it. It’s sturdy and functional and a great rustic, farmhouse piece. Something that can be passed along to someone else if it stops working in my space. I love saving furniture!
PIN IT FOR LATER!
Thanks for stopping by,
Janet
Love 💗 it! You did a great job 👏🏻
Your white ironstone pieces looks perfect in it! Love your wreath.
Thank you! I am glad I didn’t paint the inside so the ironstone stands out!