Recently I took on the duties of owner, caretaker, and guardian of an 100+ year old antique farm table. I just love these old pieces of furniture and happily take on the responsibility. The piece needs to be a clean and functional part of our home, while still keeping true to its history. I am going to show you how I restored an antique farm table.
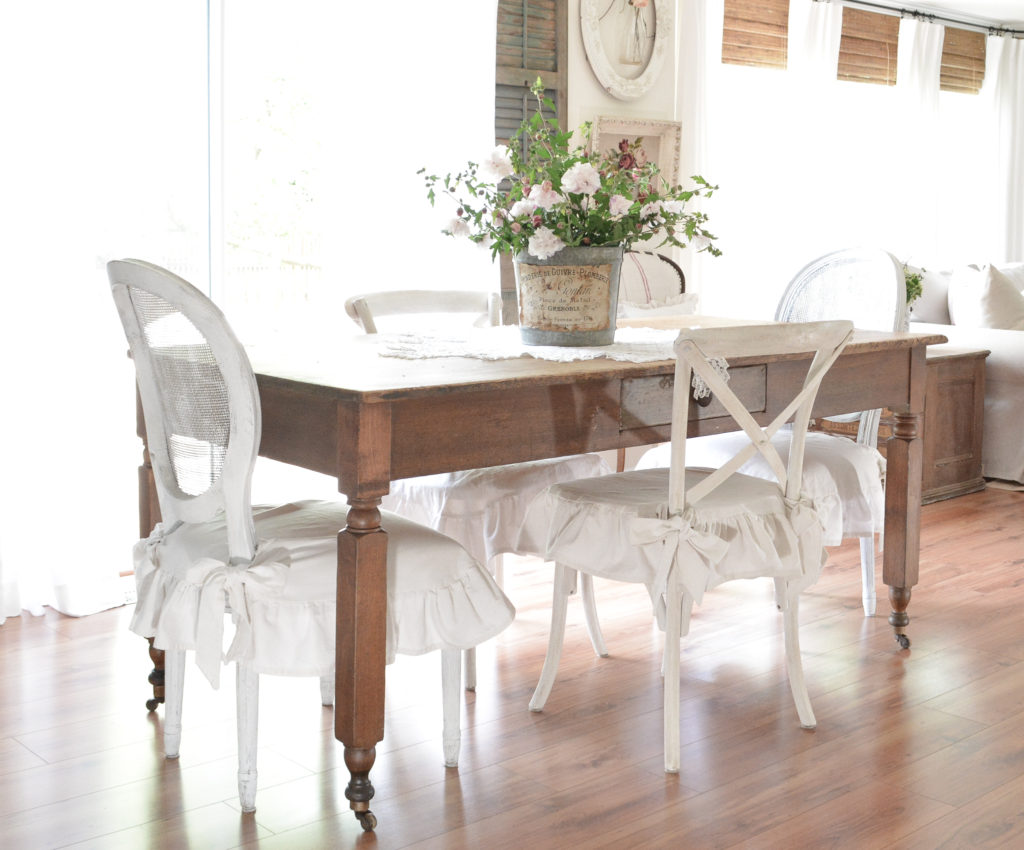
To be honest, I didn’t even know I wanted a new table. I knew my current table needed to be refinished, and I knew my family wanted a bigger, better table for playing cards. My plan was to bring our old dining table back up from the basement while I refinished the current table, and just see how I liked it.
While that idea was swirling about in my head, I found an antique table on Facebook Marketplace to buy and refinish, instead of bringing up my old one. It had some issues I didn’t love, but I liked the look. Now I was on a mission to find the perfect farm table.
A couple of weeks later, this beauty came up at an estate sale. I bought it only seeing the picture online. My fingers were crossed. It was a little rougher than I expected, but I was prepared to do a lot of work.
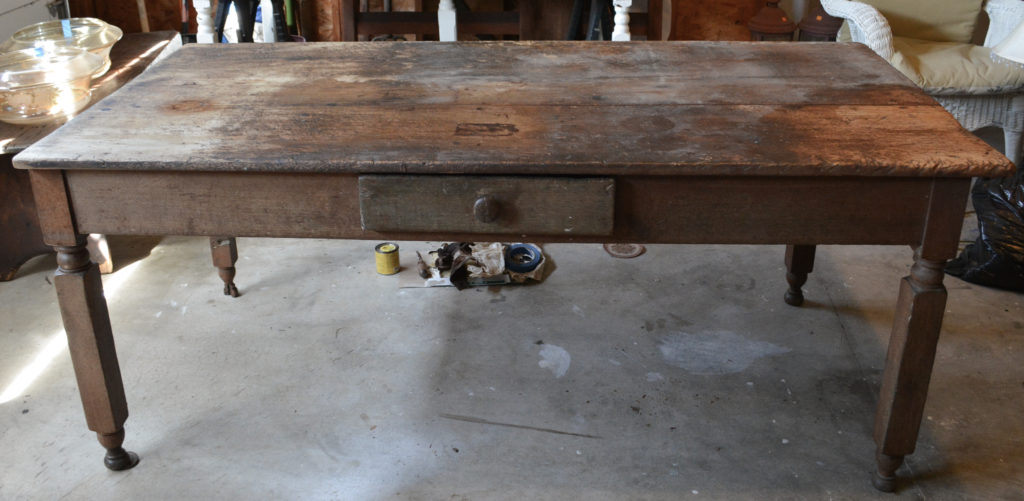
How I Restored An Antique Farm Table
I couldn’t wait to work on this table. The top was the first thing I saw, so that’s where I started.
Restoring the Top of An Antique Farm Table
The top of the table was not really appetizing, shall we say, but I did not want to do anything to lose all the character.
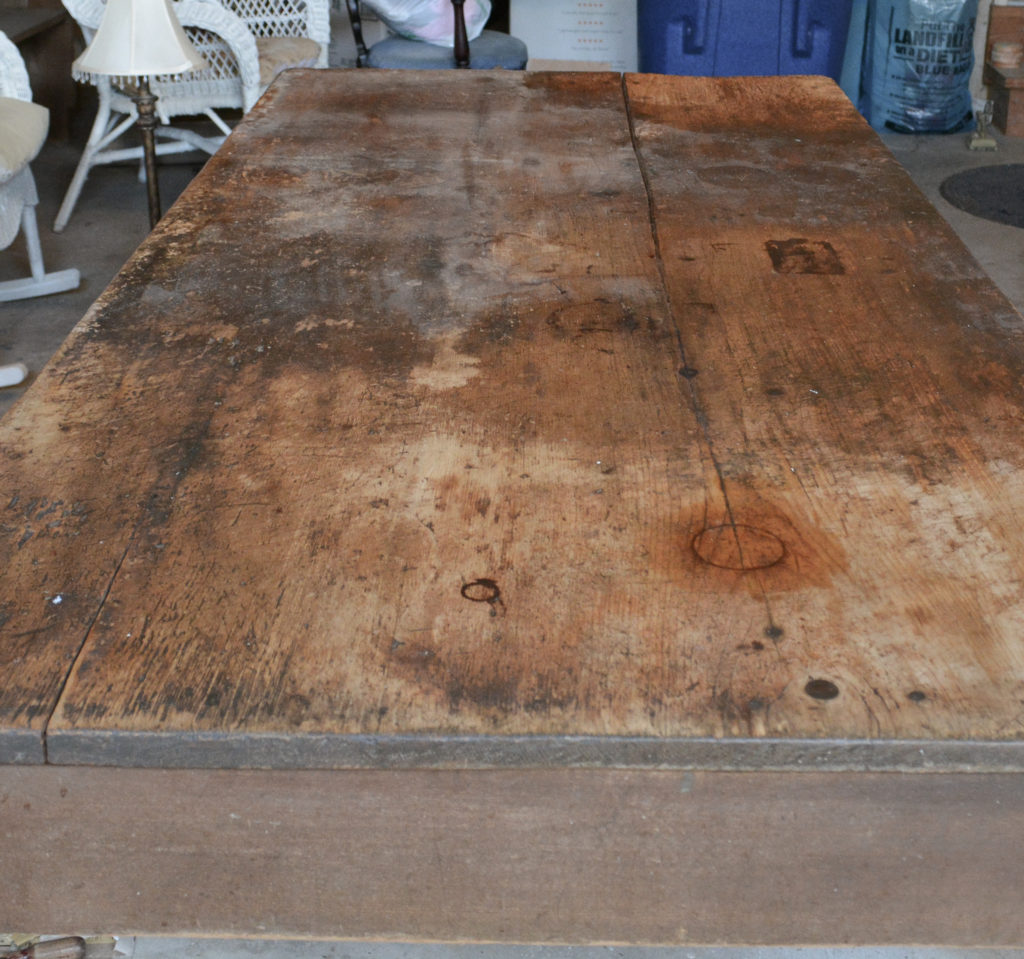
I started with the least damaging process, good old soap and water.
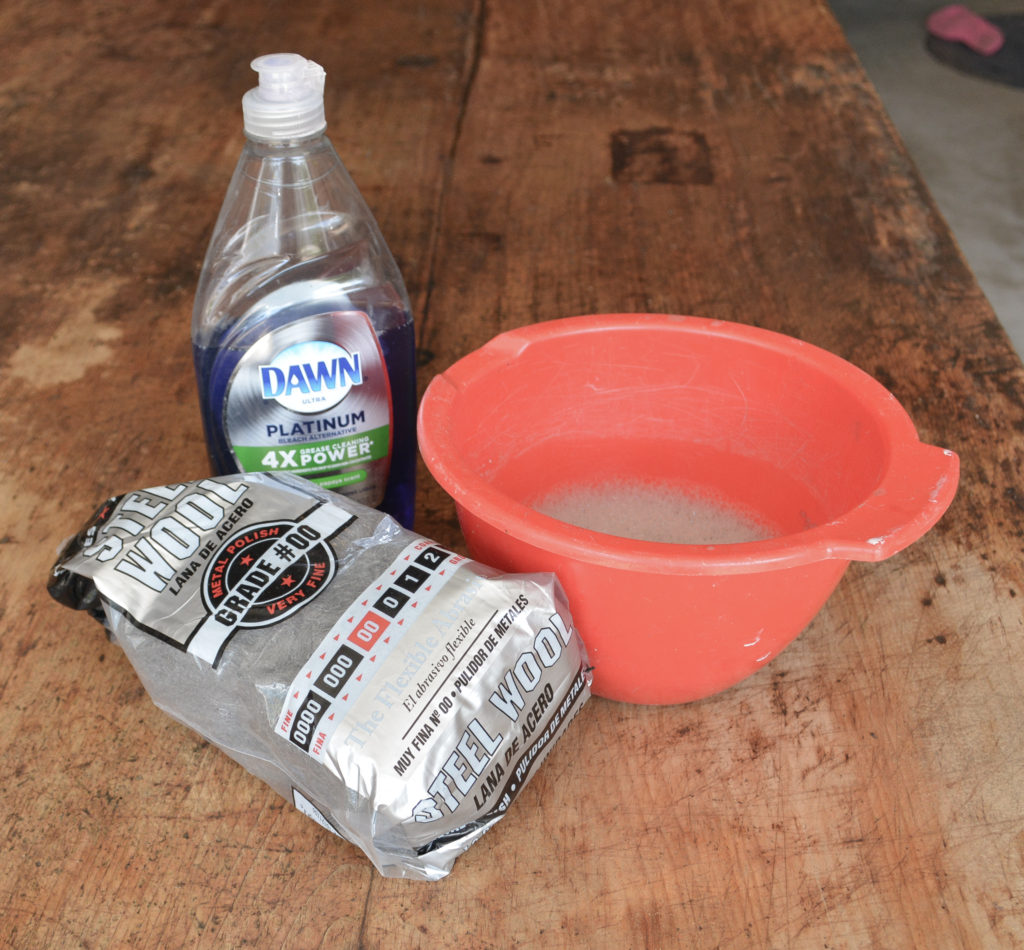
It got a good scrub with warm water and Dawn detergent. I used steel wool for a more powerful scrub. It was at this point that I knew something more would have to be done. It was looking pretty good, but the old varnish was ooey and gooey, and wouldn’t come off.
This post contains affiliate links, which means I make a small commission at no extra cost to you. See my full disclosure here.
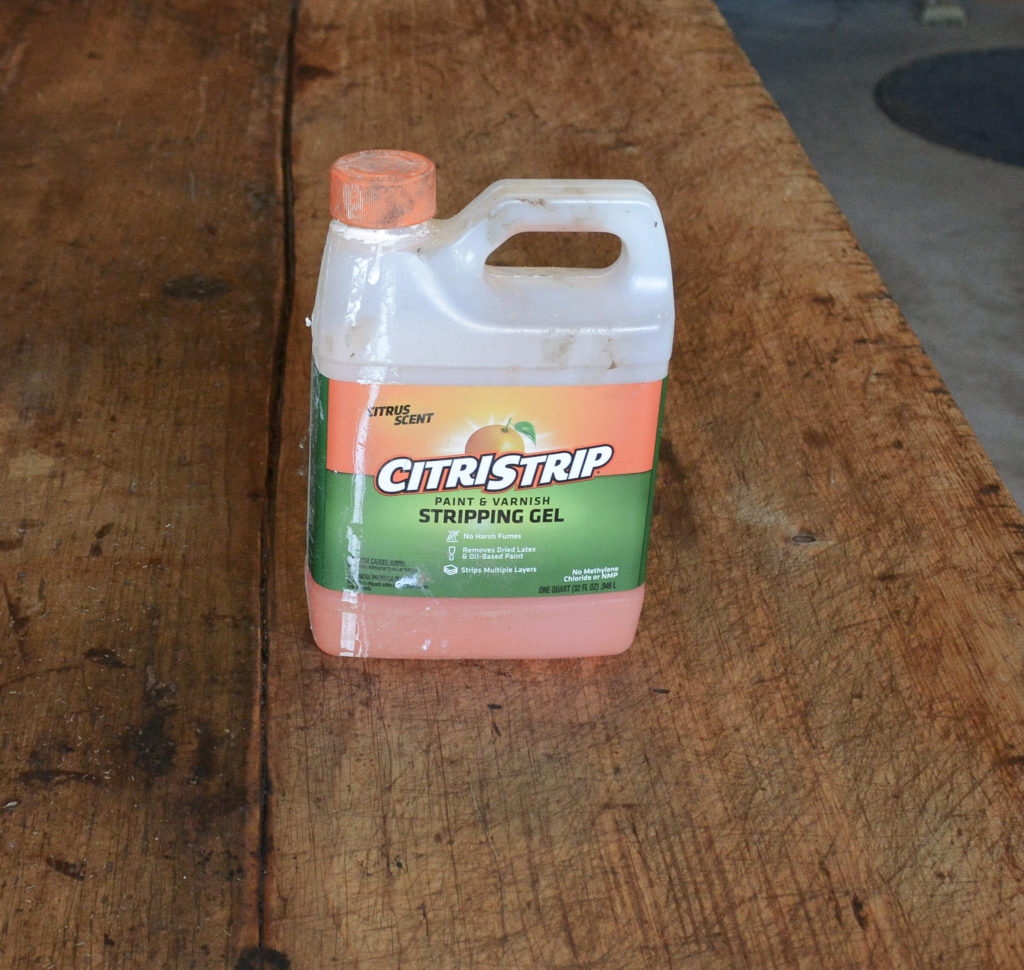
Next came Citristrip. I stripped the top, washed it with steel wool and mineral spirits, and gave it a final cleaning with TSP. It was looking wonderfully clean and full of character at this point.
A decision had to be made. Keep the top as is, or sand away some of the stains and add wood stain for a more polished look. I decided to wait and see how the bottom of the table turned out before making my decision.
My Finishing Choices
- Leave the top more natural and keep the bottom dark
- Stain the top dark and paint the bottom white
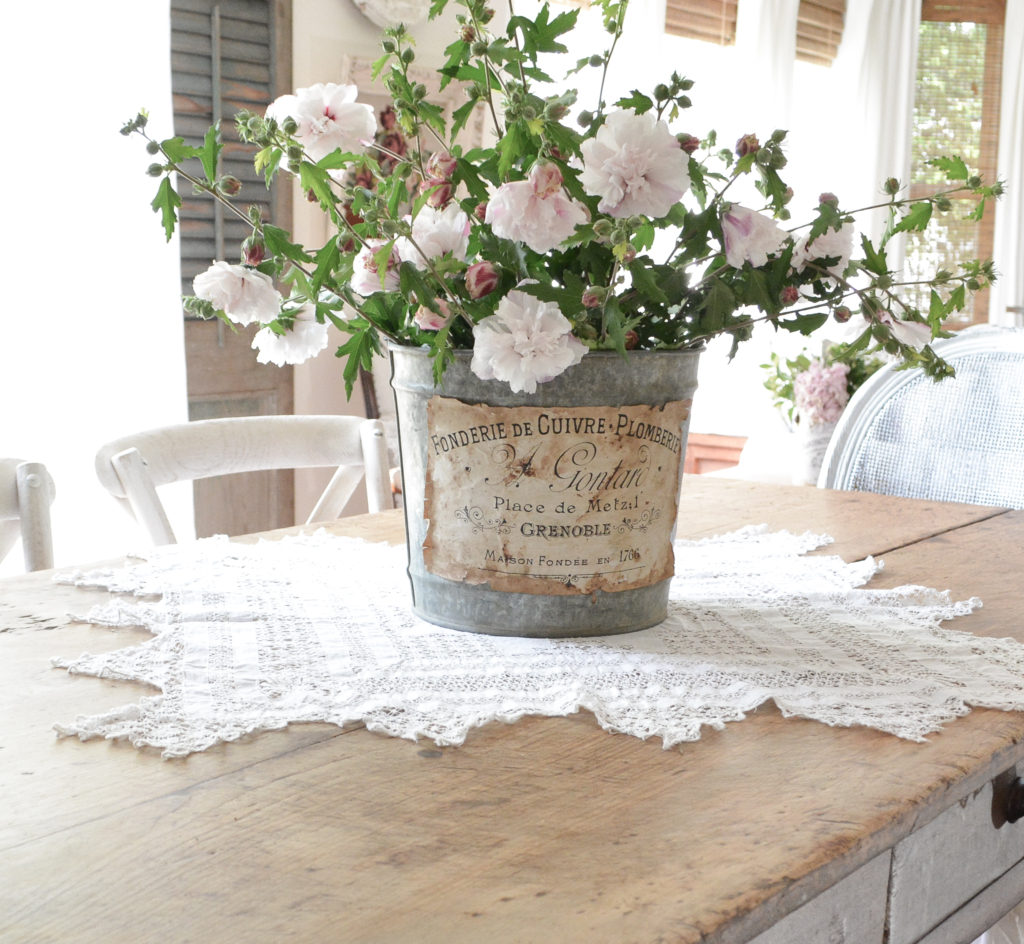
Both would be beautiful to me, but ultimately you know what I chose. So far I am loving it!
Restoring The Bottom Of An Antique Farm Table
There were really only two problems with this table, a broken leg, and the height was too low.
Repairing A Broken Leg On An Antique Farm Table
A broken leg doesn’t have to be a big deal for a table, however I wanted to raise the height of the table with castors. It would never work in this state. I felt like any filling or mending of that nature would not hold the castor, so there was only one thing to do – replace it.
Re
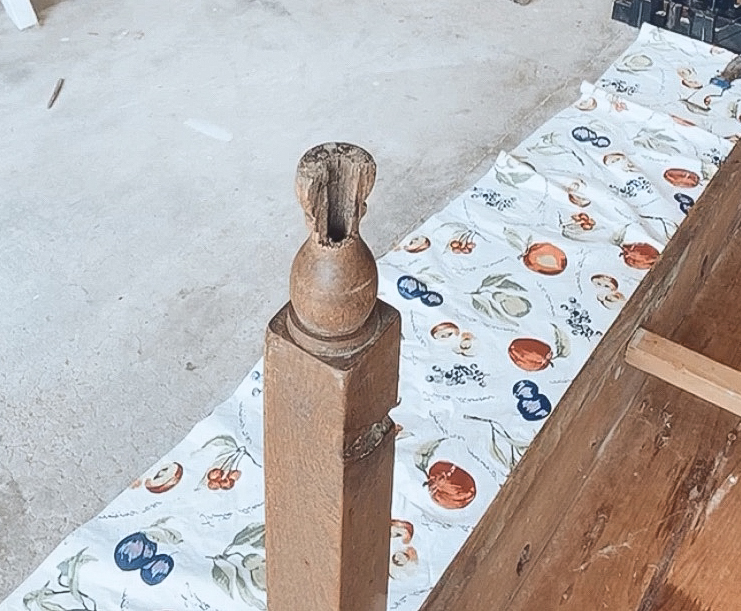
Yikes! My heart was racing and my hands shaking!
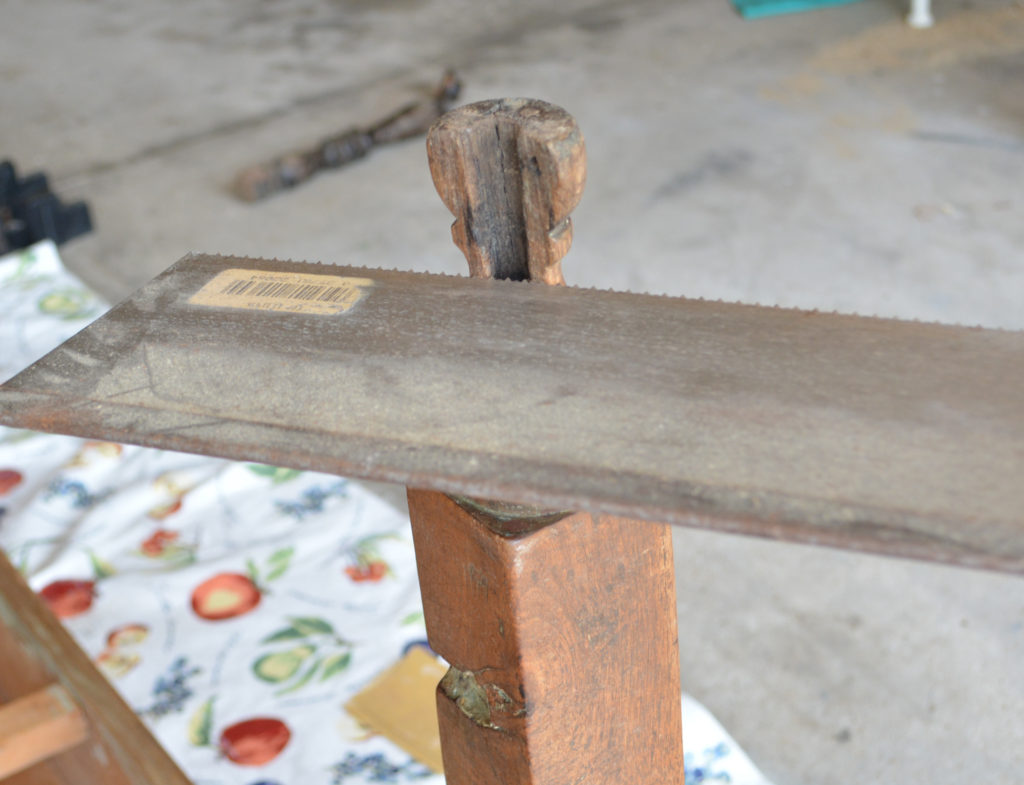
I cut off the broken piece of the leg.
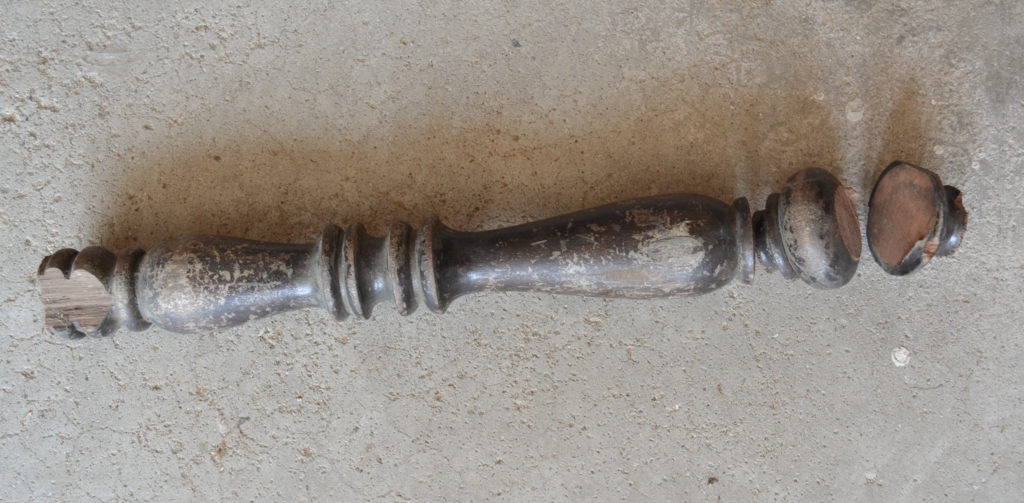
Finally, all the bits and pieces I have collected came in handy. This old chair leg had a turn in it that was almost identical to the table leg. I cut out that bit on the right to be my replacement piece. It wasn’t going to come out the exact same size as the other legs, but I hoped I could correct the length when I added the castors.
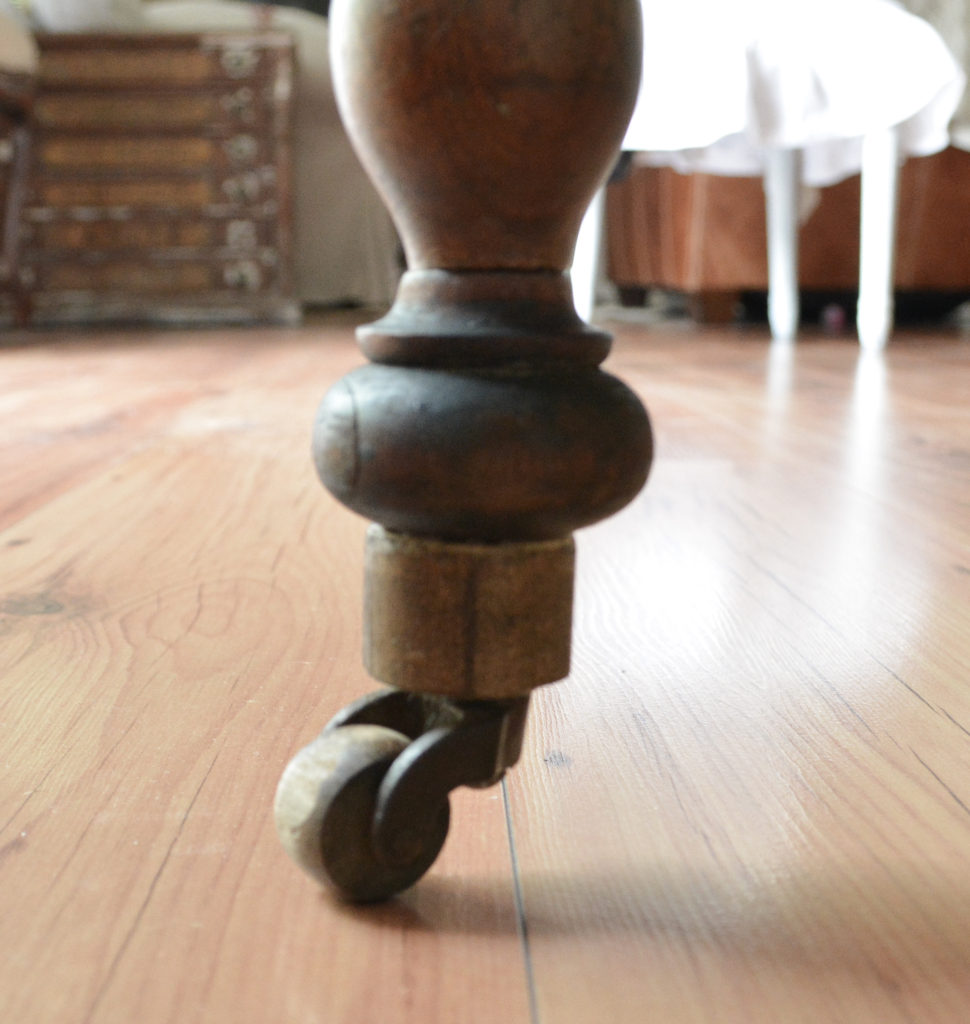
I screwed the piece of chair leg to the table leg. Looking at it in this picture, I realize I should have filled the crack for a more professional fix, and I think I will still do that. However, you cannot see the crack at all, unless you are laying on the floor like I was to take this picture.
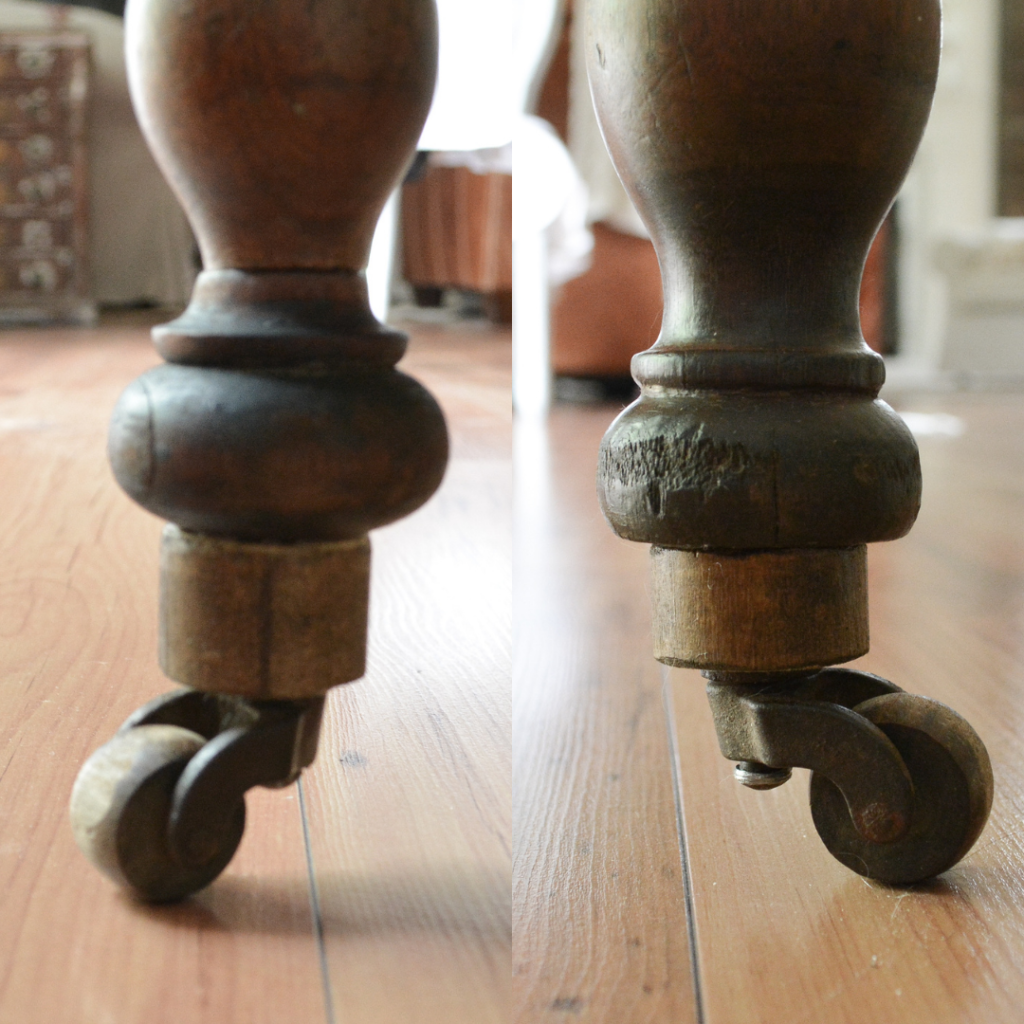
Here is the repaired leg side by side with one of the other legs. Not perfect, but not bad either. You can see how I made up the height difference on the lower piece.
Adding Castors and Height To An Antique Farm Table
The table originally had castors, so that was a good solution to add the height back to the table. I wanted everything to look original and the vintage castors I found at the antique mall were perfect.
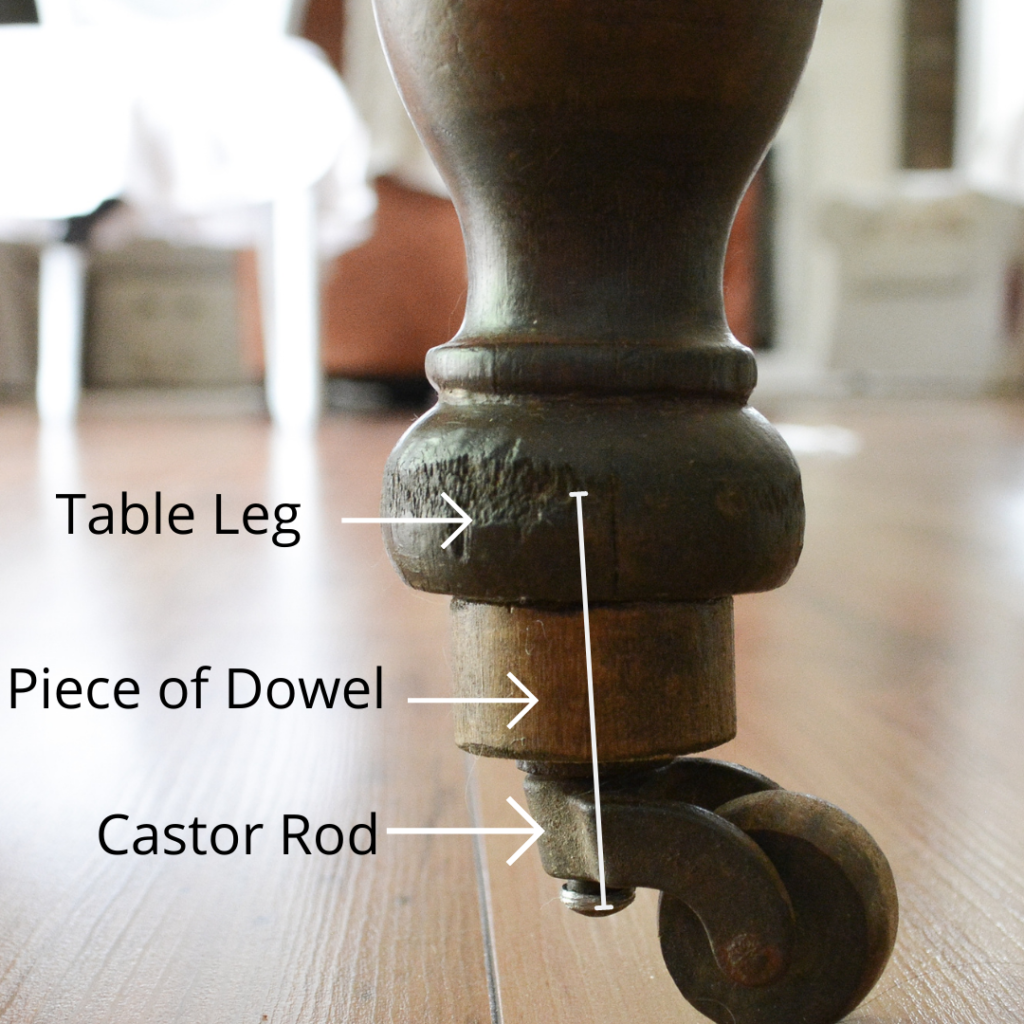
Old tables tend to be short by today’s standards, and just adding the castors was not enough height. I cut a slice of dowel and drilled a hole through the center. The castor rod was long enough to go through the dowel slice and into the table leg, holding it secure.
I brought a dining chair and my son out into the garage where I was working on the table, and it passed! It passed the sit test! And on the first try. That was a good sign.
Finishing An Antique Farm Table
When I first got this table, I announced to the world (Instagram), that the bottom of the table didn’t look very pretty and that I would probably paint it. I am eating those words now, because I absolutely love the way it turned out.
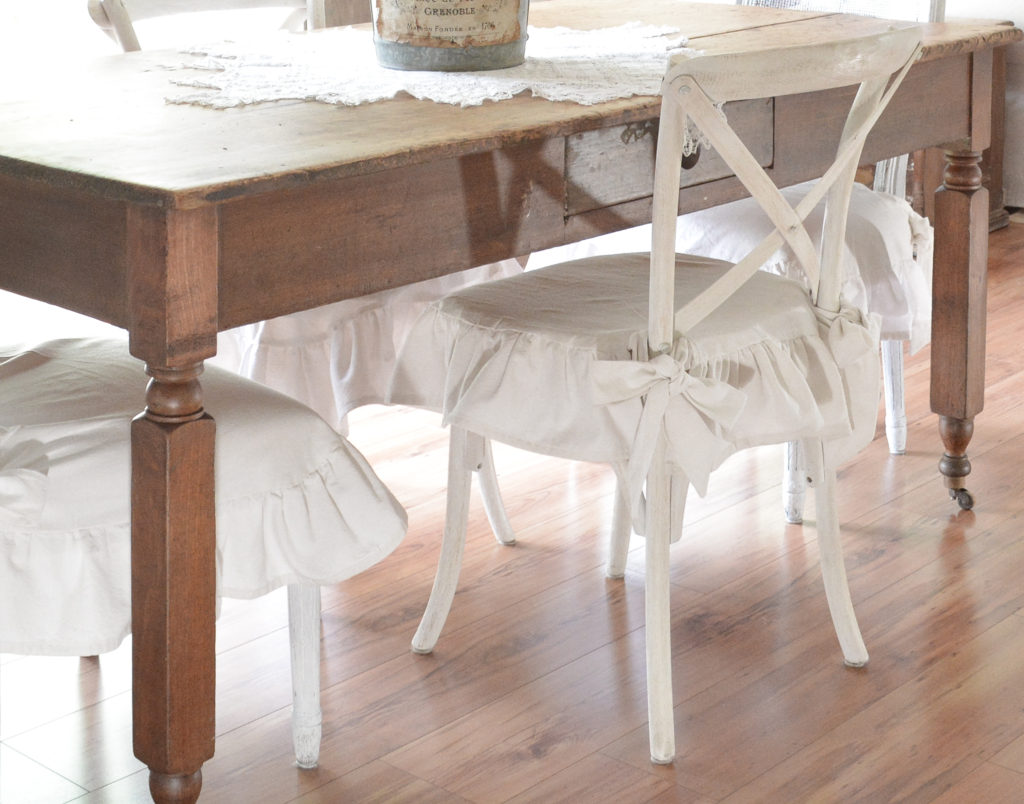
After the legs were repaired and functional, it was time to work on the “pretty”. I scrubbed everything down with TSP and fine steel wool. Next I treated all the wood with Howard’s Feed-N- Wax. It was gorgeous.
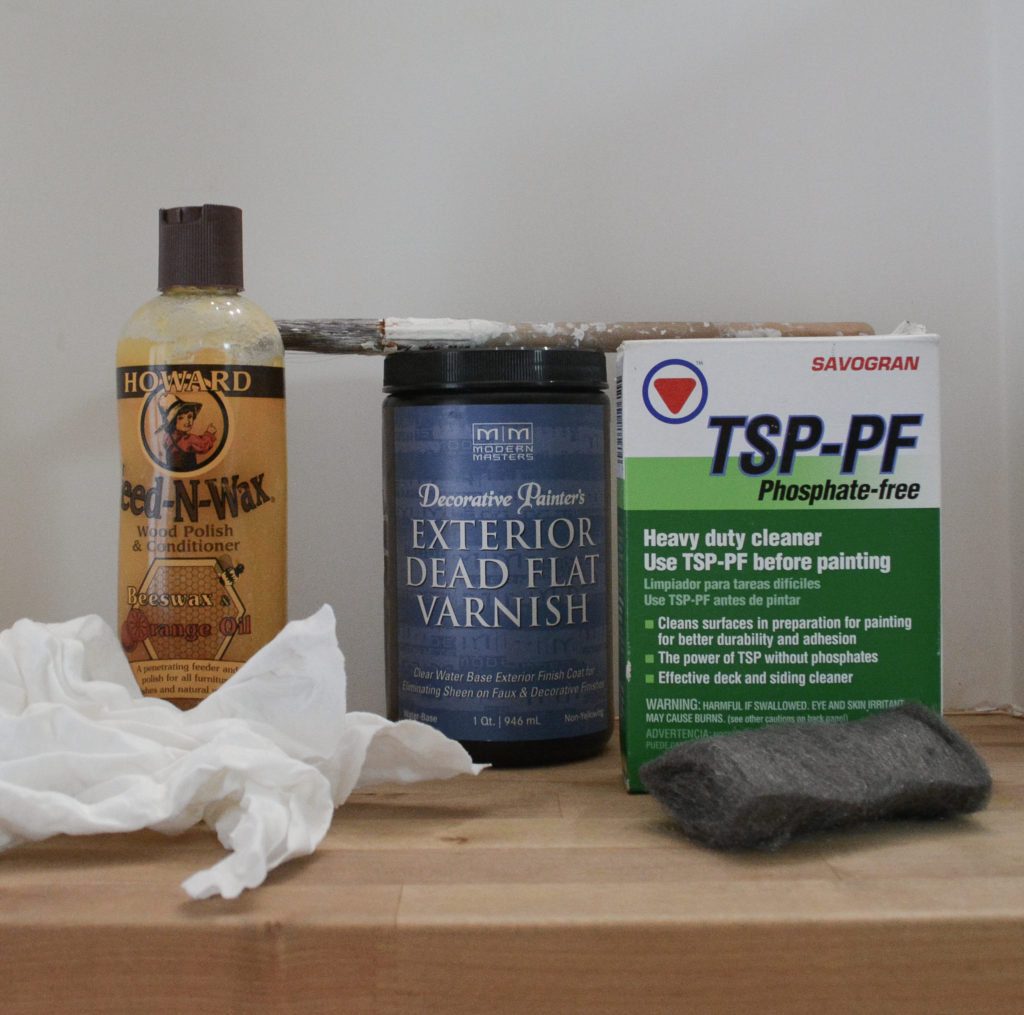
The top of the table got three coats of Modern Masters Exterior Dead Flat Varnish. Now this is not recommended for bare wood, but the reviews I read claimed it worked great. I will have to update how durable it is after I have lived with it for a while. I wanted an unfinished look, but the ease of a finished surface. This did that, no sheen whatsoever, and little color change to the wood.
Update: The top of the table has held up wonderfully. Easy to wipe down, no watermarks or food stains.
So that is how I restored an antique farm table. A true labor of love.
Pin It For Later!
Thanks for stopping by,
Janet

It’s so beautiful and looks so perfect with the sweet chairs. Now I want to look for a table to re-do. ♥
Thank you so much Lisa! Good luck hunting!
Amazing Work! Looking at the table when you started I’d have been to daunted to attempted it, but it turned out great.
Thank you! It’s always a little scary to get started!