
Looking for a way to add privacy to a window? I have an easy, stylish solution for you- privacy film.
Why Use Privacy Film?
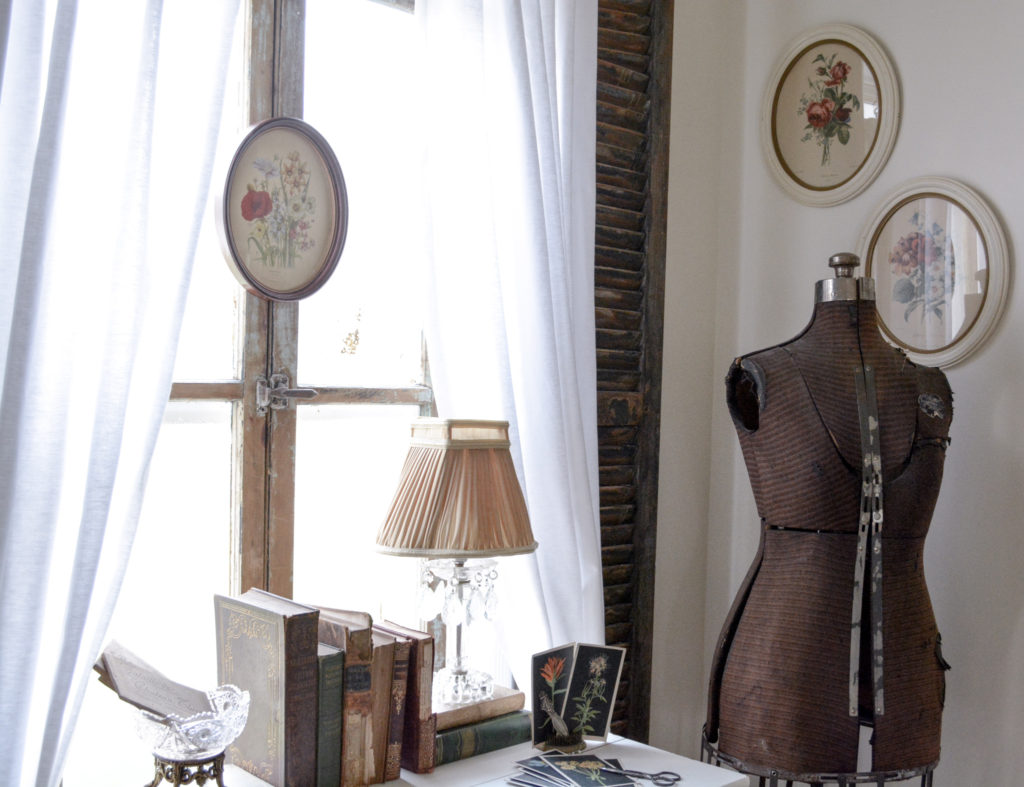
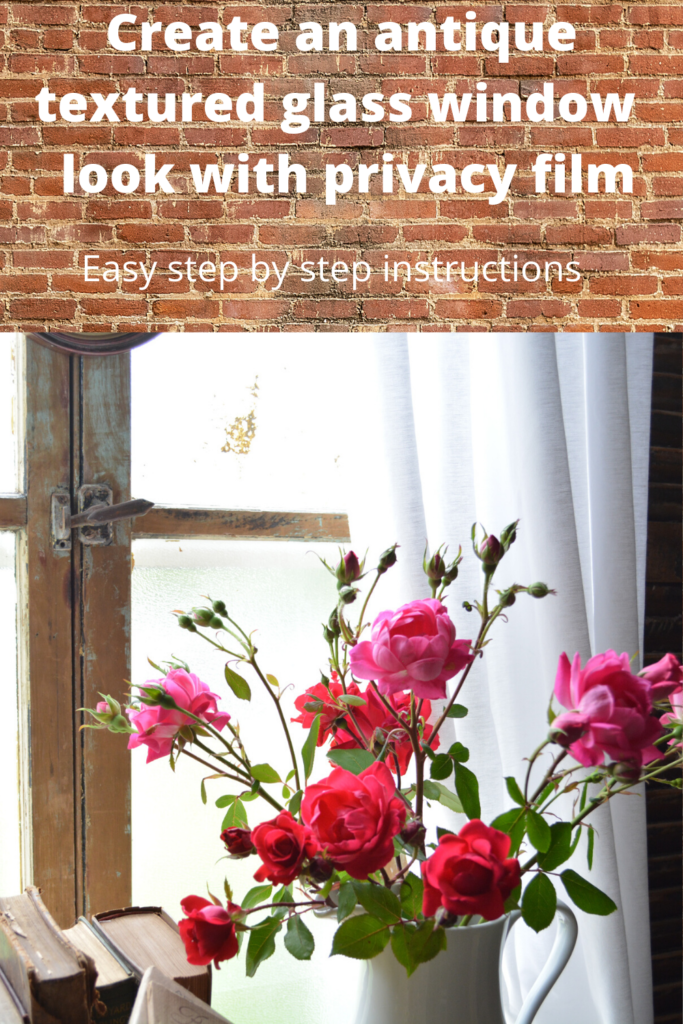
I wanted to create a vintage backdrop for my newly refinished desk, so I decided to hang an old window in front of my regular window. If I didn’t have the privacy film on this window there would be a nice view of my neighbor’s vinyl siding. Not the look I was going for.
I wanted the look of old seeded glass or an antique textured glass. I chose Artscape light effects – texture. I purchased mine at The Home Depot. They have many different patterns to choose from. The stained glass film would be beautiful.
There are no adhesives used and just pull off if you want a change. Perfect for me, as I seem to have commitment issues when it comes to decor.
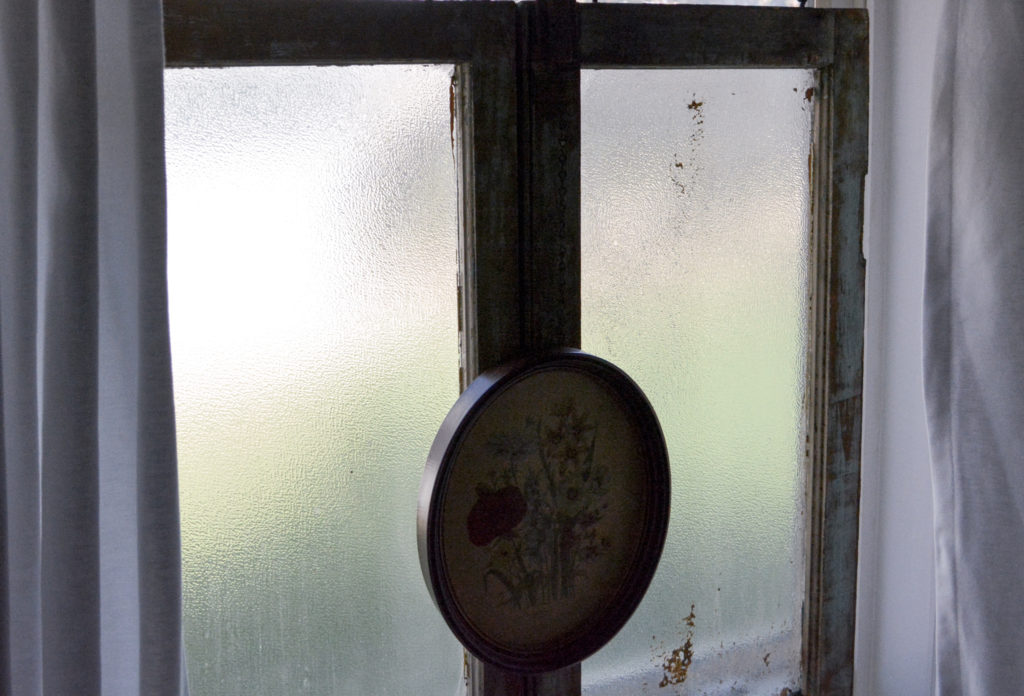
I had to use this dark picture to show the texture of the film. The streaks are just the old window and the paint is on the inside of the window. I like the character it gives, so I left it.
Gather your supplies
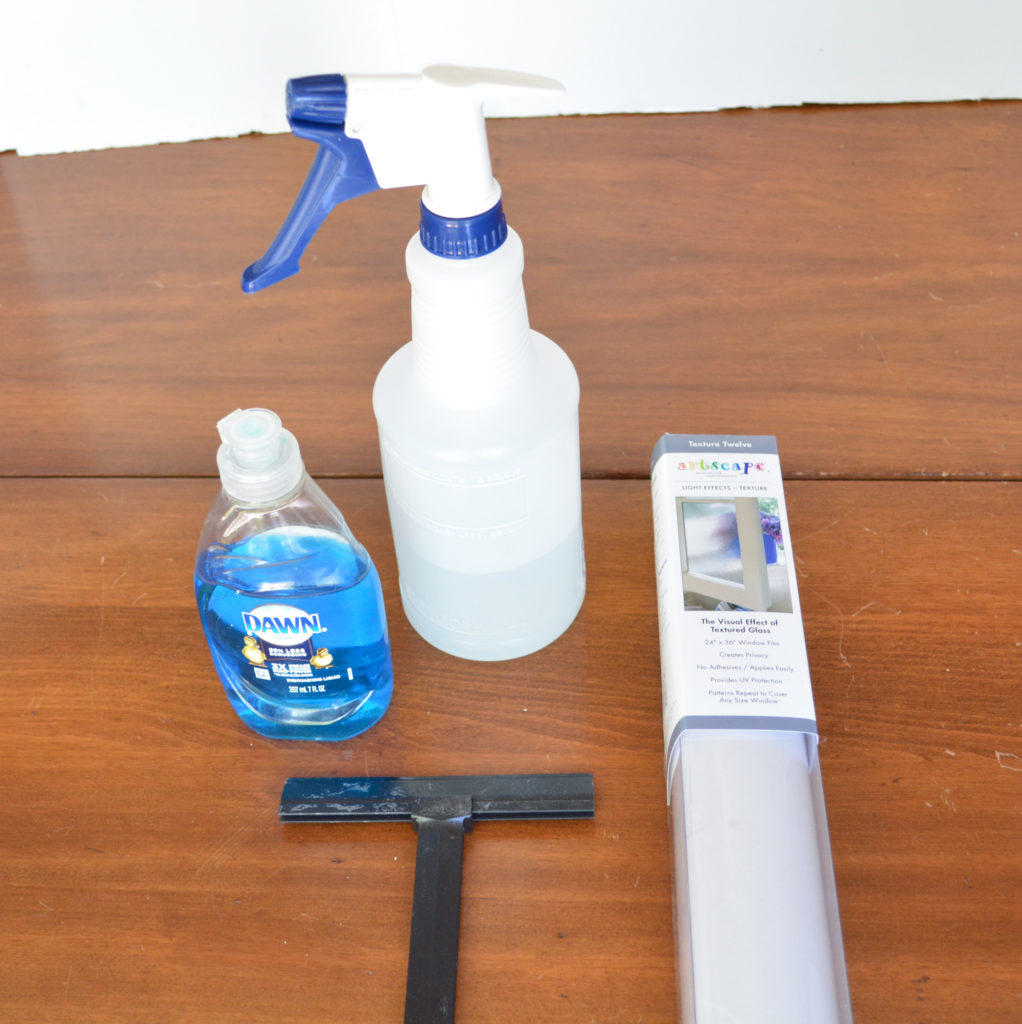
Artscape textured window film or your film of choice.
Spray bottle filled with water and a few drops of dish detergent
Squeegee (comes with the film) and towel
Straight edge, utility knife, measuring tape (oops! not pictured)
Prepping for the window film
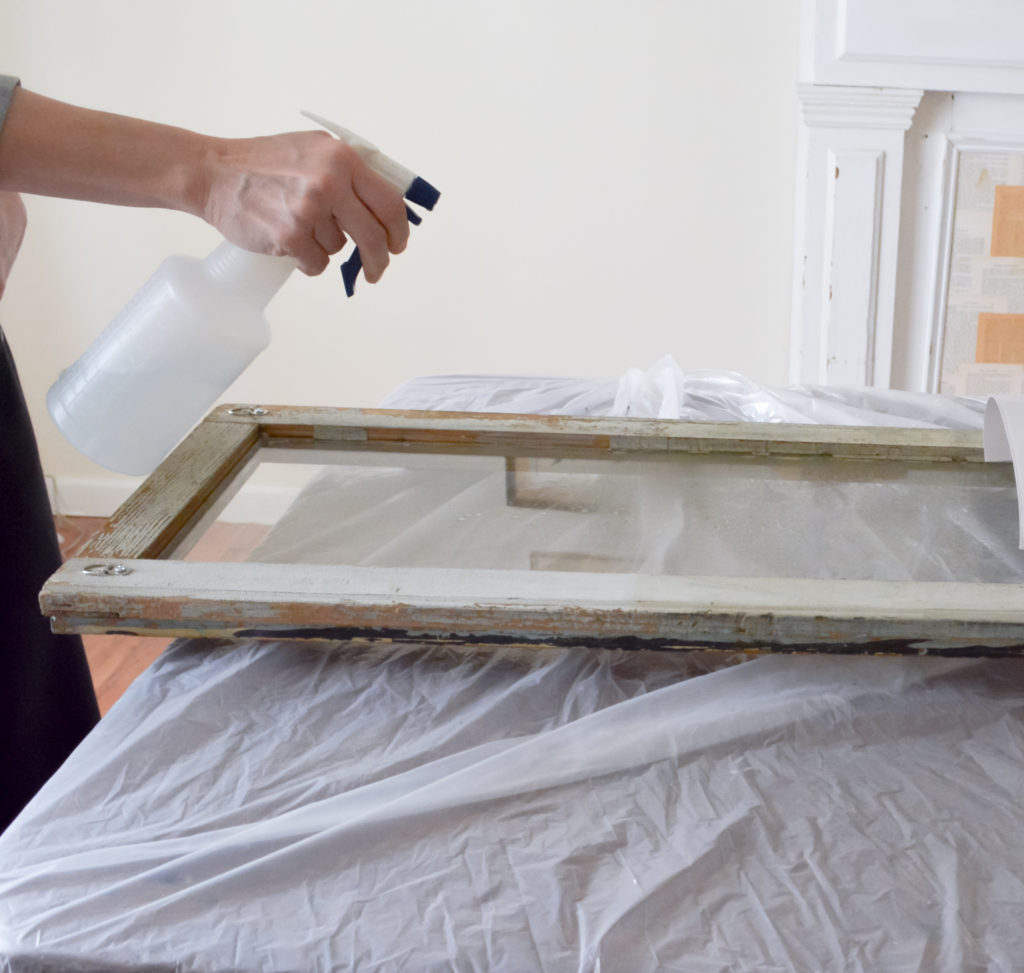
Thoroughly clean all dirt off the window so the film will adhere properly.
5 Easy Steps To Apply Privacy Film To A Window
Step 1
Cut paper to fit window. Trim on paper side with a straight edge and utility knife. Make sure you leave a 1/16 inch gap between paper and window frame.
Just an FYI if you are doing a large window, there is a pattern repeat that will need to be matched when putting pieces next to each other.
Be sure to do a test fitting before you remove the film.
Step 2
Spray glass generously with a mixture of water and a few drops of dish detergent.
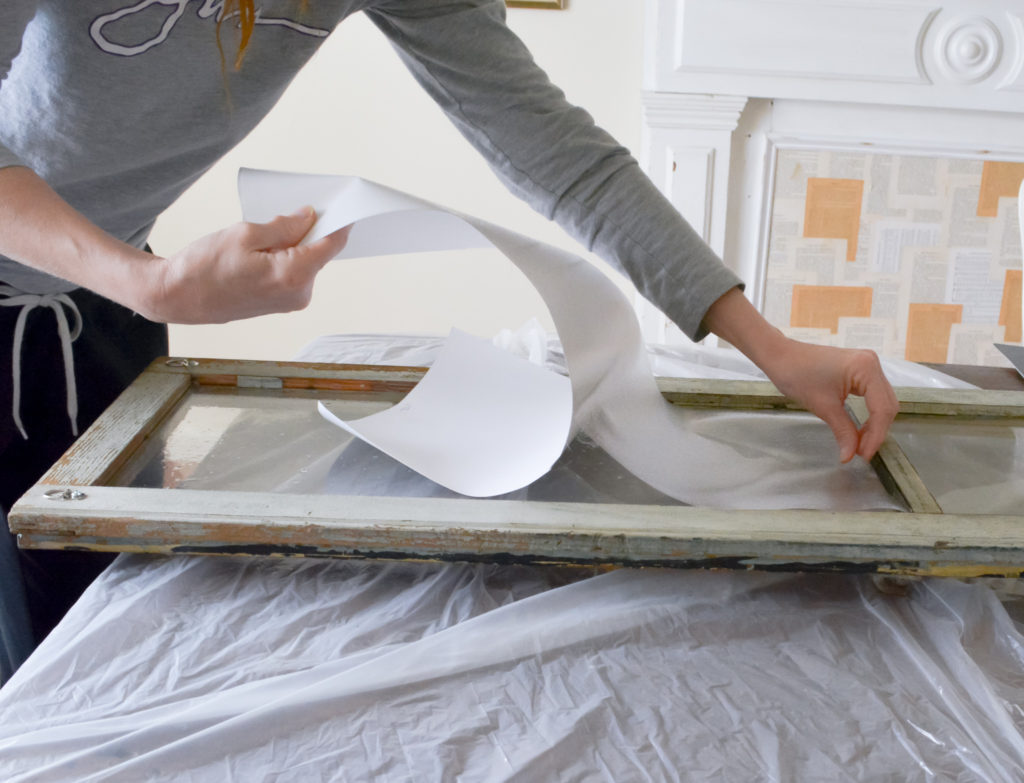
Step 3
Remove film from backing and place the shiny side that was facing the paper onto the wet glass.
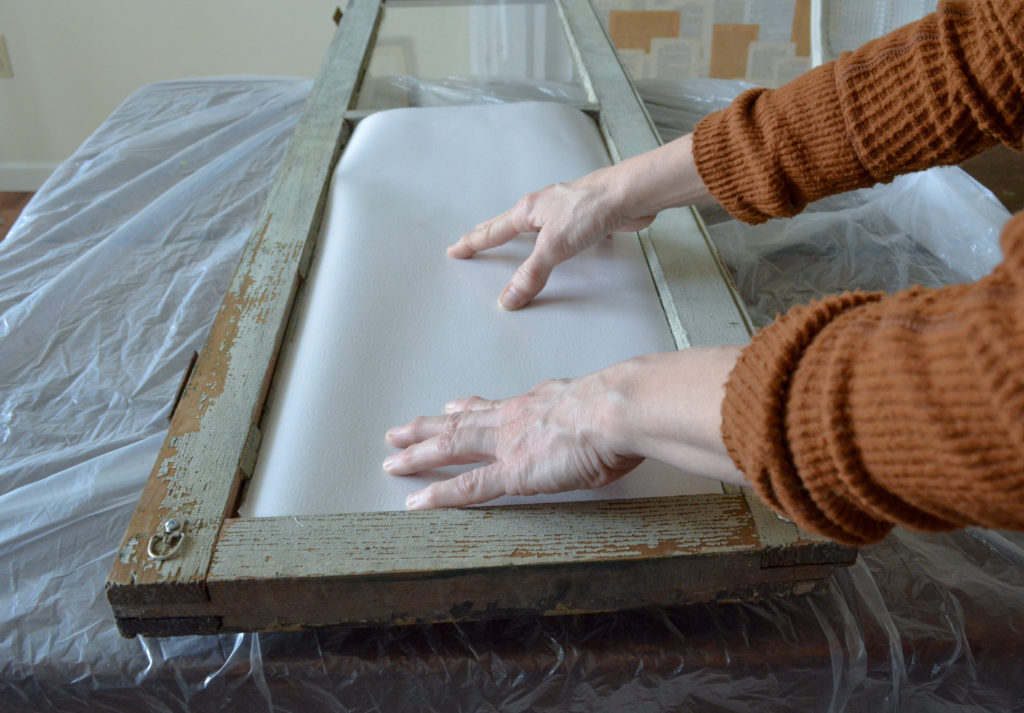
Step 4
Spray the outside of the film with more soapy water.
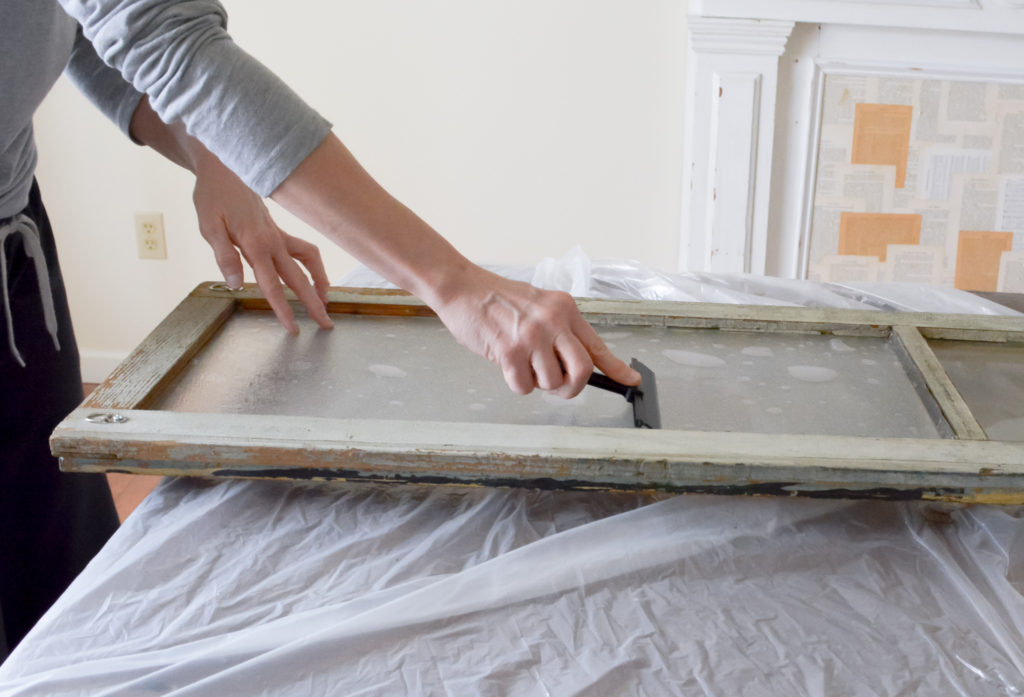
Step 5
Smooth with a squeegee. Use a towel at window bottom to catch excess water and squeegee until dry.
My window was laying flat, so I just soaked up the extra water around the sides with a paper towel.
The film comes with all the directions and of course read all the Dos and Don’ts they provide.
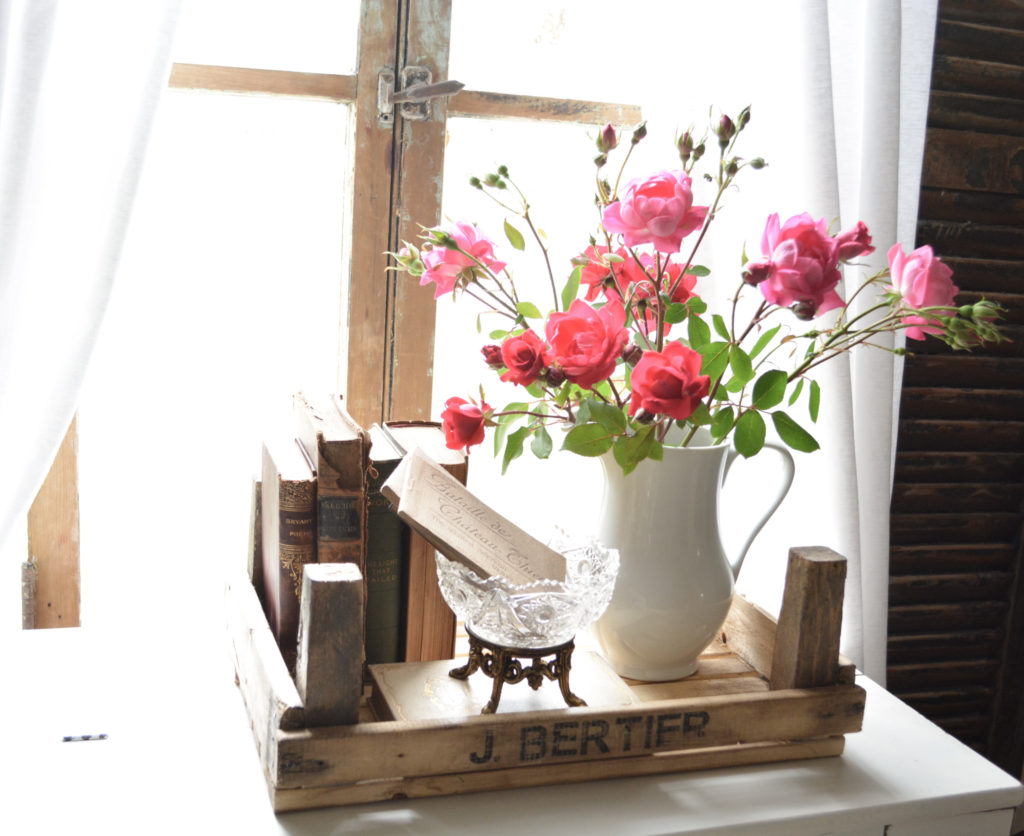
And that’s it! Quick, easy, and easily removed. It still lets in plenty of light as you can see, but blocks the view from inside and out.
Coming up next on the blog, I’m sharing how to hang the windows and a super easy way to mark the placement of the hardware.
Pin It For Later!
Thanks for stopping by,
Janet