
A Girly Girl’s Guide To DIY – Beginner Building Series Project 5
Level: Beginner
Skills: Hammering a Nail and using a miter box and back saw
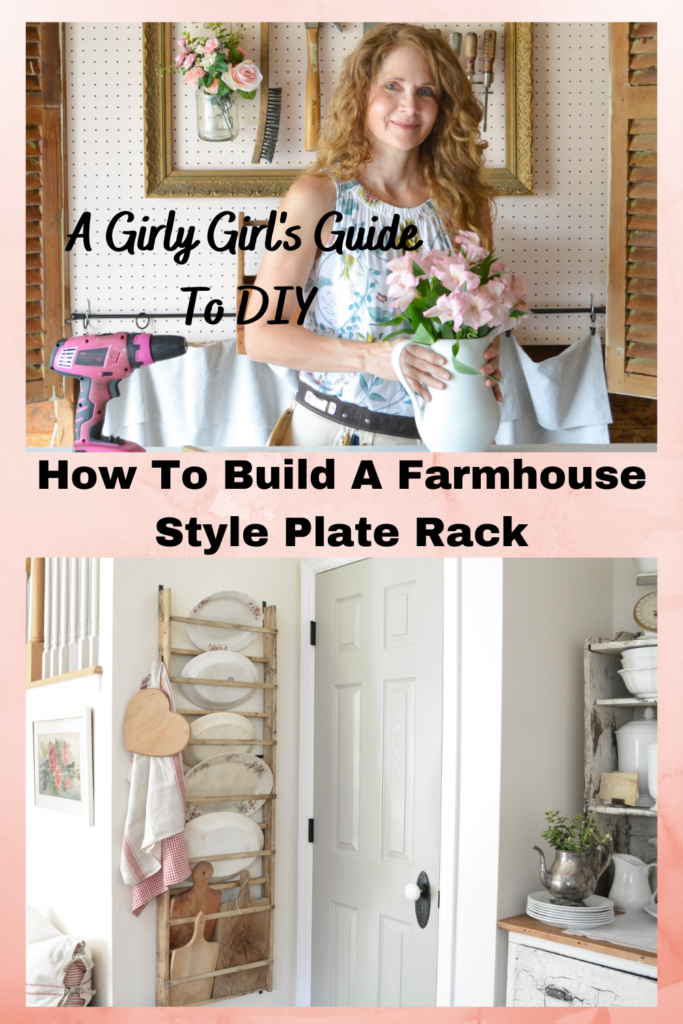
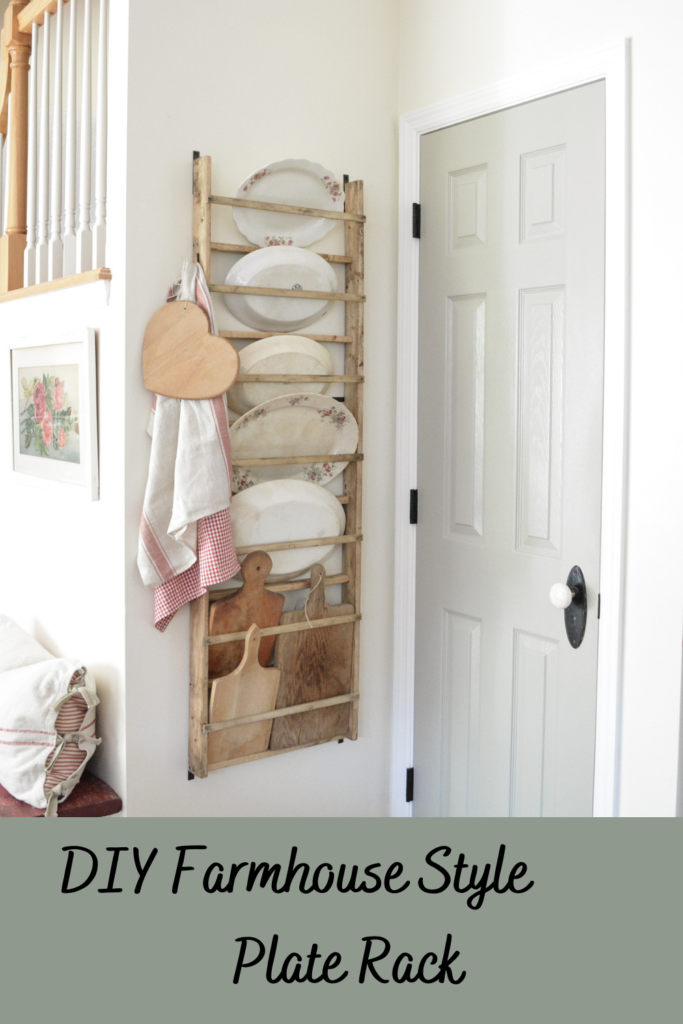
Learn how to build this simple farmhouse style plate rack, no power tools required.
I decided on a rustic reclaimed wood look for my plate rack, but you could also build it from nicer wood and paint or stain for a more traditional look.
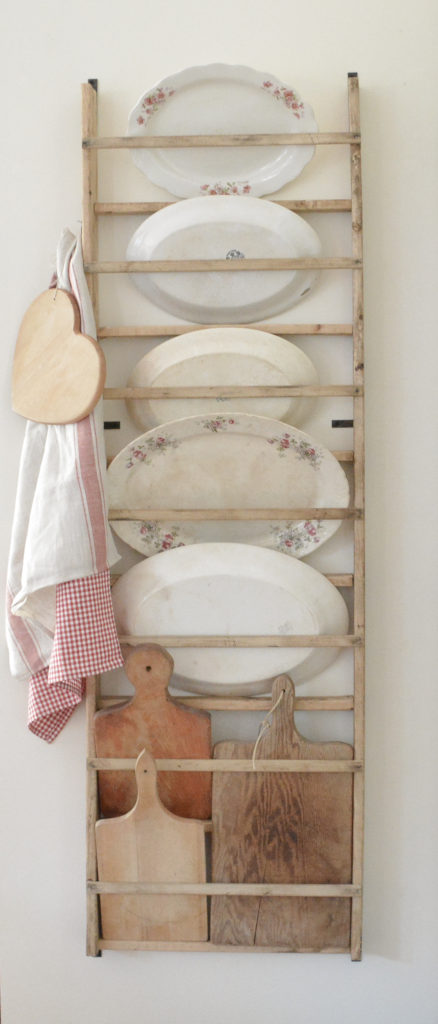
A bonus feature of this plate rack is that you can customize the size to fit any space. I designed this specifically to hold platters facing backwards. You would need to modify the plans for regular size plates facing forward and leaning back against the wall.
The measurements for my plate rack will be used in the building instructions, but just know, that you can change these to fit your particular requirements.
Supplies
Lumber – Measurements for a 56″ x 17-3/4″ plate rack
2 – 1×3″ furring strips cut 56″ for the sides
7 – 1×2″ furring strips cut 16″ long for the shelves
7 – screen molding cut 17-3×4″ for plate holders
A Girly Girl Tip: Have the home improvement store cut your lumber
Tools
Hammer
Miter box and back saw (to cut screen molding)
Tape measure and pencil
Clamps
Fasteners
Wood glue – used on all joints
1-1/2″ common nails
17 x 3/4″ wire nails
choice of hanger for wall – I used mending plates
Wood Finishers
sand paper
wood stain
Black paint
Building the Farmhouse Style Plate Rack
Step 1 – staining the wood
I always stain my wood before building. I find it so much easier. You can see how I stain, distress, and detail my wood projects here.
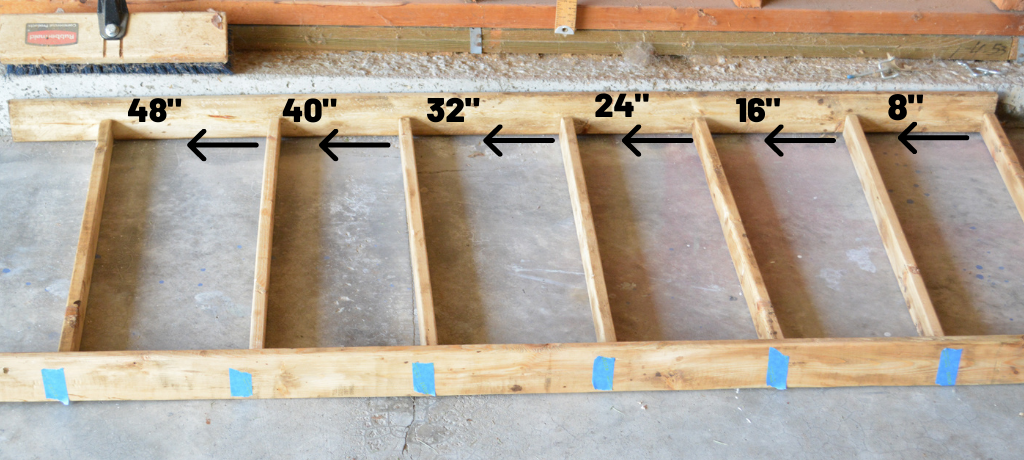
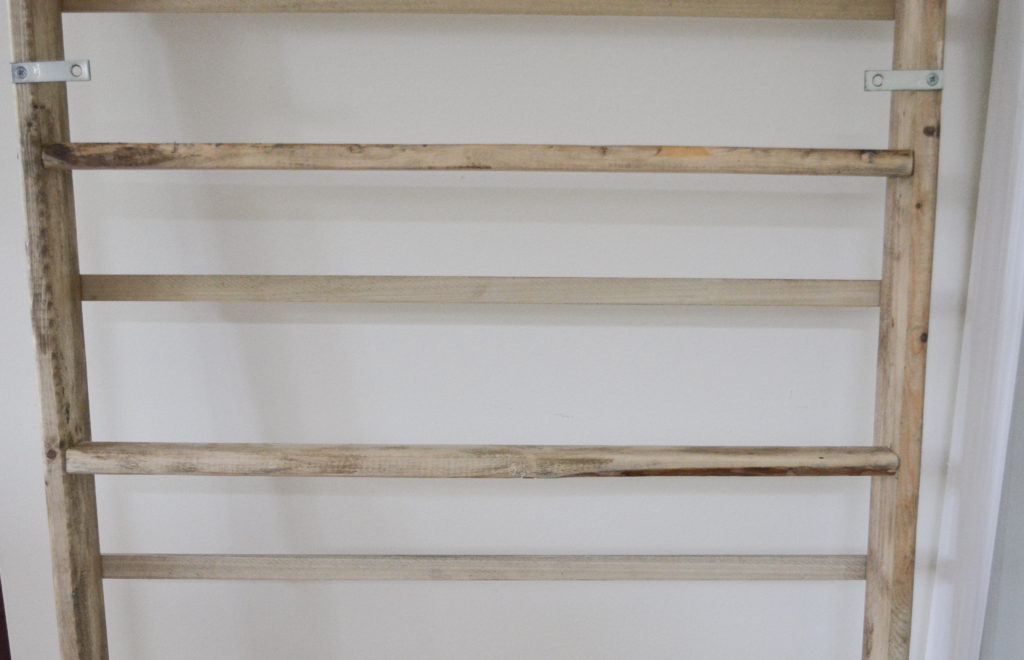
Step 2 – measure the placement of the shelves
Divide the length of the side (56) by the number of shelves (7) for 8″ spacing between shelves
I placed the bottom of each shelf every 8″ from the bottom, with the bottom shelf even with the bottom of the side piece and leaving the top end open
When marking the placement of the shelf, I drew a pencil line on each side of the board so there would be no confusion of top or bottom, etc.
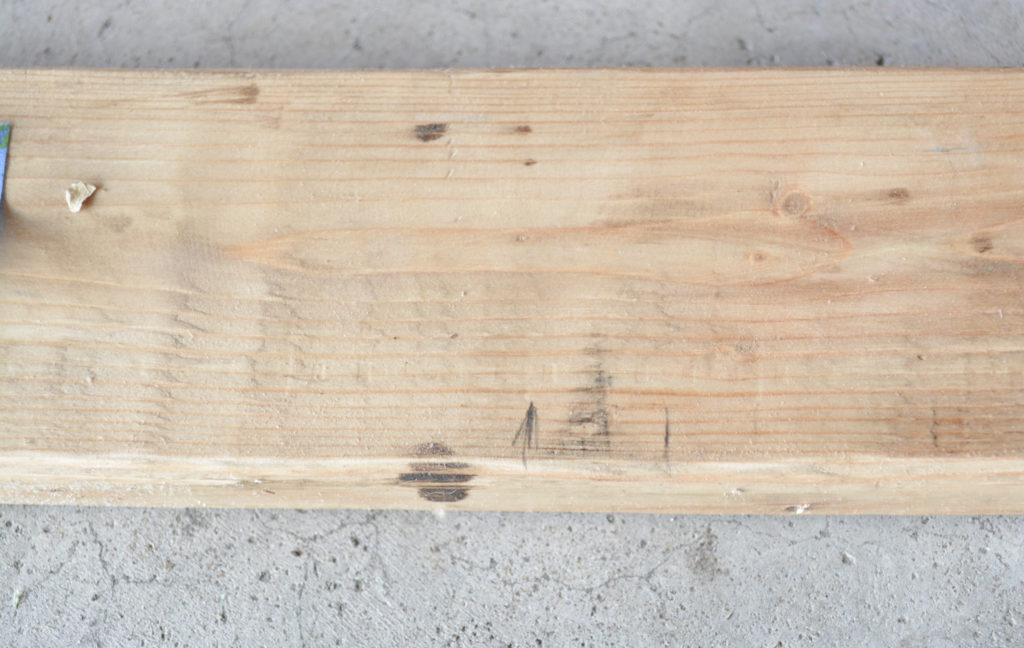
I did this on both sides of the side pieces so I could pre hammer my nails.
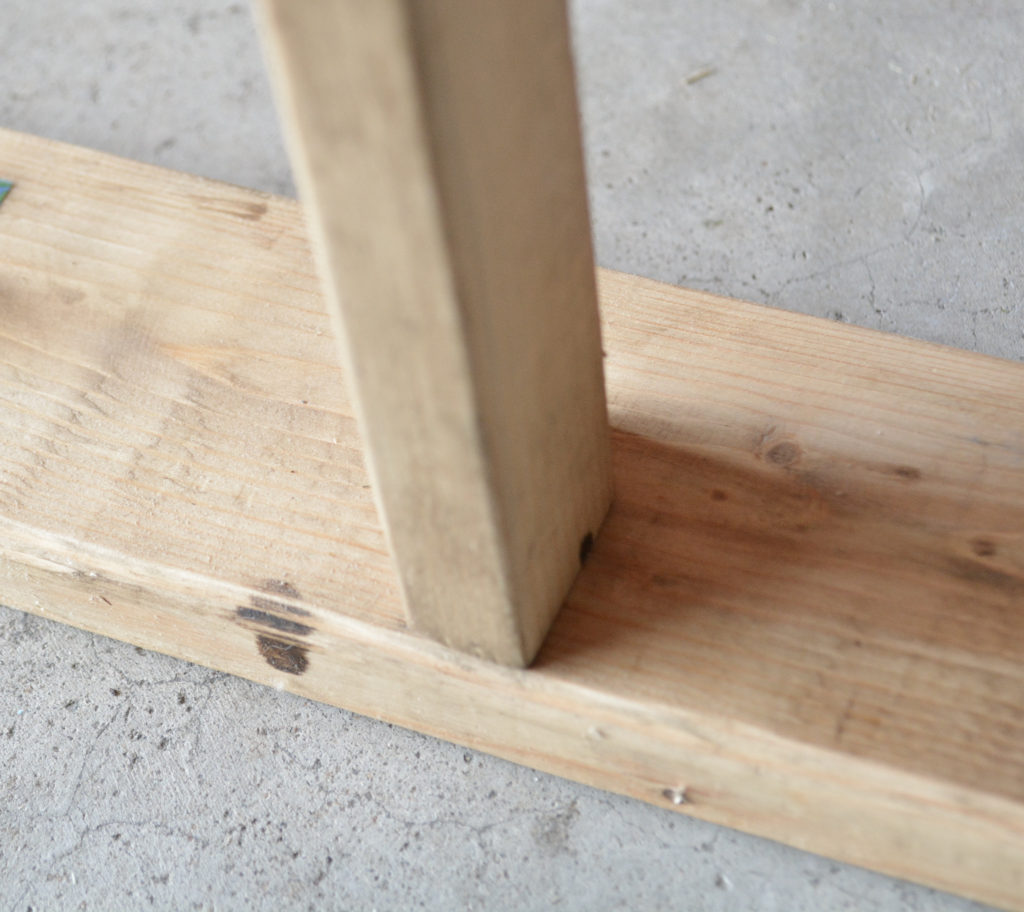
Step 3 – Attach the Shelves to one side piece
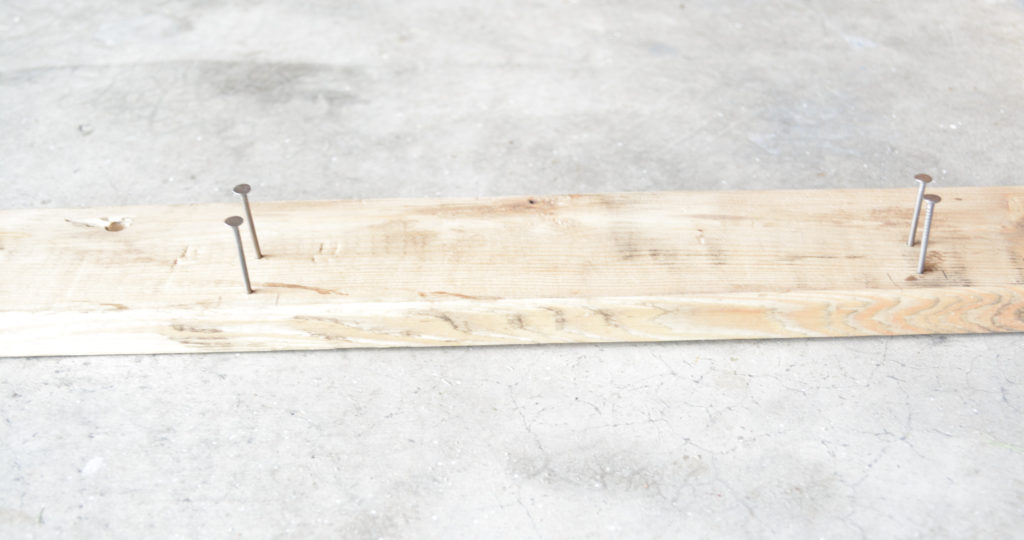
Pre hammer your nails on the outside of one side piece between the two pencil marks, remembering that the shelf is narrower then the side. Do this all the way down the side.

Starting with the bottom shelf even with the bottom of the side piece, hammer in the nails. I used my garage wall to support the boards while I hammered.
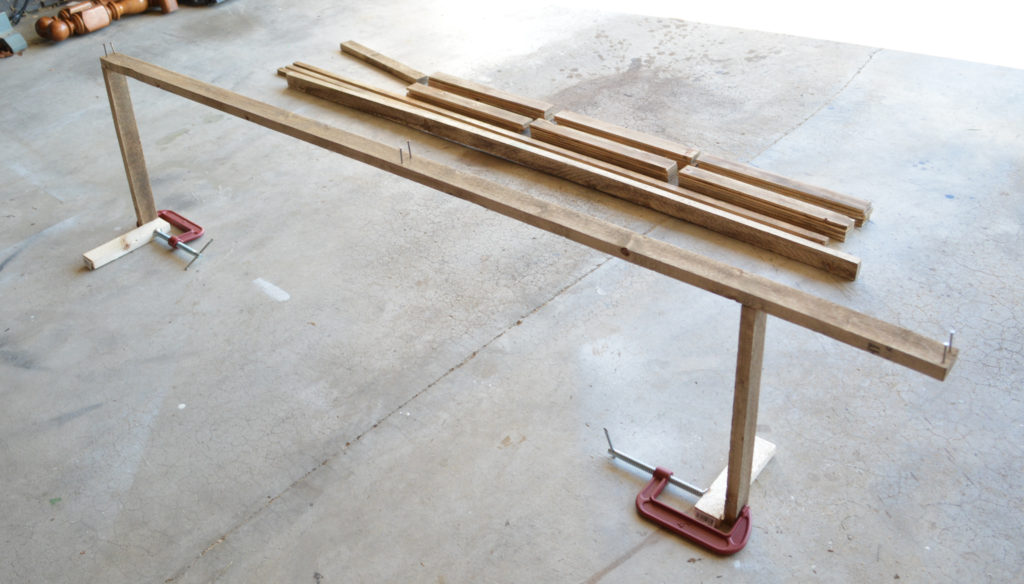
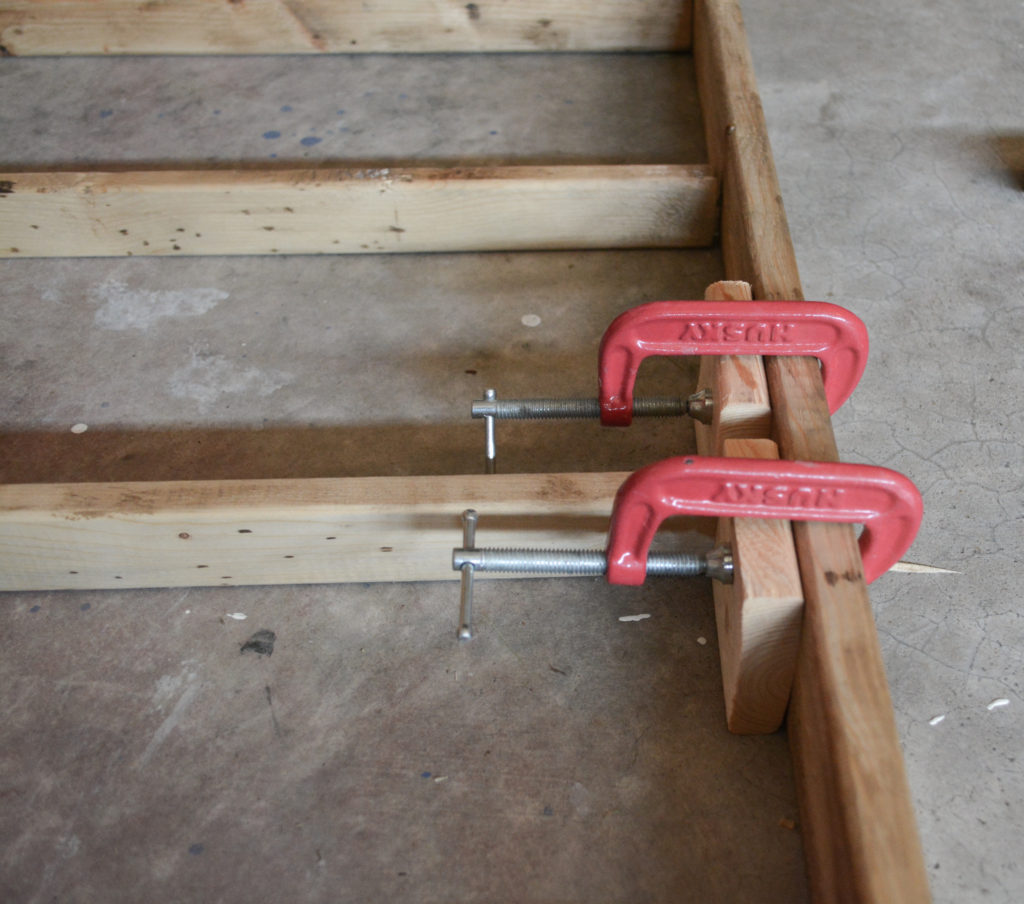
If you don’t like working on the floor, you can support the boards with clamps and scrap wood like I did here, when I built a French drying rack.

Using clamps and two pieces of scrap wood to hold the board in place while hammering was very helpful. I just placed the edges of the scrap wood on the two pencil marks and held the shelf board in the middle.
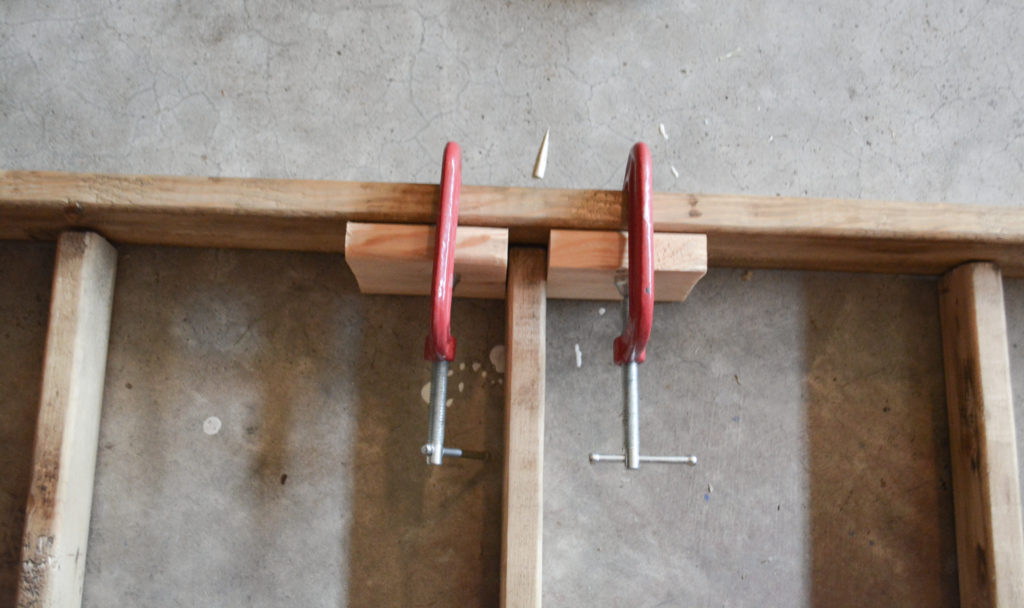
Continue hammering in the shelves, moving the clamp support as you go. And don’t forget the wood glue!
A Girly Girl Tip: Make sure the shelf board edge is even with the bottom side edge as the floor may not be level.
Step 4 – Attach the second side
Turn the rack around so the finished side is facing the wall.

Pre hammer the nails in on the second side.

Hammer in all the shelves, starting at the bottom and working your way to the top. Make sure the rack is facing up and shelves are even on the bottom (back of rack).
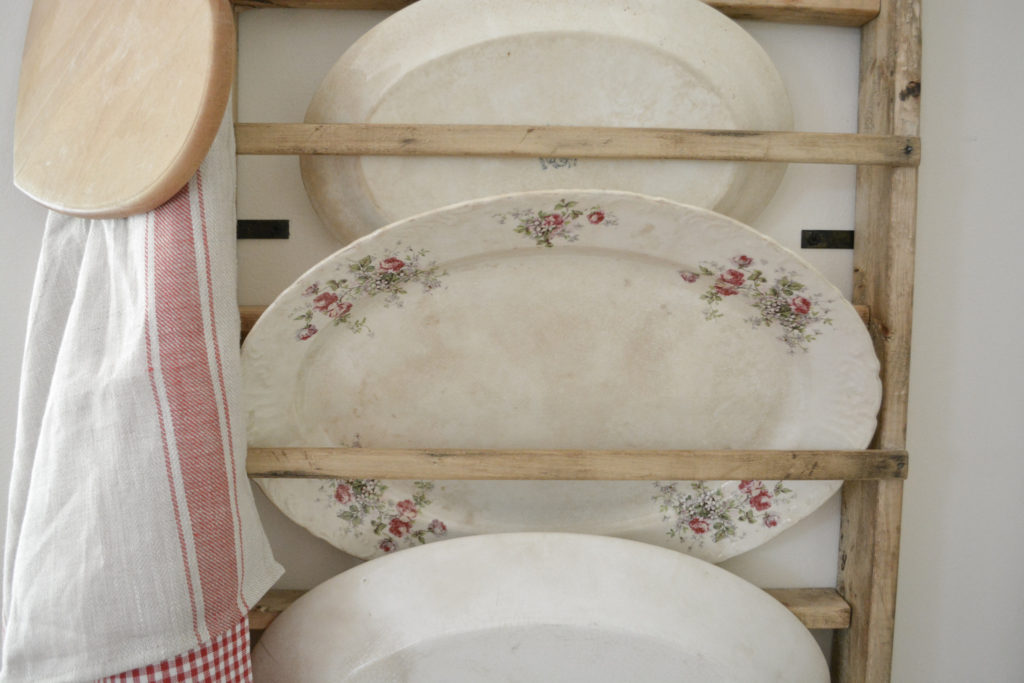
Step 5 – Adding the Screen Molding
Cut the screen molding to the width of your shelves with a miter box and back saw. The home improvement stores won’t cut these for you.
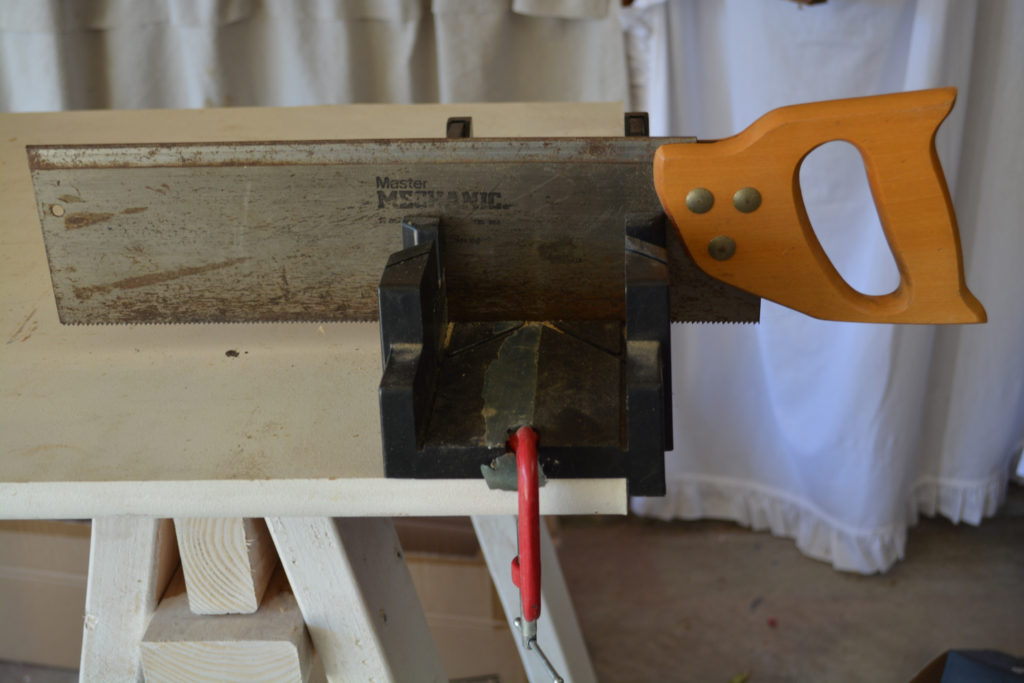
I discuss how to use the miter box here.

I spaced the screen molding 4″ from the bottom shelf and then every 8″. That makes it 4″, 12″, 20″, 28″, 36″, 44″, 52″ for the last piece of molding.
Attach the screen molding with glue and small wire nails.
Step 6 – Attach hanging hardware for the farmhouse style plate rack
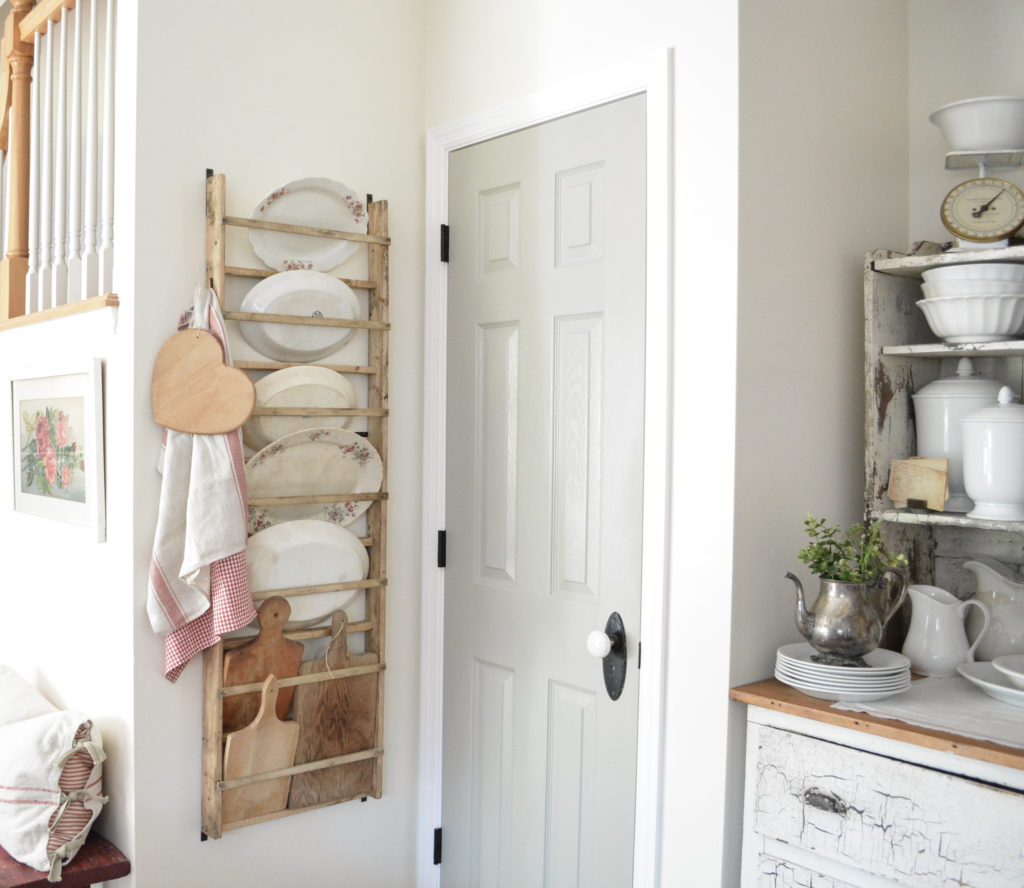
I decided to embrace the rustic look and allowed my hardware to show. I painted mending plates black, and then screwed them to the back of the plate rack. I added them to the top, middle, and bottom.
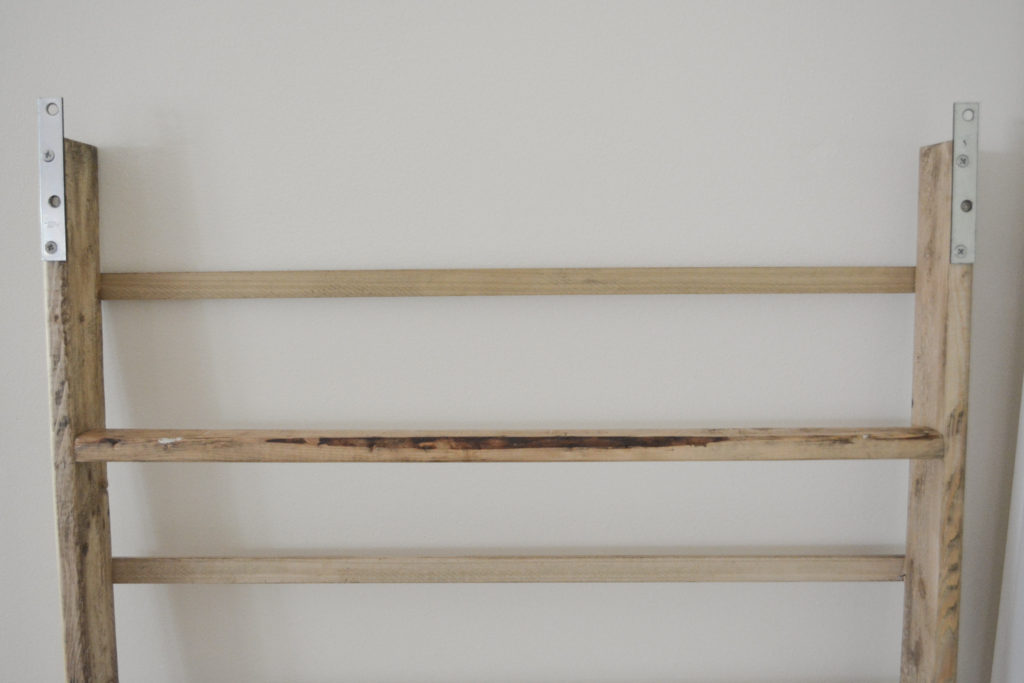
These furring strips are never straight, so the mending plates worked well to hold the plate rack in place.
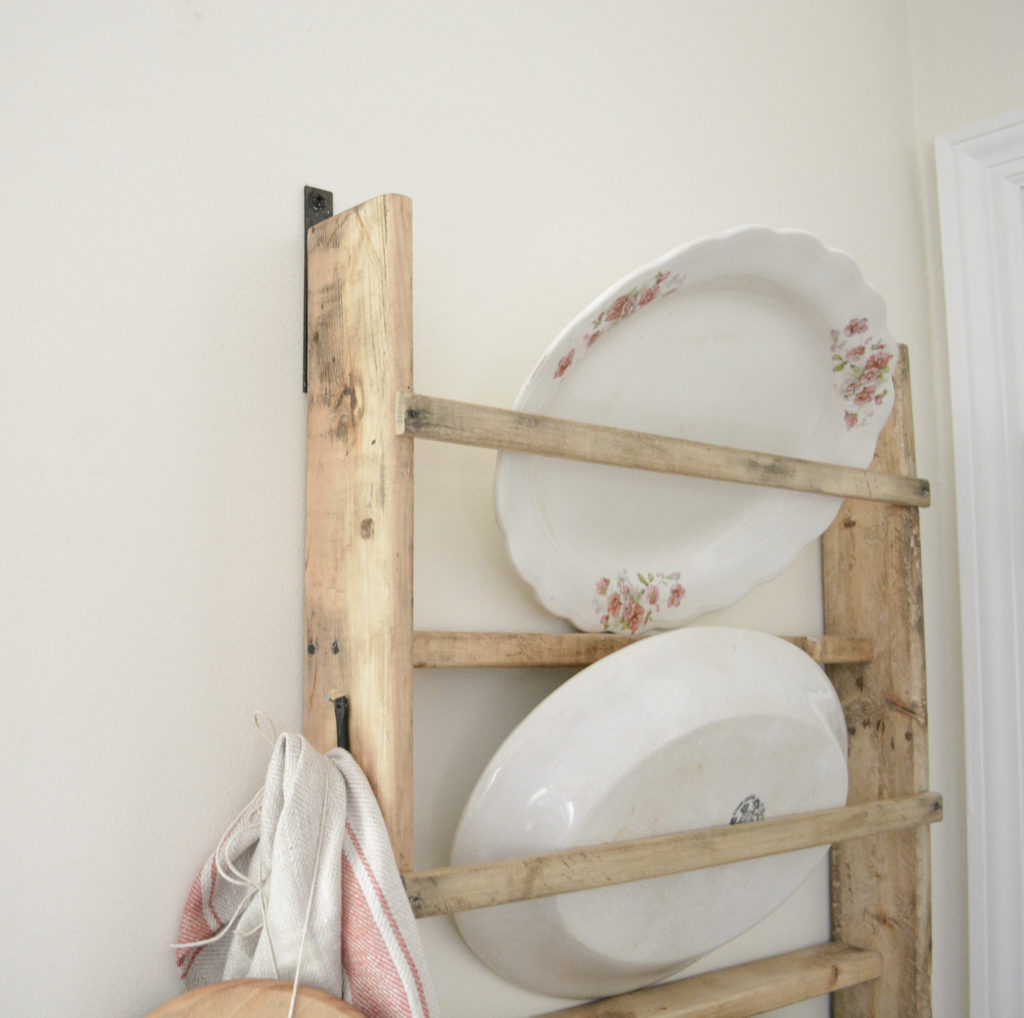
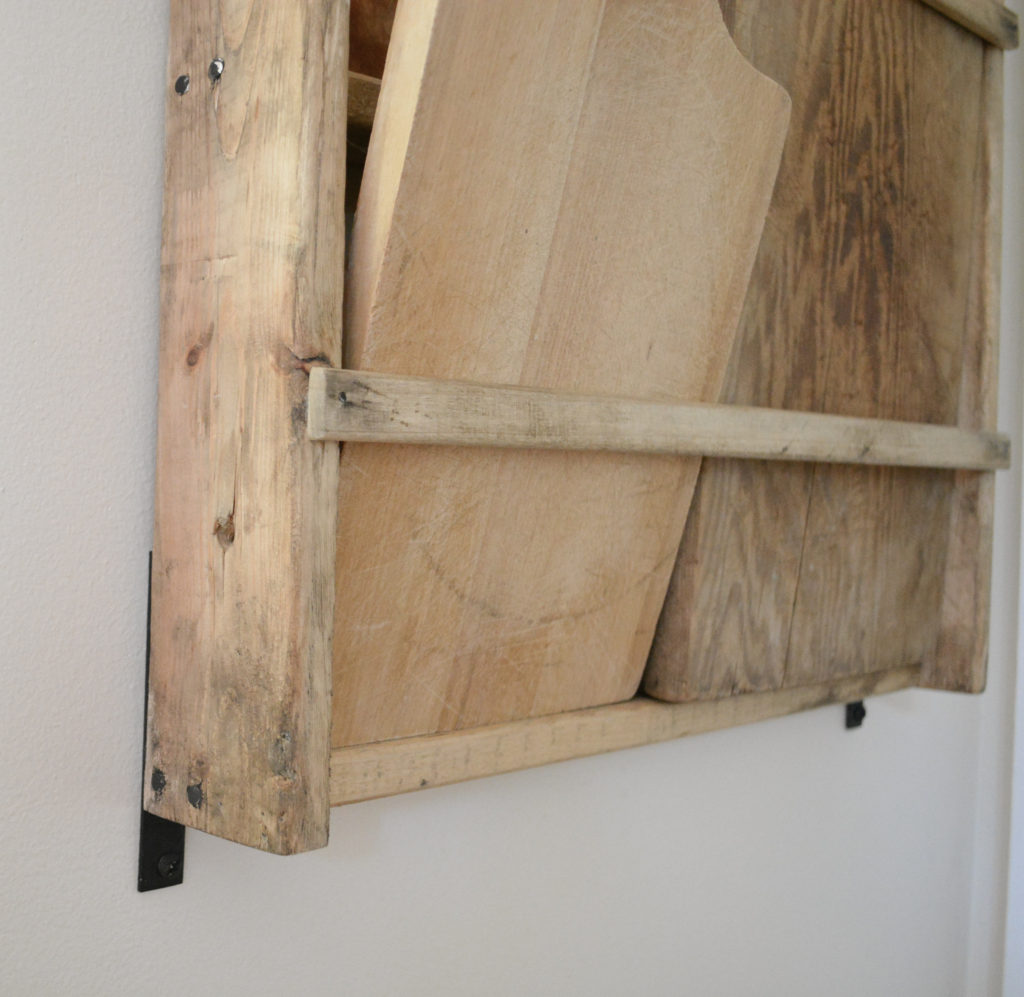
They ended up making a nice decorative statement.
Modification
If you would like to make the plate rack to hold regular plates facing forward and leaning back, you would need to make a couple of modifications. Space the shelves out wider to plate size and add a small piece of quarter round molding to the back of the shelf to keep the plate from slipping off.
This is such a great project. It is simple to build and you can customize it to fit any space. Fun story, I originally made mine 4 inches wider. I hung it up and decided it looked too big. I took one side off and cut down all the shelves and then re-attached the side. That is actually pretty typical of my projects, haha!
Pin It For Later!
Thanks for stopping by,
Janet
Love this and I’m going to try it! Thanks
That makes me so happy! Have fun1
I see a spring project! Will get the BF with lol the tools to help. He’ll appreciate the Girly Girl Tips ! LOL
I hope you guys have fun! it really is quick and easy!