
When I added the buffet and hutch to our stair wall last fall, I knew I wanted to add something next to it. It just seemed lost and out of place. I had seen a rustic rolling cart at the antique mall. After I got home, I decided to buy it, but when I went back it was gone. So of course, I decided to figure out how to build a farmhouse style rolling cart myself. The cart at the mall reminded me of crates stacked on top of each other. Because I wanted to use wood I already had, I got the idea to build something that looked like a crate standing on its end.

I had this reclaimed wood that I found at Restore for $5.00 a bundle, and thought it would be perfect. A little sanding and it was good to go.
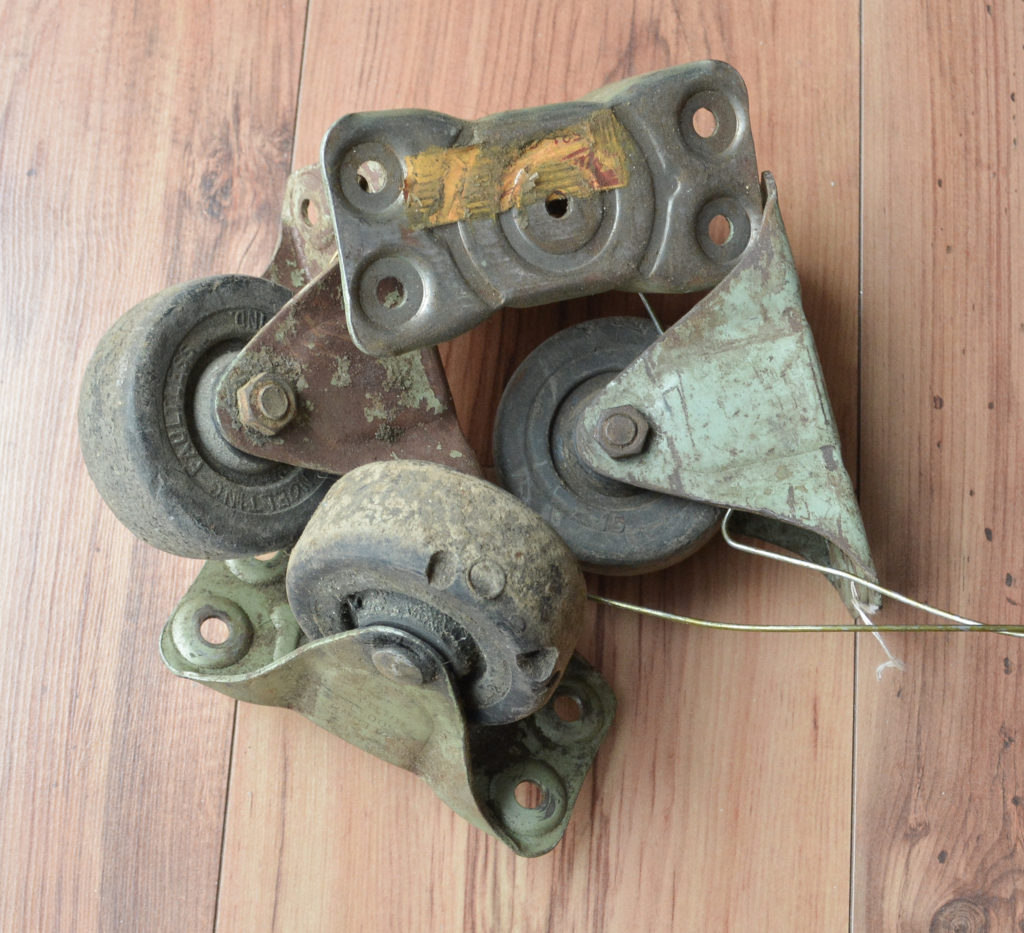
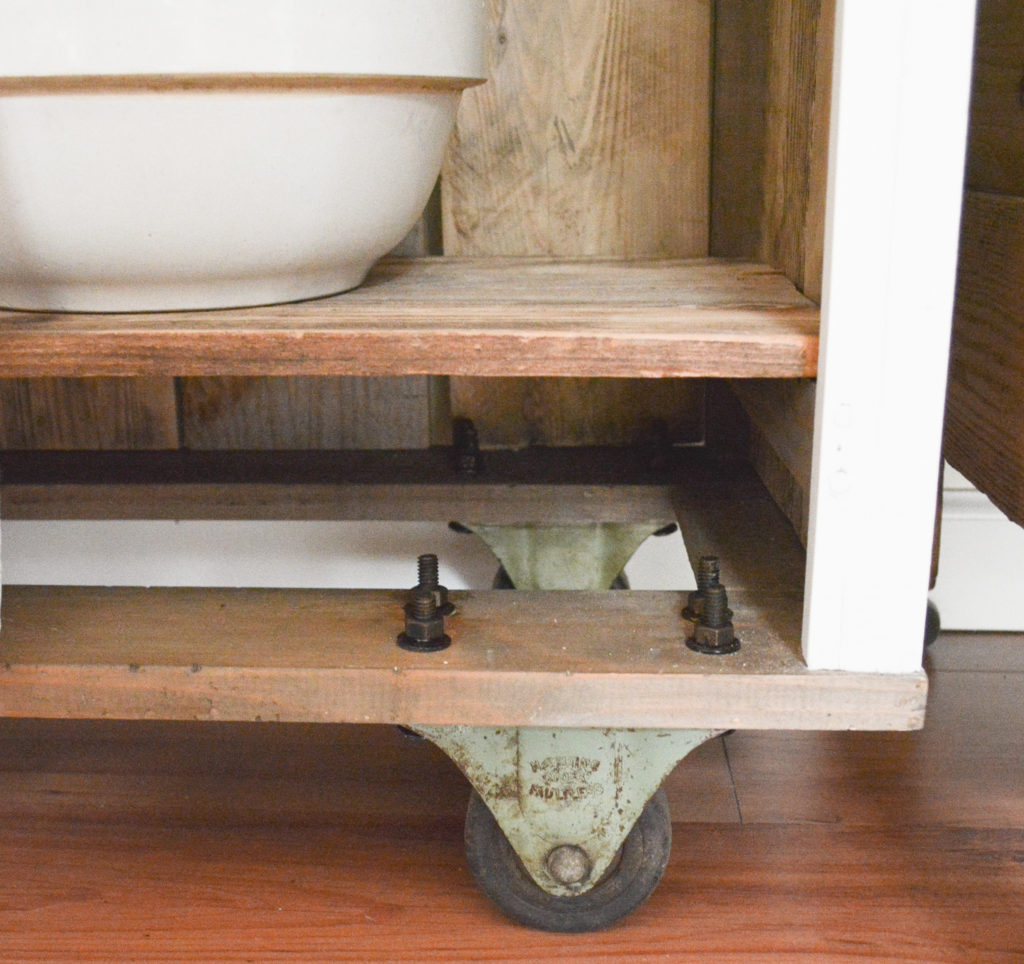
I really wanted to use vintage industrial wheels, so I had been keeping my eyes open for some for months. I finally found these at an antique store. It was $20.00 for all four. That’s cheaper than buying new, and they are so much better!
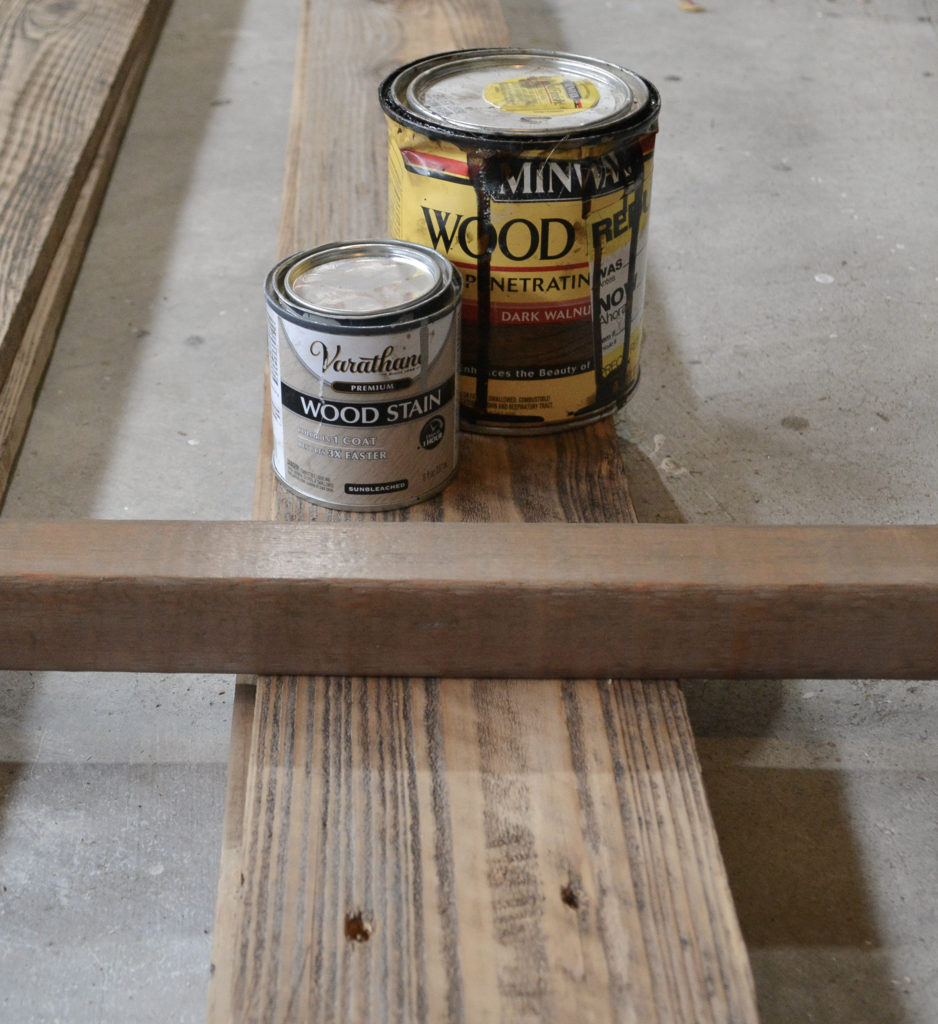
The last piece of the puzzle was to find a stain that coordinated with my reclaimed wood. I needed to use different boards to build the frame of the cart, some new and some already stained. I ended up applying sun bleached stain and then while it was still wet, going over it with dark walnut. On the new boards, I found starting with a chestnut stain, then the sun bleached and walnut, worked well. I stain all my pieces before I build.
Determine The Size Of The Cart
The size of my cart was based off the size of my 1×6 reclaimed wood. The long pieces I had were 60 inches, so that is the height of my cart. then I used 4 boards for the back, and two for the sides. I added 1/4 inch spaces between the boards for that crate look and 2x2s for the ends, making the sides 14 1/4 inches deep and the back 25 1/4 inches.
Cuts For Frame
4 – 2x2s cut to 60 inches
10 – 1×2 pieces – 11 1/2 inches for side shelf supports
5 – 1×2 pieces – 22 inches for back supports
8 – 1×6 pieces cut 60 inches for sides and back
How To Build A Farmhouse Style kitchen Rolling Cart
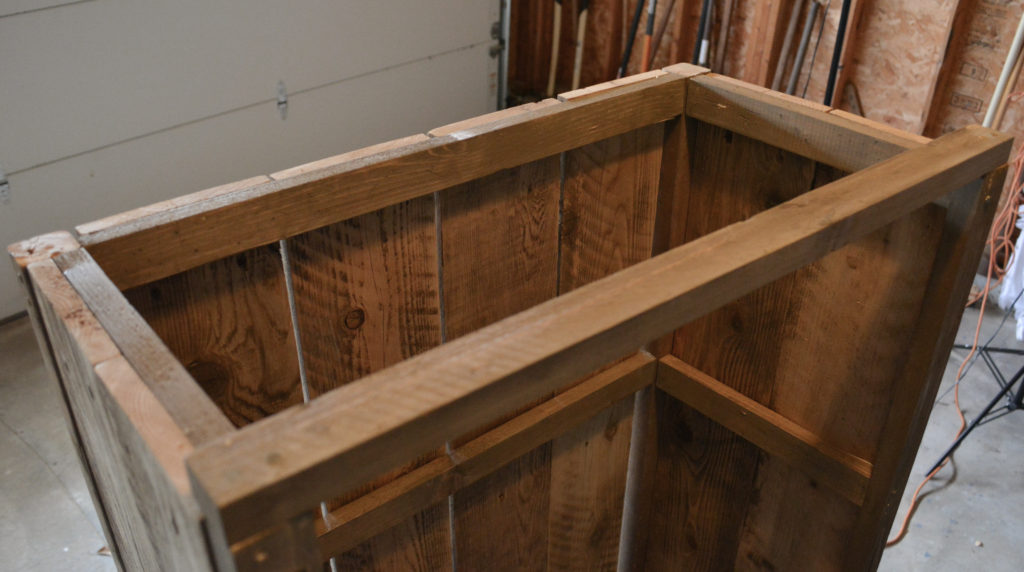
Step 1 – Build the Frame
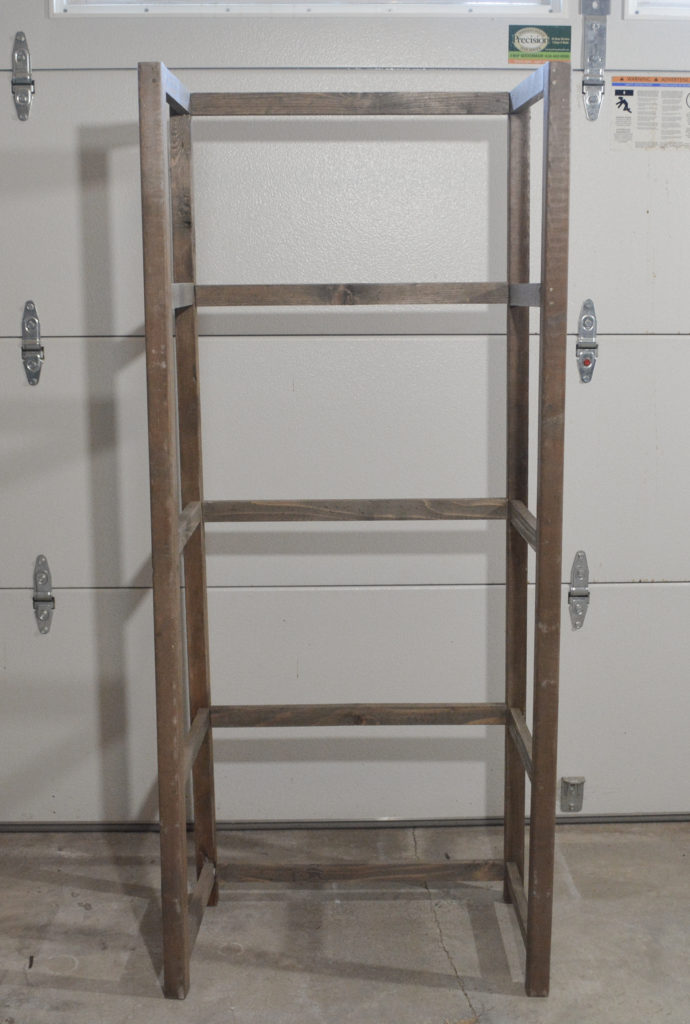
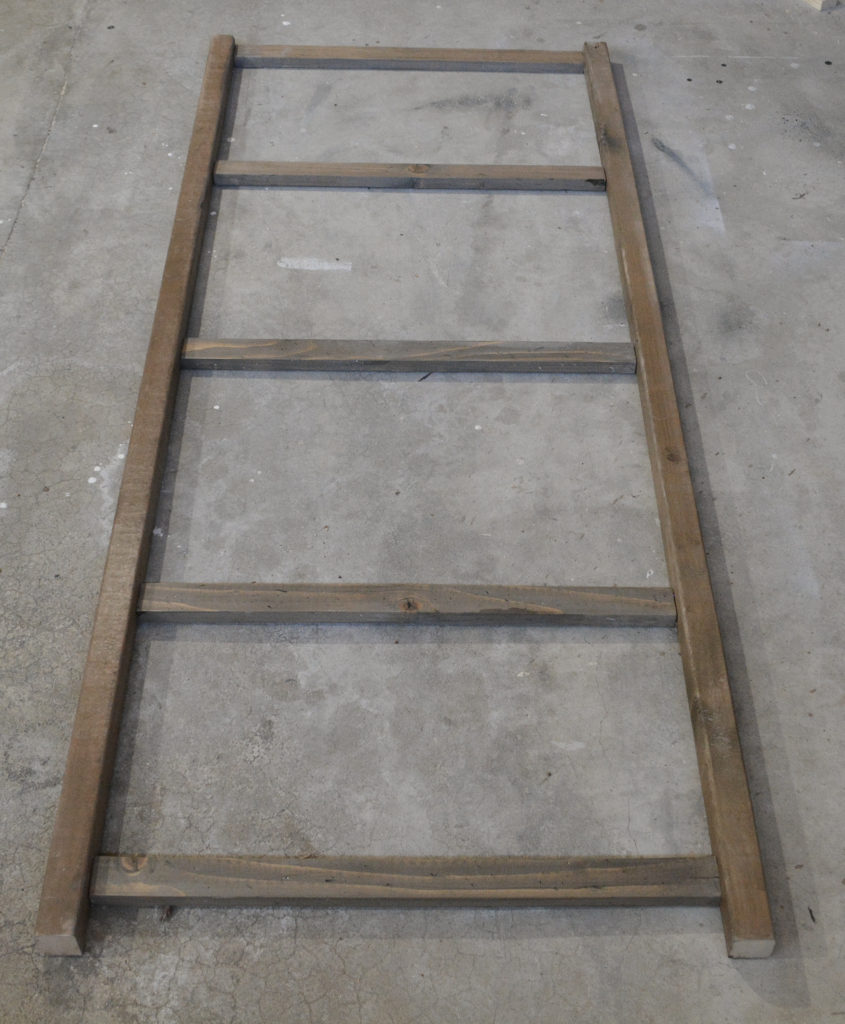
The photo above shows the frame that will be wrapped with the reclaimed wood and attached to the wheel base. The four main supports are 2×2″ boards cut to 60″, the length of my reclaimed wood.
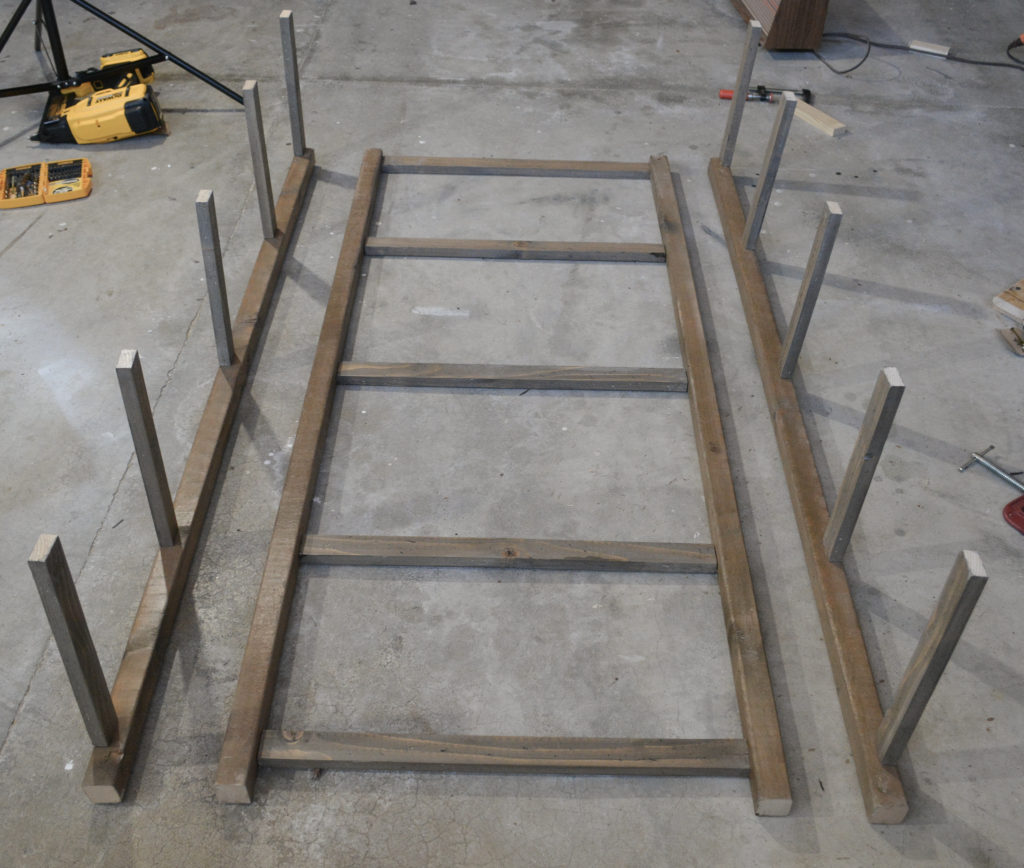
The frame consists of two sides and a back. Horizontal boards on the sides will hold the shelves as well as provide a place to secure the reclaimed wood panels. The pieces on the back could serve as further shelf support if a solid shelf board is used, but in this case, my boards don’t rest on them.
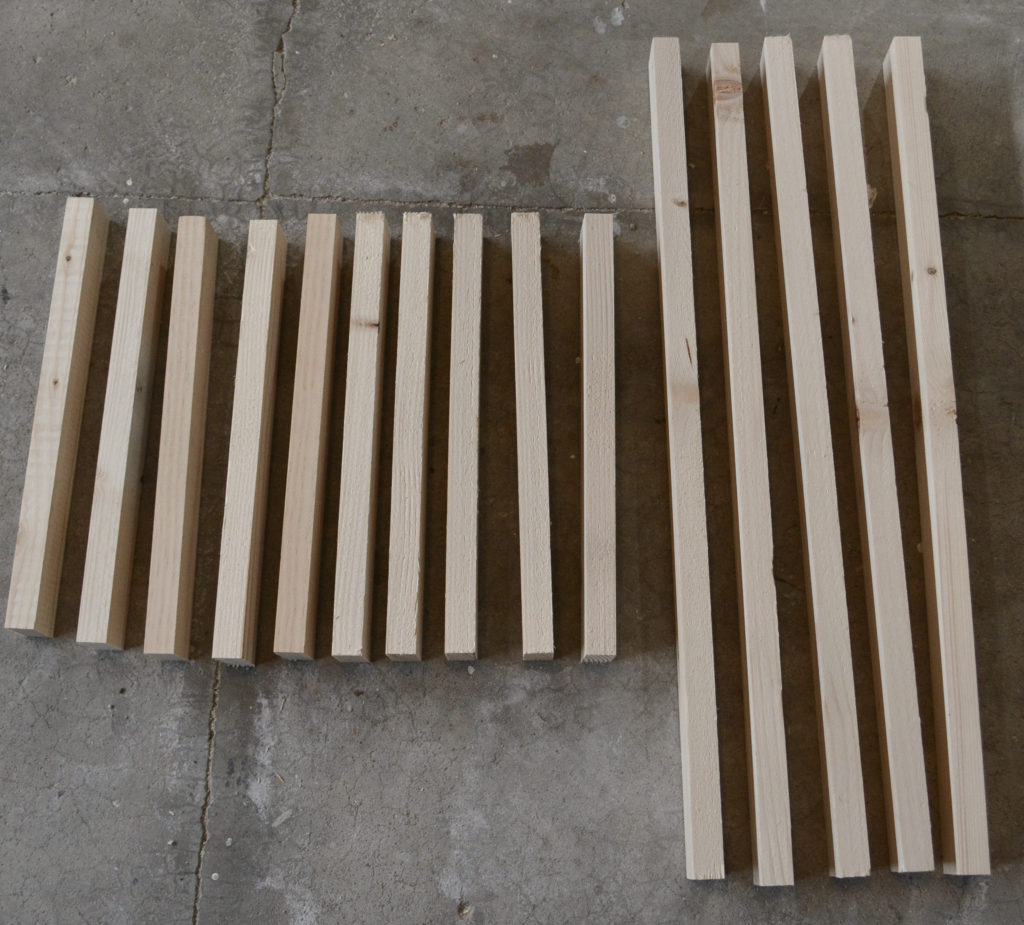
I cut 10 side shelf supports and 5 back supports out of 1x2s – 11 1/2″ and 22″.
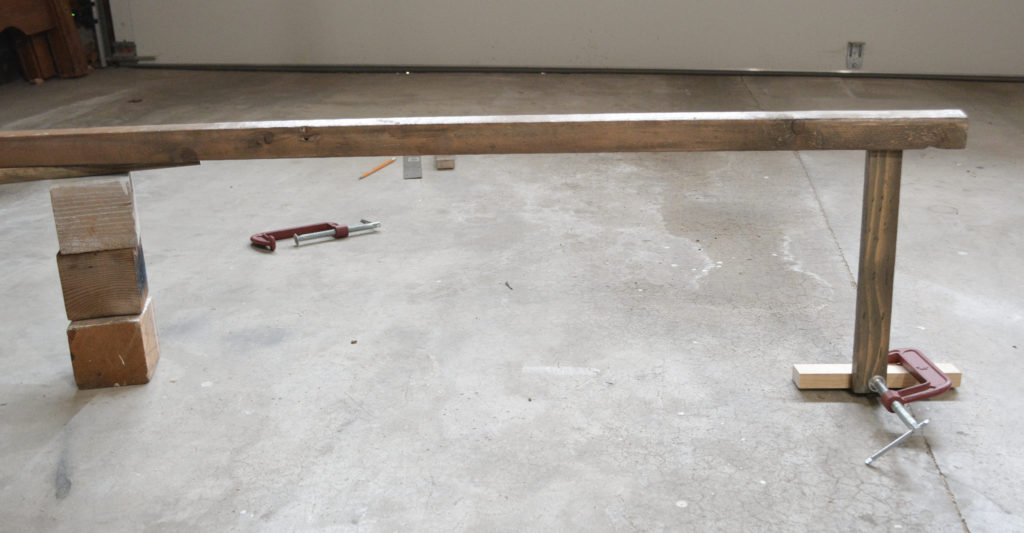
This was the setup I used to attach the pieces. I used a hammer and nails to get that rustic look, but screws would probably be a better choice. Two nails were driven for each connection.
Build The Sides
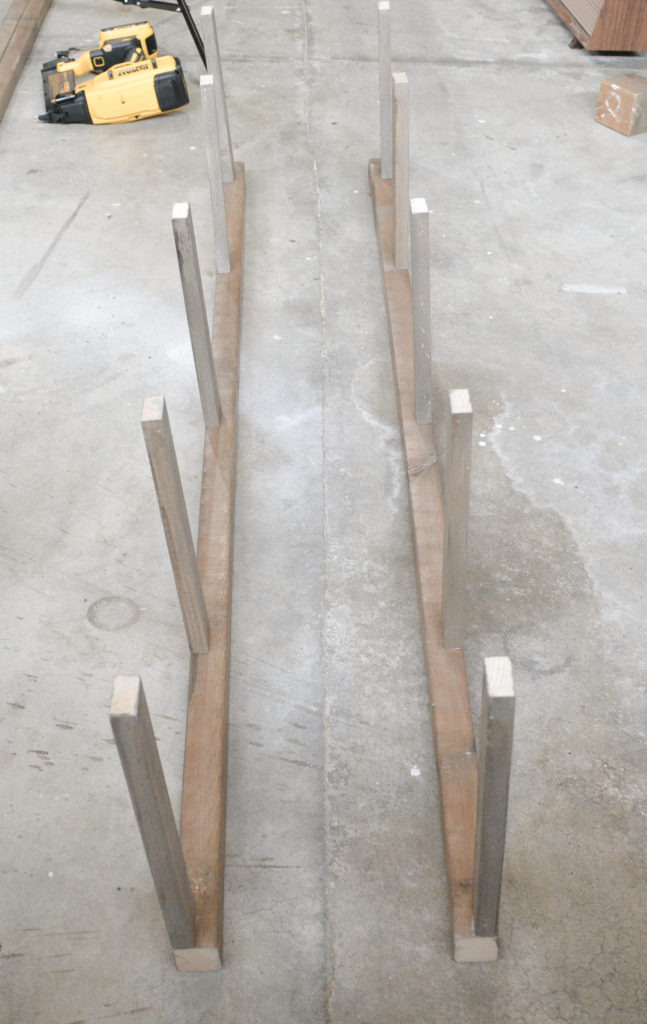
Attach shelf supports to two of the 2x2s, 5 on each side. The spacing will determine your shelf placement and then one support for the top. The shelf supports need to be placed on the edge of the 2×2, and the two sides should be opposite.
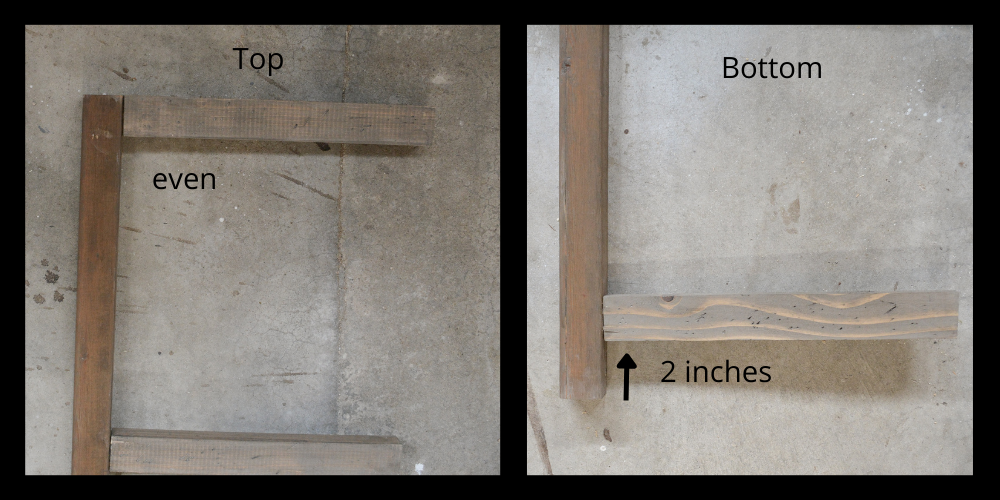
The top support is even with the end of the 2×2, and the bottom is placed up 2 inches to allow for the wheel bolts.
Build The Back
To create the back, attach the back supports to two 2x2s, using the same spacing as the shelf supports. Make sure to place the supports on the edge of the 2x2s.
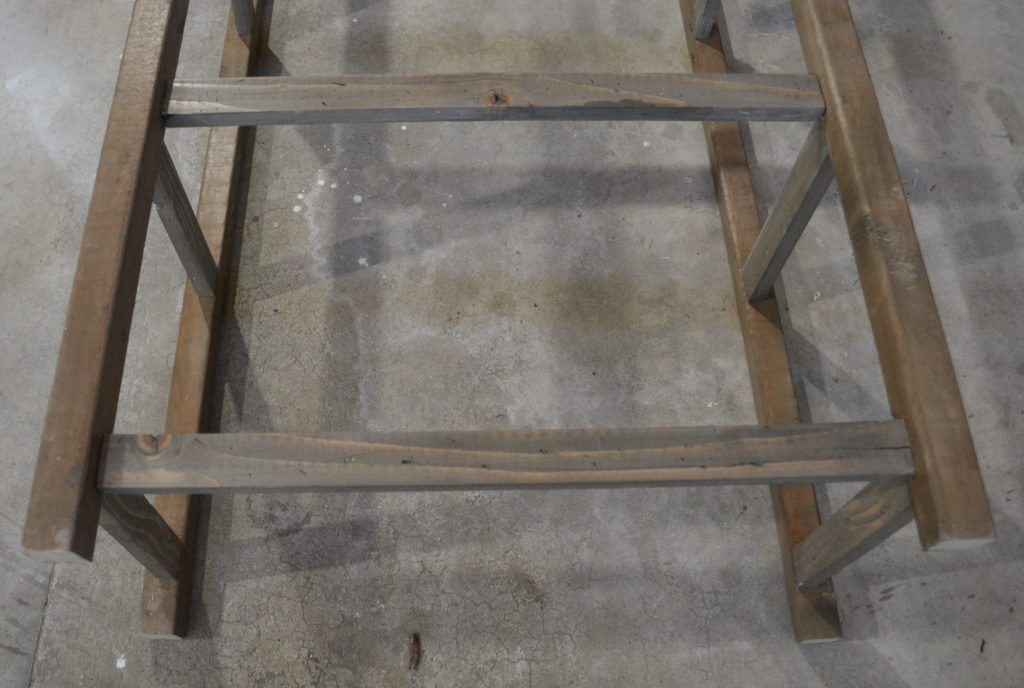
Attach The Back And Sides

Before nailing, make sure all the supports are on the inside edge and the bottoms are all on, well, the bottom. Measure the distance between the supports to make sure it is even on top and bottom.

Step 2 – Build The Base
The base is the size of the finished rack. In this case, 25 1/4″ x 14 1/4″. This could be a solid piece of wood or made out of the same size boards. Because I was using scraps, I came up with this combination, 1×4 for the front and back, and 1×3 for the sides. You just have to make sure the front and back board are wide enough to hold the wheels.

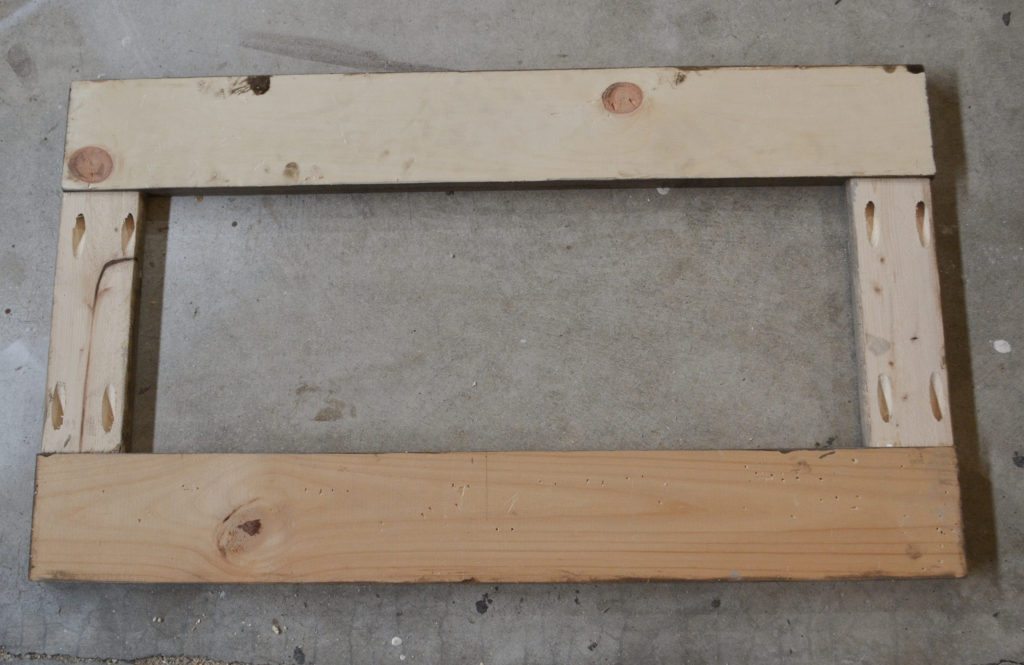
The boards were attached together with screws and pocket holes created with a Kreg Jig.
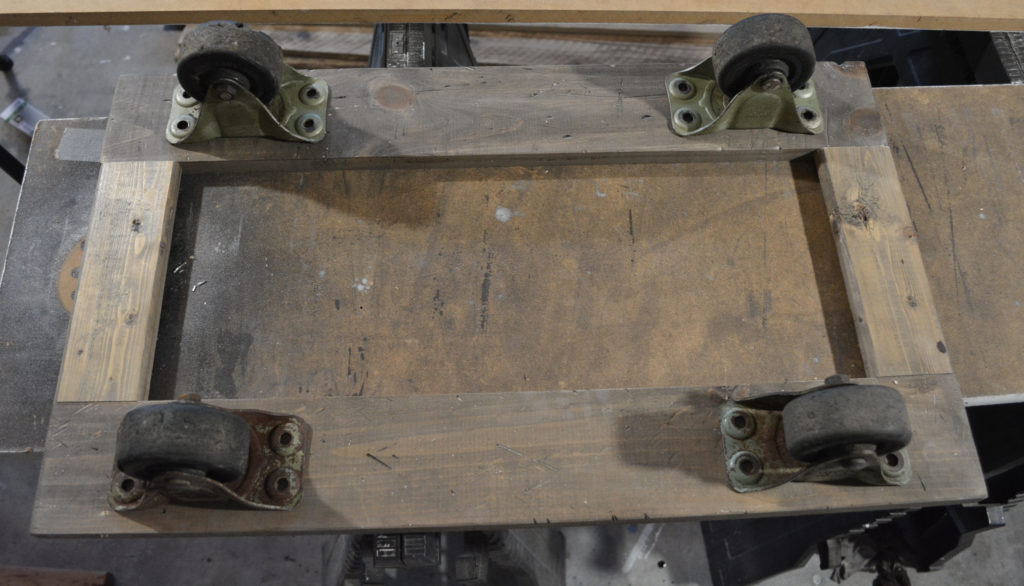
Mark the placement of the wheels.
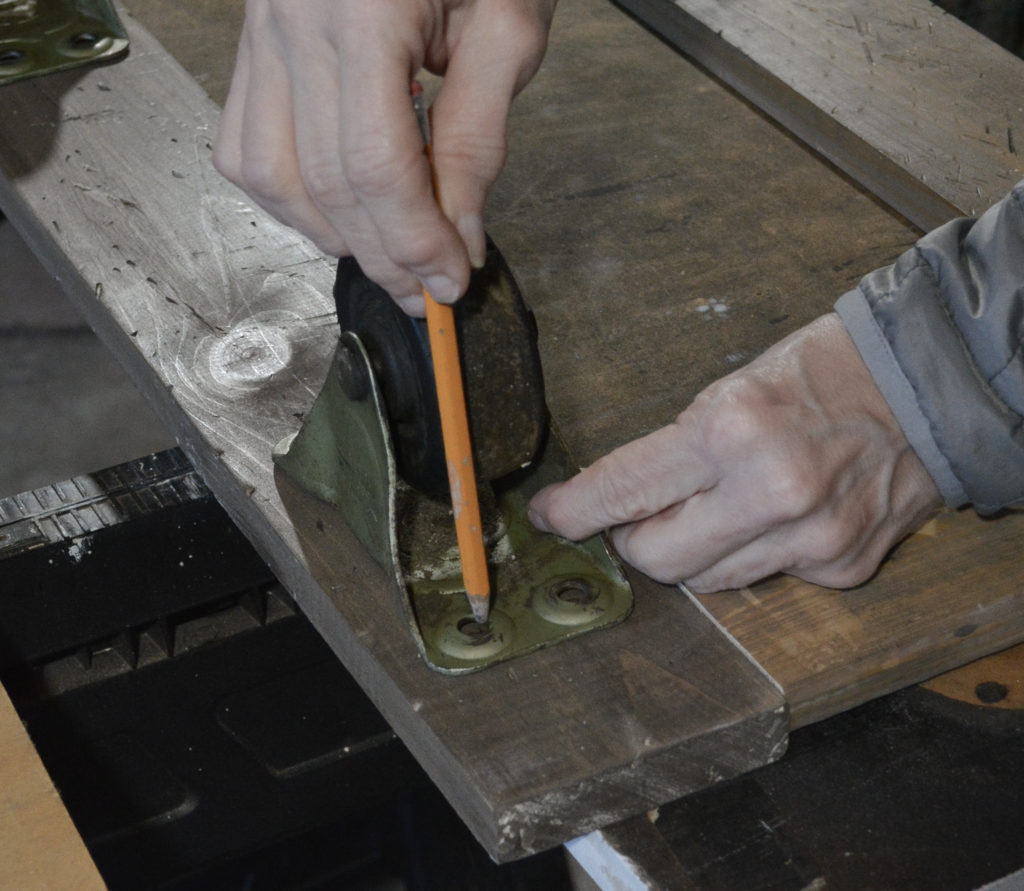
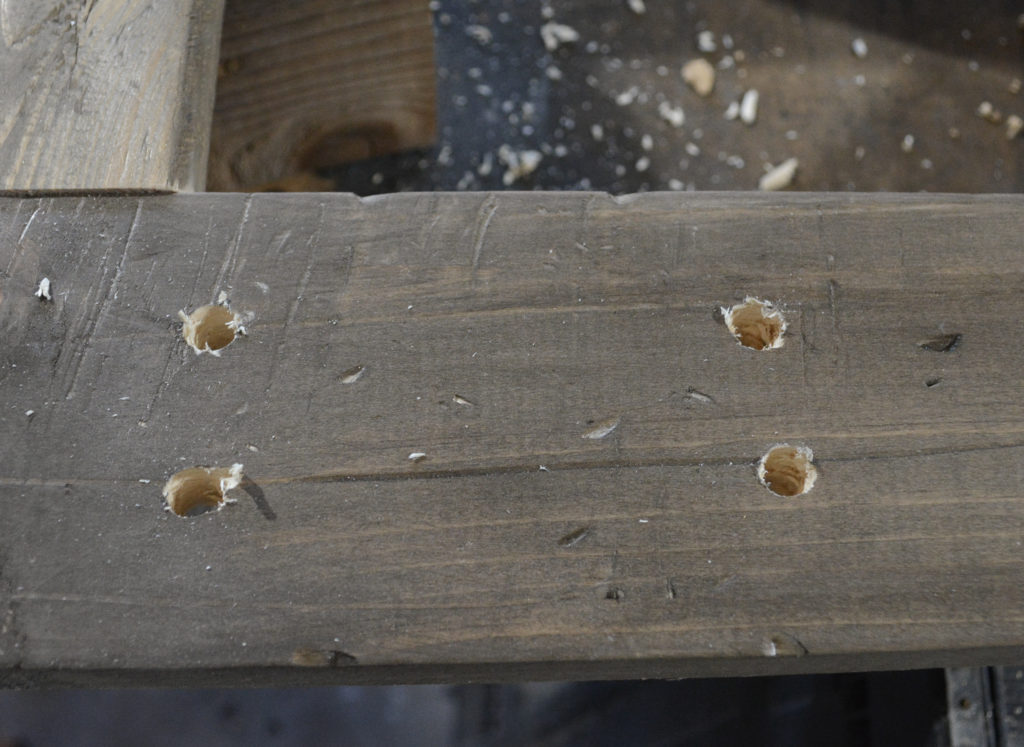
Drill the holes for the wheel bolts, but don’t attach the wheels until the end.
Step 3 – Attach The Base
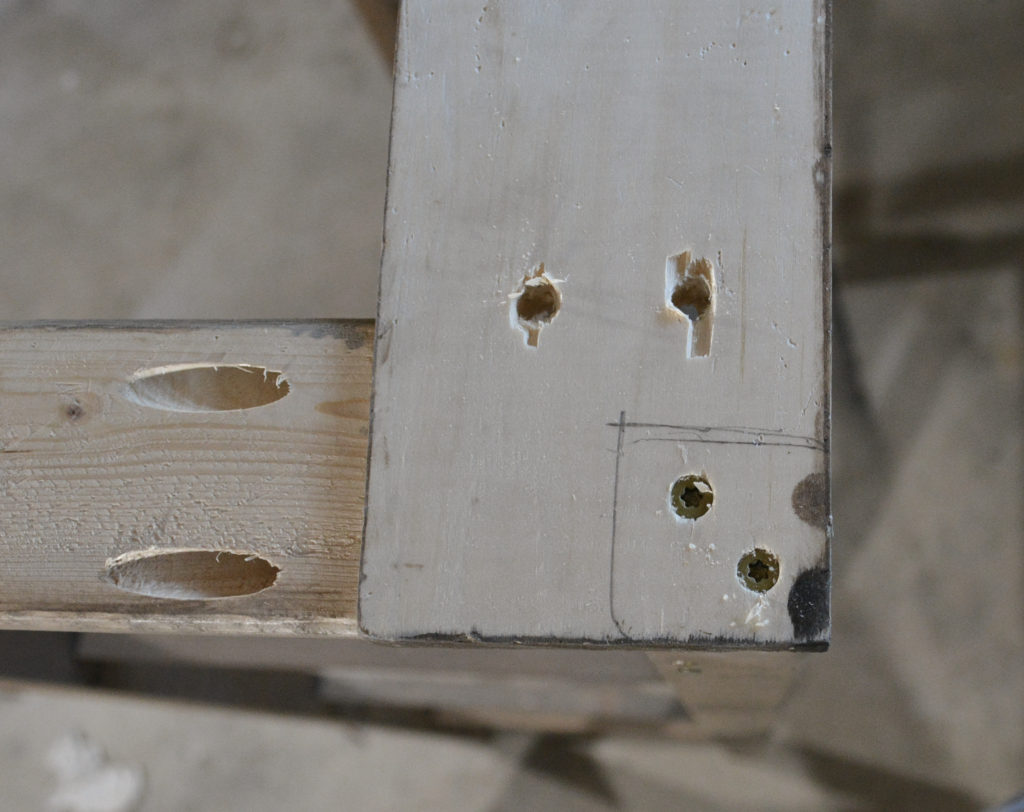
I turned the frame upside down and then attached the base to the 2×2 boards. Mark a pencil line where the pole will go and then use long screws to attach.
Step 4 – Wrap The Frame With Boards

Using my nail gun, I attached the reclaimed wood to the sides and back, leaving 1/4 inch spacing between boards.

I did not have enough 60 inch boards to cover the entire back, so I had to piece two together. To cover where the two boards met, I made sure a back support was placed at that spot.
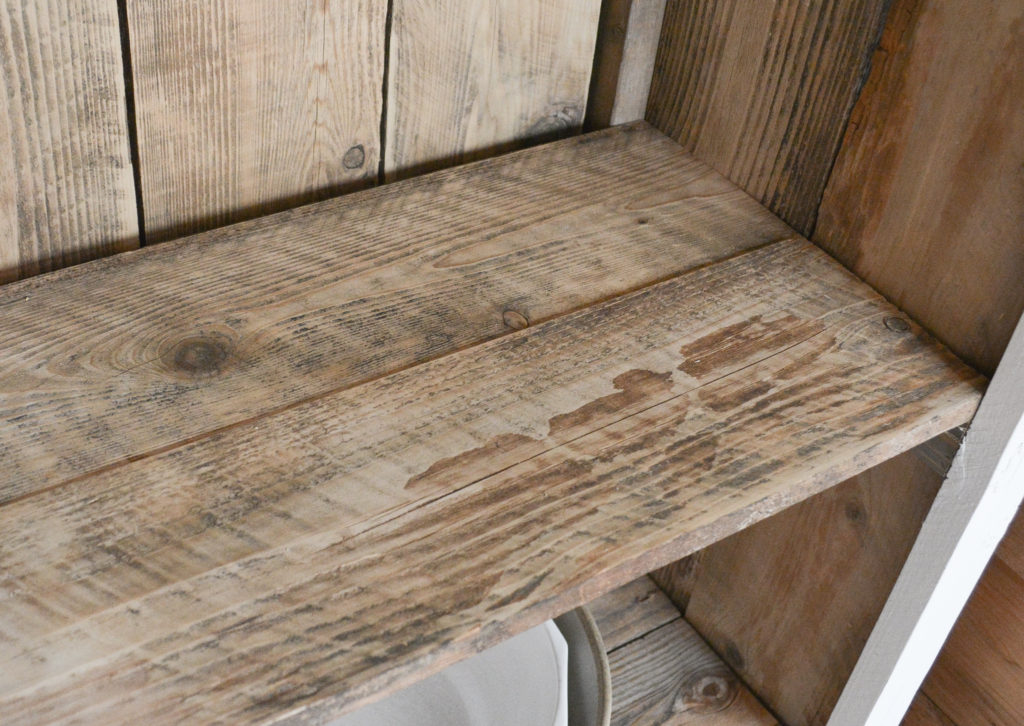
Step 5 – Add The Shelves
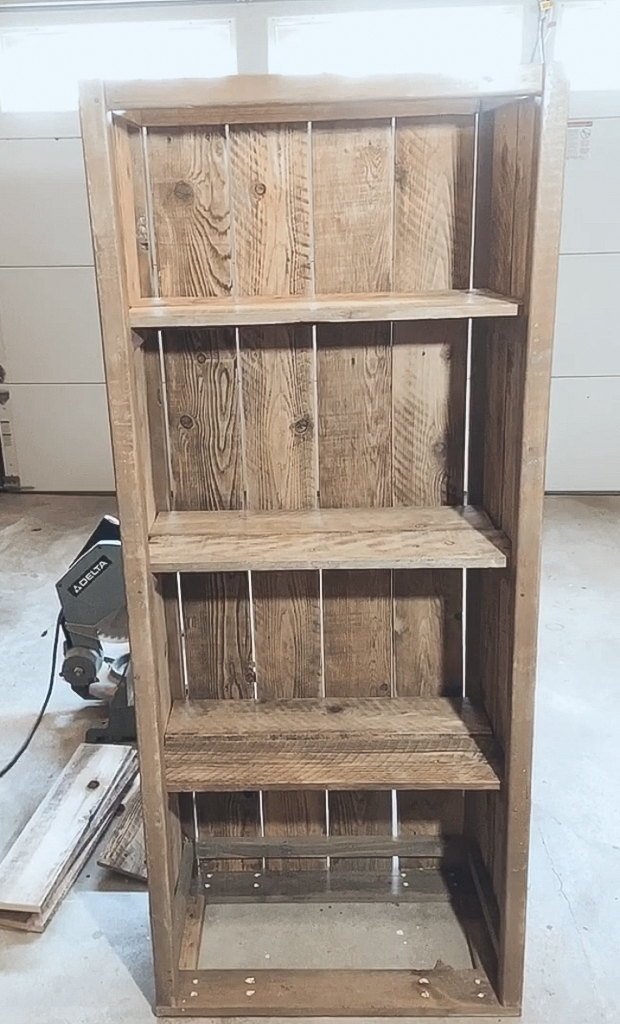
I cut 2 pieces of the reclaimed wood for every shelf. The bottom will also have a shelf.
Full Disclosure: At this point, I took the cart inside and didn’t care for how it looked in my kitchen. The cart looked amazing, but just not in my space. The original plan was for the cart to be the same depth or smaller than my hutch. At some point I got off track with my design, and made it too deep. I took the front off, cut the side pieces, and replaced the front 2×2 with a 1×2, and cut down the base to reduce the depth of the cart. Then the outside of the cart got a coat of white paint.
Step 6 – Build A Top
There wasn’t enough of the reclaimed wood to use for the top, so I pieced together more scrap wood. A 1×2 was placed across the top front and then a combination of boards that fit were added.
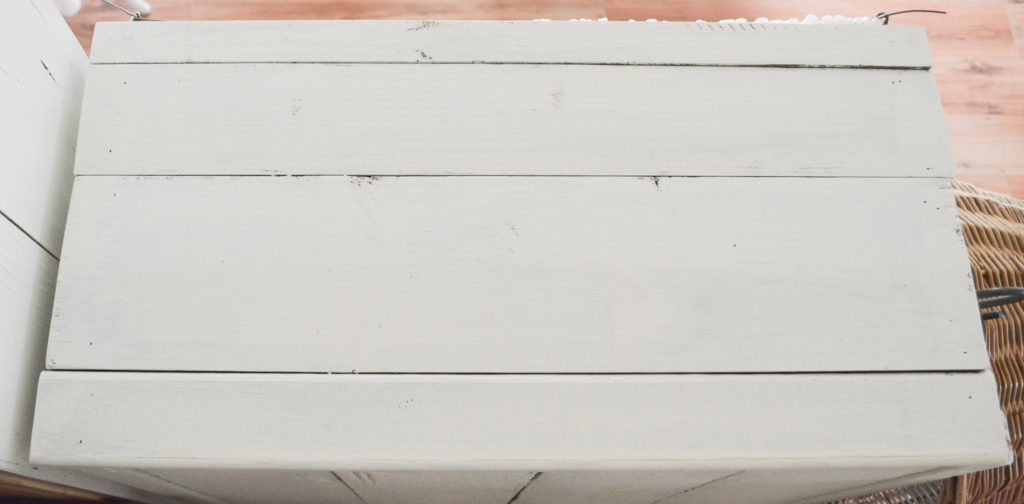
Apparently I just stop taking pictures at this point, but here it is after it was painted.
Step 7 – Attach the Wheels
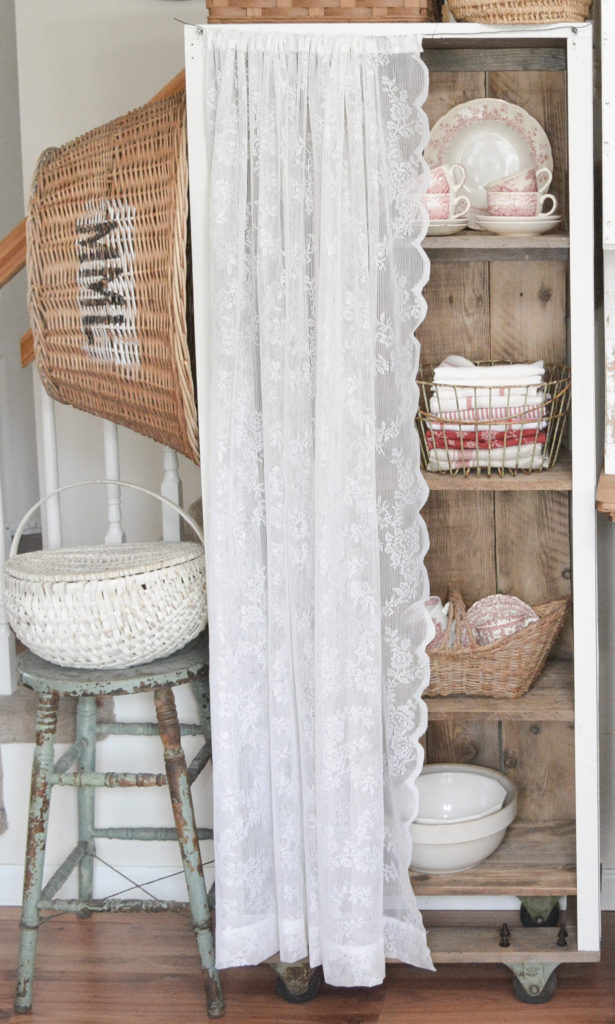
And even though I hadn’t planned on painting it, it looks much better in my home and there is still plenty of the beautiful wood showing to enjoy. That being said, I might take this back out and sand off a little more of the “busy-ness” of the wood grain.
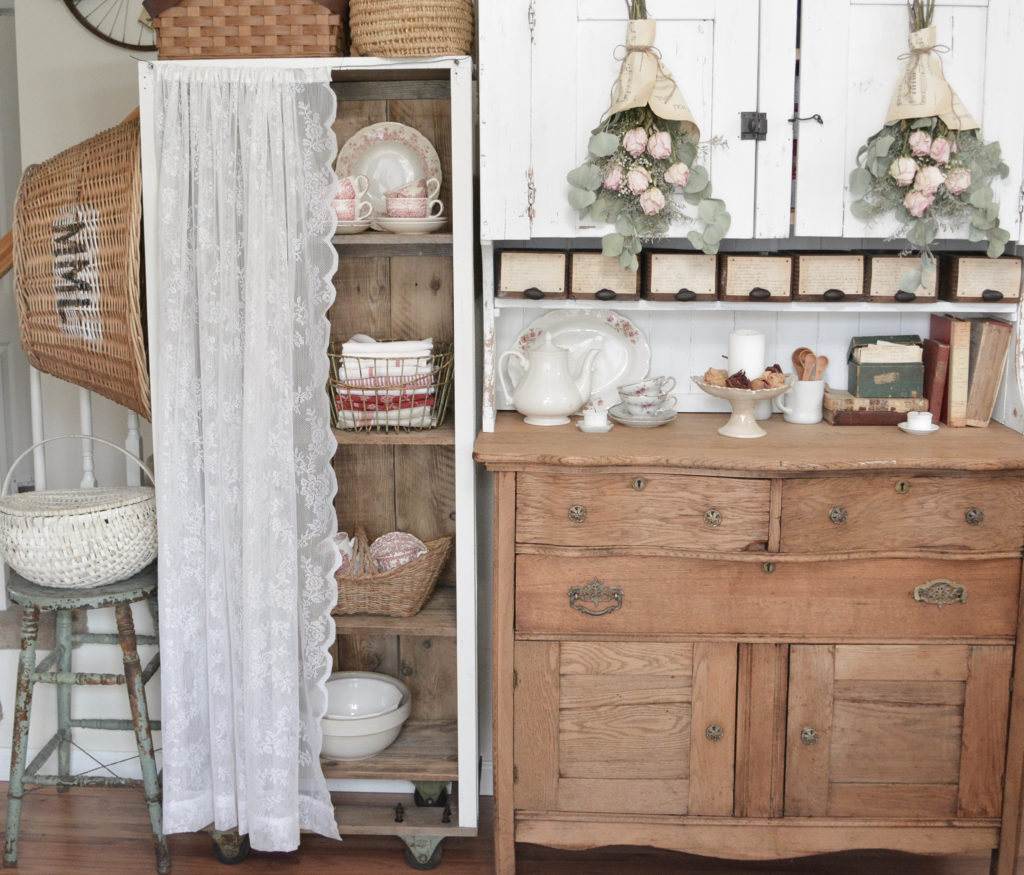
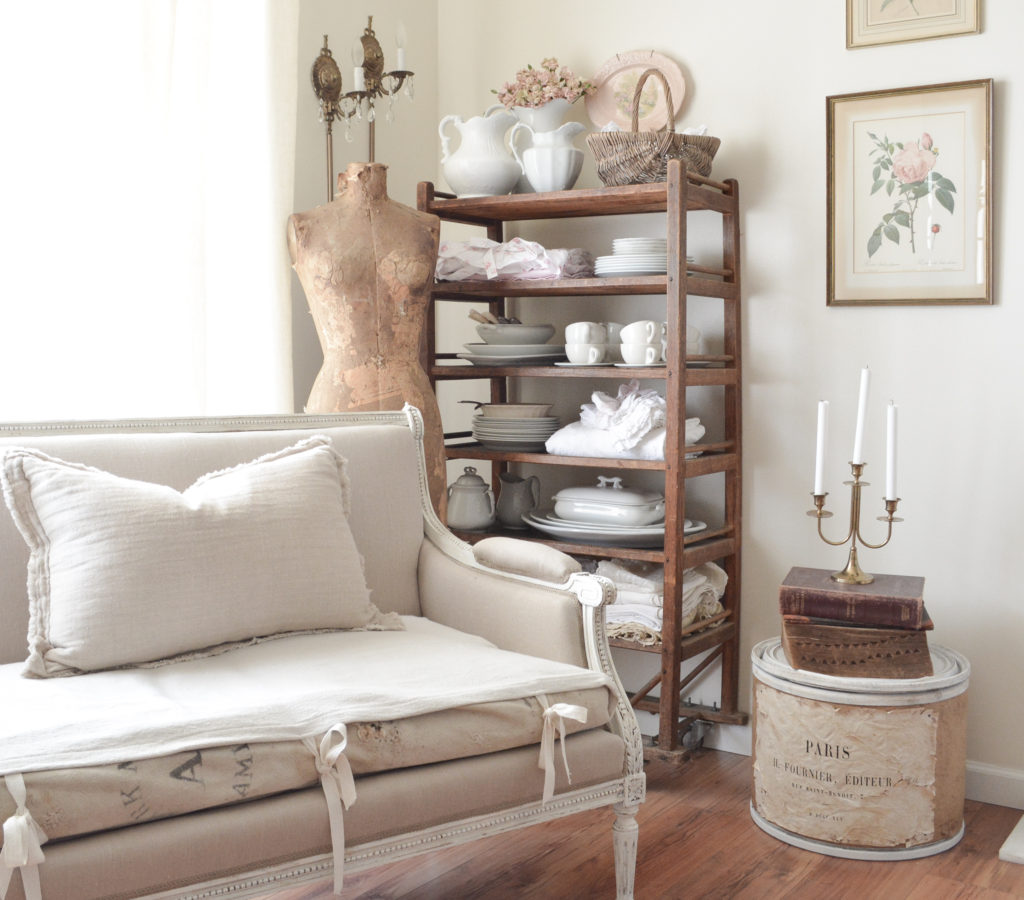
I love how my industrial farmhouse style rolling cart turned out! The basic frame of this cart could also be turned into an open shelf factory cart like the one I have shown below. Something to think about.
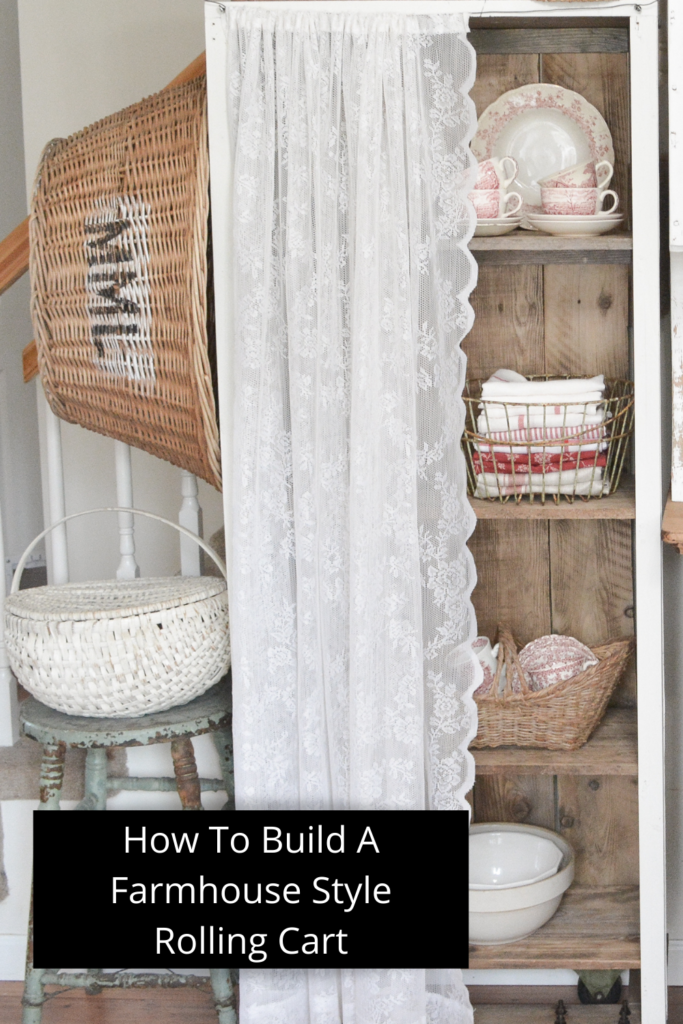
PIN IT FOR LATER!
Thanks for stopping by,
Janet
Janet, I enjoy your diys so much and your blog! Thank you for all your inspiration you provide
Corine
Thank you so much Corine! And thank you for reading!
Wow Janet! You knocked it out the park with this one. Love, love, love! 💗
That is really kind of you to say, thank you!
Could you, would you, send me a picture and measrements of your factory cart? I would like one like it. Thank you. You are inspiring.
Thank you! Send an email to janetclarkathome@gmail.com and I will send them to you!
It came out great, you’re so talented!💐🌷
I appreciate that so much, thank you!