
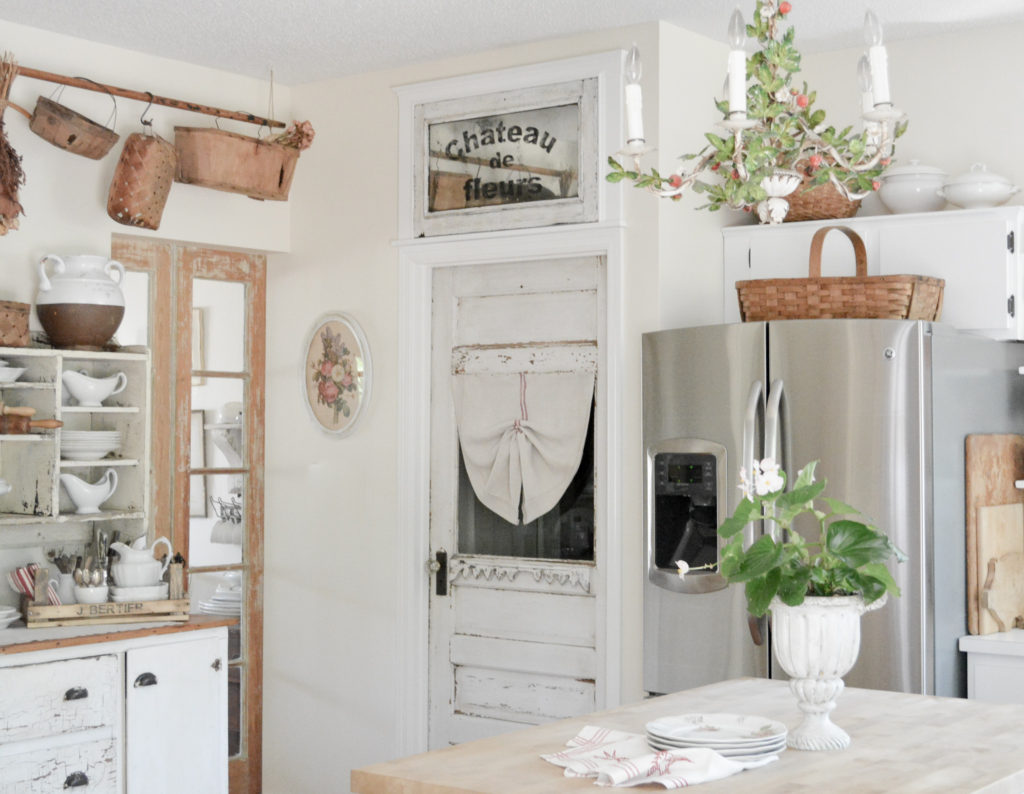
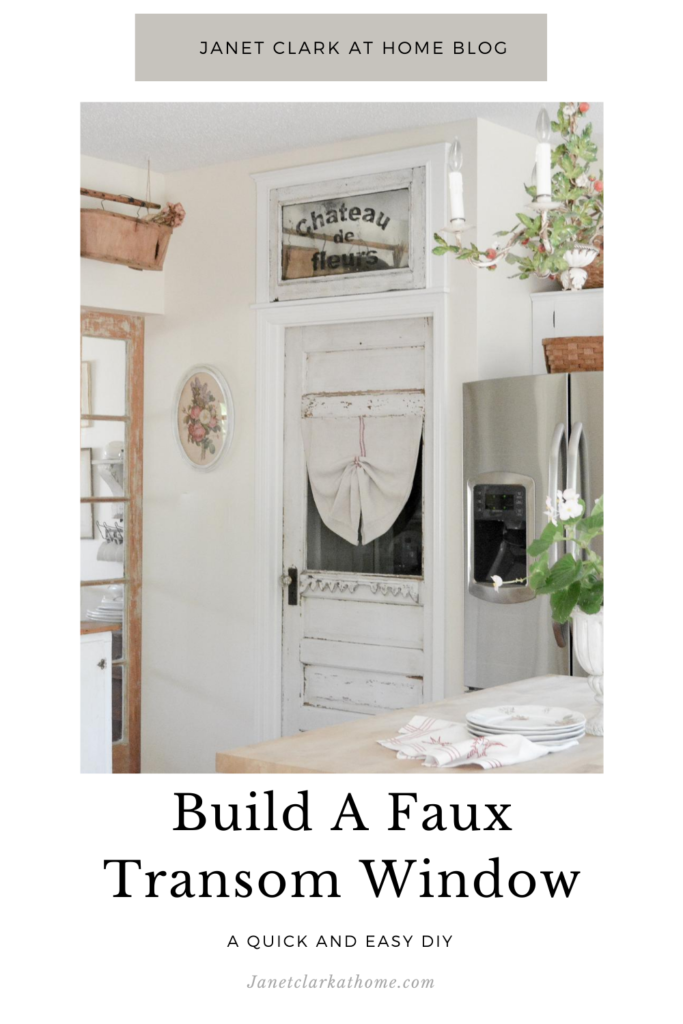
Today I’m going to show you how to achieve the look of a transom window with a DIY that’s quick, easy, and non permanent.
Why Faux?
I could have cut out the area over the door and built in a real transom window, and that would have be awesome, at least to me. I don’t think this is going to be our forever home, so I try to do things that can easily be restored to their original, although boring, state. I also like to change my decor every other day HaHa!
How To Build The Transom Window
Gather Your Supplies
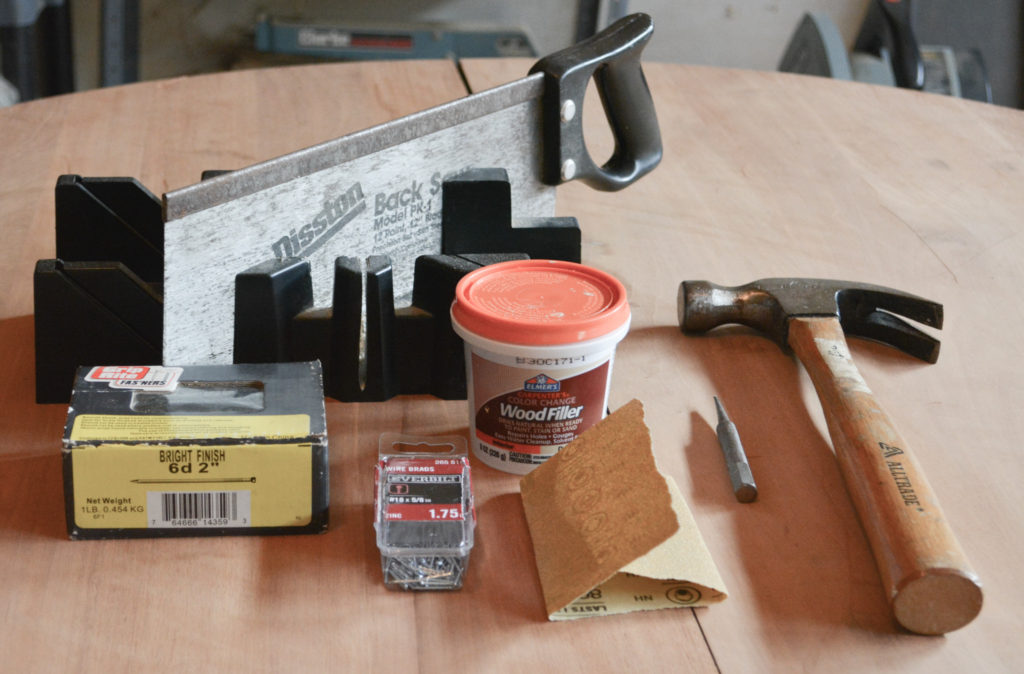
I just used a hammer and nails for this project. You could also use a nail gun. And I used a miter box to cut the moldings.
Step 1 – Add A Ledge
If this were a real transom window, the door molding would go from the floor to the top of the transom. This would require removing all the molding from around the door. No thanks!
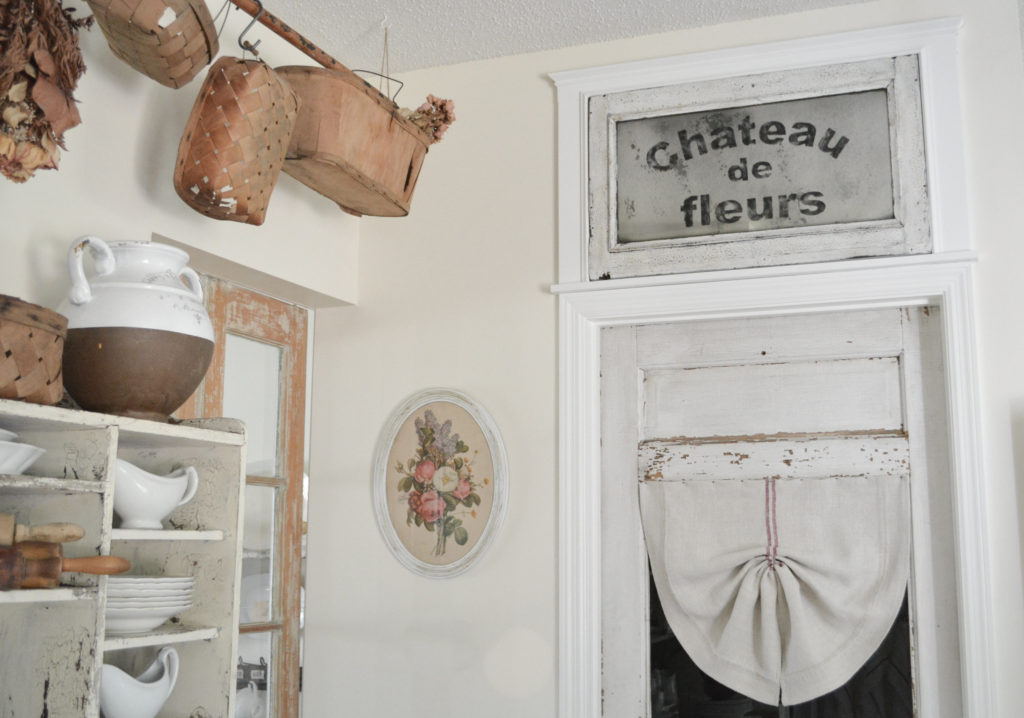
To make the transition seem a little more natural, I used a board to make a sort of ledge across the type of the door.
I used a 1 1/2 inch primed MDF board laying flat and extending 1/2 inch on either side of the door frame. A couple of nails through the top of the board into the door frame hold it in place.
Step 2 – Hang The Window
I then hung the old window over the door using D rings, just like I hang a picture on the wall. I can just lift it off and remove it at any time.
I placed the window so it appears to sit on the ledge I built in step 1 and centered it over the door.
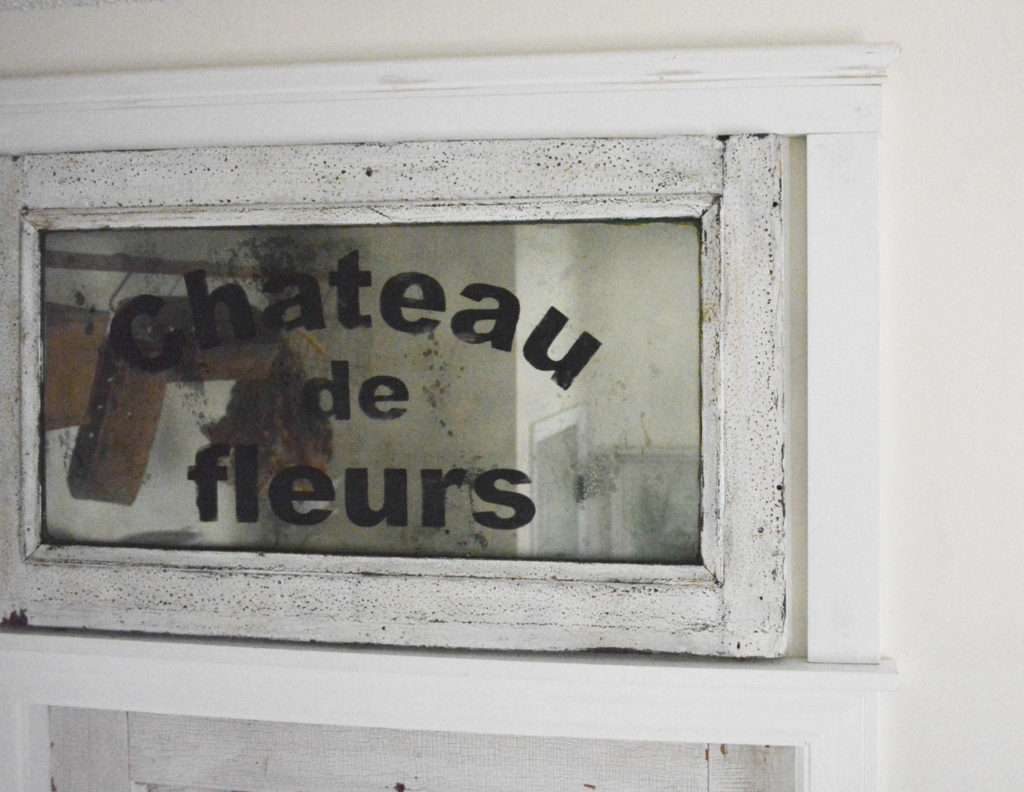
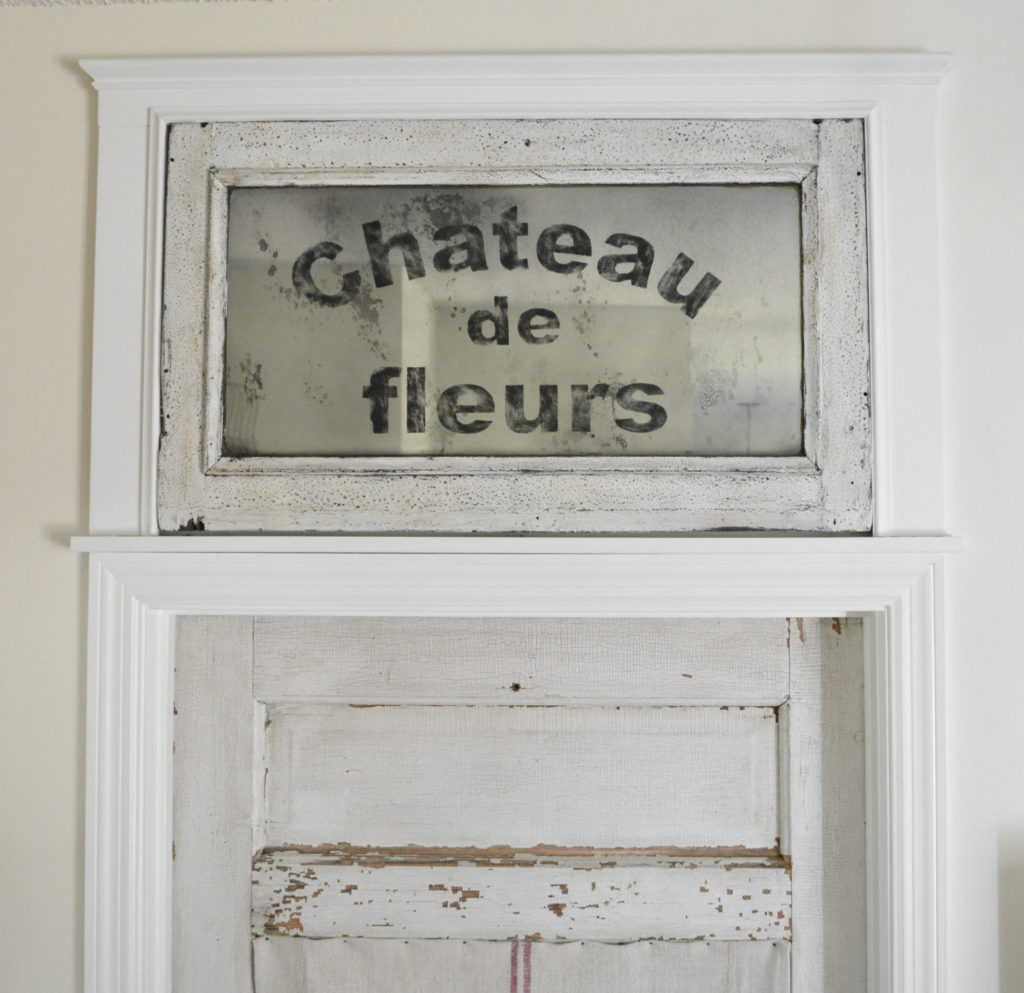
Finding a window to use might be the tricky part. I already had this window that I turned into a mirror with looking glass spray paint and then added some stenciling. You could use a mirror or frame a piece of glass. I suggest keeping an eye out for an actual old window if possible.
Step 3 – Build The Frame
I used a 2 1/2 inch primed MDF board to make the frame. That is the width of my door molding and also left the smallest gap around the window. I did not miter the frame. The vertical boards line up with the door frame and end at the same height as the window. The horizontal board along the top runs across the top of the window and two vertical boards.
I used two inch finish nails and set them, or you could of course use a nail gun if available.
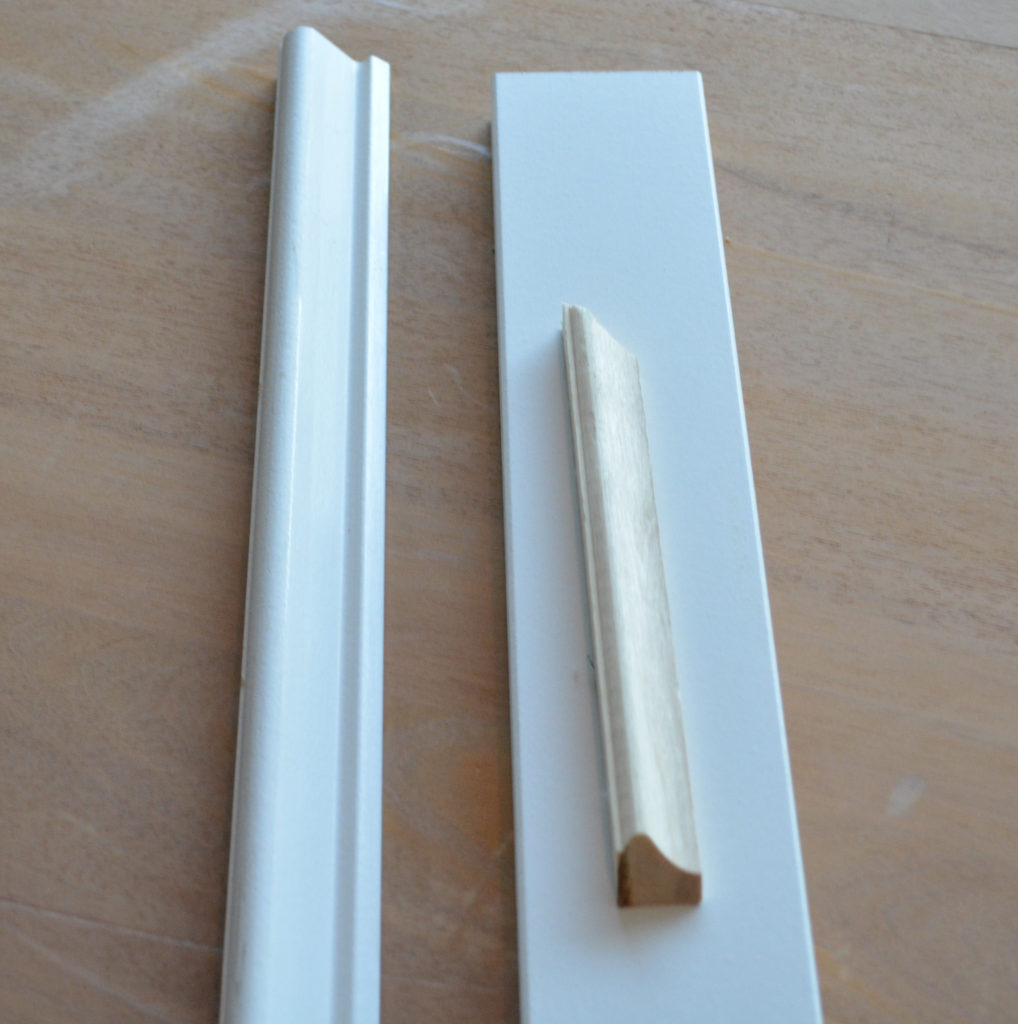
A gap is left around the window, so I added molding.
Step 4 – Add The Molding
I added molding around the window to cover the gap. I also added molding to the top to match the other window moldings in my house.
The size of the molding will just depend on the size of the gap. My molding was 3/4 of an inch wide. The top molding was 1 1/4 inches wide.
I used a miter box to cut my molding.
The moldings were attached with 3/4 inch brads and nailed into the MDF boards.
Step 5 – Prep and Paint The Boards
Use wood filler or spackling to fill the nail holes, sand smooth, and paint to match your door frame.
I just love the way this turned out, but if I change my mind, it’s just a few nail holes to patch and it will be back to normal.
Want to try this project? Pin it for later!
Thanks for stopping by,
Janet