
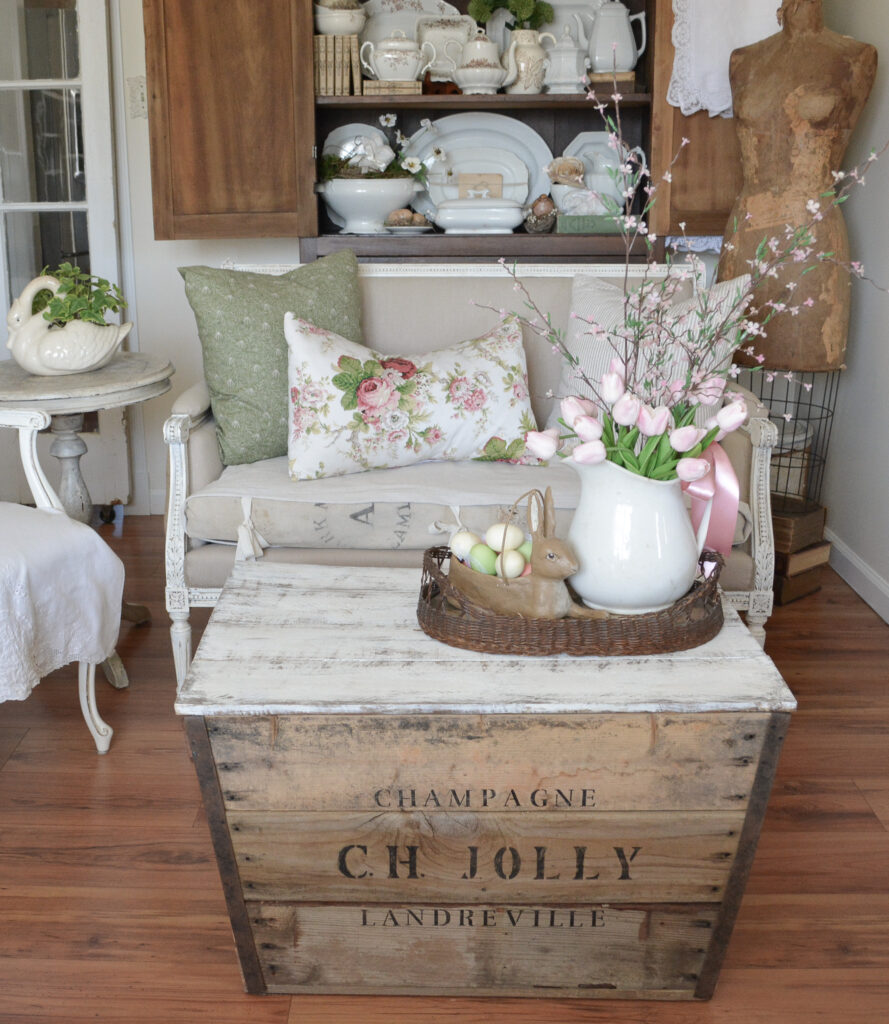
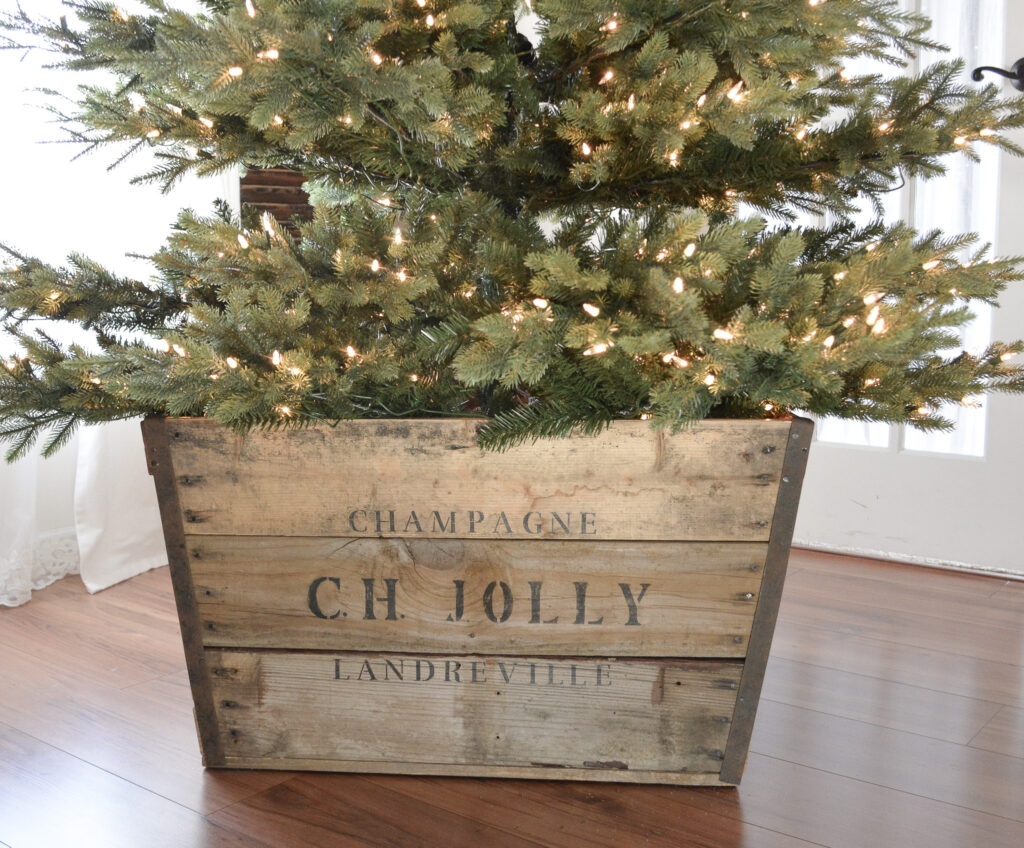
Do you remember the antique French champagne crate that I built to hold my Christmas tree? Well, I really didn’t want to put it away after Christmas because I loved it so much. I couldn’t find anyplace to use it however, so away it went. A few weeks ago, I rearranged the dining room to have a little seating area, and guess what? The champagne crate works perfectly there as a coffee table! Today I am going to show you how to build a French champagne crate coffee table, but I am really just building a top for the crate I already built.
The first thing you need to do is go check out the blog post on how to build a French champagne crate. Once you have built the crate, come back to see how to build the top. If you already have a crate, let’s get started building that top.
It really couldn’t be any easier to build. That being said, I did make a mistake. I was able to fix it quickly, just be sure to double check your measurements. Okay, here we go.
How to Build a Top for A Champagne Crate Coffee Table
This post contains affiliate links, which means I make a small commission at no extra cost to you. See my full disclosure here.
The measurements below are to fit my crate, make sure to check the measurements of your specific crate.

1.Cut two pine fence pickets (or your choice of wood) into four 31 inch pieces to make the top. This was the same wood I used to make the bottom of the crate. They are rustic looking, and four pieces were the perfect width. Oh, and they are super inexpensive.
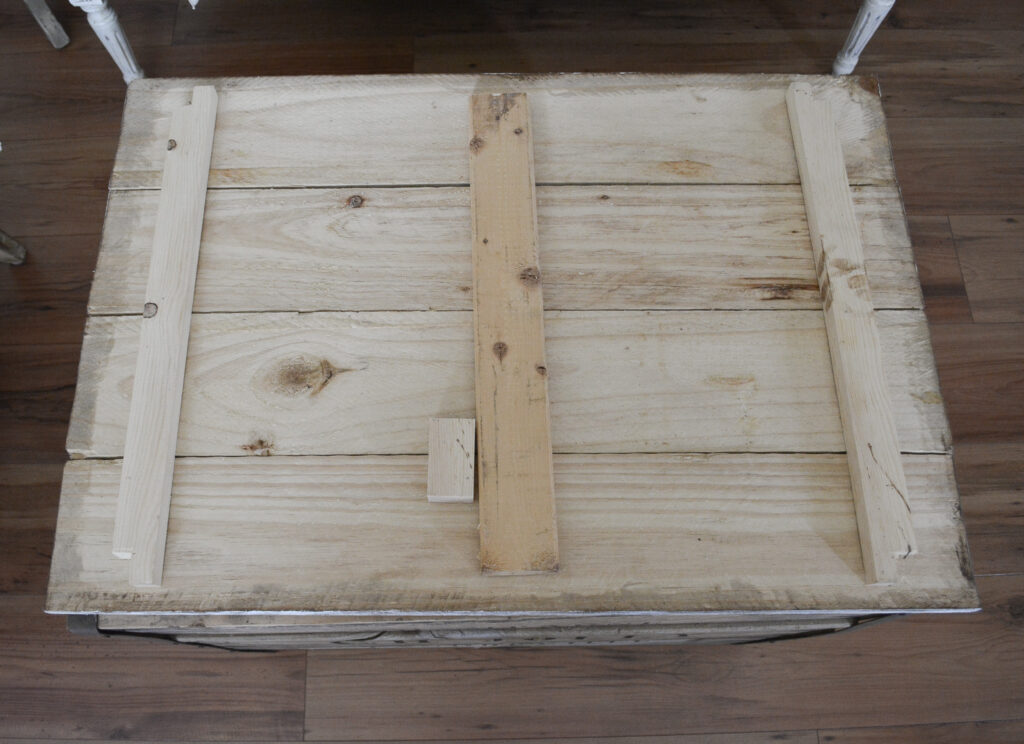
2. Cut three strips of wood to hold the boards together. I was using scrap wood, so I made two strips with 1x2s, and 1 strip with a 1×3. The strips are not just to hold the boards together, but also to hold the top in place so it doesn’t get pushed off.
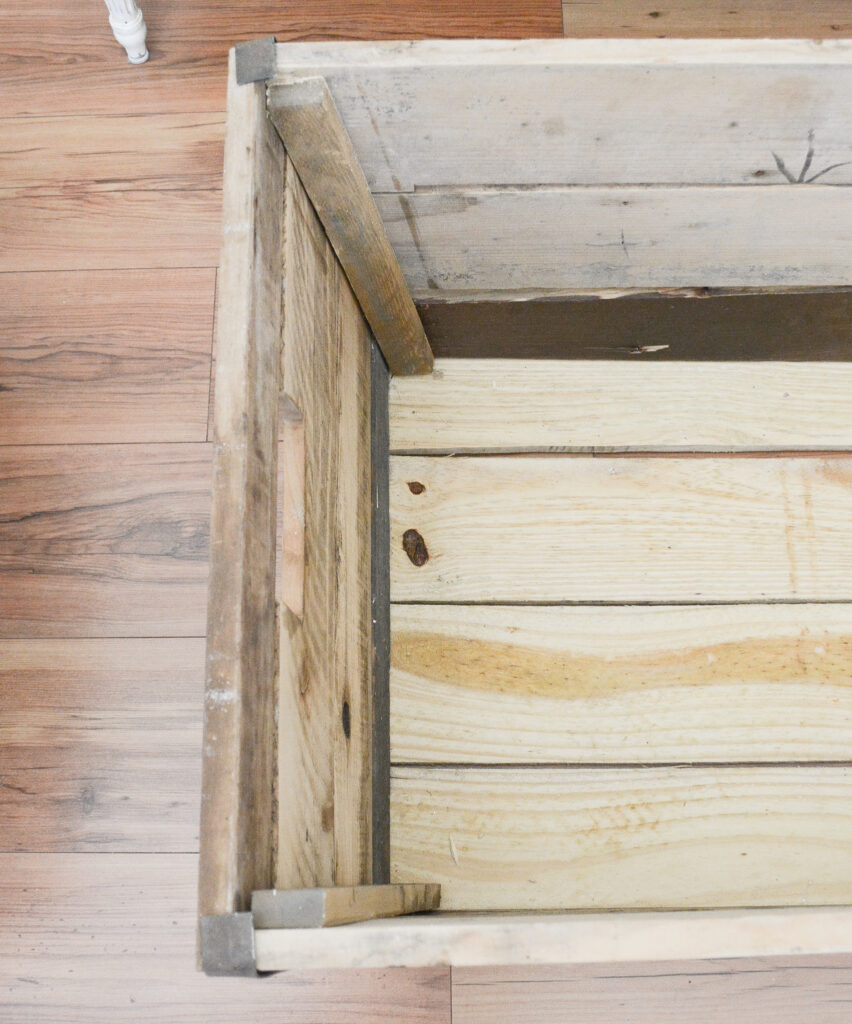
3. Place the boards close to the top edges, but far enough in so that they do not hit the crate supports on the inside. From the top, nail the strips of wood to the pine fencing.
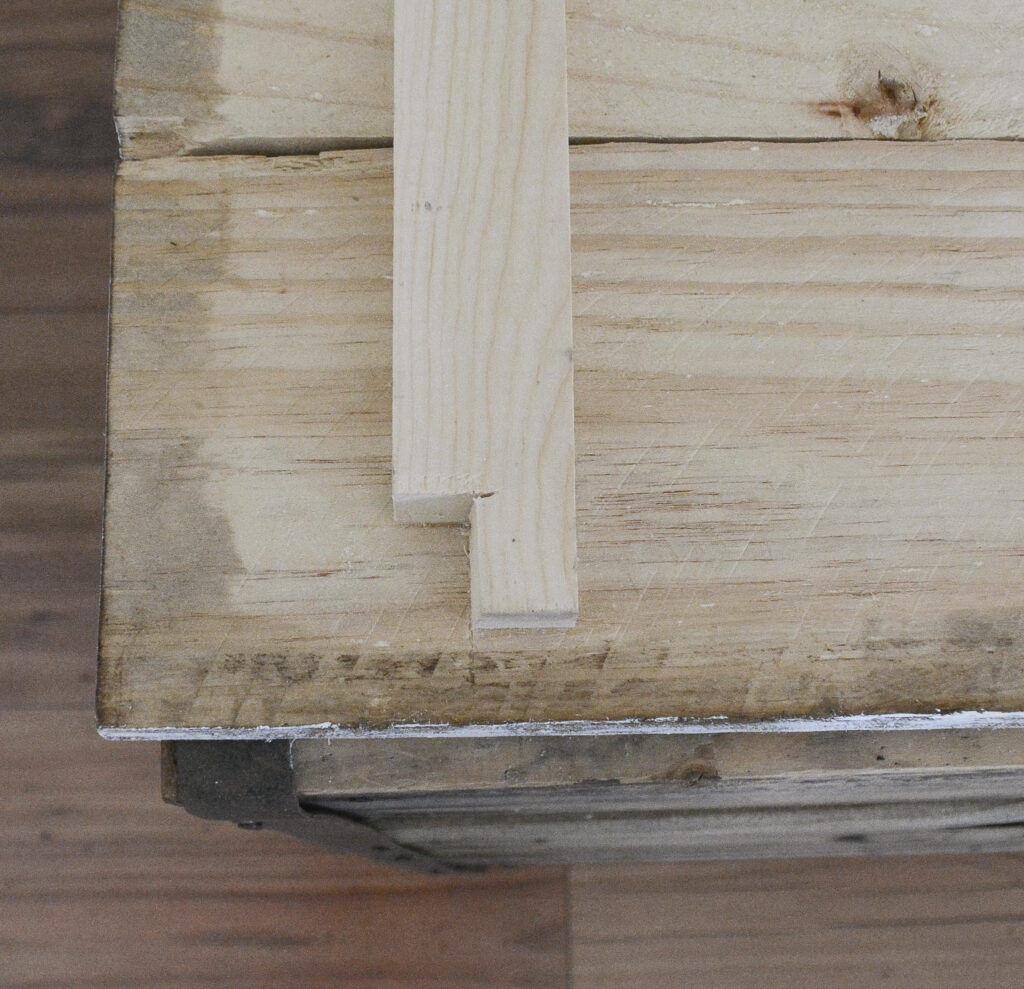
That’s where I made my mistake. I didn’t make the boards short enough, or I should have put them closer to the center. No worries though, I just cut out the corners with my handy dandy oscillating tool!
4. Finish as desired. I created a weathered white paint finish.
How to Create a Weathered White Paint Finish
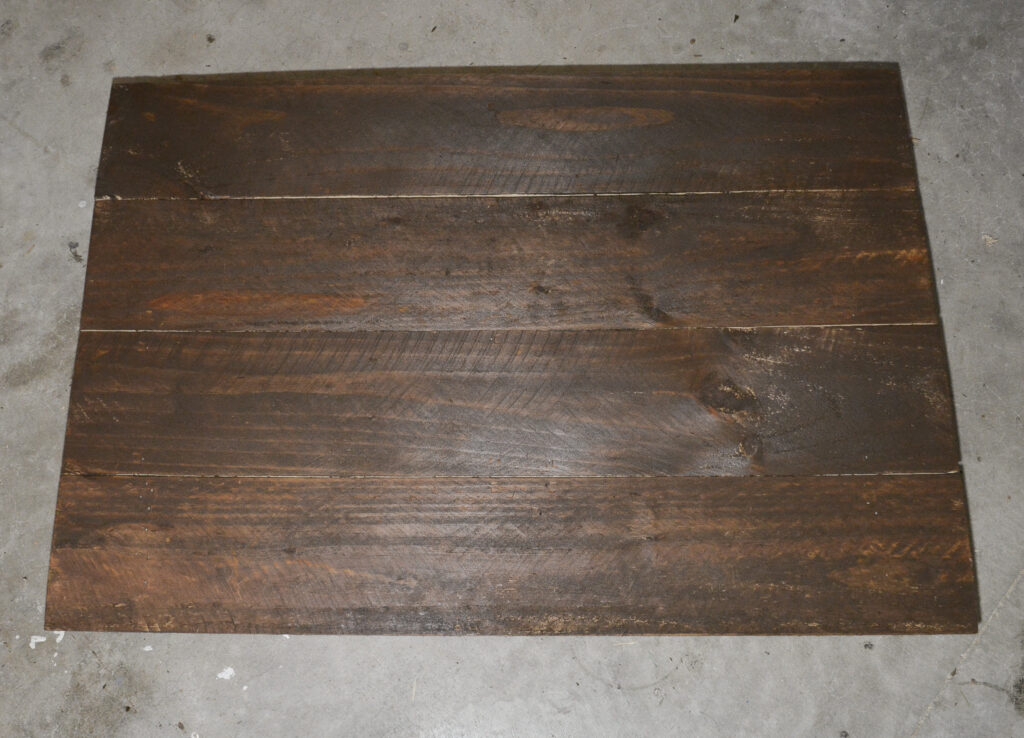
Stain the boards a dark walnut.
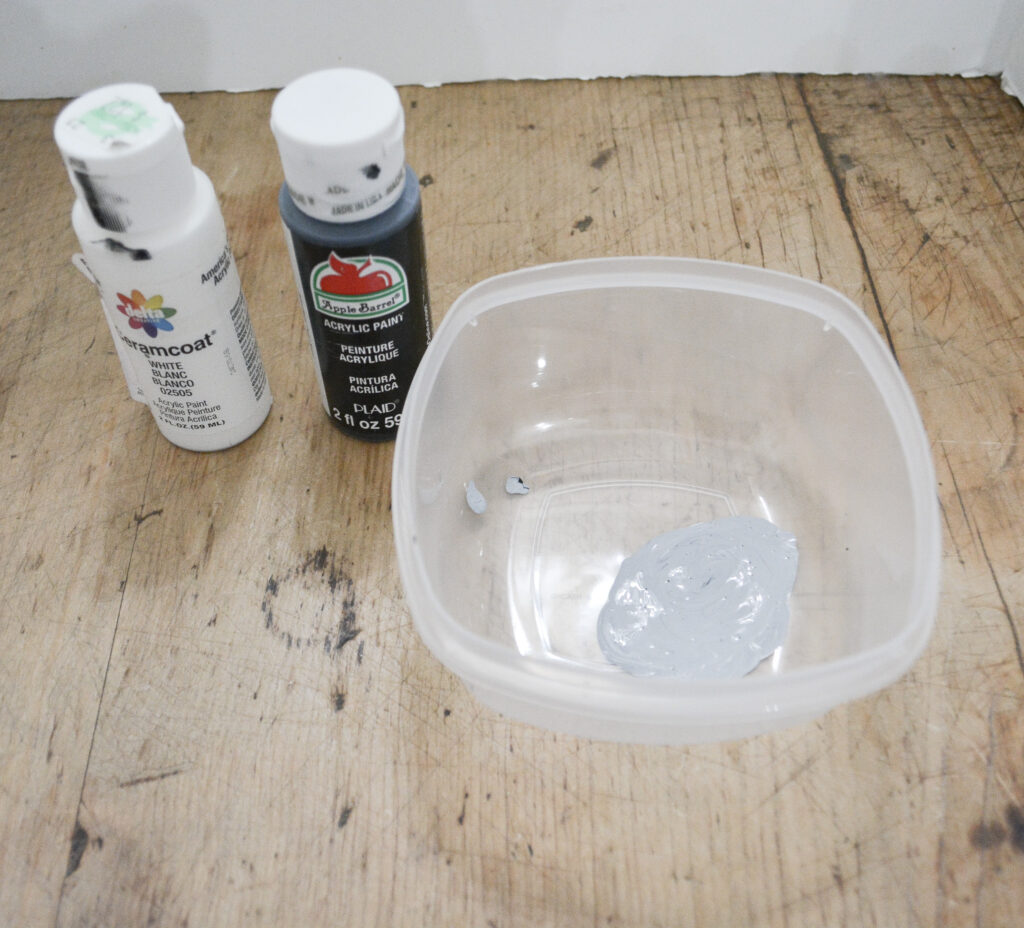
Create a gray wash with paint. I didn’t have any gray, so I mixed some black and white craft paint together.
Water it down, and with a cloth, wash over the top.
Brush Vaseline over any areas you don’t want paint to adhere.
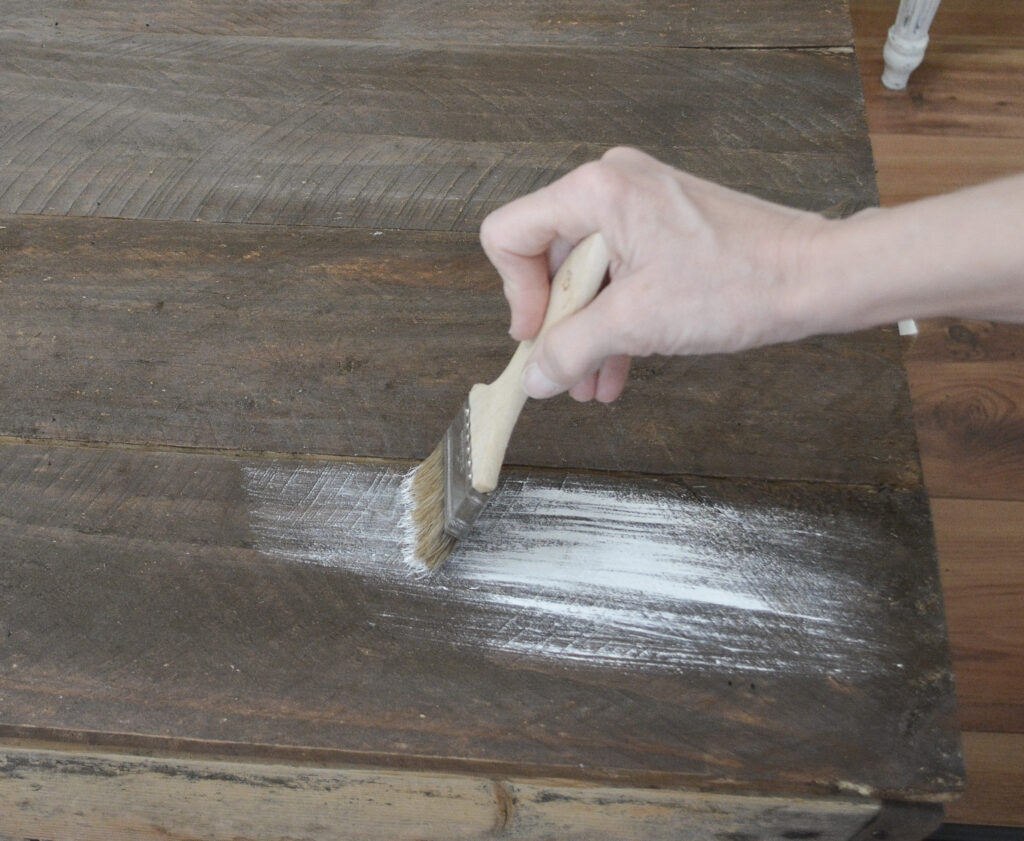
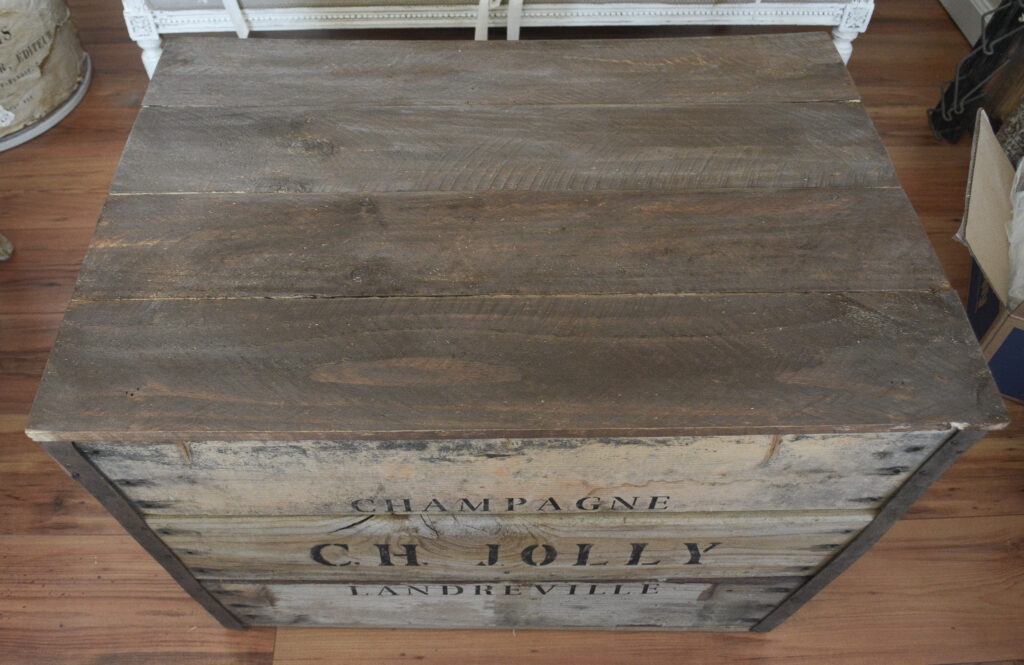
Paint the top in an uneven, light coat. Keep adding paint in layers until you like the look.
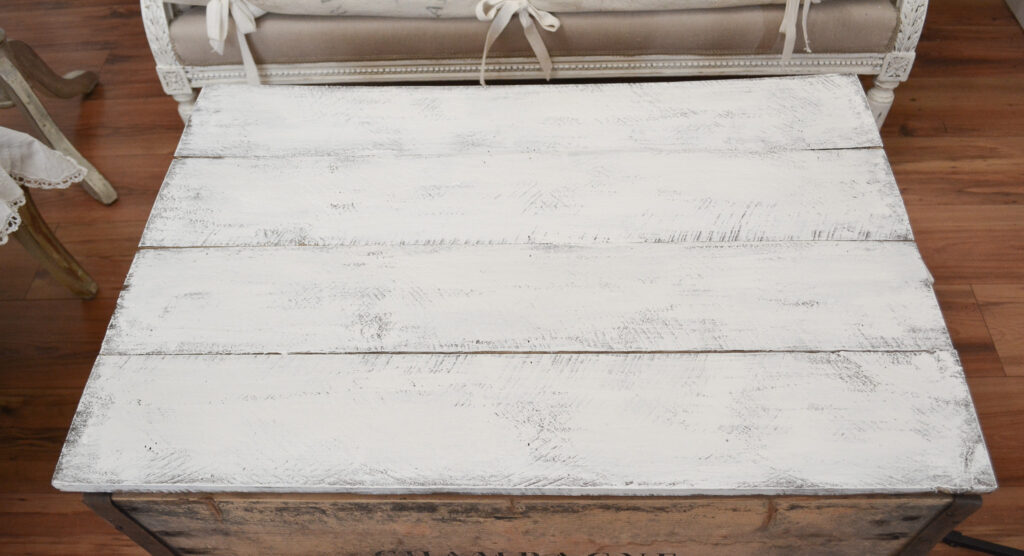
It looks pretty rustic right here, but I wanted more.
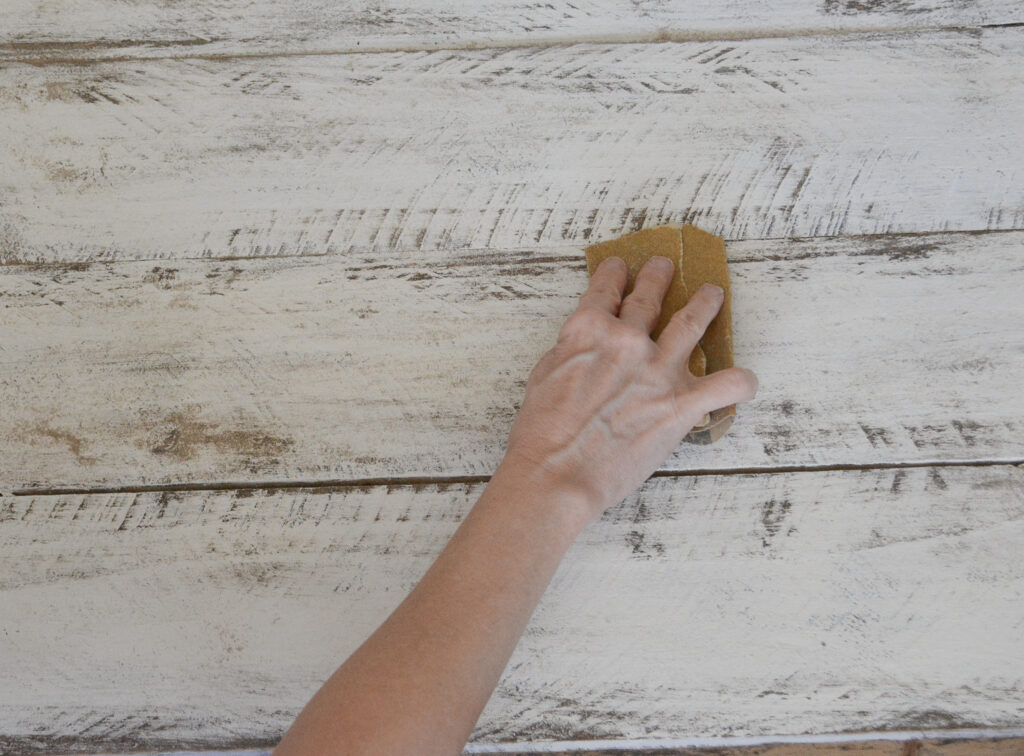
Sand the top to remove all the paint that is over the Vaseline. I sanded in the direction of the grain, and also back and forth against the grain.

Apply wax to the top. I used a natural wax, then added dark wax in some areas to make it look stained and dirty. I think it really looks like an old fence or some old barn wood!
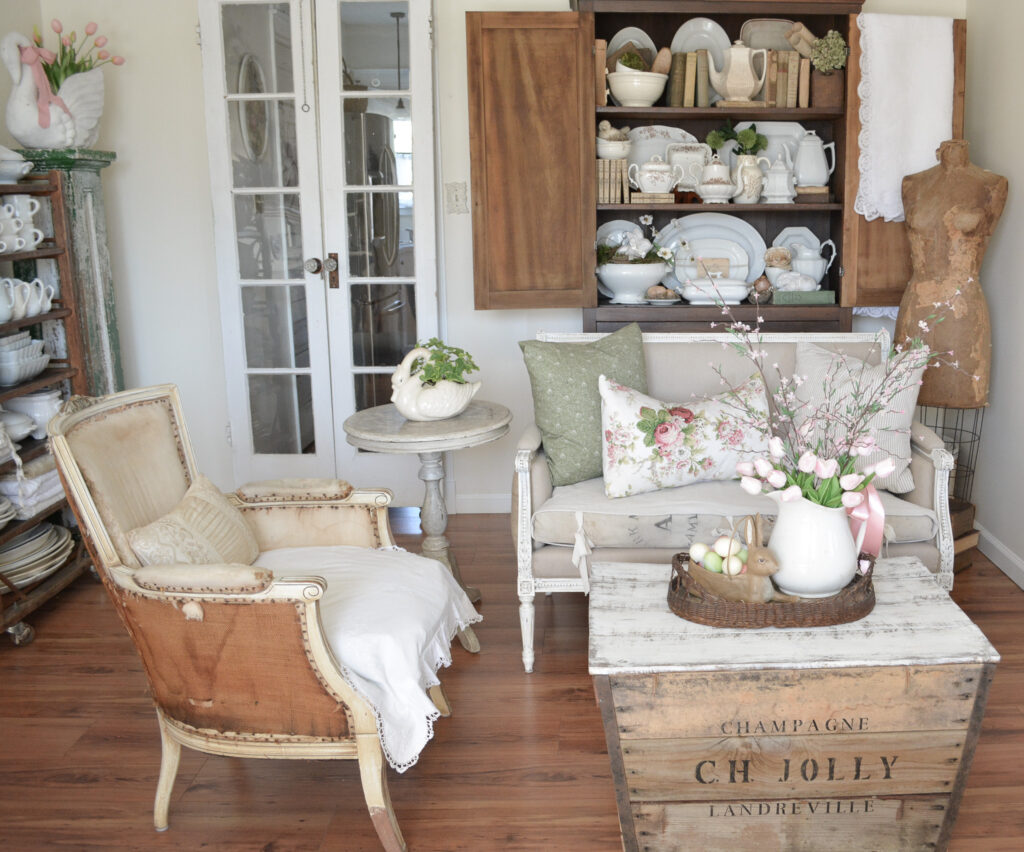
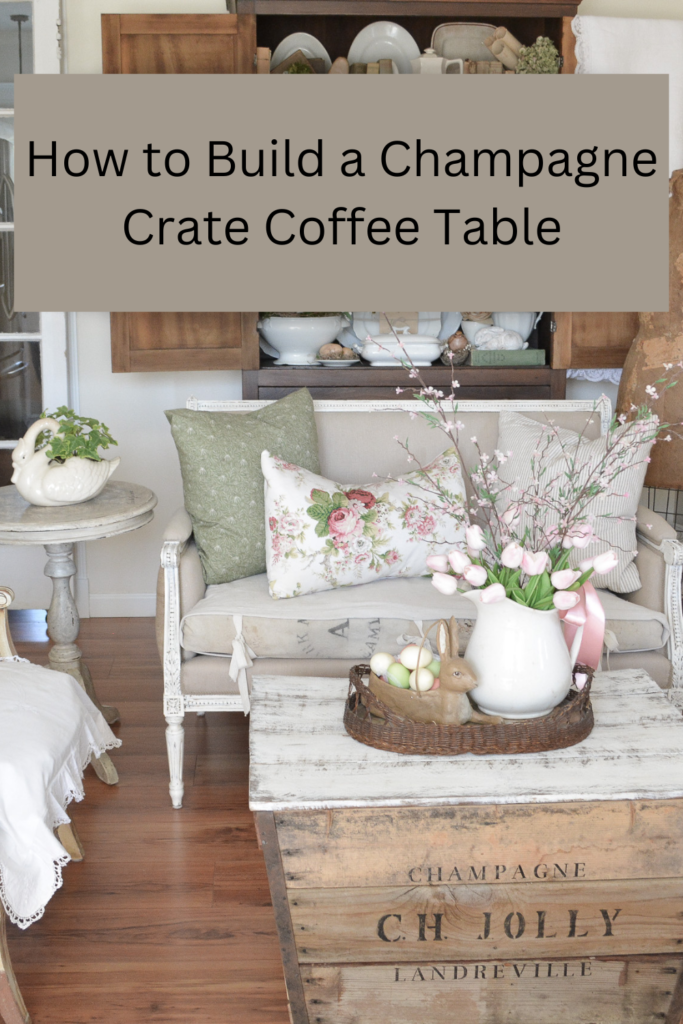
Here is my dining room sitting area. I still have lots of projects to do before it’s done, but I am really enjoying spending time in here.
PIN IT FOR LATER!
Thanks for stopping by,
Janet
Your little sitting area is SO lovely. Right after my own heart.
Thank you! I have really been enjoying it, too!