Powder Room Refresh Part 1
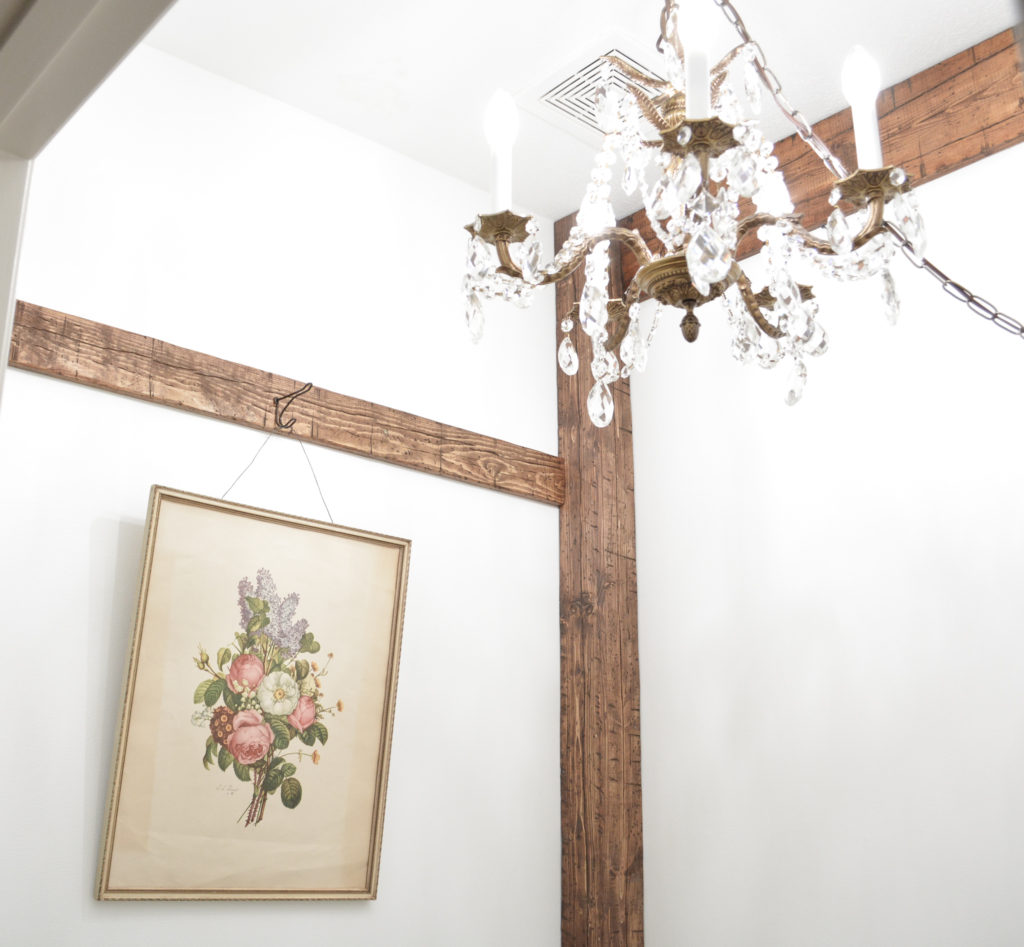
A couple of weeks ago I started a very budget friendly powder room refresh, as opposed to a remodel. I removed wallpaper, rewired and hung a vintage chandelier, and added a faux beam to the corner. Today I want to share the progress I have made and show how to build a distressed wood corner beam.
The powder room was one of the first rooms I decorated when we moved into our home over 20 years ago, so as you can imagine, it was a bit outdated. The wallpaper was pulling away from the wall and it had a wallpaper border. A very outdated feature. The vanity was crackle painted in a turquoise. I was ready for a clean and fresh look.
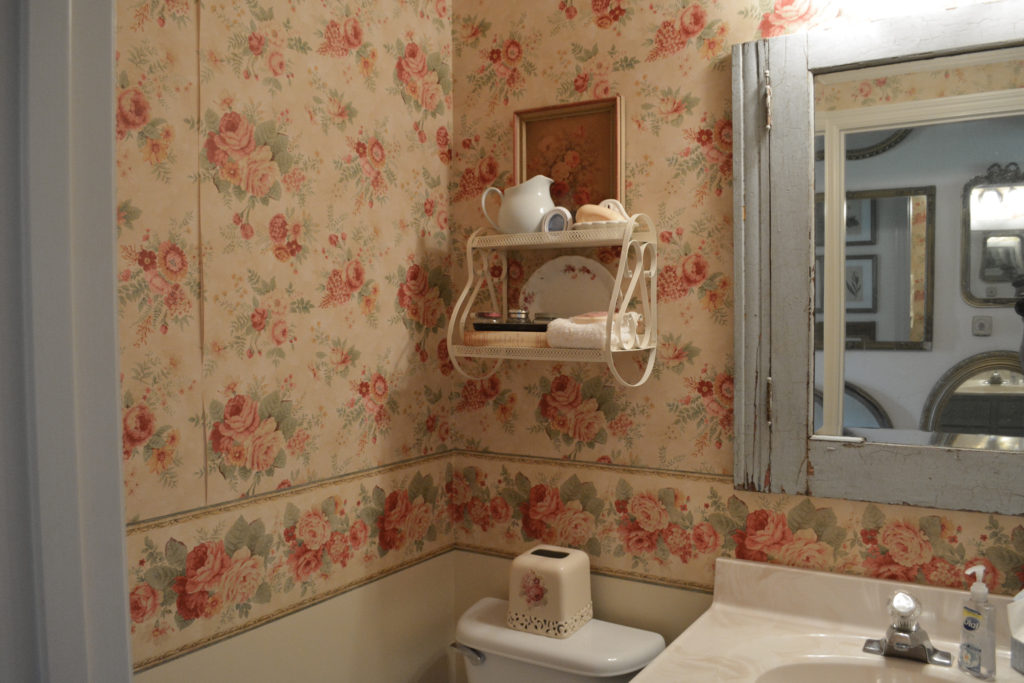
So first things first, the wallpaper came down. I had previous nightmares with wallpaper removal. Trying to plan ahead, I had coated the wall with a wallpaper primer. The primer helps make it easier to put up, but more importantly, helps in the removal. Overall, it was not too bad of an experience. I painted the walls white using a satin finish.
Popcorn ceiling scraping as opposed to removal
Removing popcorn ceiling uses water and a scraper, and takes the ceiling back to the bare ceiling board. After that, it is recommended that you reapply texture to the ceiling and there is the possibility of finding other issues under the popcorn. I wasn’t feeling it!
Scraping the texture down on the popcorn ceiling, not removing it is what I chose to do. Using a popcorn ceiling scraper from the home improvement store, I knocked down the texture, and then gave it a fresh coat of flat white paint.
Adding a vintage chandelier
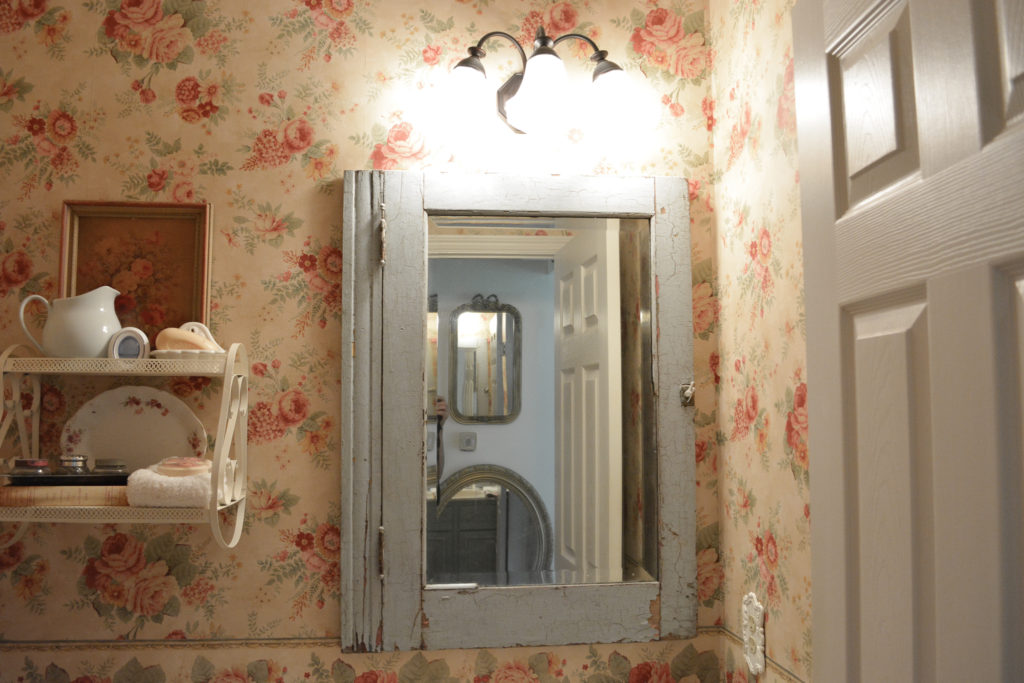
The powder room light was the typical over the mirror style. I switched it out with a vintage chandelier, hanging from the middle of the ceiling. I used the power box over the sink, and added a longer wire and chain to drape it up to the ceiling.
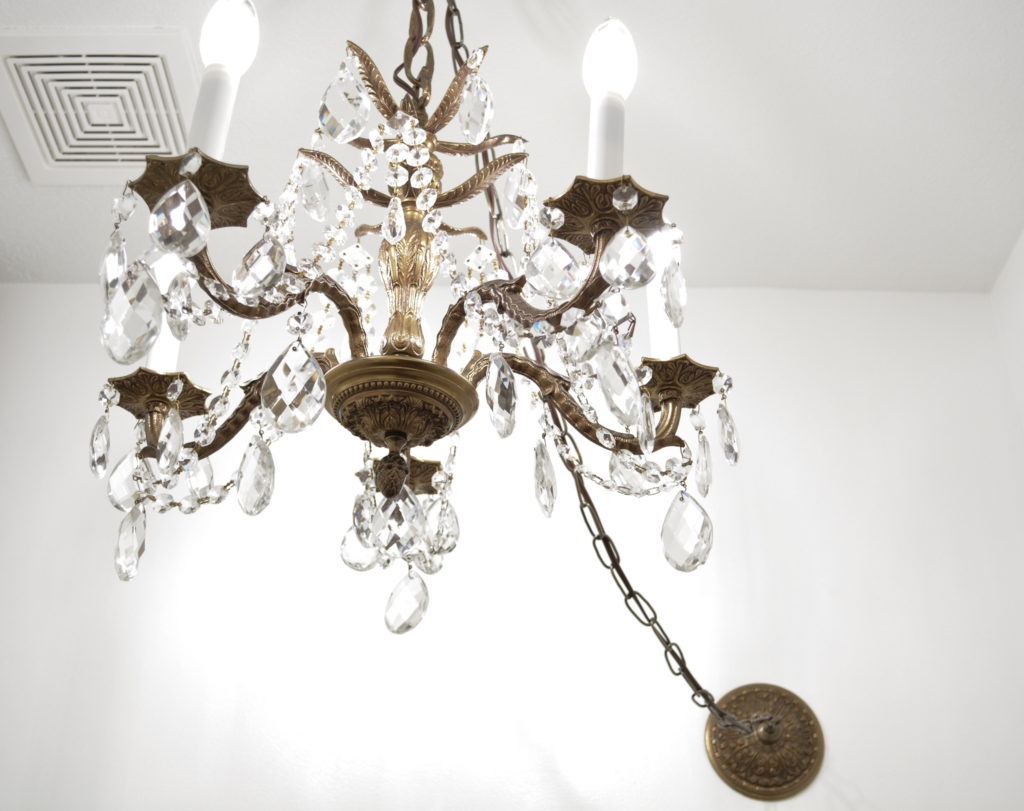
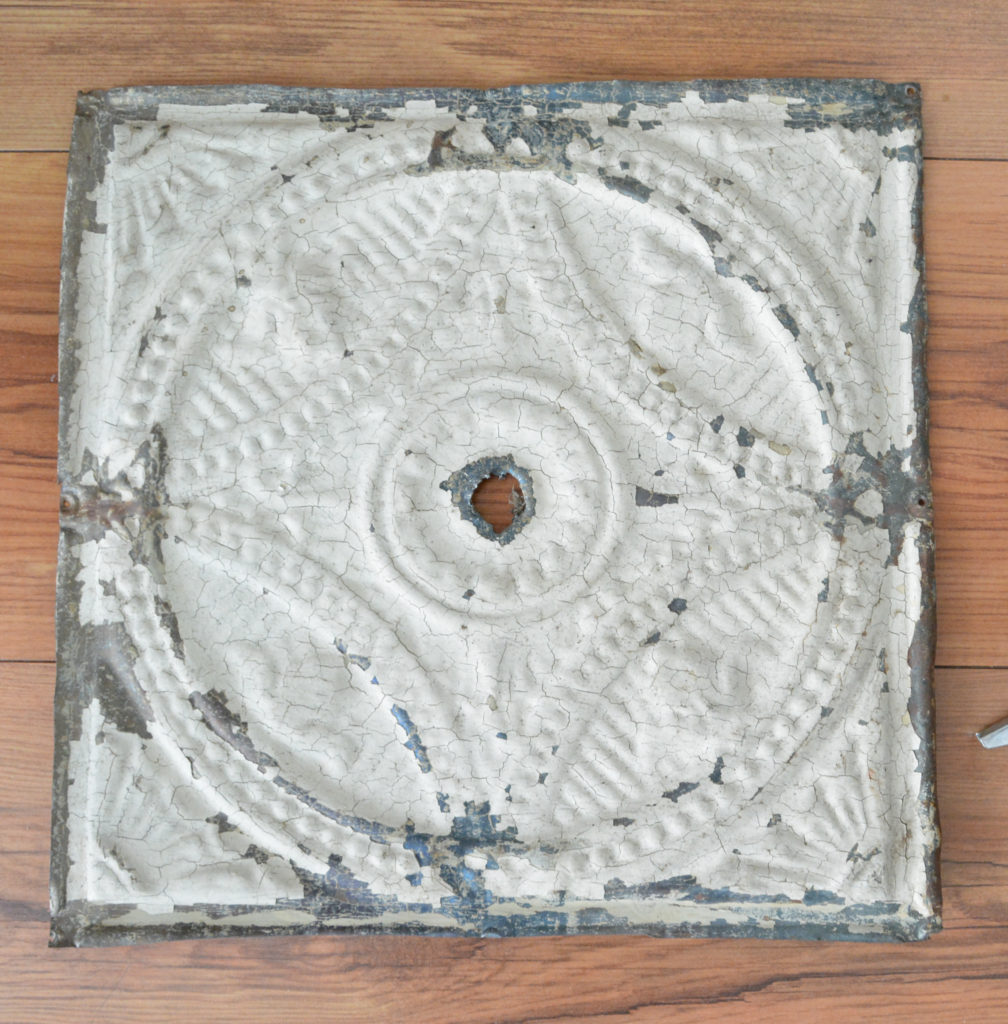
This piece of old ceiling tin became a ceiling medallion of sorts. I cut a hole in the middle for the hook that holds the chandelier.
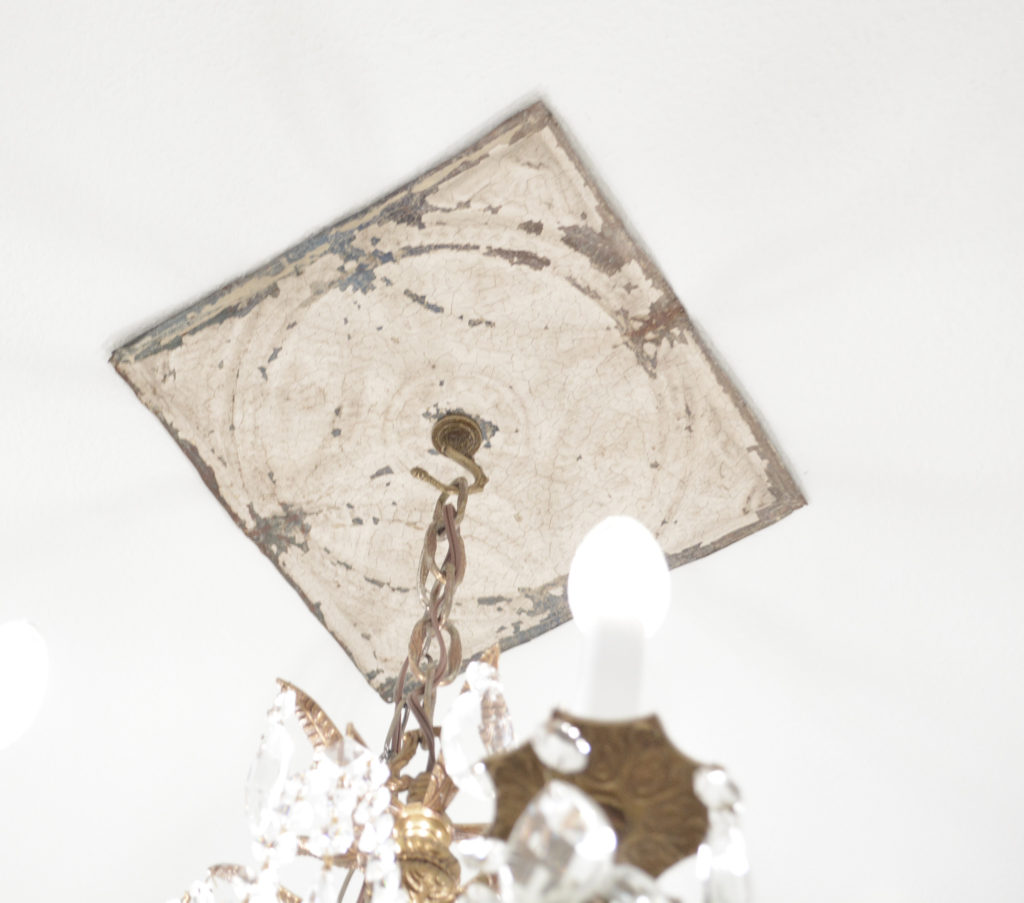
The chandelier was attached to the ceiling with a light swag hook that I found in the lighting department of my home improvement store. There wasn’t a stud in the ceiling, so this type of hook opens in the ceiling and holds up to 50 pounds.
My vision for this room was of an old cottage with the bathroom tucked in a cozy corner. Bright white walls and warm touches of wood. To bring in that cottage feel, I decided to add a wood beam in the corner and a couple of boards to trim the room.
How to build a wood corner beam
I started with two 4″ common boards cut to nine feet, the height of my ceilings. To make the beams look like authentic old house beams, they needed some distressing.
After looking at many images of old beams, I began my destruction. All of the old beams had cracks running vertically down the wood. To mimic this, I used a chisel and hammer to carve out a crack the entire length of the board. This was a bit time consuming, but totally worth it to get that authentic feel.
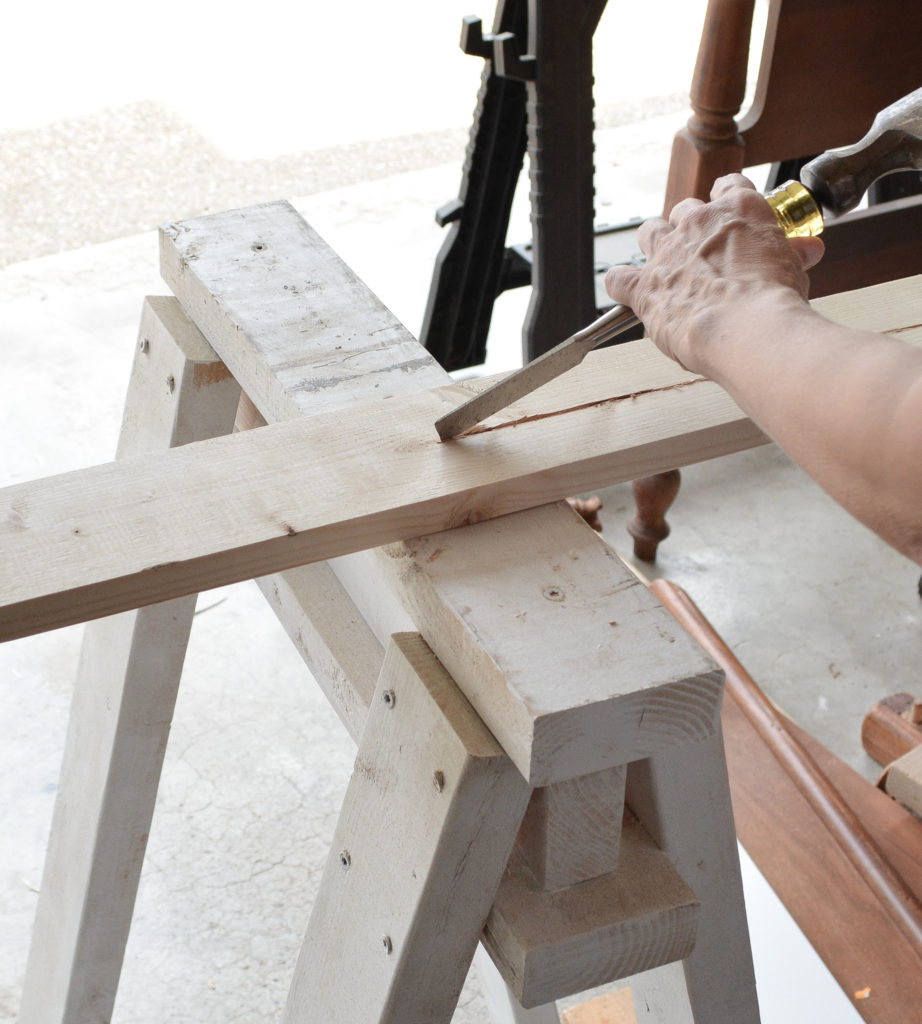
Next I cut vertical lines with a saw. I cut them on either side of the cracks, and used varying lengths.
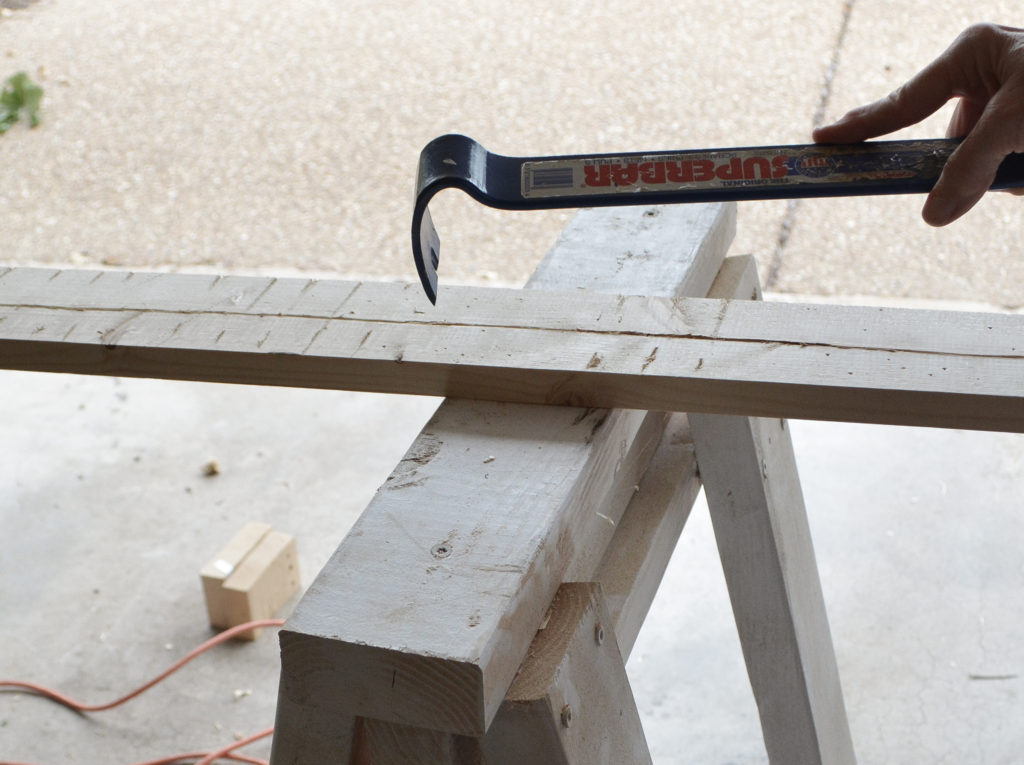
A prying tool was perfect to bang a bunch of small holes in the wood.
After all the distressing was done, I used my hand sander to make it all smooth and worn looking.
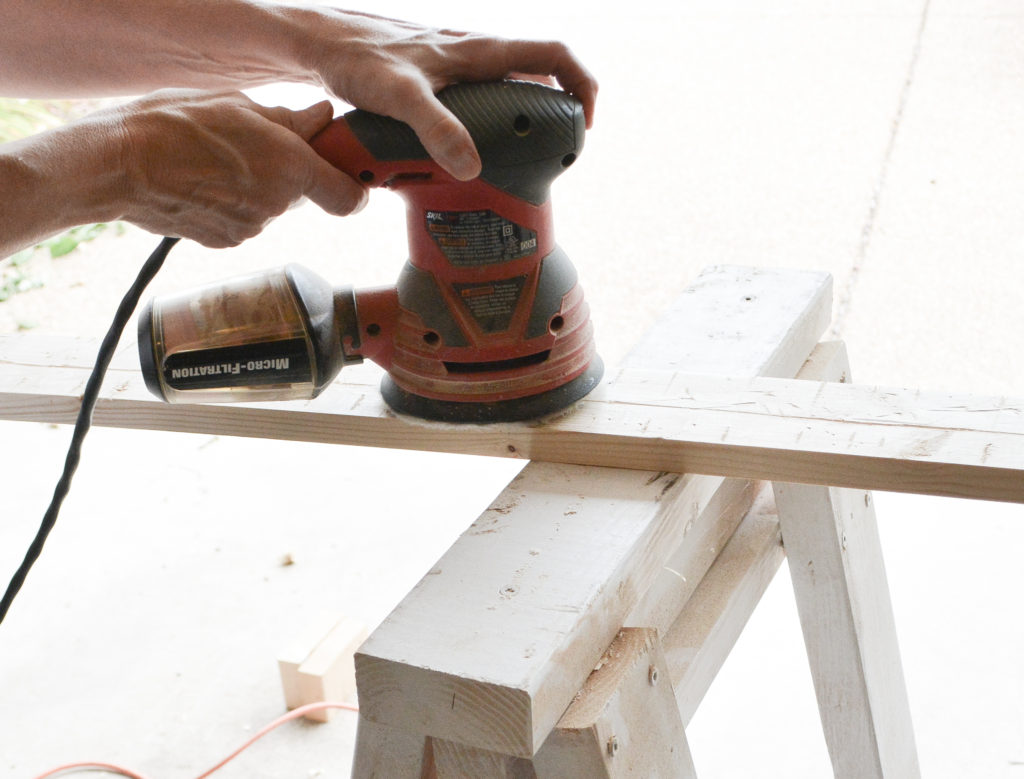
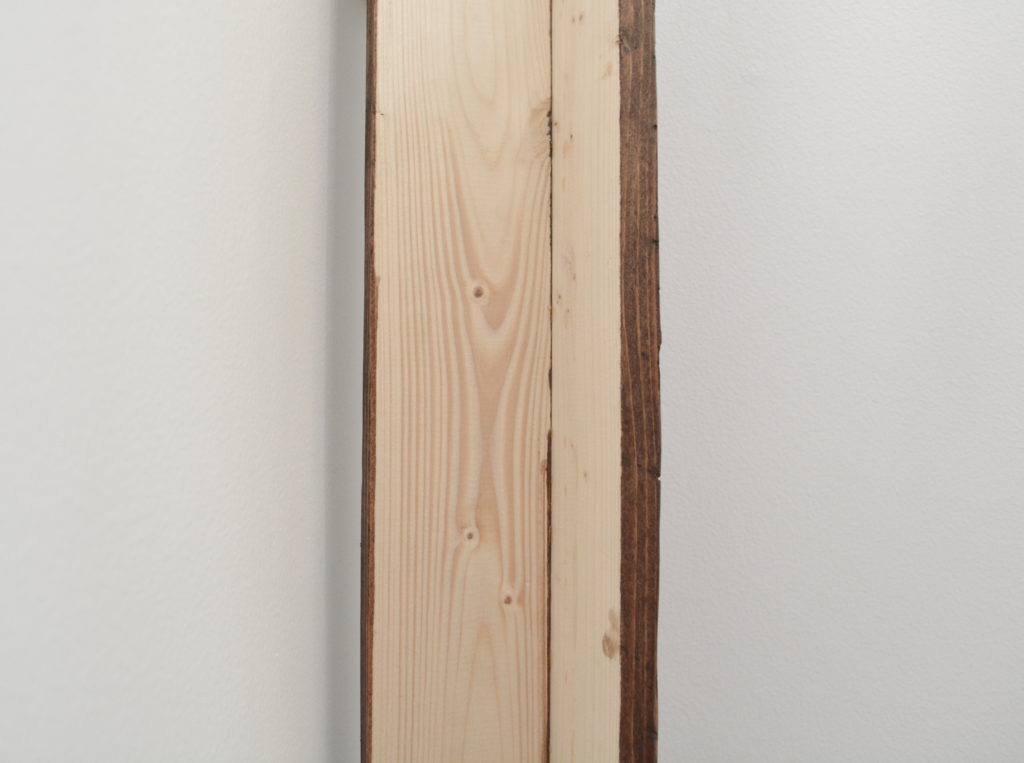
And here it is ready for stain.
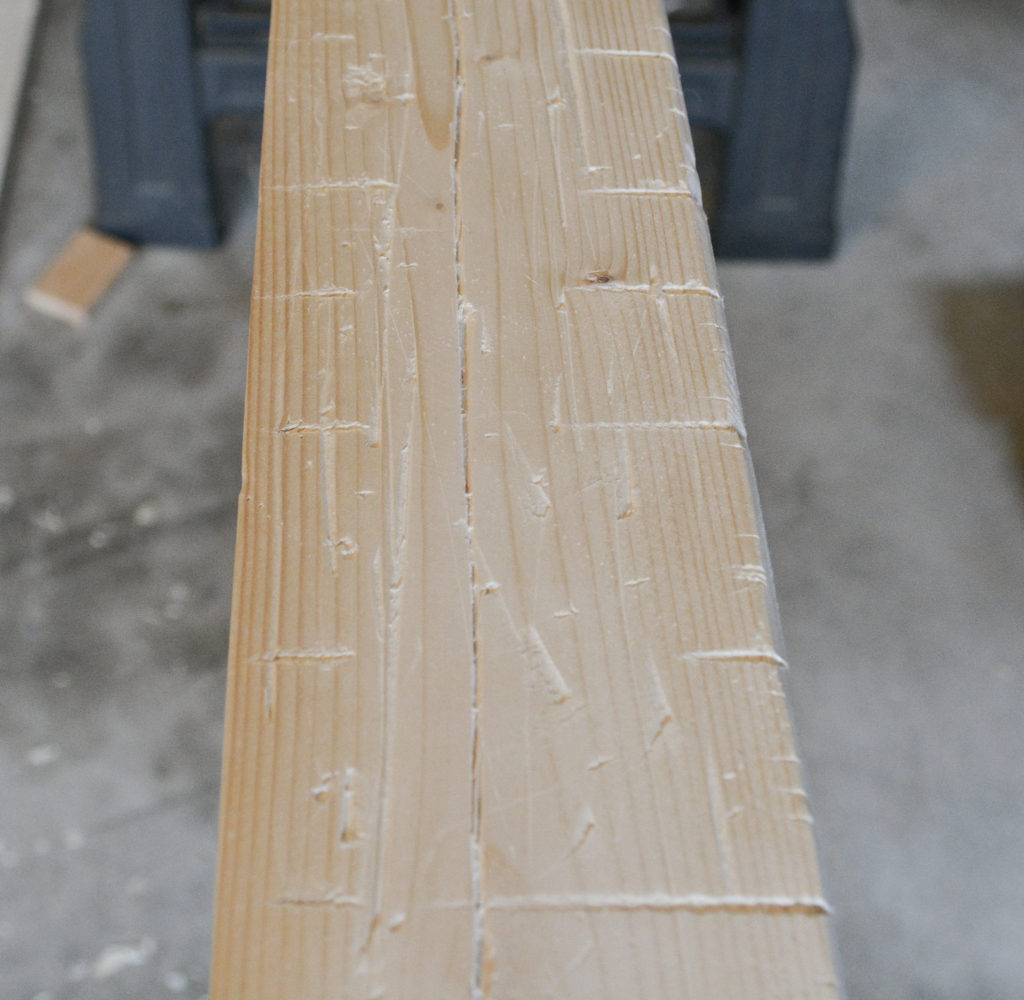
I used Minwax provincial stain topped with a little English chestnut. Sanding after the stain dries takes off the shine and “newness” for a more aged appearance.
Assembling the wood corner beam
My beam was going in the corner, so it only needed to have two sides. For a full beam, just attach a board to the other side. I assembled the beam so the seam faced away from the entrance. Note that this is not a square beam.
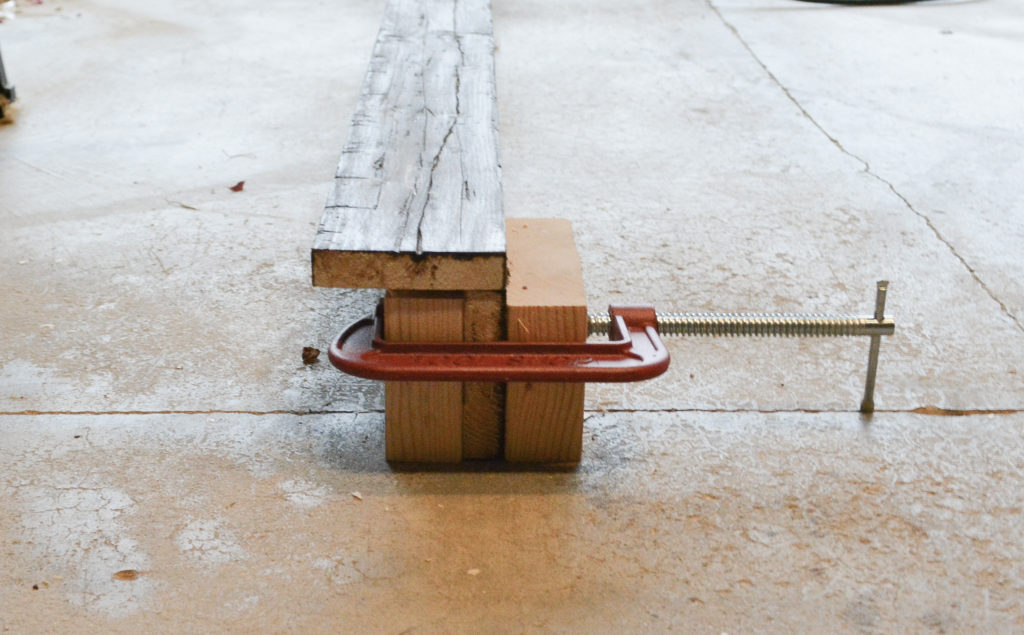
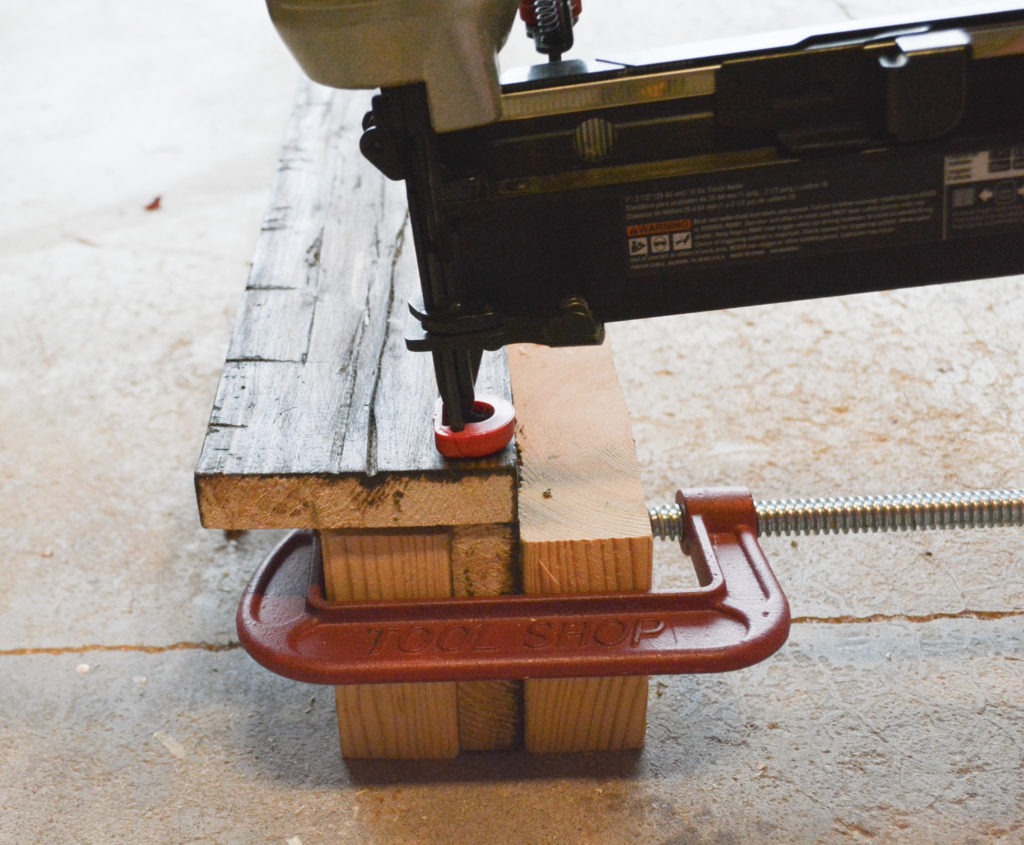
Using a clamp and two pieces of wood to hold my board, I attached the two boards together with a nail gun.
How To Attach the wood beam
Remove the baseboards and cut to allow room for the beam to go to the floor.
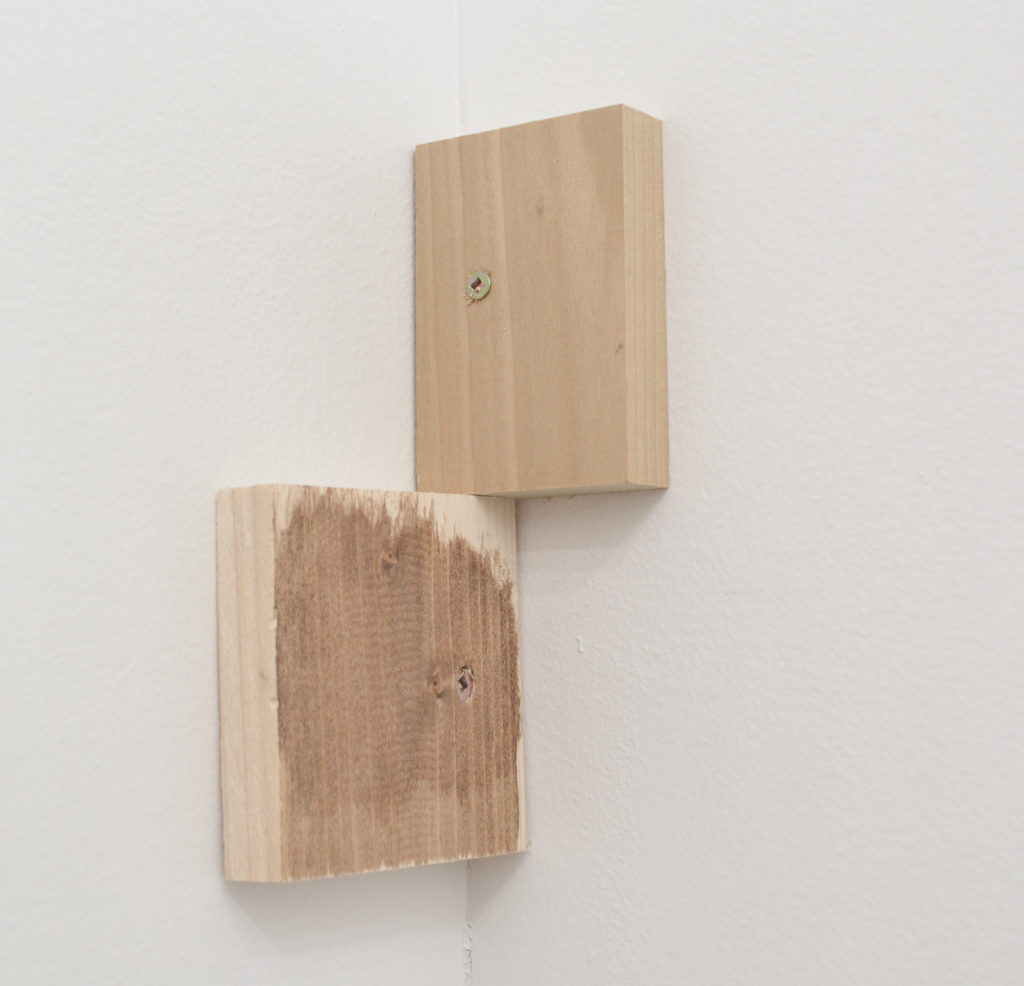
I screwed pieces of wood into the stud of the wall in three places, top, middle, and bottom. The end of the wood needs to match up with the inside edge of the beam. I ended up using a 3″ board pushed up against the wall and a 4″ board place a little bit away from the corner.
Place the beam over the boards and nail in from the side.
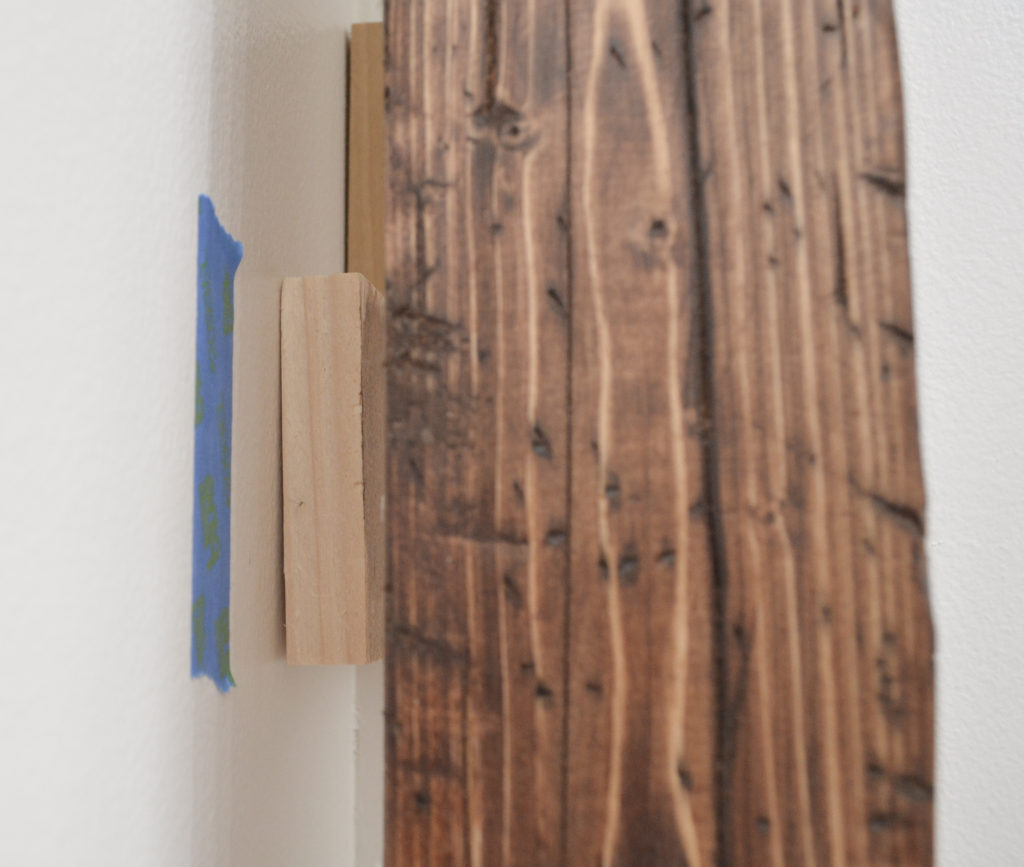
I placed painters tape on the wall where the wood was located, so I would know where to nail.
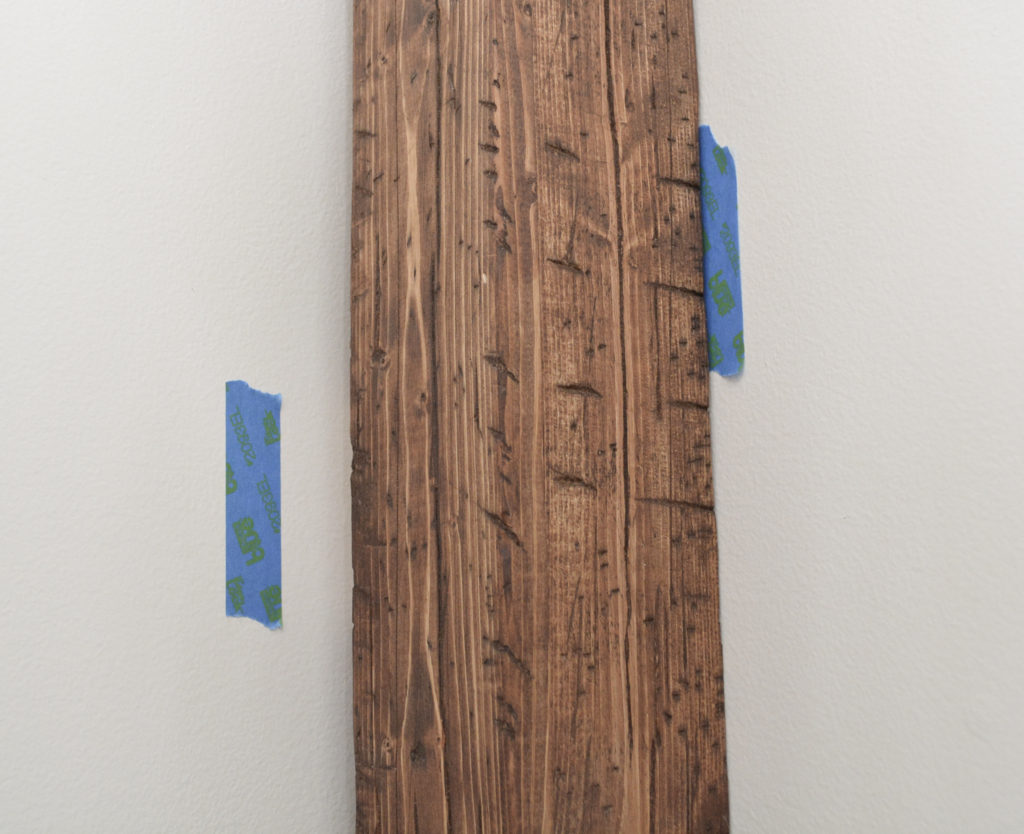
The beam is very light, so it secured easily.
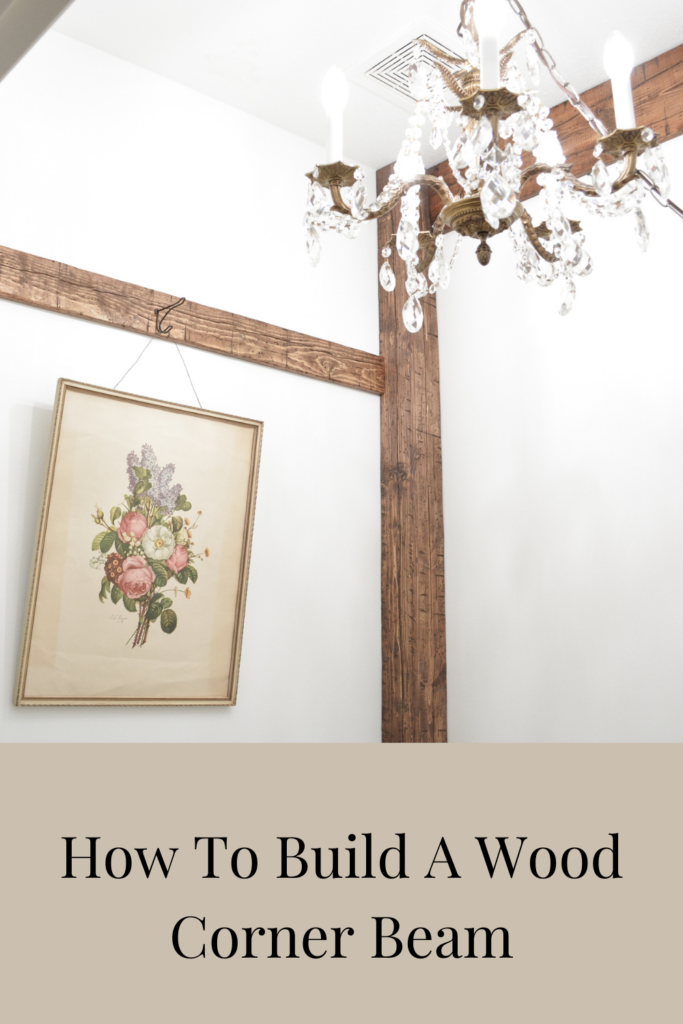
And that’s how to build a wood corner beam. After the beam was complete, I added a board to trim the ceiling, and a board as sort of a picture rail.
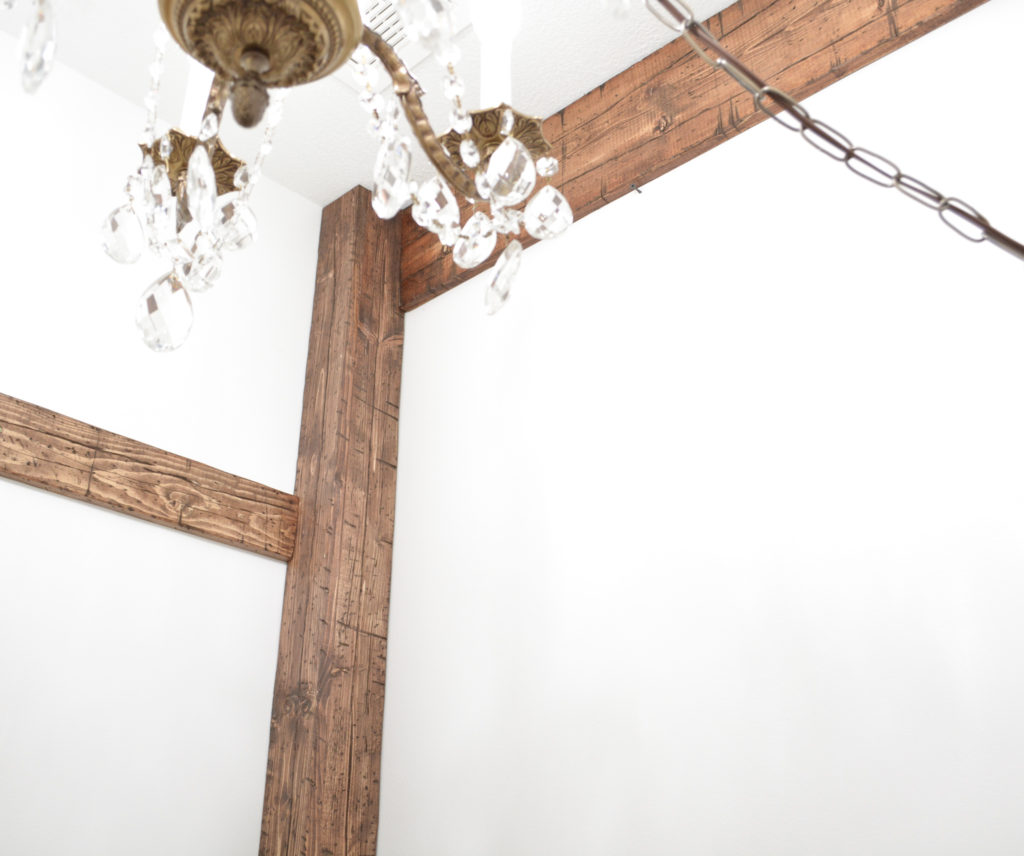
And that completes phase one of the powder room refresh. I love how clean and fresh and bright the room is, and can’t wait to get it finished! Up next, the makeover of the vanity.
PIN IT FOR LATER!
Thanks for stopping by,
Janet
