
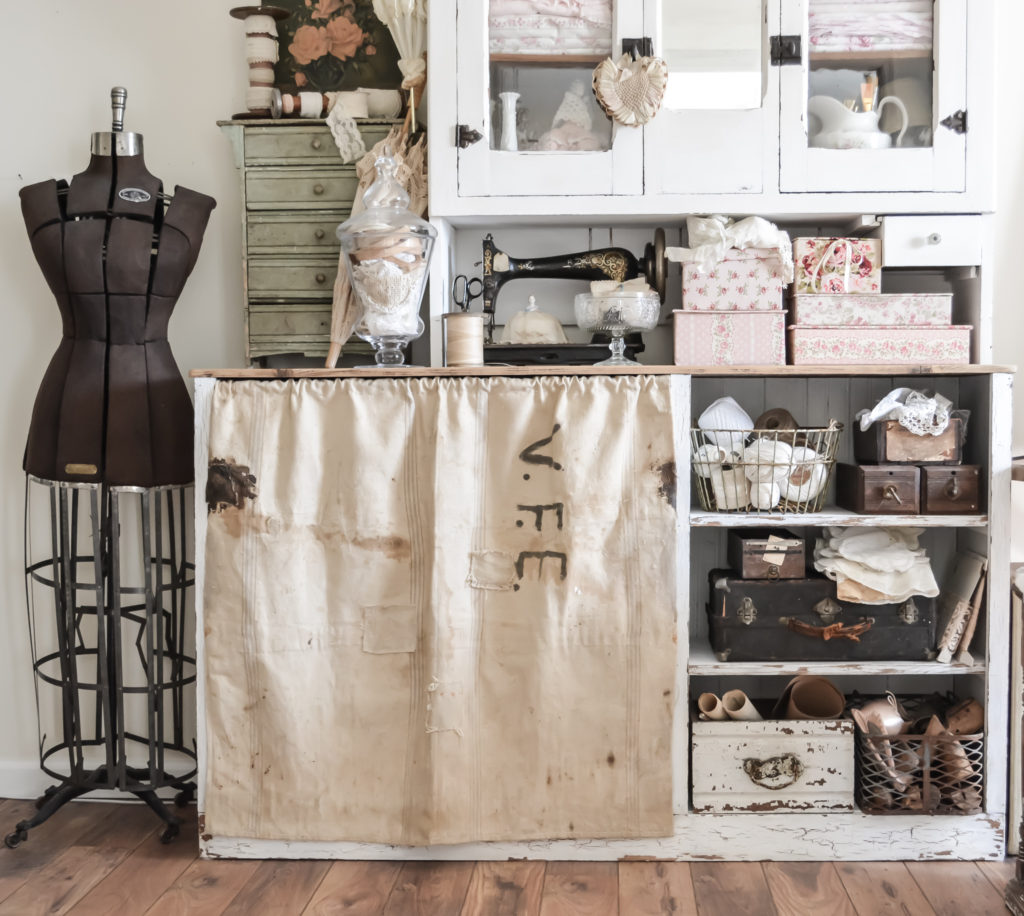
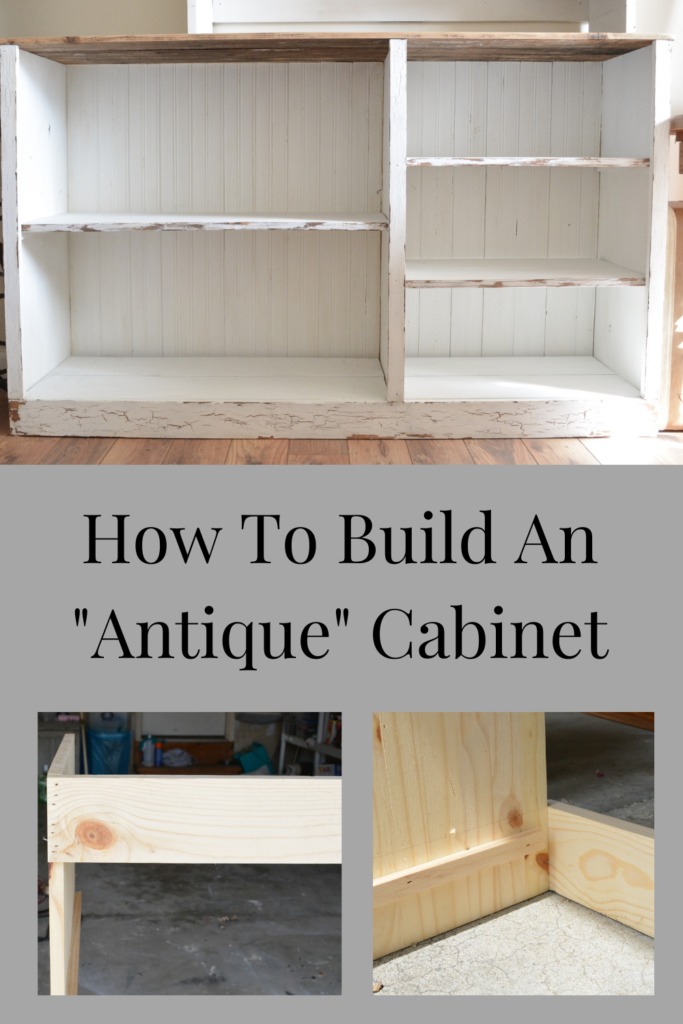
When I started designing my studio area, I knew I wanted a cabinet to store and display fabric and trims. I really wanted to find an antique store counter or open cabinet, but I just didn’t come across one that fit all the requirements. The few I found were too long or too expensive. Well you know what that meant. It was time to grab my tools and figure out how to build an “antique” cabinet!
Determine The Size For The Antique Cabinet
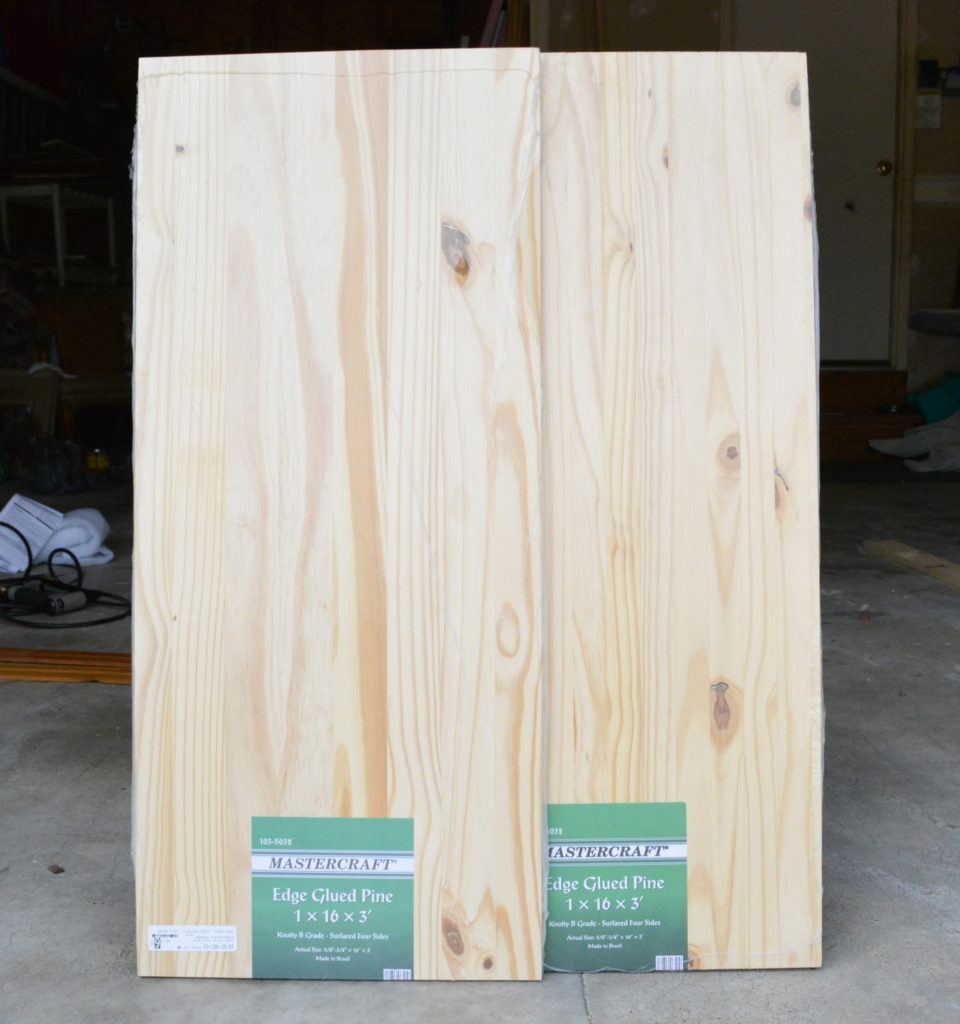
One of the best things about building your own pieces is that they can be customized to fit your space. This cabinet can be built any size, but mine was determined by the pine boards I used, 3 feet tall and 16 inches deep, and then I made it 5 feet long.
Lumber Needed to Build the Cabinet
3 edge glued pine pieces
1X4 boards for frame
1×2 boards for front trim
1/2×1 inch boards for shelf supports
1×8 boards for shelves
boards for top (I used salvaged boards)
Bead board for backing
Steps To Build An Antique Cabinet
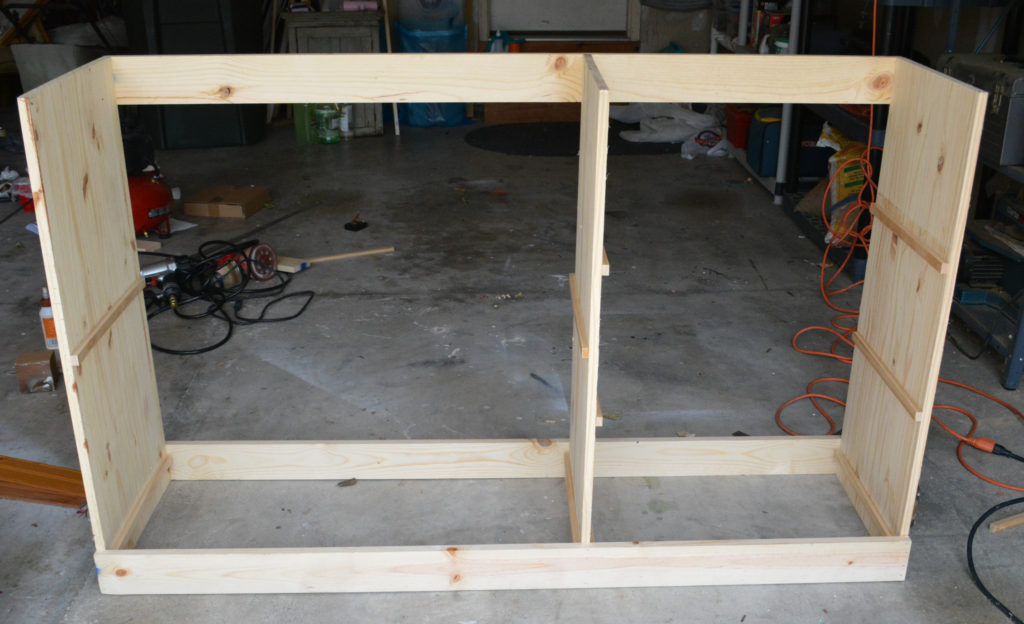
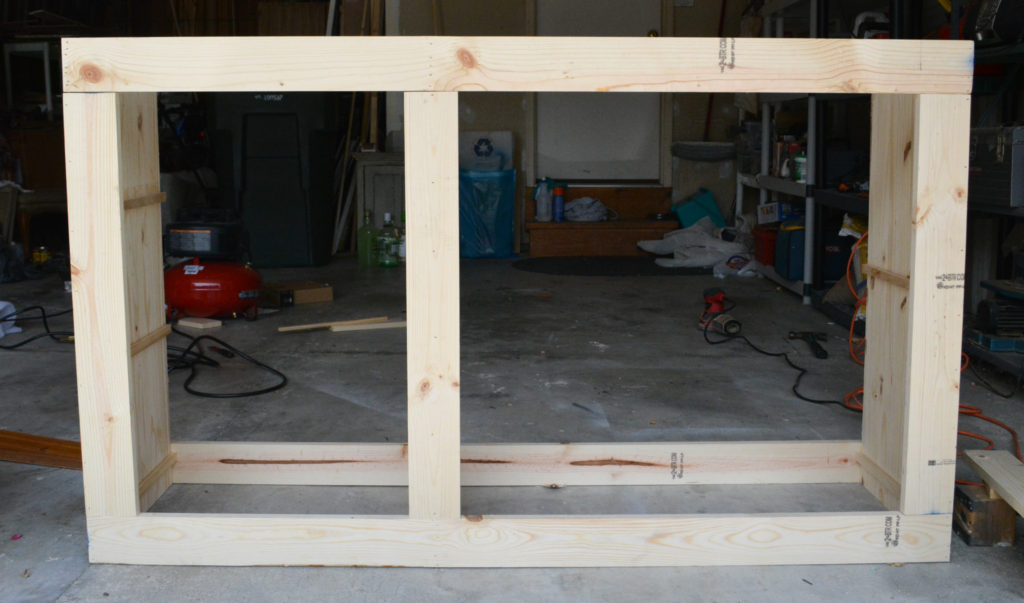
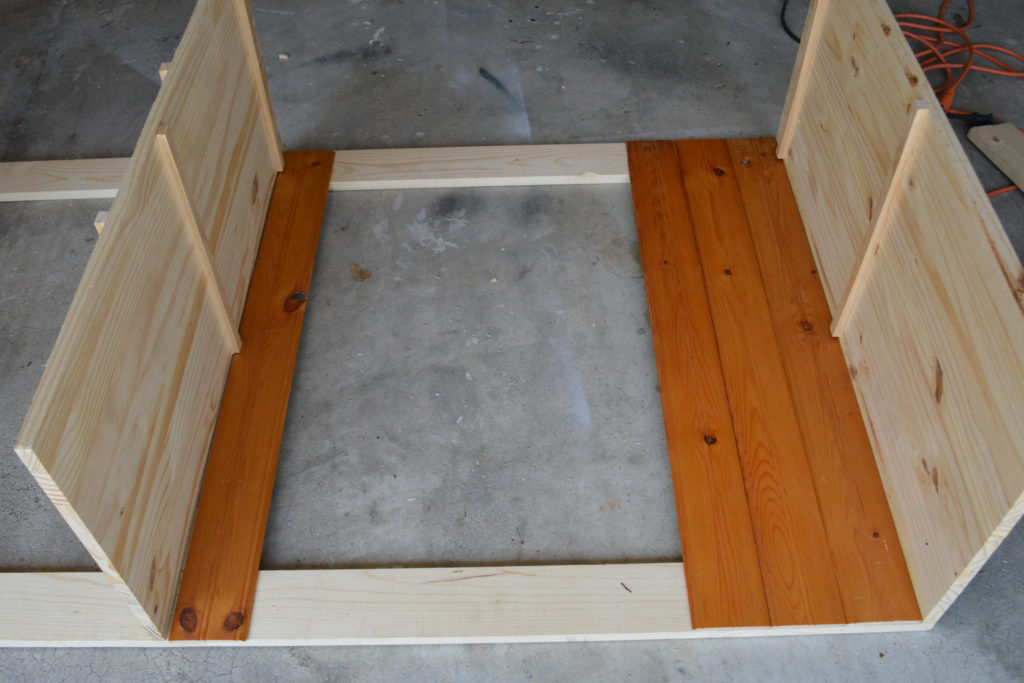
Here is a quick look at the frame of the cabinet. I used two pine pieces for the ends and one for a divider. The divider was placed over 36 inches, creating a side with one long shelf, and the other side with two shorter shelves.
1. Add The Shelf Supports
I chose to add the shelf supports before I put the cabinet together, but they could be added later. It was just easier for me to not have to hold them up and nail them. The spacing of the shelves can be customized to fit your needs. I did my shelves 17 inches down from the top for the single shelf, and 11 inches down and then 22 inches down from the top for the two shelves. The bottom shelf forms the floor of the cabinet, so it needs to be even with the bottom frame pieces. I explain this below.
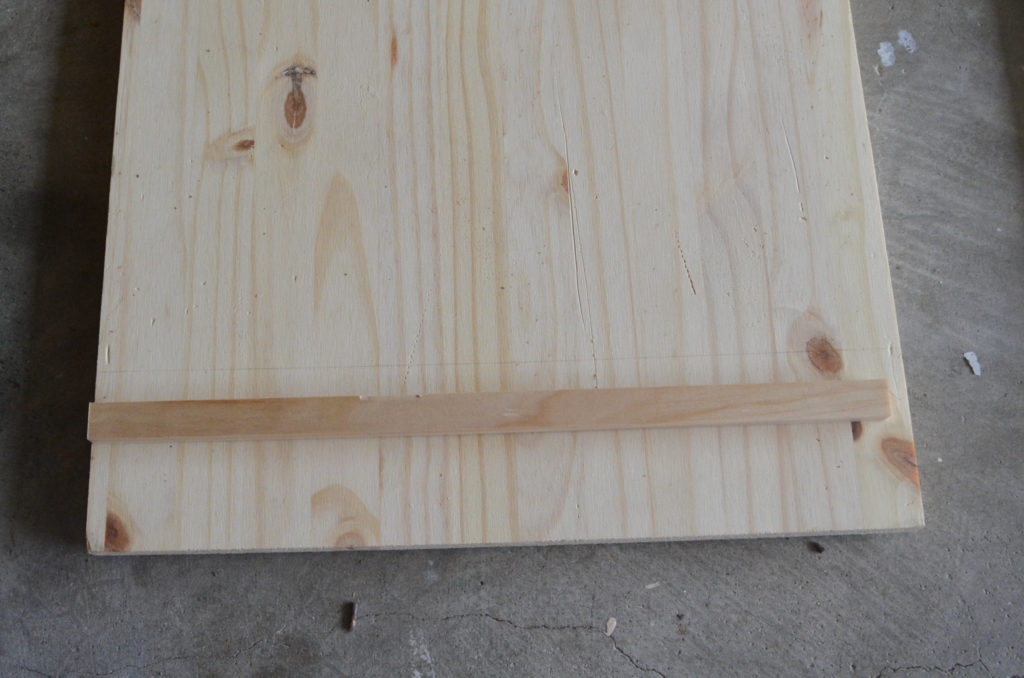
The shelf supports are cut out of 1/2×1 inch boards. I cut them 1/2 inch shorter than the width of the pine pieces to allow for the bead board backing. The support boards were attached flush with the front, and that left a gap in the back for the bead board.
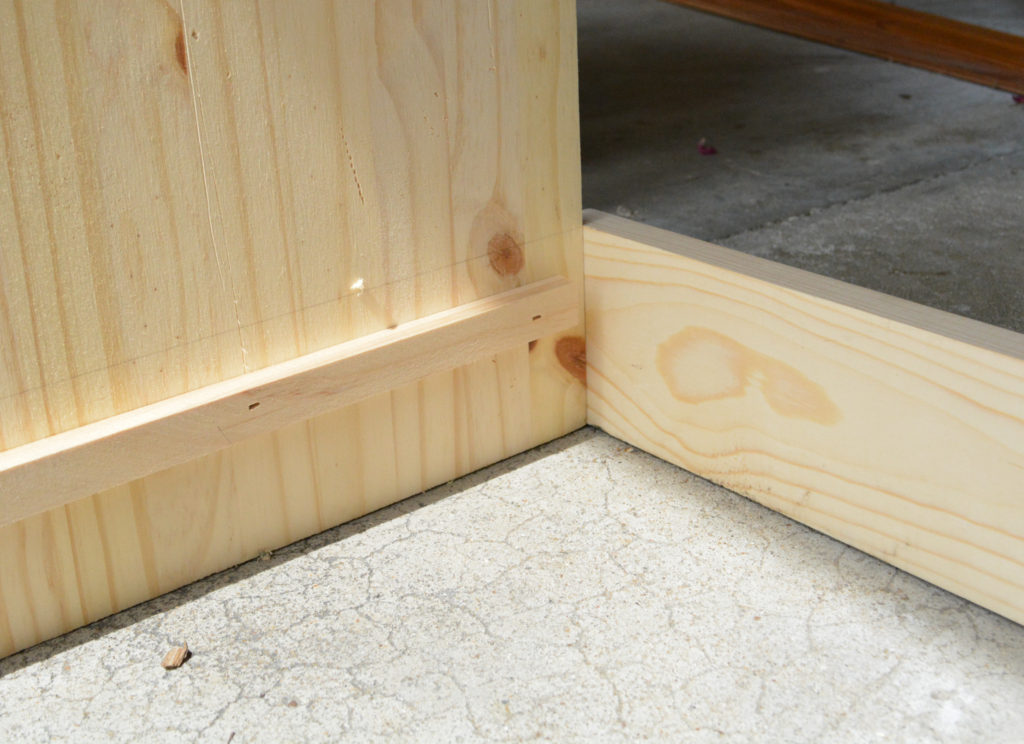
In order to make the bottom shelf flush with the framing, the support was placed 3/4″ ( the width of the shelf board) below the frame board. See the pencil line. When you add the shelf board, it will create the floor of the cabinet.
2. Build The Frame
Cut three frame boards (the length of the cabinet) out of the 1×4’s. Mine were 5 feet long. Attach the frame boards to the back of the pine side and center pieces.
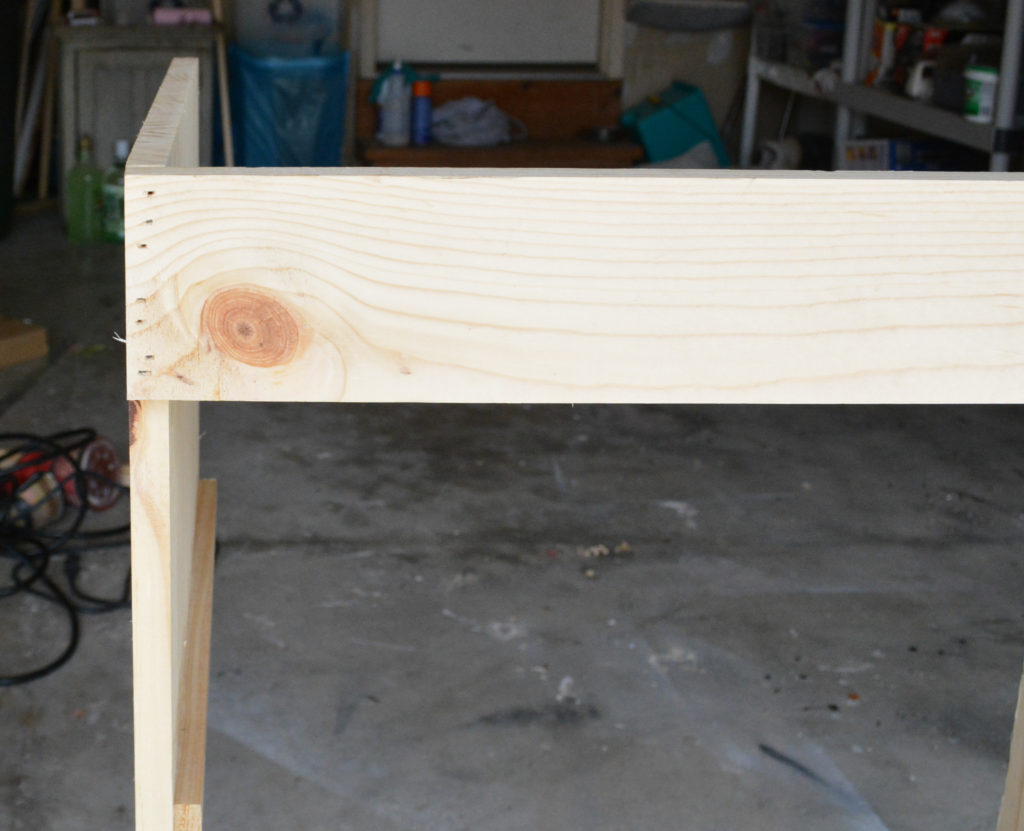
Attach frame boards to back top, back bottom, and front bottom.
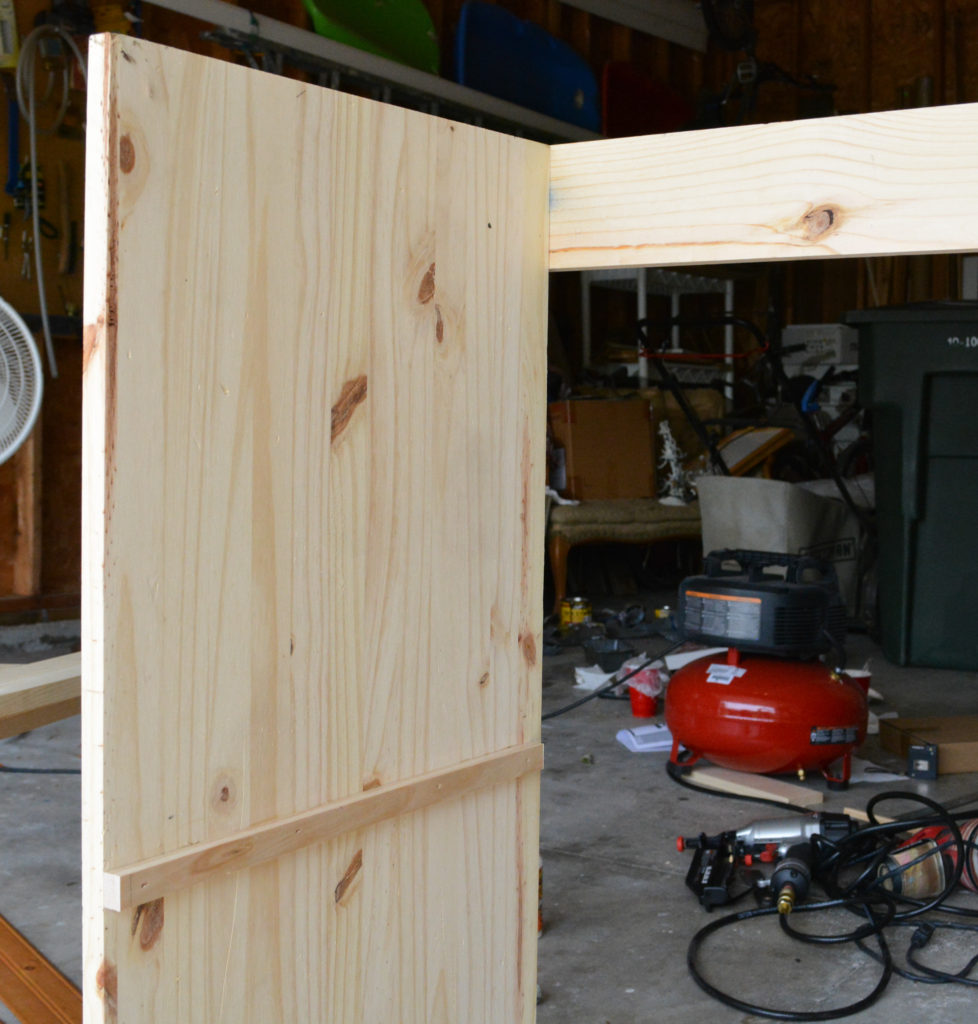
1×4’s were added vertically on the back between the top and bottom supports. They were placed on the left and right sides, flush with the edge of the pine pieces. The center board is centered on the pine piece.
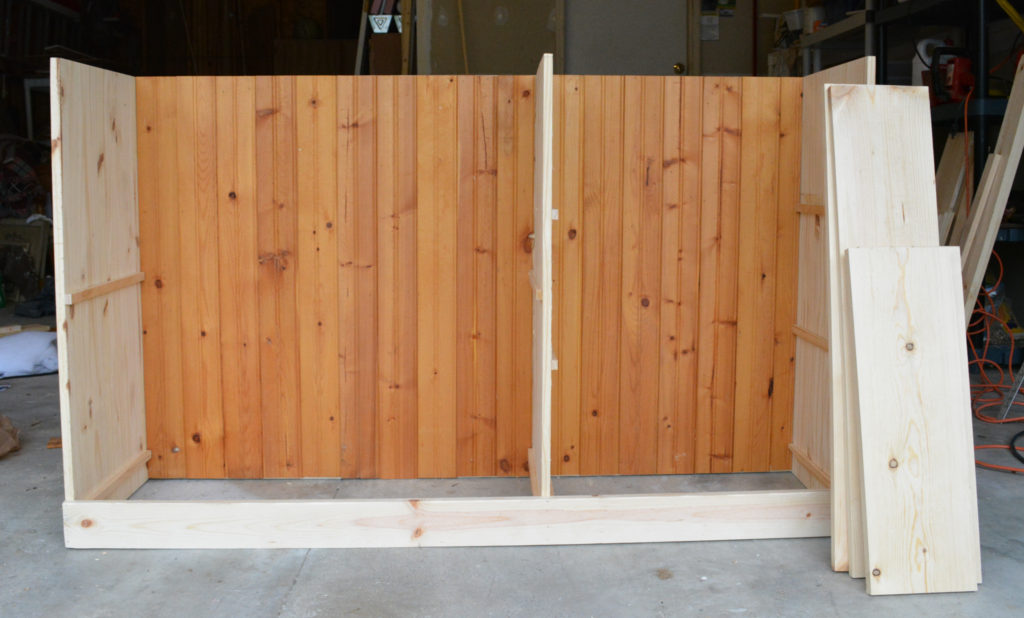
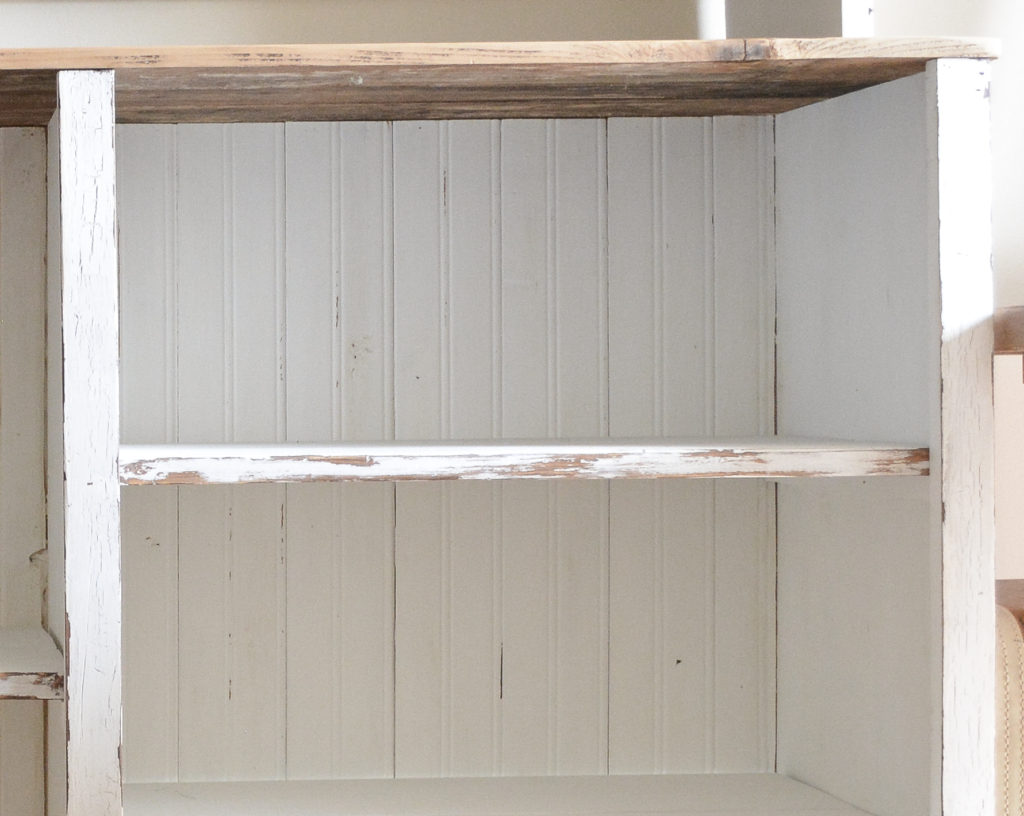
3. Add The Bead Board Backing
Fill in the back with bead board, nailing it to the top and bottom of the frame boards. I also had some reclaimed bead board, so that’s what I used.
4. Put In The Shelves
I used two 1×8 boards per shelf instead of one wide board. It was just easier for me to cut and less expensive. I didn’t permanently attach the boards so they could be removed for finishing.
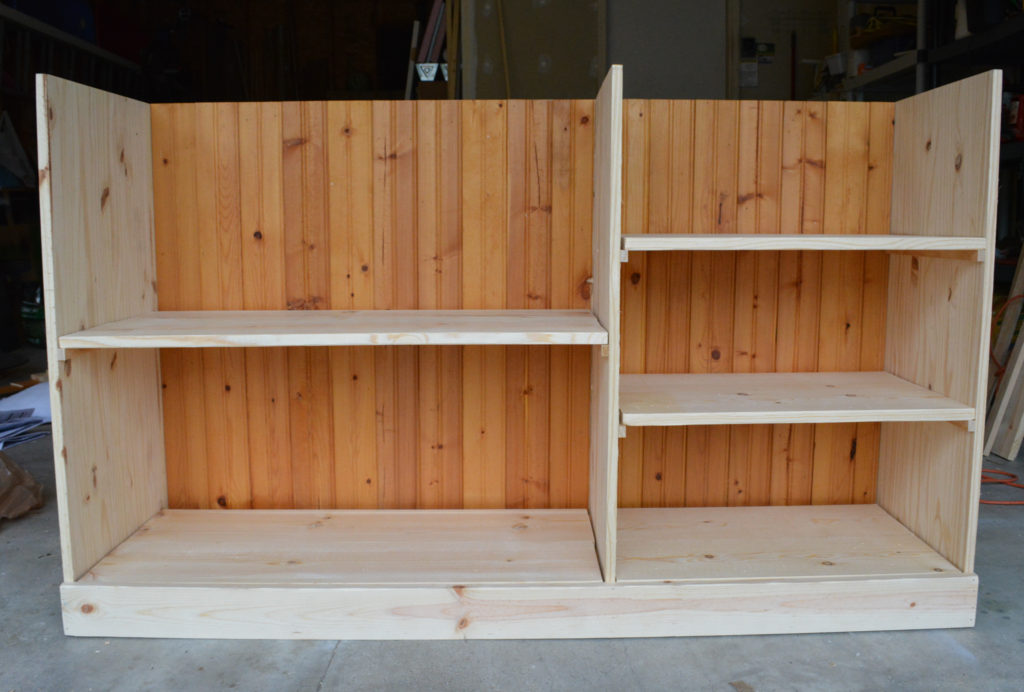
You can see how the bottom shelves create the floor of the cabinet.
5. Add The Front Trim
I didn’t get a pre-finished photo of this step, but 1×3 boards were added as trim to the front of the pine boards before the top is put on.
Outer sides are flush and the middle piece is centered on the pine board. These trim pieces camouflage the shelf supports as well as making the cabinet more sturdy.
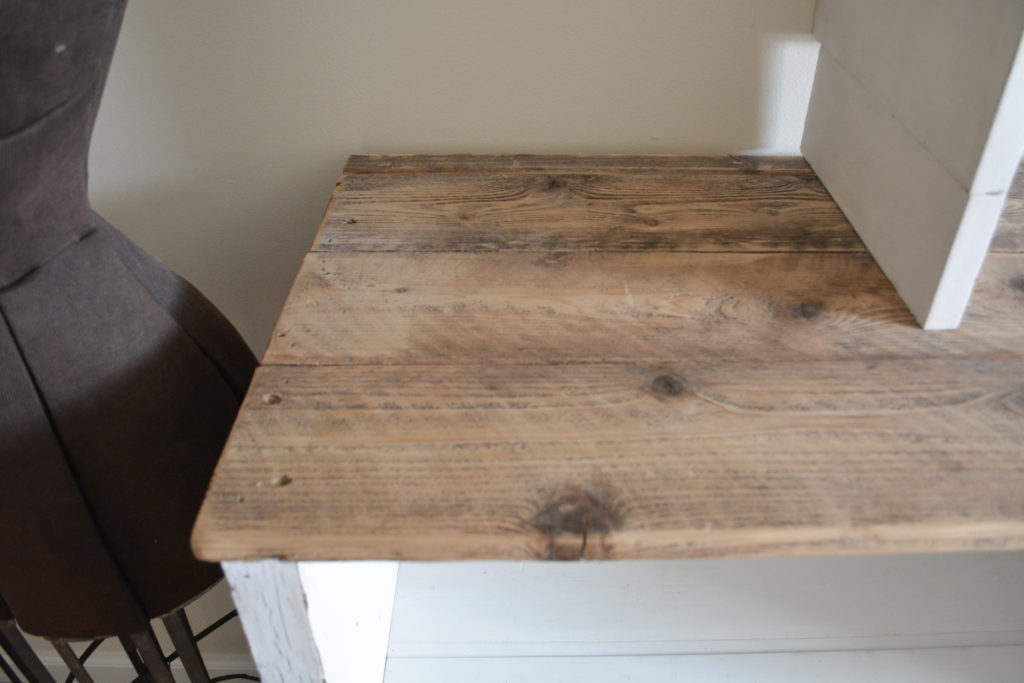
6. Build The Top
I used some salvaged wood boards to make the top. The boards were cut slightly longer than the cabinet to extend over the front and side edges.
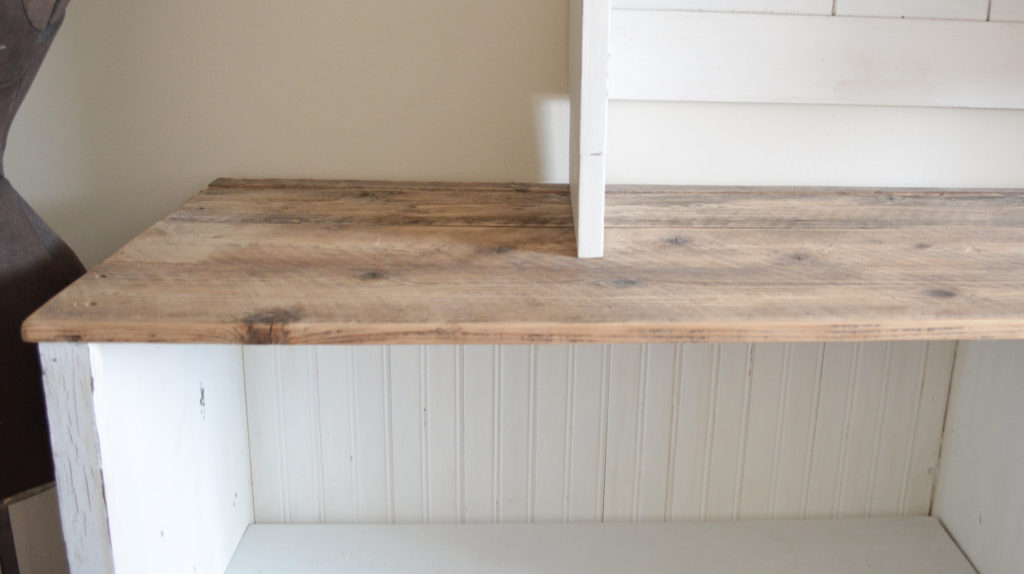
Three 1×6 boards weren’t quite wide enough, so I added a 1×2 board to the back and stained it to match.
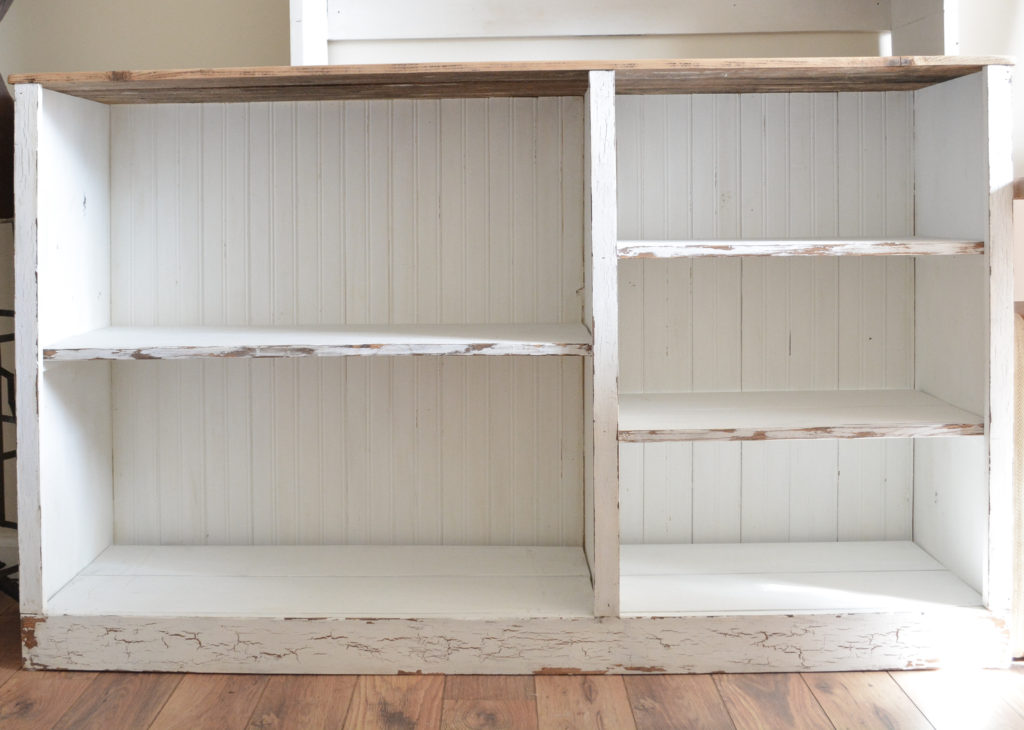
7. Finishing the Cabinet
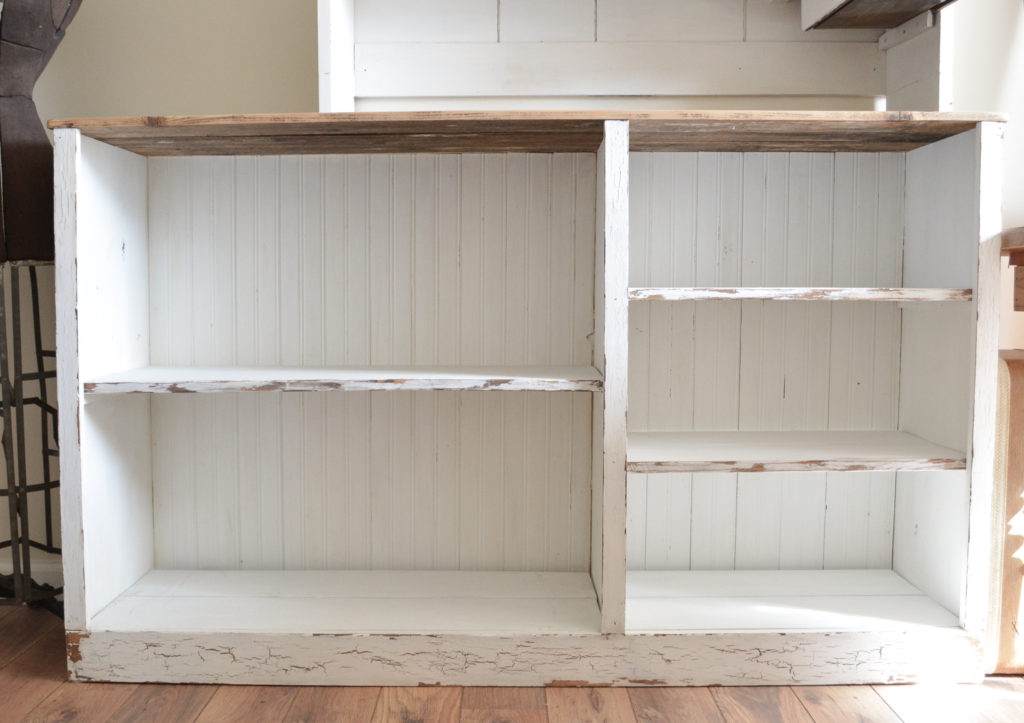
The cabinet was given a distressed painted finish. The paint color is Behr falling snow. The salvaged boards were already this color, so no further finishing was done to them.
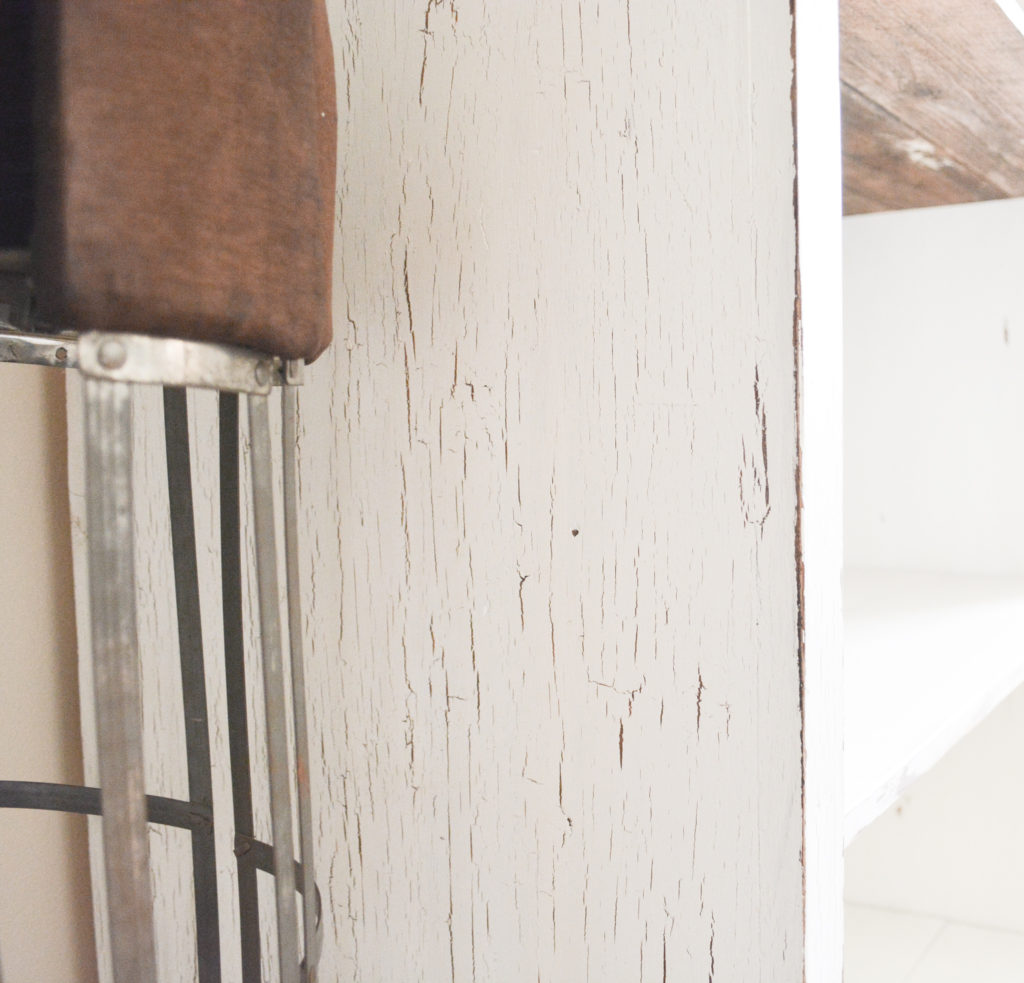
On the bottom and sides I used white glue to create a crackle finish. You can see a tutorial for a crackle finish here. I still need a little more practice with the technique, but I like how it turned out.
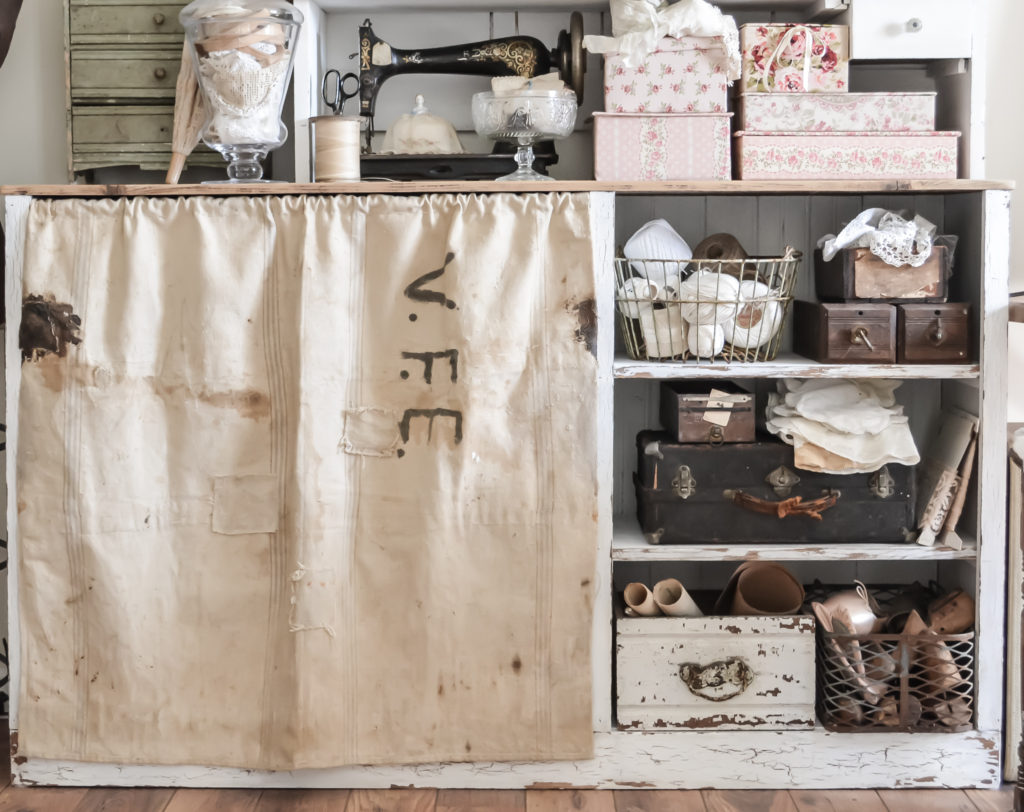
But the best part of the project? Filling it up! I am still working on getting it all organized. It is so nice to finally have all my fabric and supplies in one place. I added the curtain to cover all my fabric I put on the shelves. I am just too messy to leave it open. It makes me kind of sad to cover the cabinet though!
To see more of my studio progress, see how to make fabric covered boxes and the makeover of an old cabinet.
PIN IT FOR LATER!
Thanks for stopping by,
Janet
Beautiful. You did a wonderful job.
Thank you Shirley! I appreciate that!
your cabinet is amazing, Janet. I would never have thought that it was a new diy project. And the paint finish is wonderful, love it!
Thanks Debra! It’s always a challenge to achieve an authentic look. I think using some reclaimed elements helped.