
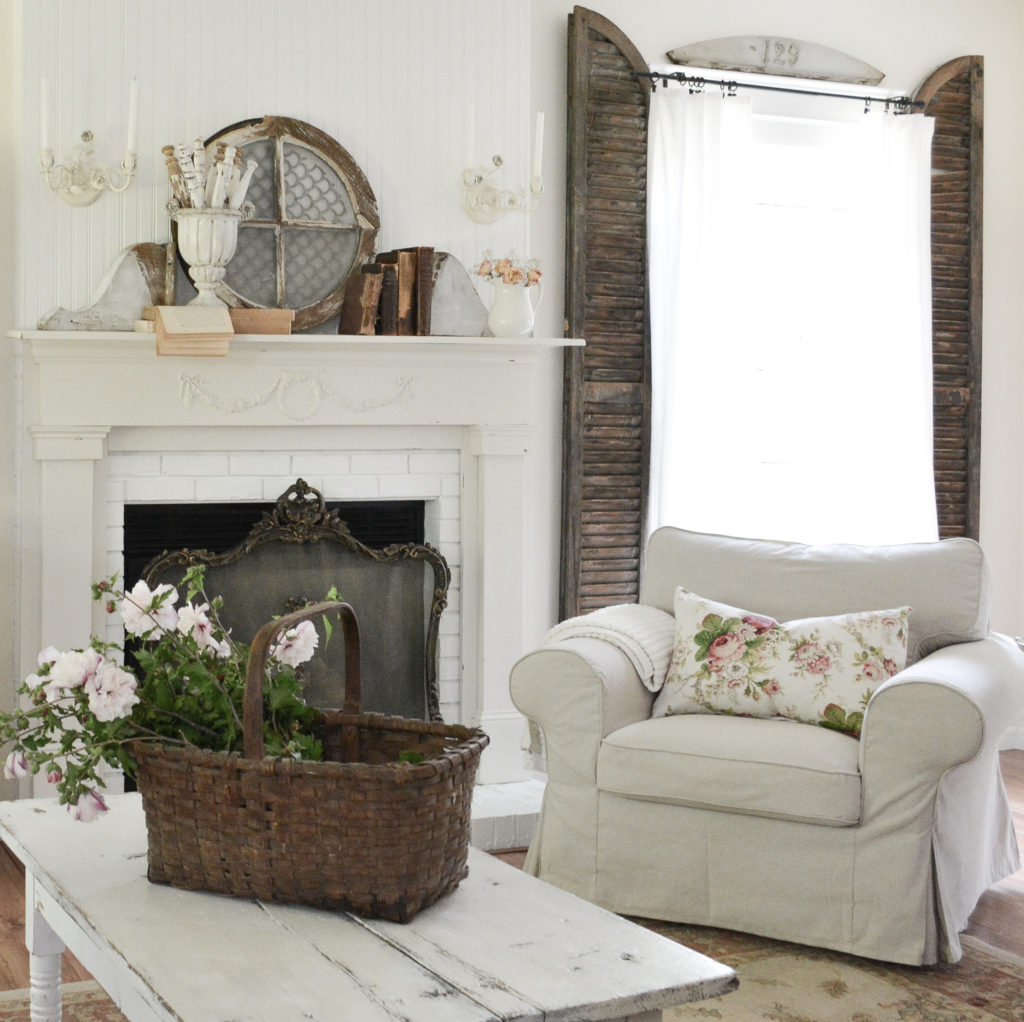
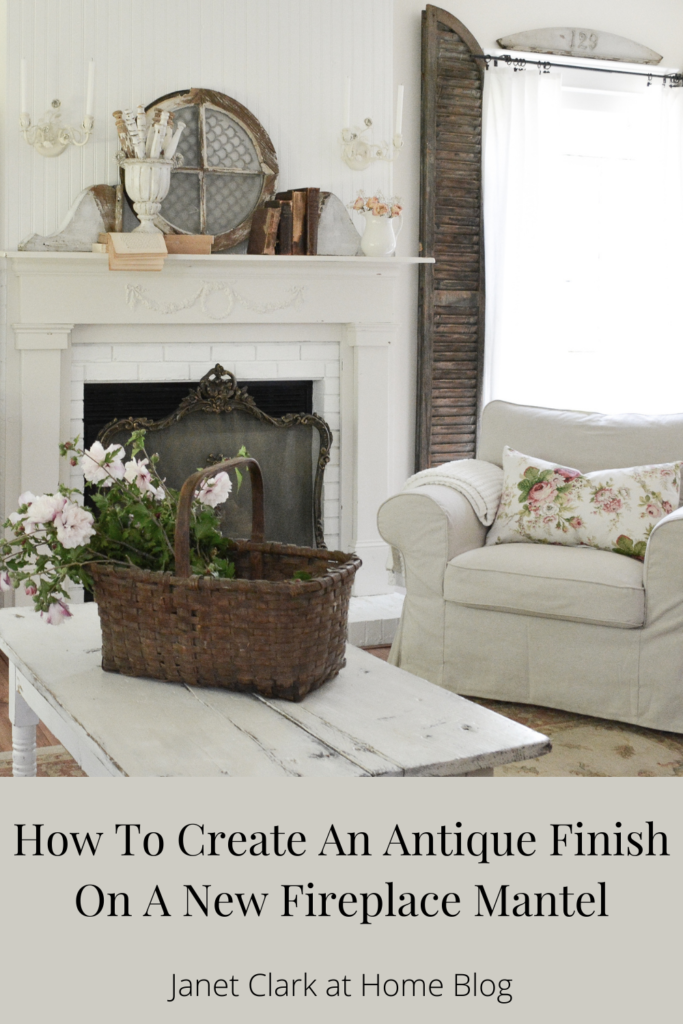
This isn’t the typical “sand all the edges and add antiquing glaze” antique finish, or a super chippy kind of finish. This is “it has been repainted several times, but is showing some age” type of finish. I studied all kinds of antique mantels, including the one in my dining room, and I landed on this technique that feels so authentic. I am going to show you how to create an antique finish on a fireplace mantel and how to apply furniture appliques.
5 Easy Steps to Create an Antique Finish on a Fireplace Mantel
Some of the technique starts with the construction. You can see how I built the mantel here.
Step 1 – Don’t finish with caulk, but do distress the wood
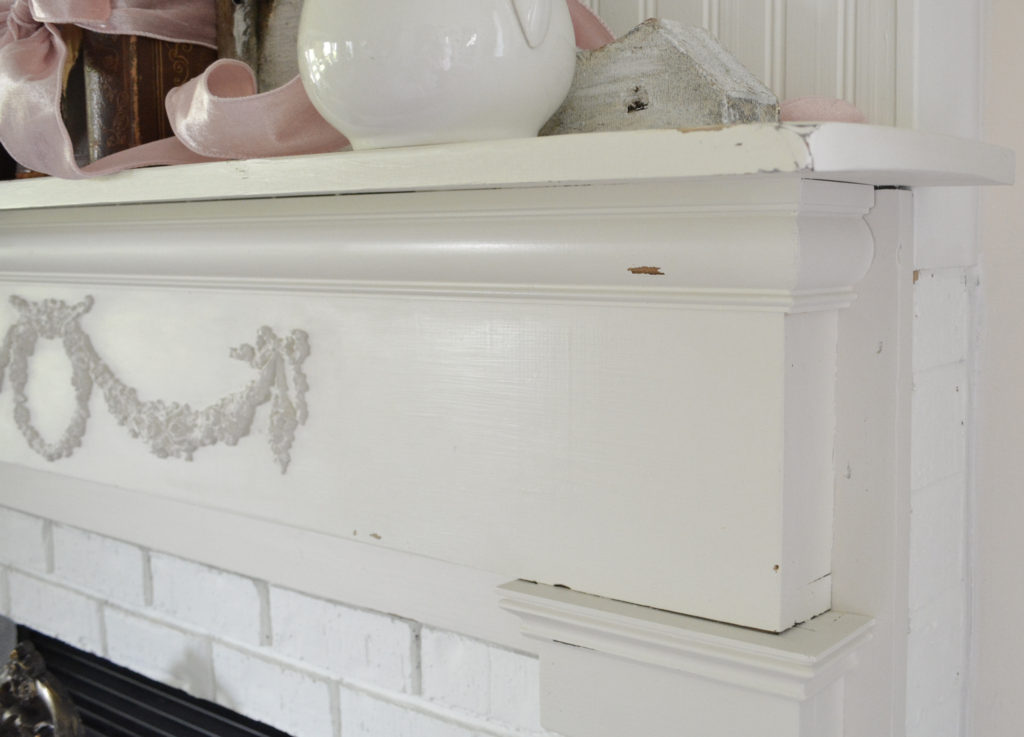
In the photo above, you will notice that I did not caulk the wood connections. This was intentional. Older mantels seem to have these cracks. I am not sure whether they were never filled or have loosened over time, but they are a key feature for an old looking mantel. And easier to finish! You can’t go wrong with that!
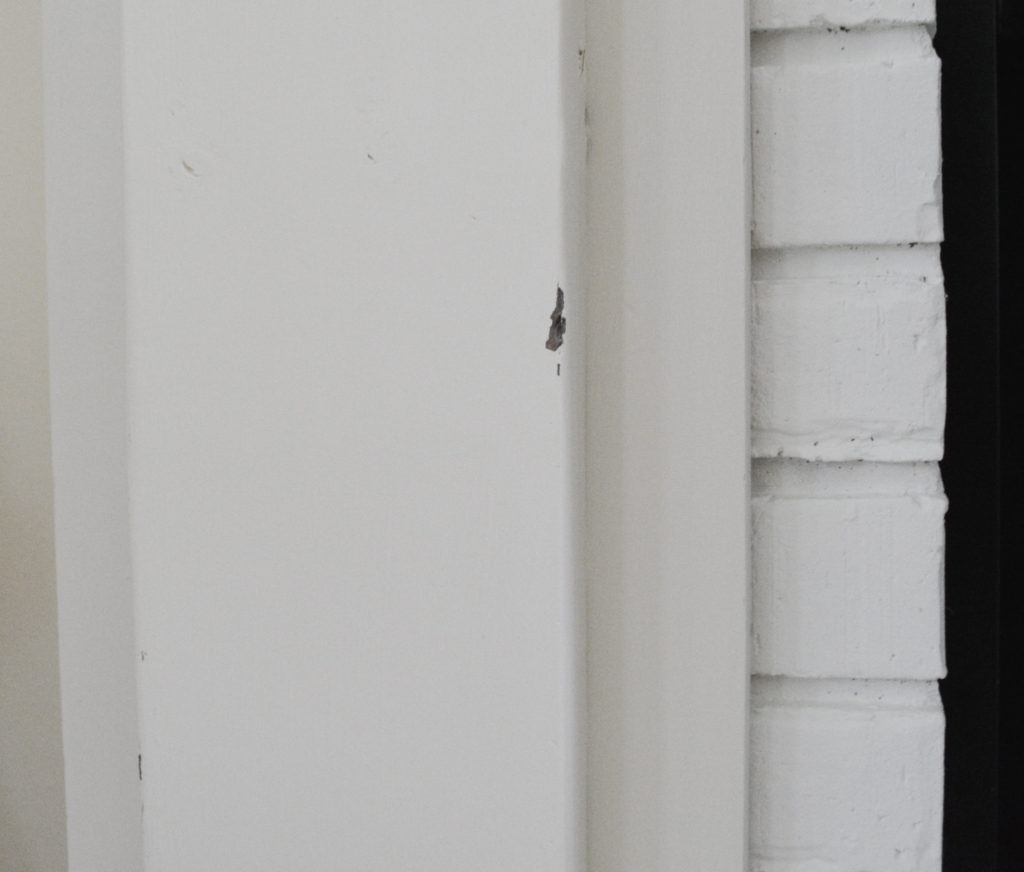
I also distressed some of the wood, not a lot, but dings here and there that I later highlighted with chipped paint.
Step 2 – Stain the wood
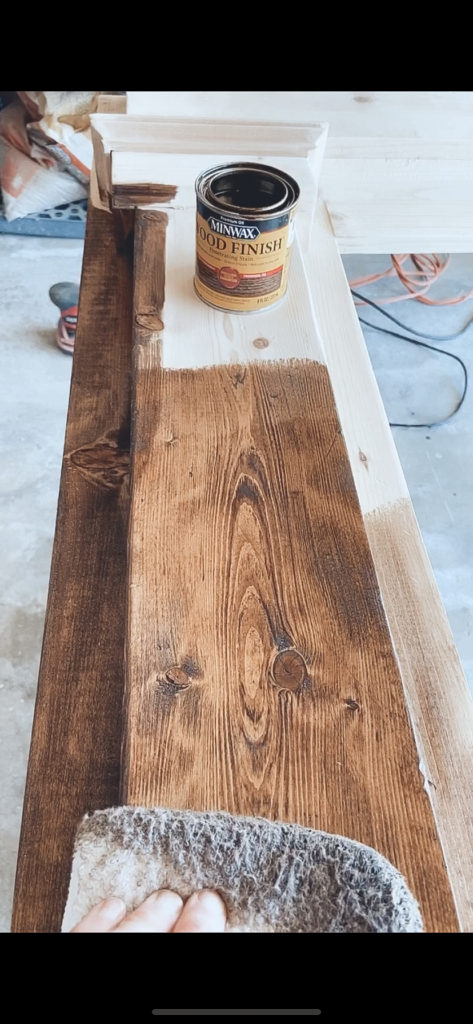
I stained the entire mantel with Minwax Provincial. This makes the wood look older and more natural under the chipped paint.
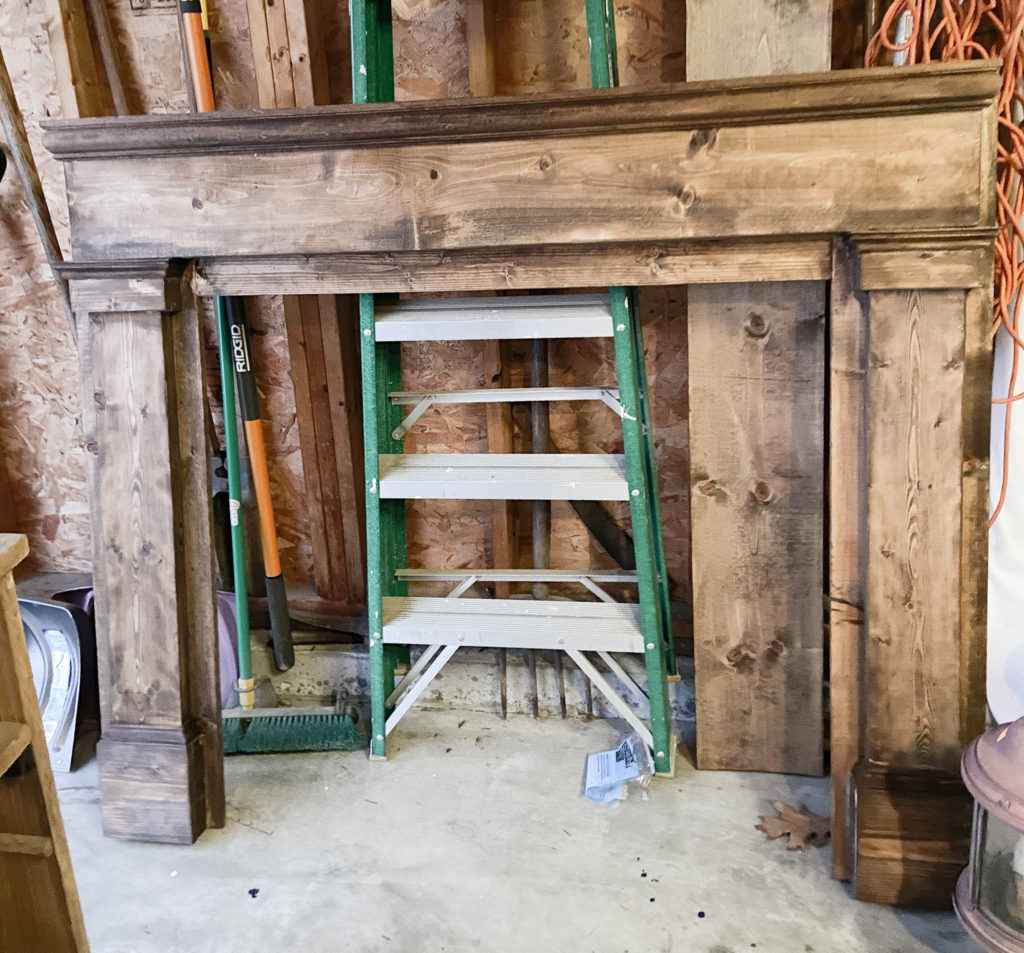
The mantel is almost camouflaged in my junky garage. HaHa!
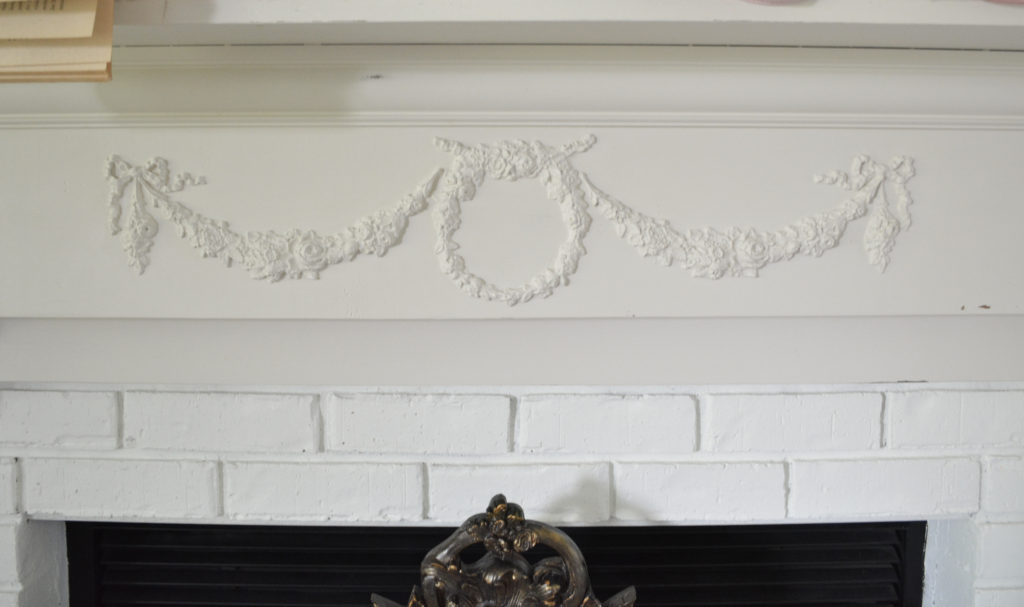
Step 3 – Add furniture appliques
Furniture appliques are a great way to dress up your projects. I wanted a French feel to my mantel, and this wreath and these swags were perfect. These are made of a flexible resin and were purchased from Etsy.
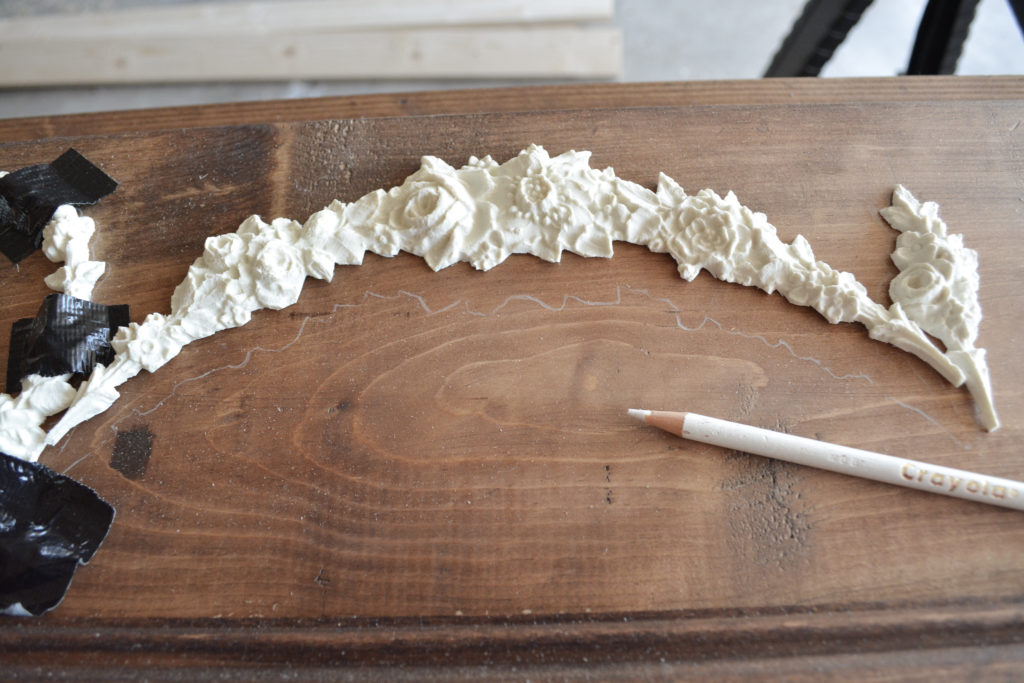
After I decided the placement of the appliques, I used a chalk pencil to draw around them. This just made it easy to put them back in the right spot after applying the glue.
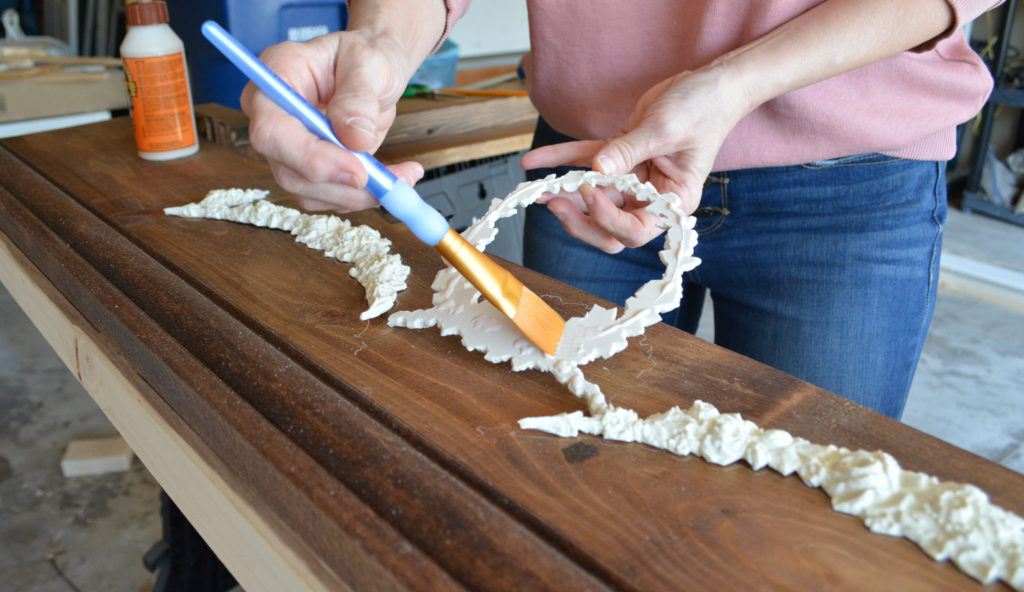
I applied wood glue to the back of the applique with a brush.
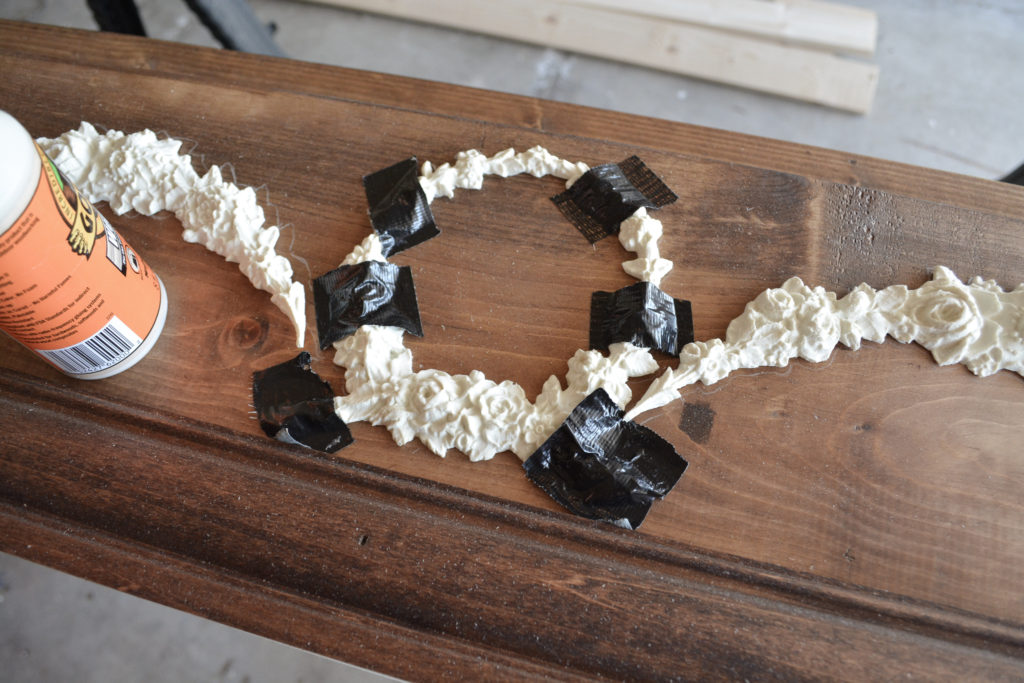
Duct tape helped hold down the appliques while the glue dried. I had issues with the ends of the swags and the wreath bow not sticking down. After the wood glue dried, I used super glue on the trouble areas. I also caulked all around the appliques to fill any gaps.
Step 4 – Vaseline for paint resist
I applied Vaseline to the stained wood in the spots that I wanted to be “chipped”. I kept this very minimal.

The most chipping is naturally along the bottom and side edges of the wood.
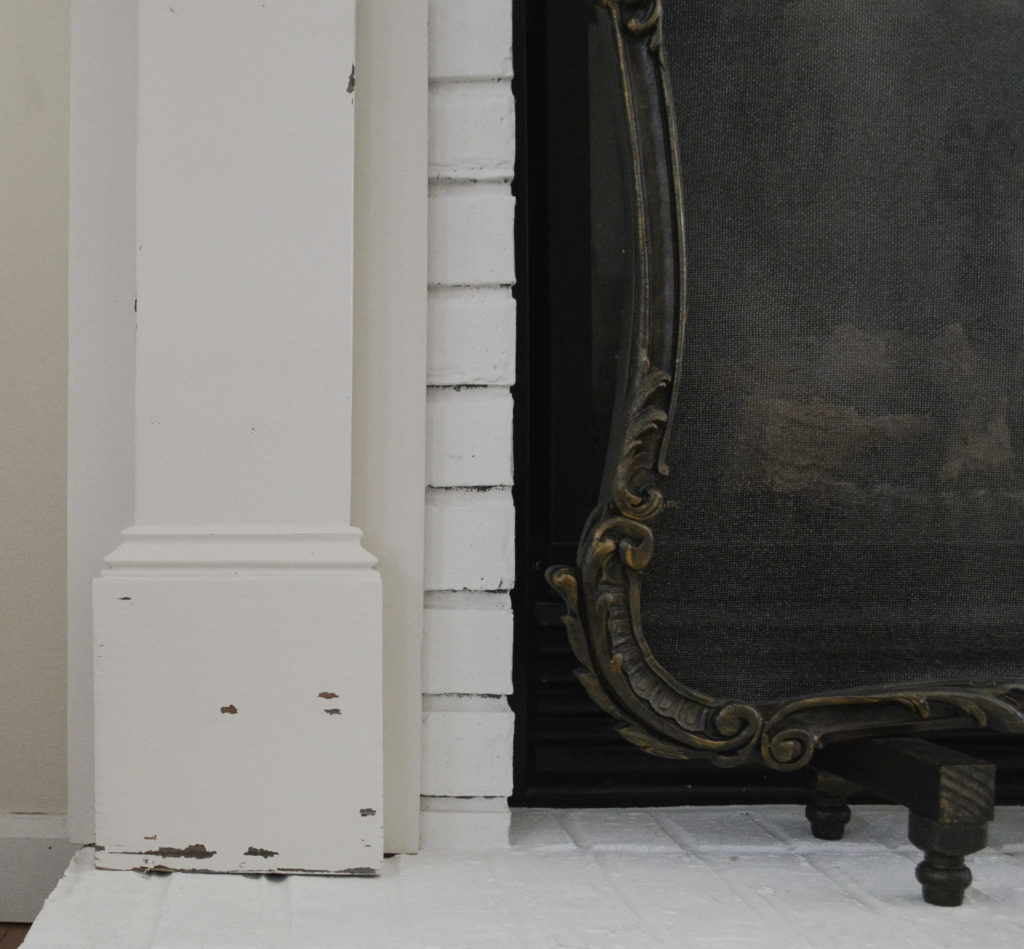
Lightly sanding will remove the paint from the areas where the Vaseline was applied.
Step 5 – Paint and seal
I applied three coats of homemade chalk paint using Valspar flat in Shoji White. You can see my chalk paint recipe here.
Lightly sanding the paint reveals the chippy spots and prepares the piece to be sealed. I applied two coats of Minwax furniture wax in natural.
So remember, there are many ways to achieve an antique looking piece. It is not always crackled chippy paint, sanded edges, or antiquing glaze. It can be a subtle finish with period appliques and construction.
PIN IT FOR LATER!
Thanks for stopping by,
Janet