
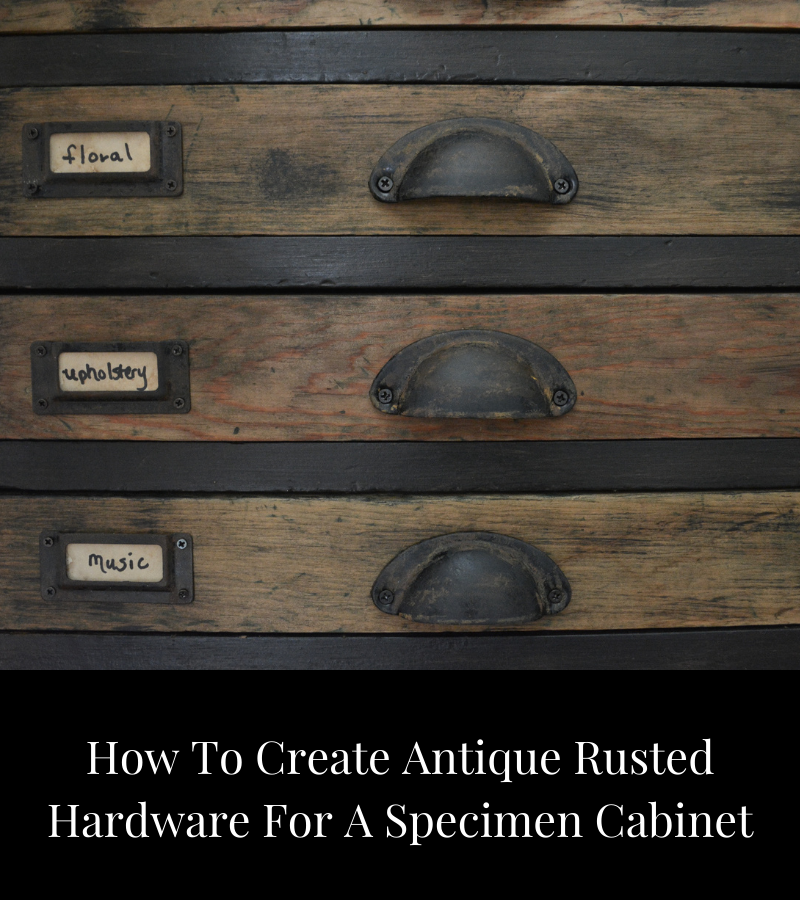
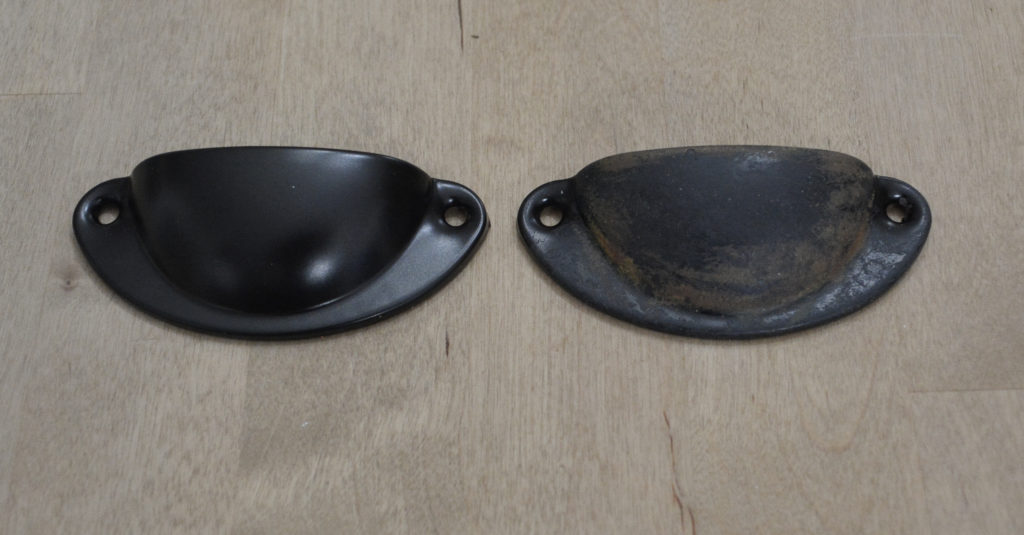
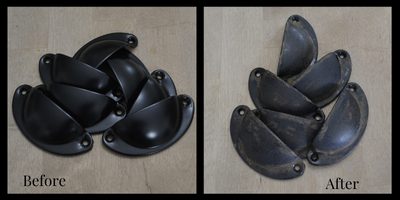
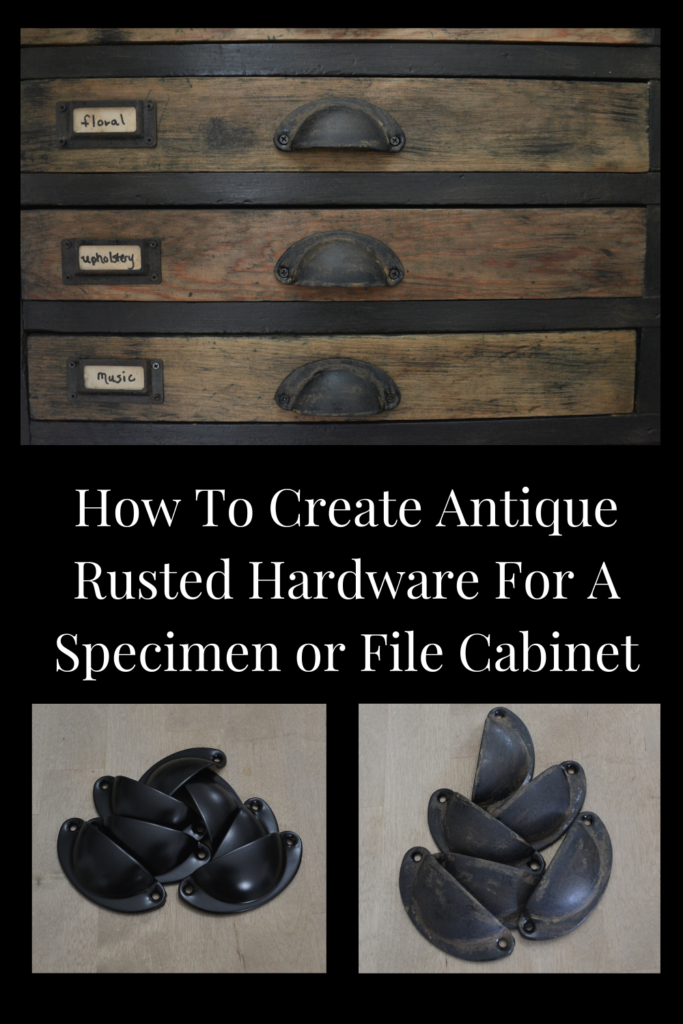
I am working on turning a cabinet I picked up on Facebook marketplace into an antique looking file/specimen cabinet. Well this cabinet has 20 drawers, so in order to keep things in budget, I had to find some inexpensive hardware. These cup pulls were the right style and price, but they were too smooth and shiny for my “antique cabinet”. I needed to figure out how to create an antique rust finish on the hardware. I came up with two ways!
My hardware was purchased from Amazon. A 20 pack of 2 1/2 in hardware bin cup pulls, and a 20 piece 2.44 x 1.14 in iron label frame. Both together only cost $22.00.
Method 1 – Create An Antique Rust Finish On Hardware With Paint
The first method uses paint layering to create the rust effect.
First Take Down The Smooth And Shiny Surface
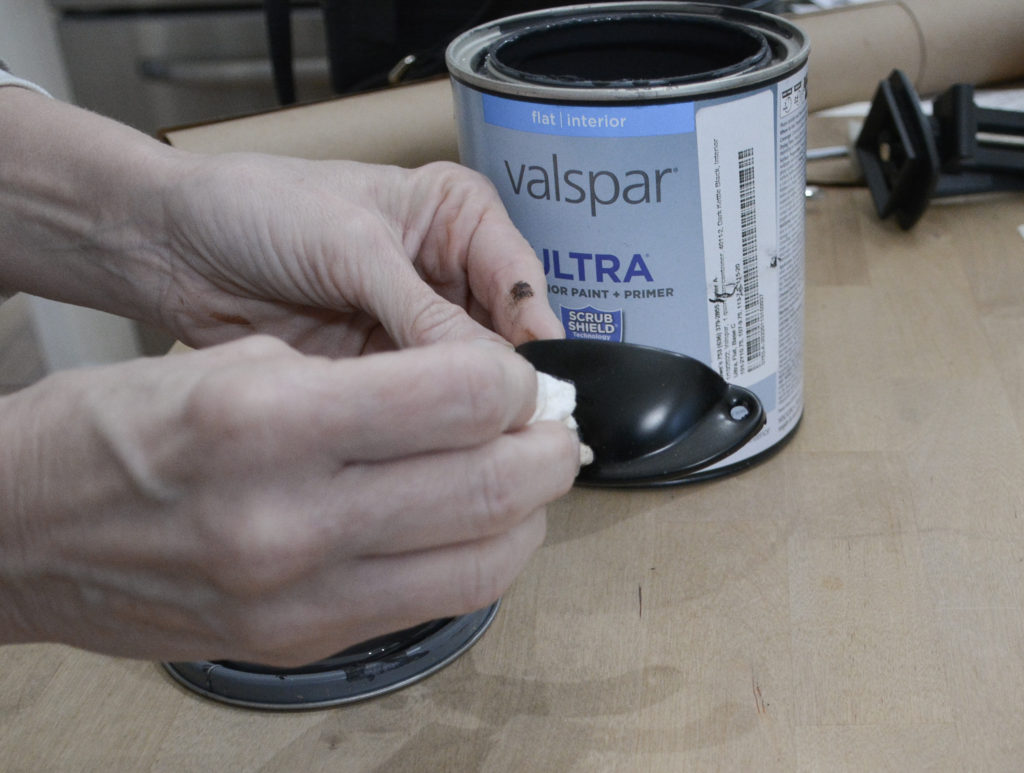
Dab on a flat, off black paint. This one is called Dark Kettle Black. I had this paint on hand, but you could use craft paint for this as well.
Create a sort of rosette with a rag, dip it in the paint, and pounce the paint onto the hardware.
This instantly creates a flat, textured surface to apply the rust. You could even stop right here. The handles look more like a heavier, hammered metal.
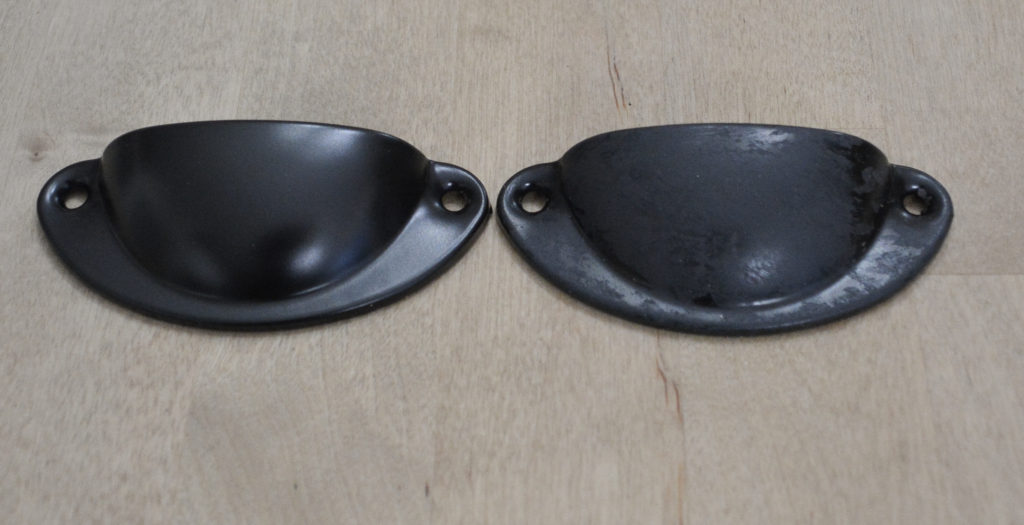
Then Create The Rust
The rust is created when a dark orange paint and a brown paint are combined. I am sure you could also use a rust colored paint, but using two colors creates more depth and realism.
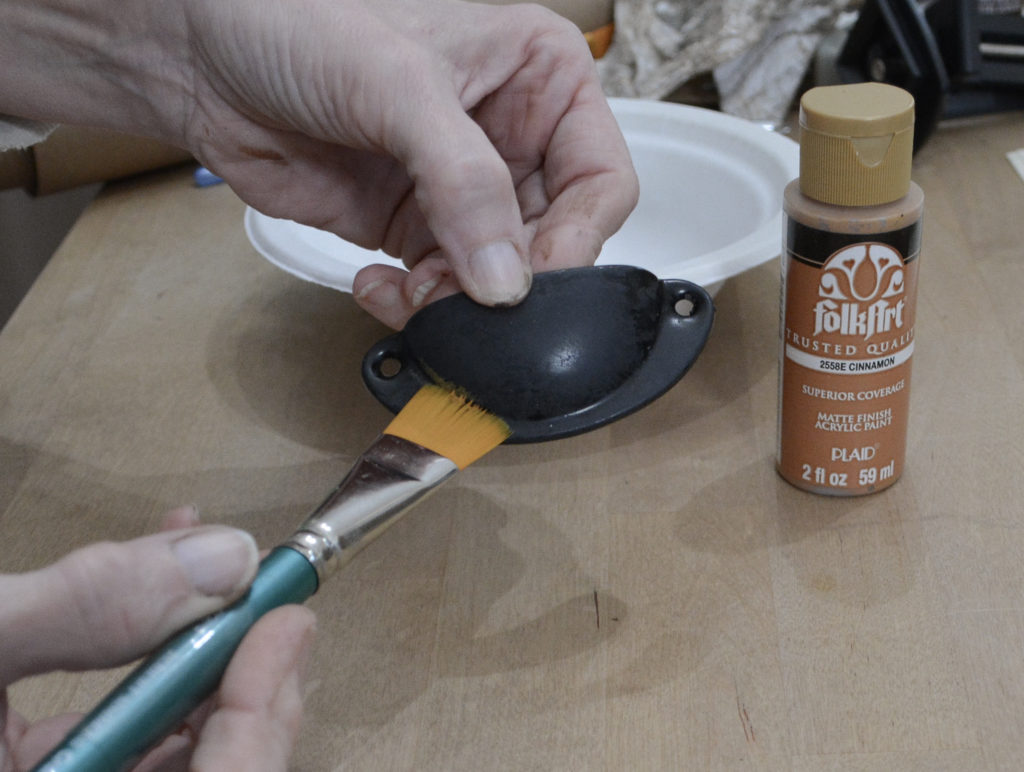
Lightly brush on the orange, I used cinnamon, to highlight the areas that would rust.
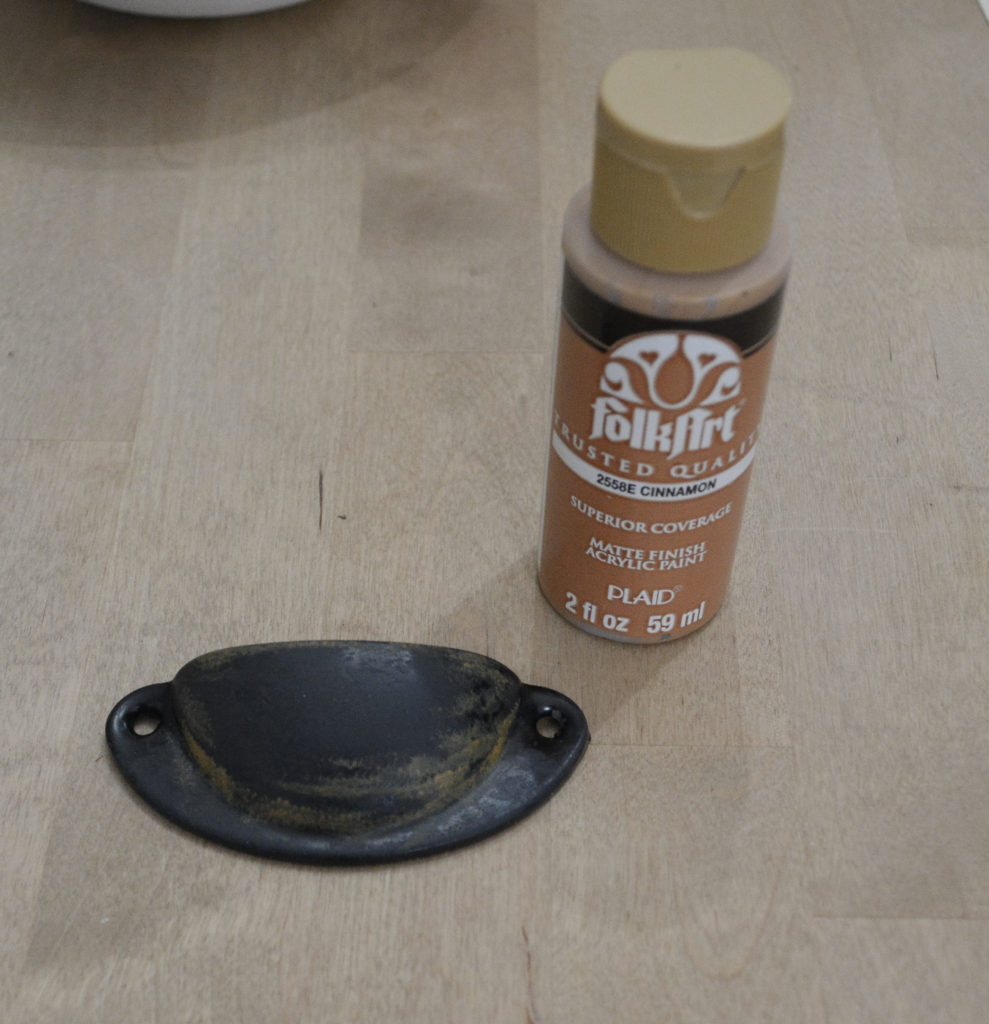
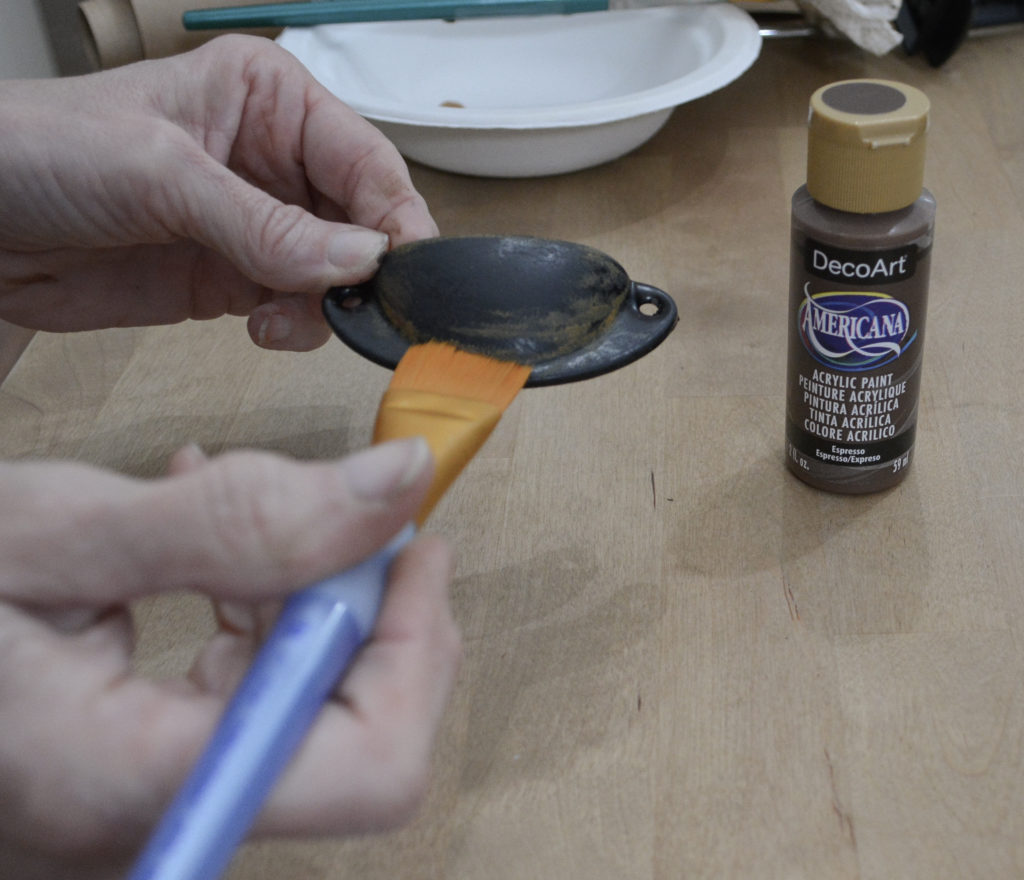
Next brush over the orange with the brown, I used Espresso.
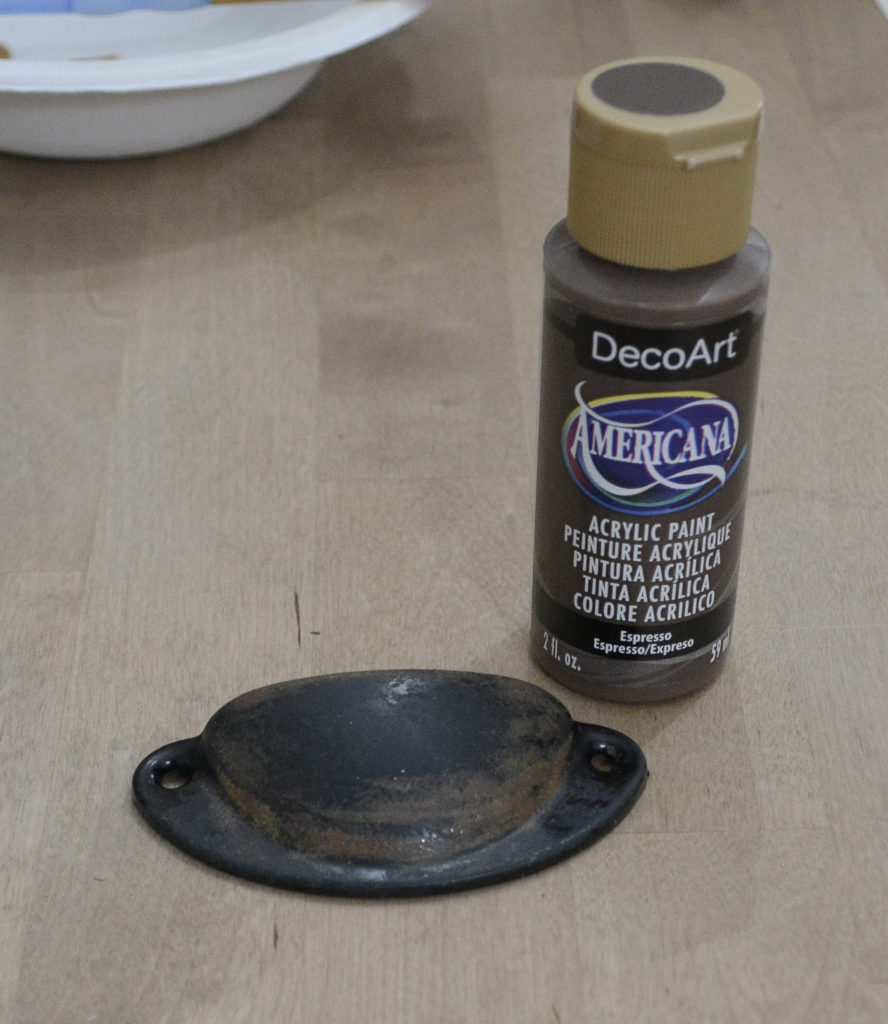
This creates the rust color.
The last step is to dab black paint over the hardware again to blend it all together. You can spray this with a matte sealer if you want to protect the finish. I never really find it necessary unless it will be used and cleaned very frequently.
Method 2 – Create A Rust Finish With Wax
I used rust colored wax on my label holders. There was such a small area to cover, I thought it would be a lot faster and easier to just rub a wax over the surface.
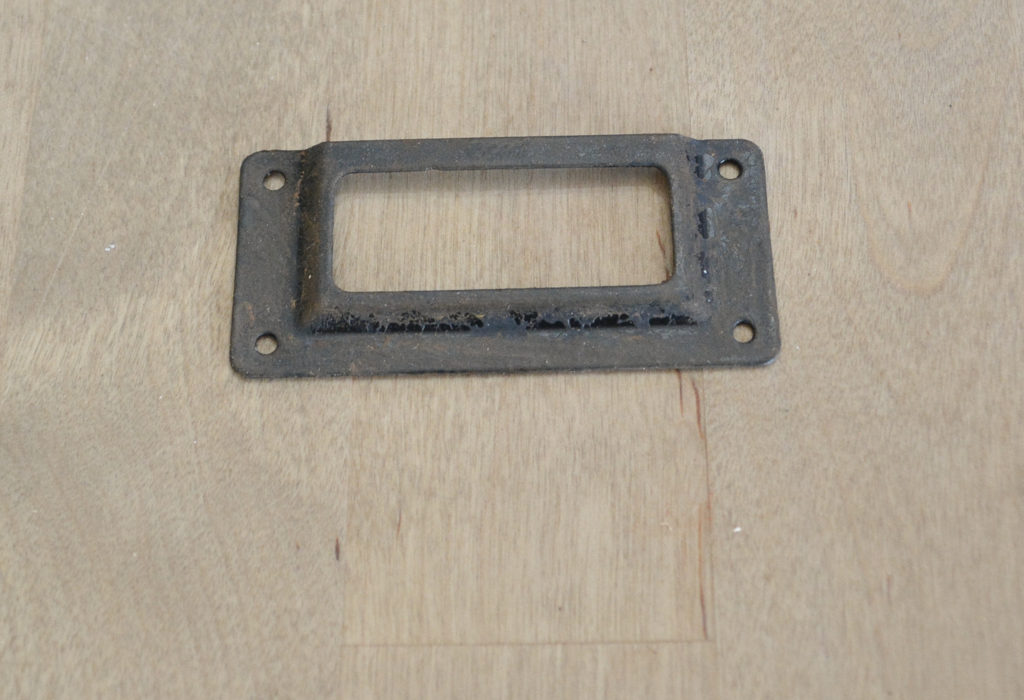
First, dab on the flat off black paint, just like with the drawer pulls.
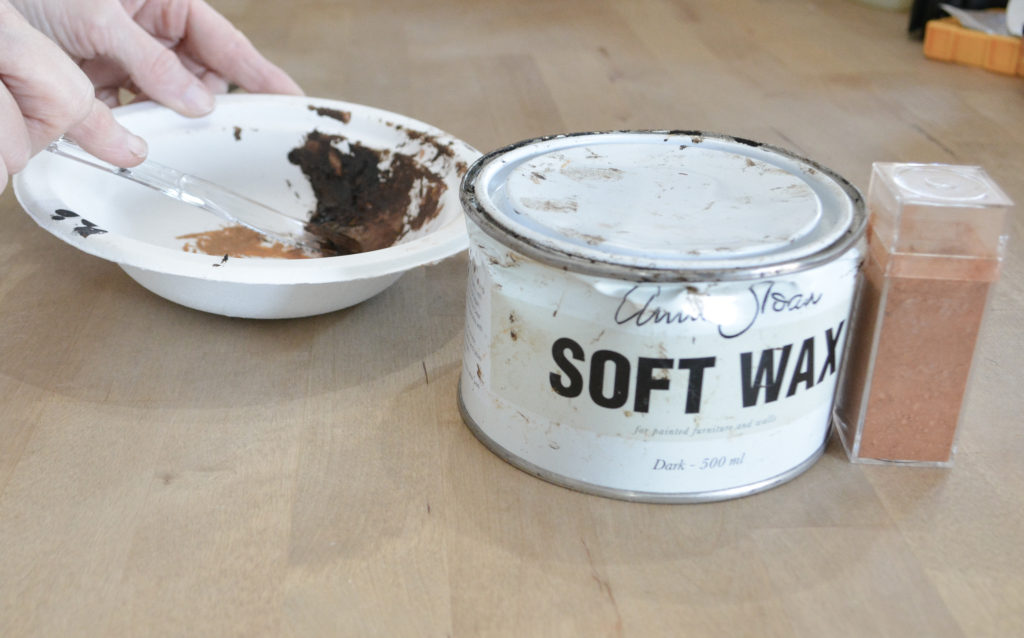
Next, mix together a small amount of dark wax and rust dust (Bragdon weathering powder) available at hobby stores. I have made colored wax before by adding paint, so that would probably work as well. Just mix rust colored paint with dark wax.
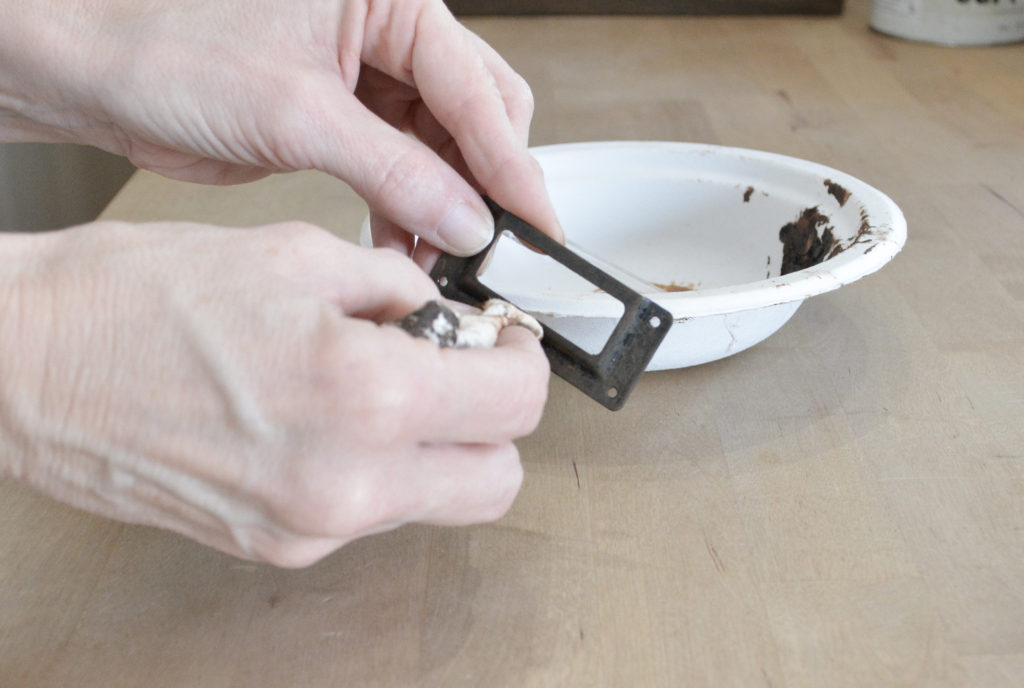
Then rub and pounce the rust wax onto the label holder with a cloth.
This method works on the drawer pulls as well, it is just a little more subtle. However, if you are looking for quick and easy, this is for you!
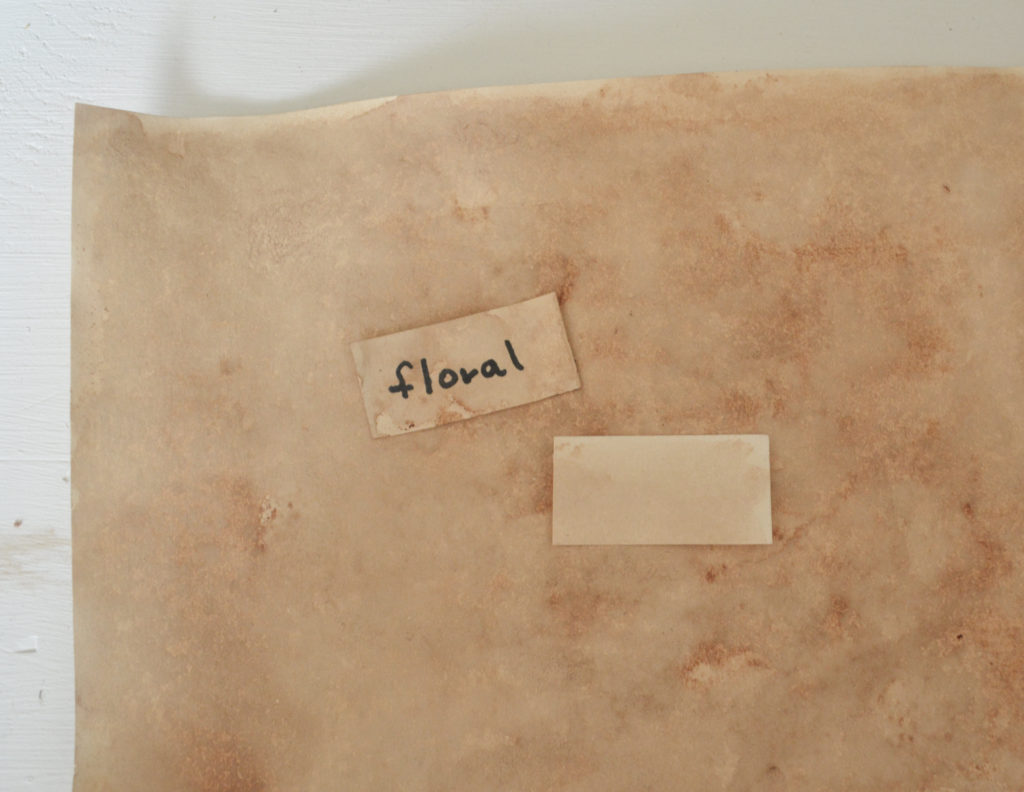
I tea stained card stock to make the labels. You can see the easiest way to tea stain paper here. The messier the writing the more authentic it looks, right? That’s going to be my story because my handwriting is terrible!
I am very happy with the way these turned out! Two different methods of how to create an antique finish on hardware. Since I started writing this, I have finished the cabinet. All the details on that will be on my next post.
PIN IT FOR LATER!
Thanks for stopping by,
Janet
Hello, My name is Stacy. I just started following you.😊 Our tastes are very much the same. I like this cabinet that you turned into an old filing cabinet; it’s just beautiful!! Thank you for sharing all of your projects. I really enjoy the make overs and I am working on the French drying rack. I have never worked with wood and am so happy that you set up all these detailed instructions to make great pieces for us newbies. Take care, Stacy🌷🌷🌷
Thank you so much for sharing that with me! I really wanted to create projects that anyone can do .Have fun with the drying rack! I know it will be great.