
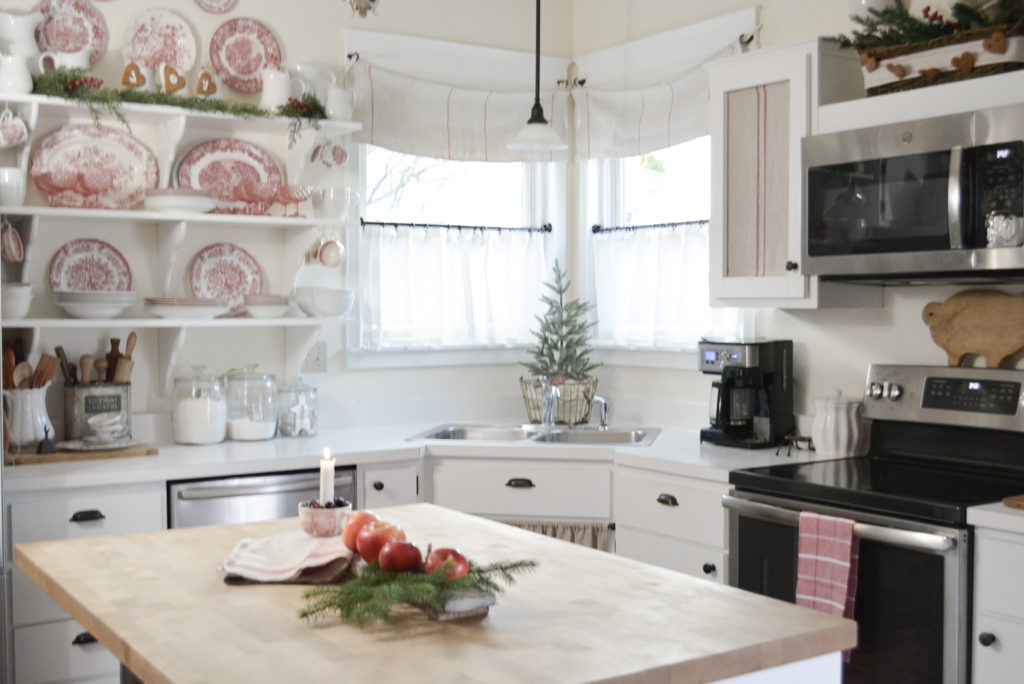
Using dried orange slices for Christmas decor has become very trendy the last few years, but the idea has been around for a long time. I made them and incorporated them into my Christmas garland over 20 years ago. It is a timeless, classic look. This year I wanted to recreate the look, so I am going to share how to make a dried orange slice garland.

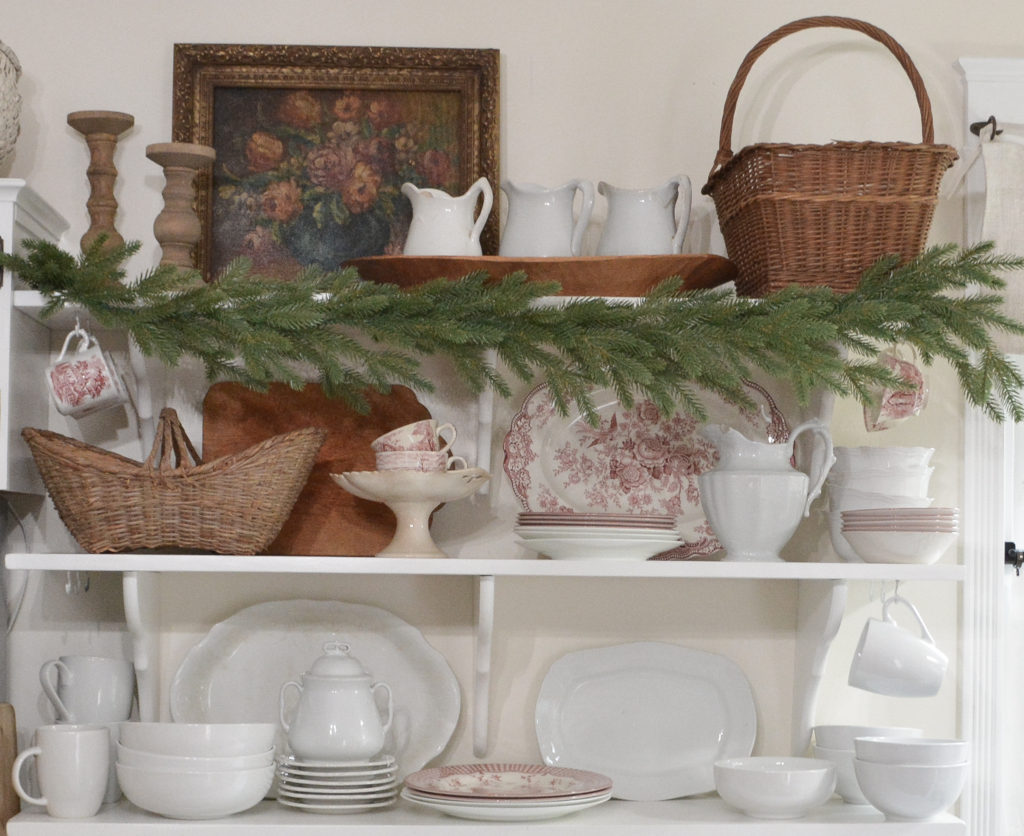
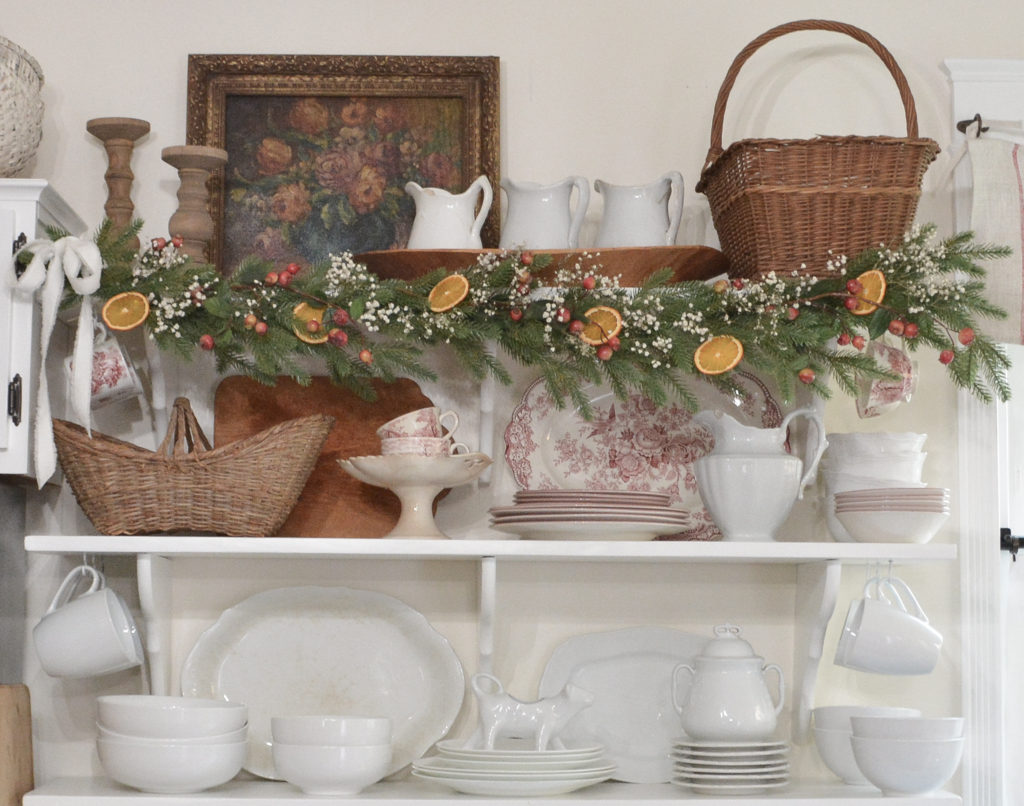
Before I got started decorating my garland, I did a little shelf rearranging. I also decided to finally switch out my outlet and switch covers to white. Oh, and I also re-caulked my kitchen counters. Below is last years shelves. I am really liking the change! You can see more of last years Christmas Kitchen here.
I started with a simple faux greenery garland from At Home Stores. Command hooks and floral wire were used to hang it from the shelf. My plan was to add dried orange slices, so I needed to make some.
This post contains affiliate links, which means I make a small commission at no extra cost to you. See my full disclosure here.
How To Make Dried Orange Slices
There are tons of tutorials for drying orange slices, I will just highlight what worked for me.
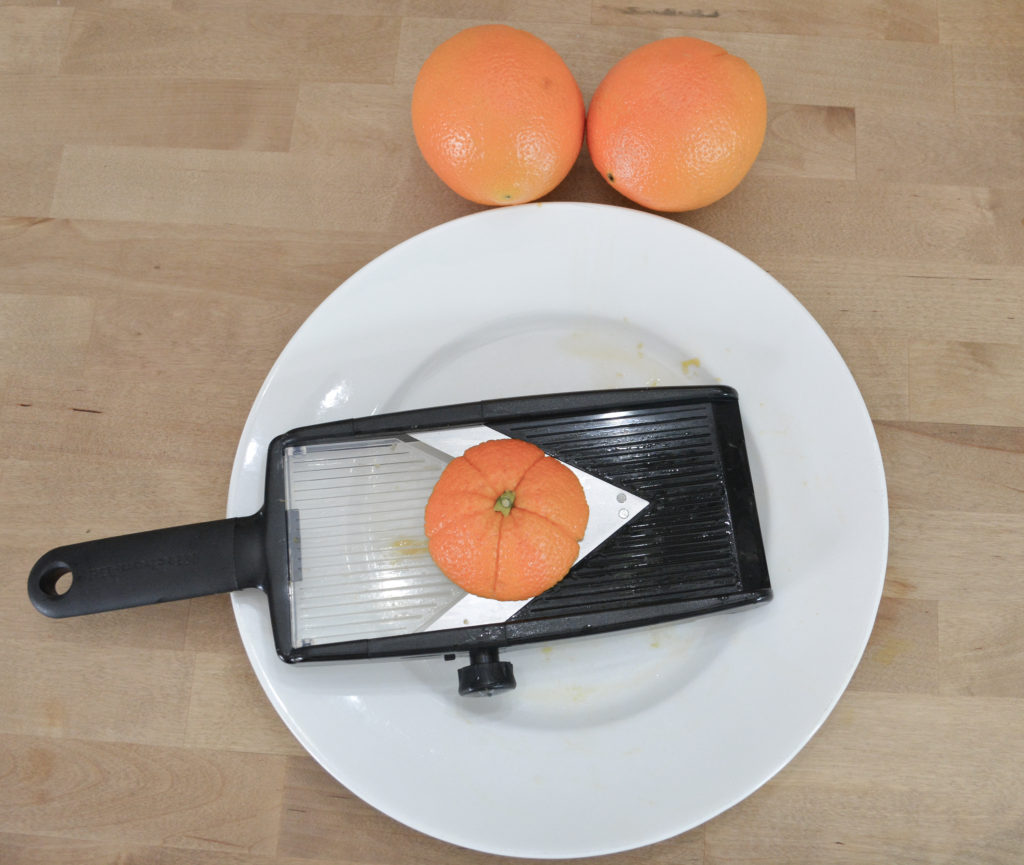
Use naval oranges with a thick heavily textured skin.
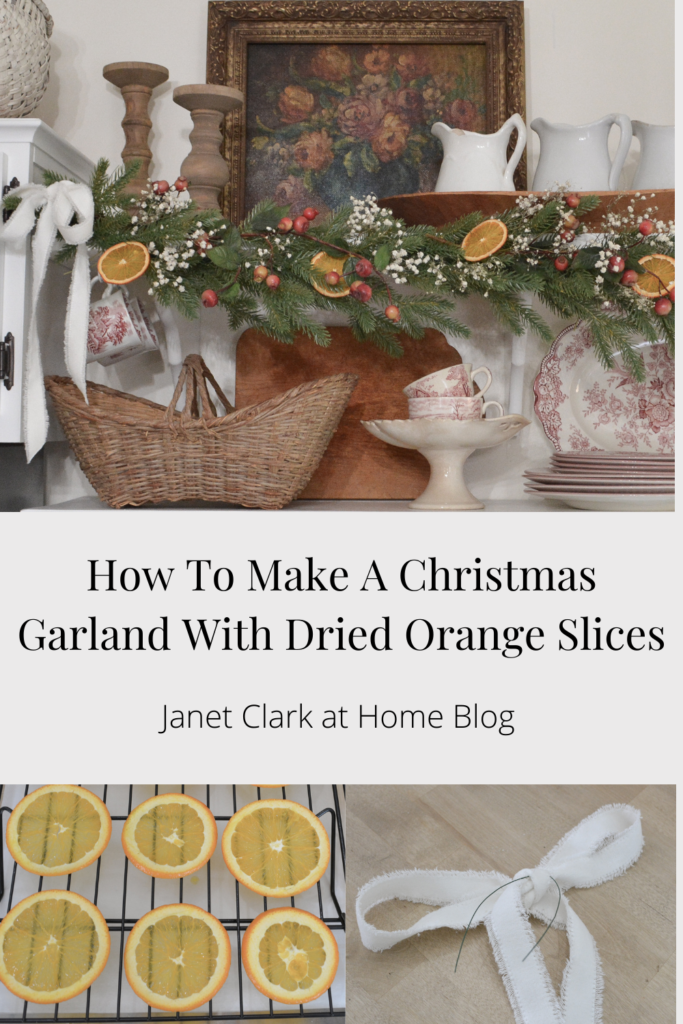
Slice 1/8 inch thick. I used a mandoline slicer. The one I used is no longer available, but this mandoline slicer is similar.
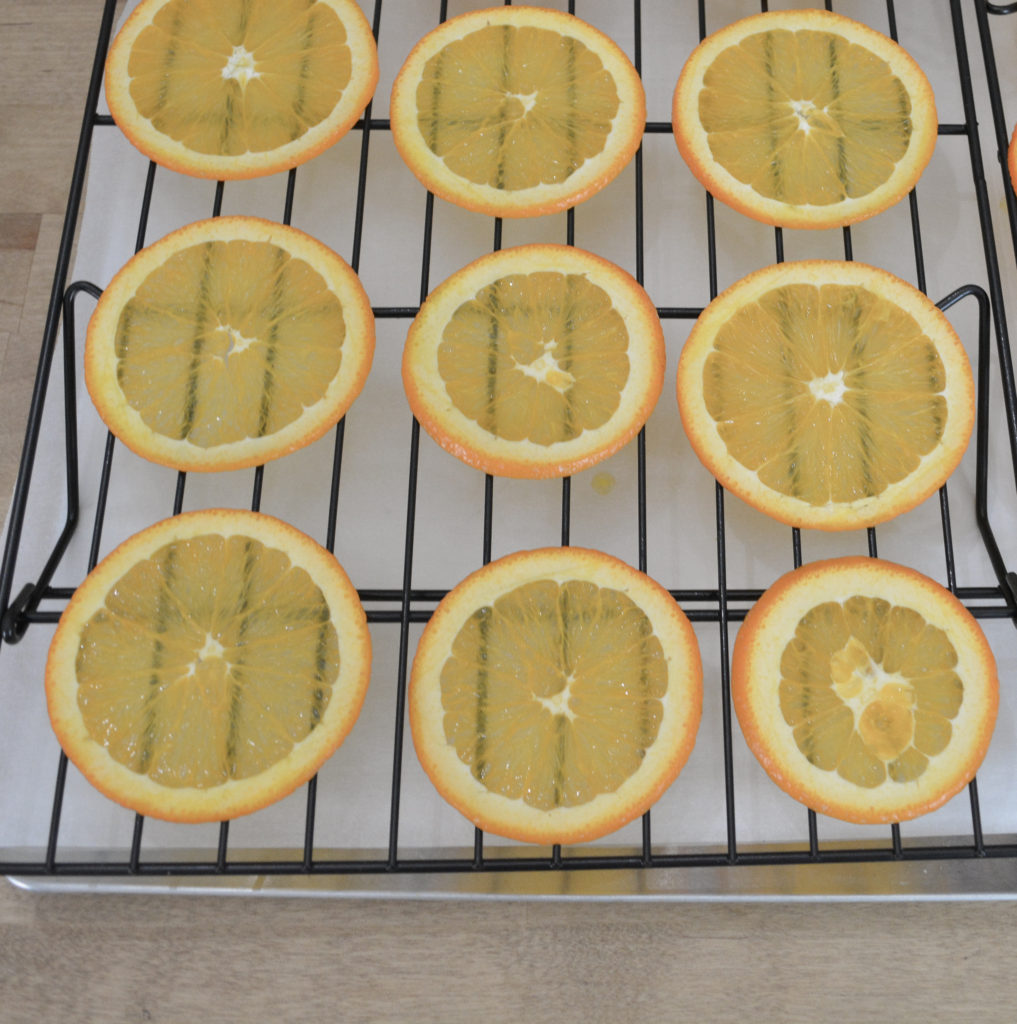
Place on a cooling rack over a cookie sheet covered with parchment paper. I also dabbed the slices with a paper towel to remove extra juice and speed the drying process.
Bake at 200 degrees for 2 1/2 hours, turning over once. I left mine just a little soft to make sure they kept this beautiful color. I think they will continue to air dry. The longer they bake, the browner they will get.
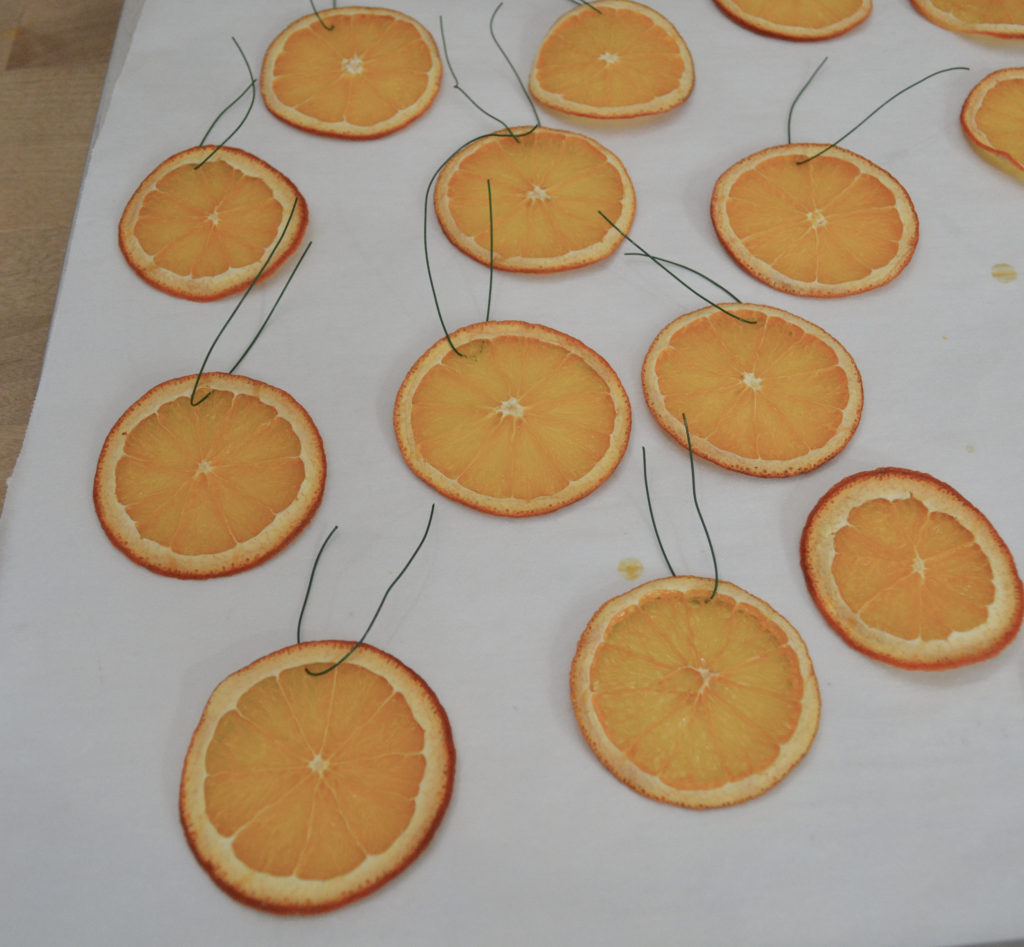
Let the slices cool and thread floral wire through the top for hanging.
Decorating A Dried Orange Slice Garland
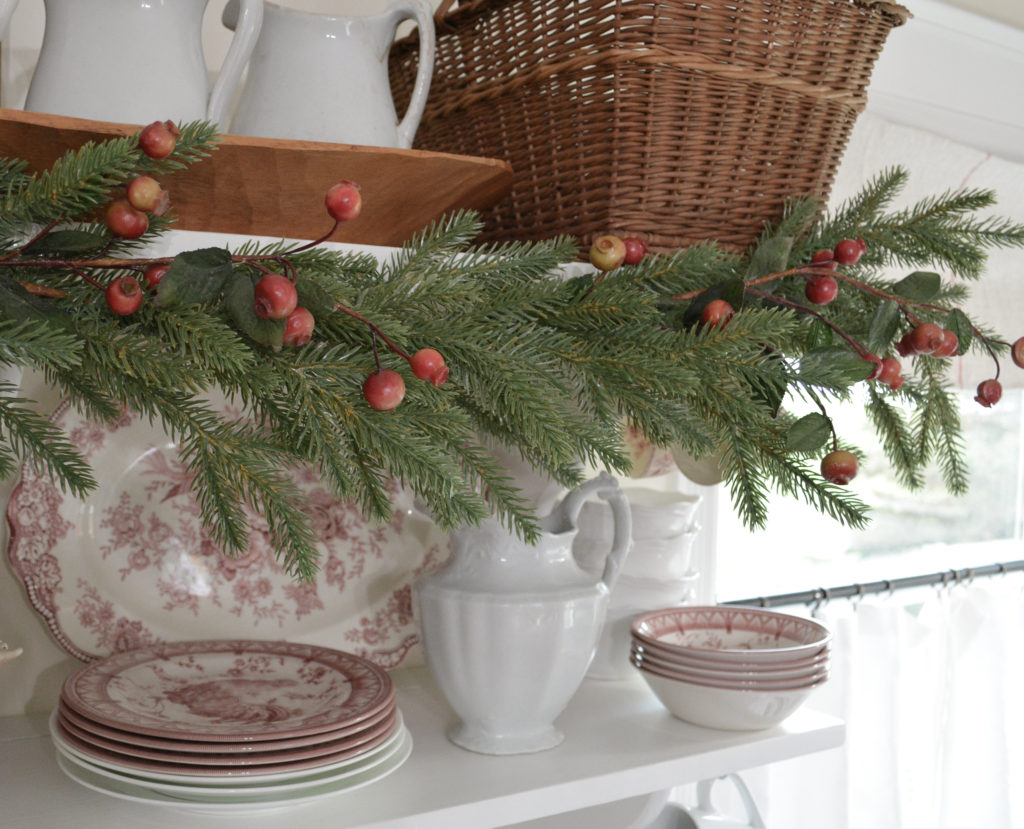
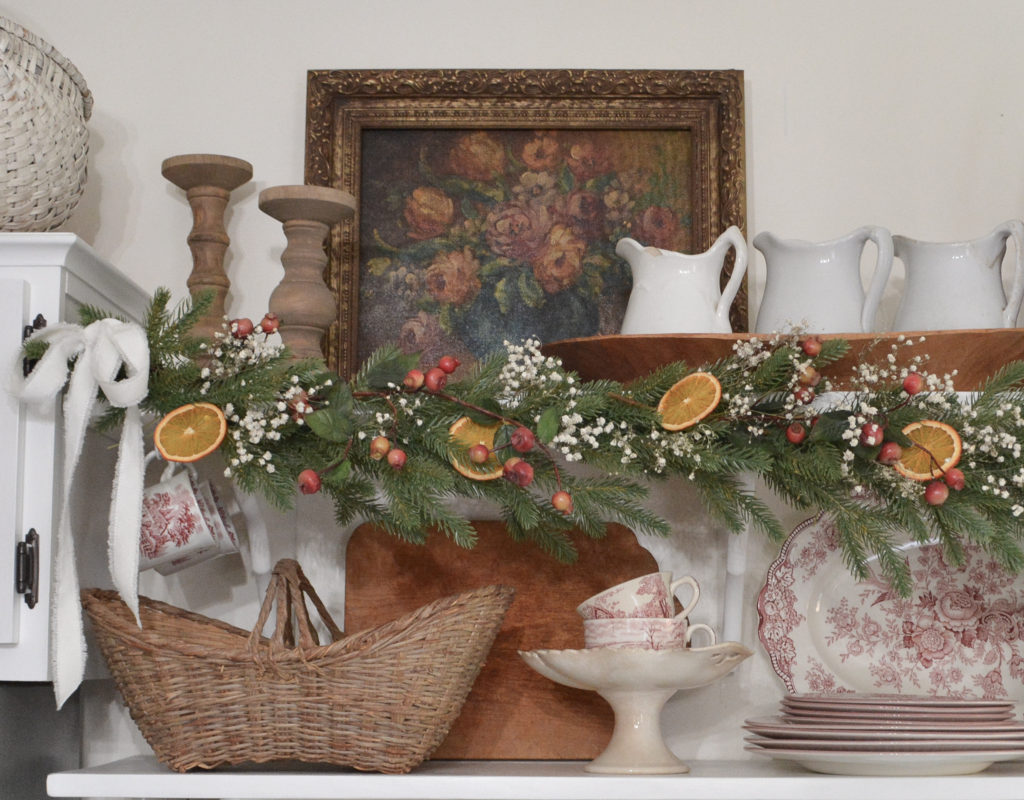
First I added a few faux berry stems. I’ve had these for years and I am always on the look out for similar ones.
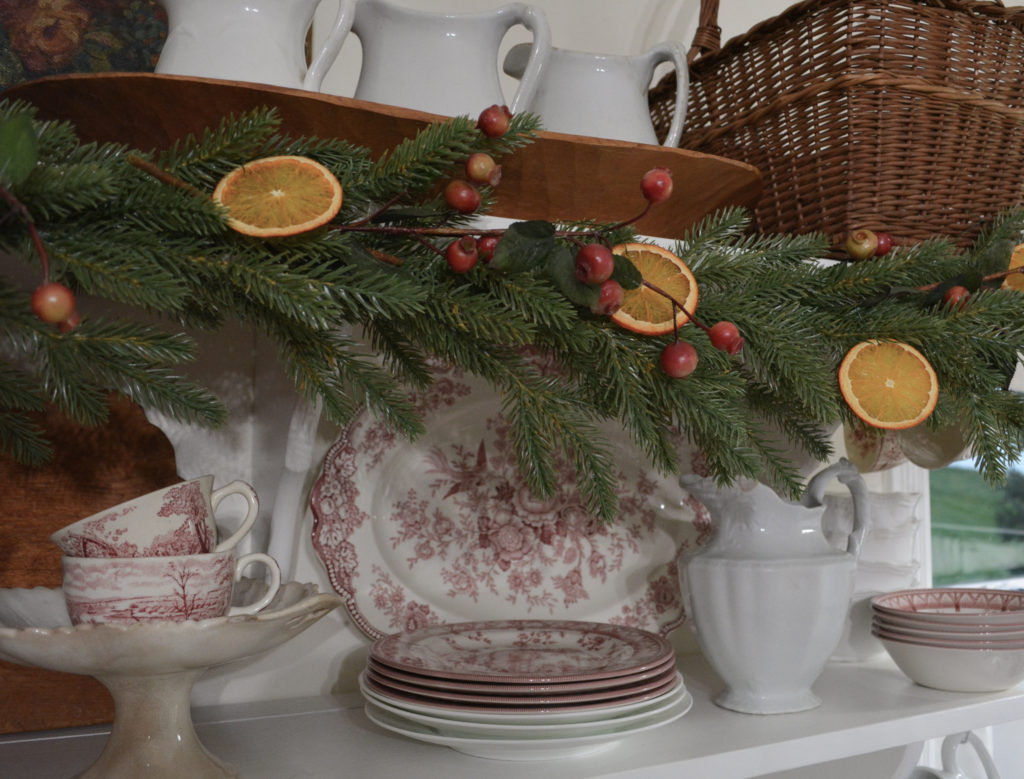
Next I attached the dried orange slices.

And the final touch that I feel really makes this garland, little bunches of baby’s breath tucked in the greenery.
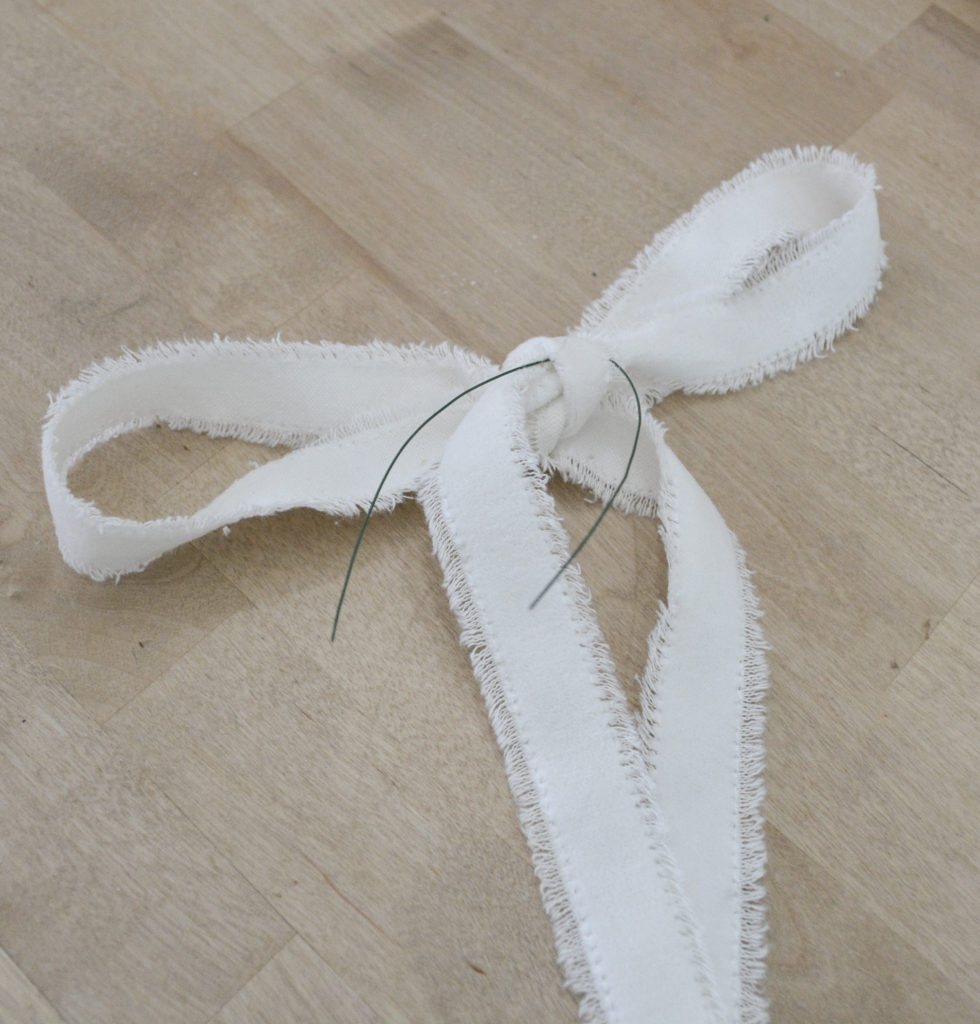
A simple velvet bow with ribbon from Hobby Lobby completes the look. I like to use floral wire to attach the bow to the garland.

I am so happy with how this turned out! A few more places in the kitchen will be getting the dried orange slice and baby’s breath treatment. I hope you enjoyed seeing how to make a dried orange slice Christmas Garland.
PIN IT FOR LATER!
Thanks for stopping by,
Janet
Love the addition of berries and baby’s breath!
Thanks Cyndi! I really enjoyed putting this together.
Absolutely beautiful!
Thank you so much!