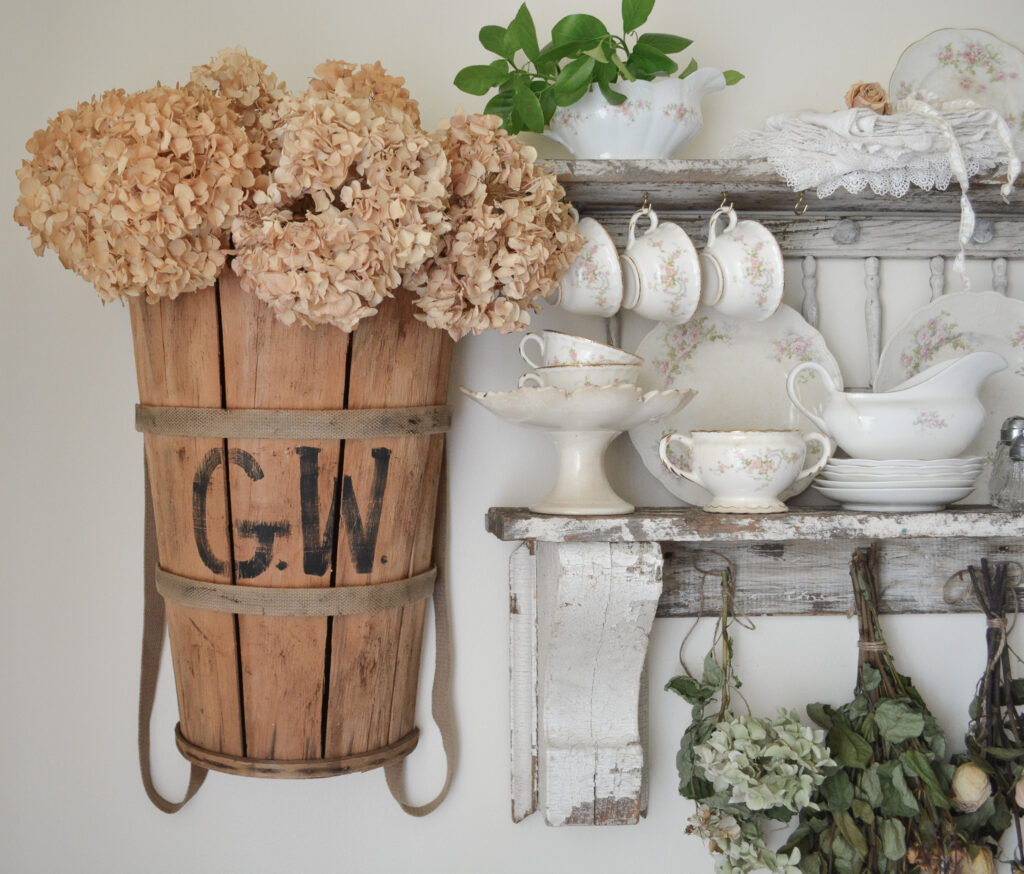
When I put together this shelf for the dining room, I knew I wanted to add something to the side, something rustic, to ground the feminine rose pattern China. An old basket would be perfect. I tried hanging different baskets that I had, but I really needed a wall basket, which I didn’t have. My first instinct is to see if I can use something I already have, not to buy something new. This is what I came up with, I decided to make a French picking basket.
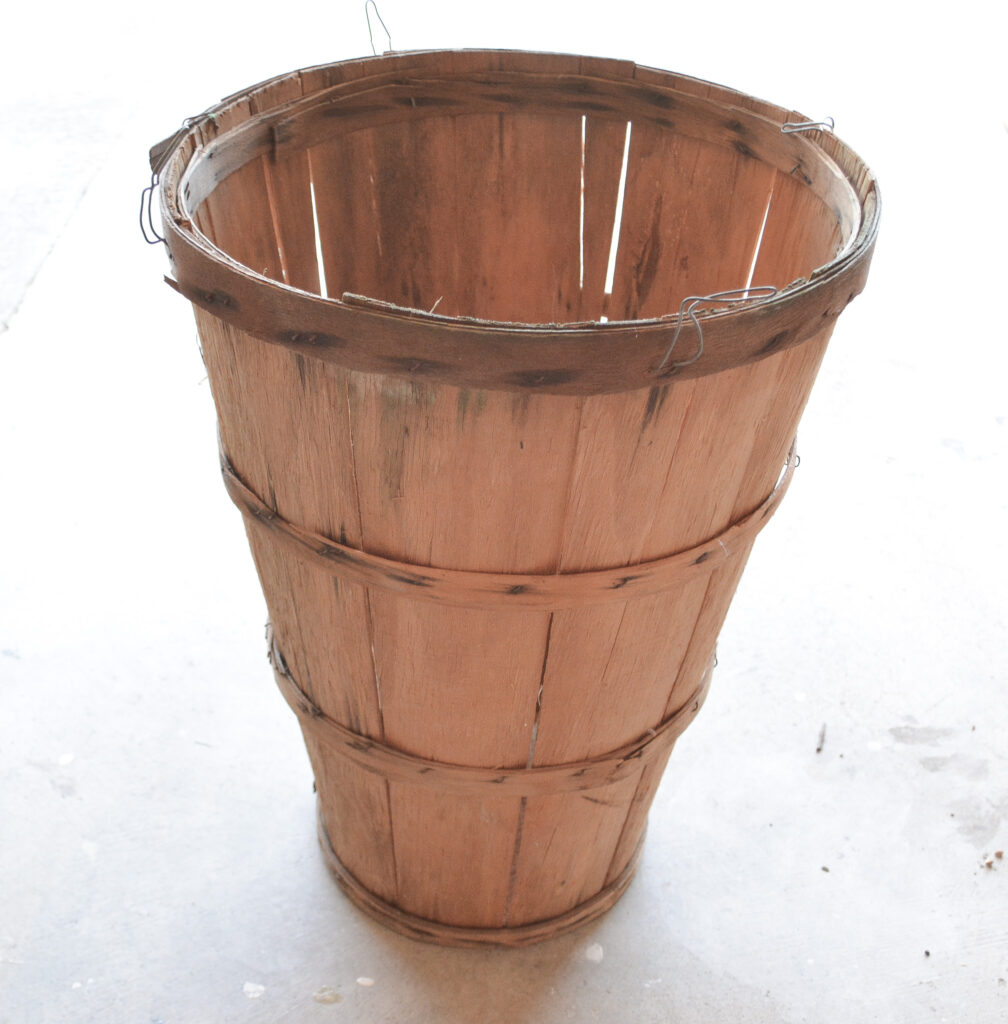
I had this bushel basket hanging around in the basement, I just needed it to be able to hang flat on the wall. Cutting the basket in half didn’t seem that hard, so it was a winner.
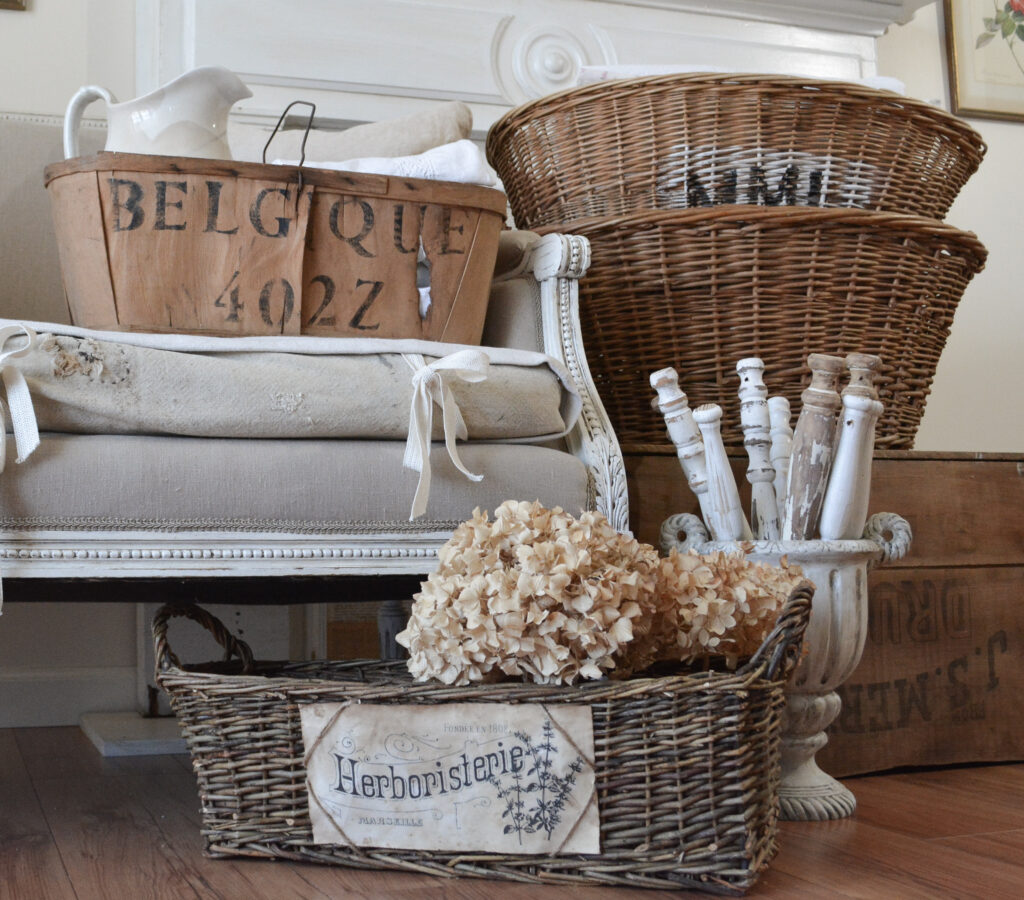
Remember these baskets that I turned into antique French baskets? Naturally I had to give this basket an antique French farmhouse flair as well.
How To Make A French Picking Basket
This post contains affiliate links, which means I make a small commission at no extra cost to you. See my full disclosure here.
Cut The Basket in Half
A picking basket has a flat back and that is what I needed to hang it on the wall. To get the flat back, I cut the basket in half. Bonus, I can now have two baskets out of the one!
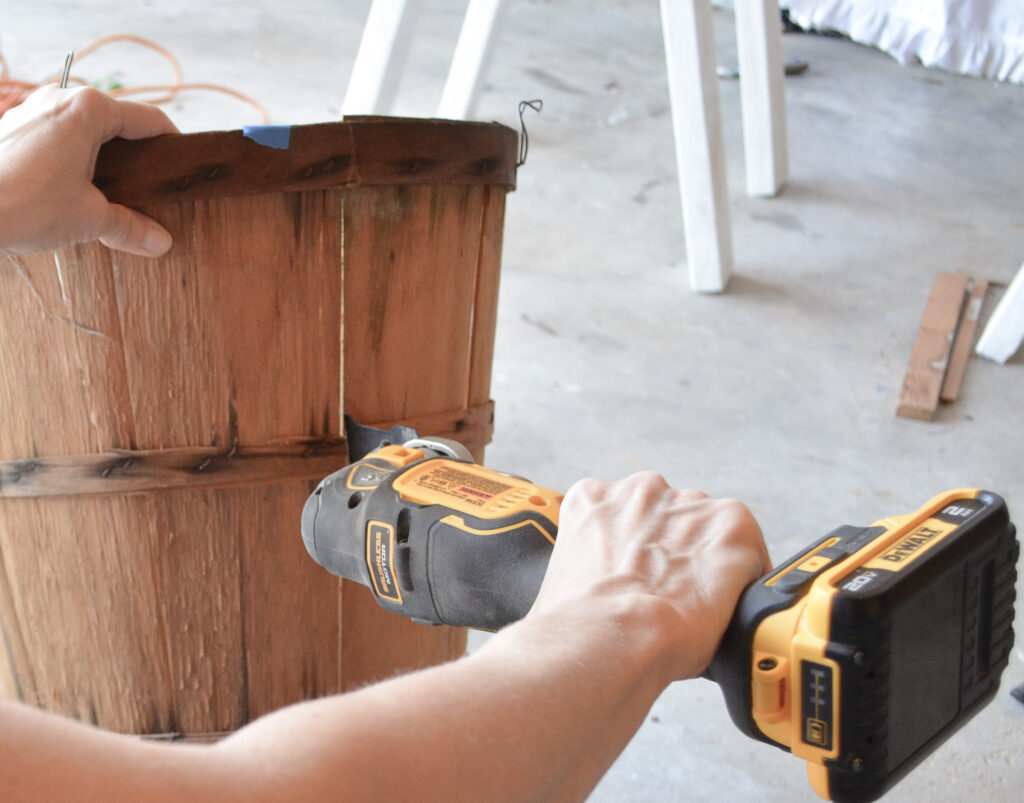
Since this oscillating saw is my new favorite tool, I used it to cut the bands apart. You could use a jigsaw or handsaw for this. It was thin and easy to cut. There were six cuts, three down each side.
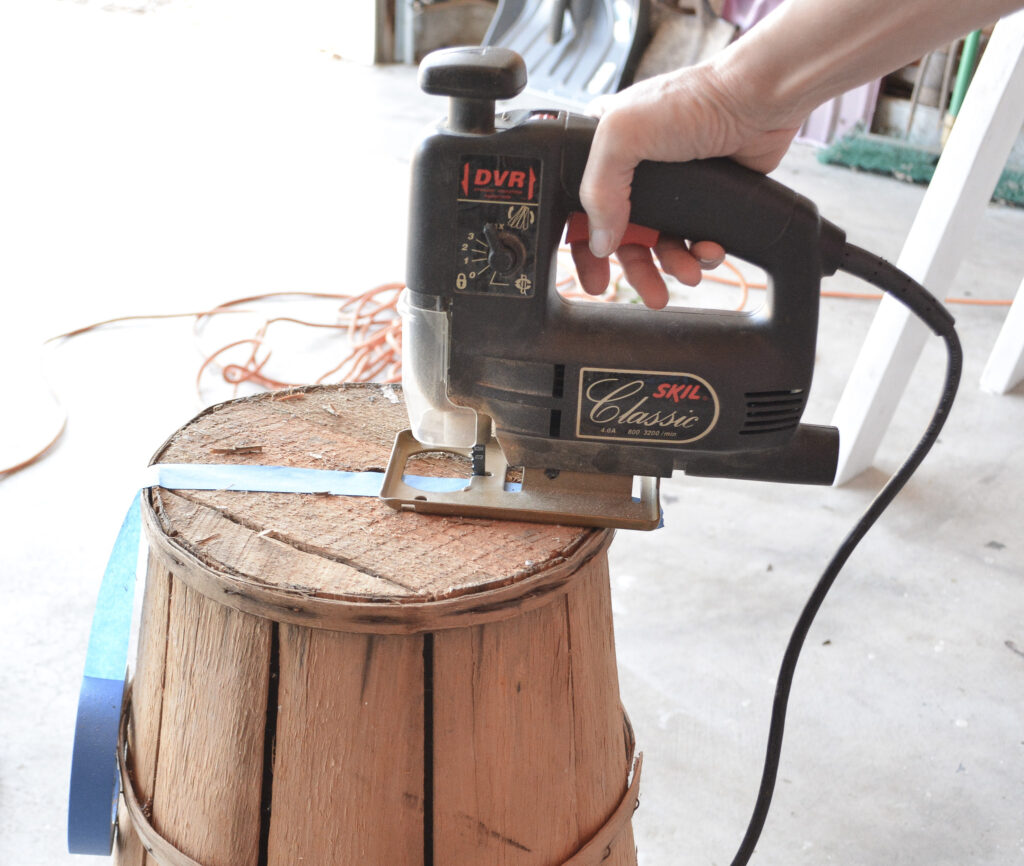
After the sides were cut, I flipped it upside down and cut the bottom board with a jigsaw.
Make A Back For The Picking Basket
Yay for wood scraps! This plywood was the leftover back of the dresser turned kitchen island that my sister and I built.
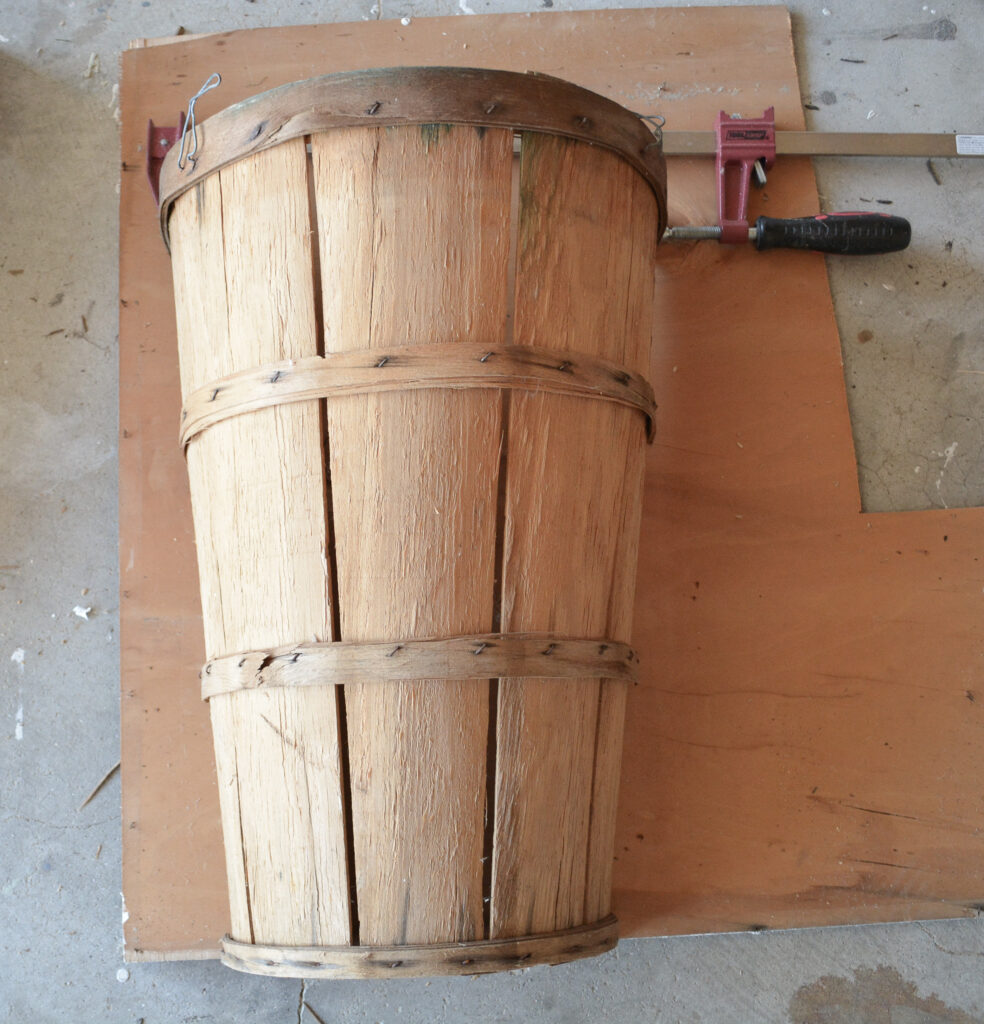
I just traced around the half basket to get my cutting line.
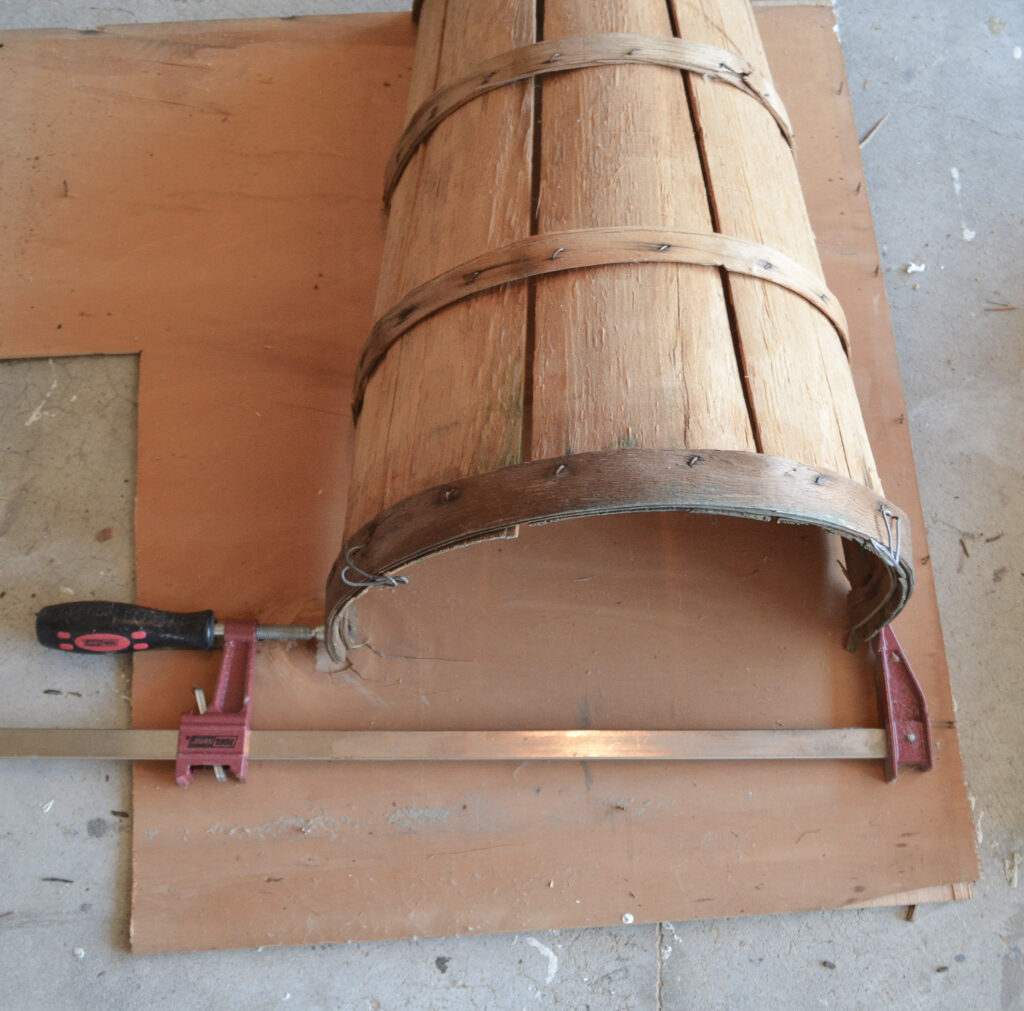
The basket lost its shape after I cut it in half, so I used a clamp to hold it in a curve. The backing will keep it in this shape after it is attached.
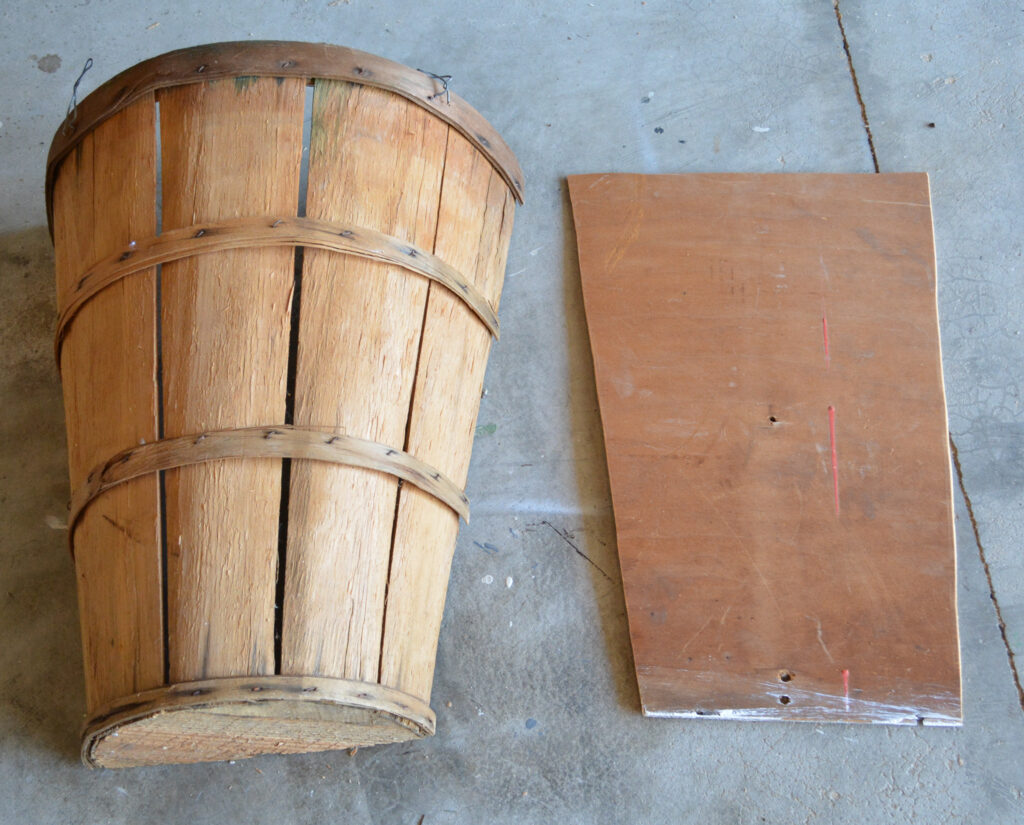
The back was cut out with a jigsaw.
Attach The Back to The Basket
My original plan to attach the back failed. I was going to drill holes in the back and in the basket banding, then wire them together. The banding was just too fragile and couldn’t stand up to the drilling. Time for plan B.
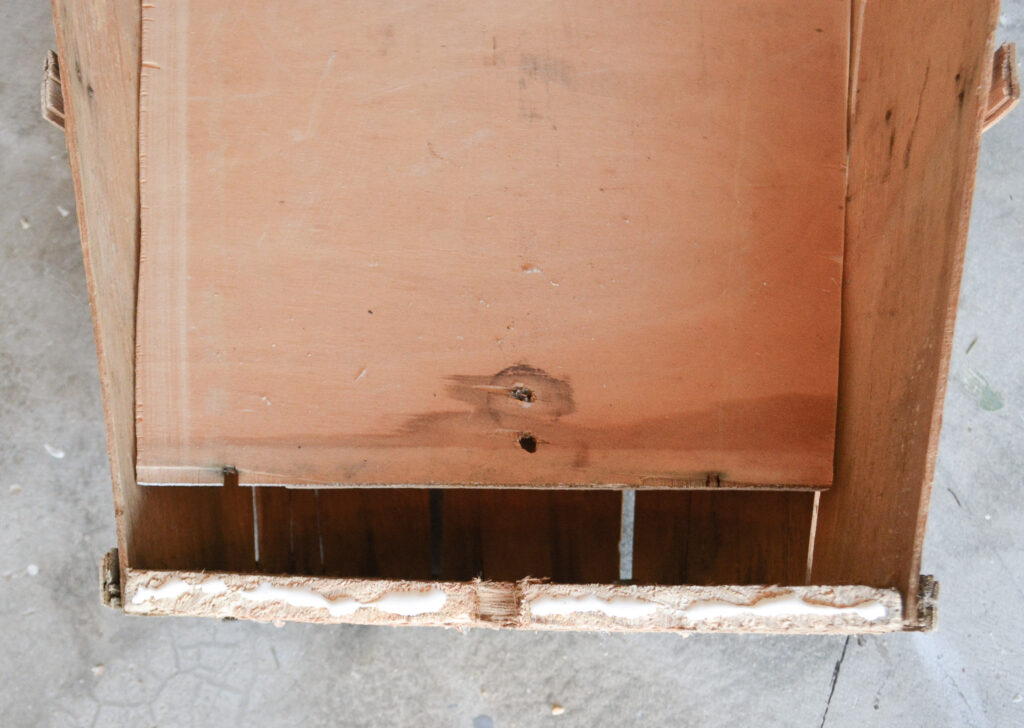
Glue and nails were used to attach the back to the bottom board.
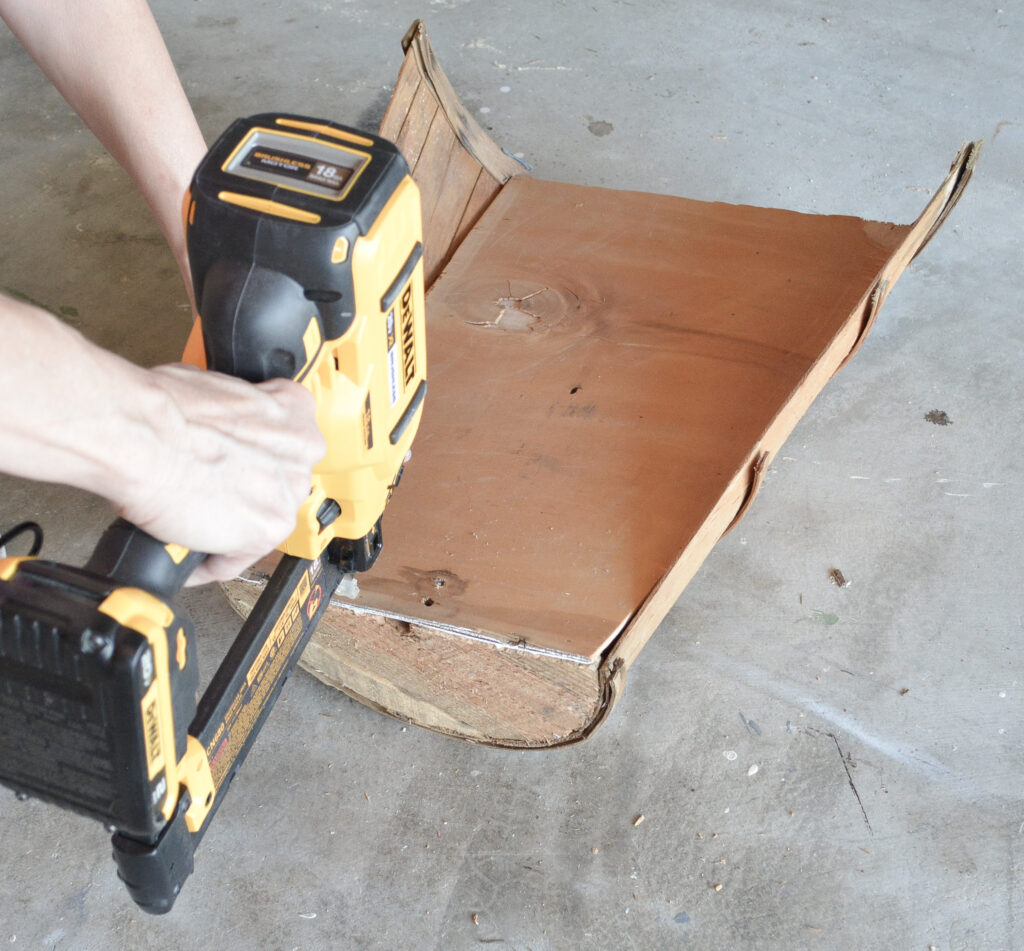
I used my cordless 18 GA brad nailer.
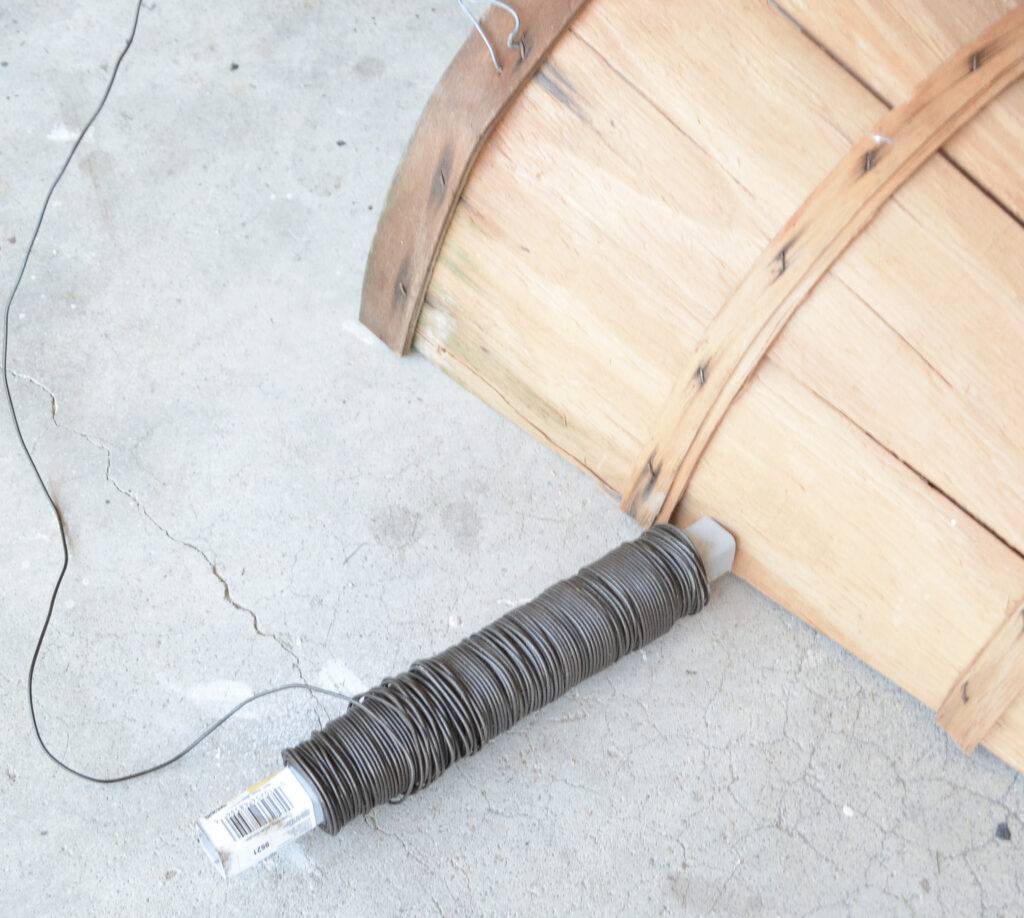
Then I cut a piece of heavy wire to wrap around the basket.
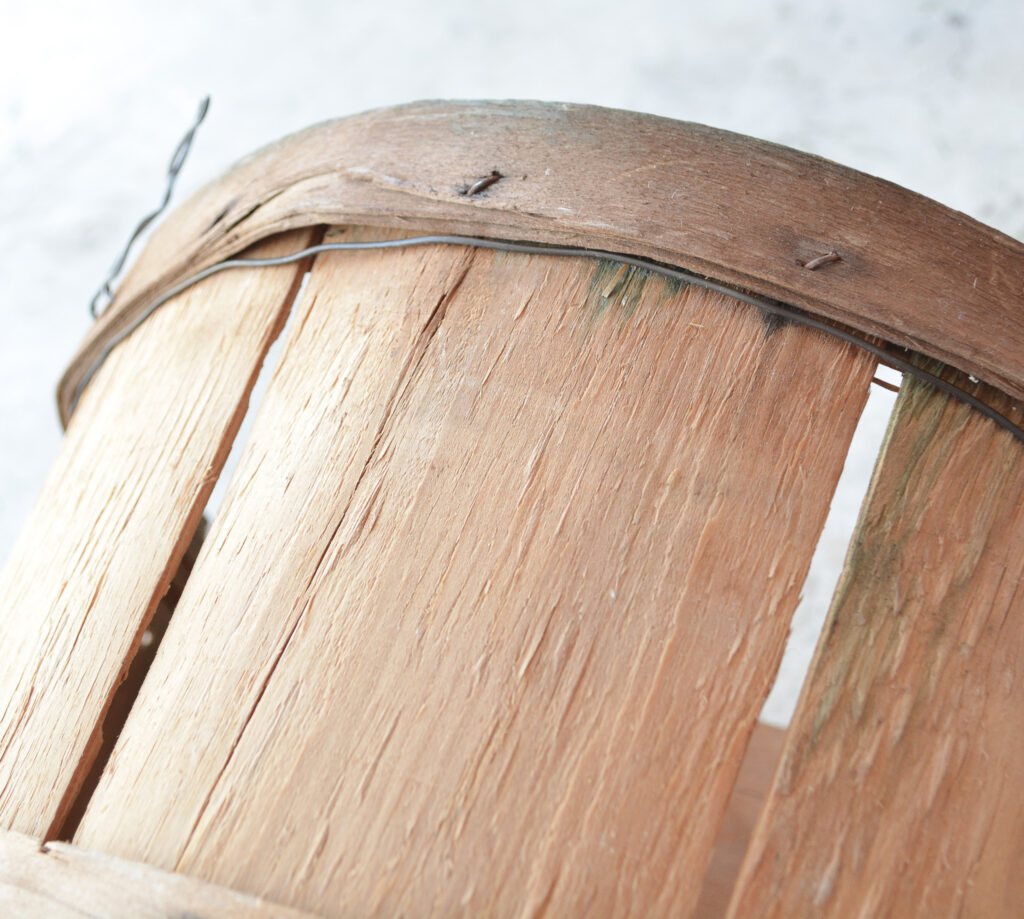
Placing the wire under the top banding allowed it to be tucked under and mostly hidden.
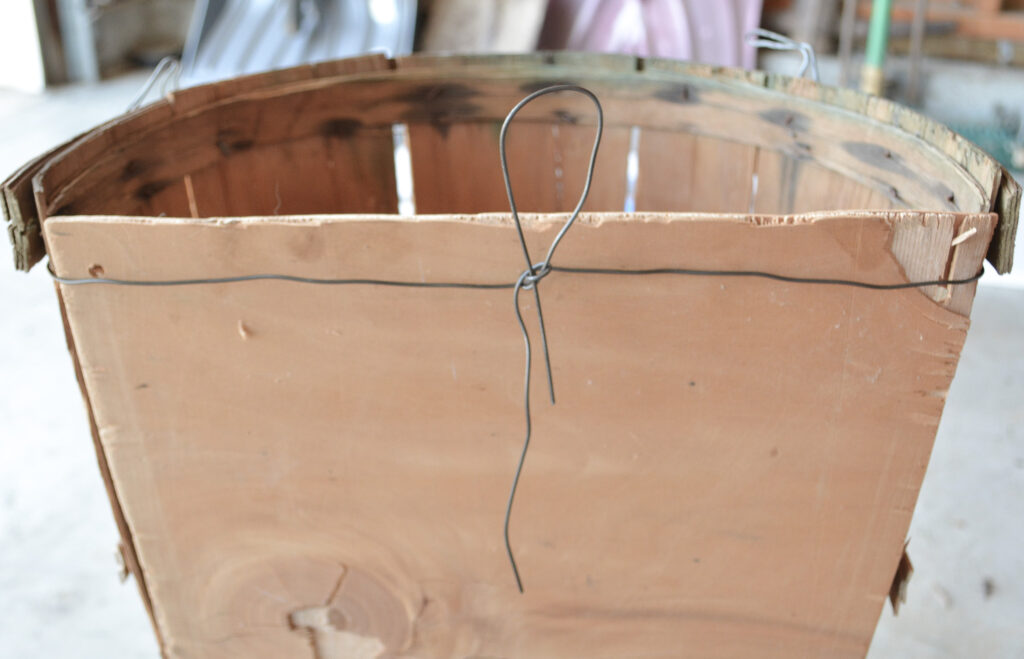
The ends were bent and wrapped, becoming the hanger.
I could have used the wire all the way down, but I bought this webbing for the carrying strap, and thought it would be a nice accent to add.
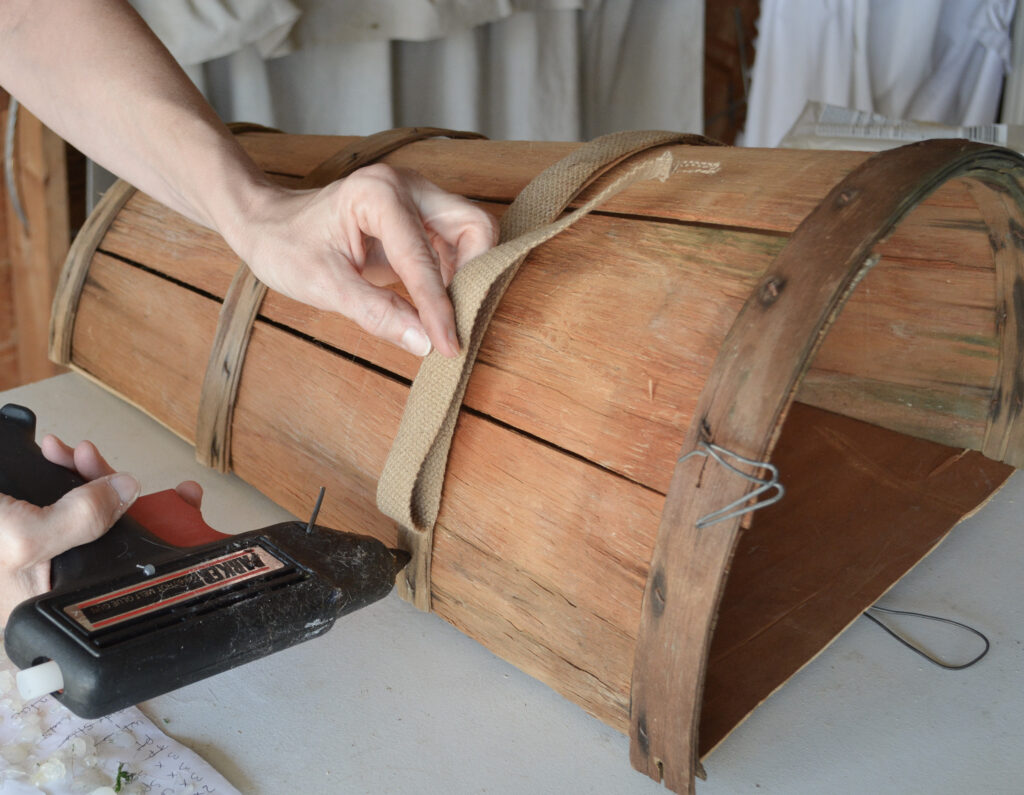
The webbing was hot glued to the banding in front…
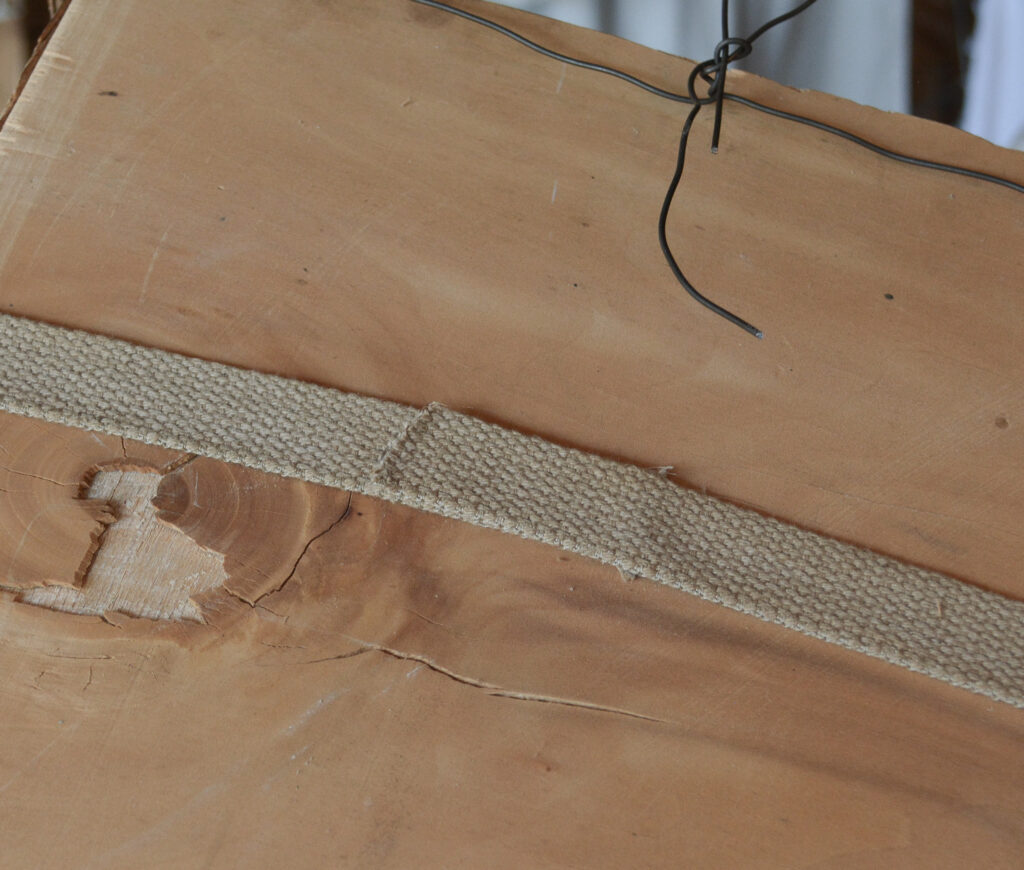
And hot glued tightly in the back, holding things together.
Add A Strap To The Picking Basket
There has to be a strap if it’s going to be a picking basket!
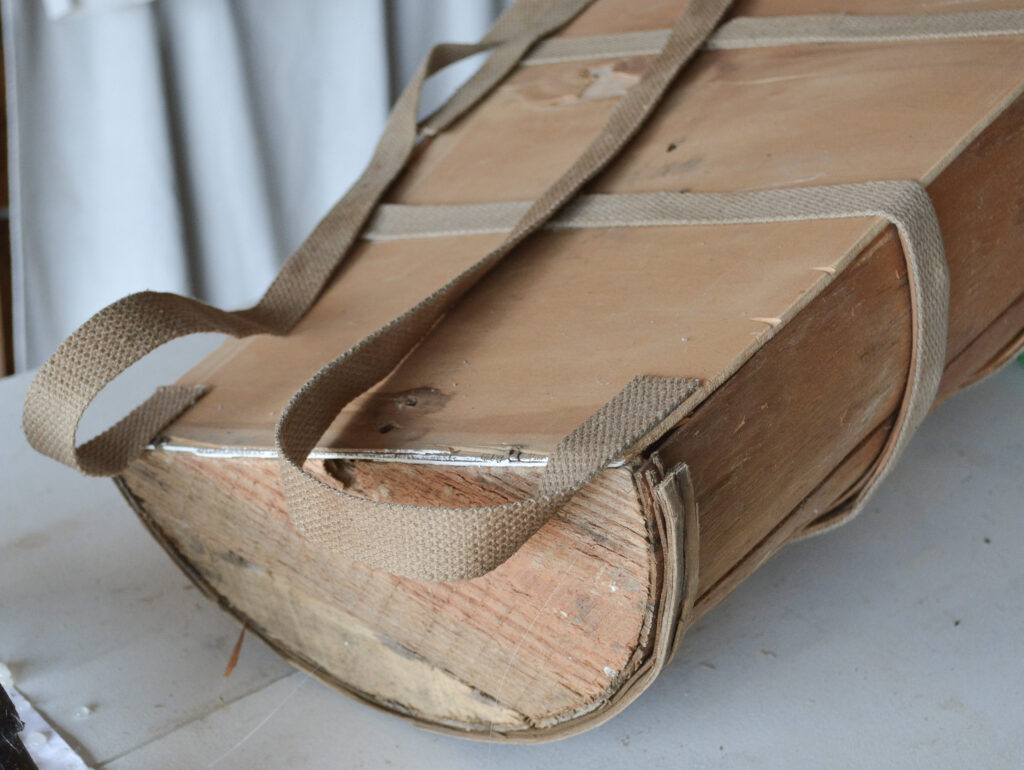
The webbing was hot glued to the bottom.
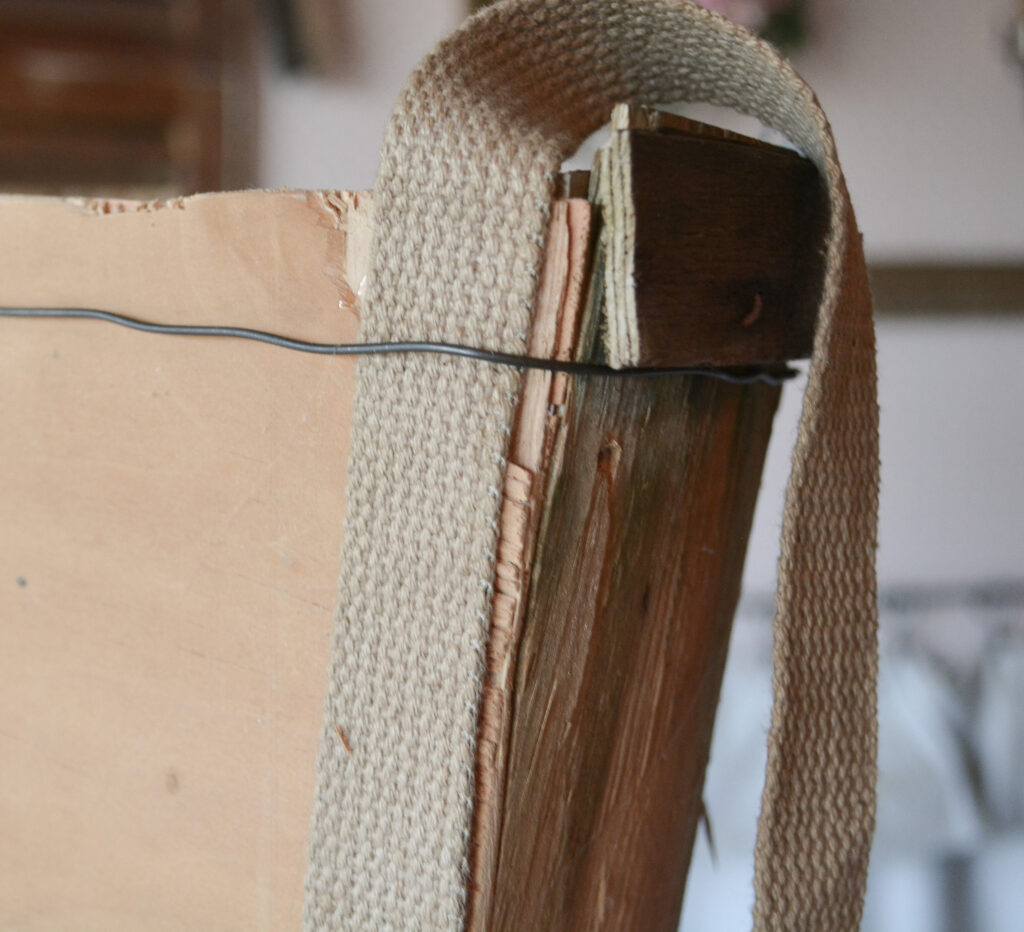
Then glued to the top.
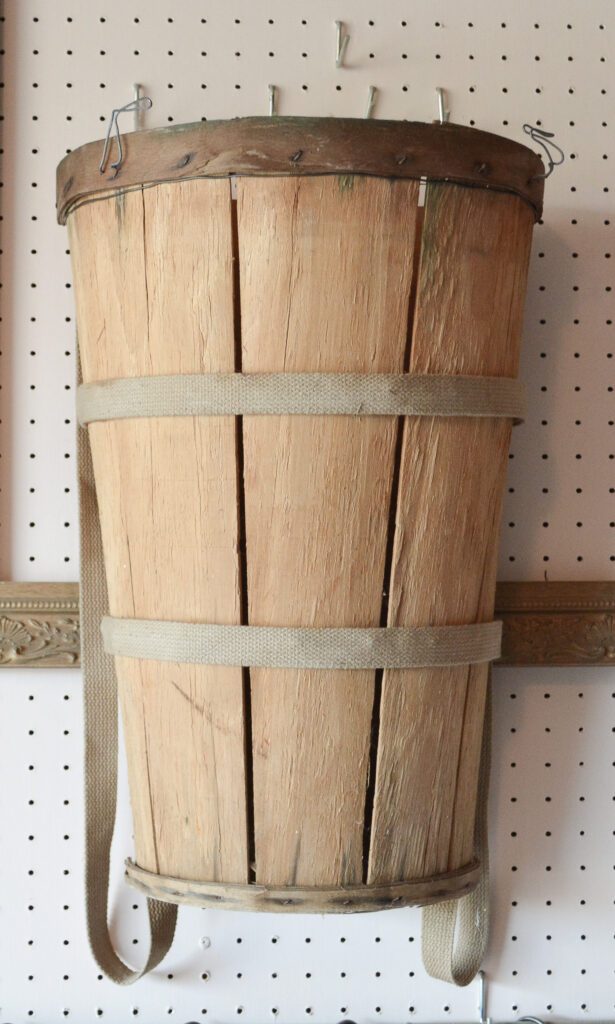
I did tea stain my webbing to give it a old, stained appearance.
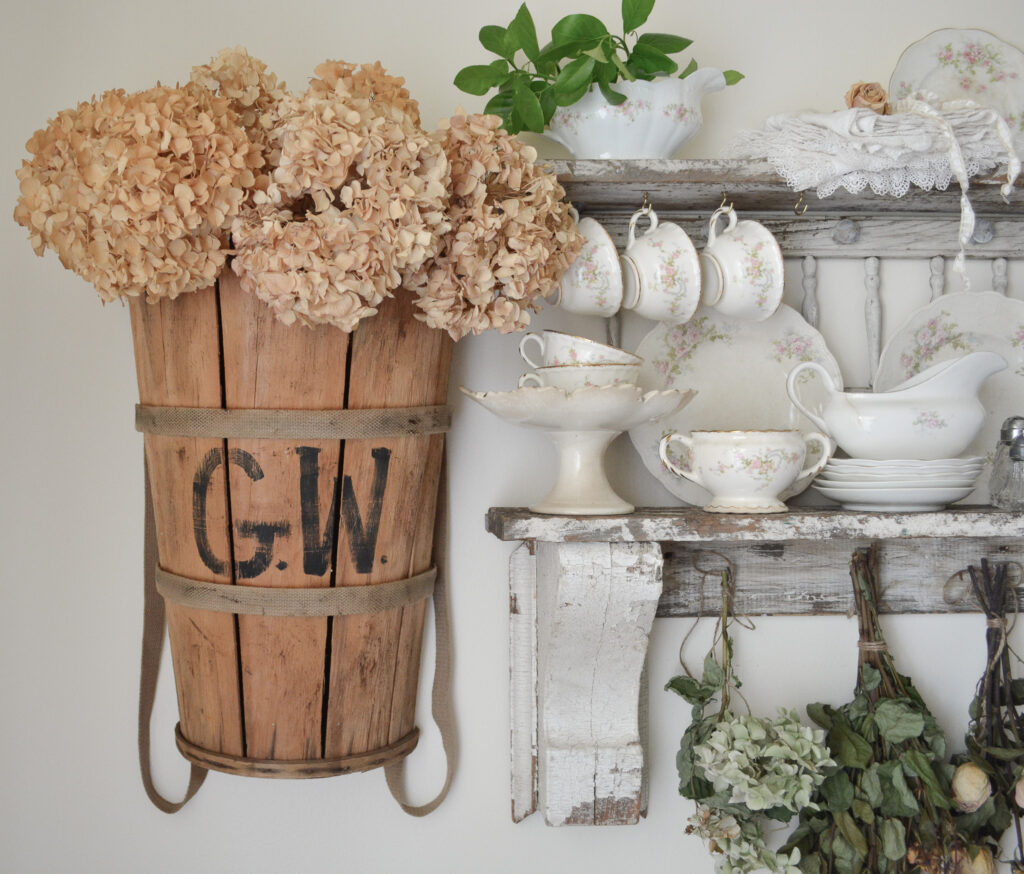
The final detail, adding initials. Don’t all French baskets have initials?
Thanks for stopping by,
Janet

Nice! Really nice. Now, I need a basket like that…
Thank you! Yes, finding the basket is the tricky part. I have had good luck finding them at estate sales.
You are amazing! Great job!
You are too sweet, thank you so much!
Great! I love it. Why G W? May I ask!??
Thank you so much! No reason for the G W haha, maybe I saw one with those initials and it stuck in my head.
Oh my, this is amazing, you have such good ideas. Now how in the world are the rest of us going to find a basket like you had to make one of these? LOL
Keep on creating please.
That is so kind of you to say, thank you! I have seen these baskets at estate sales and Facebook Marketplace. Happy hunting!