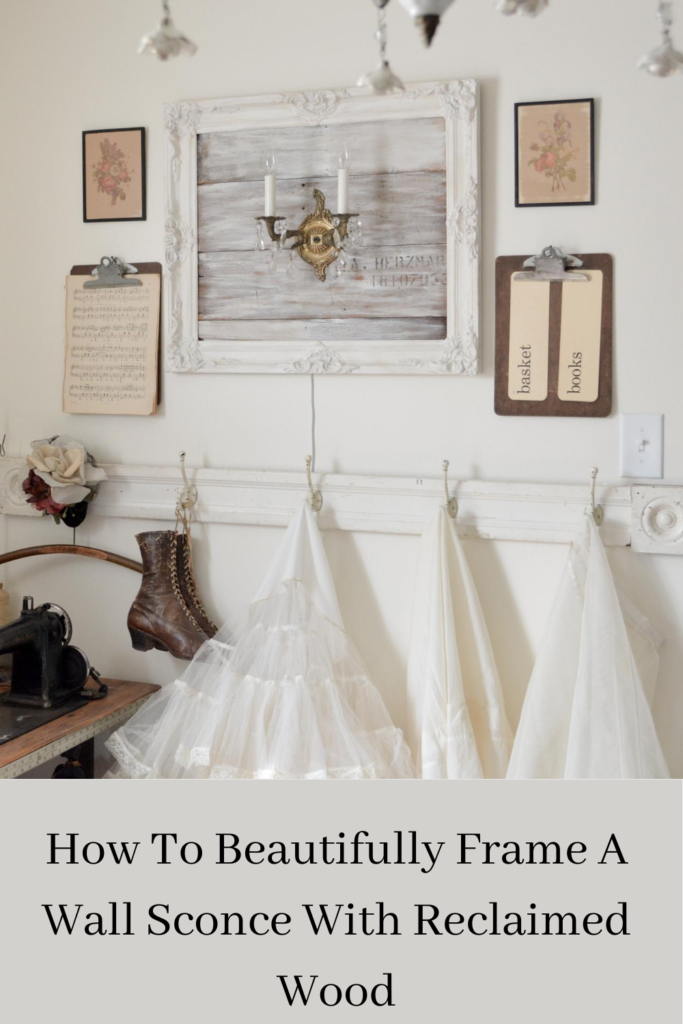
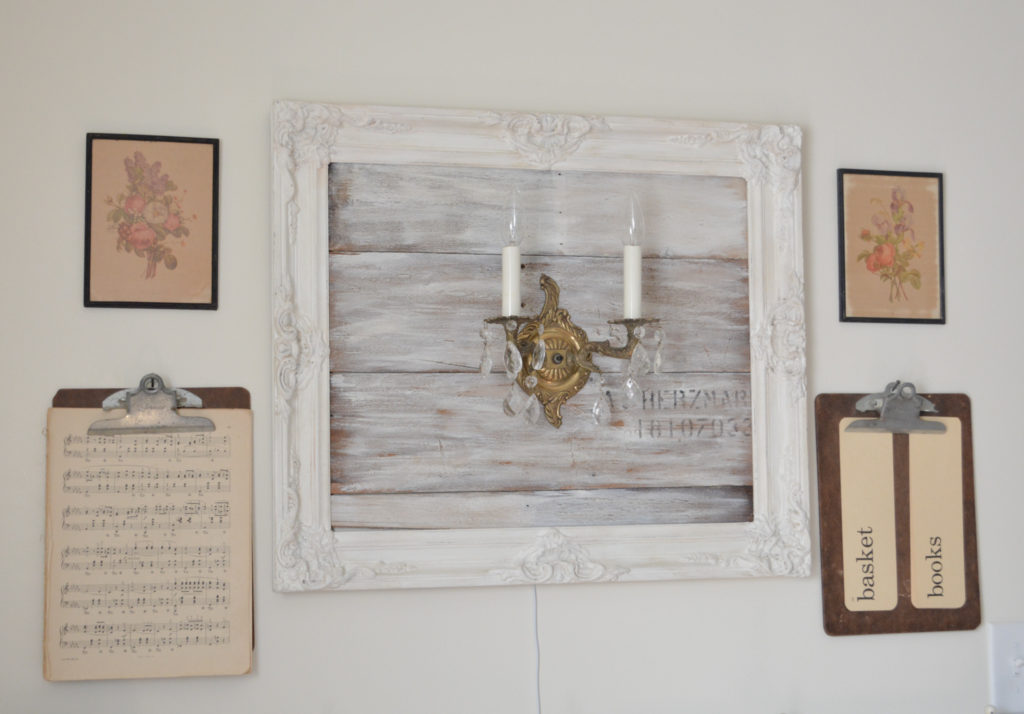
Today I am going to show you how I took a thrift store frame and an old crate to create a backdrop for a vintage wall sconce in my studio.
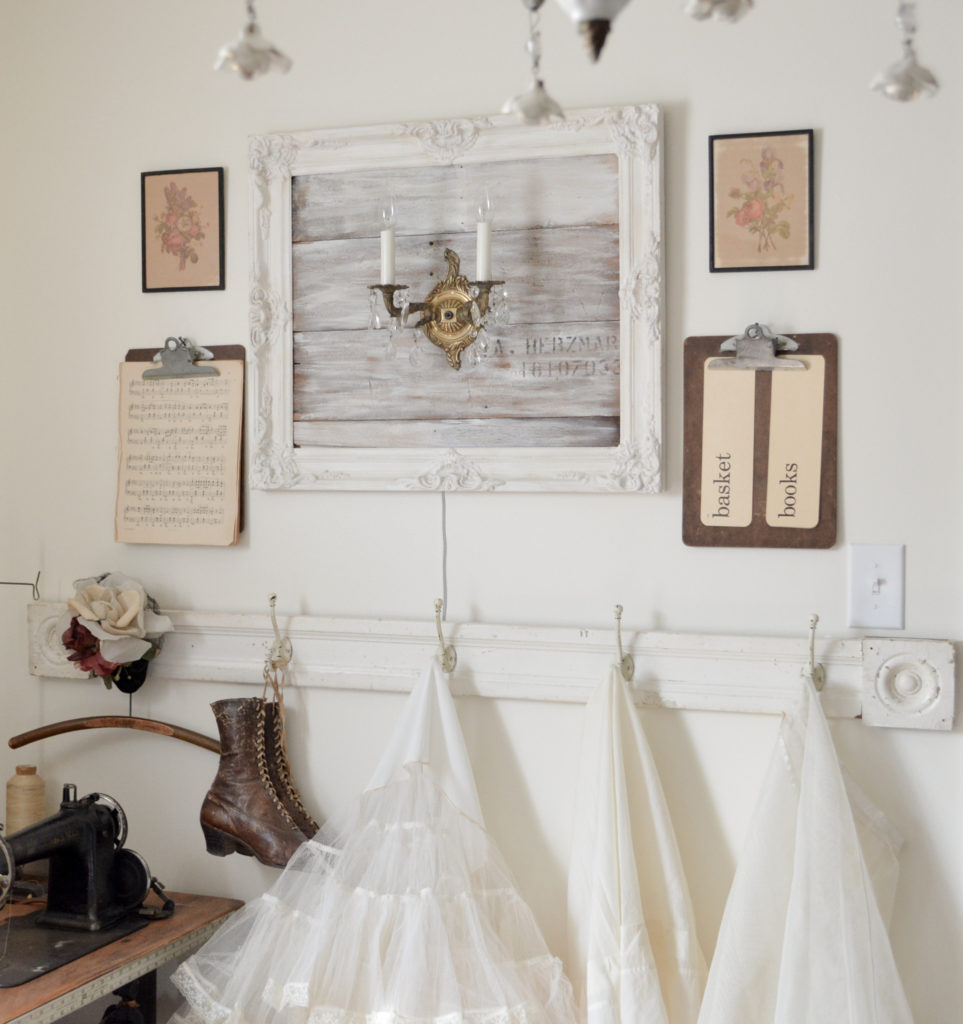
I needed a little extra lighting in my studio, so I decided to add something to this wall. I had purchased five vintage wall sconces from Facebook marketplace and still had one left to use, but it just looked a little naked hanging on the wall.
I had made a frame with reclaimed wood for a light fixture in my bedroom, and since I liked it so much, I made another one for my studio!
Now because I tend to collect things along the way, I already had everything I needed.
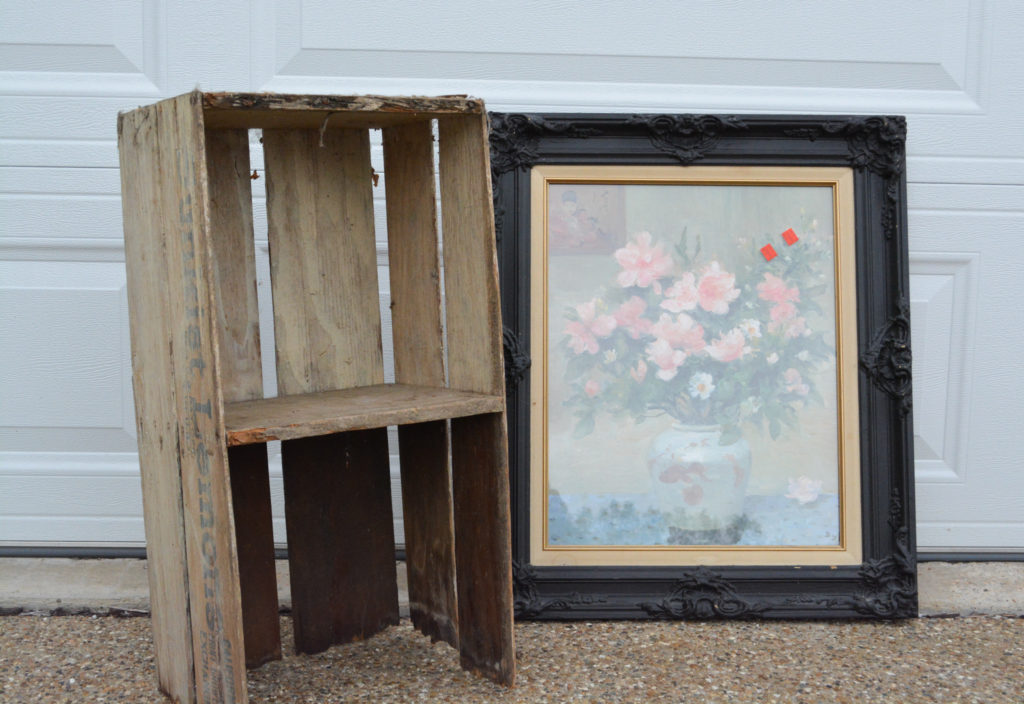
The Before
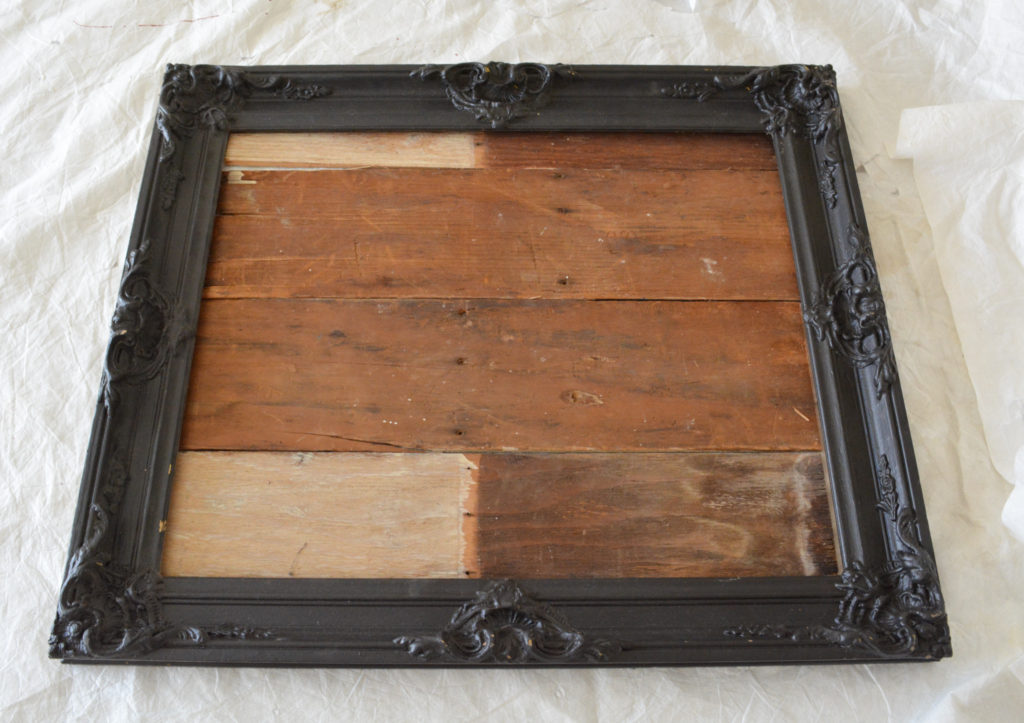
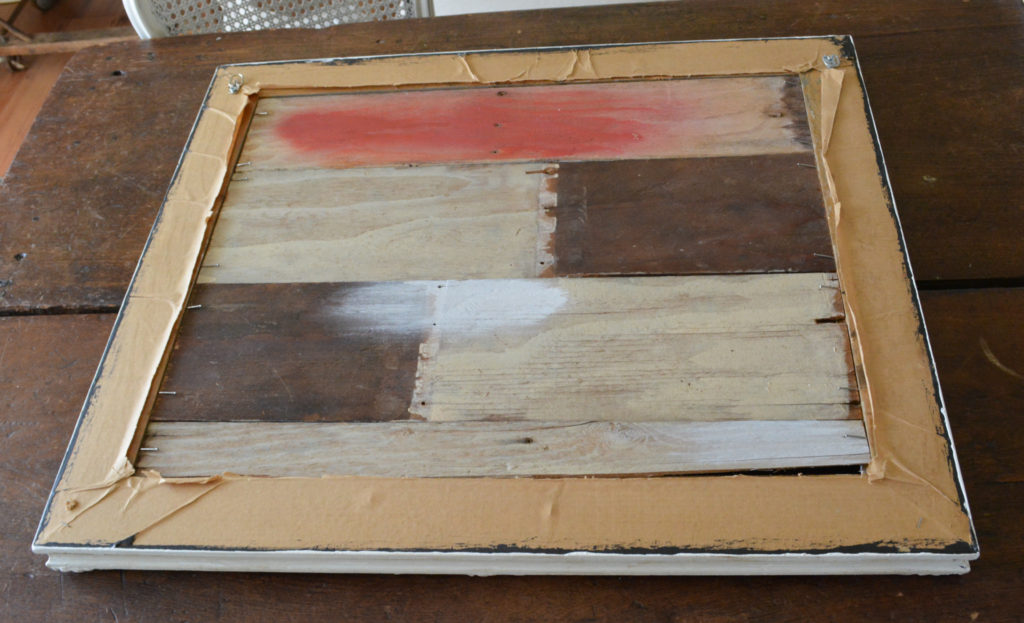
So this is where I started. I found this frame at Goodwill for $4.00 (I think). I wish I could read that sticker haha! The frame was pretty, but it had a way too shiny black paint finish. This crate was a leftover at an estate sale. It was in such bad shape, nobody wanted it, except me, of course, I never pass up old wood. It was $1.00.
The Process
First I disassembled the crate and cut the boards to fit in the frame. The crate boards are ideal for this project because they are thin (besides awesomely aged) and fit in the back of the frame.
Don’t Have An Old Crate?
I get that everyone doesn’t have old crates laying around, but no worries. You can buy similar sized boards in the hobby wood section at the home improvement stores. Distress and stain them, or paint, and they will be a great substitute.
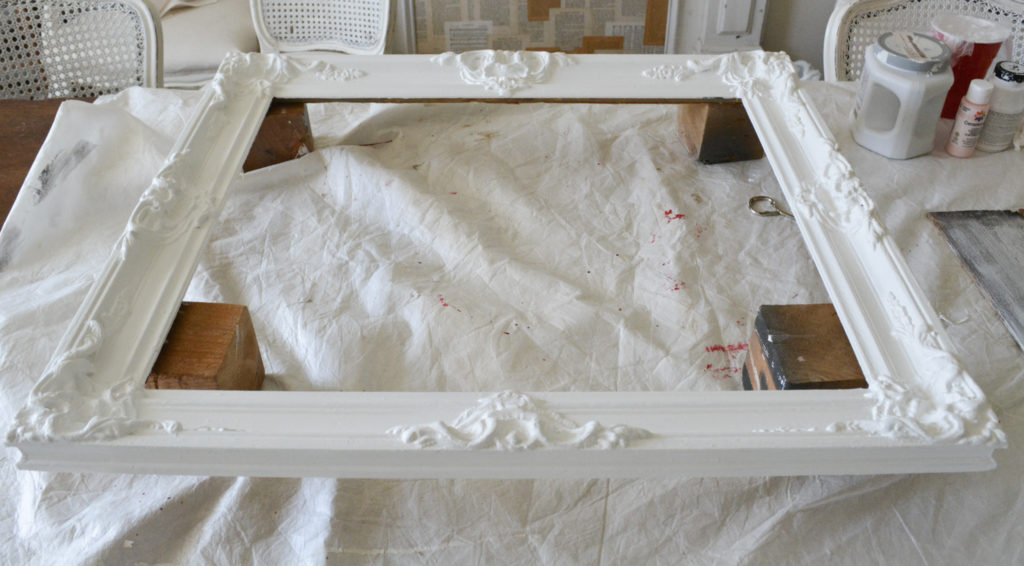
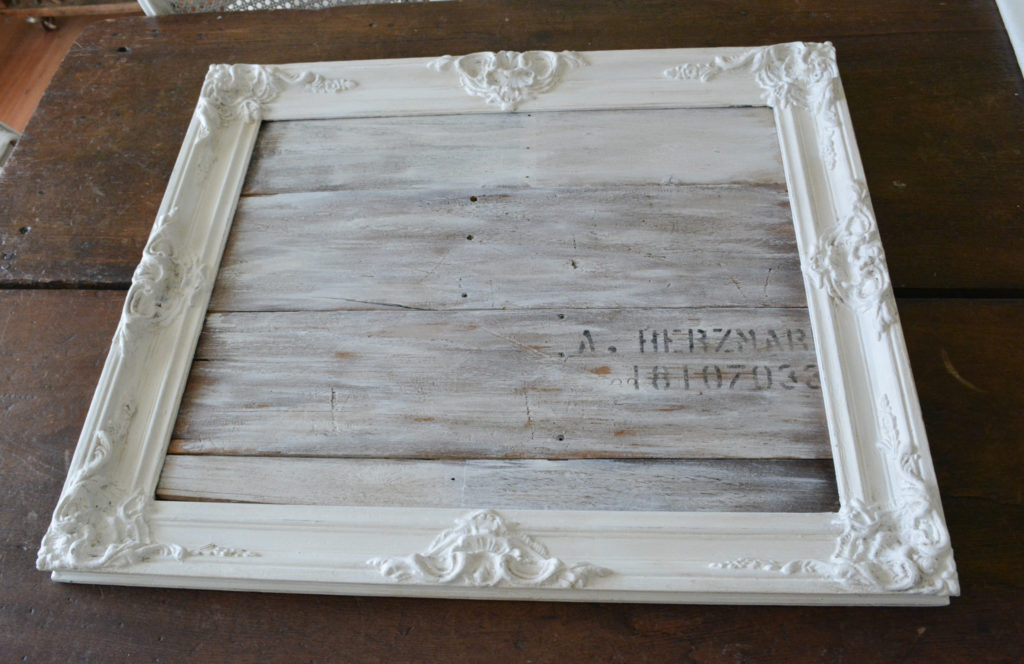
Now that I look back on this picture, it looked pretty good like this. I wanted a little more shabby chic look for my studio though, so I painted the frame white.
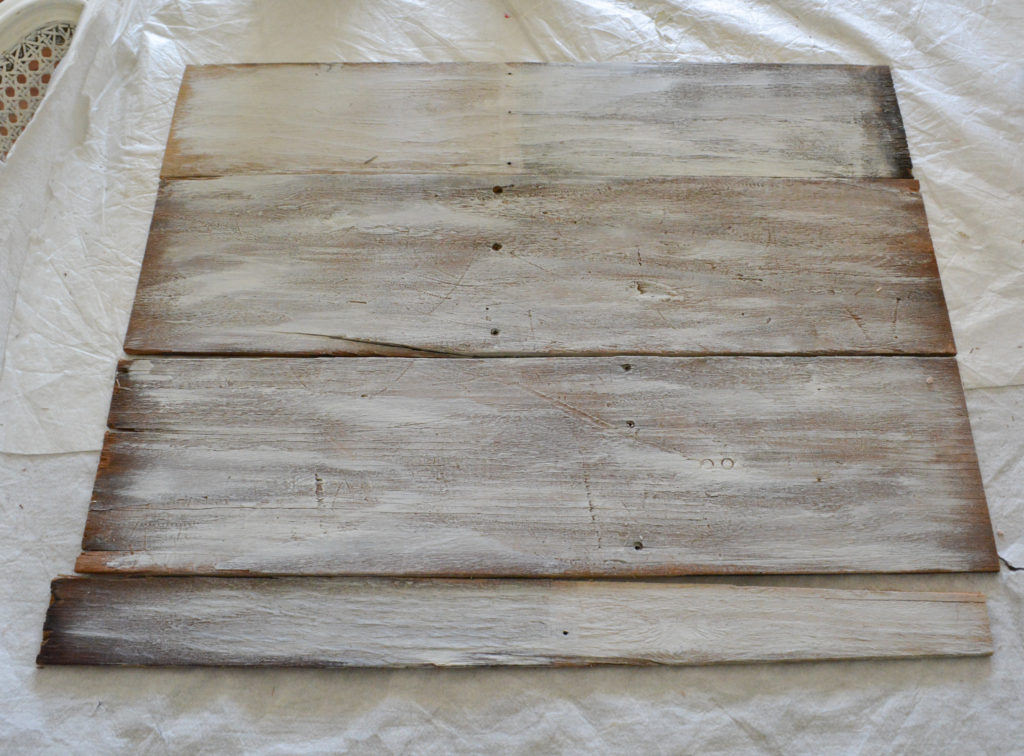
Next I dry brushed the boards for a white washed look to give a more cohesive appearance.
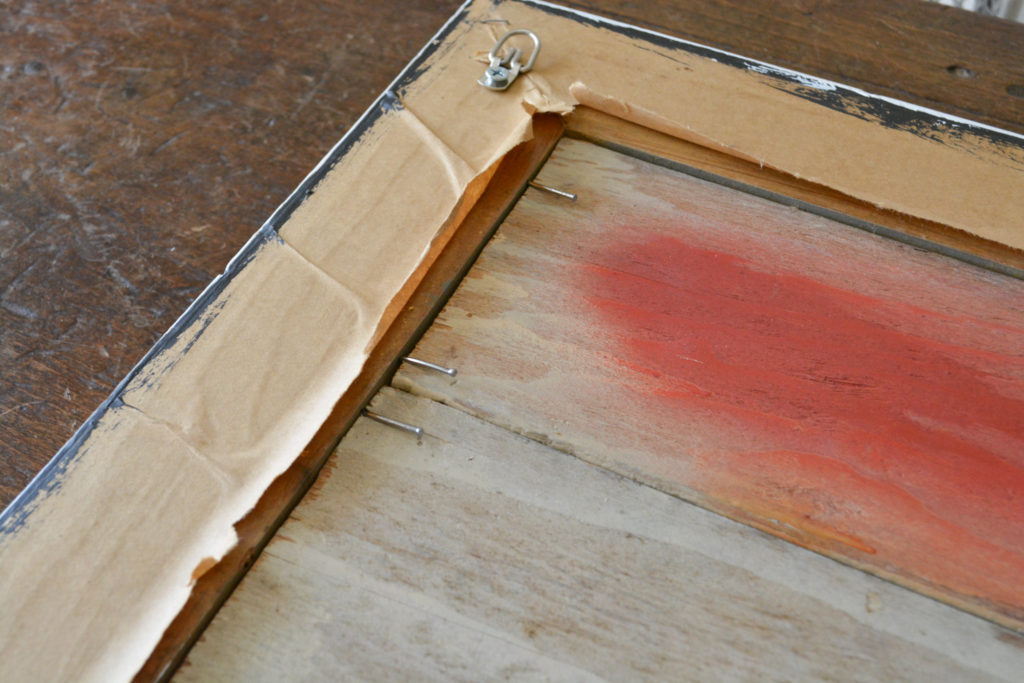
Once I was done painting, I held the boards in the frame by hammering nails at a slight angle into the back of the frame. Do this all the way around.
And it’s done!
Well, I’m a sucker for some typography, so I added a stencil. And then it’s done.
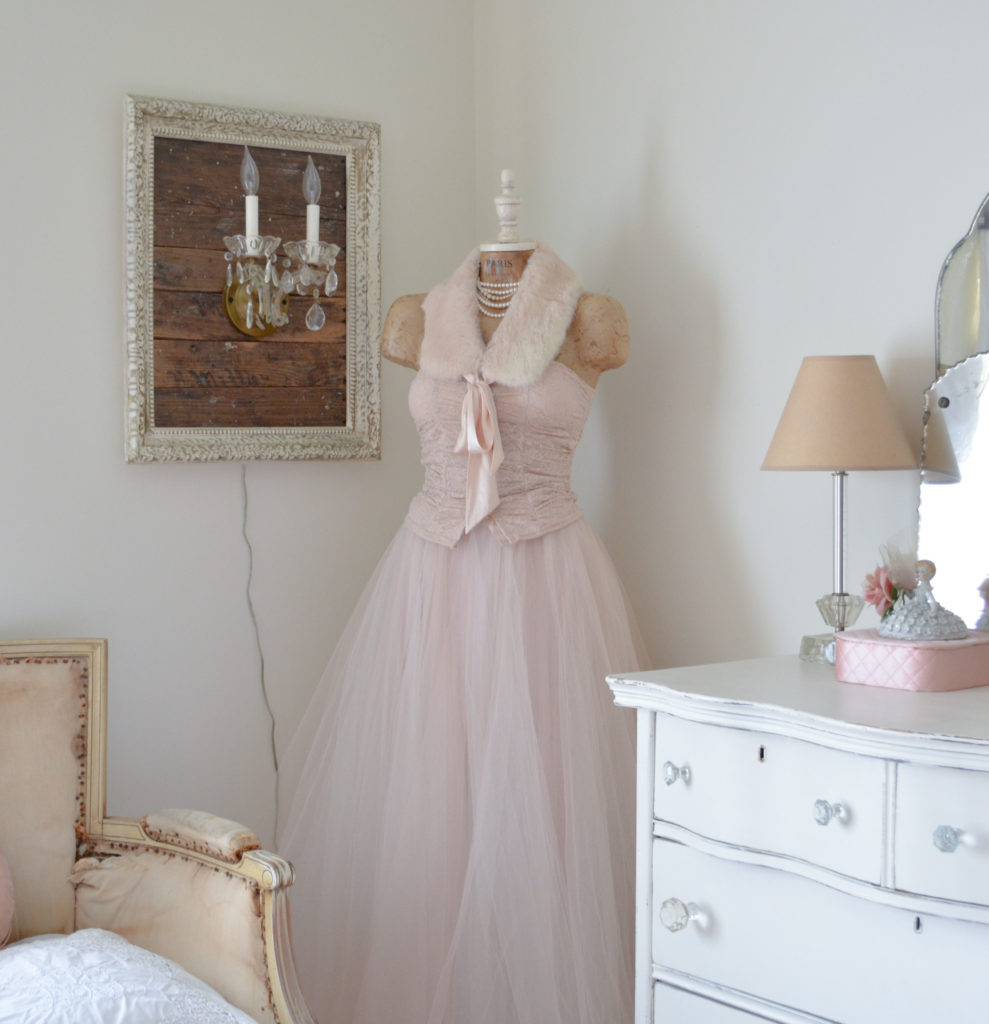
Now it’s time to add the light.
Choosing The Lighting
You’ve got options here. I had a vintage wall sconce so that’s what I used. I had to wire it as a plug in.
For a quick tutorial on converting a hardwired fixture to a plug in click here.
You could buy a wall mount light fixture that is already a plug in or you could also hang a wall mount candle fixture in the frame.
All good options.
Mounting The Light
My fixture had a cord, so I had to drill a hole in the boards for the cord to go through to the back. Since I was rewiring mine, I ran the cord through first and then attached the fixture. This required a smaller hole than for a plug. If your fixture is already wired, you will have to drill a hole big enough for the plug.
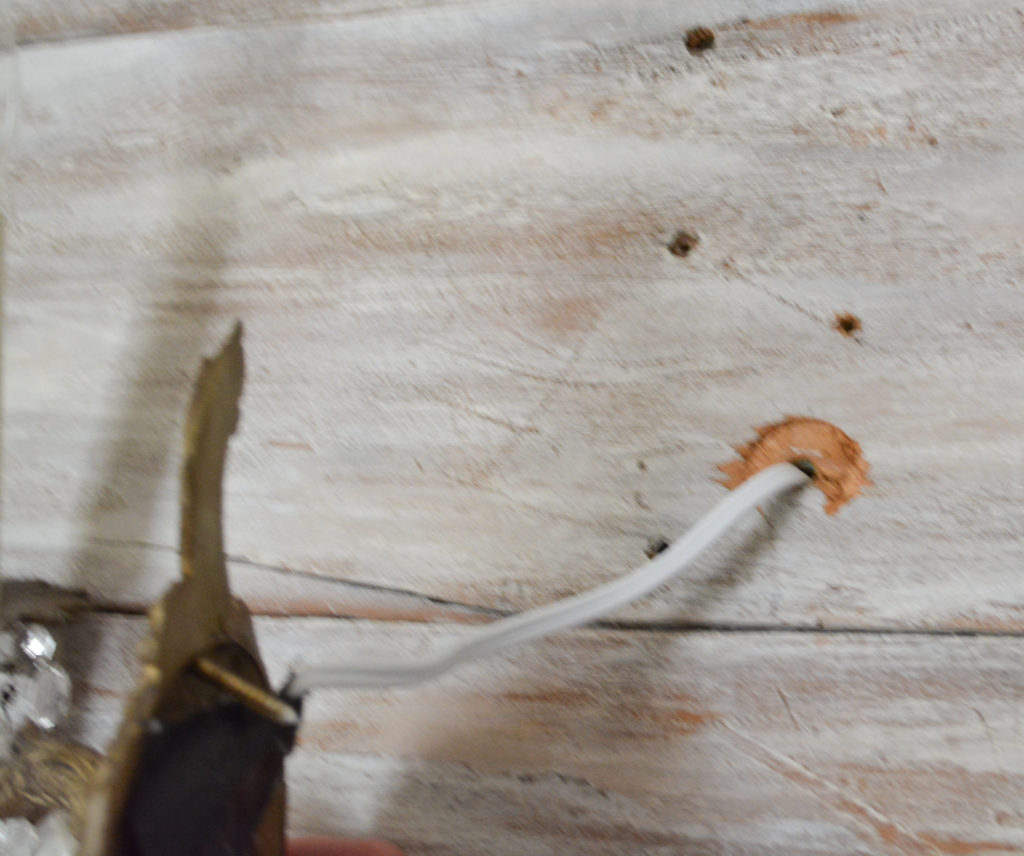
I also removed the mounting hardware from the back of the sconce. My fixture had a screw in the front, so I was able to use a long screw and put it through the board and into the wall.
This was a very easy project. I hope you give it a try and customize it to a look that’s right for you!
Pin It For Later