
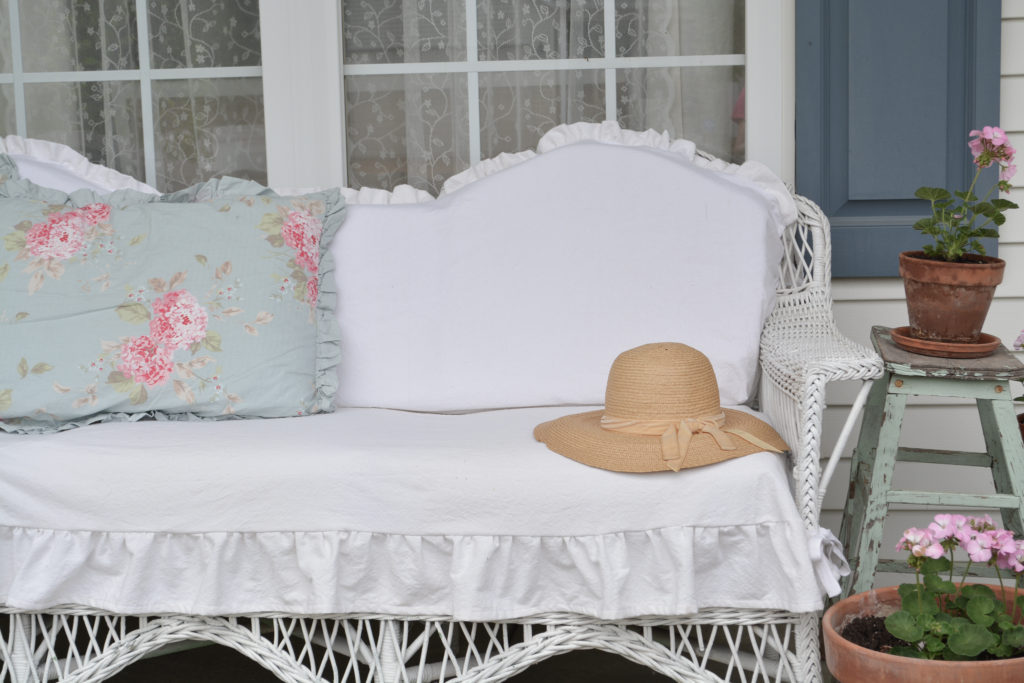
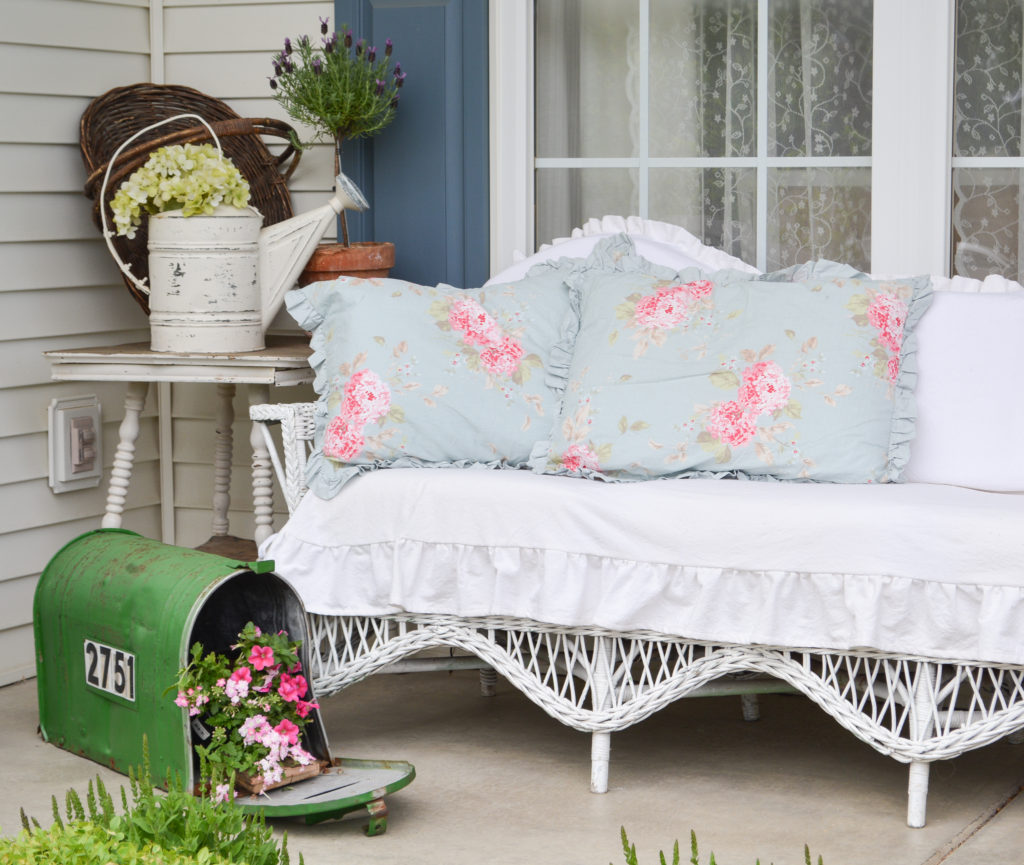
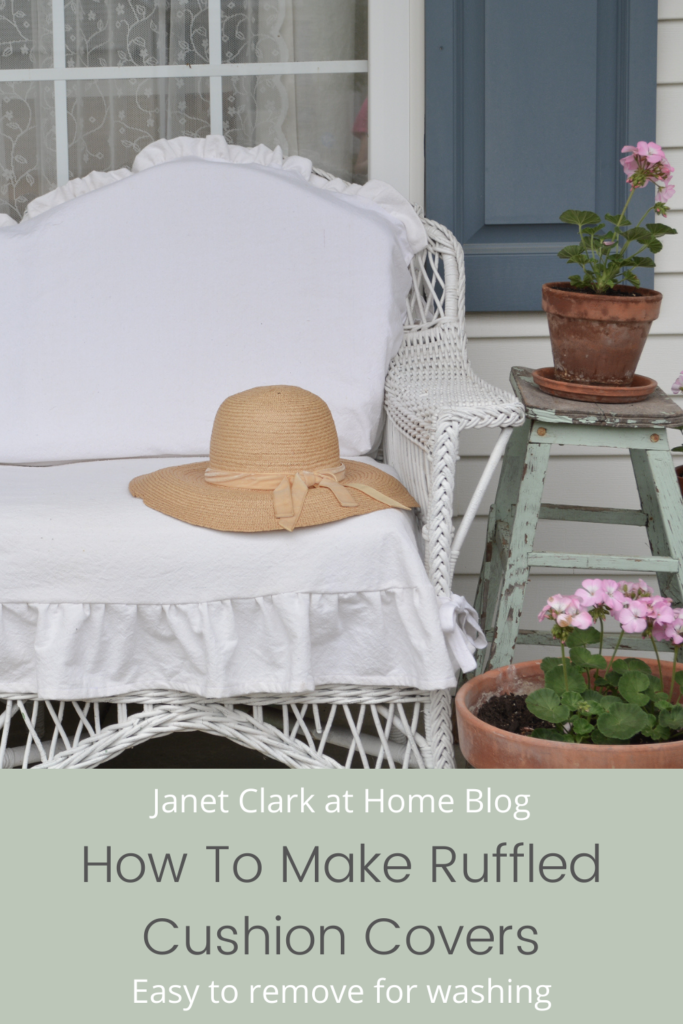
Today I am going to show you how to make a ruffled slipcover for an outdoor sofa. First will be the ruffled seat cover, and second will be the ruffled back cover.
No one is ever more surprised at how one of my projects turns out than I am. It is a twisty, turny road to get to the finish line. Rarely do I ever finish a project the way I started out to do it. Those that know me well will not be surprised by this. I have trouble making up my mind, and then when I do, I like to change it.
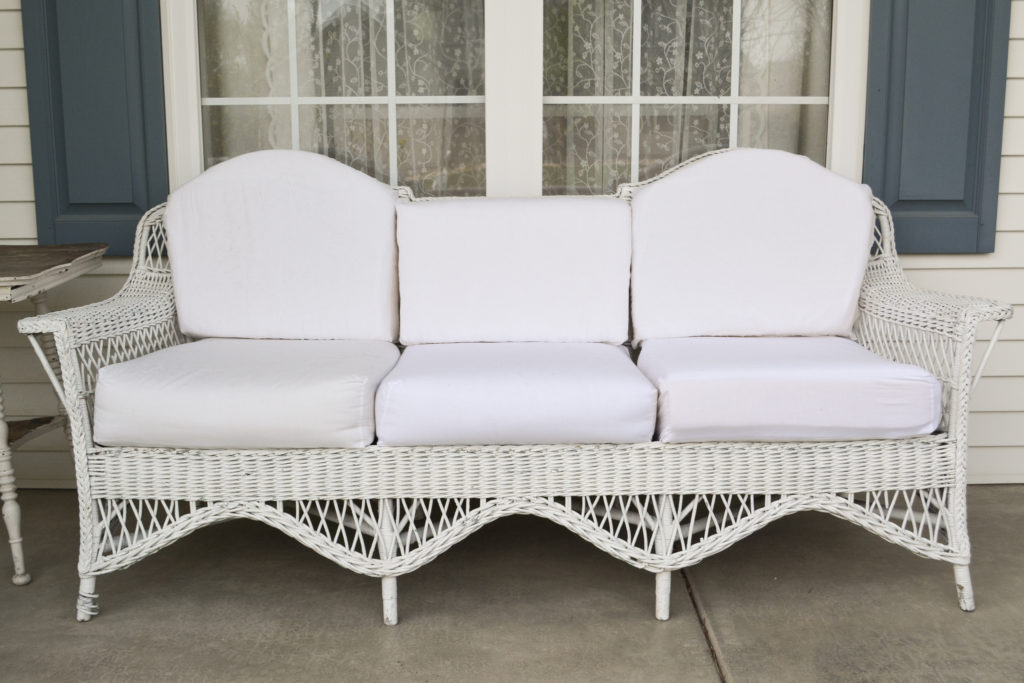
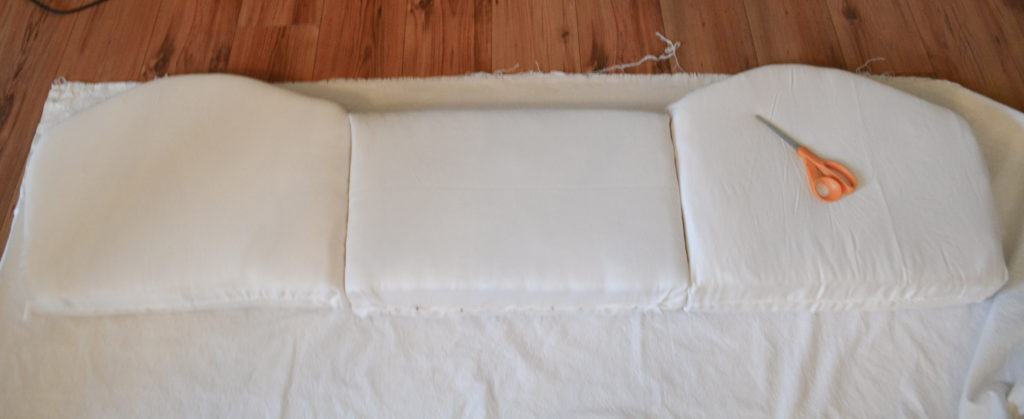
I had every intention of making a cushion cover for each individual cushion on the sofa. That’s why I decided to cut the foam for the cushions into separate pieces. You can see how I made the cushions here.
Choosing the Design for the Outdoor Slipcovers
The original plan was to do a simple cover for each cushion. I wanted easy on and easy off. Outdoor slipcovers will likely need washing often.
Then something went off in my head about ruffles. “Wouldn’t a ruffled seat cover be cute?”, I asked myself. Of course I said yes, and that’s how it began. It was only after I made the seat cover that I came up with the idea to do ruffles along the back, too.
Choosing the Fabric for the Outdoor Slipcovers
I decided to use bleached drop cloth for my cushion covers. The sun beats down on the porch all morning, so any fabric I have put out there in the past has faded and eventually shredded. I am hoping the drop cloth will be durable enough and since it’s already white, it can’t fade! Oh, and it can be washed and bleached! Very important for outdoor fabric.
I bleached my drop cloth just like Lisa did here. Make sure you use the drop cloth she recommends. They are not created equal!
Making the Ruffled Seat Cushion Cover For the Outdoor Sofa
Step 1 – Cut the fabric
Cut a piece of fabric a little bit larger than the cushions. Leave at least 1 inch on the sides and back for the hem. I used the already finished edge of the drop cloth for the back so no hem was necessary.
The front is cut even to the cushion, that’s were the ruffle will be attached.
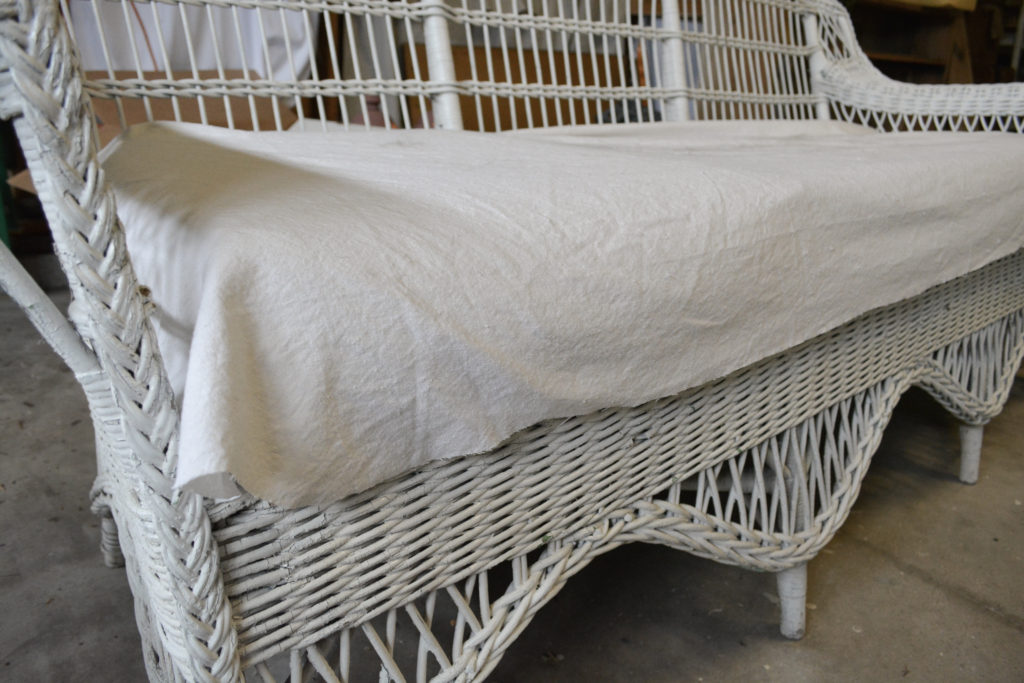
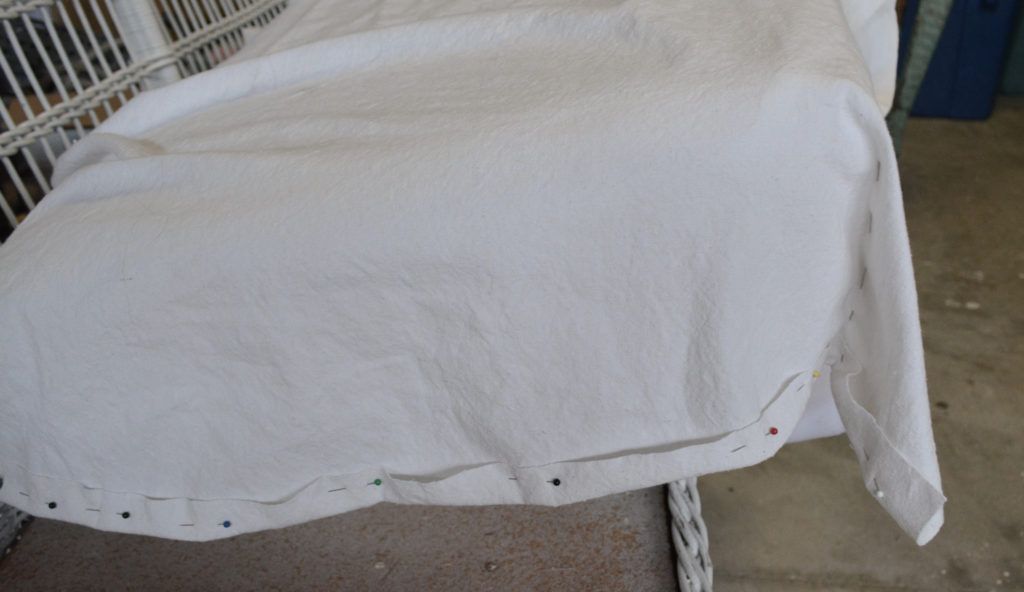
Step 2 – Fit the Fabric to the Cushions
Leave the front of the cushion unfitted as shown in photo above.
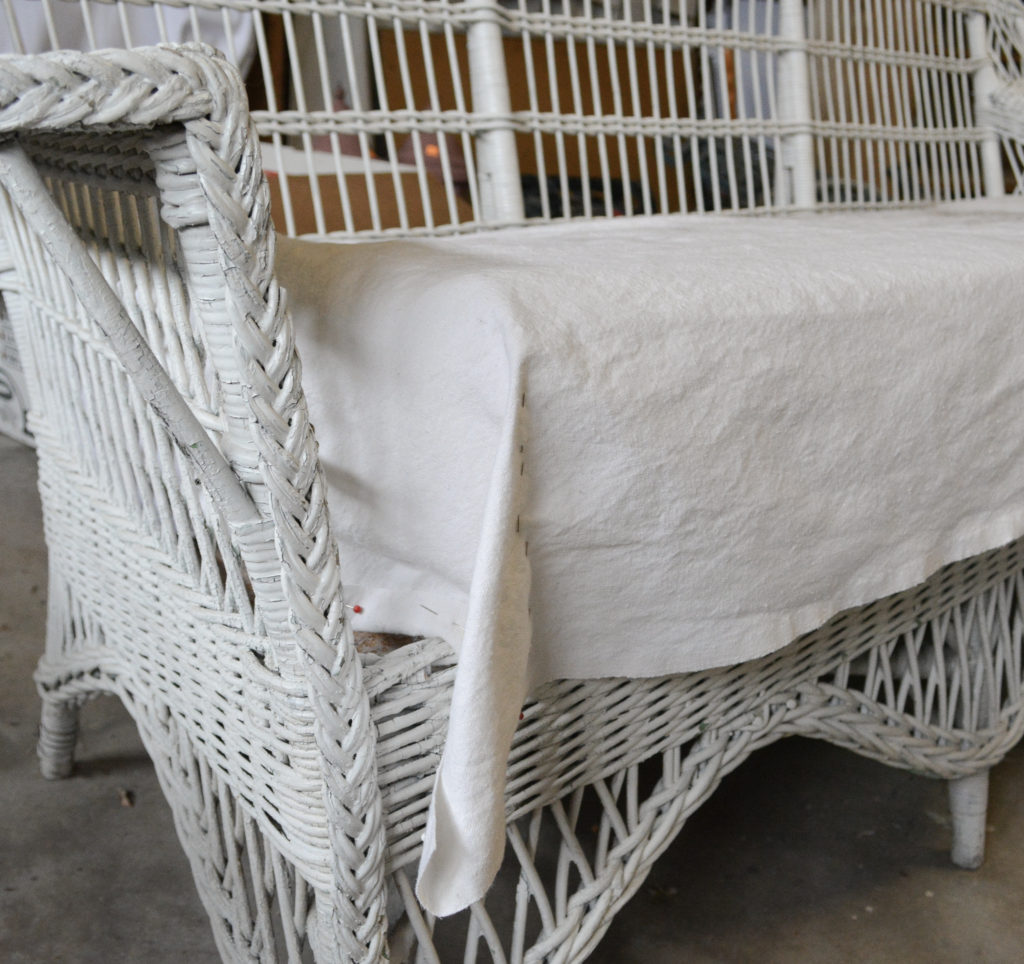
Working with the fabric inside out (this is the back of my cushion), pin the back two corners of the cover to fit the cushion. The pin line will be the seam line.
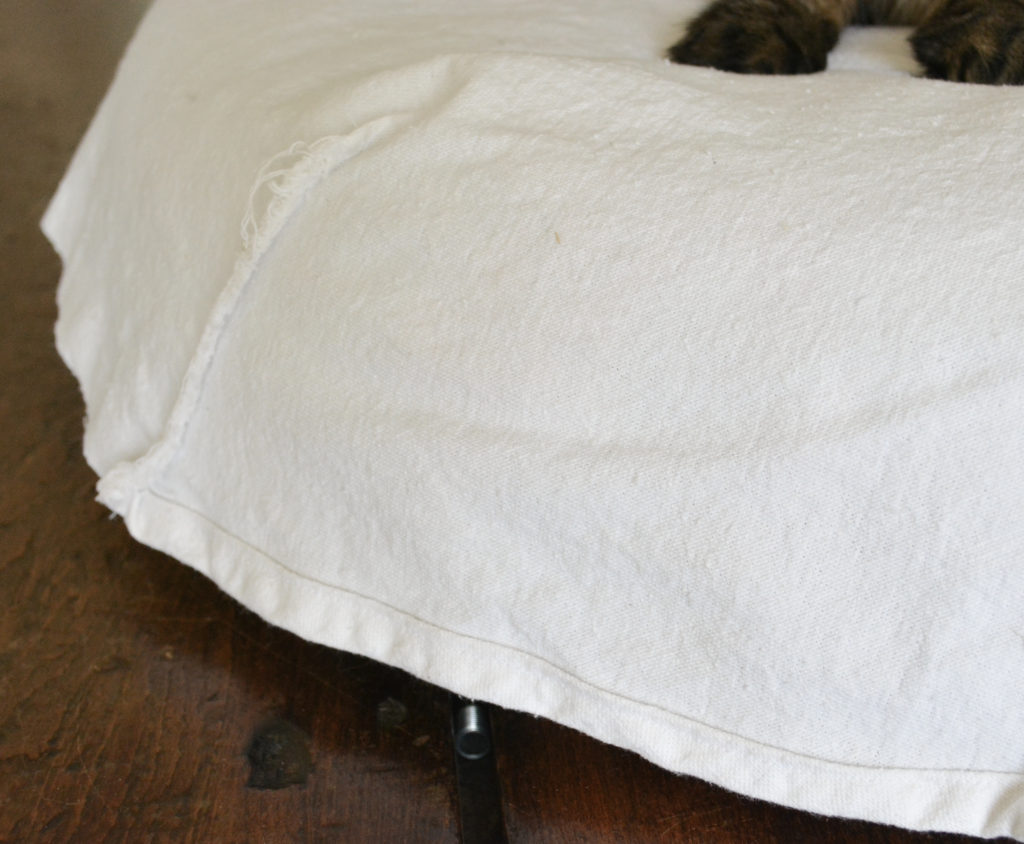
I trim the corner to my seam allowance and then stitch. Yes, those are cat paws on my cushion.
At this time, I also pin up the hem on the sides and back. Trim to 1 inch to make a 1/2 inch hem. Remember my back already had a finished edge, so I just hemmed the sides.
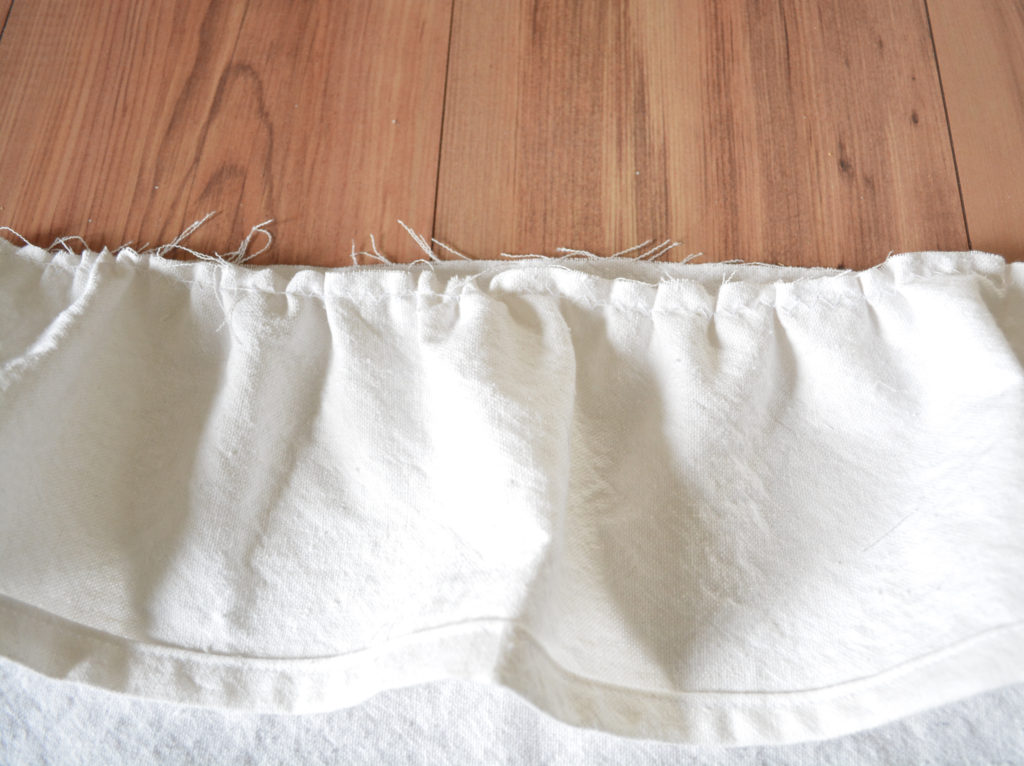
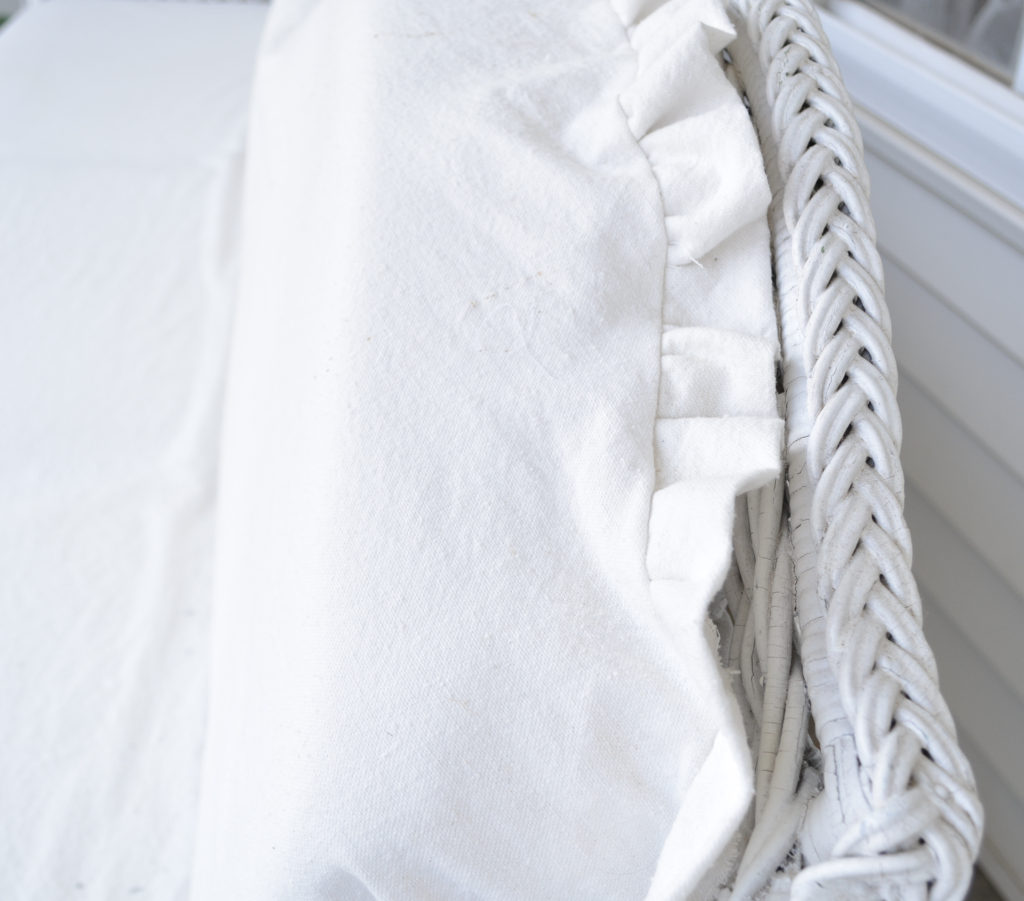
Step 3 – Add the Ruffle
Next pin a 5 inch ruffle to the front edge, with right sides together. Stitch. I am going to do a separate post on the easiest way to make a ruffle, so stay tuned for that. My ruffles are 1-1/2 – 2 times the length of the edge.
Step 4 – Add Ties As Desired
Add ties if and where you need them. The cover fit so well, I didn’t add any ties at first, however I found out the wind would blow the ruffle up. Using two ties in the front took care of that problem.
My ties were 1 inch wide and 16 inches long. You could also use ribbon for ties to make it even easier. A good tutorial for making ties can be found here.
And that is really all there is to making a ruffled seat cushion cover. It was very simple to make, and easy on and off.
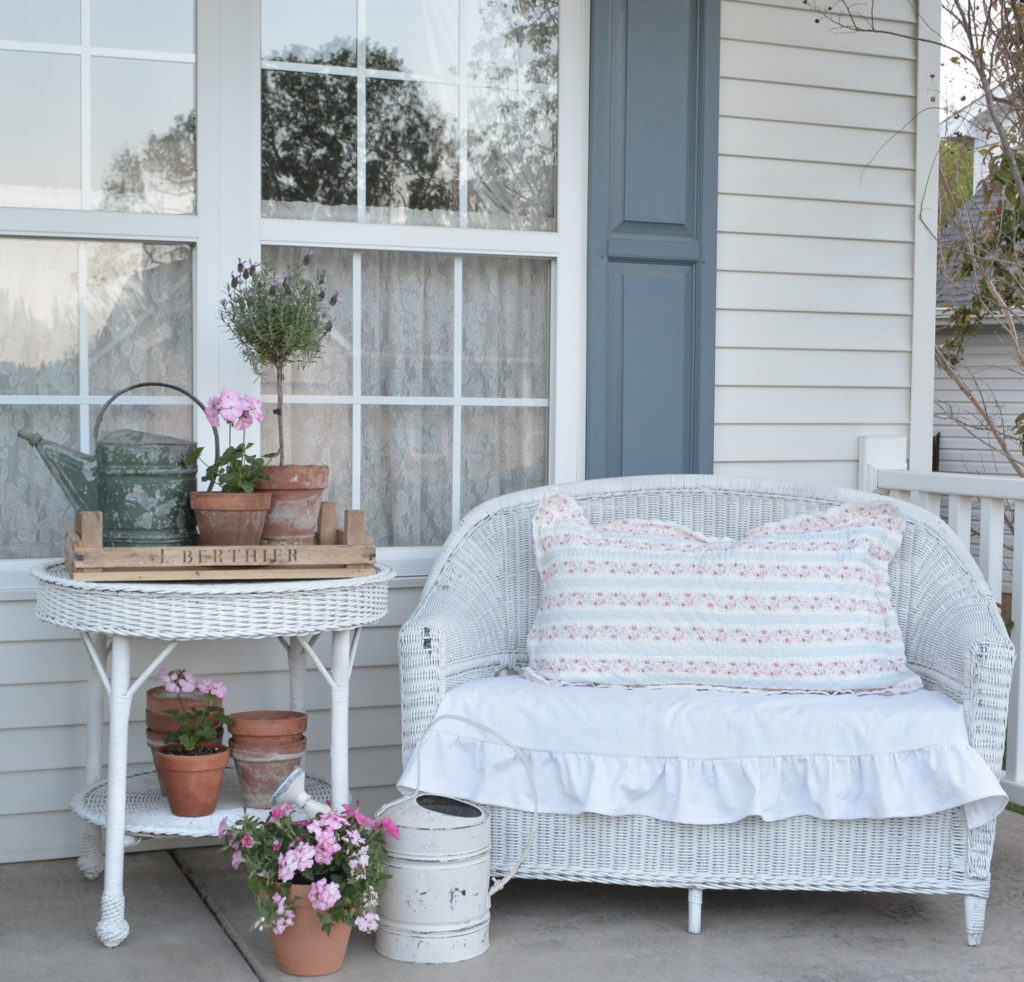
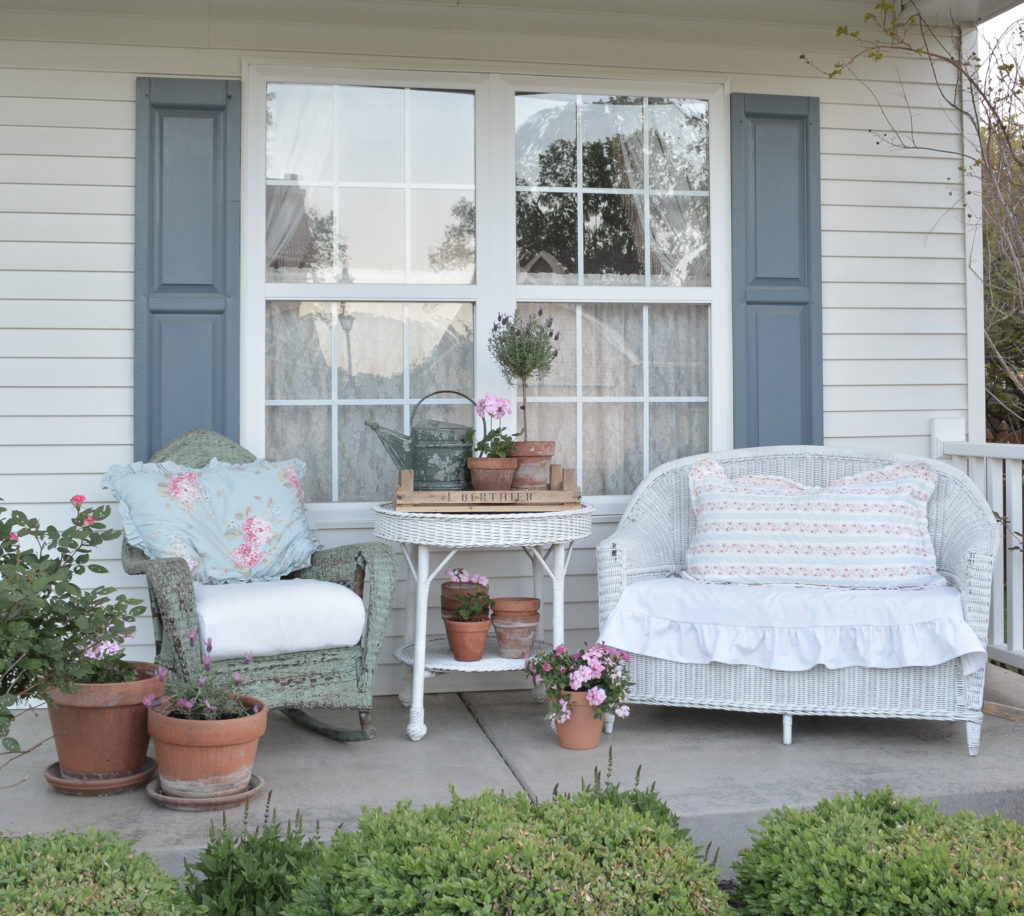
I made the same ruffled seat cover for the loveseat.
Making the Ruffled Back Cushion Cover For the Outdoor Sofa
I couldn’t resist adding a ruffle on the back of the cover, too. It really showed off the curve that I worked so hard to create on the back cushions.
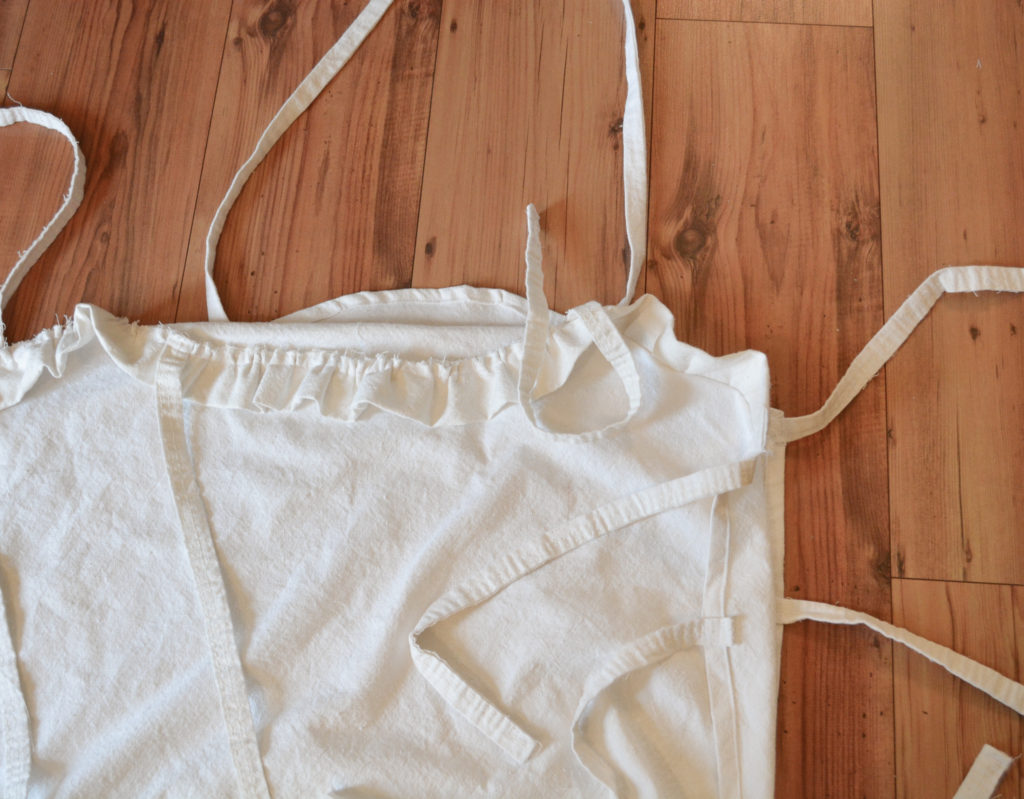
The idea was to create a flat piece of fabric on the back that ties to a front piece that covers the front and sides, making an enclosed slipcover.
Step 1 – Cut Out the Fabric
The back piece is just one piece of fabric cut to the shape of the cushions, adding 1 inch all around the edges for a 1/2 inch hem.
For the front I cut a piece that covered the front and wrapped the sides of the cushions plus 1 inch all around the edges.
Step 2 – Hem the edges
Stitch a 1/2 inch hem on sides and bottom of front piece. Leave the top unfinished for the ruffle.
Stitch a 1/2 inch seam all around the edges of the back piece.
Step 3 – Add the Ruffle
Add a 1-1/2 inch ruffle to the top edge of the front.
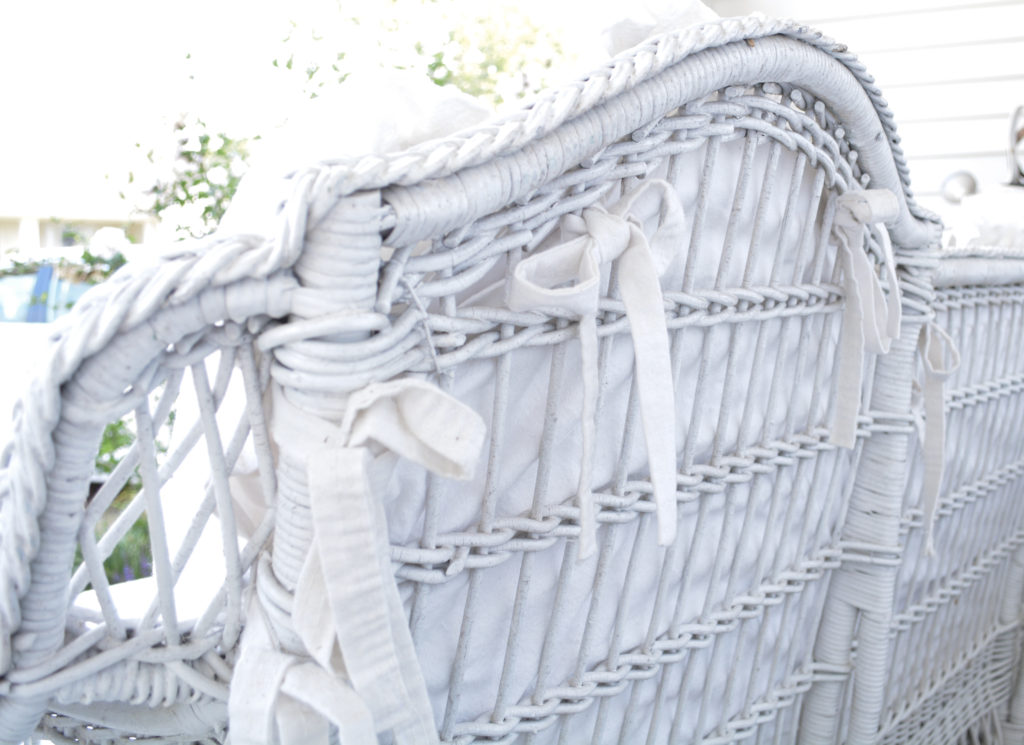
Step 4 – Add the Ties
Lots and lots of ties for this one. I cut off the seamed edges of the drop cloths to create most of my ties. All I had to do was hem one end and then sew them on.
I pulled the ties through the back of the sofa. The front and back were tied together and they were also tied to the sofa.
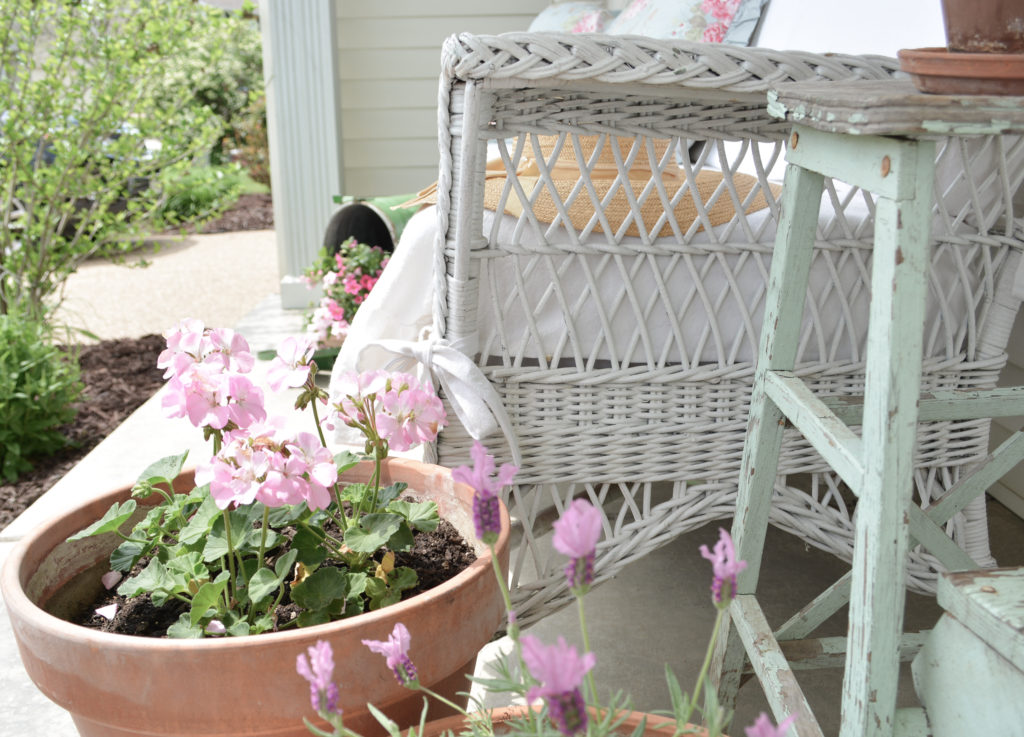
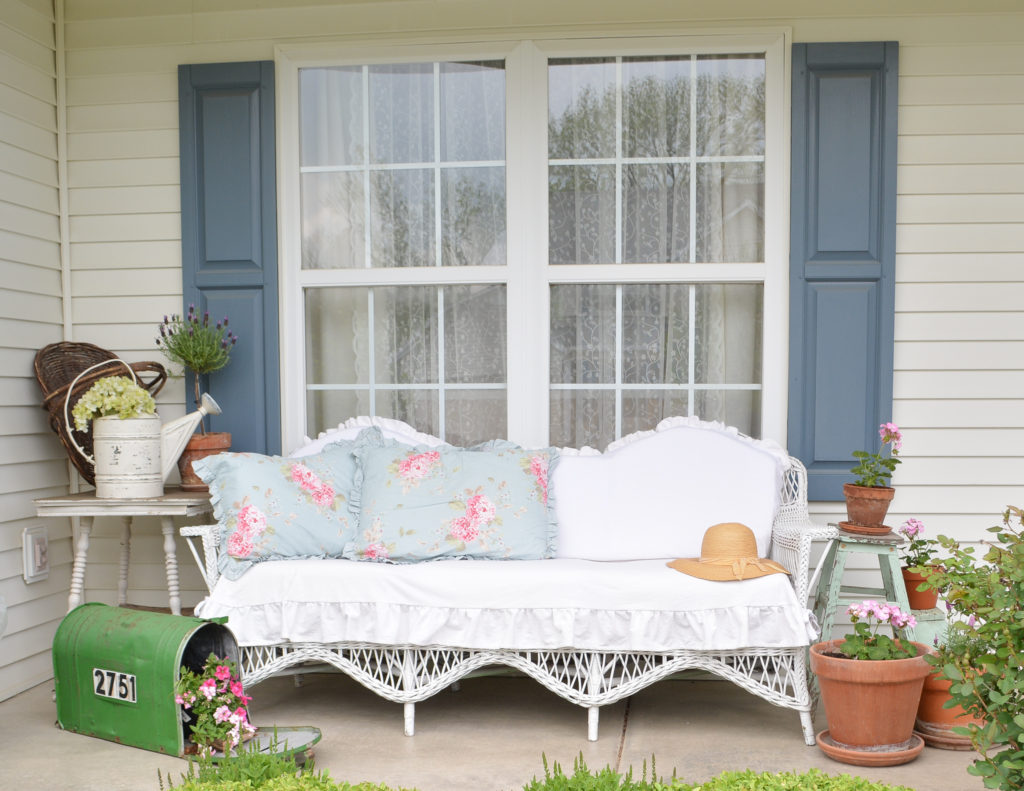
It has been a couple of months since I put these covers out on the porch, and I am very pleased. They are holding up perfectly, wash well, and really don’t show the dirt! I love it when things work out!
Pin It For Later!
Thanks for stopping by,
Janet