
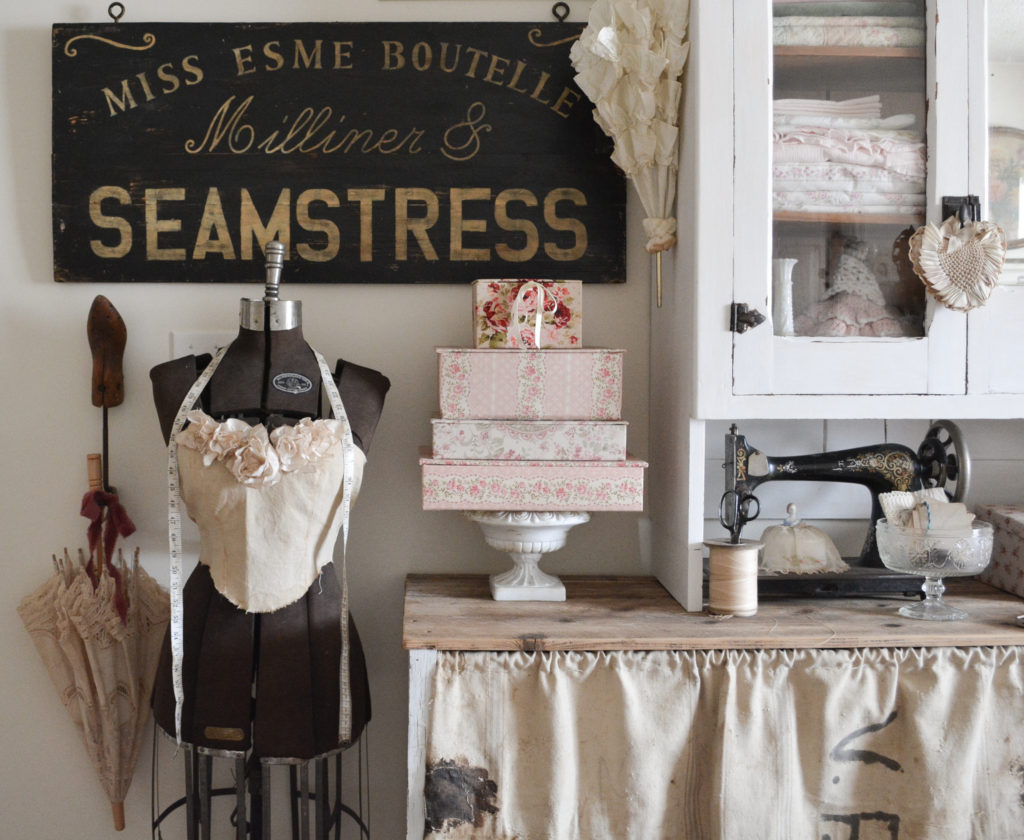
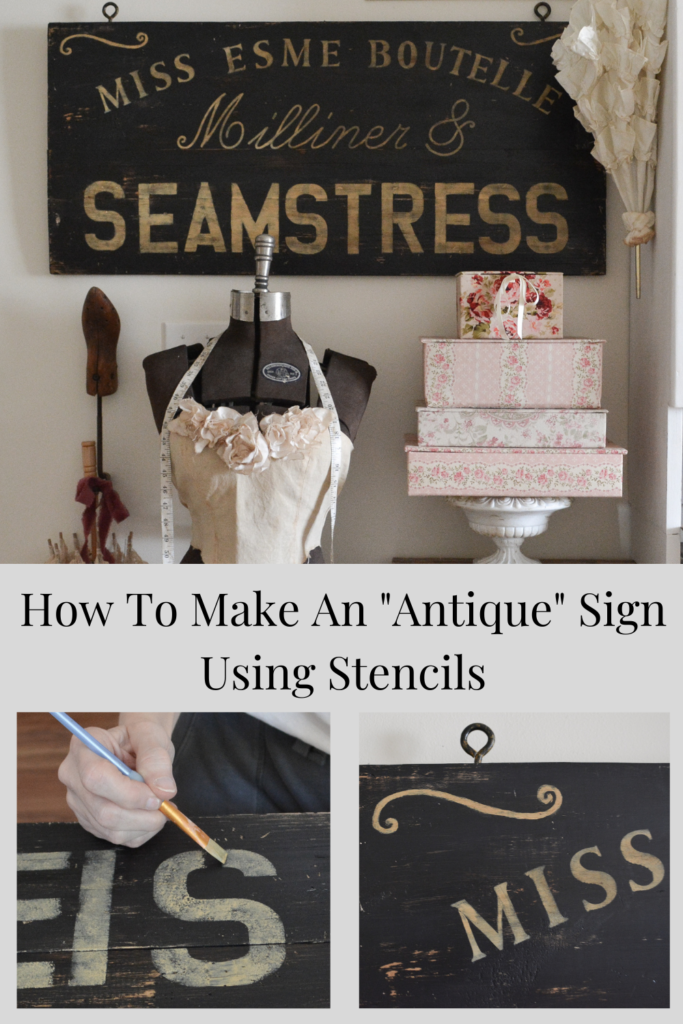
A lot of my ideas start out very grandiose, and then I have to reel them in, sometimes waaay in. My original vision for this wall was to cover it in faux brick and paint a really large sign on the brick, like the side of an old building. Have you seen that? Such a cool industrial look, but maybe a bit much for this room, at least right now. So I reeled that way in and decided to make a sign to hang on the wall. My artistic talents are very limited, but this project doesn’t really take any. Perfect! Today, I am going to show you how to make an “antique” sign using stencils.
Make A Design Template
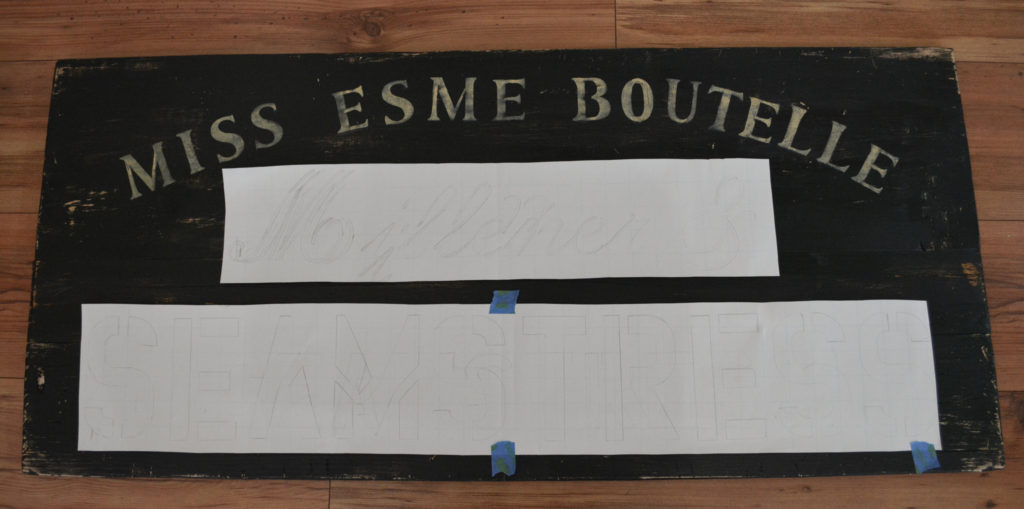
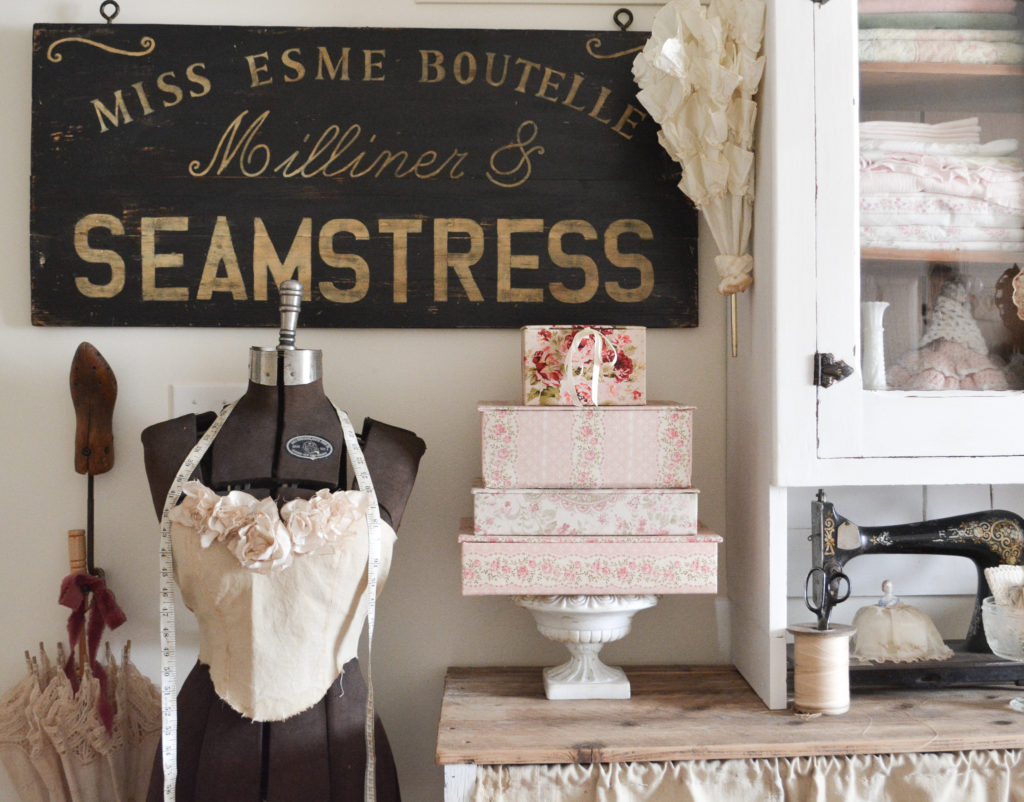
The beauty of making your own sign is that you can customize it to fit your space. Mine was for my studio, so I wanted it to have something to do with sewing. I also had a spot in mind for it, so I made it a size to fit. My sign ended up being 18 inches tall and 40 inches wide.
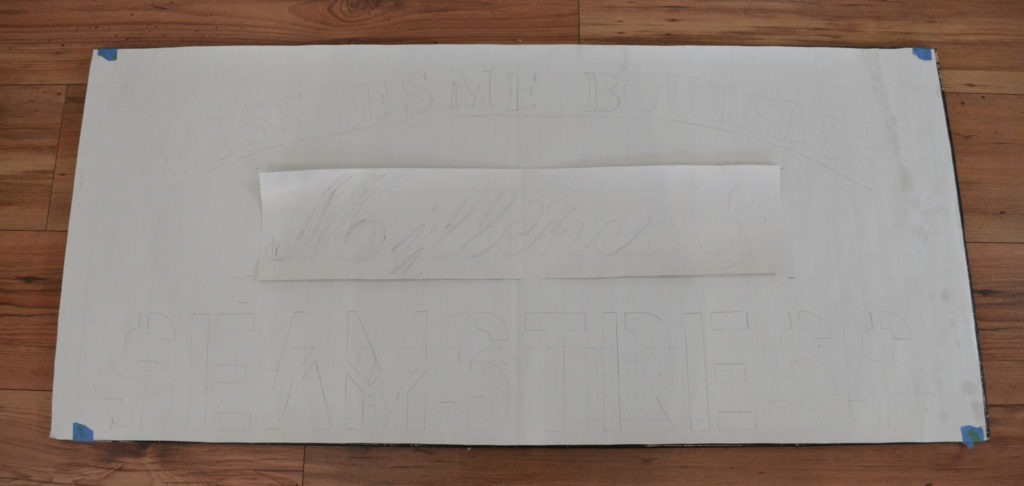
I am sorry this is so hard to see, but I drew out my design on the back of some wrapping paper cut to the size of my sign. The wrapping paper has the one inch squares on the back which makes it perfect for straight lines and spacing. My sign uses three different sizes and styles of stencils.
I studied lots of antique signs before I decided on a design and that is also how I came up with the paint colors. I think I found the perfect gold paint to mimic the look of the old signs.
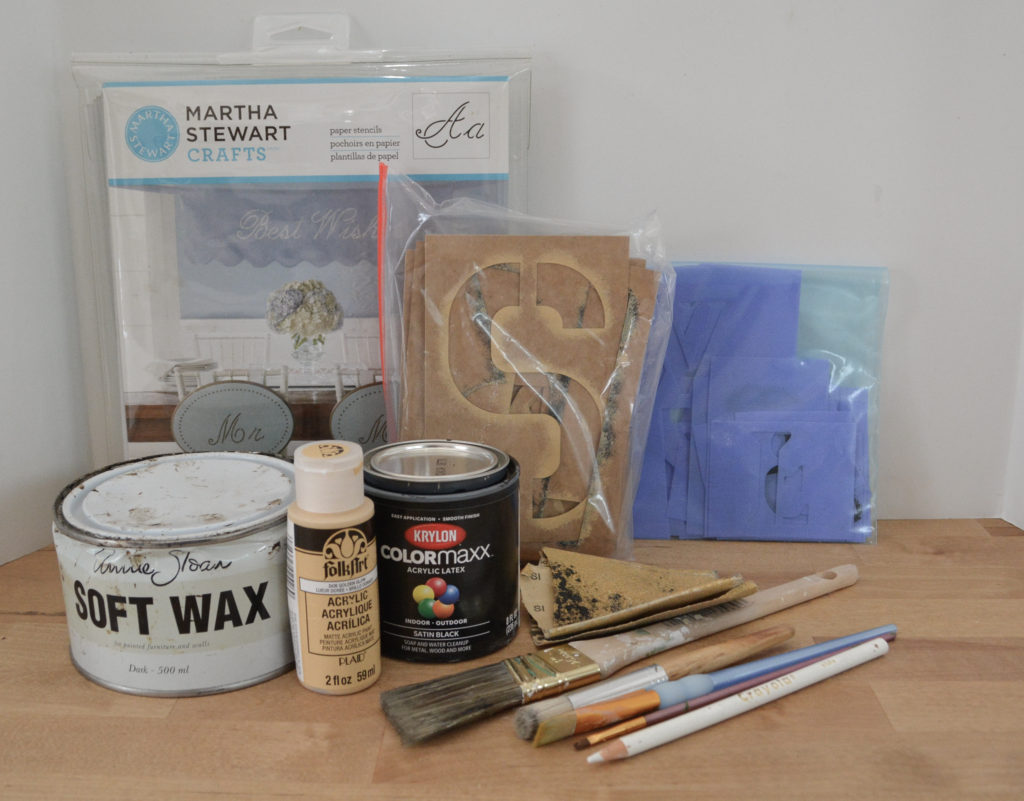
Supplies
Once you have the design all planned out, you can grab your supplies!
- Boards cut to desired size
- Kreg Jig and drill, or mending plates to attach boards together
- Black paint
- Paint brush
- Stencil brush
- Flat artist brush
- Assorted stencils of choice – I used 2 inch, 4 inch script, and a 5 inch
- Chalk pencil or transfer paper – optional
- Acrylic craft paint – Folkart golden glow
- 80 grit sandpaper
- Soft dark brown antiquing wax
- D rings for hanging
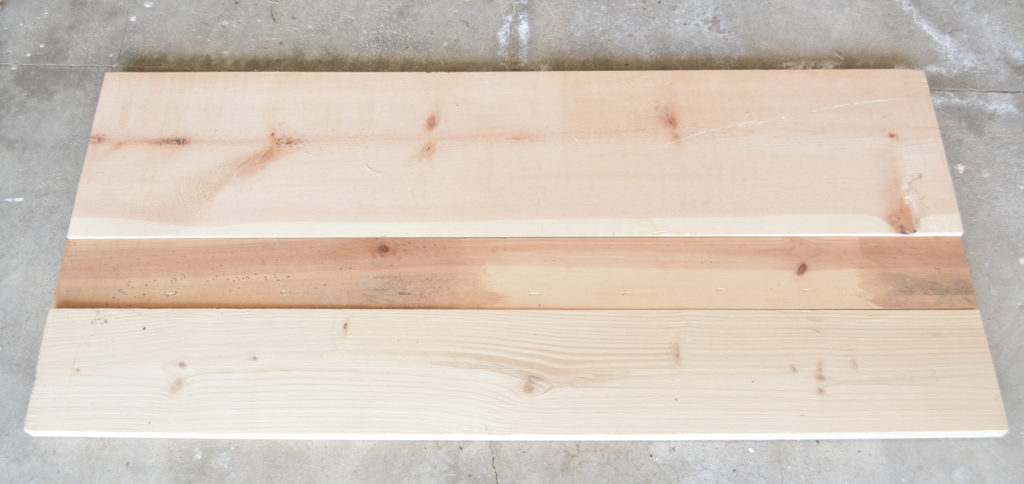
Board or Boards for Sign
I didn’t want to spend any money on this project, so I searched my garage for a combination of boards that would be the right size to fit my space. The combination of these three boards was perfect.
Using a Kreg Jig and drill, I made pocket holes to screw my boards together.

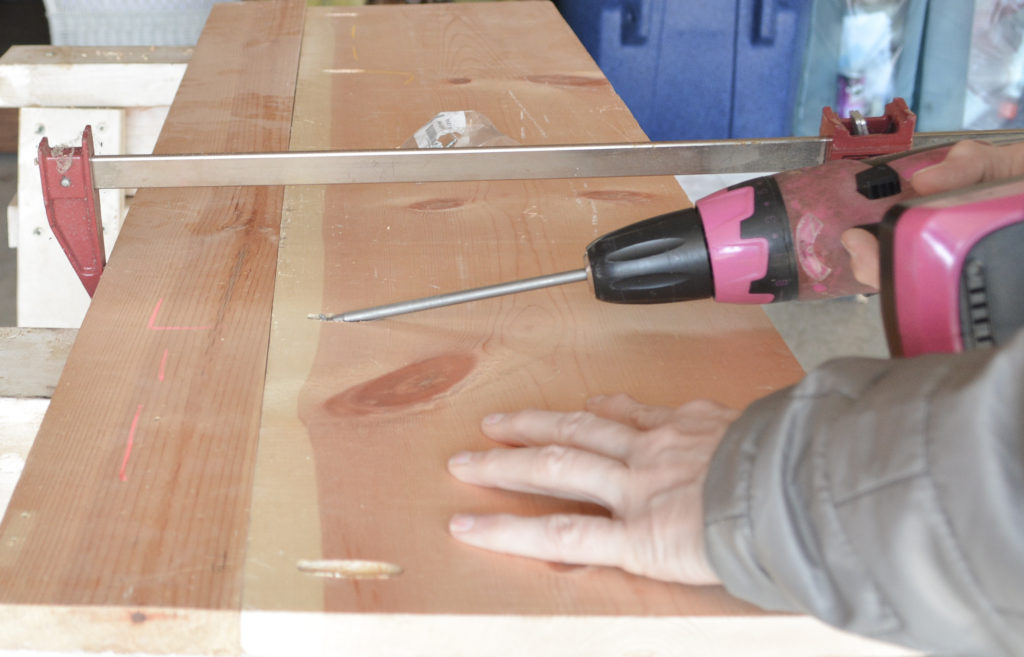
If you don’t have a Kreg Jig you can just use mending plates to join the wood together.
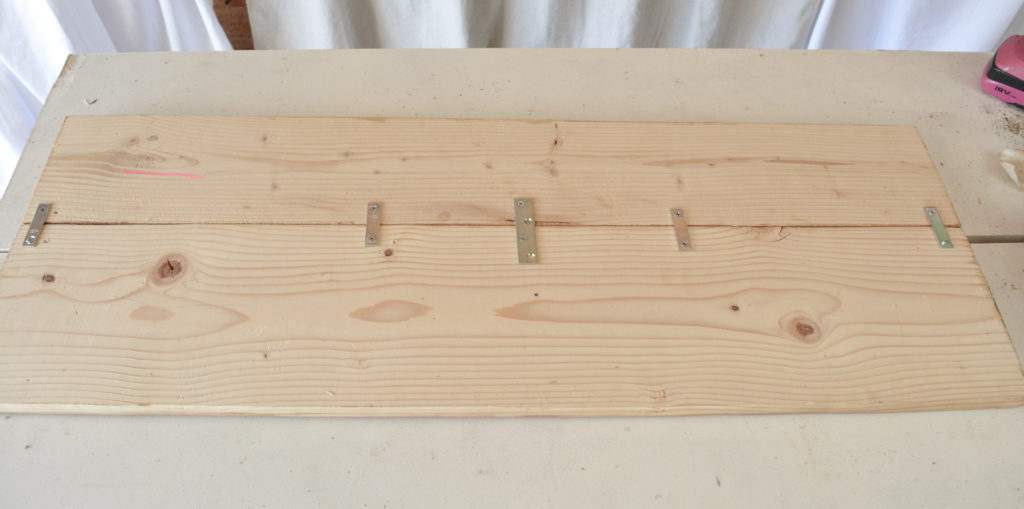
I used mending plates when I made this faux carved wood door topper.
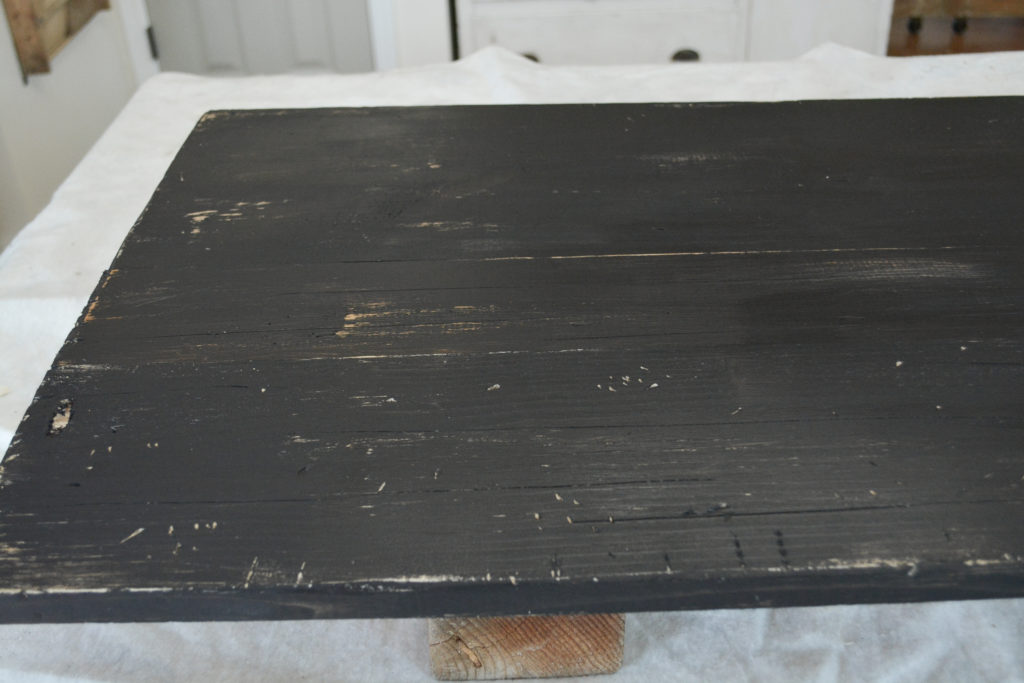
Painting the Board
To make the sign look old, I beat up the boards with a hammer and screw driver.

Vaseline was used as a paint resist. It was brushed randomly on the edges and some areas on the board.
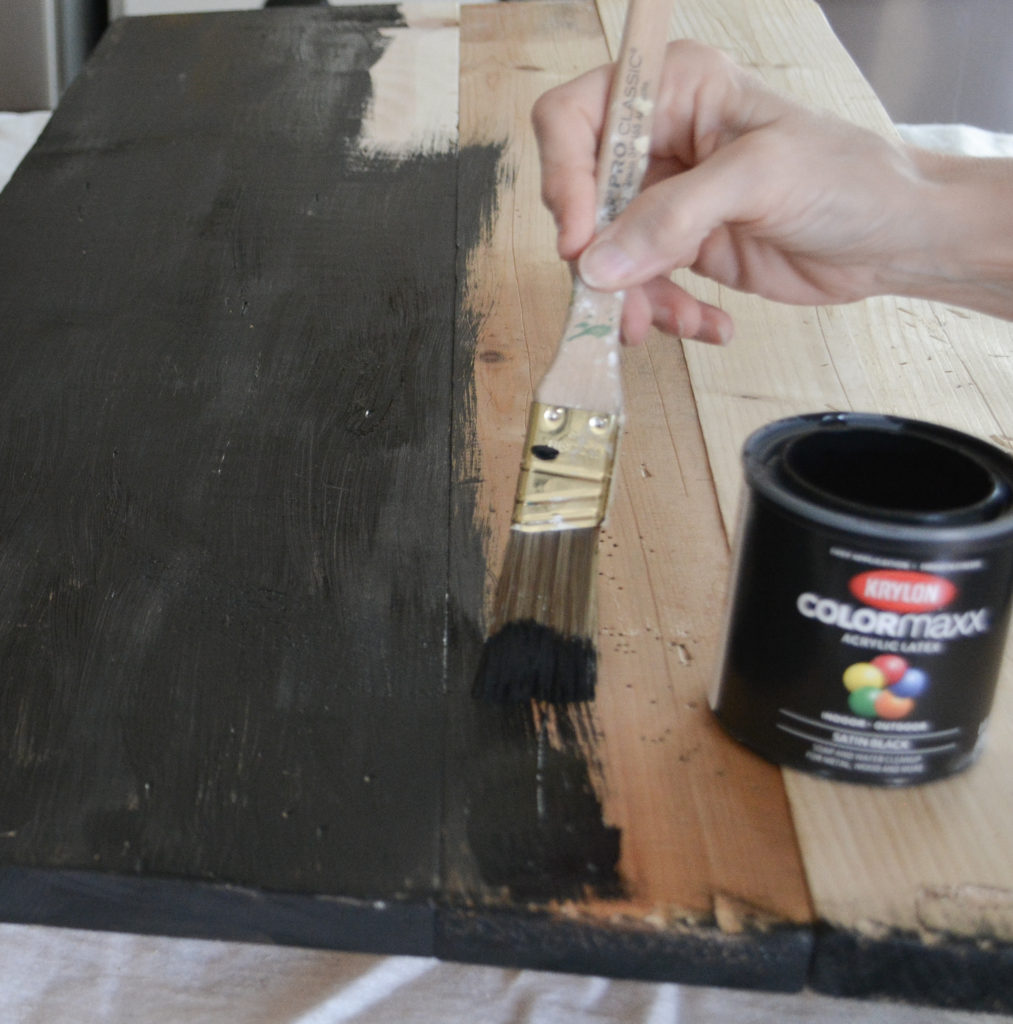
A coat of black paint was applied over the Vaseline.
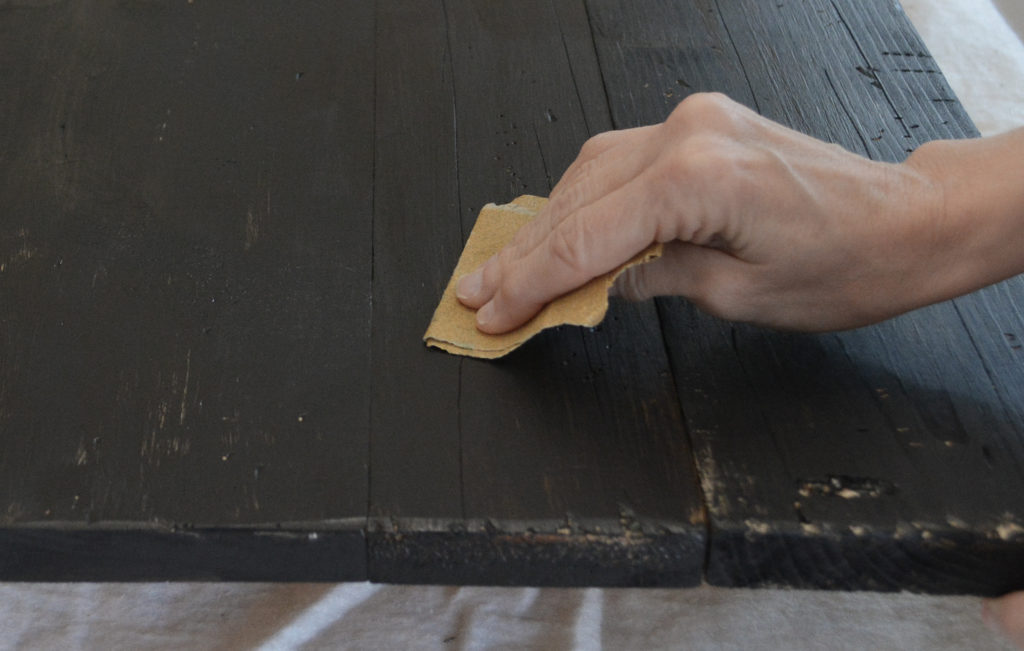
After the paint dried, I sanded the board. The paint came right off the areas where the Vaseline was applied.
Add The Lettering Using Stencils
If you draw out a template like I did, you have a couple of options. You could use tracing paper under the template, draw on the letters, and then either fill in the letters with paint, or just use it a a guide to place the stencil. Or you could do what I did. I didn’t have any tracing paper, so I just poked holes through my paper with a chalk pencil and made cheater marks for the placement of the stencils.
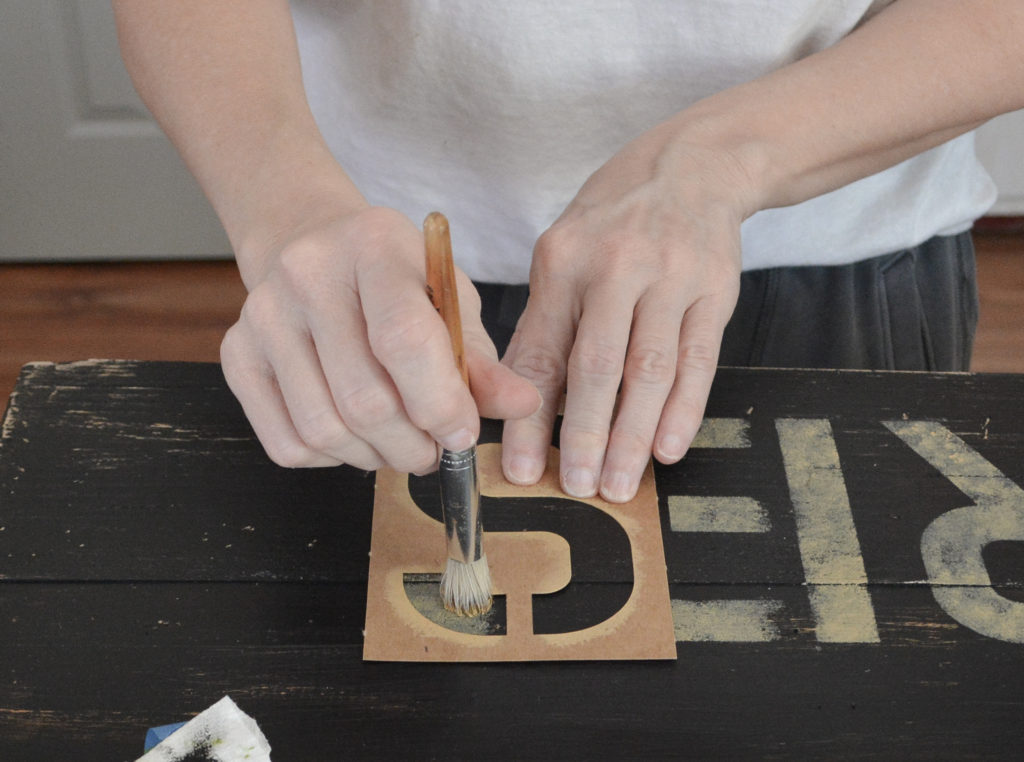
To achieve a more hand painted look, I like to fill in the gaps the stencil leaves.

While stenciling the letters, try not to go all the way to the line. This leaves a soft edge.
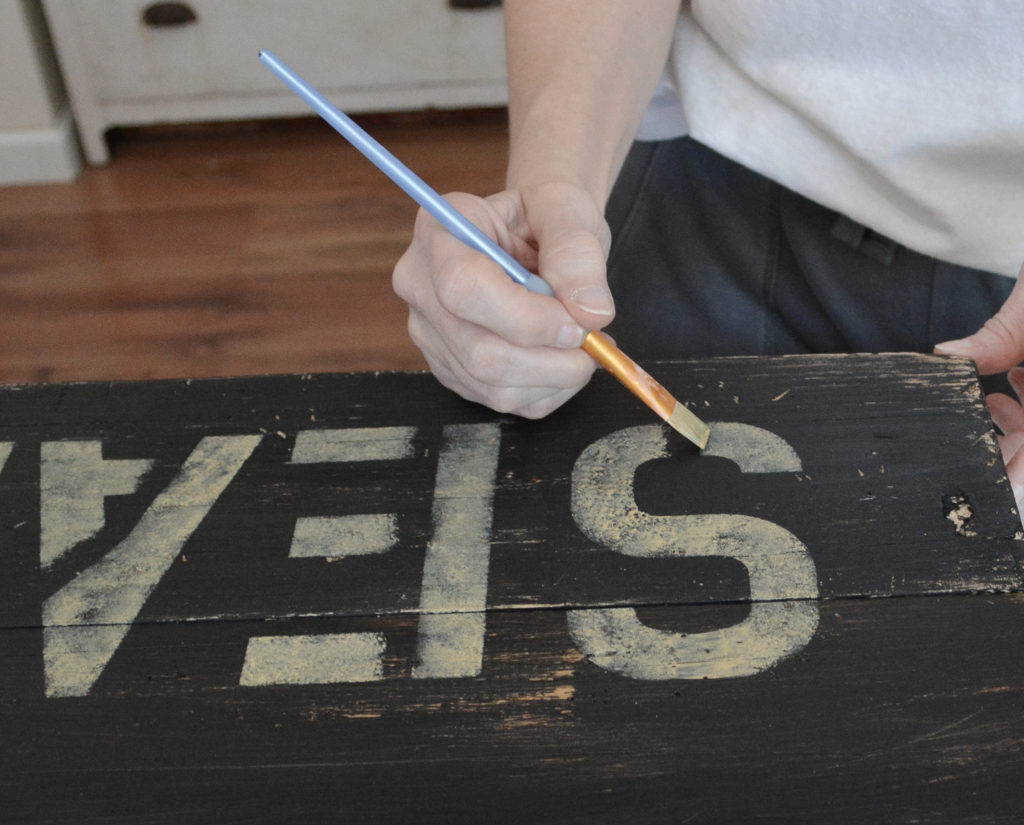
Use a flat brush to fill in the gaps with paint. I brushed over all the letters for “seamstress” to darken them a bit. This would not be necessary, but I just didn’t stencil them dark enough to start.
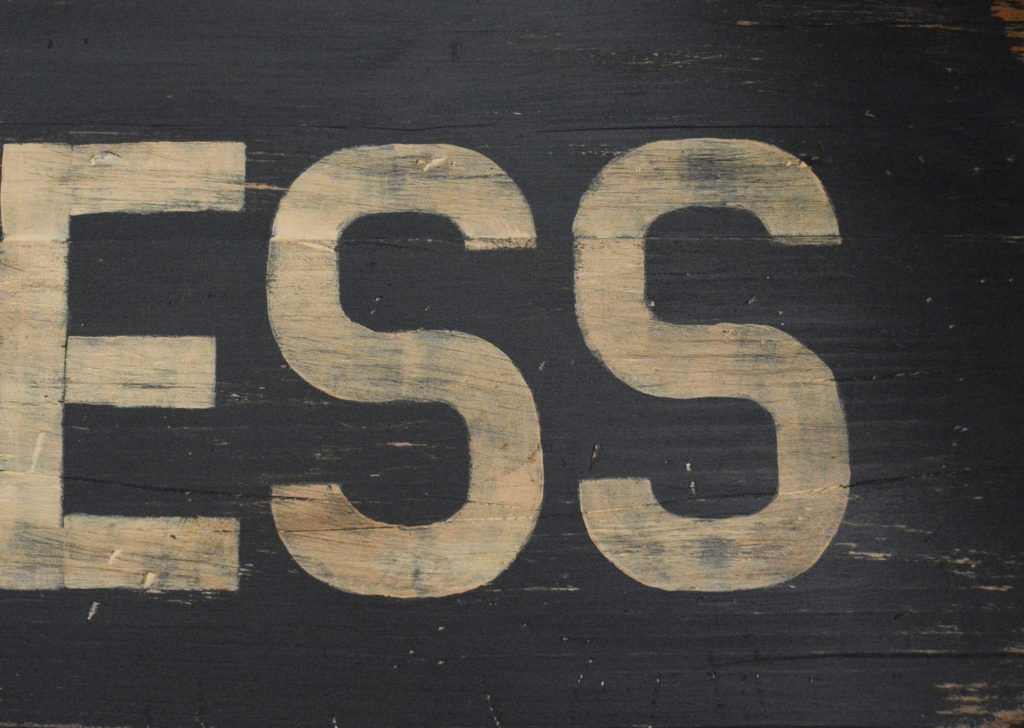
Much better! And don’t forget, paint is the ultimate eraser. If you mess up, just paint black back over it. If you go outside the line, take a flat brush and cover it with black paint.
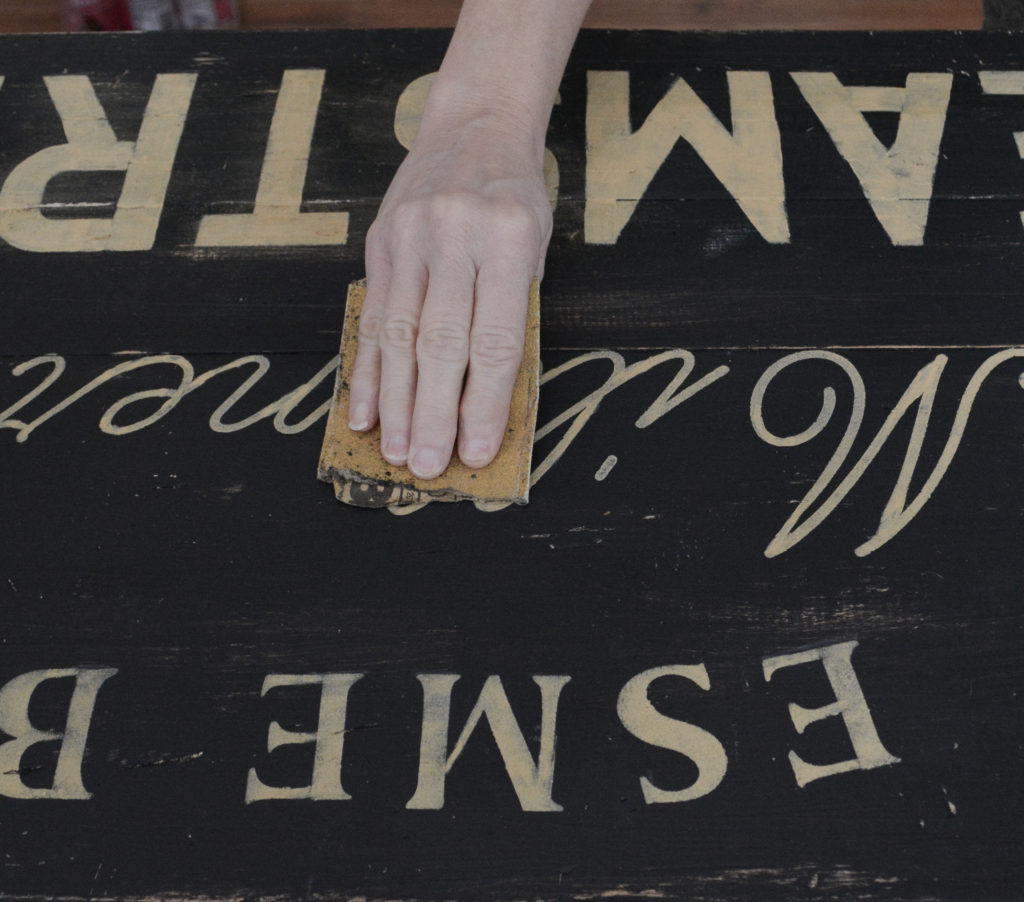
After all the letters are filled in, lightly sand to age and blend.
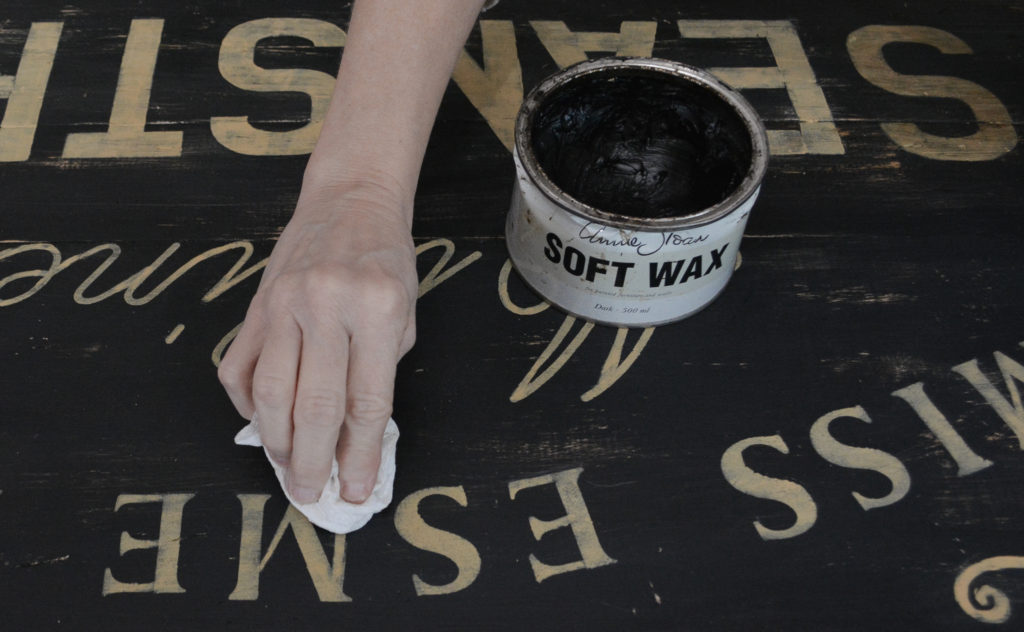
The final step is to apply dark wax to the entire sign. This ages the gold paint and stains all the bare wood from the distressing.
The Finishing Touch
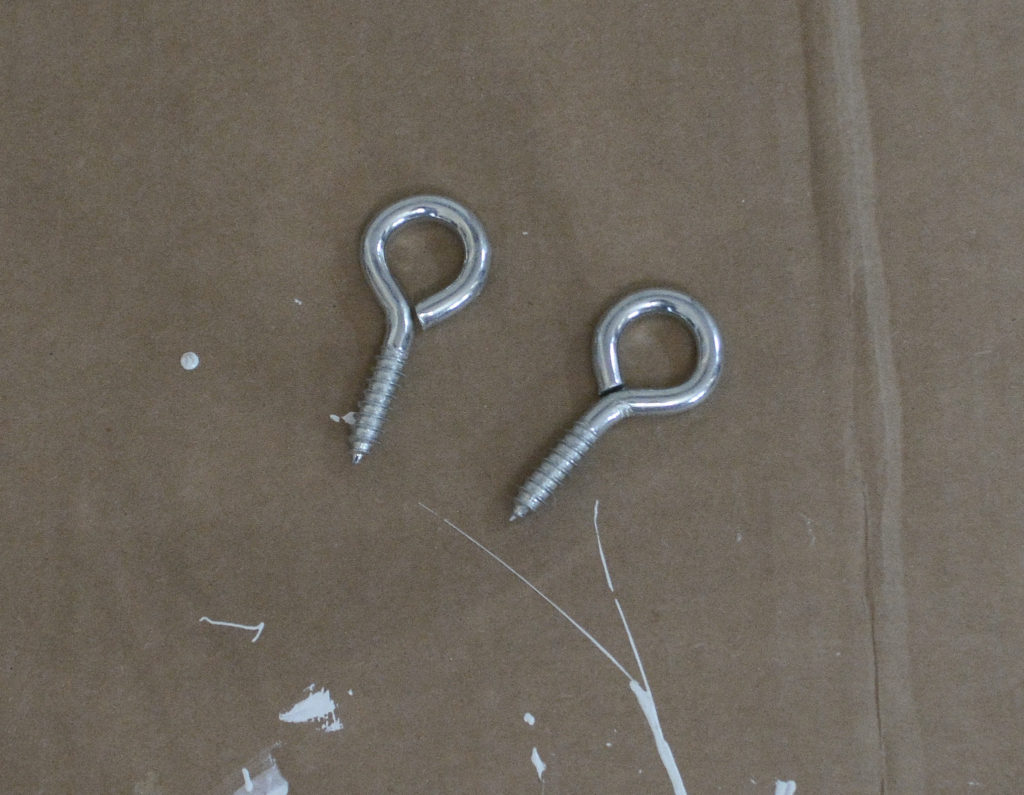
And just because, I added screw eye hooks to the top. I saw this on a lot of the antique signs. I spray painted them black and gave them the same rust treatment I used on my cabinet hardware.

Oh, I also added some freestyle swoop-de-loops in the corners. I may have pushed my nonexistent artistic skills too far, but I kept them anyway.
When I was deciding how to make an “antique” sign, I did my research, planned a design, and then used stencils for a no artistic skills project. This was a free project for me, and that makes it even better!
PIN IT FOR LATER!
Thanks for stopping by,
Janet