
If you are ever gifted a vintage wicker porch set, or you buy an antique wicker rocker with springs but no cushion, or you buy a $5.00 chair from an estate sale and are so excited the chair is $5.00 that you don’t realize it has no seat cushion, this might come in handy. You might need to know how to make custom foam furniture cushions.
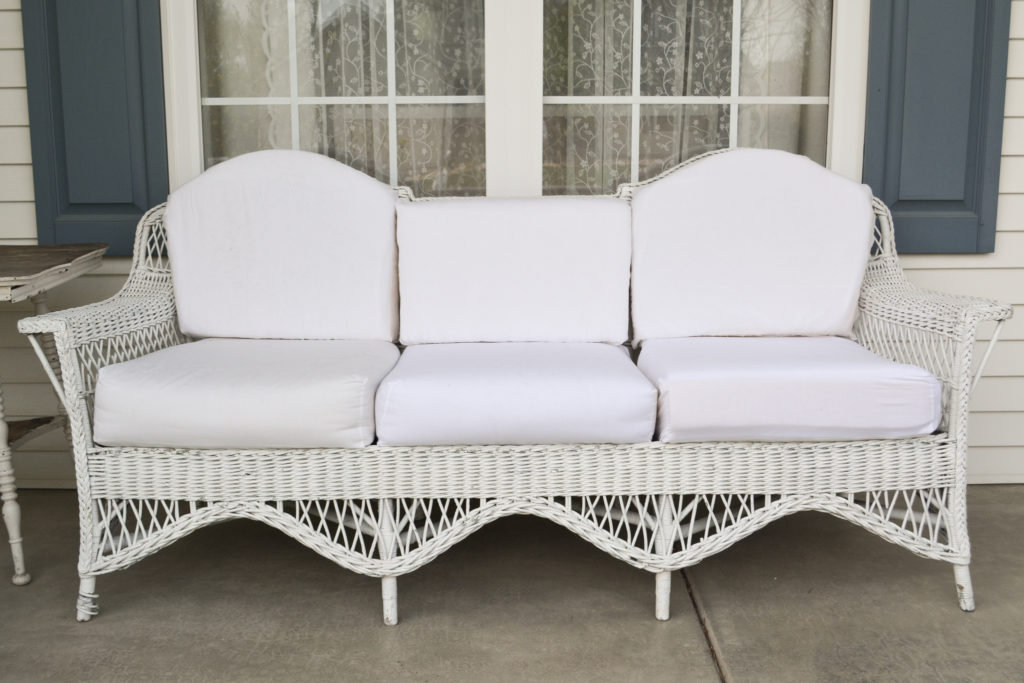
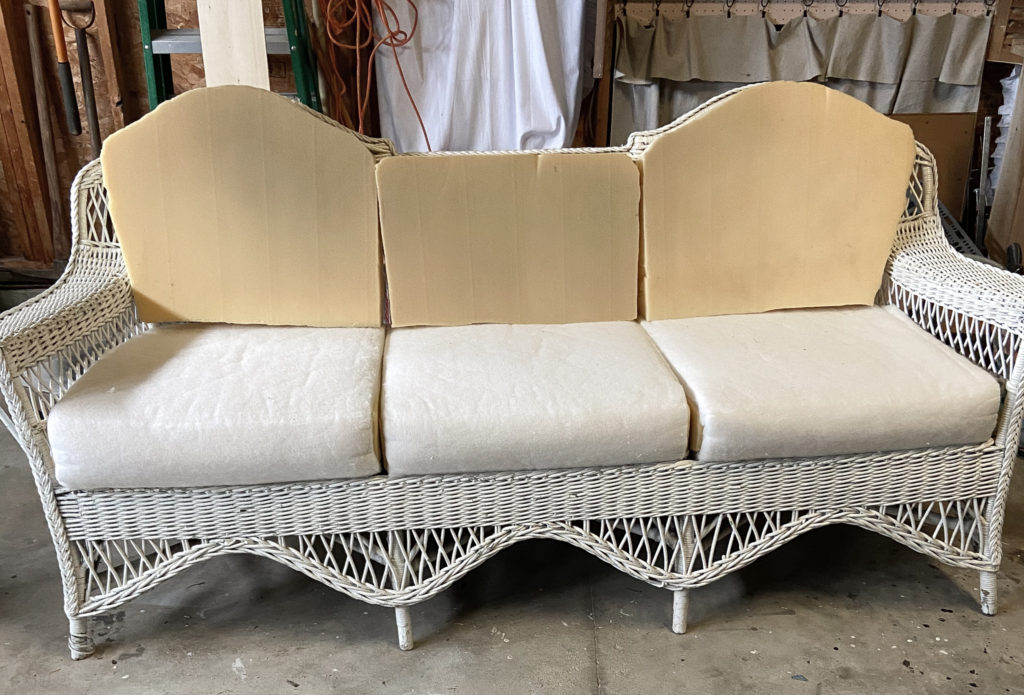
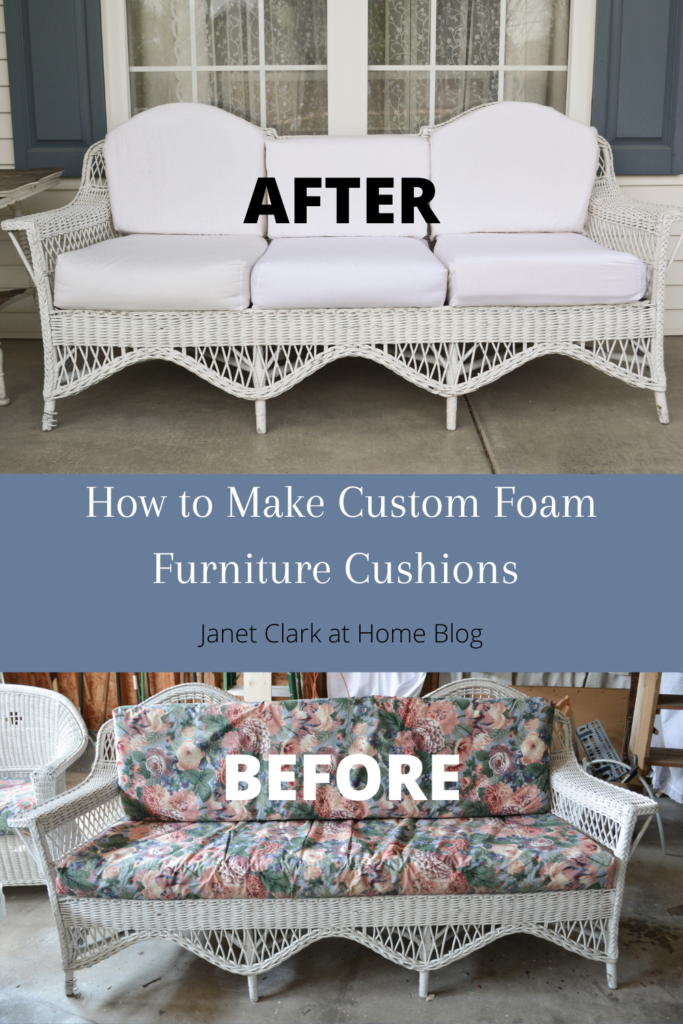
You probably guessed that all of the above apply to me. Today, however, I am going to show you how I made custom foam cushions for a vintage wicker sofa.
If you find yourself in one of the situations I mentioned earlier, you are probably the type of person who doesn’t want to spend a lot of money for furniture cushions. You can go out and buy expensive upholstery foam, or you can look for quality cushions at the thrift store to reuse like I did. Either way the process is the same.
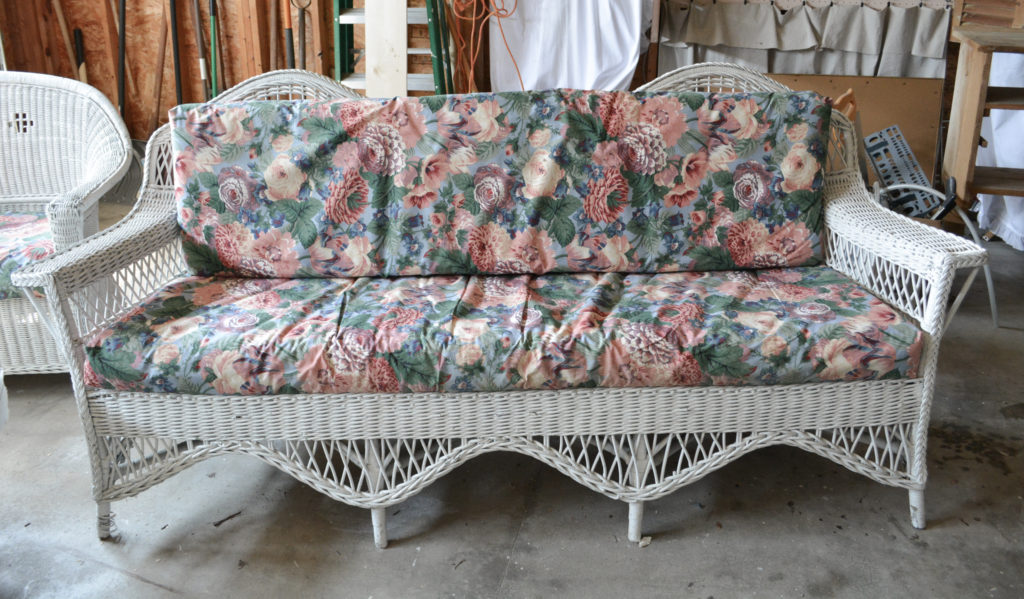
When I received the sofa, the seat and the back were made from one long piece of foam. I wanted the cushions to be customized to show off the shape of the back of the sofa.
Supplies Needed To Make Custom Foam Furniture Cushions
Upholstery Foam
Polyurethane upholstery foam is a good choice for seat cushions. Be careful not to use the inexpensive foam that is often used for pillows and such, because it will not give the support and comfort you need. You can go to a specialty store to purchase your foam and have it cut to size, but this gets pricey. Fabric stores usually sell upholstery foam, but you will need to cut it yourself.
Polyester Batting
Polyester batting is used to cover the foam for comfort and to smooth out the edges.
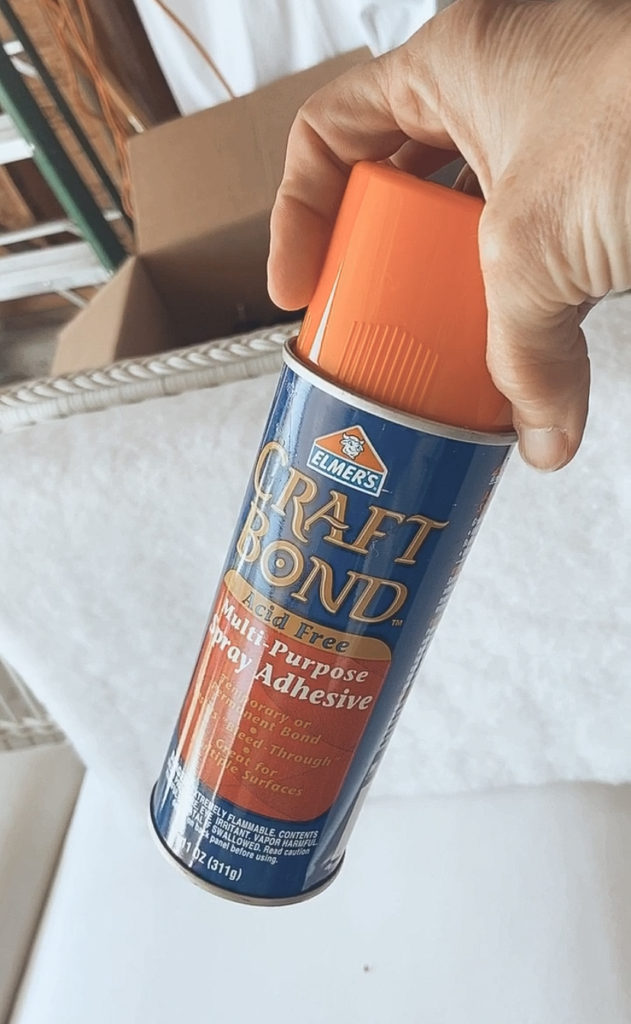
Spray Adhesive
Craft spray adhesive specifically for foam is used to adhere the batting to the foam.
A Electric Kitchen Knife
Used to cut the foam
Fabric For Inner Cushion Cover
After the foam is wrapped with batting, it should be encased in a light weight fabric cover to hold everything together. Muslin is a good fabric choice for the cover.
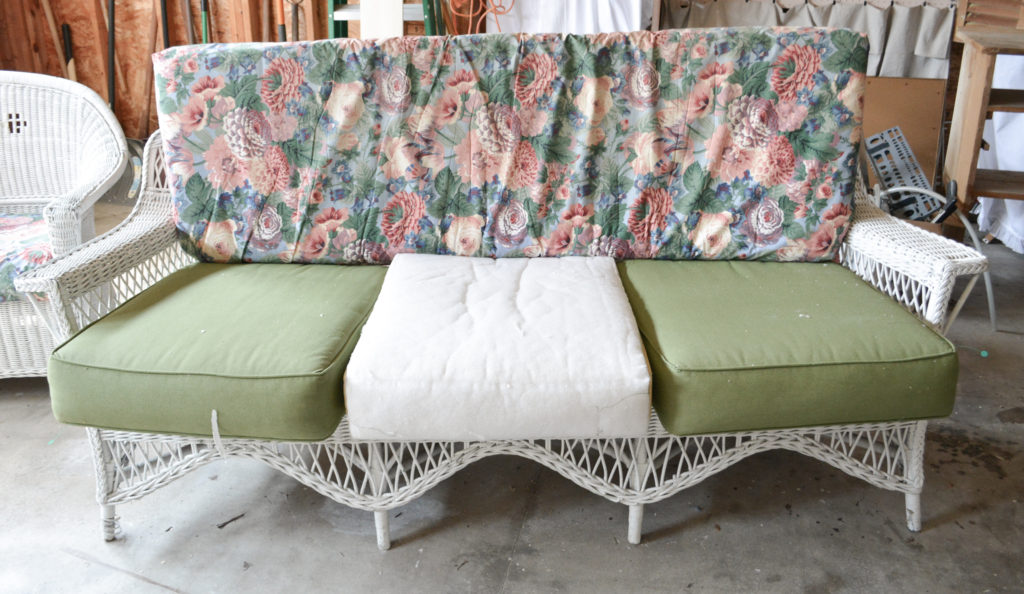
I found three outdoor cushions at the thrift store and used those for the seat. I took the large piece of foam that was the old seat, and used it to make the back cushions. The original back piece of foam was too short to use in this project, but I am sure it will not go to waste!
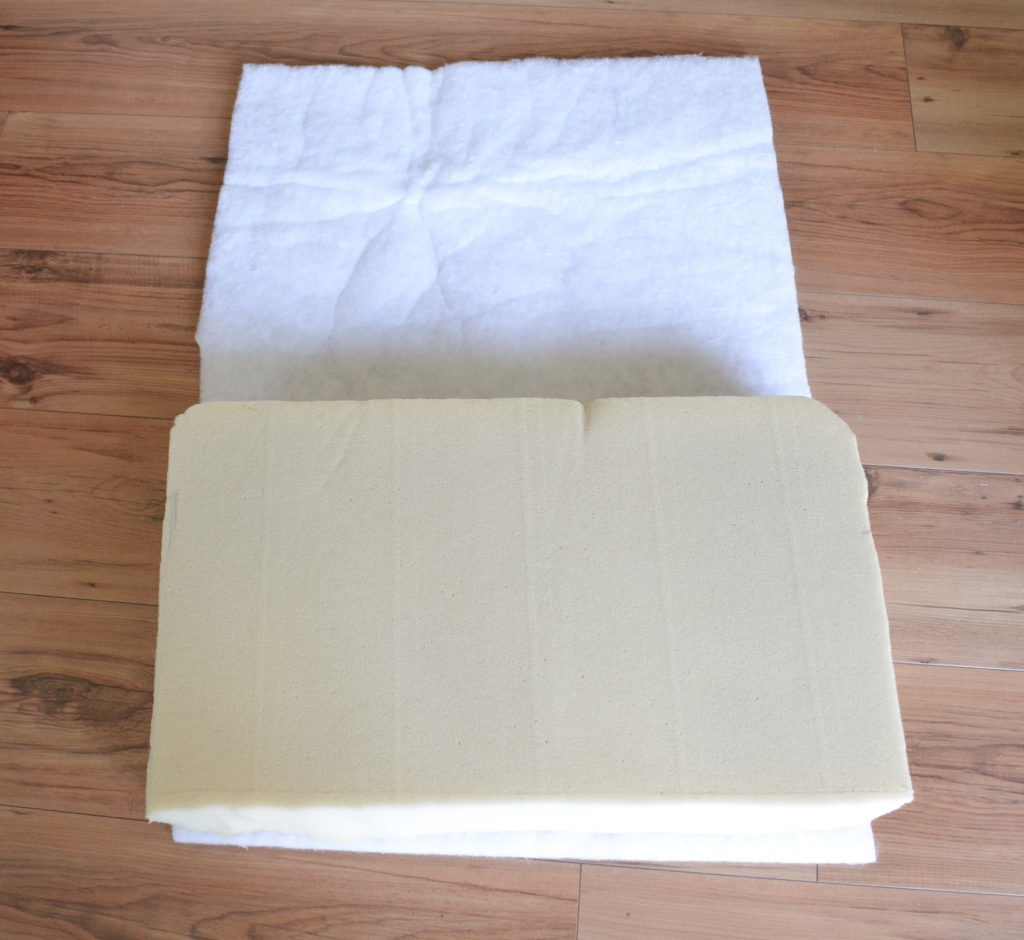
Anatomy of a seat cushion
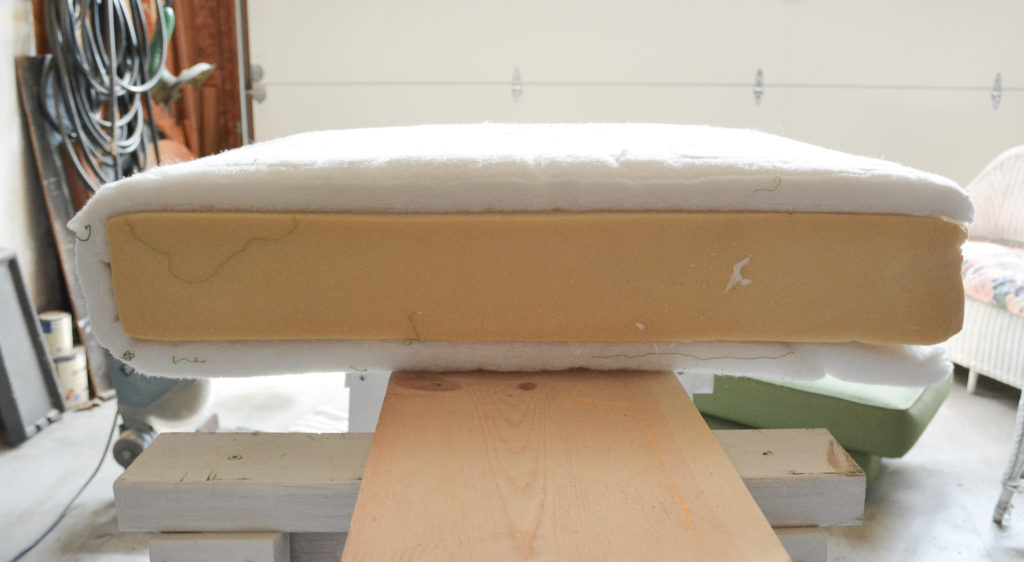
A seat cushion starts with a piece of dense foam wrapped with polyester batting.
My thrift store cushions had good foam covered in batting, so I just had to cut some of the length off to fit the sofa.
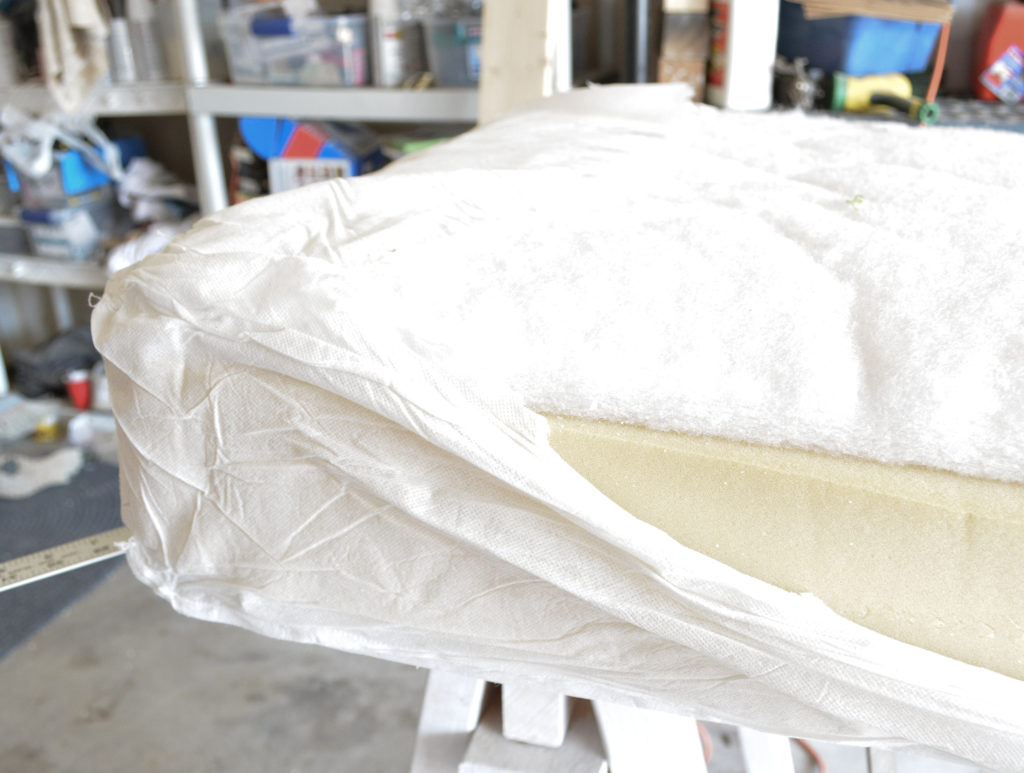
After the foam is wrapped with batting, it should be encased in a light weight fabric cover to hold everything together. My thrift store cushions had torn covers, so I had to make a new ones.
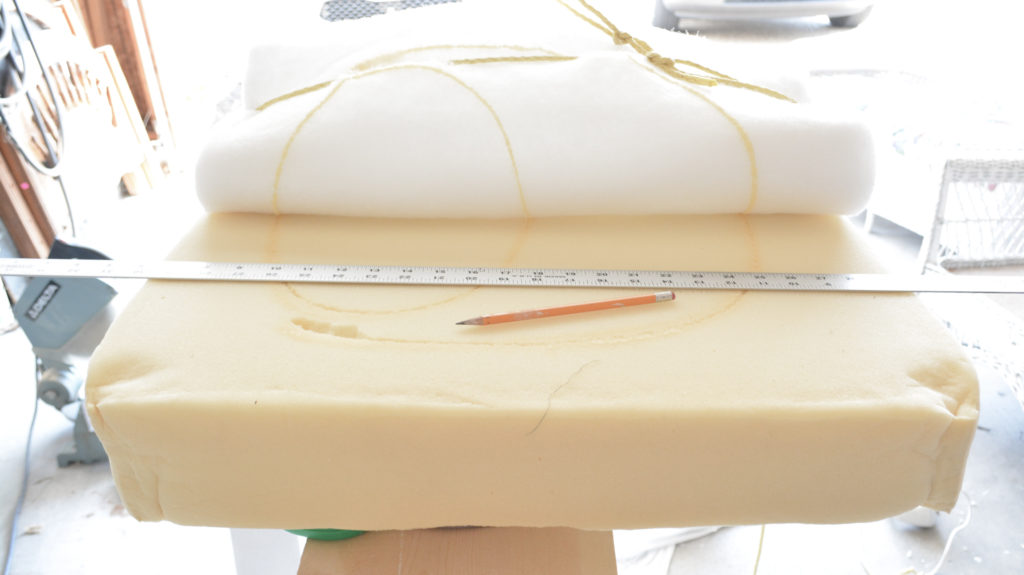
Cutting The Foam
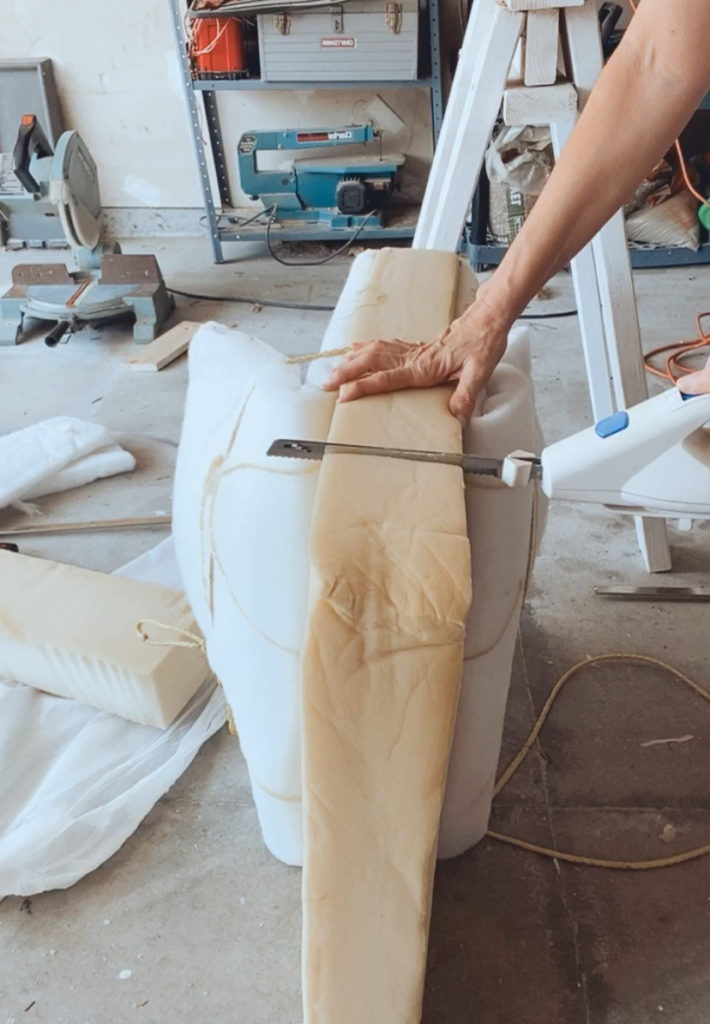
I measured the amount of foam I needed to cut off the back of the seat cushion and marked it with a pencil line. To keep the batting out of the way while I cut, I tied it back with string.
I used an electric kitchen knife to cut my foam. Naturally I found one at the thrift store to buy.
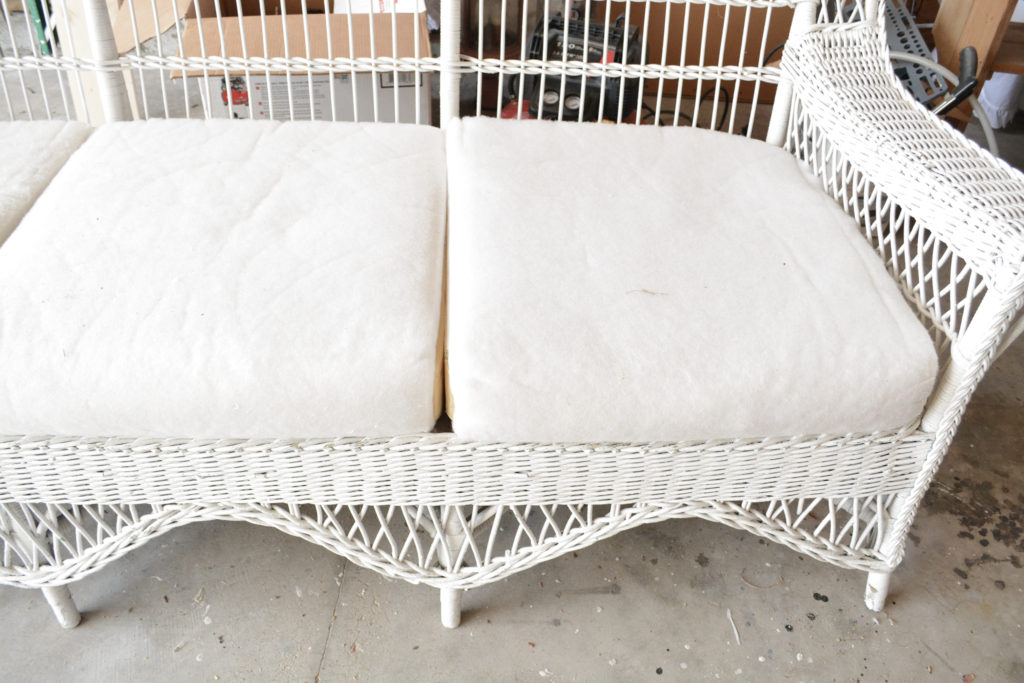
That is all I had to do for the seat cushions. They are now ready for the inner cover.
I followed the instructions on this video to make the cover for my seat cushions. The only difference is that I did not add a zipper, but left the back open. I inserted the foam into the cover and then hand sewed the opening closed. I do not plan on ever removing this inner cover, so no zipper is necessary.
Making The Back Cushions
I took my long piece of foam and cut it into three separate pieces. I traced the shape of the sofa with a pencil, and then cut it out with the electric knife. You could also make a paper pattern of the sofa and then trace on the foam.
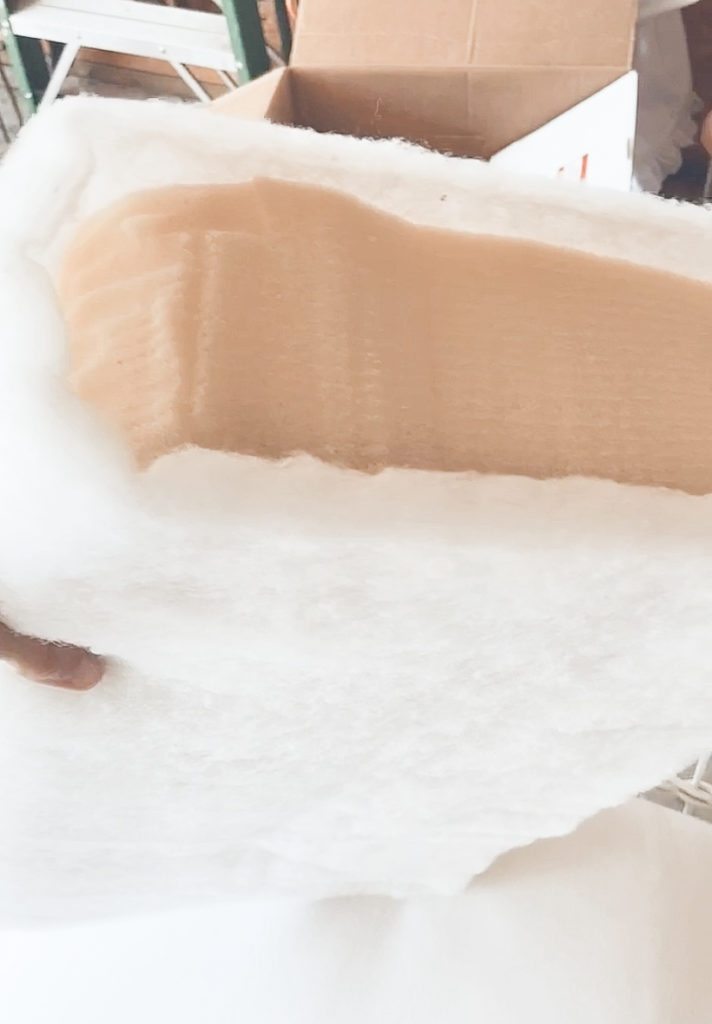
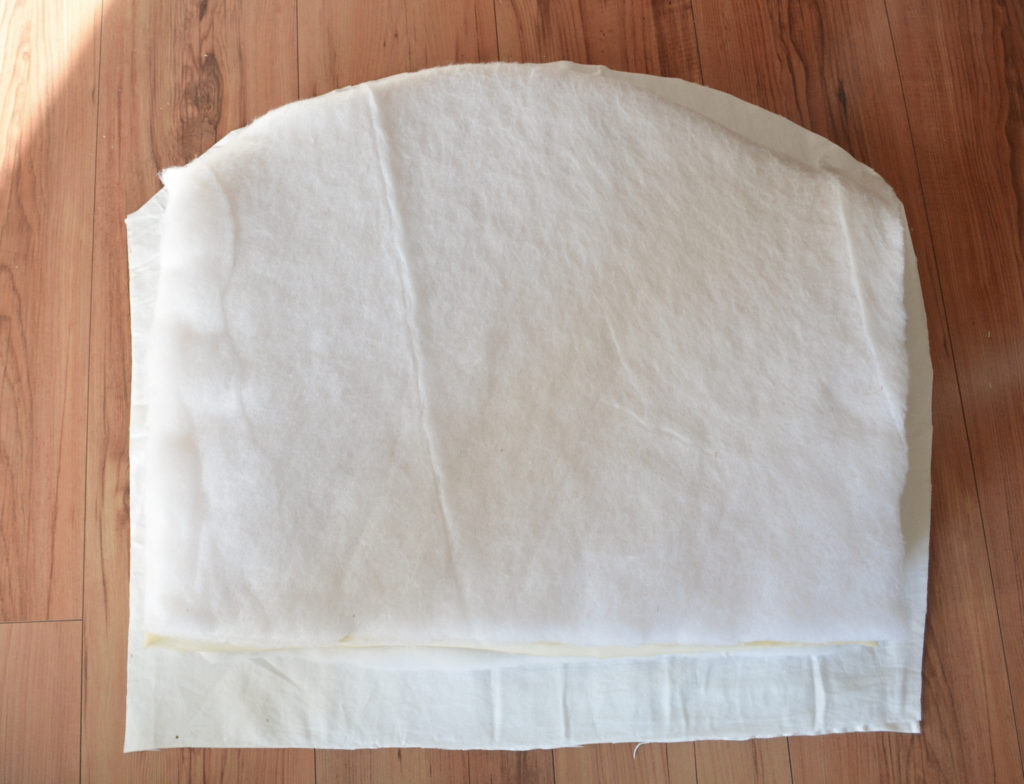
The cushion needs to be wrapped with batting, leaving the back and sides open.
Cut a piece of batting that wraps around the front.
After the batting is cut, attach it with spray adhesive for foam.
The foam is now ready for the fabric cover.

Cover The Cushions With Fabric
A lightweight fabric like muslin is used to make the cover. As usual, I wanted to save money, so I used some leftover fabric and a flat sheet from the thrift store.
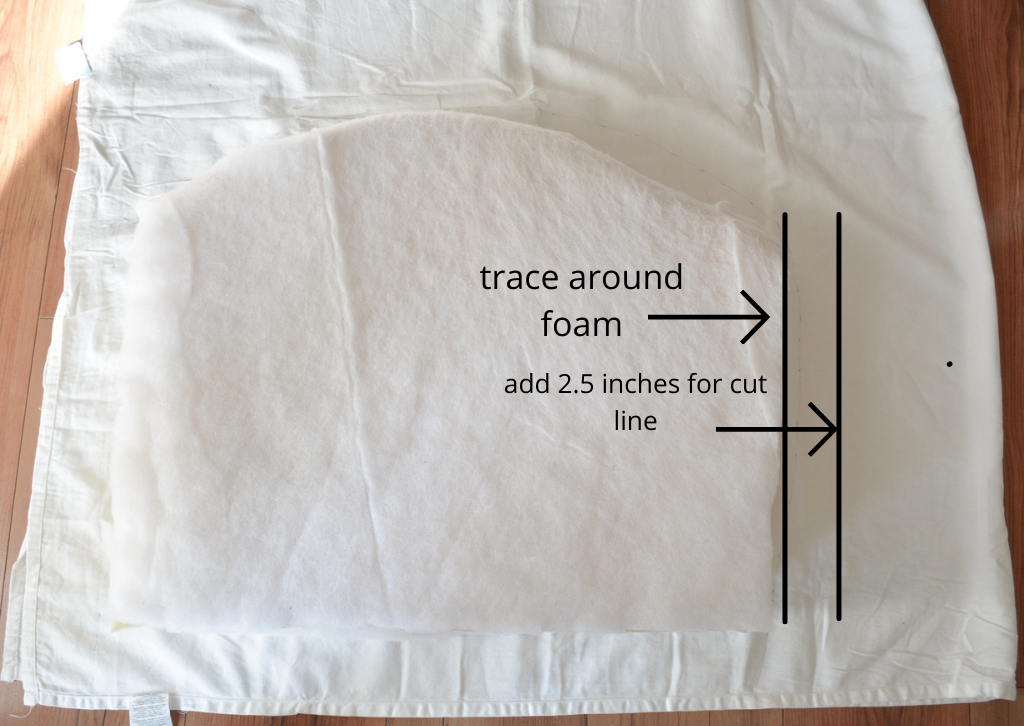
The method I used to cover the seat cushions does not work well for a curved cushion. To make my covers, I folded the fabric with right sides together and drew around the foam. My foam and batting was 5 inches, so I added 2.5 inches for the cut line.
After the fabric is cut, sew around the edges leaving the bottom open, and turn right side out. Insert the foam and hand stitch the opening closed.
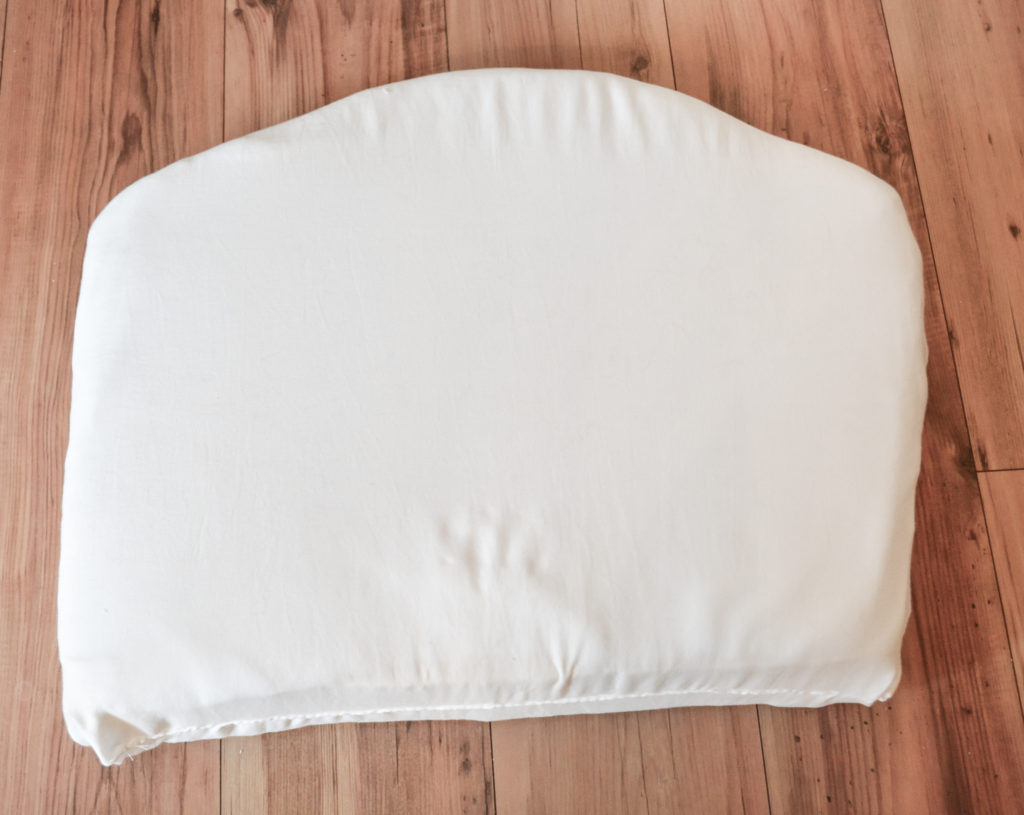
The cushions are done! Making the cushions was the not so fun part that makes the fun part possible, the decorative cushion covers. I have a cute slipcover planned!
Conclusion
I hope you don’t turn away a project because you need custom foam cushions. It does take a bit of time, but having a quality cushion and custom look is worth it.
One of my main objectives was to save money. I did this by reusing what I had and shopping at the thrift store for cushions and sheets for fabric. It cost me less than $15.00 to create this transformation. And did I mention, they are so comfy, too!
Pin It For Later!
Thanks for stopping by,
Janet
You are so smart ! Did I see a band-aid on your index finger?
No Band-aid. I think it’s just an illusion from my double jointed fingers HaHa!
Janet
You are a woman of many talents! You are not afraid to tackle any project!
Thanks! The projects don’t always turn out the way I want, but I always learn something!