
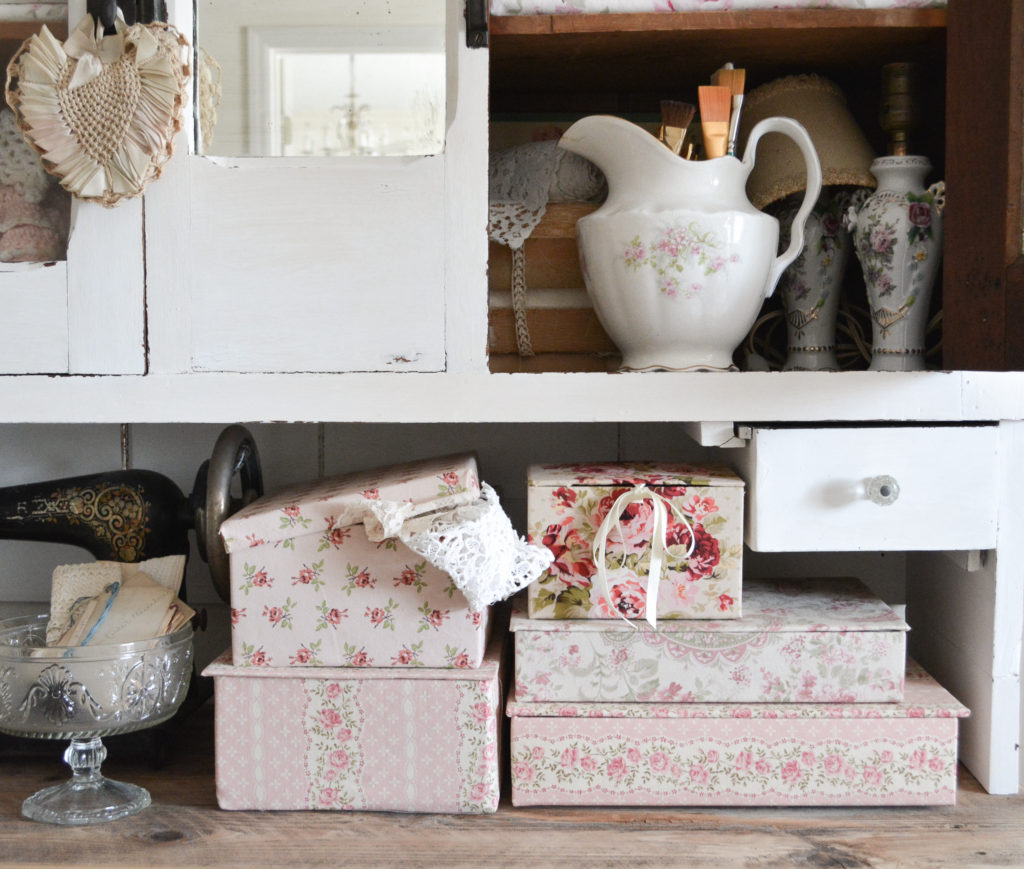
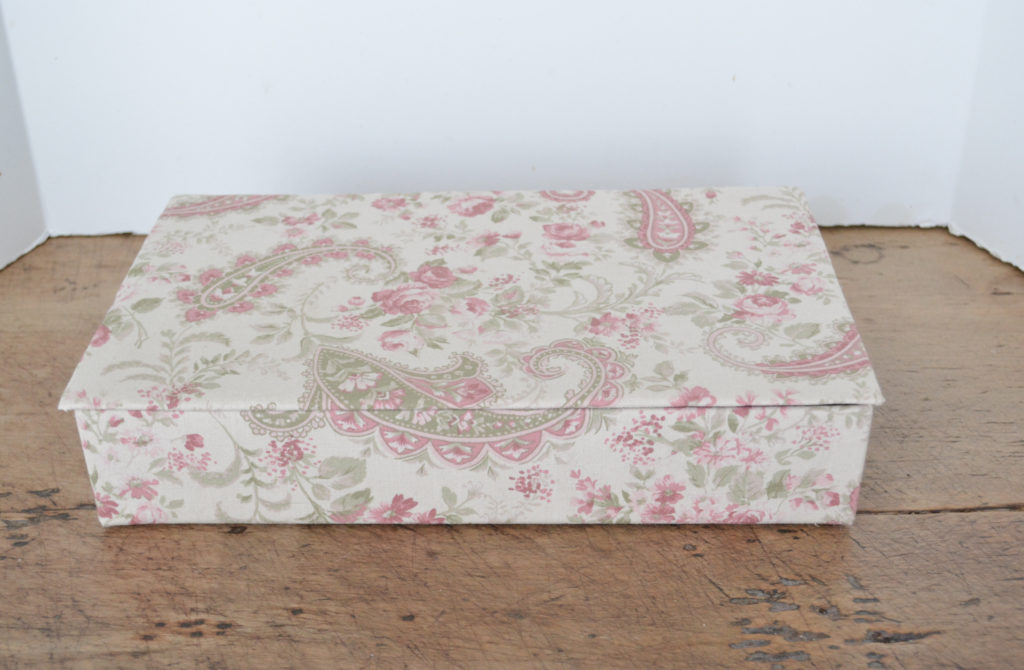
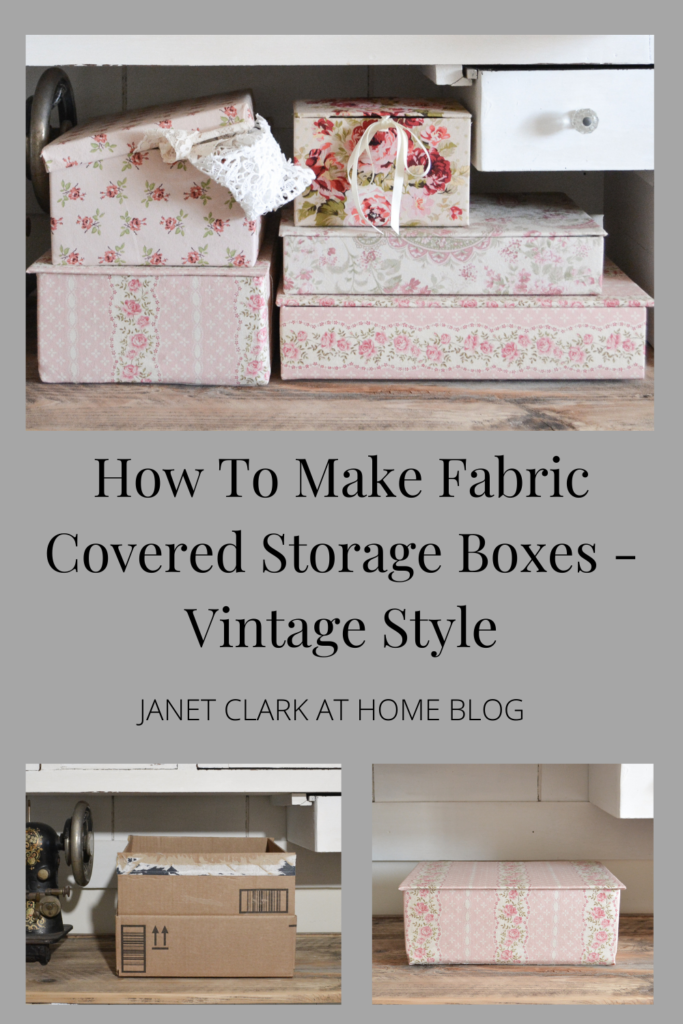
I have wanted vintage fabric covered boxes forever! When I started decorating my creative studio, it was finally time to get some. I looked into buying authentic boxes and they were $80 and up! Well that wasn’t going to work for me, because I wanted a big stack of them! There was nothing left to do but make my own. Today I am going to share how to make fabric covered storage boxes, vintage style!
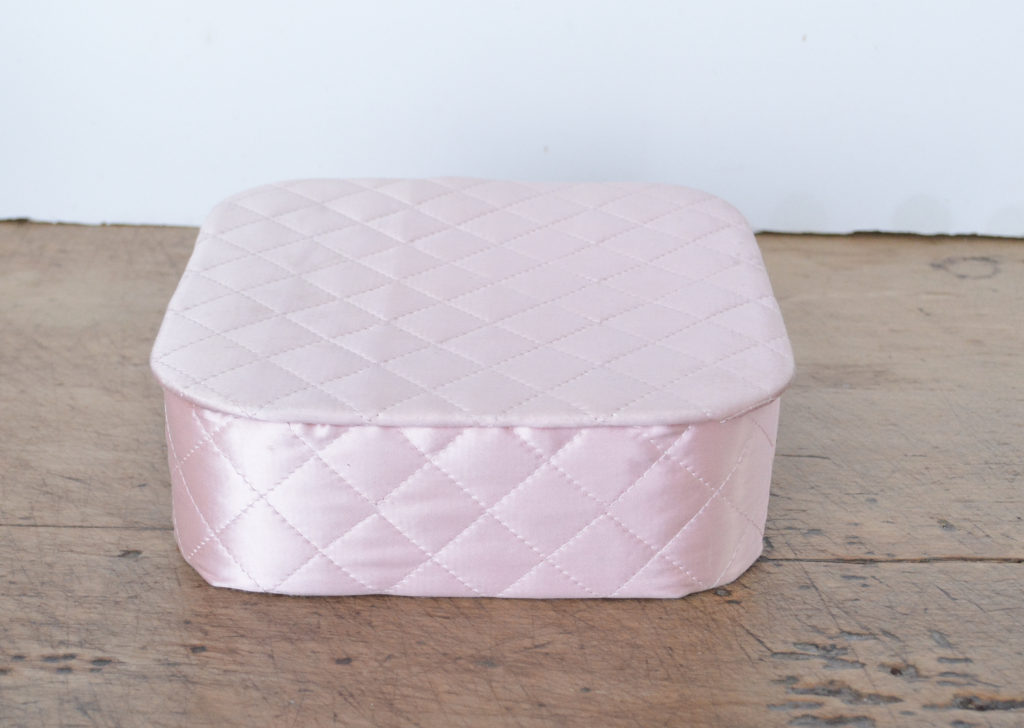
I wanted to make fabric covered storage boxes inspired by vintage dresser boxes? Glove boxes? This is one of the boxes I had and I used it to design my boxes. All the vintage boxes have these flat lids hinged with fabric or ribbon. This box is lined with a poster board type material. So that’s how I decided to make mine.
A Few Things To Know About The Fabric
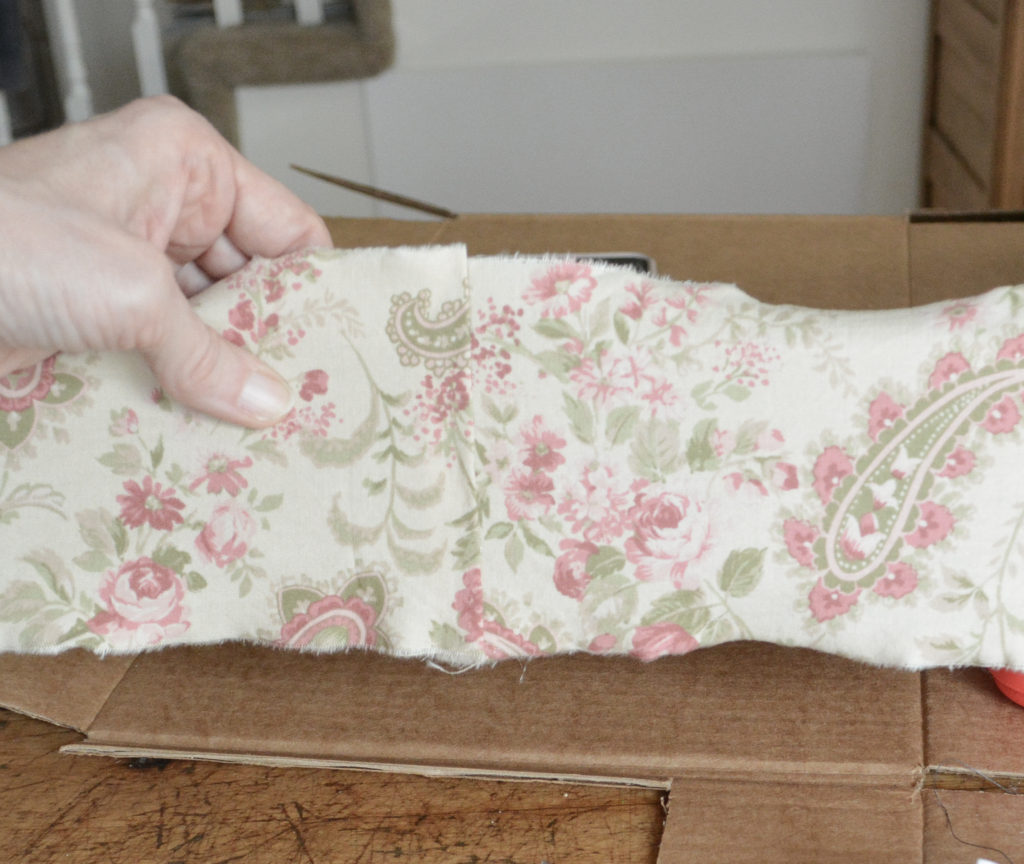
- I use a light weight cotton fabric, like for quilting. I purchased it at Hobby Lobby.
- You will need a fabric strip long enough to wrap around the box. If the fabric is 45″ wide, then your box can be up to 43″ inches around. If your box is more than that, you would have to have that much fabric in yardage, and you would use much more fabric. And then add what you need for the lid.
- Keep the fabric pattern in mind, centering it on the front or lid if possible, and matching patterns with the front side and lid. I show an example later.
How To Make A Fabric Covered Box
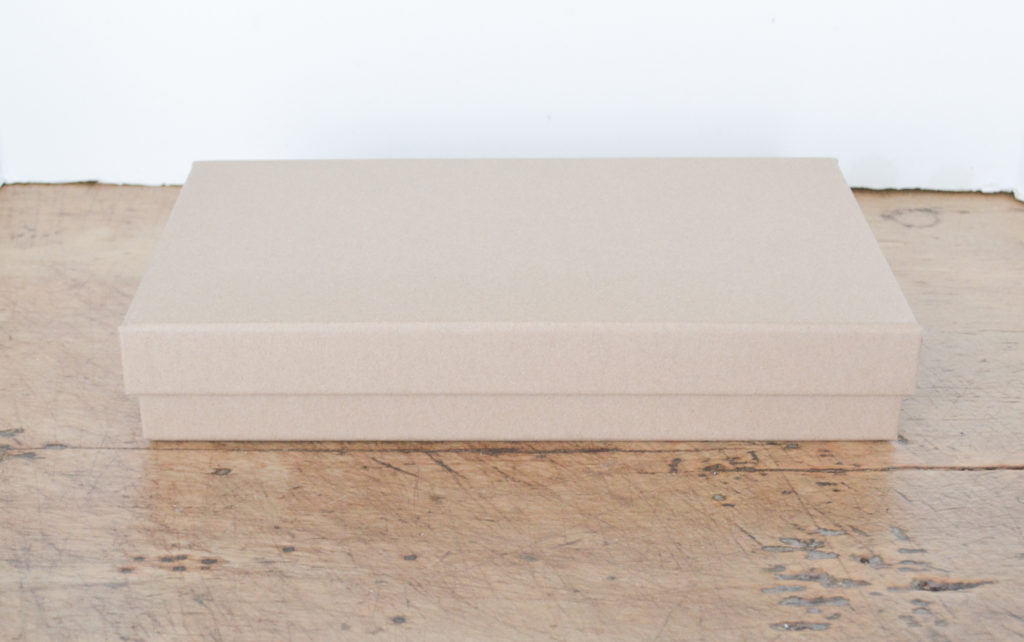
This is the box I started with in my first example. I found it in the gift wrap area at Hobby Lobby. You certainly could use this lid and wrap it in fabric, but for my vintage look, I made a new top. I used hot glue in all steps.
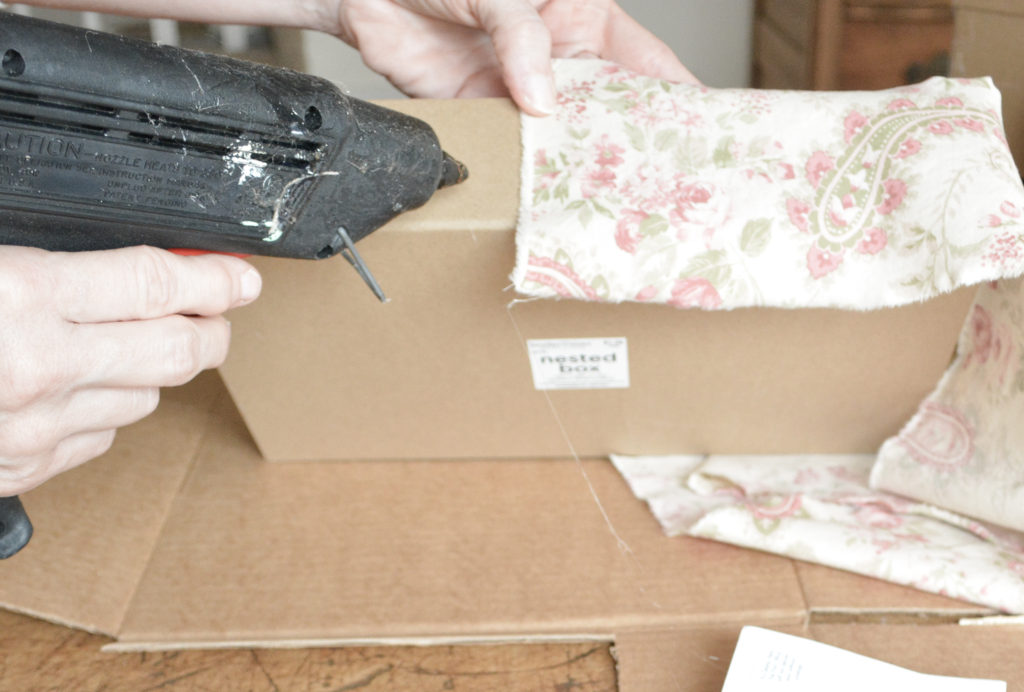
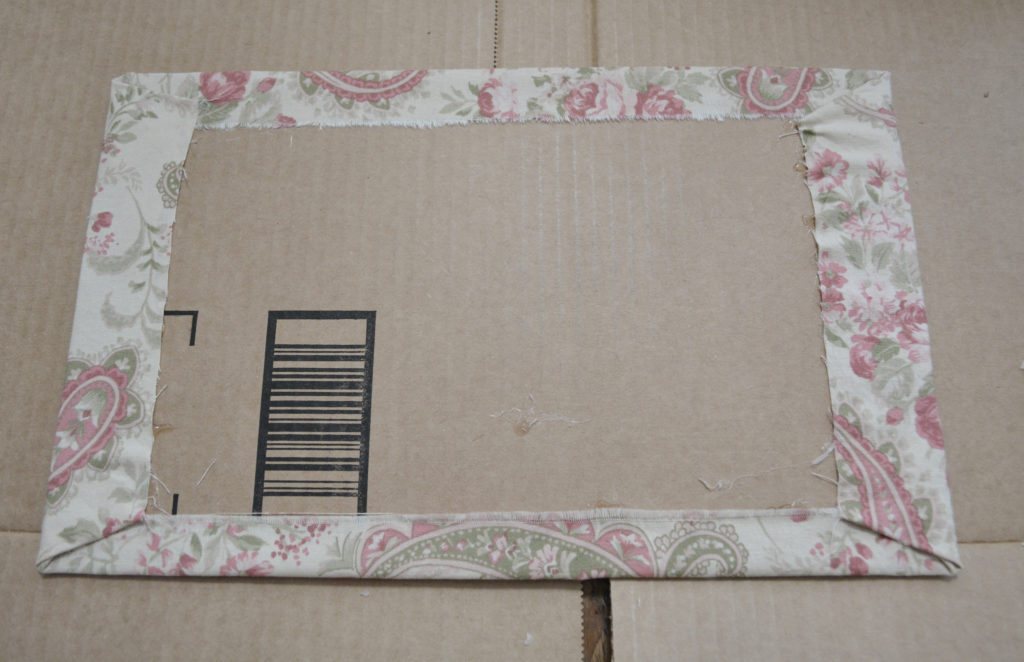
1. Cover The Edge Of The Box With Fabric
Cut a strip of fabric to wrap around the outside of the box – the length of the box + 2 inches and the width of the box + 2 inches. This gives you an inch to fold over on the top and bottom. Glue one raw edge of the strip to the center back.
Fold over and glue the other edge.
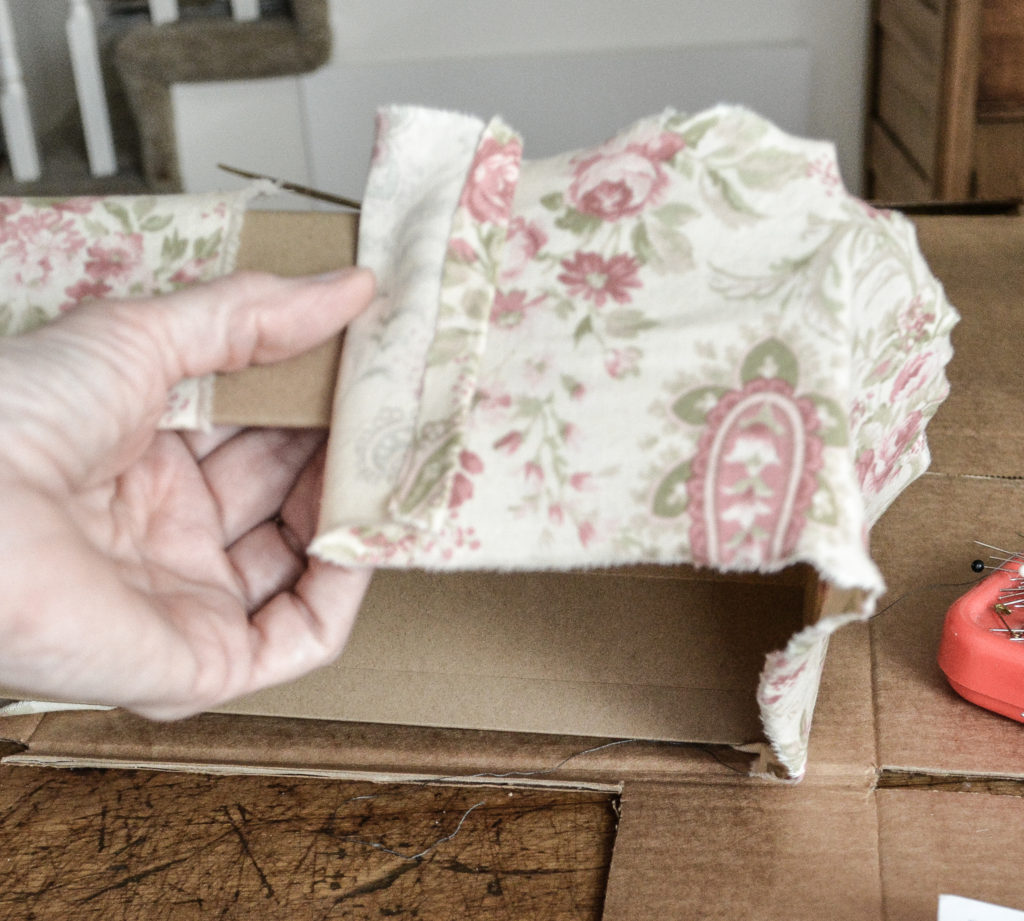
Glue the folded edge over the raw edge.
Glue down the long edges of the strip to the bottom of the box.
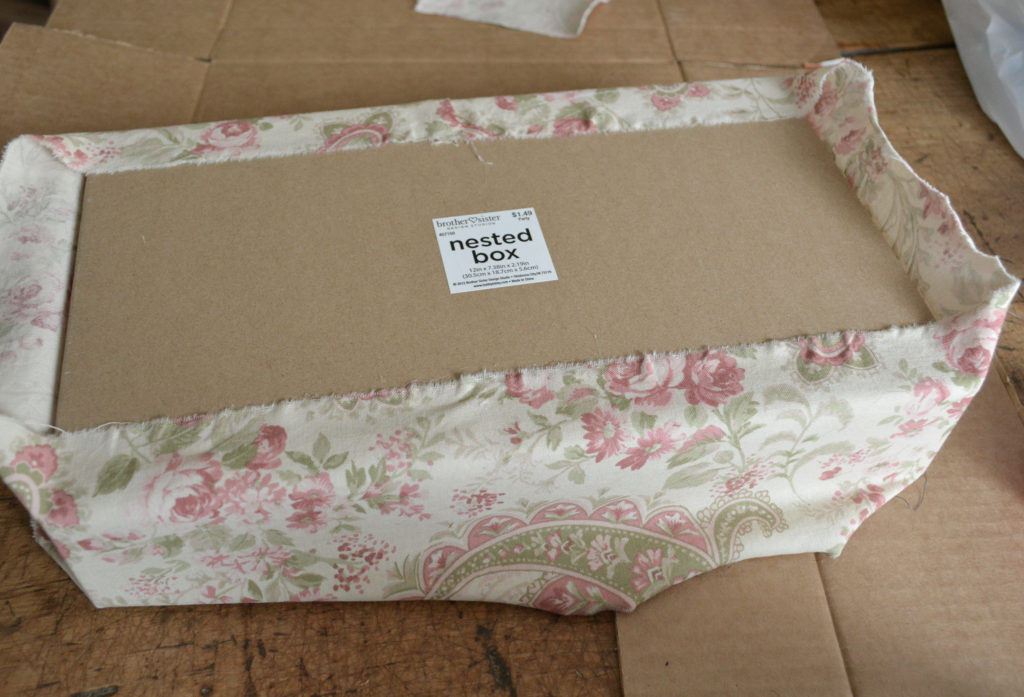
Fold the corners and glue the short edges to the bottom.
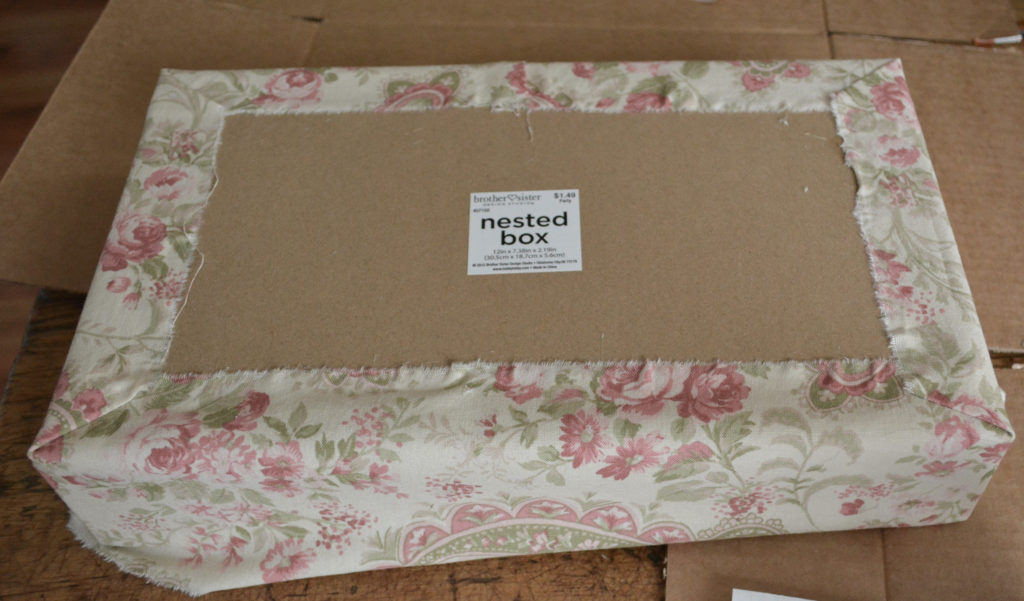
Turn the box over and glue the top edge of the strip to the inside of the box.
2. Make A Lid For The Box
Cut a top for the box out of cardboard or foam core. I actually think I prefer the foam core, it was a little sturdier.
The top should be just a little larger than the box.
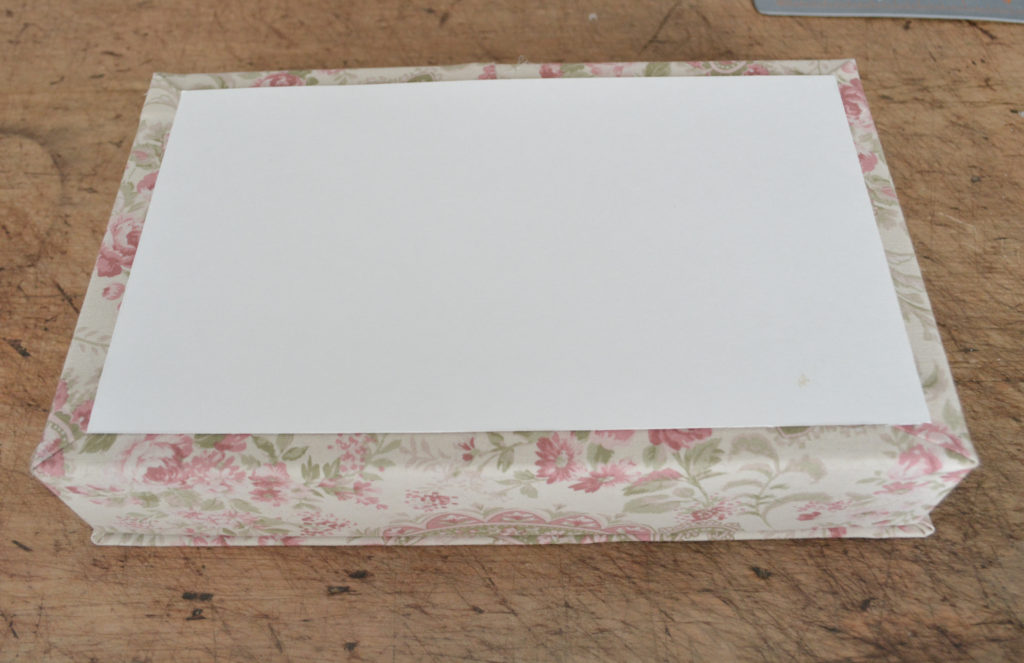
Cut a piece of fabric the size of the top, plus 1 inch added to all edges.
I was careful to match the fabric pattern of the top to the front side of the box
Wrap the fabric around the top and glue the edges, folding the corners.

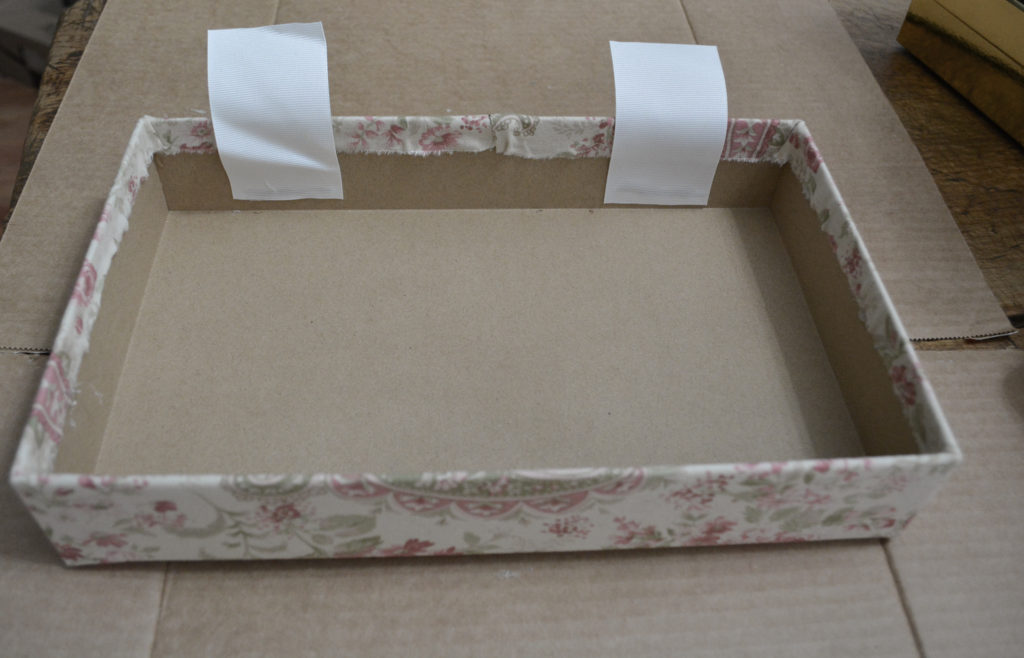
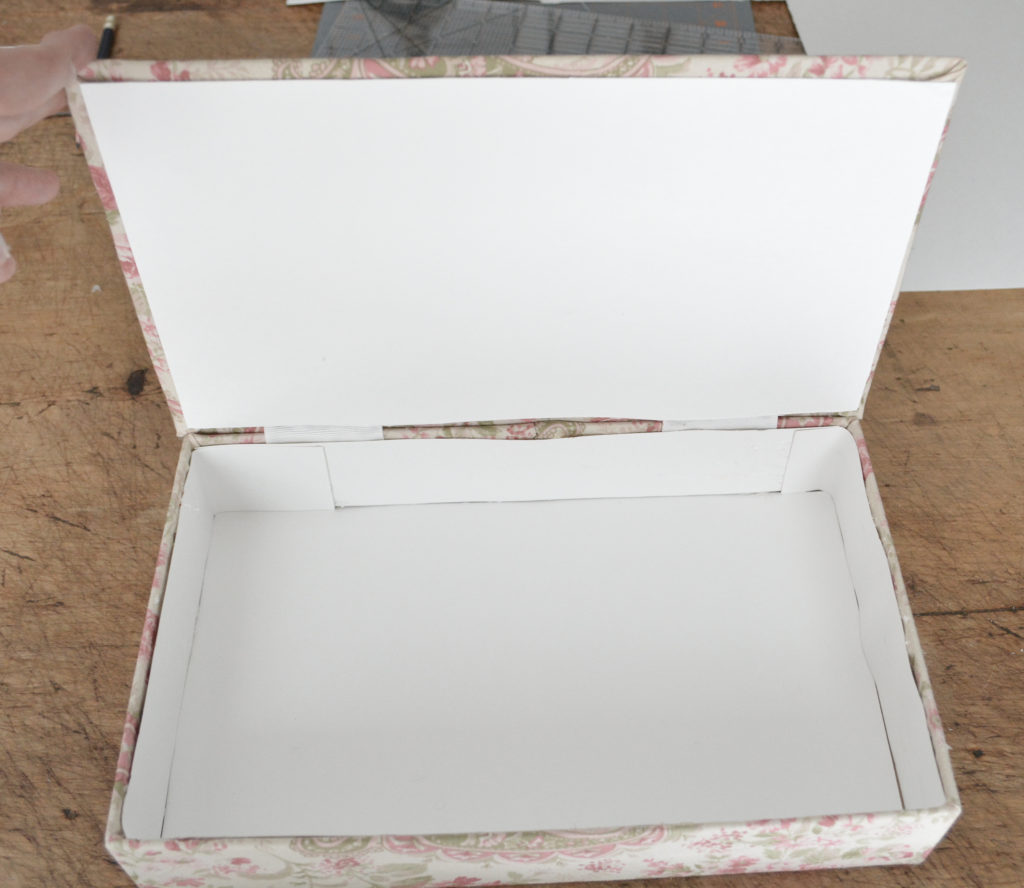
3. Create the “hinges” for the box.
I used grosgrain ribbon to make the hinges for the box. It’s not duct tape like my husband thought, haha! Cut two pieces of ribbon and glue them to the back of the box.
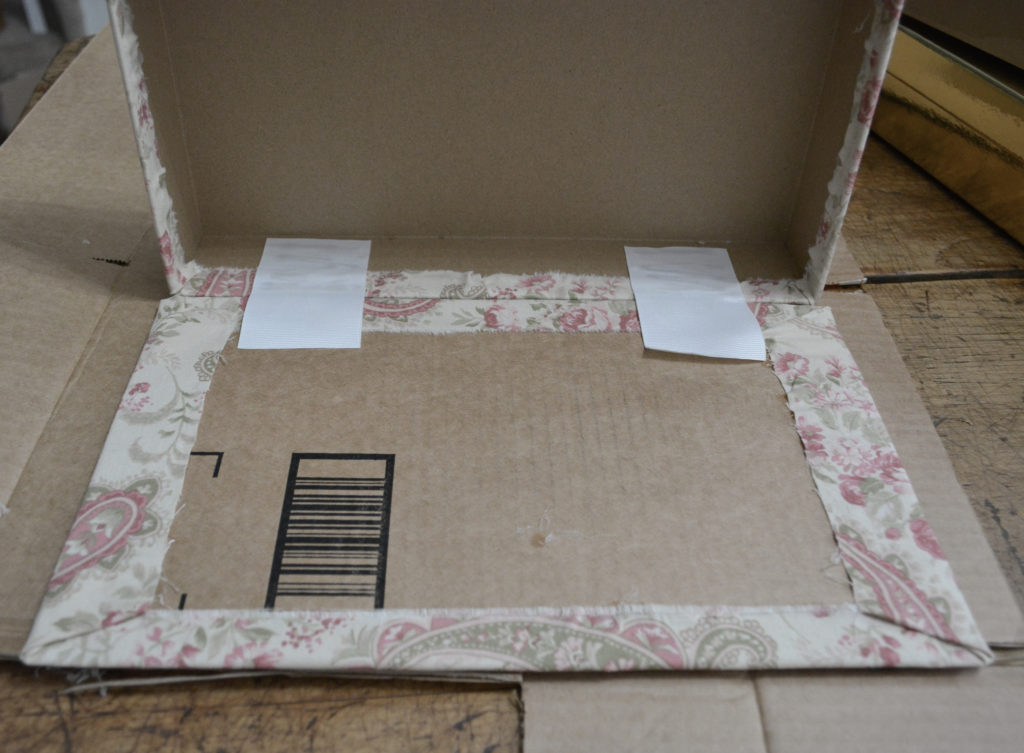
Glue the other end of the ribbon to the box lid.
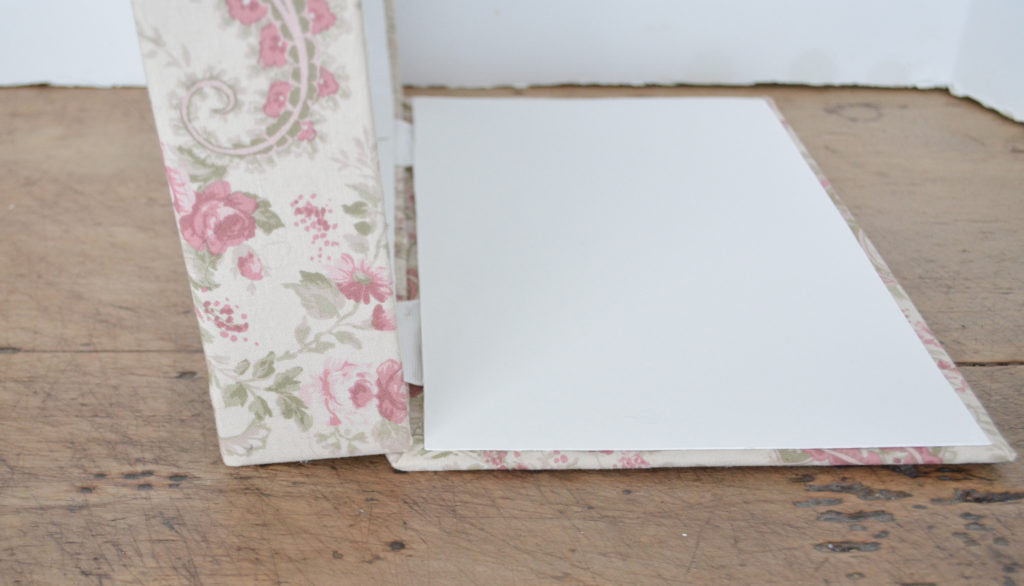
There needs to be slight overlap of the lid and the top of the box. I just glued a little bit of the ribbon and then tested the fit, so it would be easier to pull off if necessary.
4. Line the box and cover the fabric edges
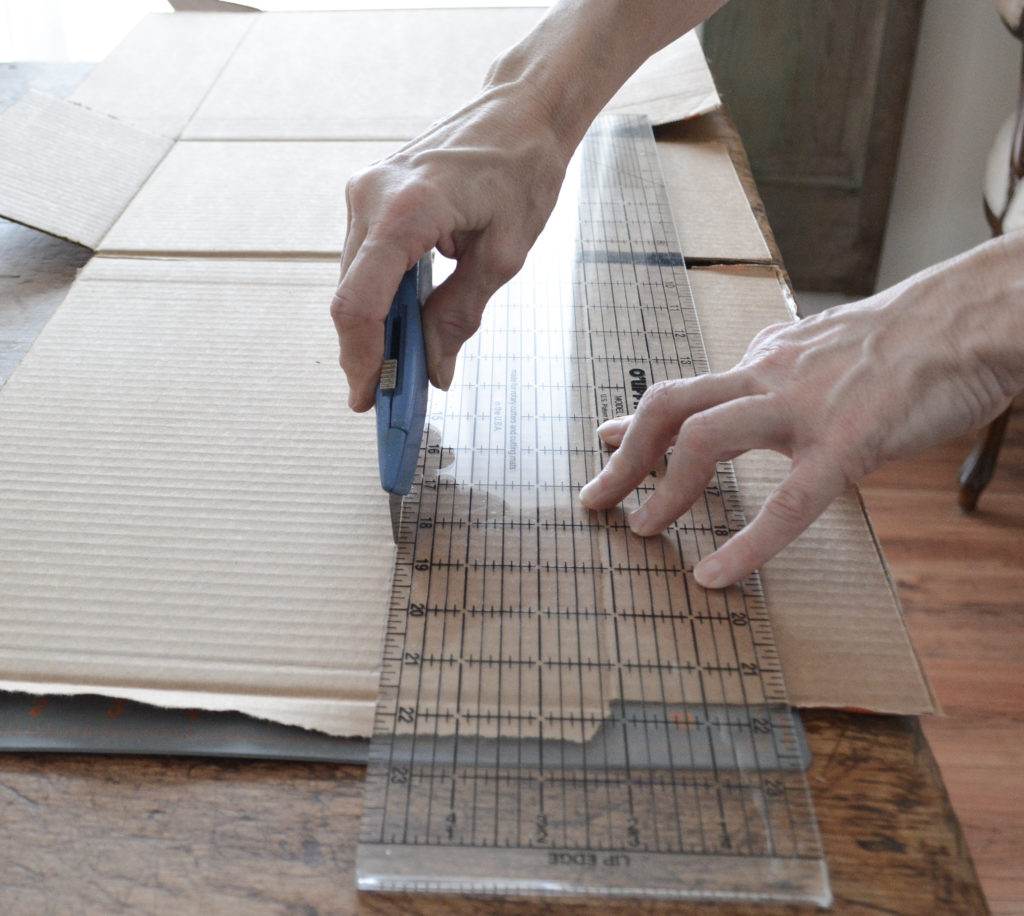
Poster board was used to line the inside of the box and hide all the fabric edges.
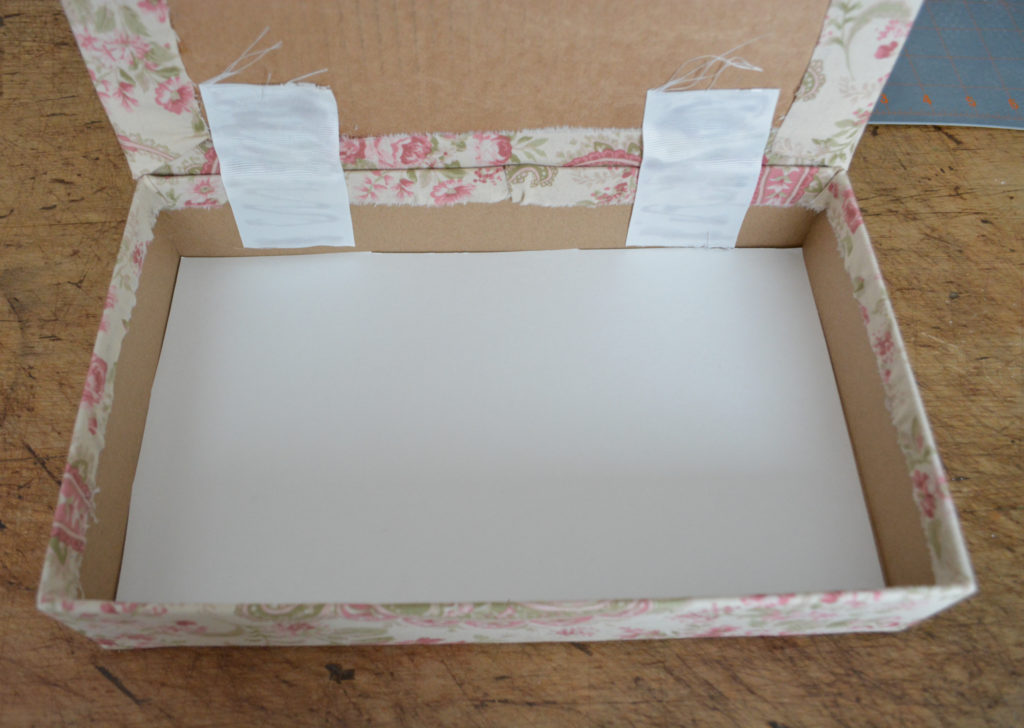
Cut and glue a piece of poster board to the bottom.
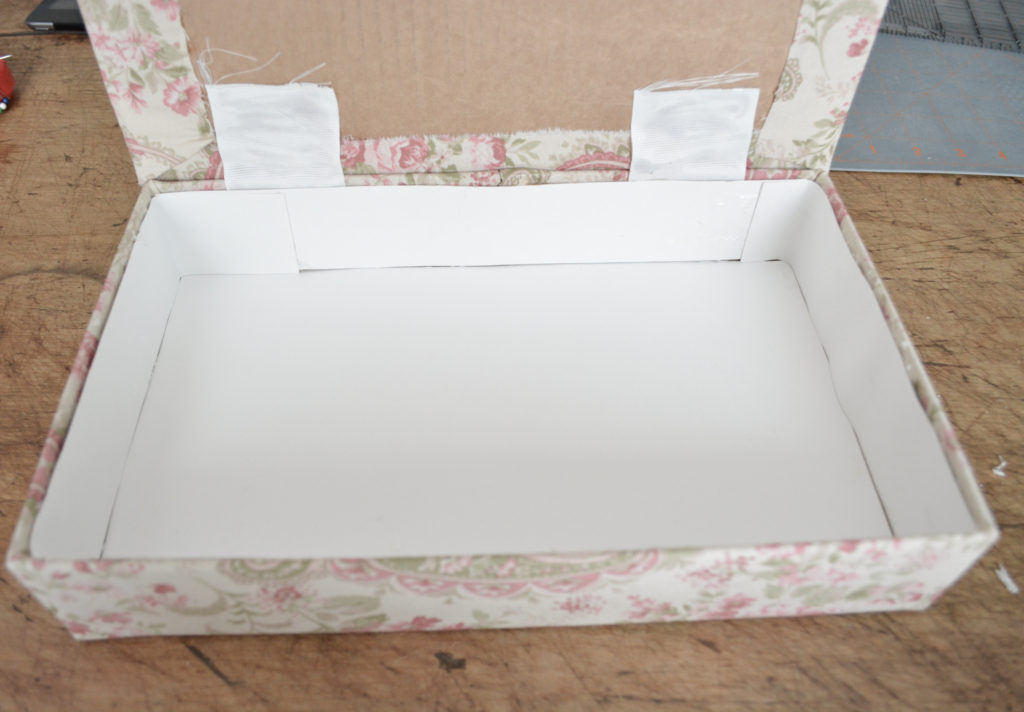
A strip of poster board is glued to the inside edges. Now do as I say, not as I did. Because I didn’t have a strip of poster long enough to go all the way around, I pieced it. I should have cut a piece to fit the entire side and and meet in the corners so the two edges would be covered up. Also on my vintage box, the meeting of the cardboard was in the front, not the back. This way it doesn’t show when you open it up.
Glue a piece on the inside lid,
and the bottom.
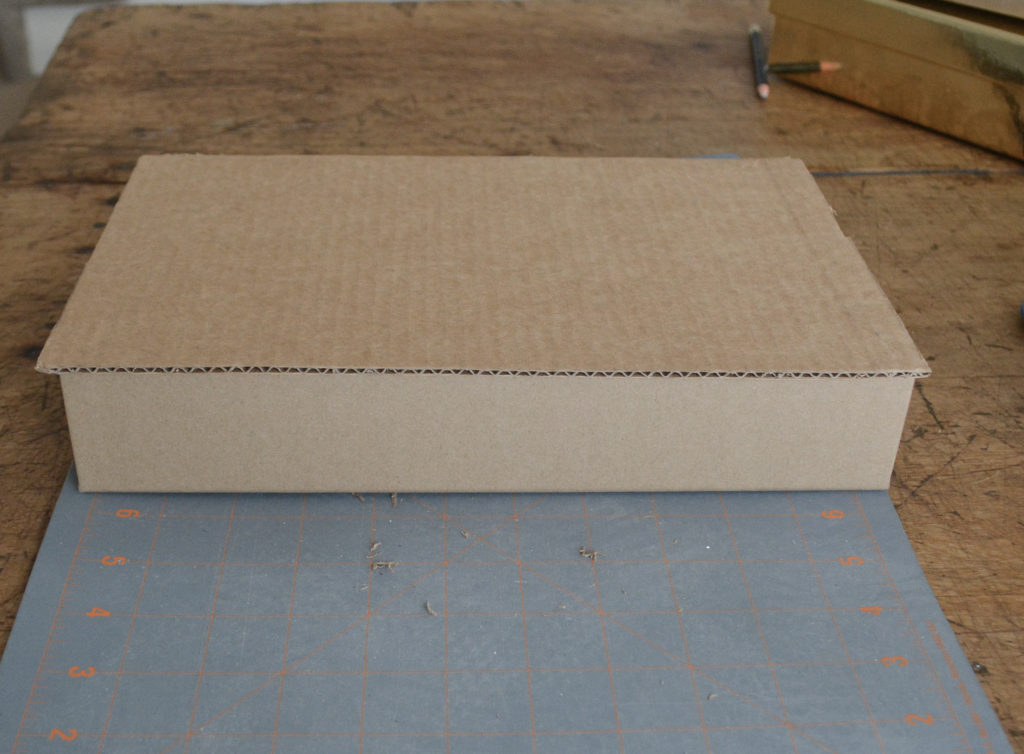
Recycle A Cardboard Box
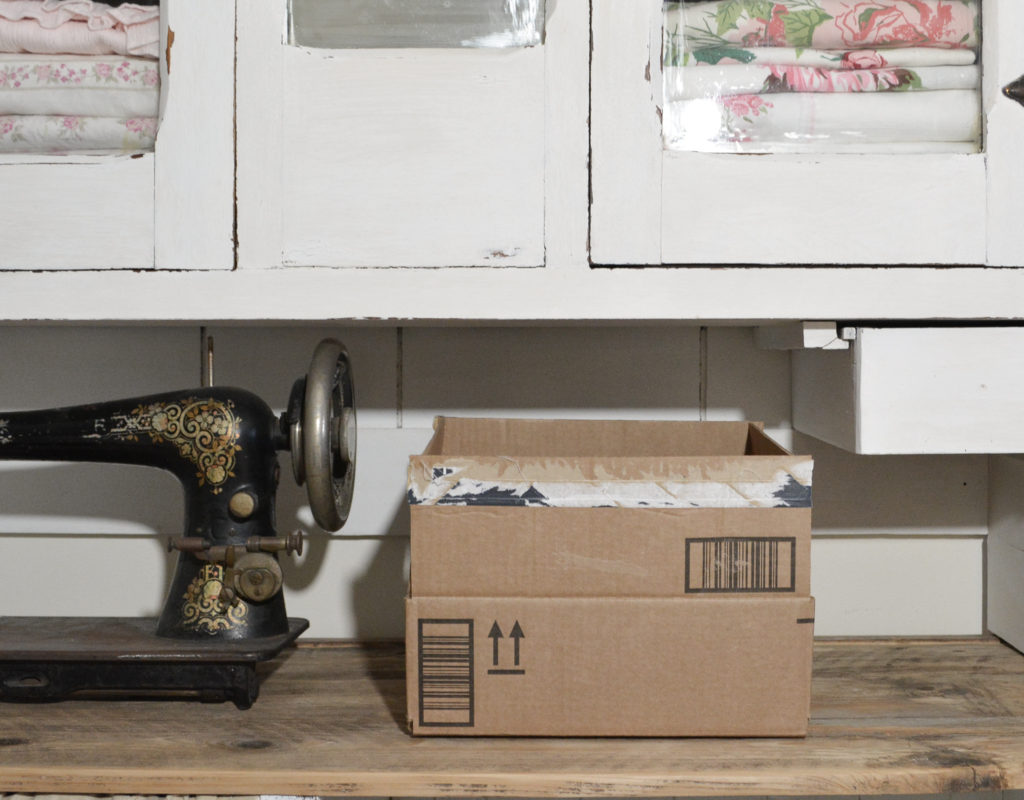
I was having a hard time finding different size boxes that didn’t cost a lot, so I thought why not recycle a cardboard box. We all have plenty of them these days and they are free. So I did!
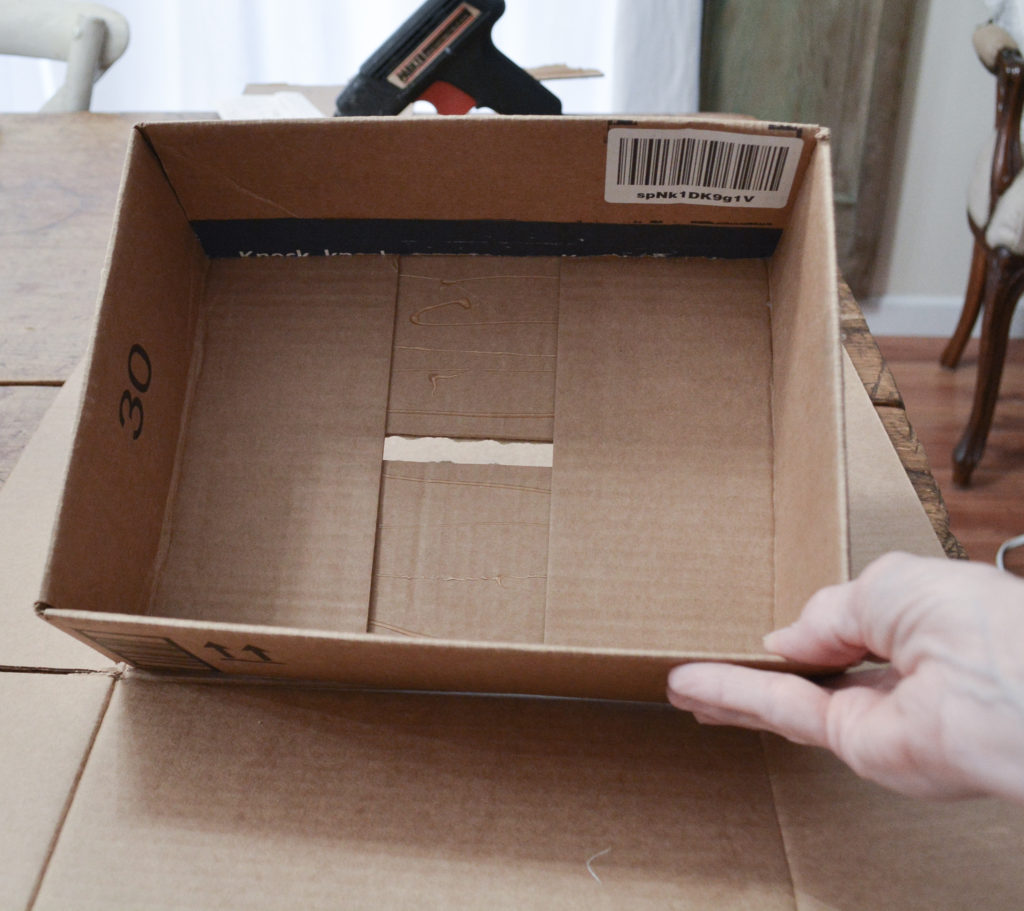
First I glued all the flaps to the inside. This made a very sturdy box, however when I did this, a gap was left in the center.
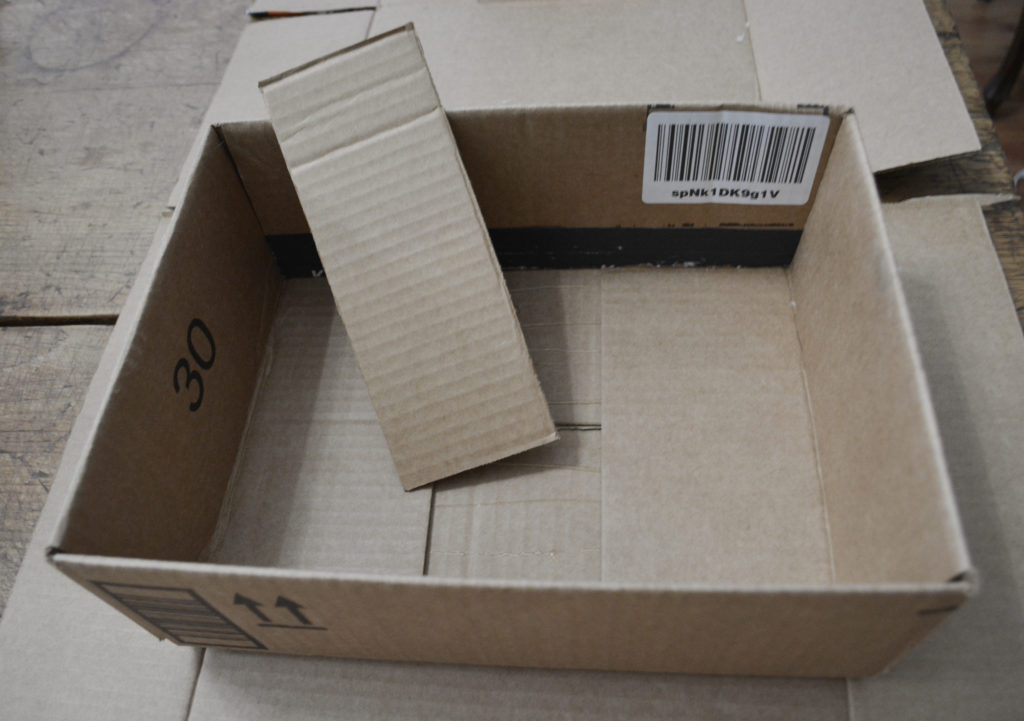
I just cut a little piece of cardboard to fit and glued it in.
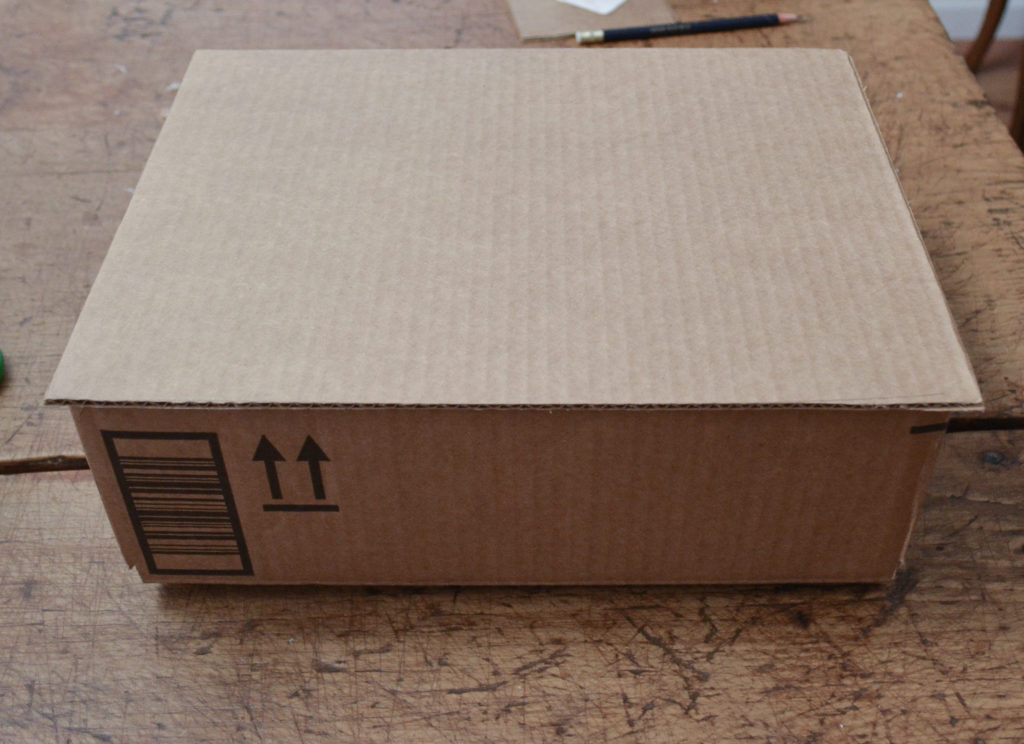
Then I cut a lid for the box and covered it in fabric just like the other box.
Not bad for an old cardboard box.

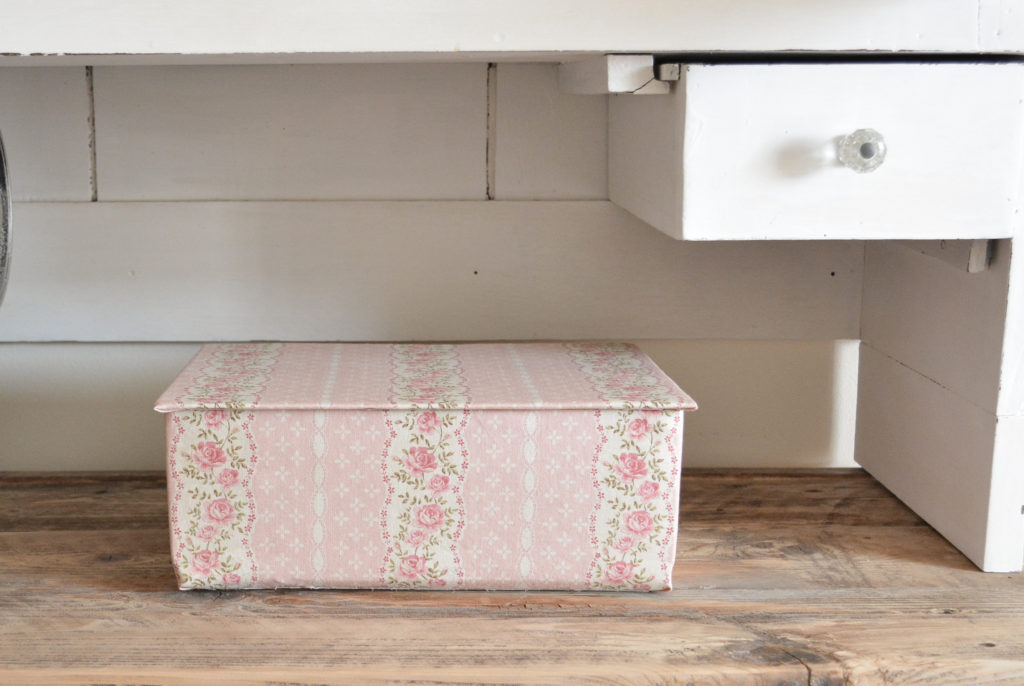
This is my stack so far. I plan on filling them with trim, cording, and other sewing supplies. Going forward I will be looking for boxes while I am out thrifting. I also thought of using old baskets. You could just use a lightweight batting to line it, covering the unevenness. Or what about an old tin? Lots of thrifty options! So there you go, how to make fabric covered storage boxes, vintage style!
PIN IT FOR LATER!
Thanks for stopping by,
Janet
They came out so nice 💖
Thank you Joanna!
I love this! They came out great, I love vintage fabric. Thank you for sharing 💕
Thank you! I am definitely making more when I get the chance.