

Well, you all know how much I love to use real/faux branches in my decor. Real because I start with real branches collected from my yard, faux because the decorations are from faux stems. I love how realistic they look! You might recall my spring flowering branches, or my fall leaves branches. Today I am here to show you how to make realistic berry branches for winter and Christmas. All I need now are summer branches!
How To Make Realistic Berry Branches
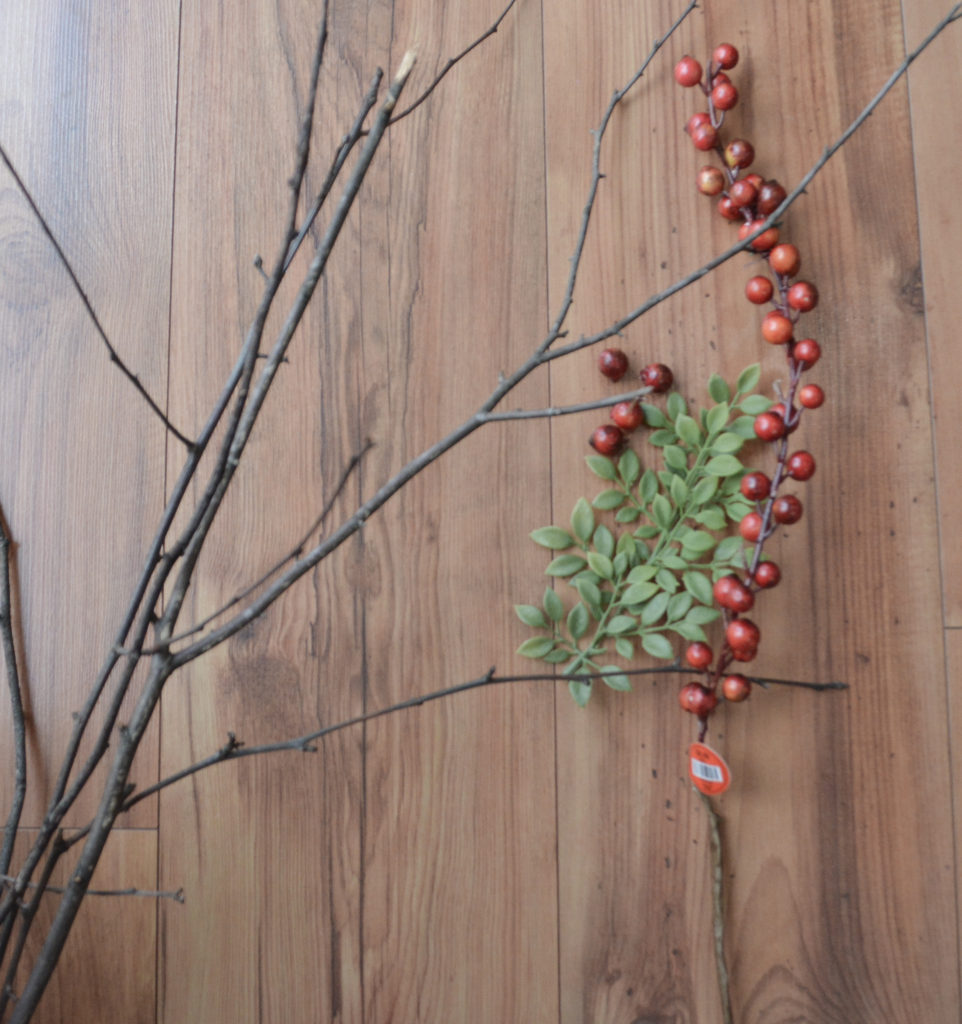
Start by collecting real tree branches. I can usually find enough on the ground, but I will cut some if I am trying to get that perfect shaped branch. Select the faux berries of your choice, and some greenery with small leaves.
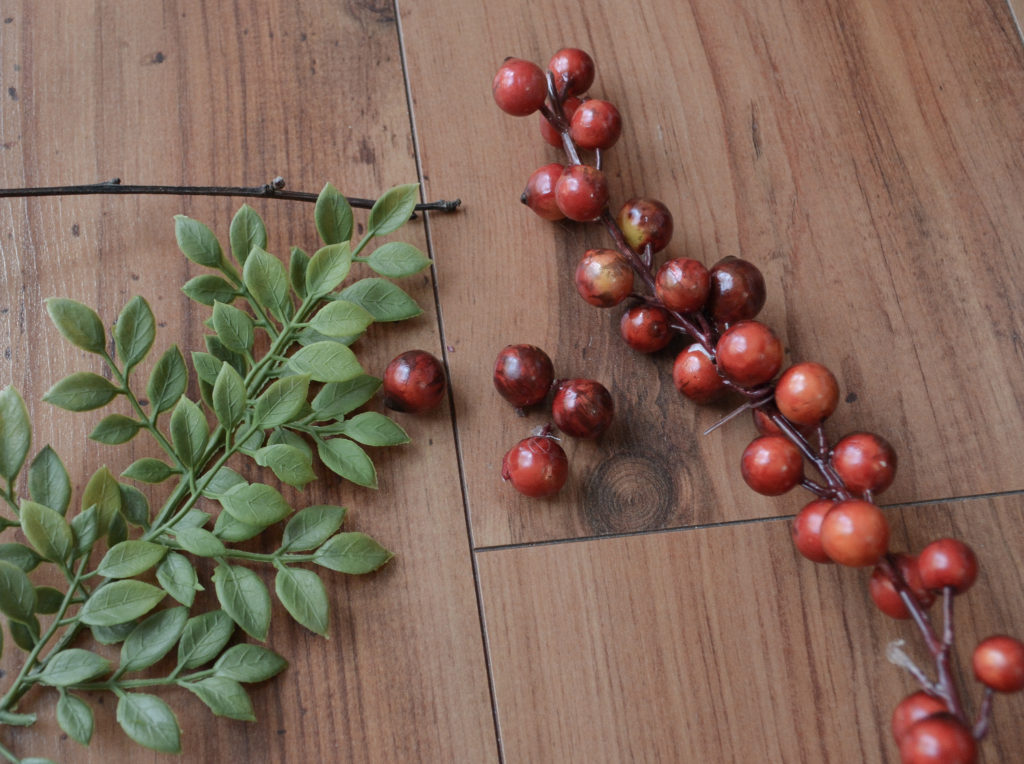
Cut the berries and the individual leaves off the stems. I would have preferred a slightly bigger leaf, but ultimately just used what I already had.

Hot glue the berries and leaves to the real branches. Like I said in my other tutorials, mother nature makes it easy for us. Just follow the little bumps on the branches as a guide for where to glue the berries.
Display Your Realistic Branches And Enjoy!
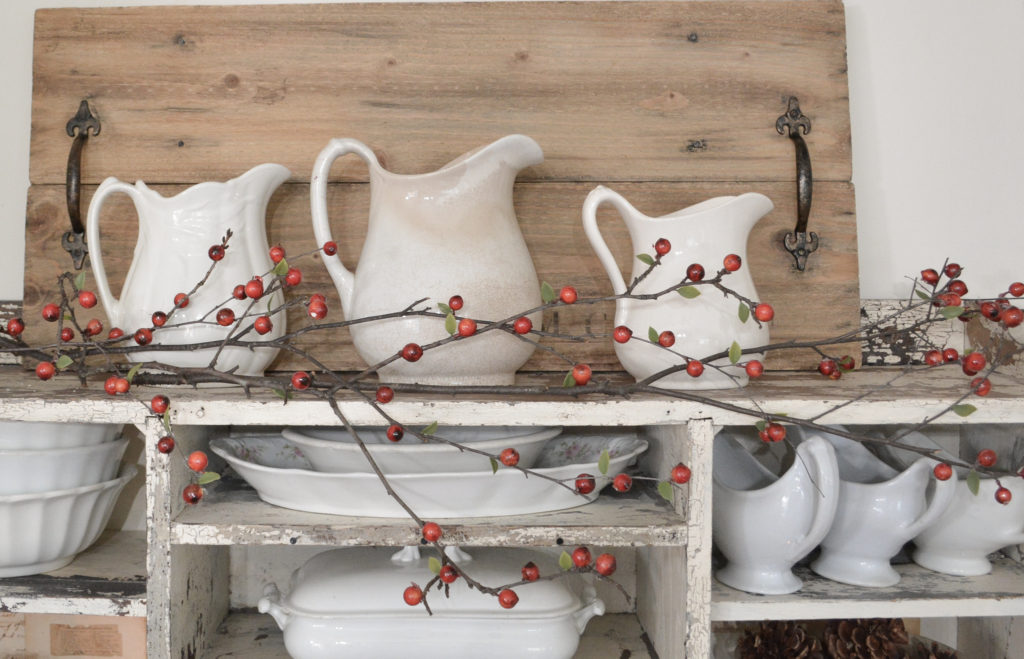
I had originally made these branches for my Christmas decor, but ran out of time to write the blog post. After Christmas, I left them on top of my hutch to be put away. I loved the red with my ironstone and chippy hutch, so I decided to keep them as winter decor. I am calling it “winter berry” in the kitchen. Hmmm.. sounds familiar. I think there is a china pattern with that name?
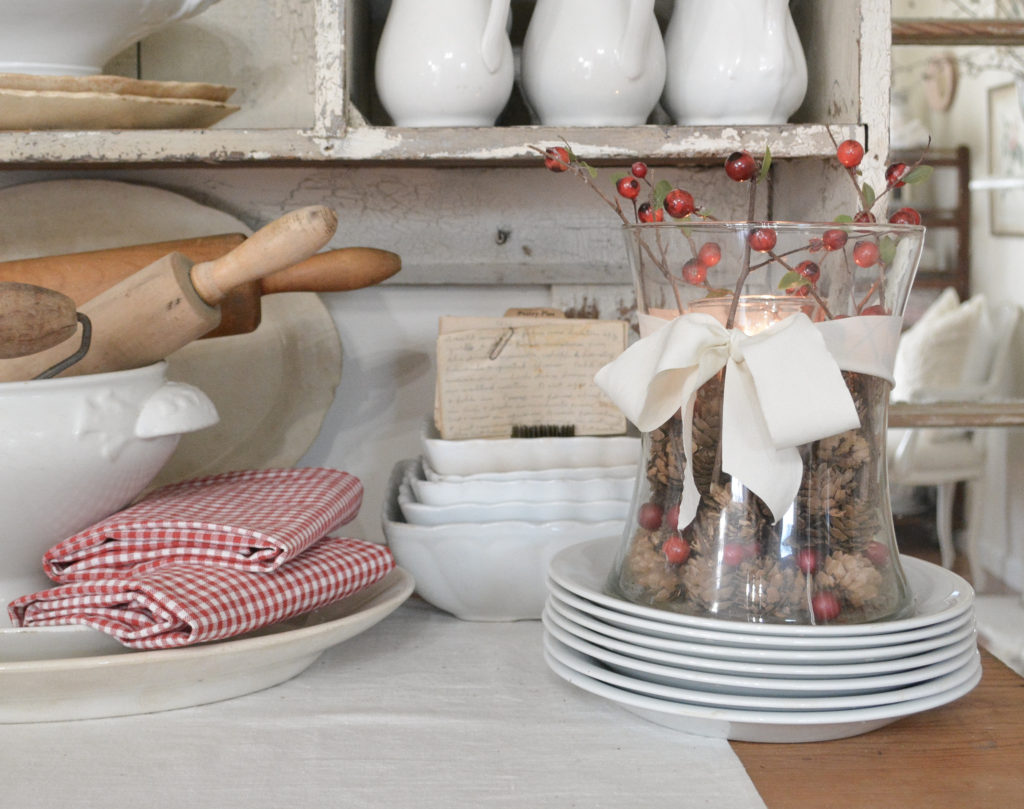
To go with my winter berry theme, I filled a glass vase with pine cones and berries and little real/faux berry twigs. Then I tucked a candle in a votive holder in the center.
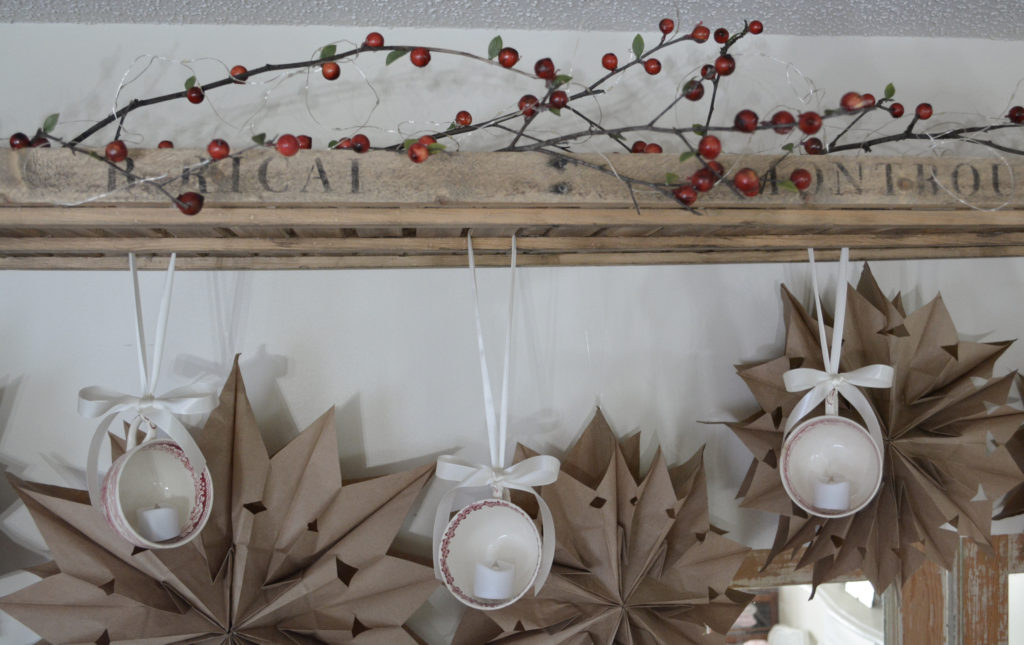
Here are the branches at Christmas. I placed them on top of my French drying rack and added red transferware teacup votive holders and brown paper bag stars.
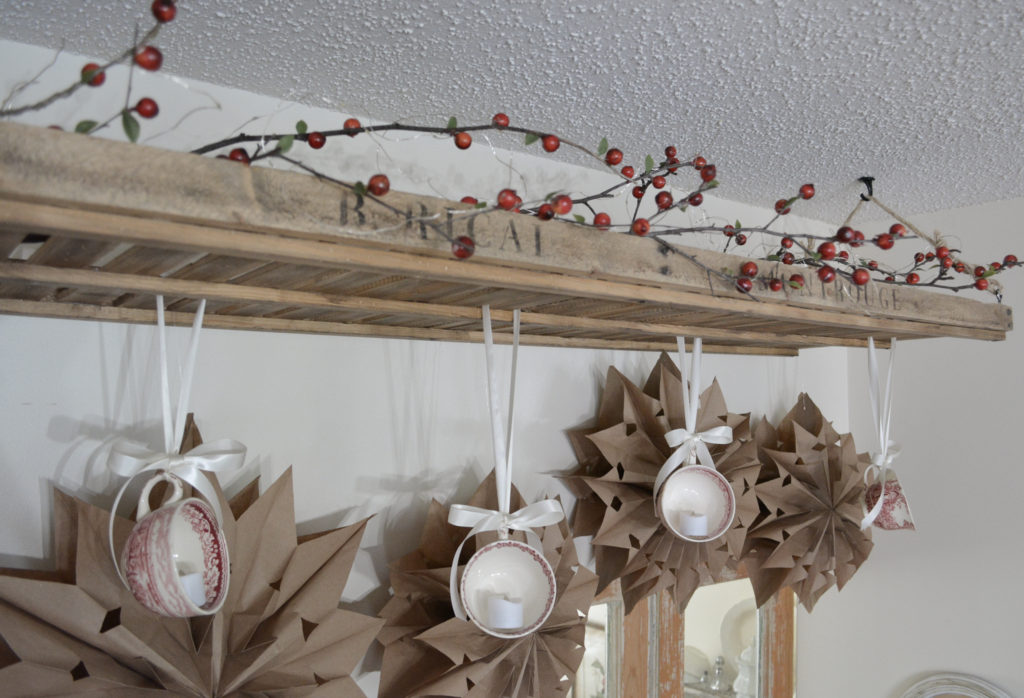
Don’t these look so realistic? I have a tree with red berries on the branches, but if I cut enough for my decor there would be no more tree! And the berries are few and holding on for dear life. These I can enjoy the whole season. Now I need to make a gazillion more to fill vases and baskets all around the kitchen.
So there you have it, how to make realistic berry branches. I know this was super simple for a tutorial, but I just wanted to share the idea with you!
PIN IT FOR LATER!

Thanks for stopping by,
Janet
I love this and just pinned all 3 of your “branches” DIYs. Can’t wait to try this idea. We have a brush pile out back from all the storms, so surely I can find some to work with!
Thanks Debra! When I do yard clean up, I make a stack of branches so I am always prepared!
Beautiful! Great idea 💝
I appreciate that, thank you!