
I fell in love with the antique German spun cotton ornaments that I saw all over Pinterest. I dream of a feather tree overflowing with spun cotton angels, children, and Christmas Characters. Reproductions would be very time consuming to make, and that just isn’t going to happen this late in the season. Spun cotton ornaments were also things like fruits, mushrooms, and bells. I found spun cotton bells already made, so all I had to do was give them an antique finish. It seemed like a great way to start my collection.
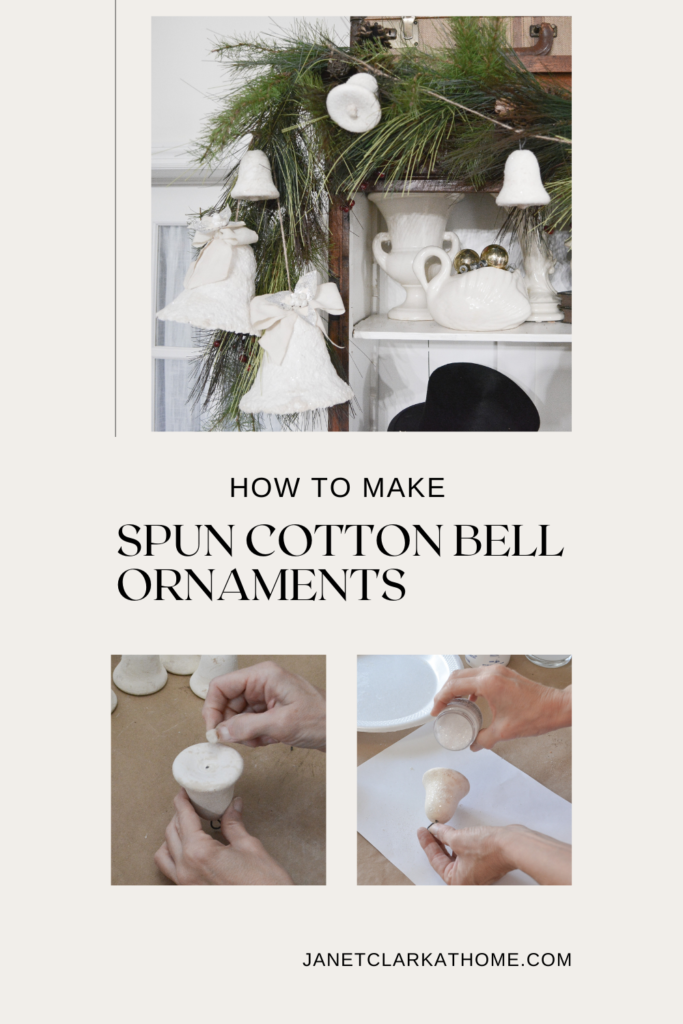
How to Make Spun Cotton Bell Ornaments
I started with spun cotton preformed bells that I purchased from Smile Mercantile (not an affiliate). They have all the supplies you need to make vintage ornaments, including the clear German glass glitter I use in the last step. The pompoms are .25 inch and can be purchased at hobby stores.
Tea Stain the Bells for an Antique Look
Have I ever done a craft without tea staining? Haha. All the inspiration photos of antique spun cotton bell ornaments have that wonderful aged appearance. The next steps show my method for aging the bells.
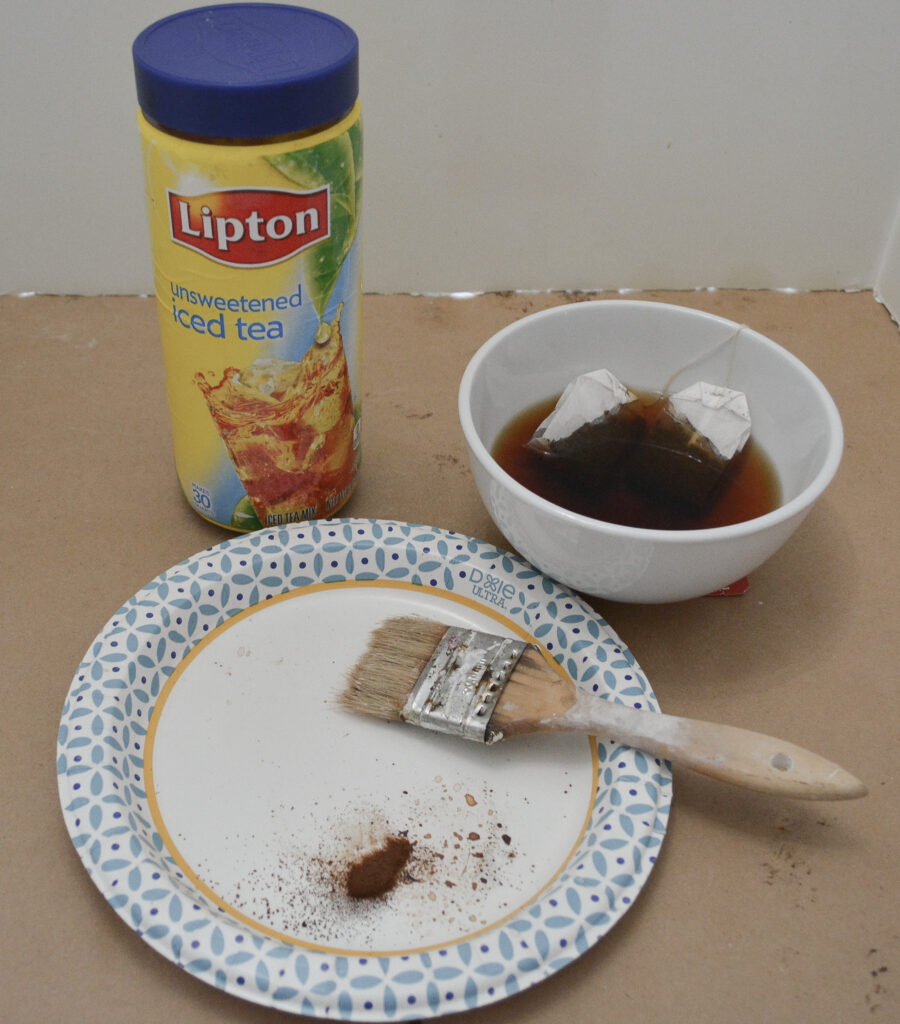
I made a bowl of tea with hot water and tea bags. Dry instant tea is sprinkled on the plate to create darker stains.
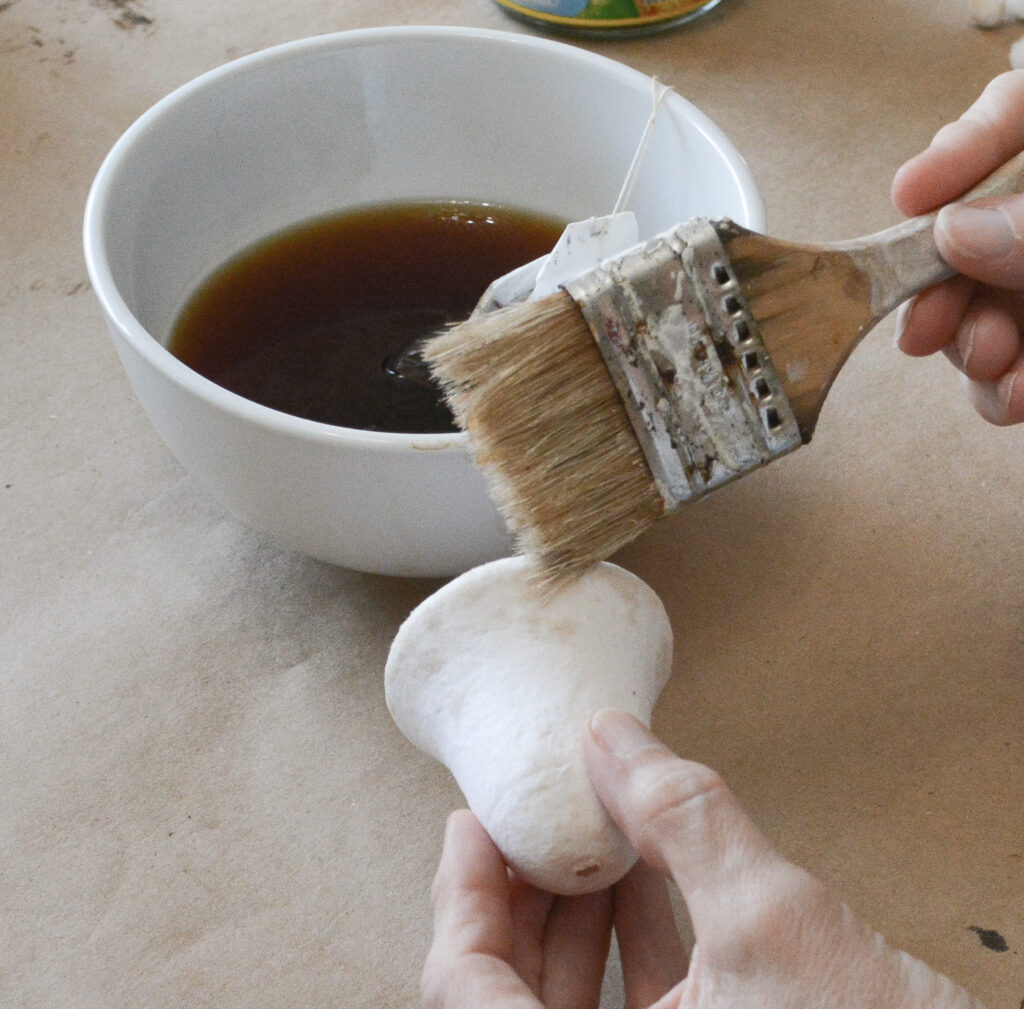
Very lightly dab some tea on the bell. It absorbs quickly, so a light touch is needed. I did along the edge, and then some random areas.
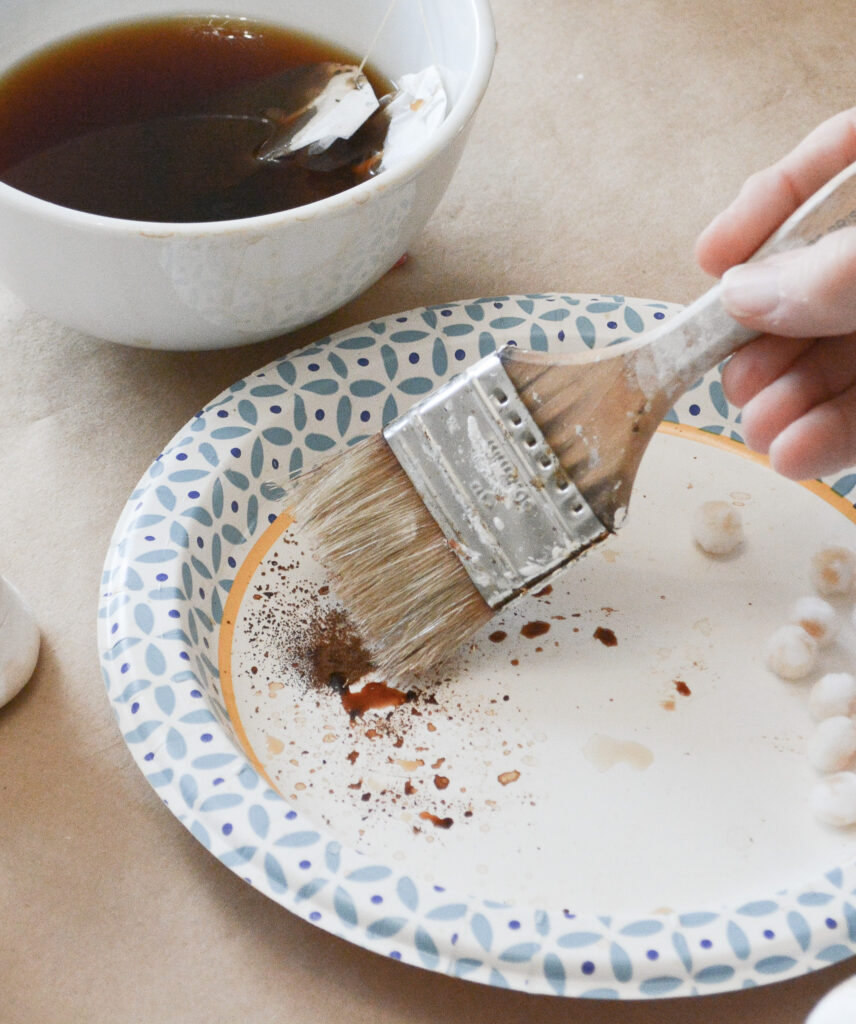
To make a few darker areas, add some tea to the dry tea, and dab that on.
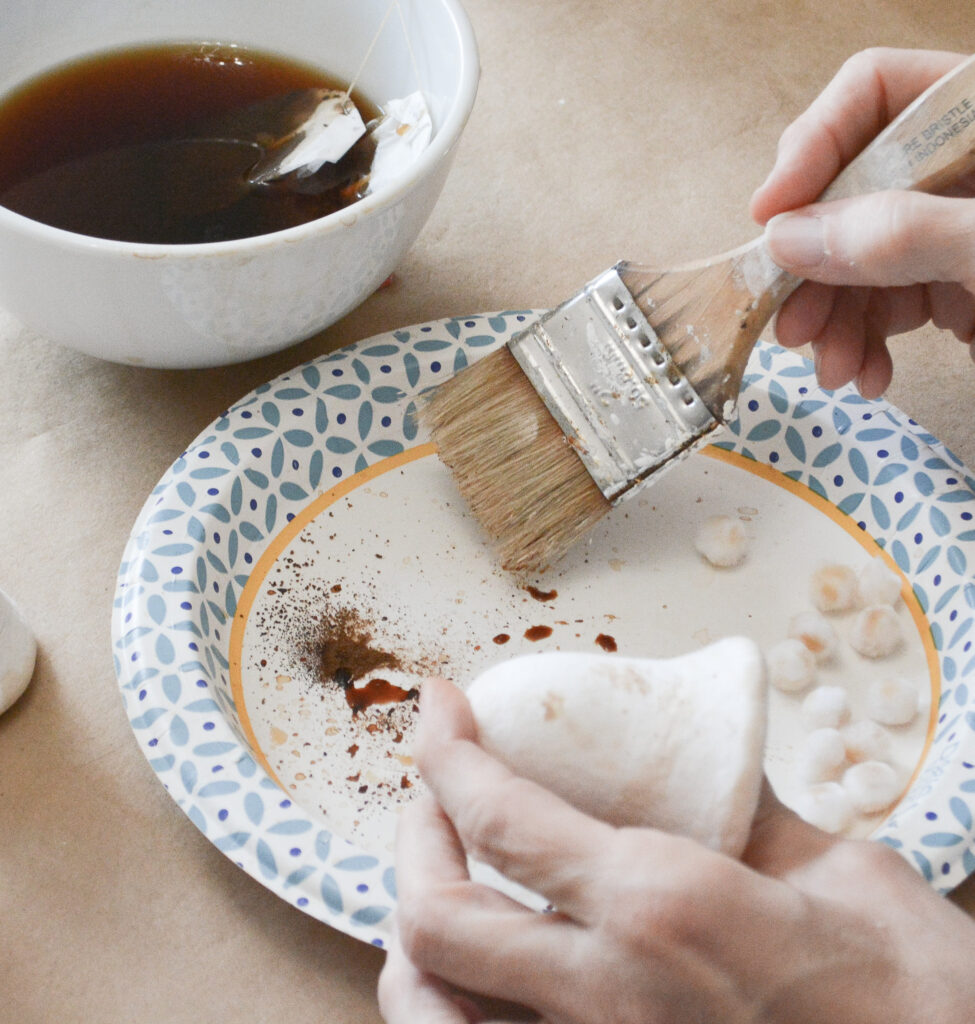
You can see I stained the pompoms as well.
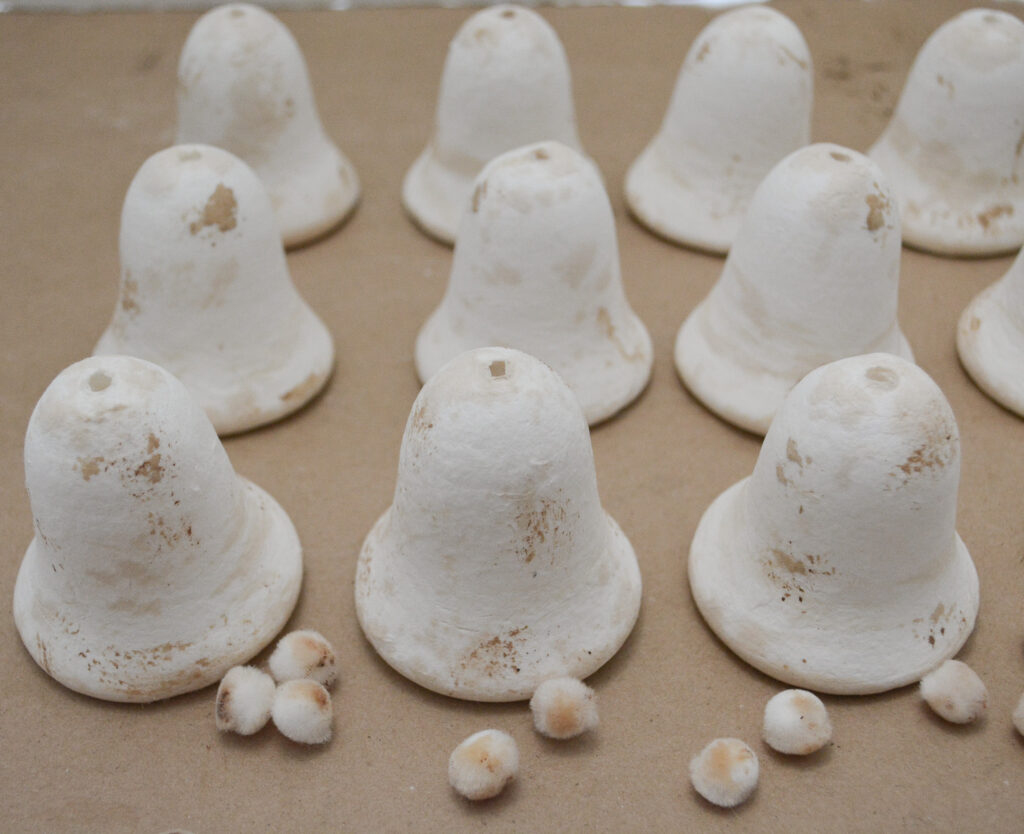
OK, they are looking a little splotchy right now, but we are going to fix that.
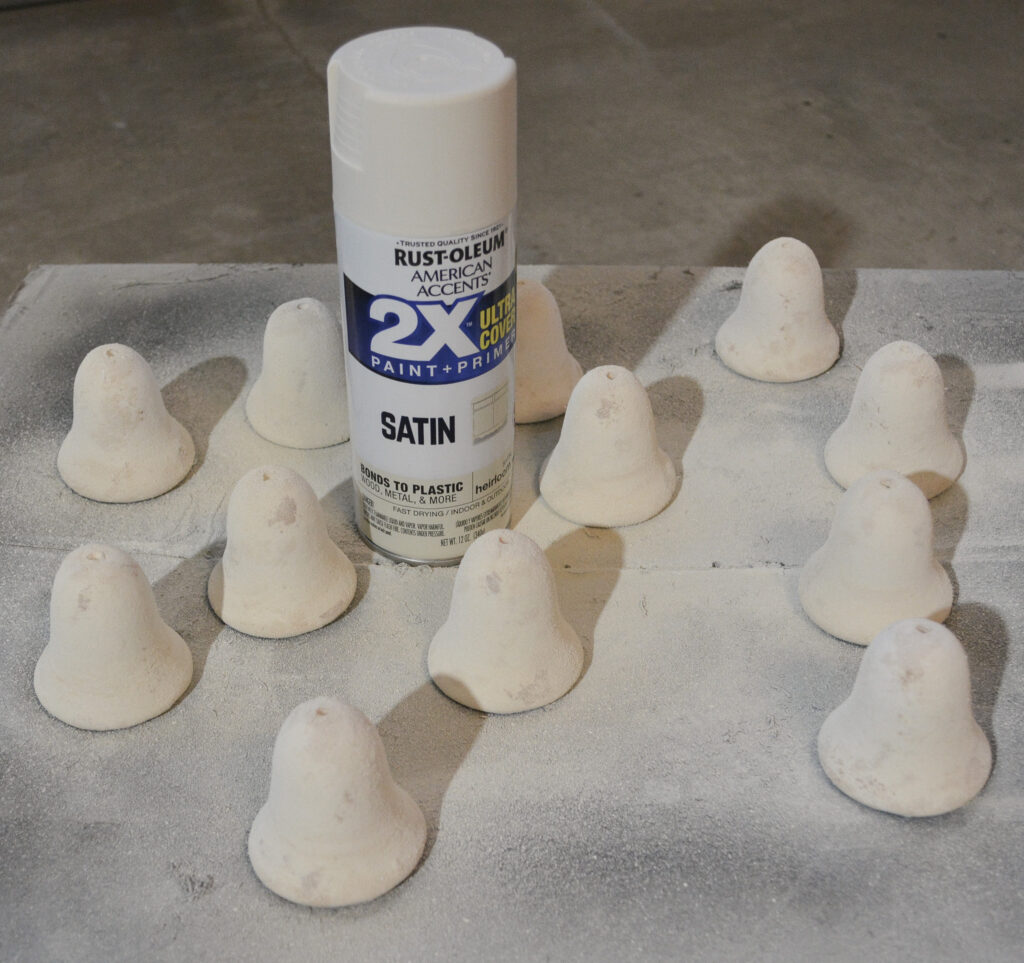
Using this Rustoleum Heirloom white spray paint, lightly and irregularly spritz the bells. The lighting here is terrible, but trust me, this works so well to blend and age.
Add a Wire Hook For Hanging
I chose this 16 gauge wire that I purchased at the home improvement store to make rustic looking hangers for the bells. The bells already have a hole through the center.

To make the hanger, cut a piece of wire a little less than 4 inches.
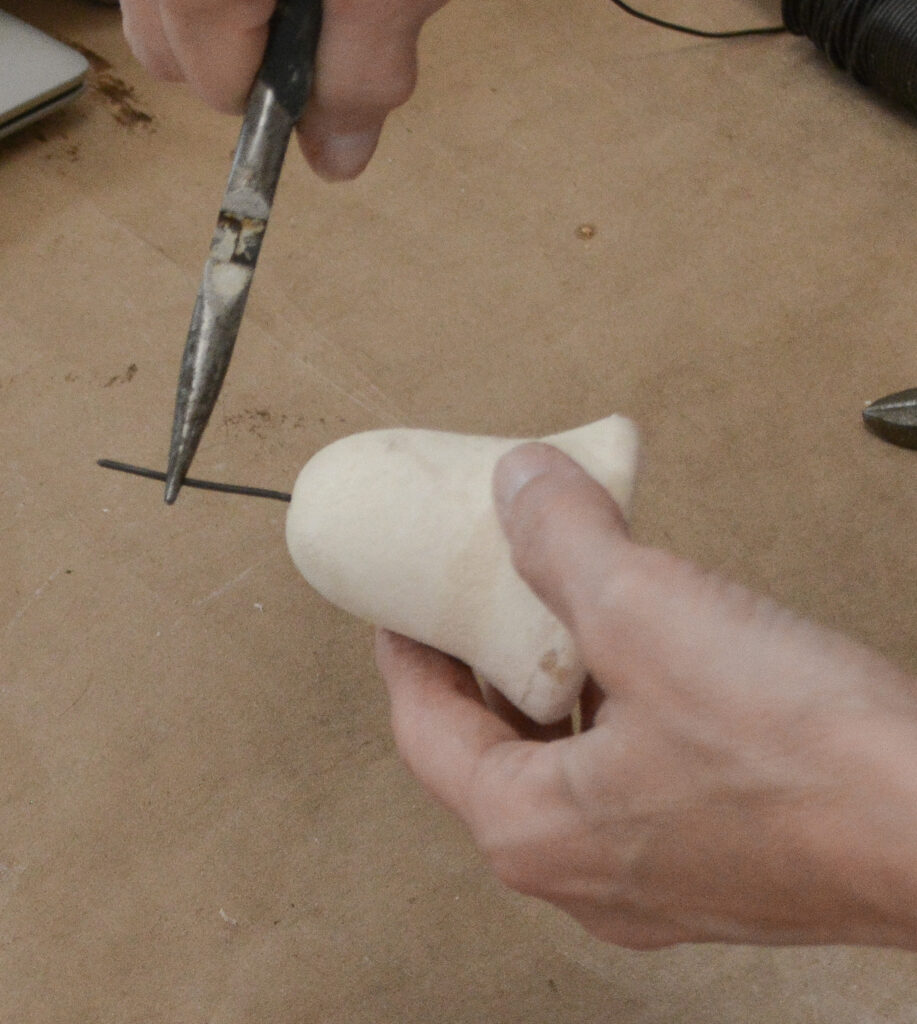
Push the wire through the bell, and bend the top to form a loop.

I got bored doing it that way, so I made a bunch of hooks first.

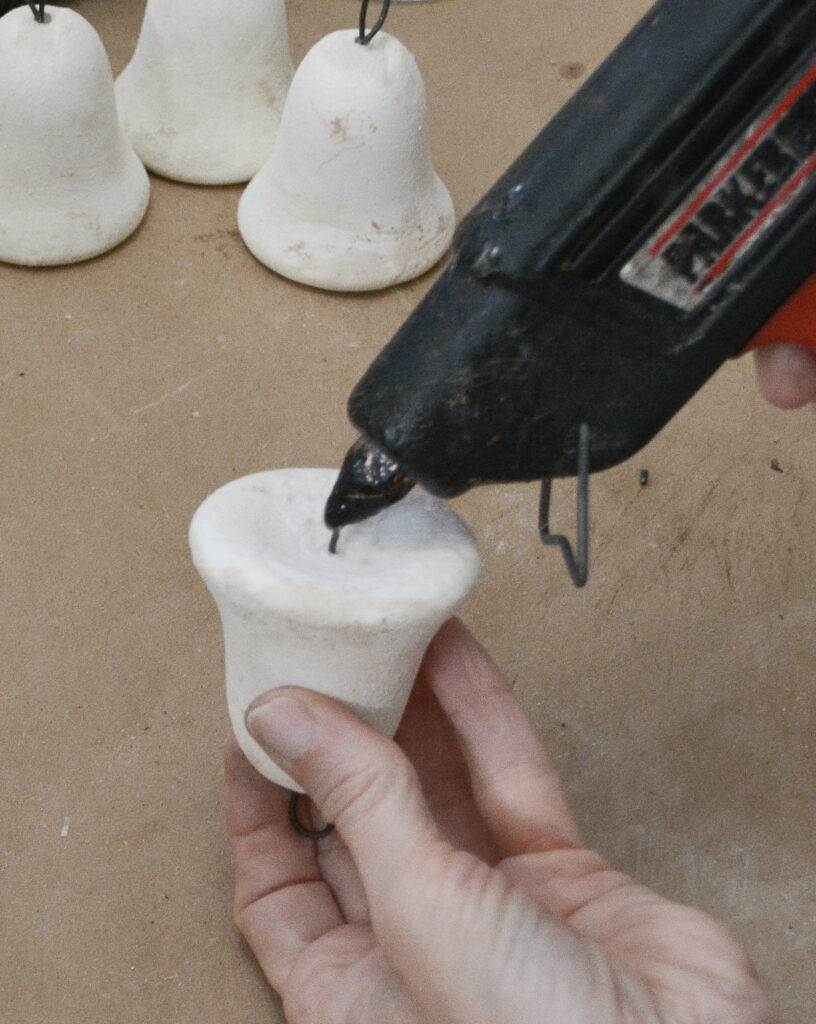
After all the hangers were put through, I pushed the wire out of the bottom a little, added hot glue, and pulled it back up. The wire was a pretty tight fit, so this probably wasn’t necessary, but it didn’t hurt either.
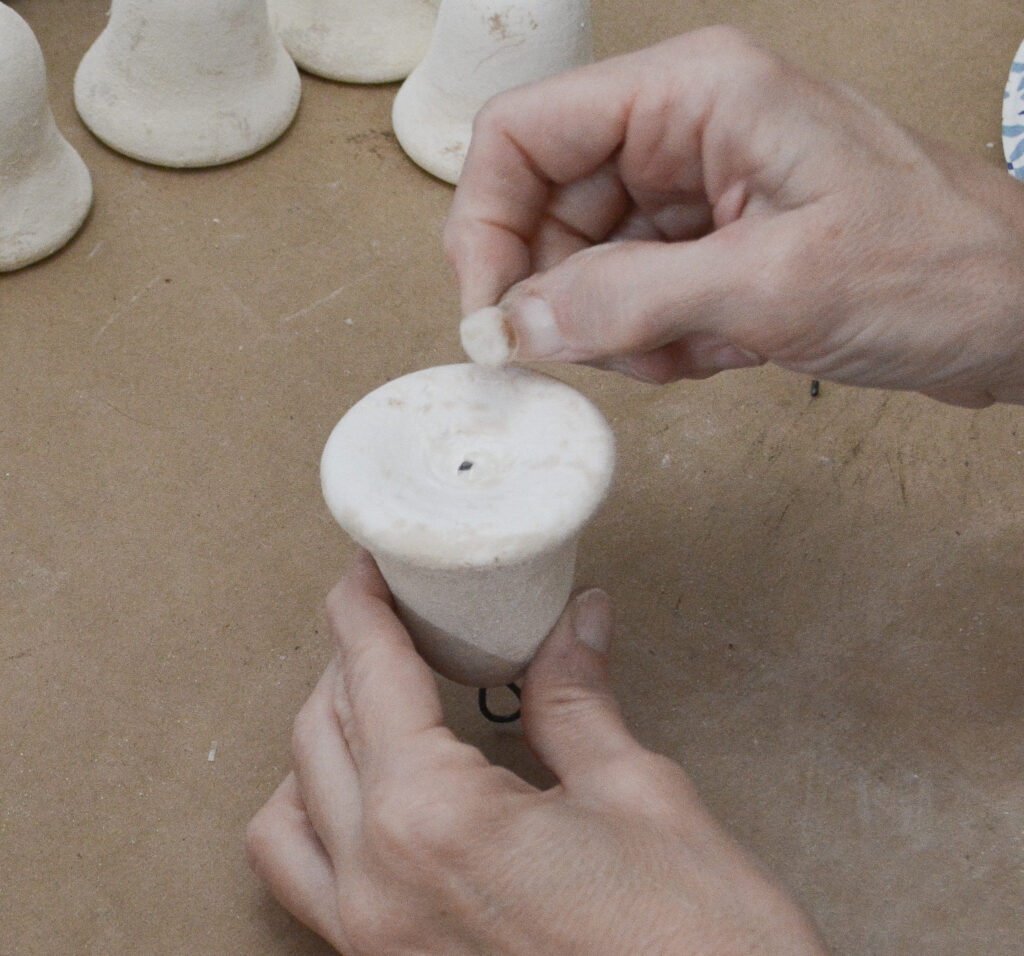
Then add just a little more hot glue, and stick on the pompom.

Coat the Bells With Glitter
Sometimes these are called sugar bells? Well, this last step is where it really all comes together, adding the clear German glass glitter.

Brush on regular white glue, thinned just a little with water.

Sprinkle with glitter. They are ready to hang on the tree or use in a garland like I did.

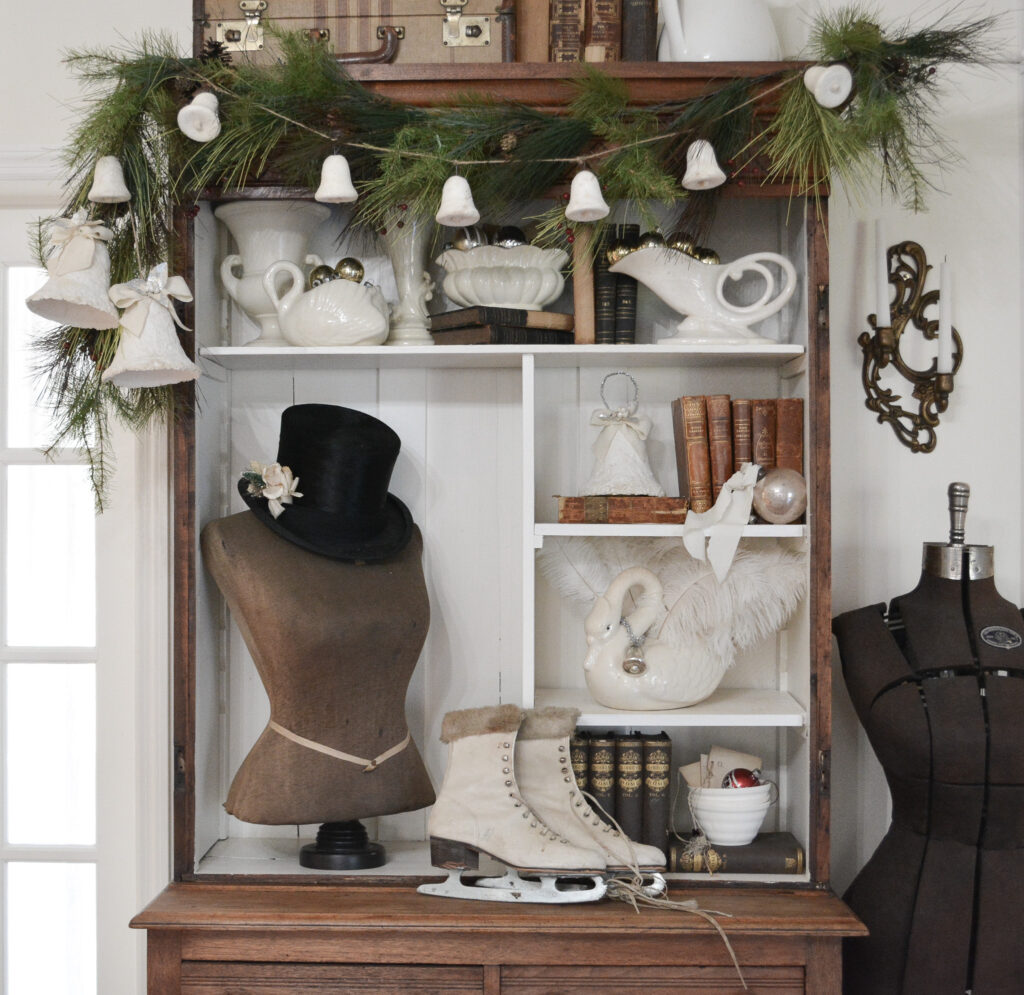
How to Create a Spun Cotton Bell Garland
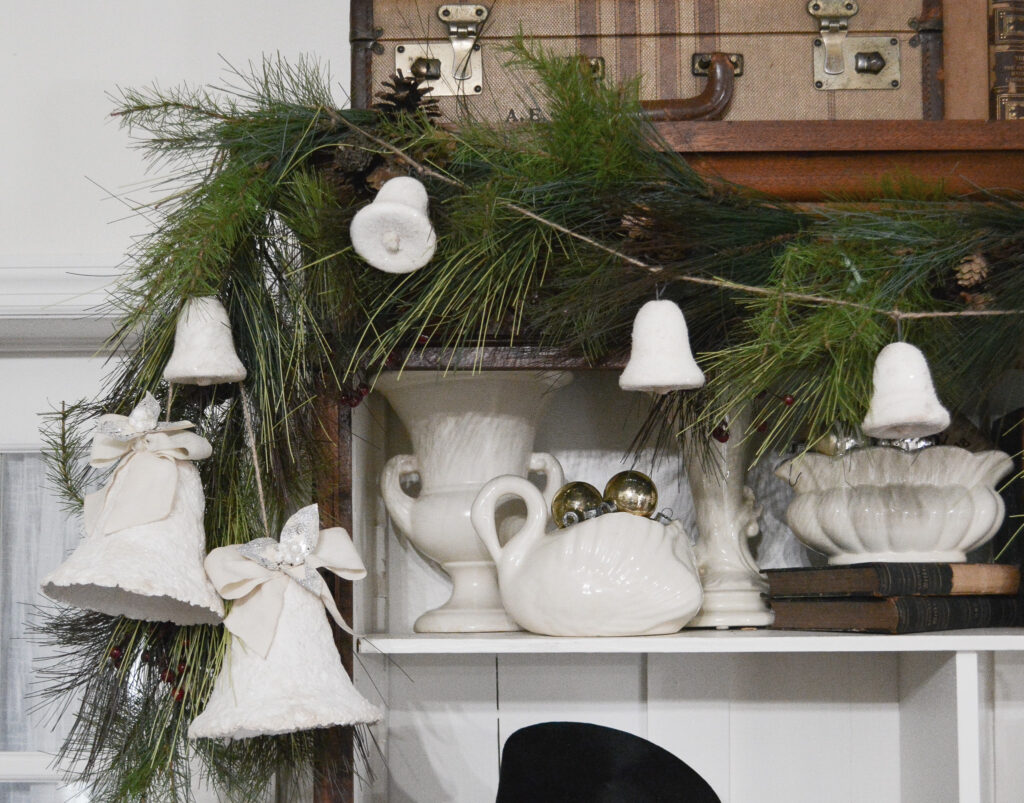
I created a bell garland to drape over the cabinet. I added these paper mache bells that I made last year.

Simply string the bells onto some jute twine, knotting as you go. It’s that simple!
PIN IT FOR LATER!
Thanks for stopping by,
Janet
These are so beautiful. I had never heard of these before.
Thank you! There are so many amazing antique spun cotton ornaments. I just love them!