
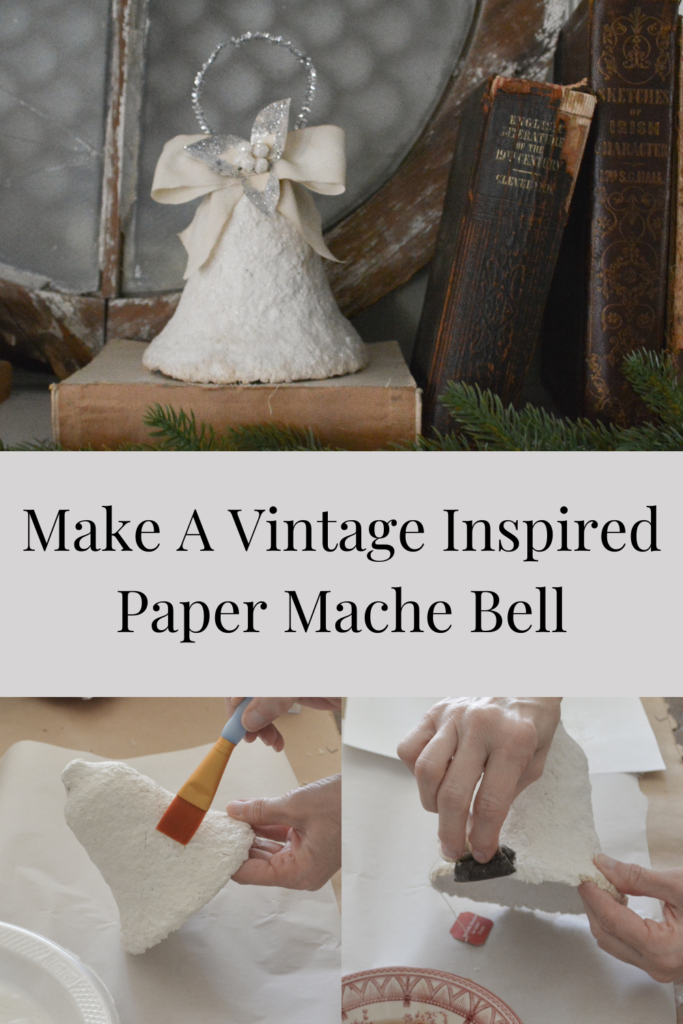
Let me start by saying just how much I love these bells! They have the perfect vintage feel and have become the inspiration for my Christmas decor next year. The wheels are turning! I got the idea for these when I purchased some spun cotton bell ornaments. I wanted to continue that look with a larger bell. After some brainstorming, I came up with these. So today I am going to show you how to make vintage inspired paper mache bells for your Christmas decor.
Supplies to make paper mache bells
This post contains affiliate links, which means I make a small commission at no extra cost to you. See my full disclosure here.
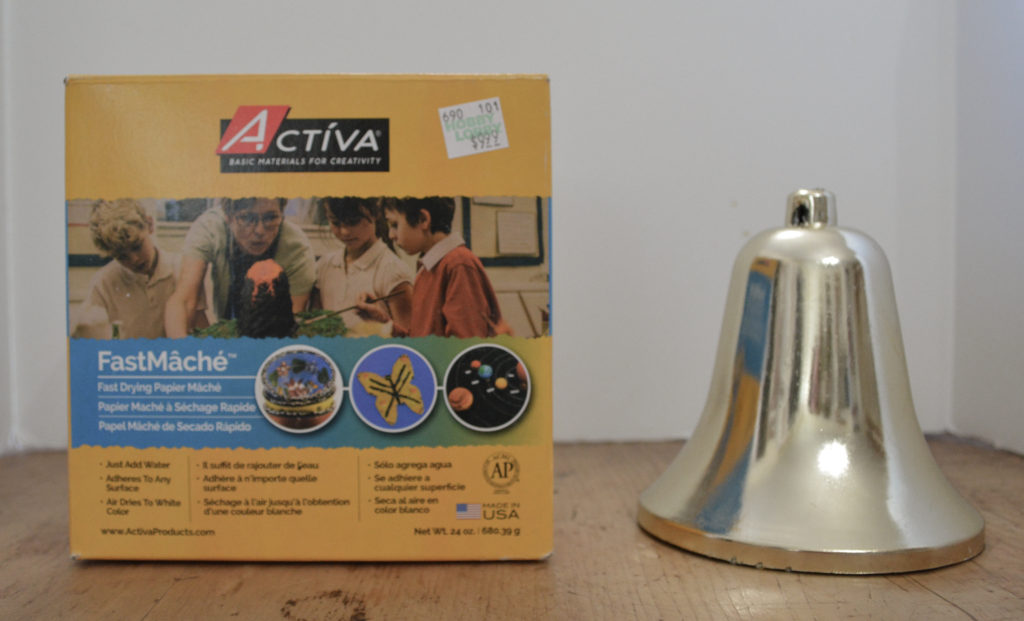
- Bell shape for mold – I used a plastic bell from Dollar Tree
- Paper mache medium – it can be hard to find in the store these days, so here is a link
- Plastic wrap and tape to cover bell
- White glue
- Glitter – either white or clear
- Decorations of choice
Steps To Make A Paper Mache Bell
Prepare The Plastic Bell
First, cover the bell with plastic wrap, leaving the top open. This will keep the paper mache from sticking to the bell. I used tape to secure the wrap in the bell shape. I skipped this step on my first bell and the shape was a little off.
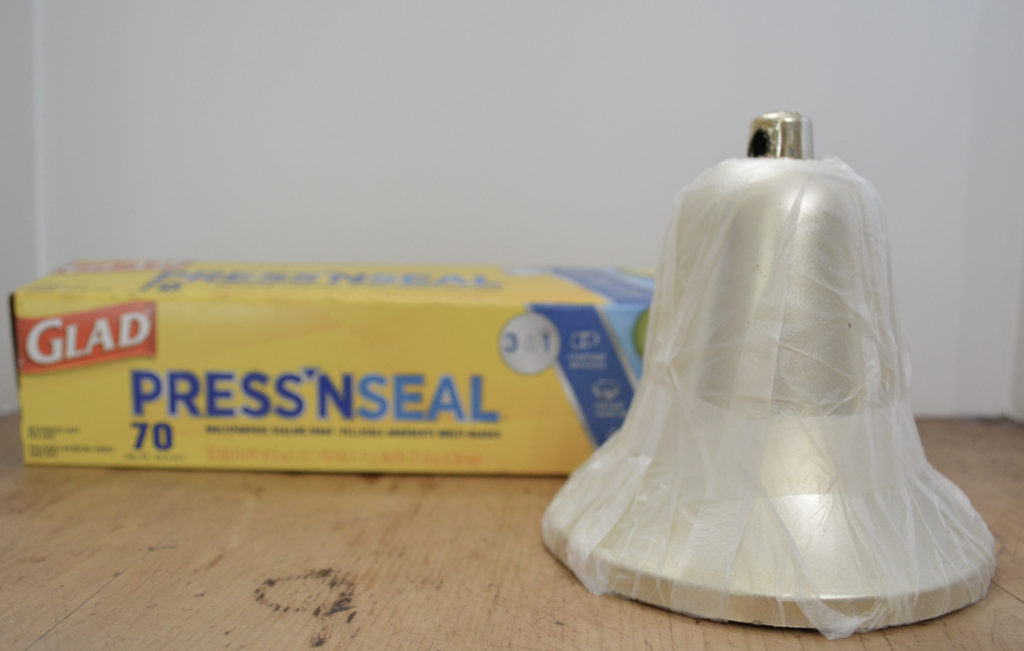
Use two pieces of plastic wrap, one for the bell and one for the top. Keeping them separate insures a more true bell shape
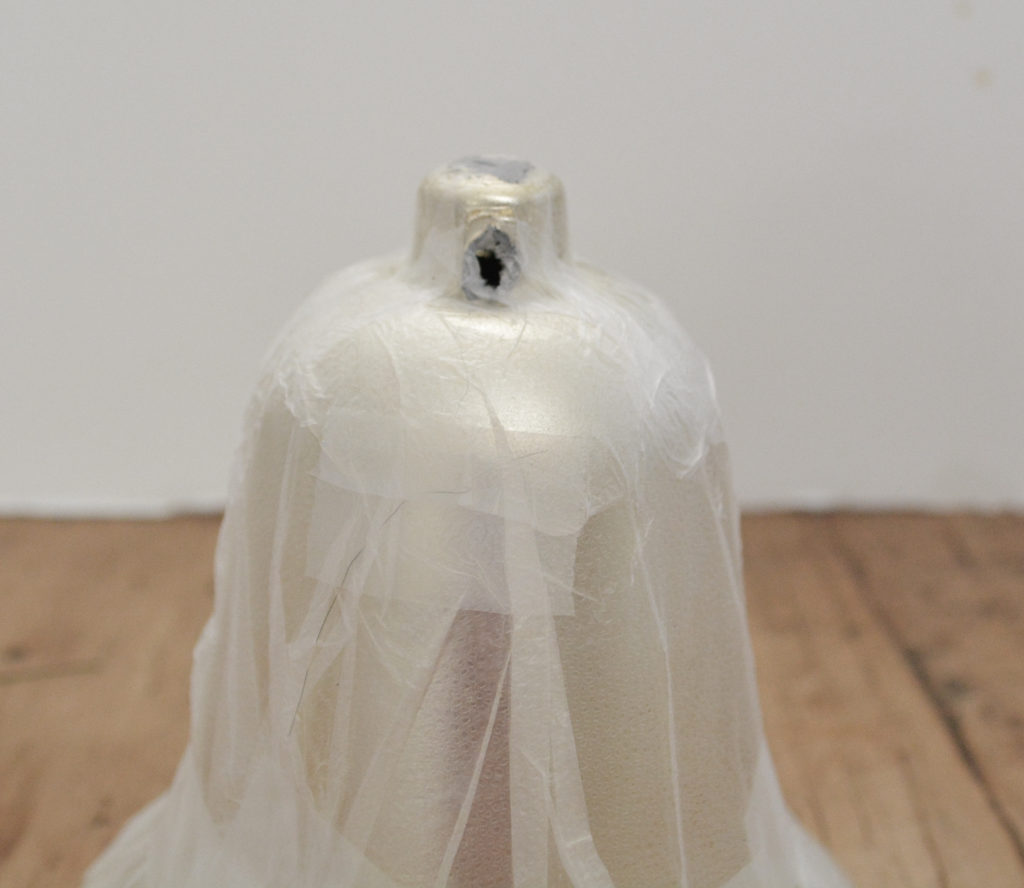
Poke a hole in the top for hanging.
I tried spraying the bell with cooking oil, but the paper mache just kept slipping off, so plastic wrap it was!
How To Cover The Bell With Paper Mache
Mix the Paper Mache
I used a 2 to 1 ratio when mixing the paper mache. 2 parts paper to 1 part water plus just a smidge more water. A little wetter did better than a little drier. I used a ziplock bag to mix it, and then just sealed the leftovers up for later.
Apply the Paper Mache
The application process is basically just smushing globs of the pulp onto the plastic wrapped bell. I started at the top, and pressed the mixture toward the bottom until it was thin enough, then added more until the bell was covered. It was just thick enough so the bell did not show through. Poke holes in the paper mache at the top for hanging.
It took a little practice, but I was going for a fairly thin and smooth layer. Perfection is not necessary, it’s suppose to look vintage after all!
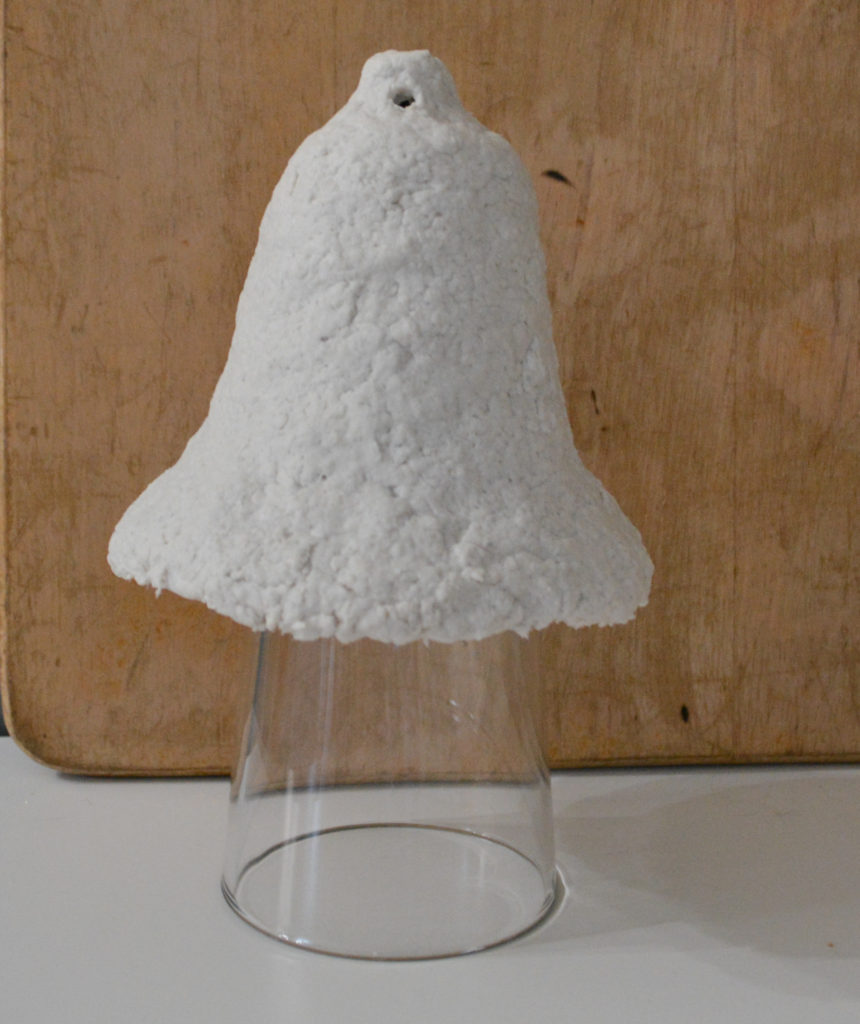
Let Dry
I put my bell on a glass to dry,and it took 24 hours plus before the paper mache bell was dry enough to remove it from the plastic bell.
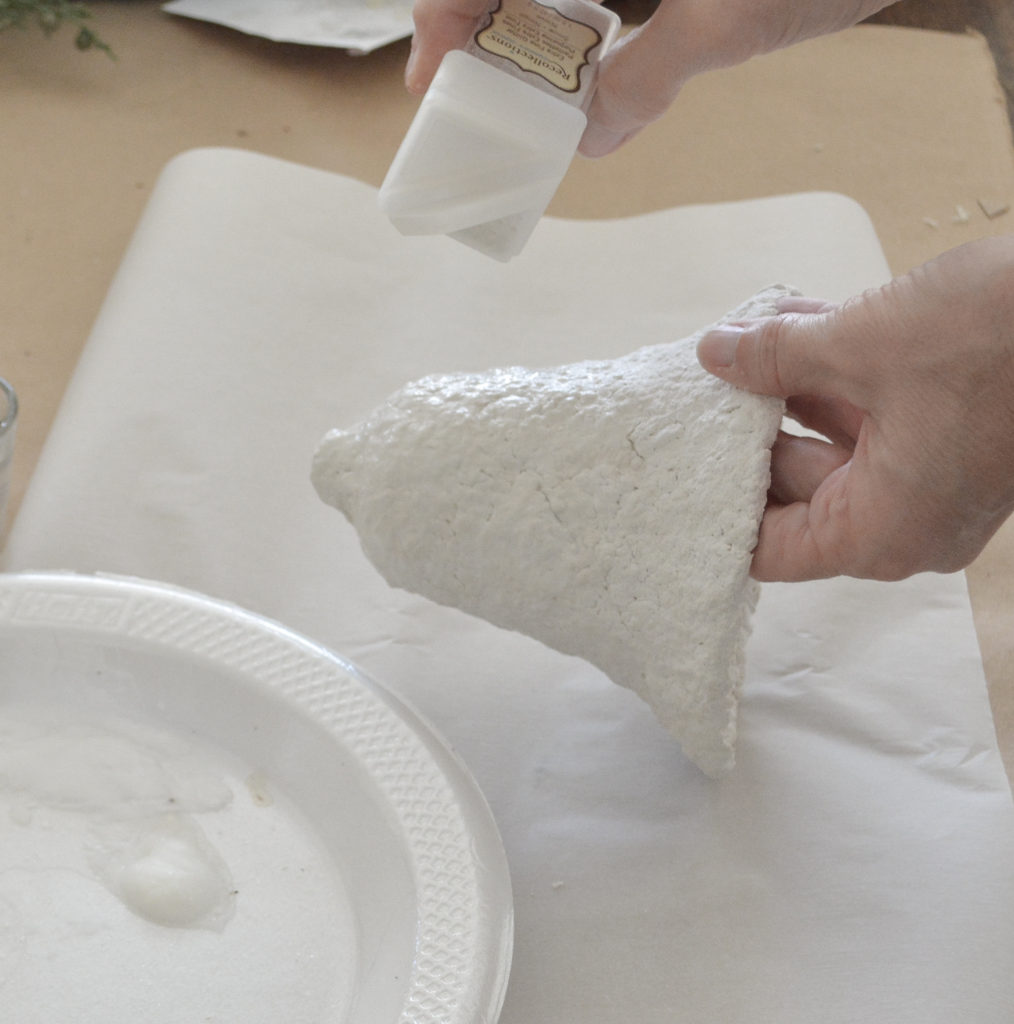
Tea Stain The Bell

Hot tap water and a tea bag are all you need. Easy does it on the tea, the paper mache really soaks it up! I dabbed it with the tea bag along the edges and for darker spots, and then brushed some of the tea on for just a hint of color.
Add Glitter
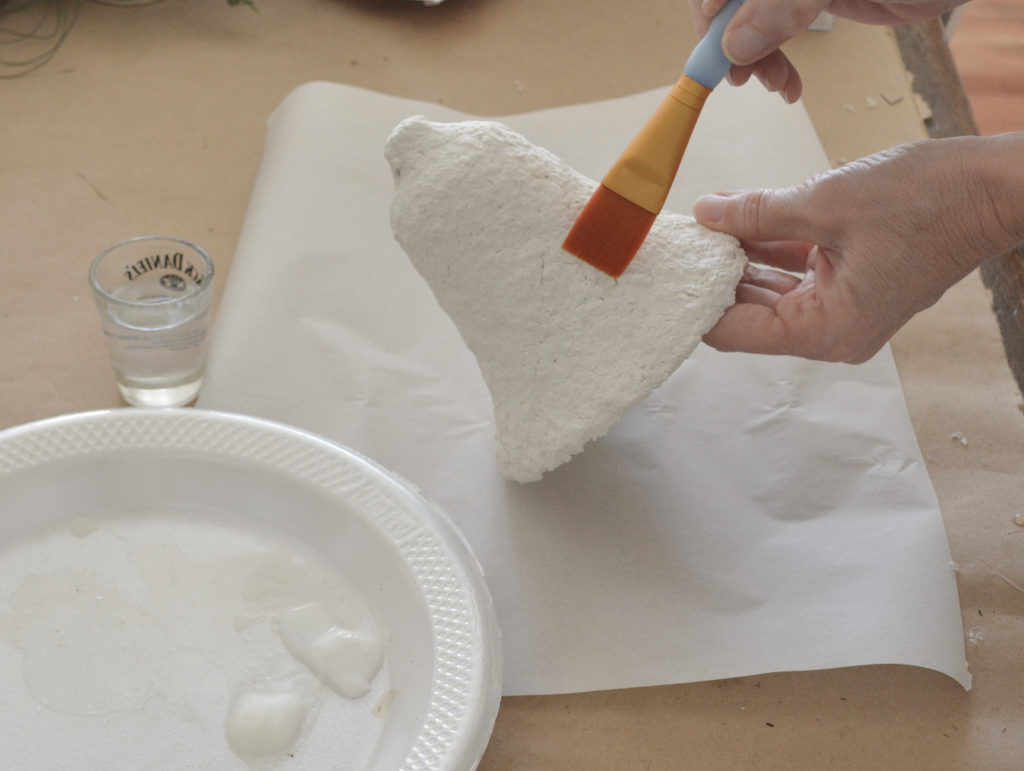
Water down some white glue and brush it over the bell. I just dipped my brush in water and then the glue.
Sprinkle with white glitter. I also tried clear German glass glitter, and I loved both. I think the glass glitter had a bit more sparkle, but the white looked a little more finished? Your choice!
Decorate the Bell
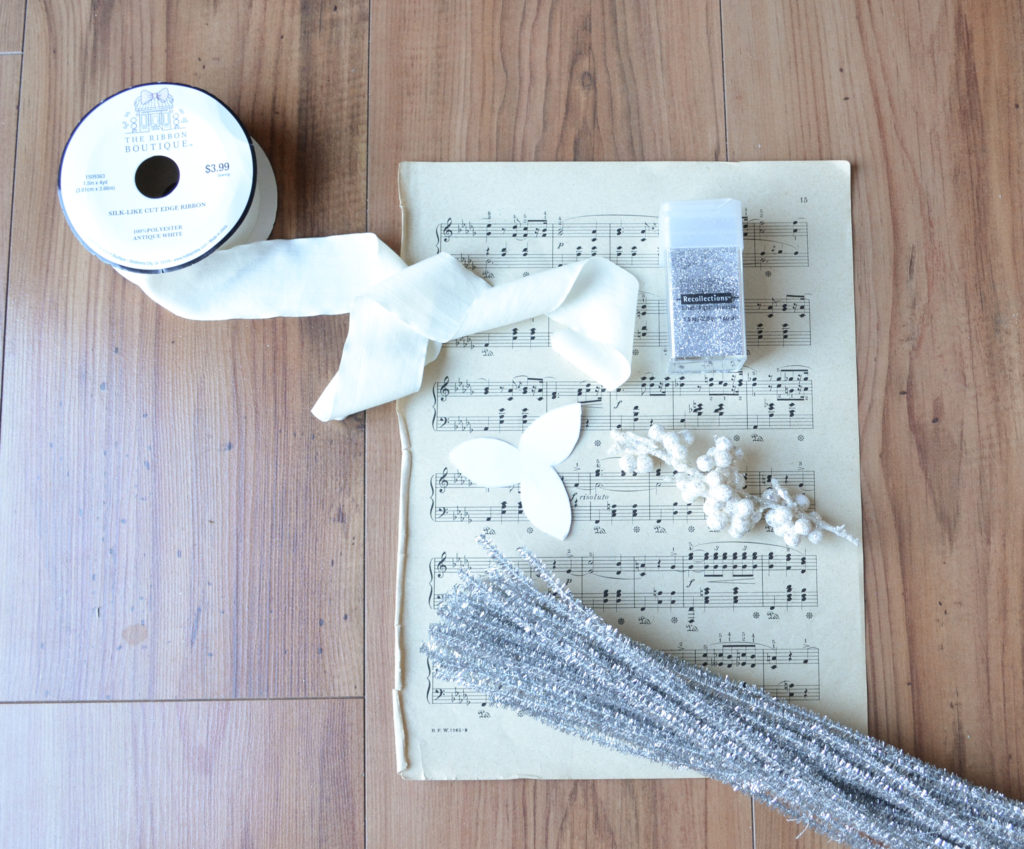
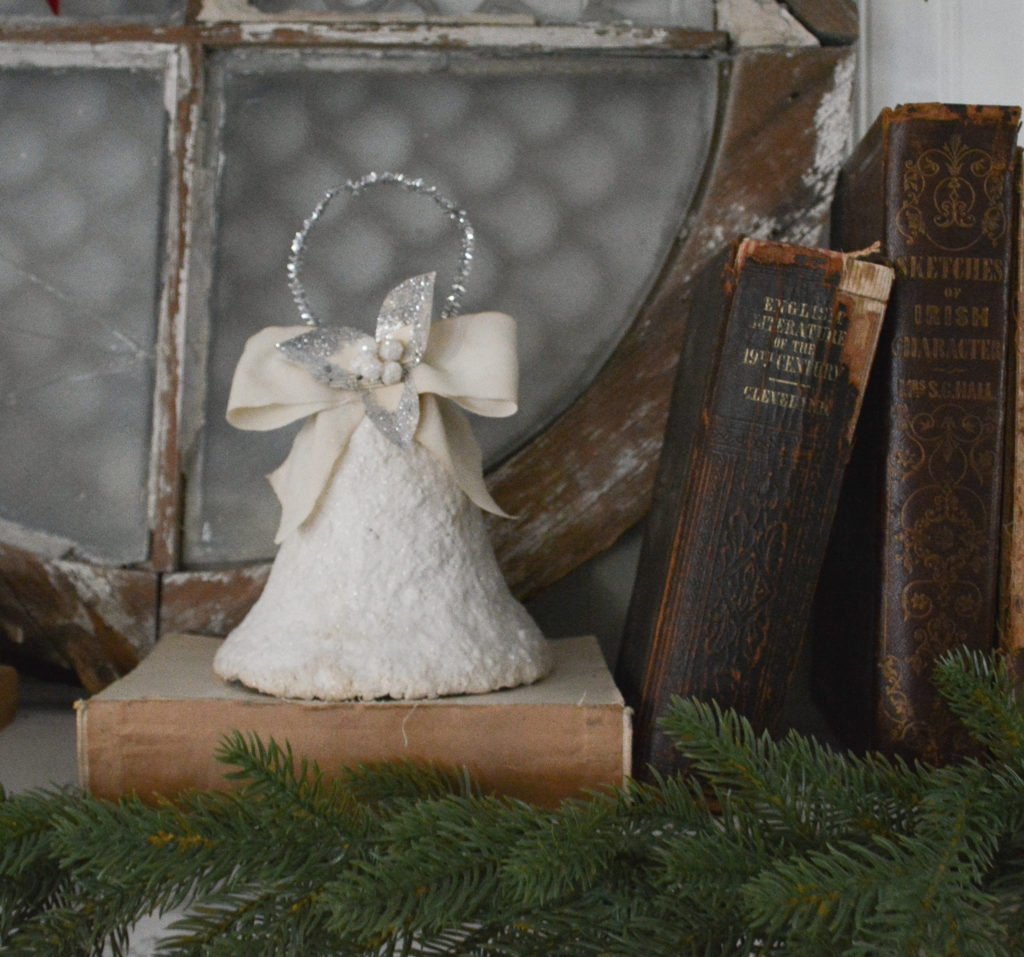
I chose to add an embellished bow.
The bow is made using chiffon ribbon from Hobby Lobby. The bow also got some tea staining.
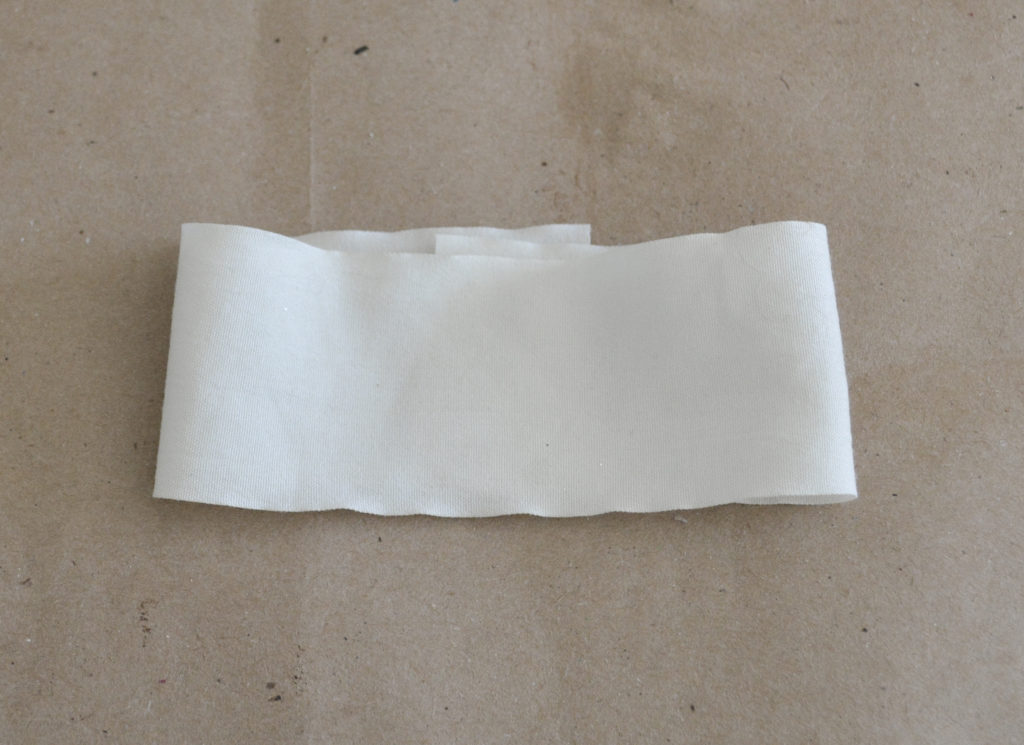
Fold over a piece of ribbon.
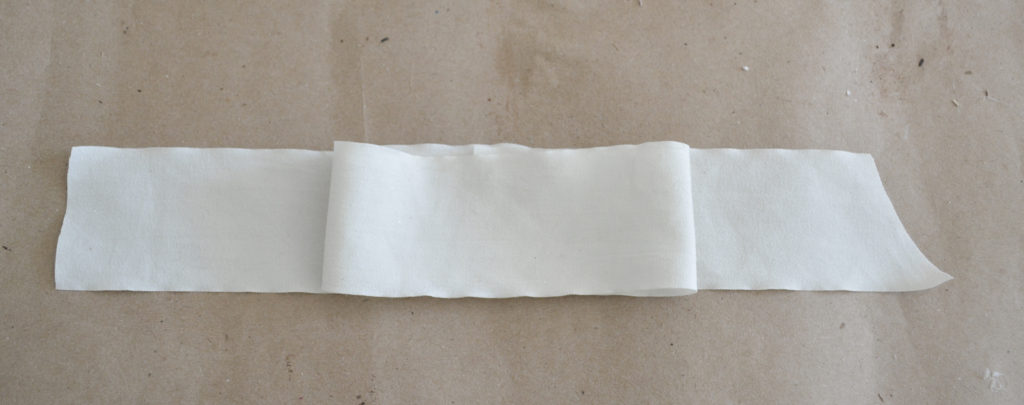
Add another piece of ribbon on the back.

Tie with string or yarn to form the bow. This will be covered with the embellishments.
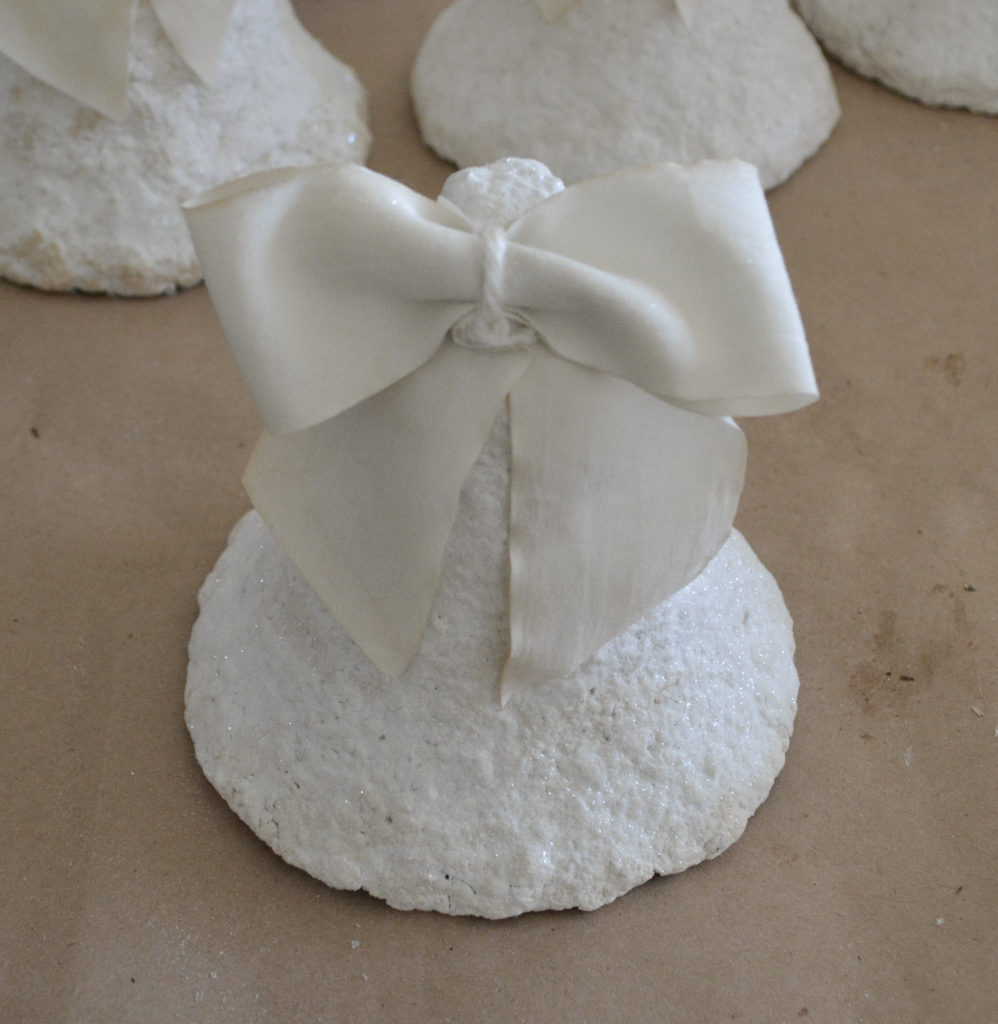
Glue the bow to the bell. Trim the ends as desired.
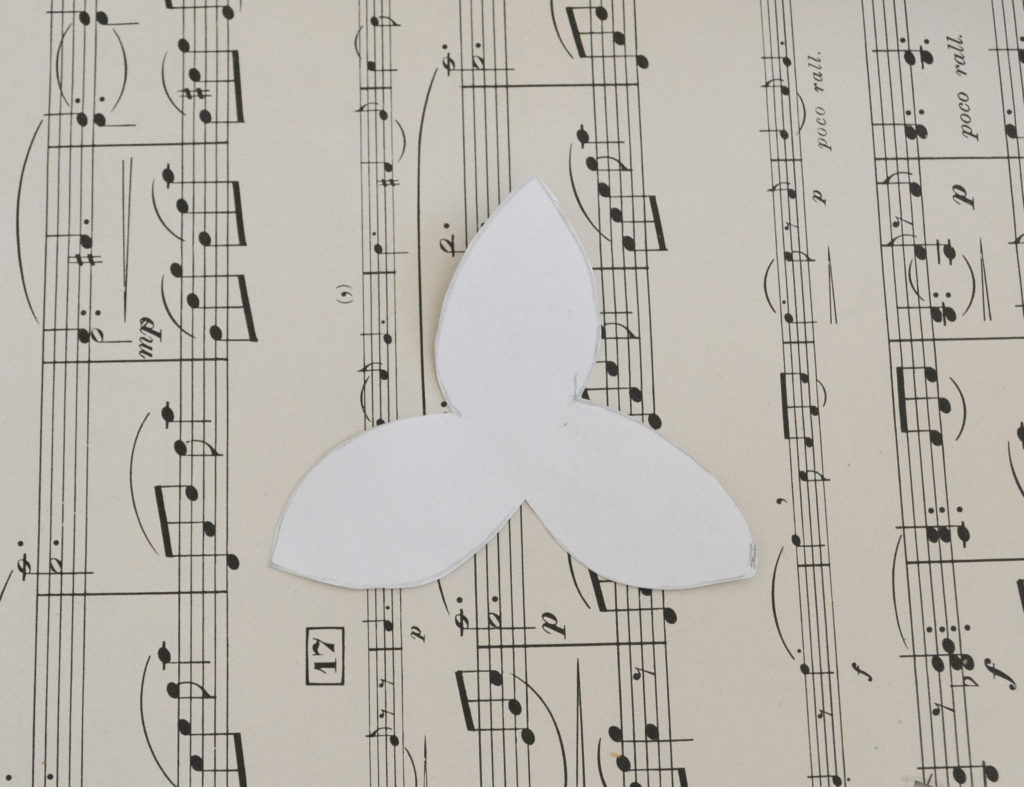
I used sheet music to make the leaves. Draw a pattern and then cut the shape out of sheet music. I shared a link to print your own sheet music here.
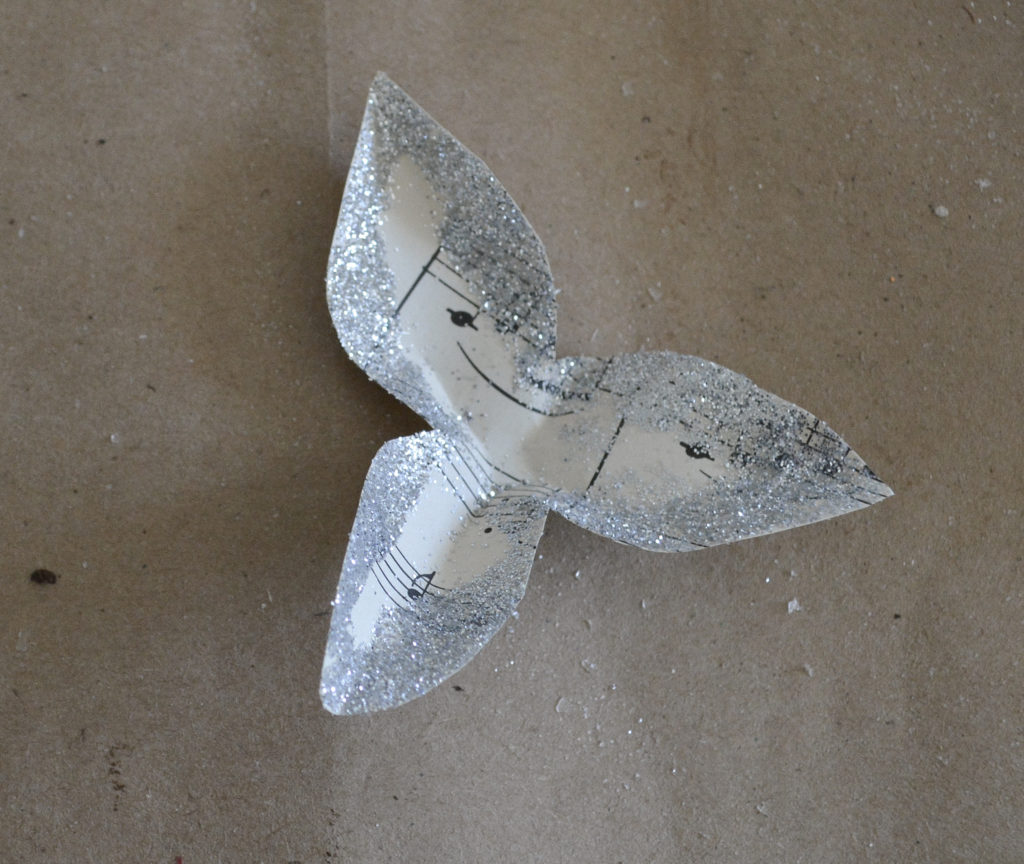
Brush white glue on the edges and sprinkle with silver glitter. I also folded mine a little to give more of a leaf shape.
Glue the leaves on the bell and add berries in the center. Add the pipe cleaner for hanging.
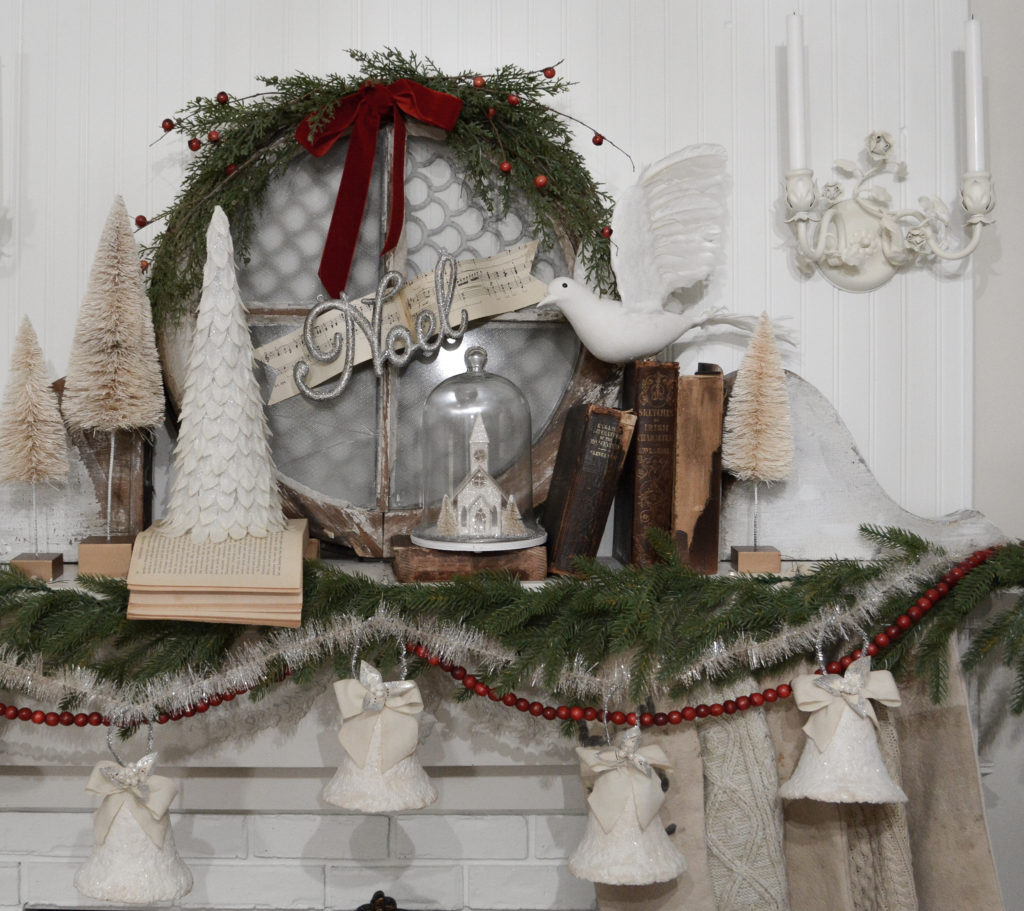
As I said before, the wheels are turning! I can’t wait to find different bell shapes and sizes for the molds and the finishing options are unlimited! They could be spray painted or glittered in gold or silver, add designs with glitter, or whatever you can imagine. At first, my budget conscious mind thought it was a lot to spend for the paper mache, but after 5 bells, I have hardly made a dent in the package.
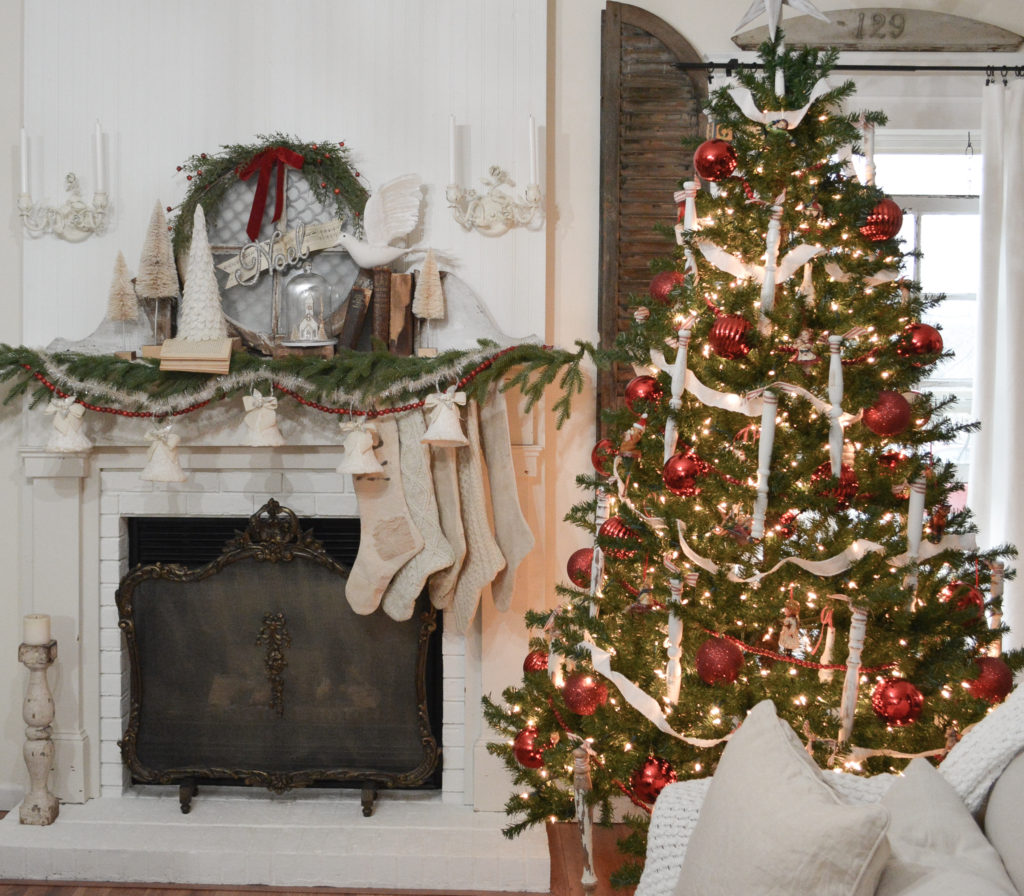
I tea stained some garland I found at Wal-Mart and hung my bells on the mantel. They could be used as ornaments or for the center of a wreath. And maybe even hanging from my French drying rack? I hope you enjoyed seeing how to make vintage inspired paper mache bells and try some for yourself!
Pin It For Later!
Thanks for stopping by,
Janet
Thank you for showing us how to make paper mache bells. I’ve never created with paper mache; however, after watching your step by step process, I believe I will give it a try. The bells are beautiful and I can think of numerous things that can be made using paper mache. Again, thank you for the step by step demonstration. It was very helpful.
Thank you Shirley! I think I am going to try making a paper mache bowl!