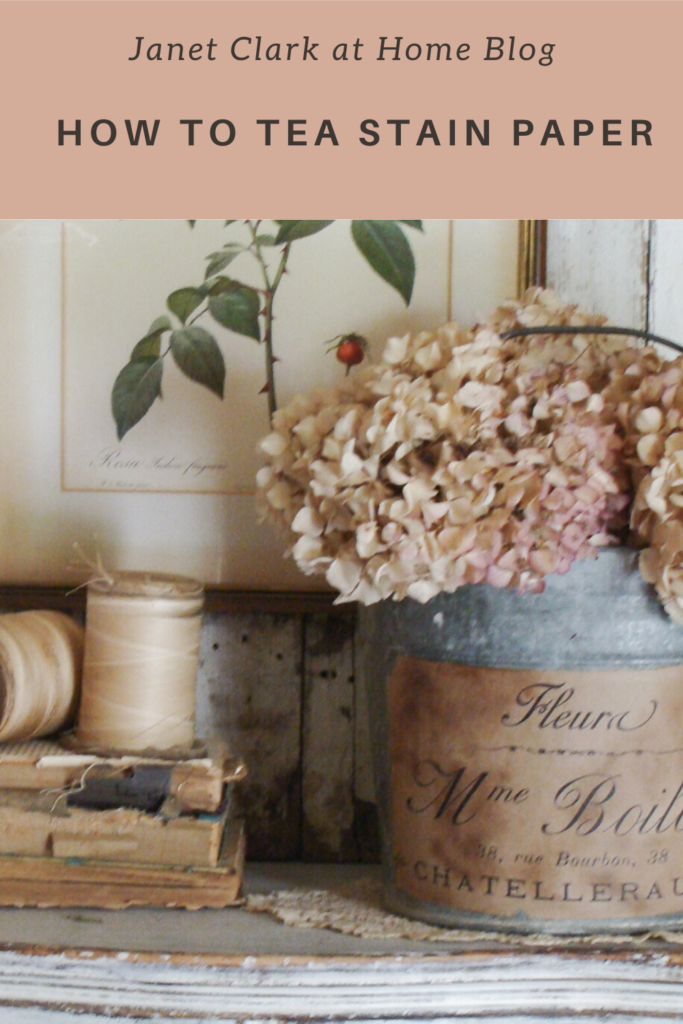
Vintage Spinet Desk Makeover
Part 2
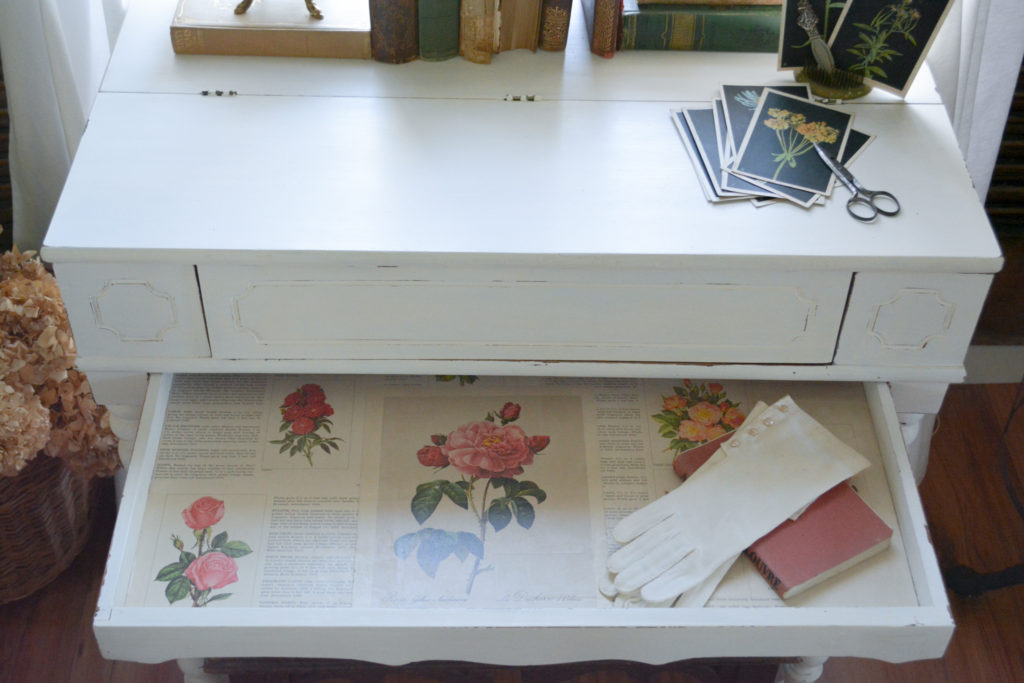
I tea stained book pages for a vintage look and used them to line the drawer in my spinet desk.
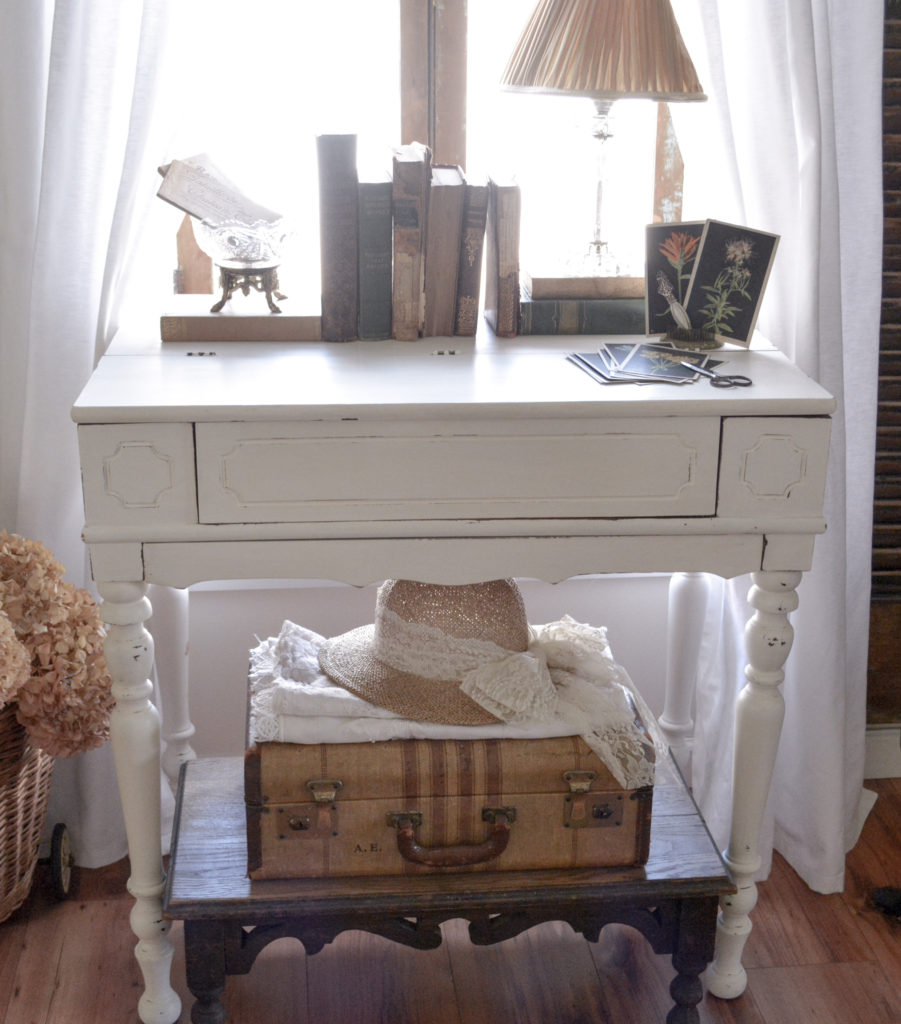
I found a vintage spinet desk on Facebook marketplace for $20. I shared the makeover on my blog. You can see it here.
I wanted to add a little something to the inside of the drawer.
As I have mentioned before, I love, love, love antique paper, but it is not always easy to find. Or it’s not affordable. So what to do? Make my own.
Because I also love, love, love vintage florals, I decided to use some pretty pages from a book about growing roses. I wanted to make them look a bit more vintage, so I tea stained them.
Steps To Tea Staining Book Pages
Brew some tea. I just put a few bags in a medium size sauce pan and let steep until cool enough to handle. The tea can be used warm or cold. Pour the tea into a pan that is big enough to hold the pages. The instant tea can be used later in the drying process to add dark spots and stains.
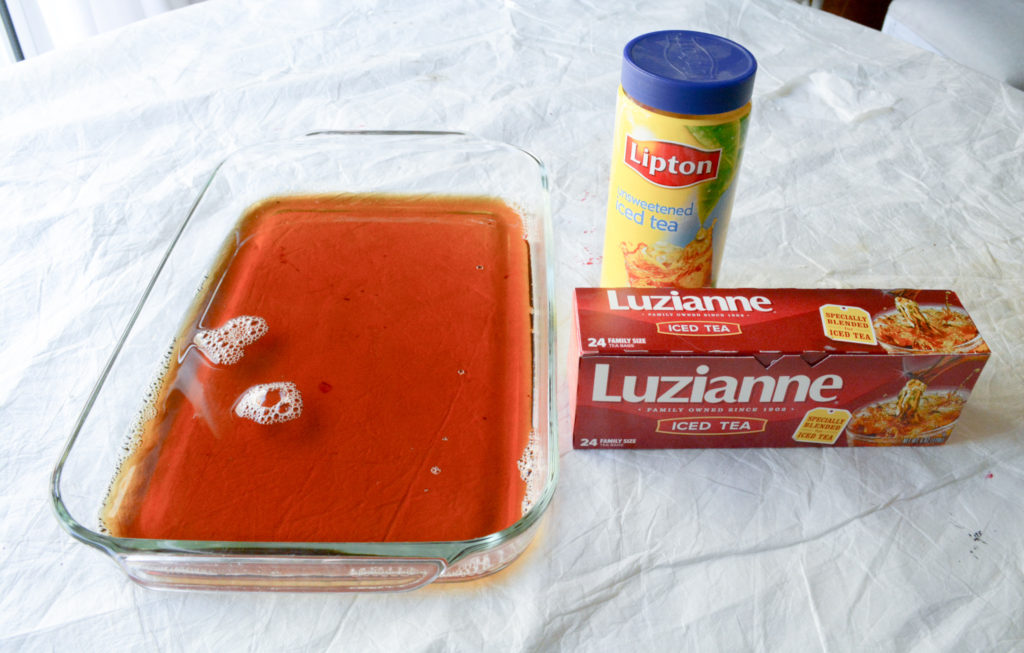
Put the pages in the pan of tea to soak. I put all of mine in at the same time. The pages will get darker the longer you leave them in, but only to a certain point.
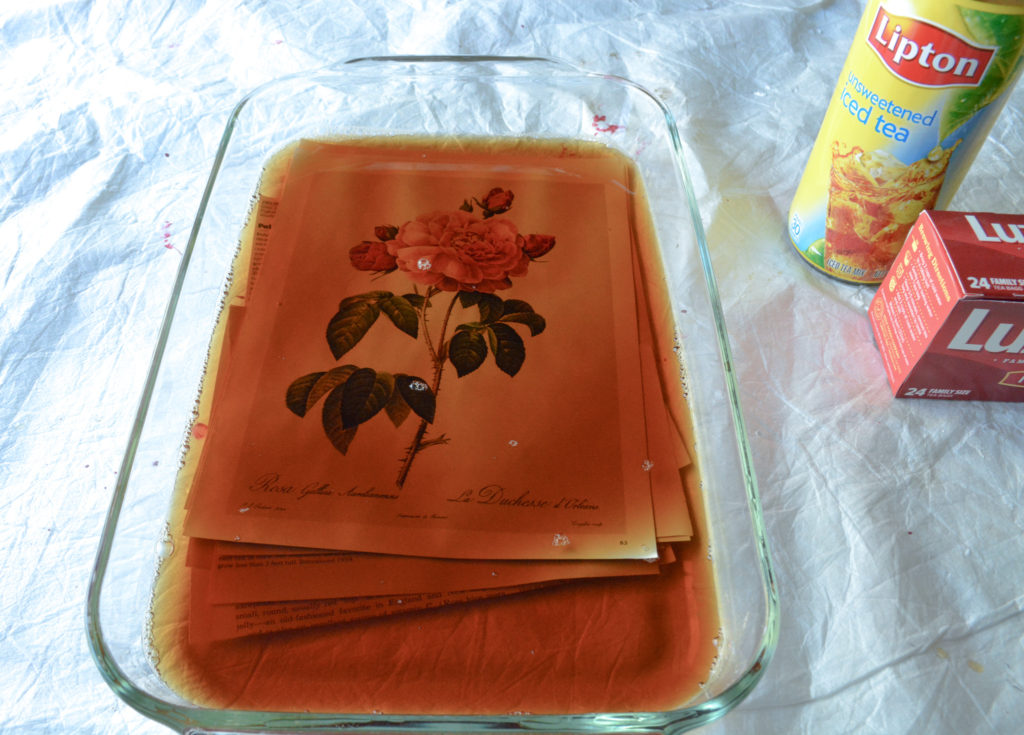
The type of paper you use will affect the outcome. My pages had a kind of waxy coating on them, so they didn’t get very dark.
Remove the pages when you have achieved the desired color.
Lay the pages on paper towels to dry.
Before
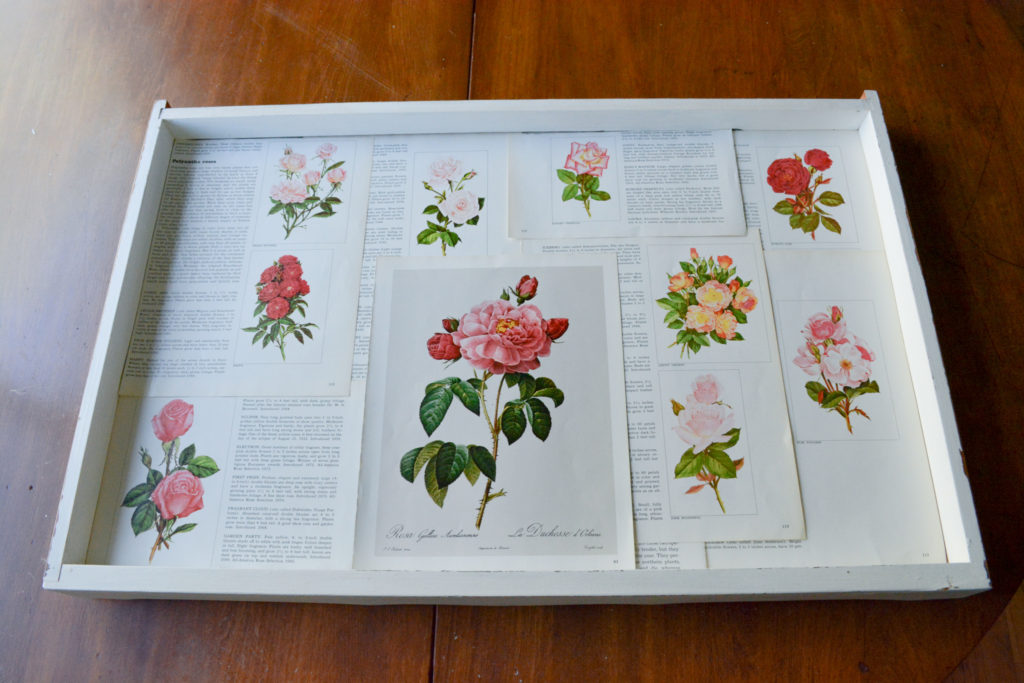
After
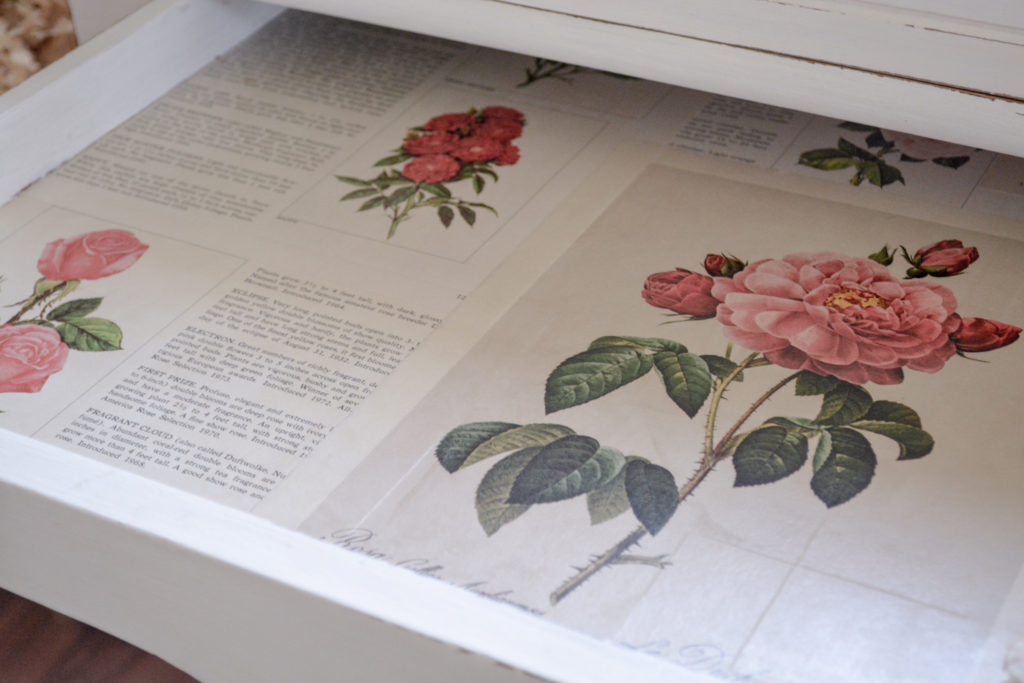
This was a more subtle change, but it really made a big difference in the overall look of the project.
Once the book pages for the desk were tea stained, I adhered them to the drawer with starch.
Tea Stained Paper Projects
I’ve done many projects in the past where I used tea stained paper. Here are a few examples and how I achieved the different effects.
Make Your Own Antique Sheet Music
Antique sheet music can be used in so many ways to create vintage charm. I have used it to line drawers, on furniture tops and doors, on frames, in frames, and the list goes on.

To make my own antique sheet music, I found a new music book, made photo copies of the pages, and tea stained. I used the same tea staining process, but wanted to add a little more age and character with some darker spots.
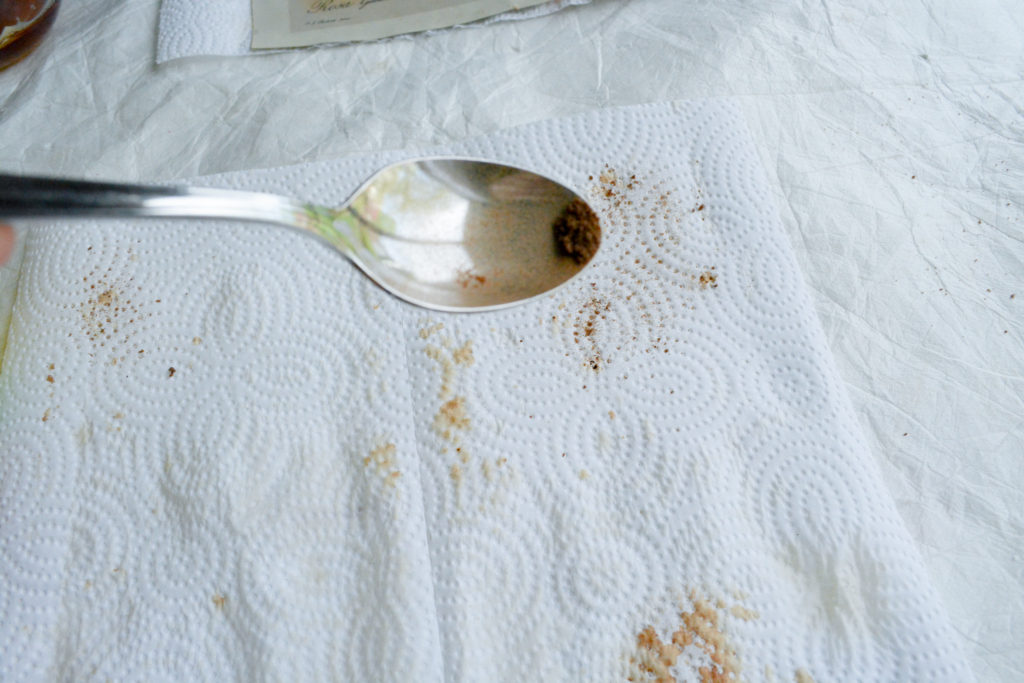
To make the darker spots, sprinkle some instant tea on a paper towel. Make random spots, some lighter, some heavier. Place the page face side down on the paper towel. Let dry.
Make A Vintage French Orchard Basket
I may not actually live in a french farmhouse or make yearly trips to Paris to shop the flea markets, but I like to pretend I do. Ha ha! I always say someday I will buy authentic french treasures, but it never seems the right time to spend so much on a bucket or basket.
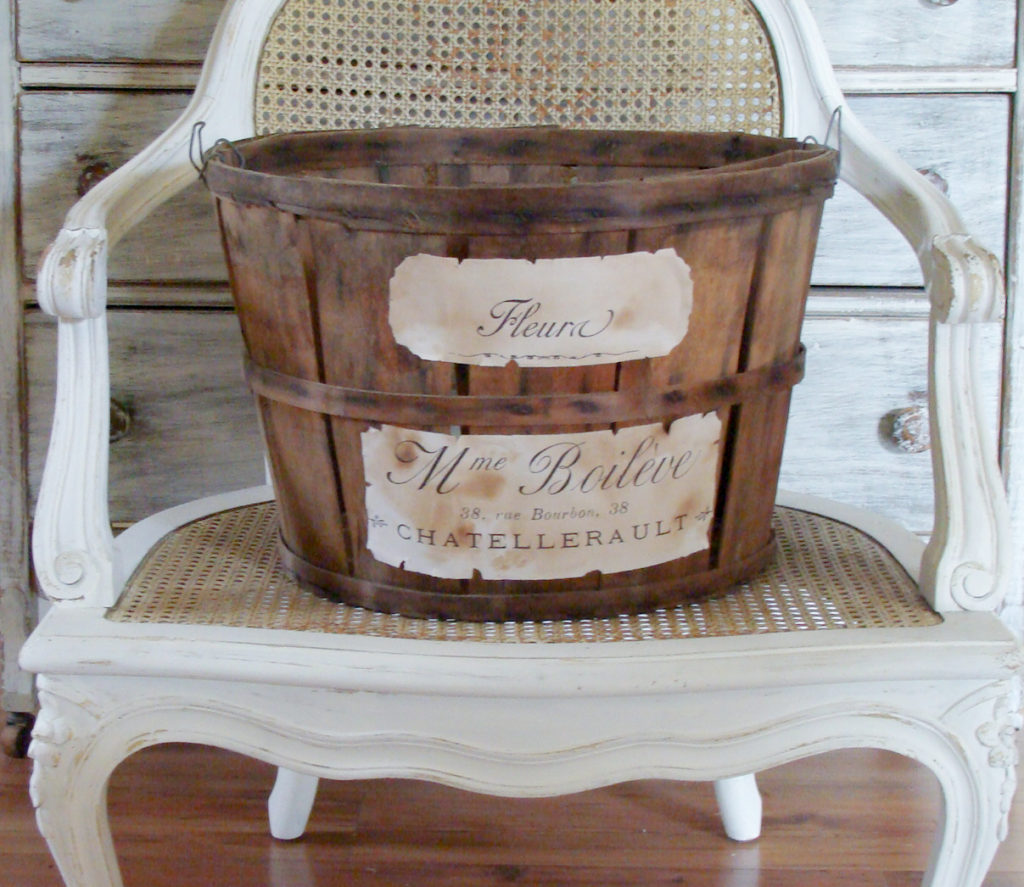
I found a free french printable graphic at the graphics fairy blog, printed it on regular white paper, and tea stained. By gluing it an old orchard basket from an estate sale, I have my own french treasure for just a few dollars.
You can really see the dark spots here that were achieved by letting the paper dry face down on the sprinkled instant tea.
Make A French Flower Bucket
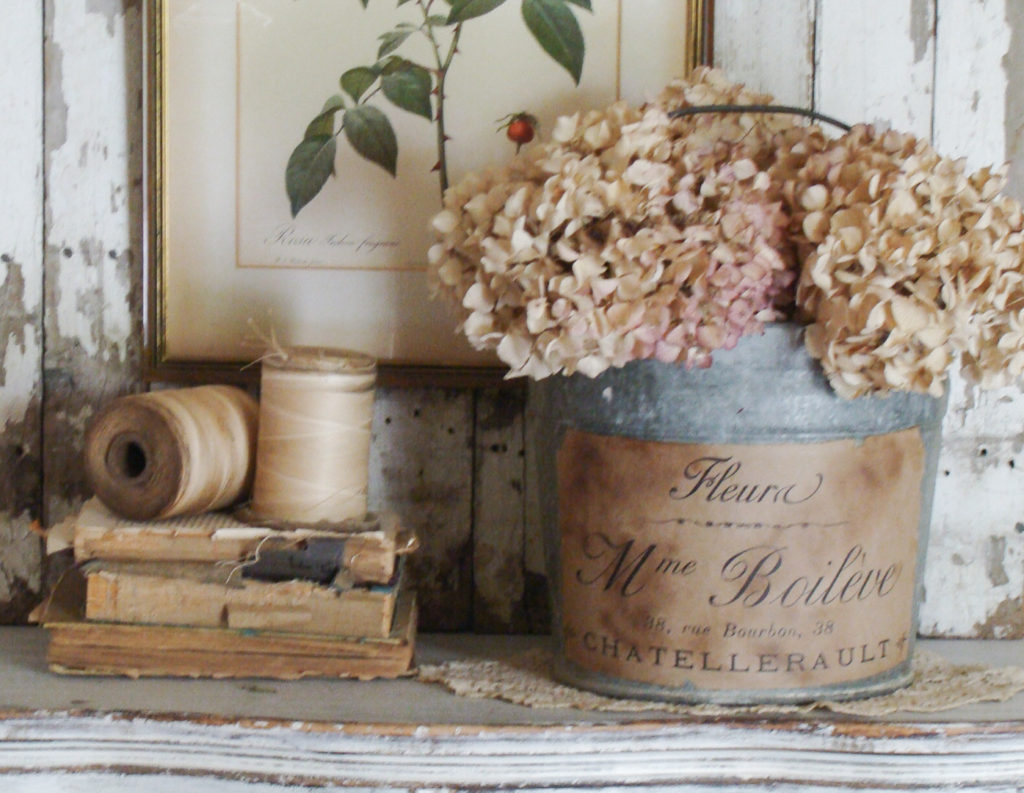
I think this look is my favorite. Cut a piece of brown craft paper to printer paper size. Print out the graphic and then tea stain, adding those extra dark areas with the instant tea.
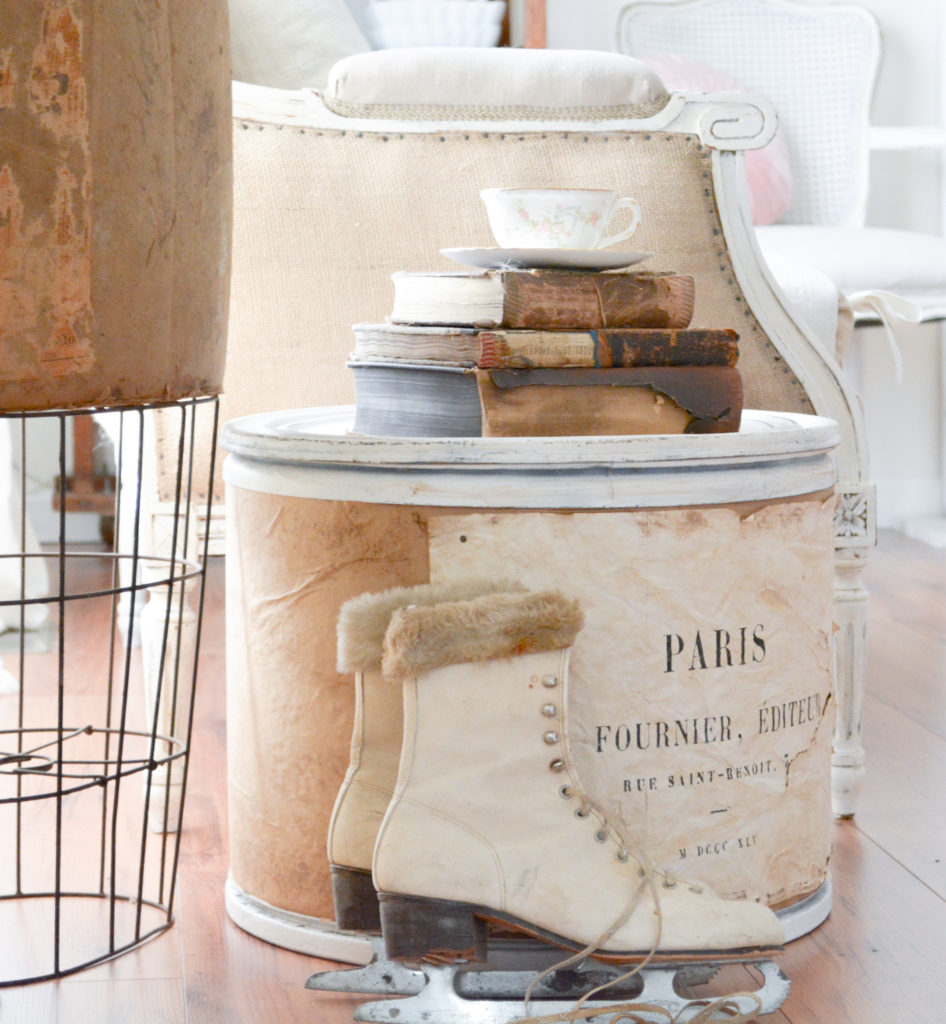
This drum (not sure what you call it) thing can be seen in my winter dining room post. It has the tea stained craft paper and the tea stained white paper.
So now you have your paper stained, how do you apply it to the surface? You can use white glue, spray adhesive, decoupage medium, or my favorite – starch.
Coming up in my next post:
How to apply paper to wood with starch – Vintage Antique Spinet Desk Makeover – Part 3
Pin It For Later!
