
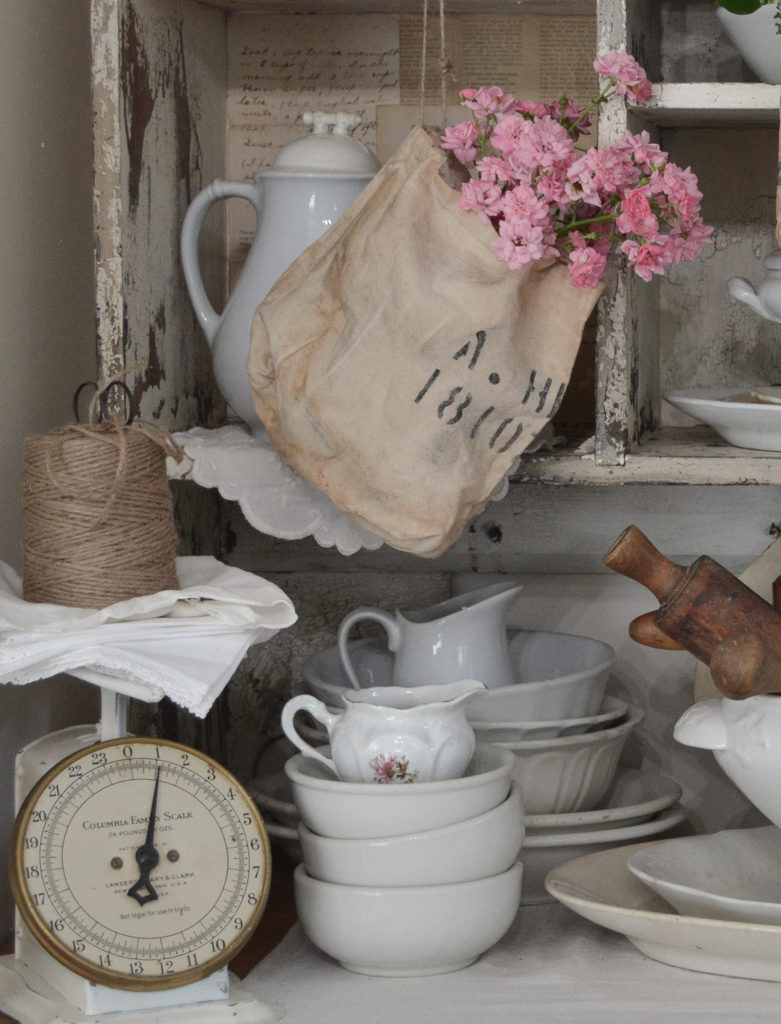
I love wall pockets or flower pockets made out of antique grain sacks, but as usual, I don’t love how much they cost. I was searching for a way to make my own and I really wanted to find a no sew option that I could share with you. My first instinct would be to sew one, but I know that is not an option for many. Then I thought of using craft store totes! How easy is that?! Today I am going to show you how to make no sew antique grain sack wall pockets.
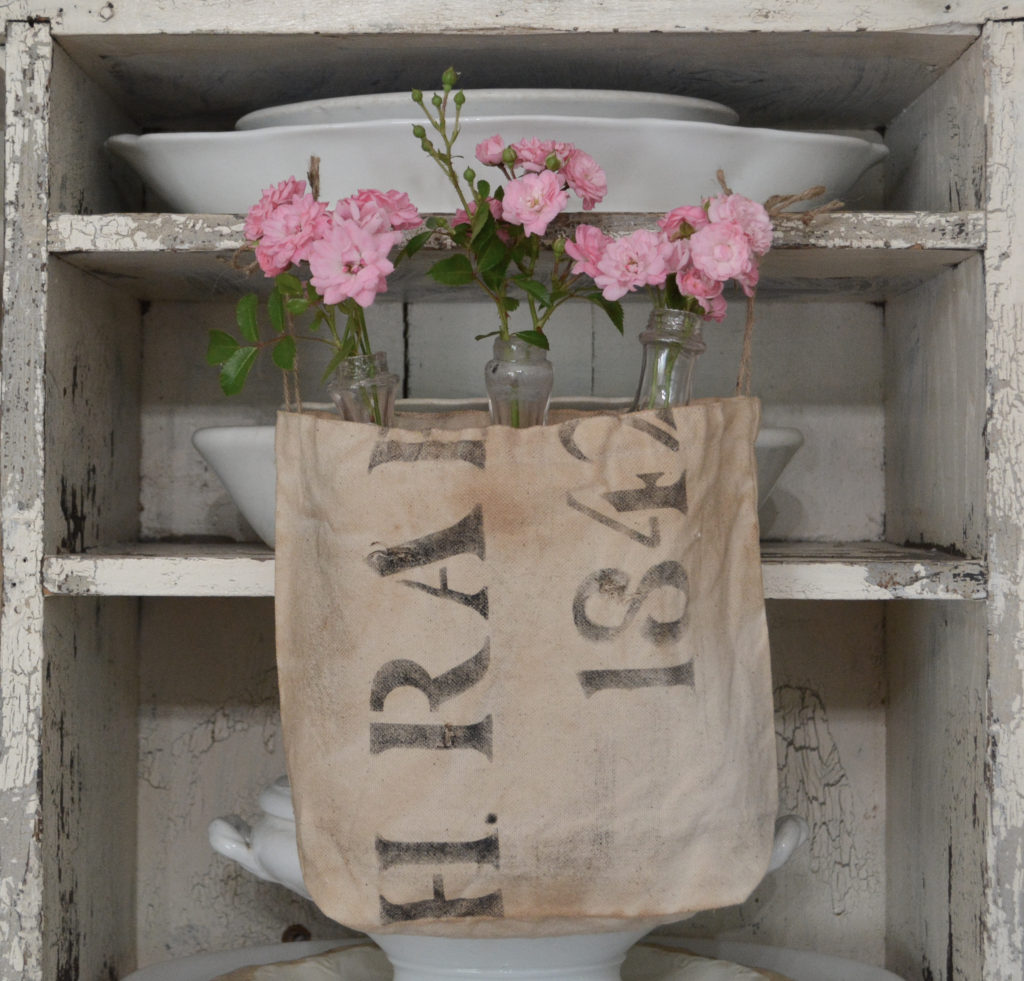
To make the wall pocket, a craft store tote bag is tea stained and embellished to look like an antique grain sack. A casing is created in the top of the bag for jute twine. The twine can gather the bag or be tied for hanging.
Supplies To Make The Wall Pockets
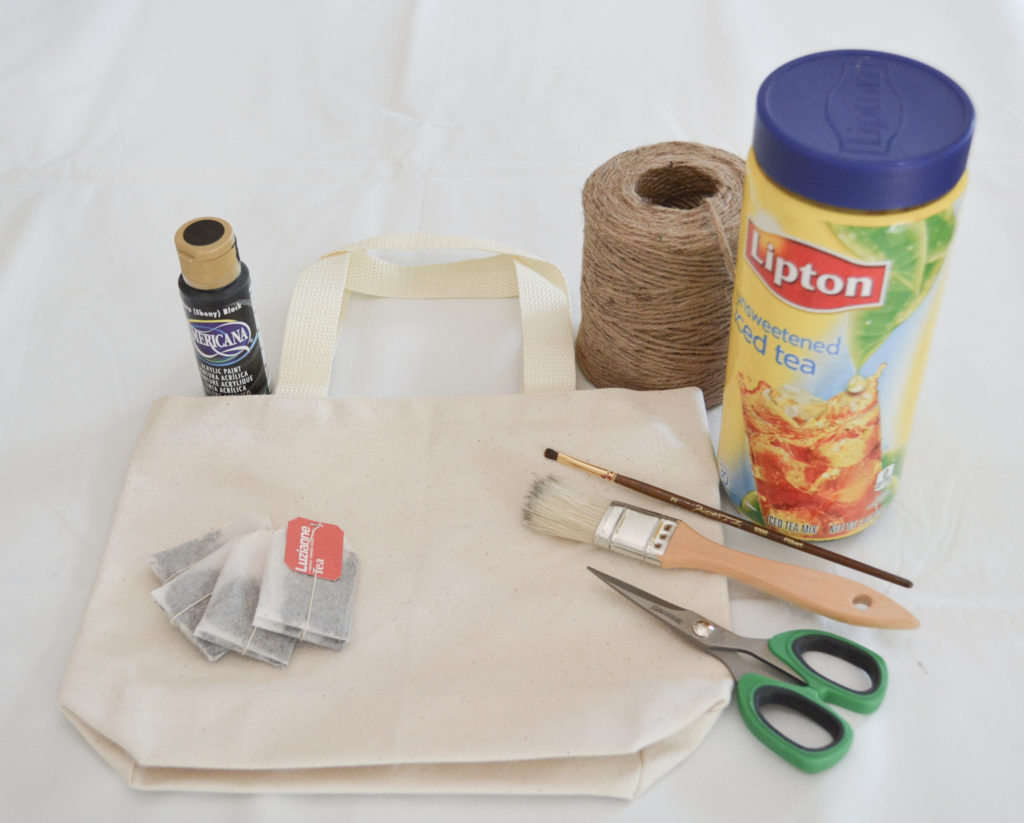
- Craft store tote bag
- Tea bags
- Instant Tea
- Jute twine
- Black paint
- Scissors
- regular paint brush (I used an inexpensive chip brush)
- artists brush
Steps To Make An Antique Inspired Grain Sack Wall Pocket
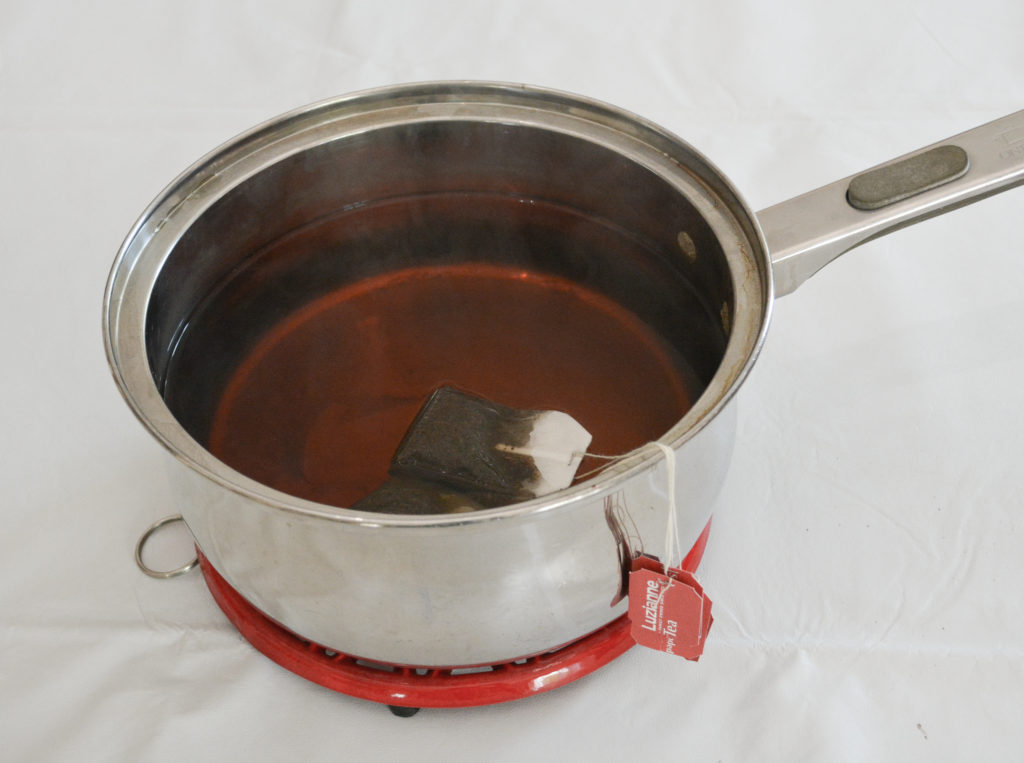
- Bring 8 cups of water to boil in a saucepan. Add 4 tea bags and let steep until cool enough to handle, about 30 minutes.
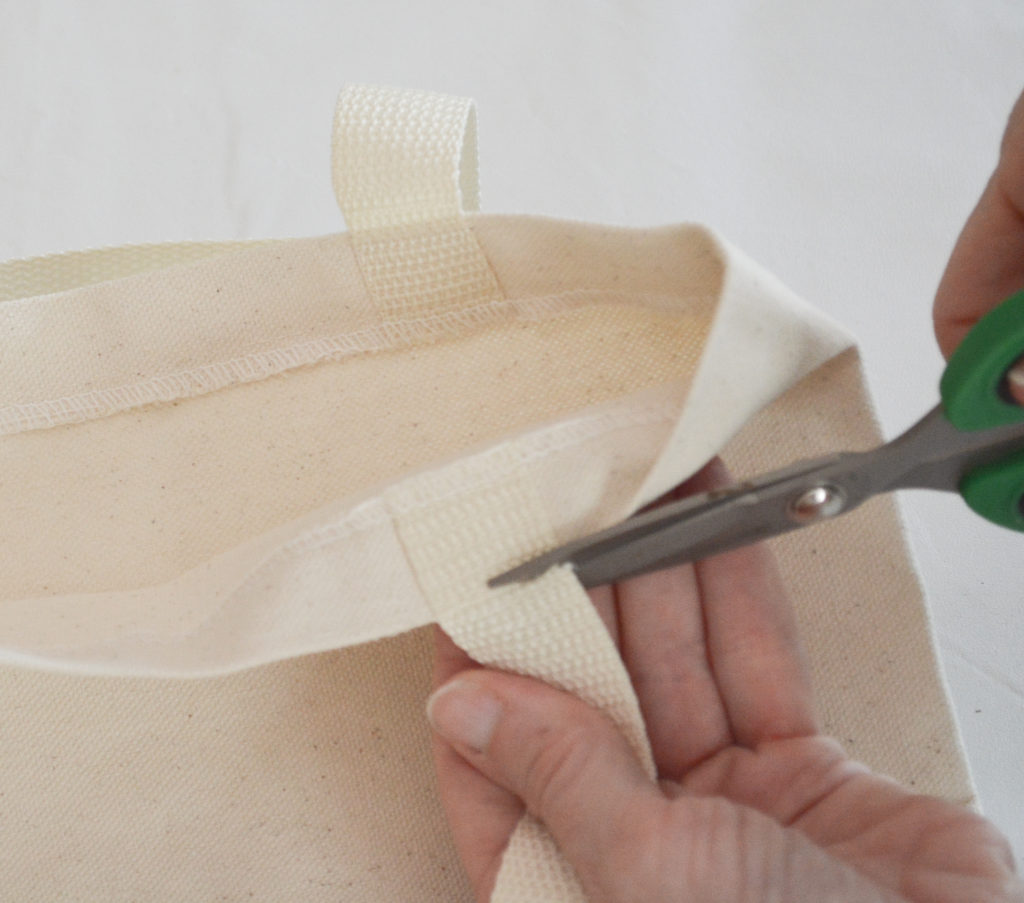
2. While the tea cools, prepare the tote. Begin by cutting off the tote handles. Cut the handle very close to the first seam, and it will tear away from tote.
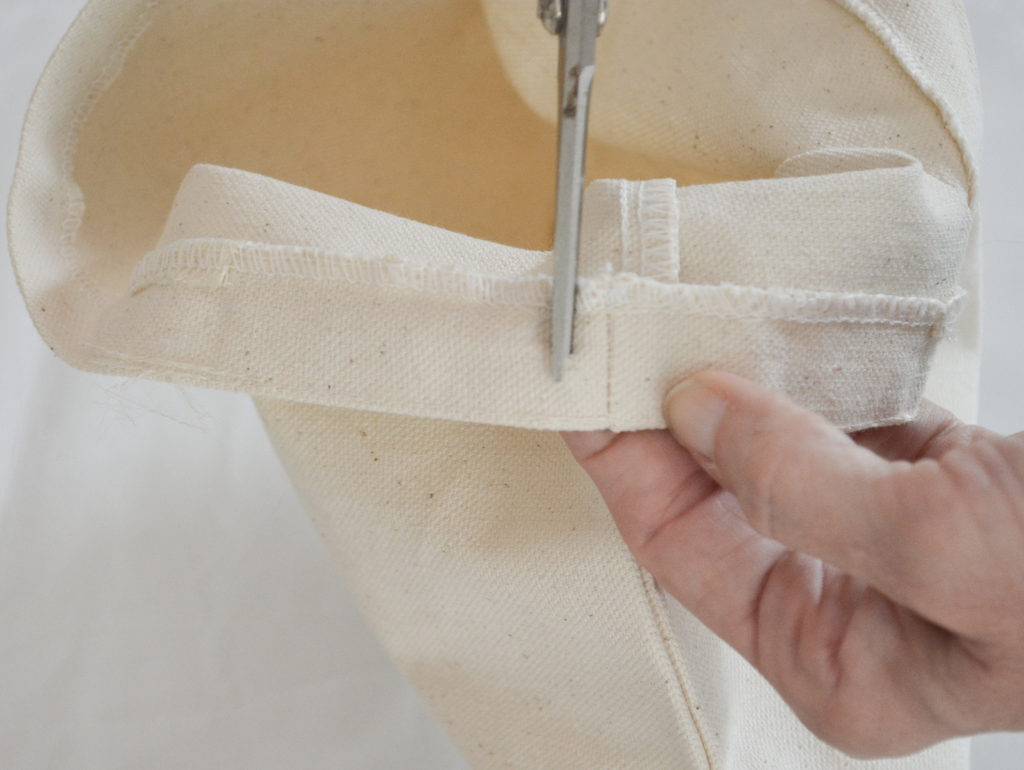
3. Lift up and separate the cut end of the handle from the tote. Cut again just above the second seam, leaving the remaining small piece attached.

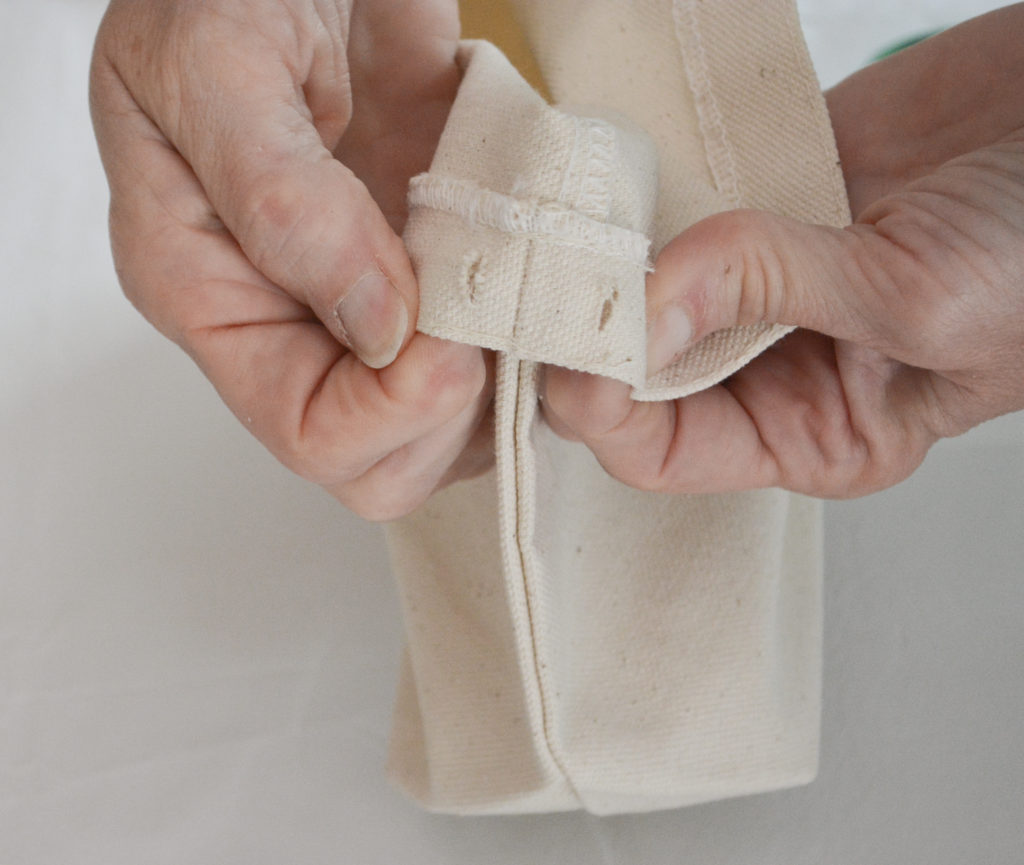
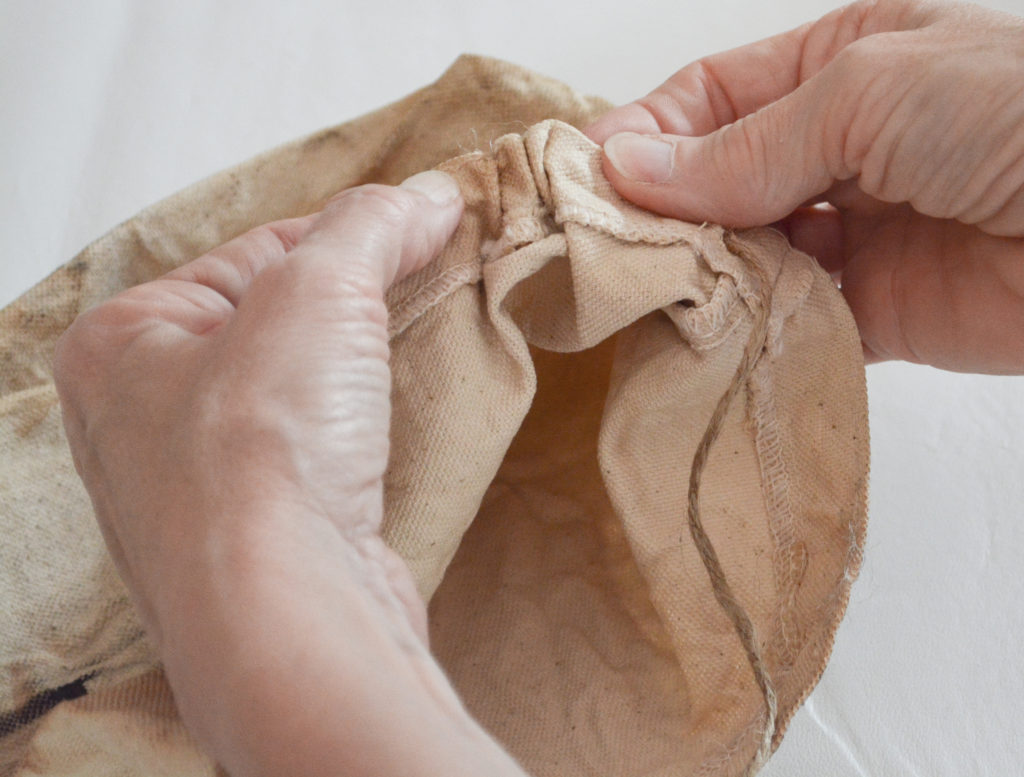
4. Form a casing for the twine. Pinch up just the inside layer of the hem fabric near the side seam and cut.
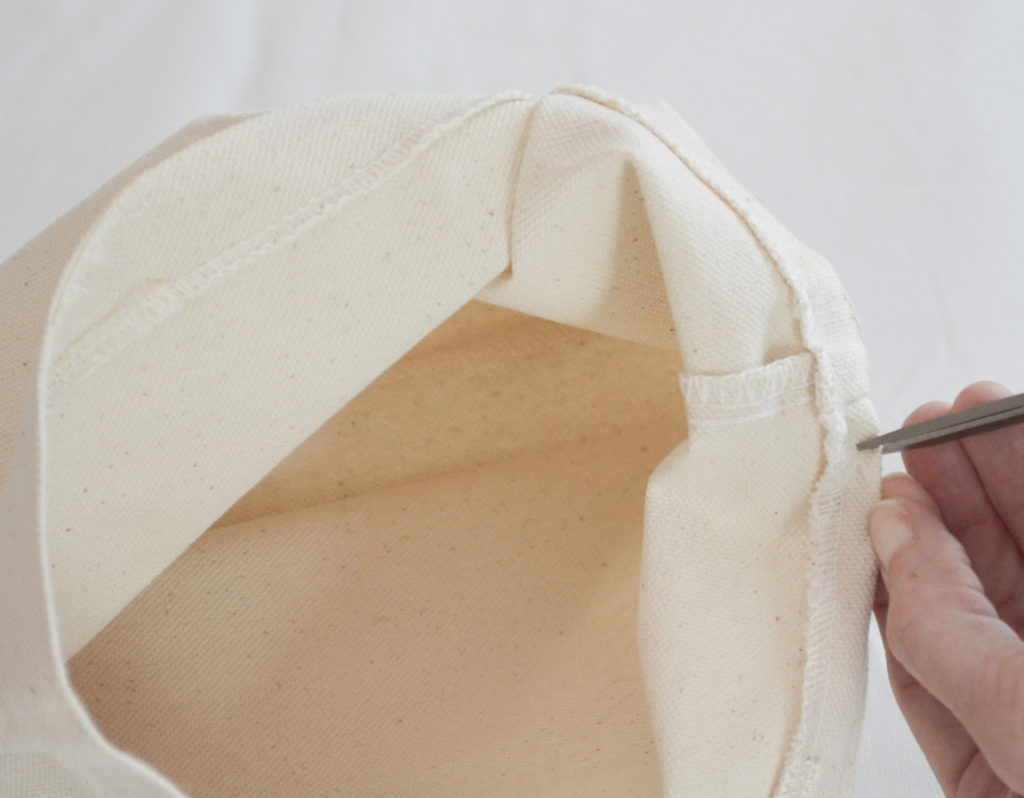
5. It will only cut a hole, so stick the scissors in the hole and cut it into a slit.
Do this on both sides of the seam and both sides of the bag.
Tea Stain the Tote
6. Place the tote in the pan of tea. Leave as long as you like to get the desired color. I left mine for about 30 minutes.
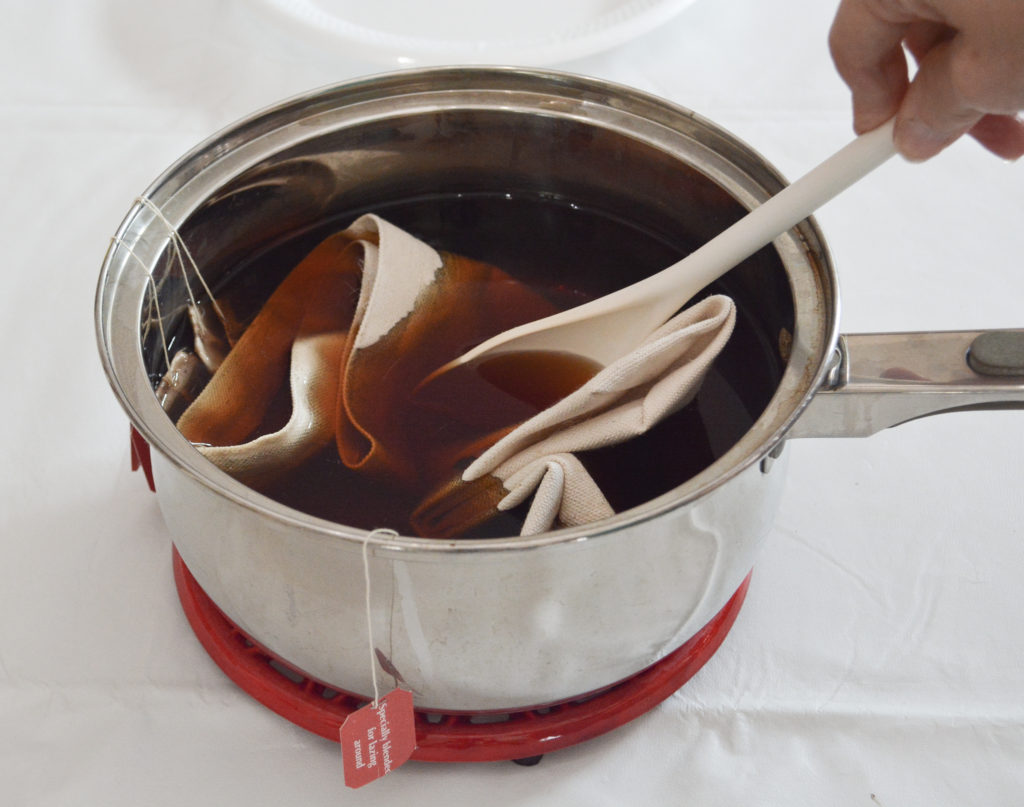
Squeeze out excess tea and remove from pan. Lay on a protected surface.
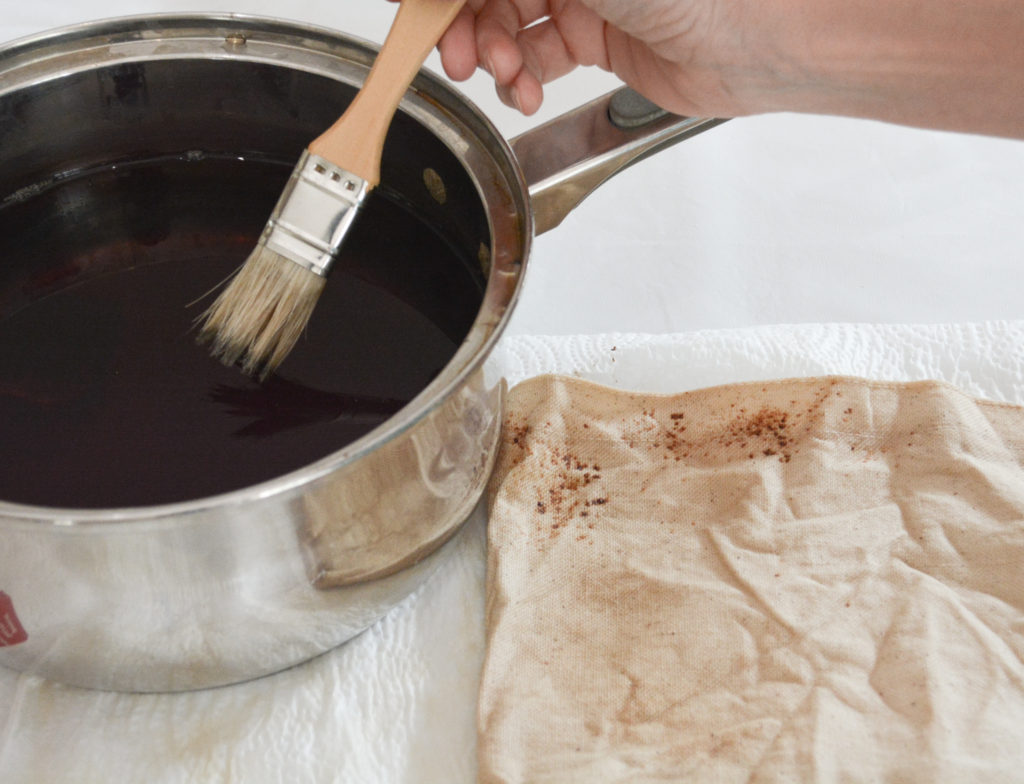
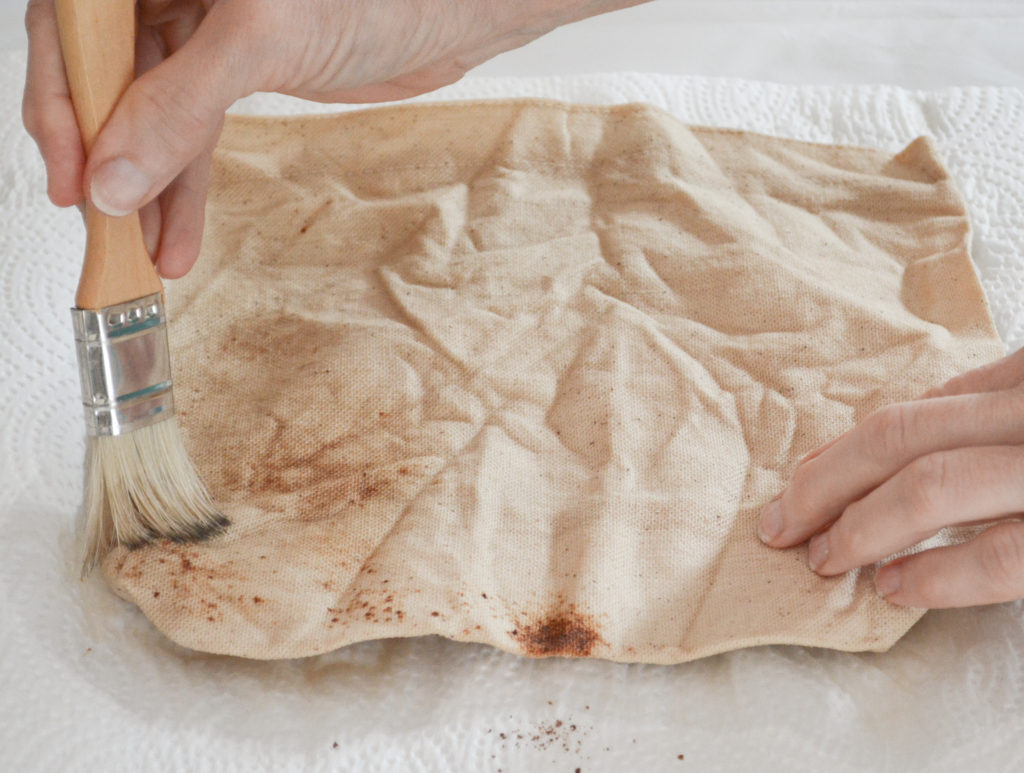
7. Use the loose instant tea to add dark stained areas. Sprinkle the instant tea where you would like the stains.
Work it in with a paint brush dipped into the liquid tea. Sprinkle the tea in small areas at a time. The quicker you work, the less spots you have and it is just dark areas. I like a combination of spots and dark areas.
Don’t forget to open the bottom and stain it, as well as the top inside hem. This is if you want to fold the top over for display.
Throw the tote into the dryer or air dry.
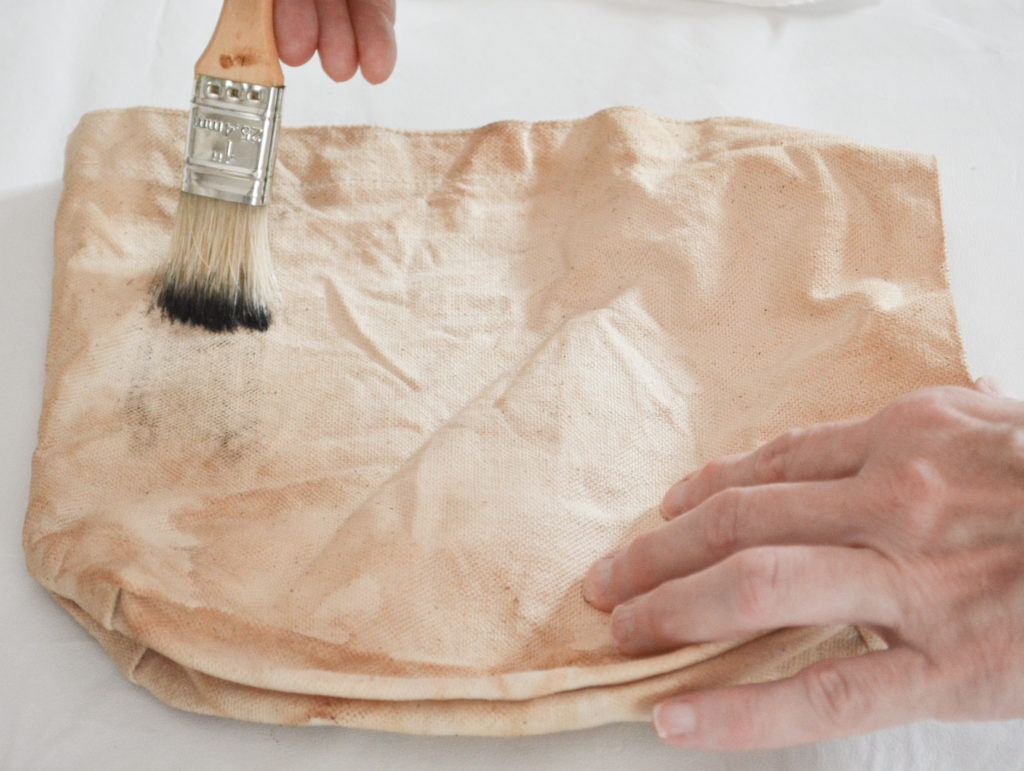
7. After the tote has dried, add some black to the fabric with paint. This is optional, but I really think it brings in an authentic look.
Dip a brush into the black paint and wipe most of it off on a paper towel.
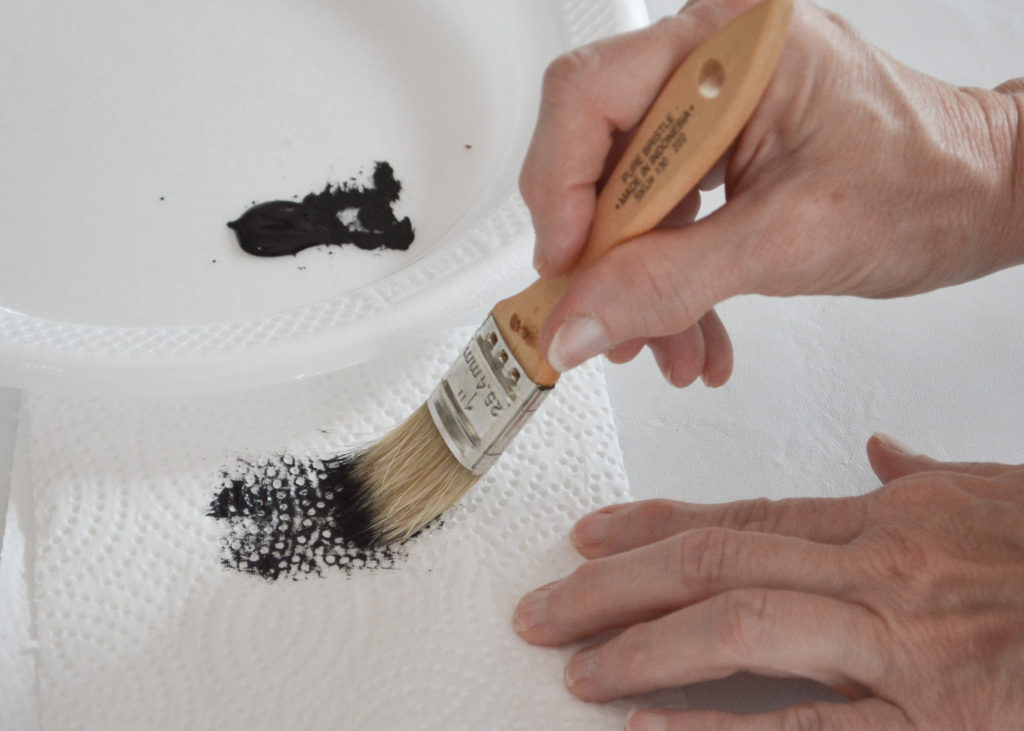
Lightly dry brush the paint horizontally and vertically on the tote.
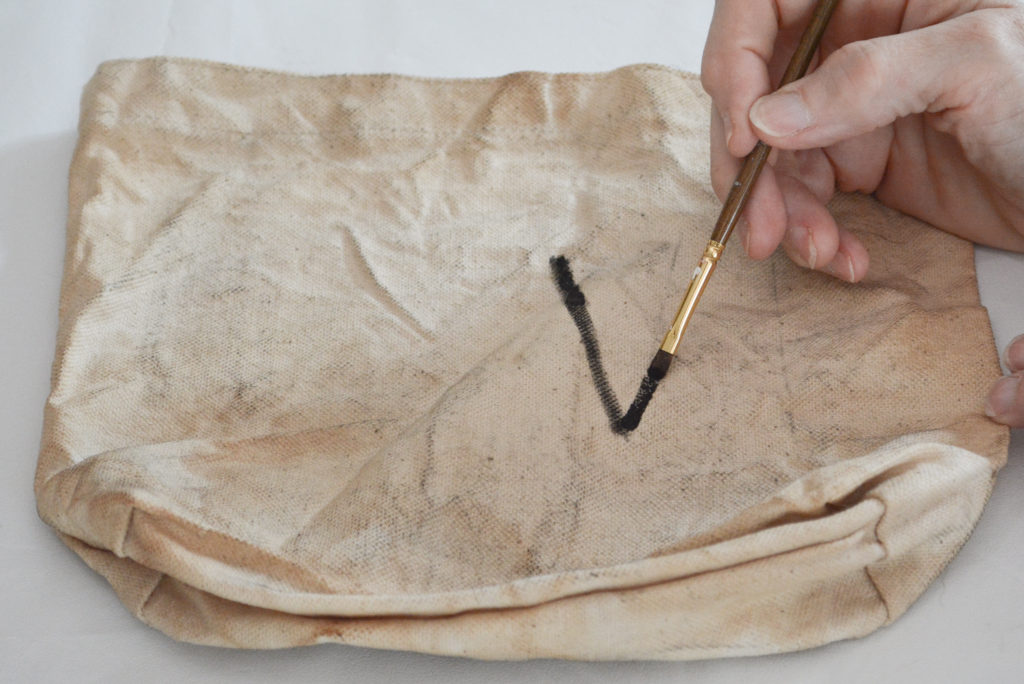
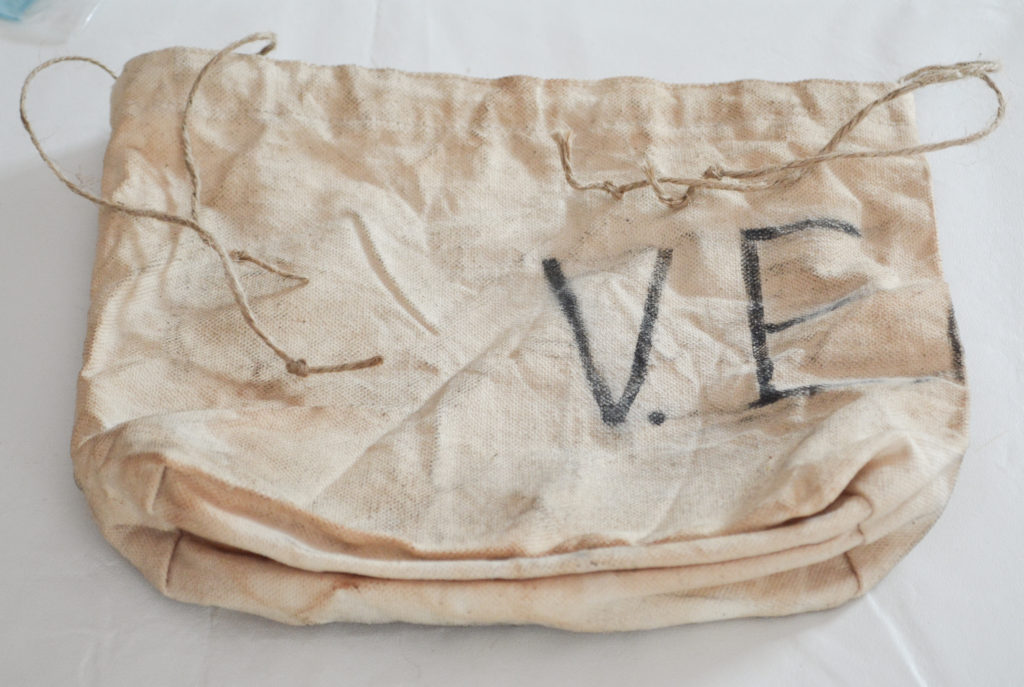
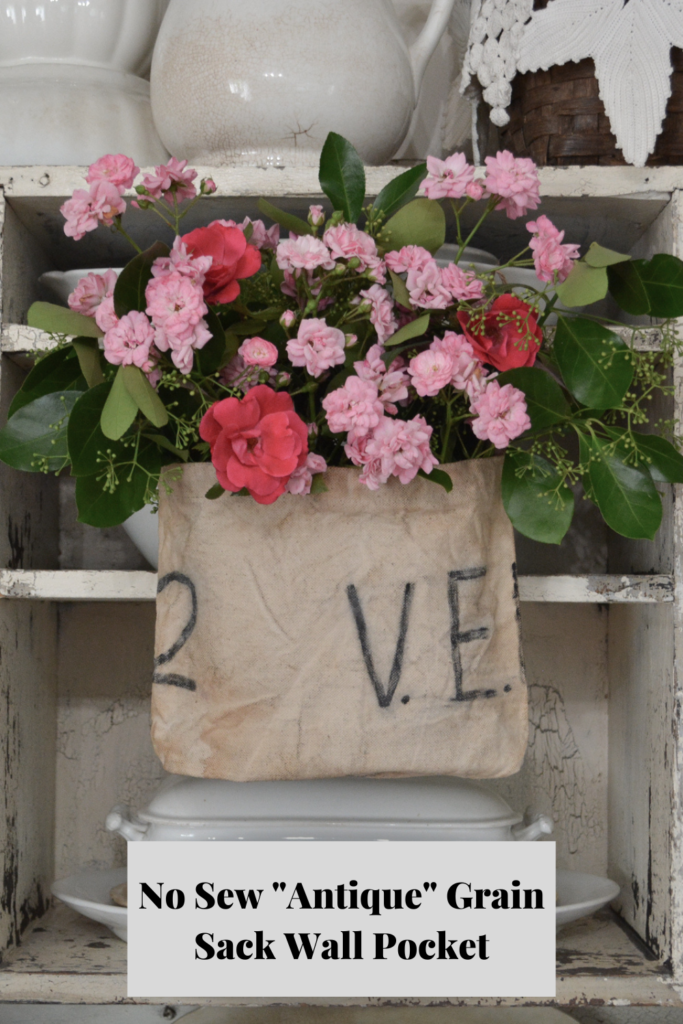
8. Add embellishments with hand painted or stenciled words or letters to resemble an antique grain sack or add patches. You could add a date or words like seeds, flowers, fleurs, noel, etc.
9. Cut two pieces of jute twine about 2 1/2 times the length of the tote side. Tie the twine to a safety pin in order to put it through the casing.
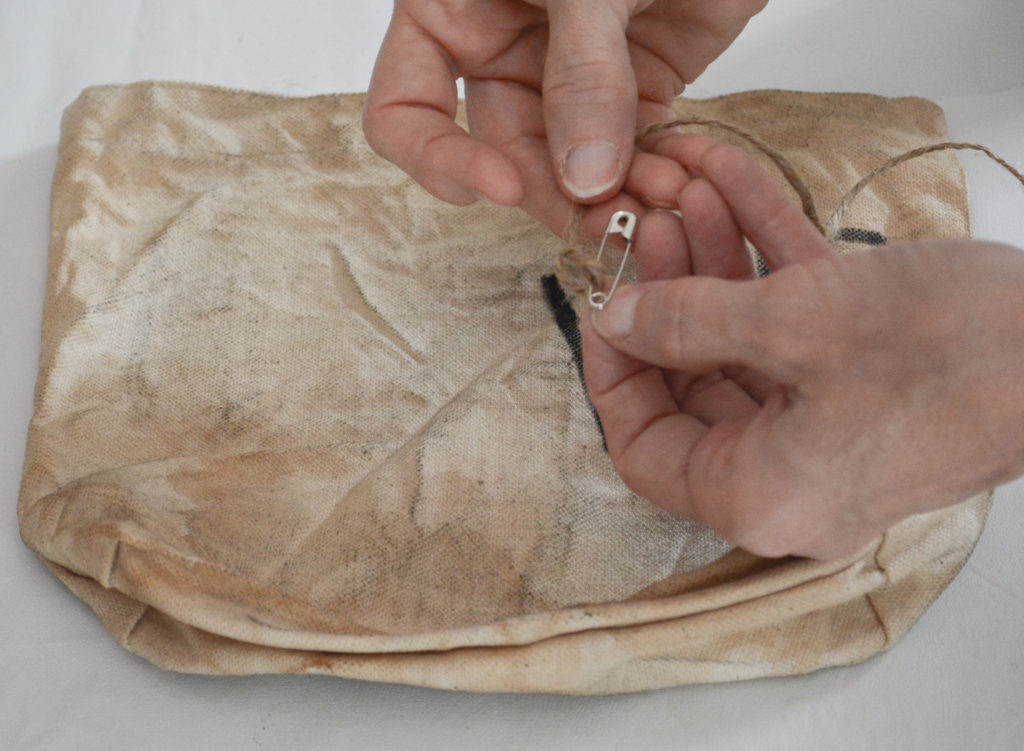
10. Insert the pin and twine into the cut opening.
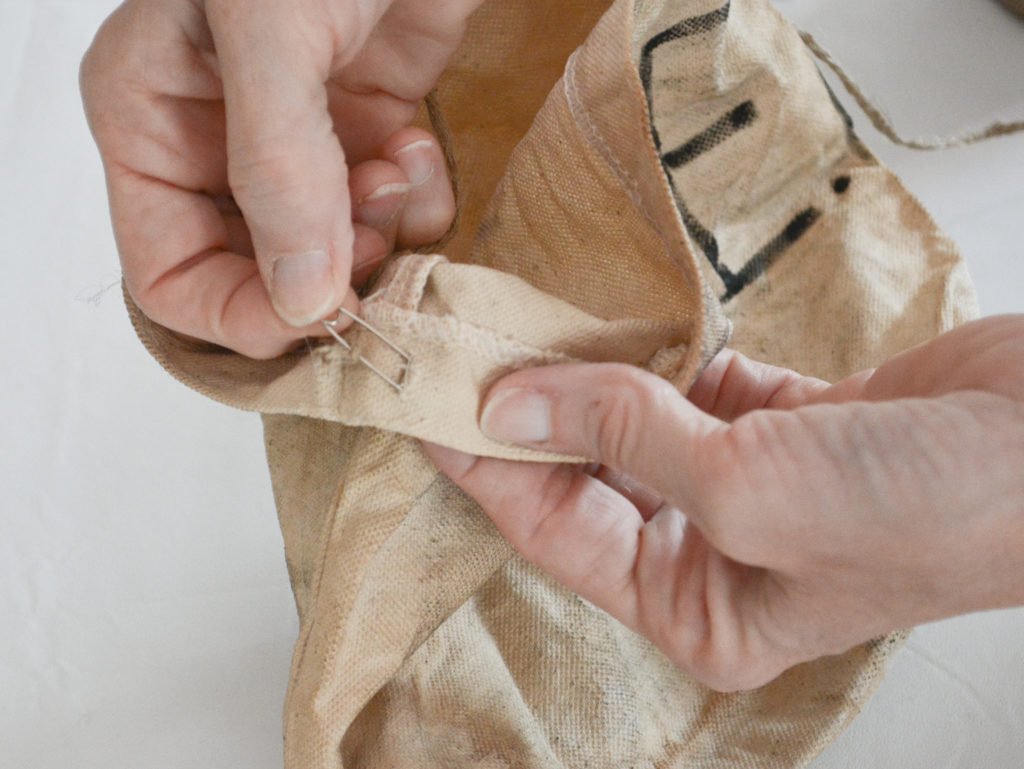
12. Gather the fabric on the pin and then pull it through the casing until it reaches the other side opening.
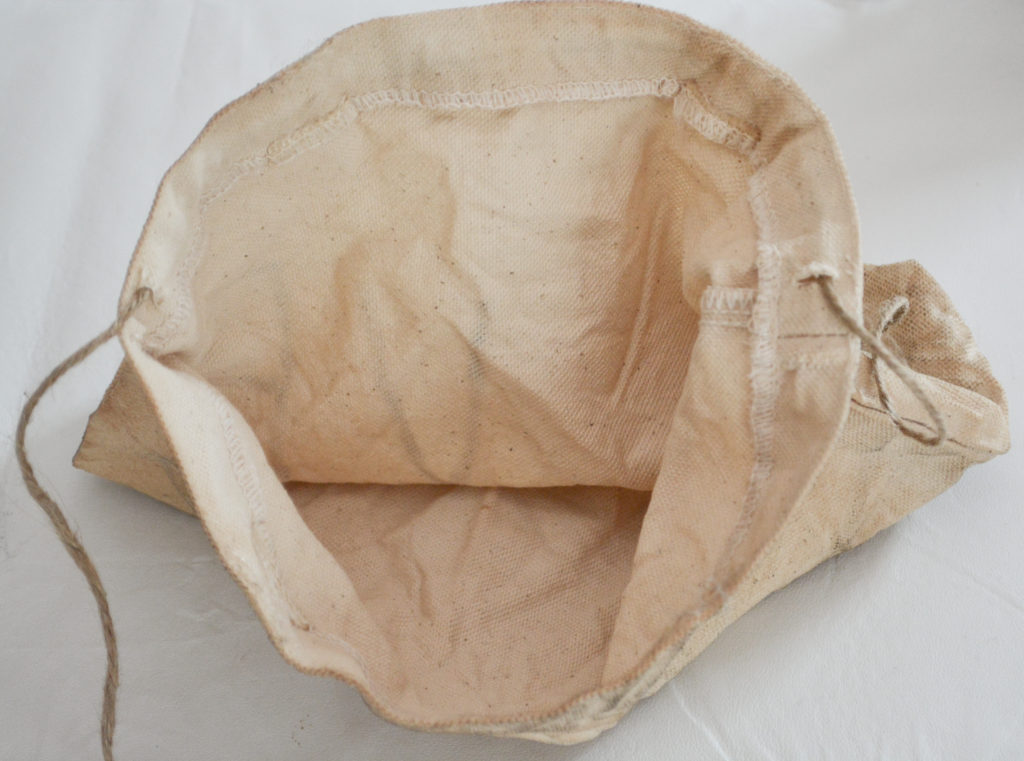
Do both sides.
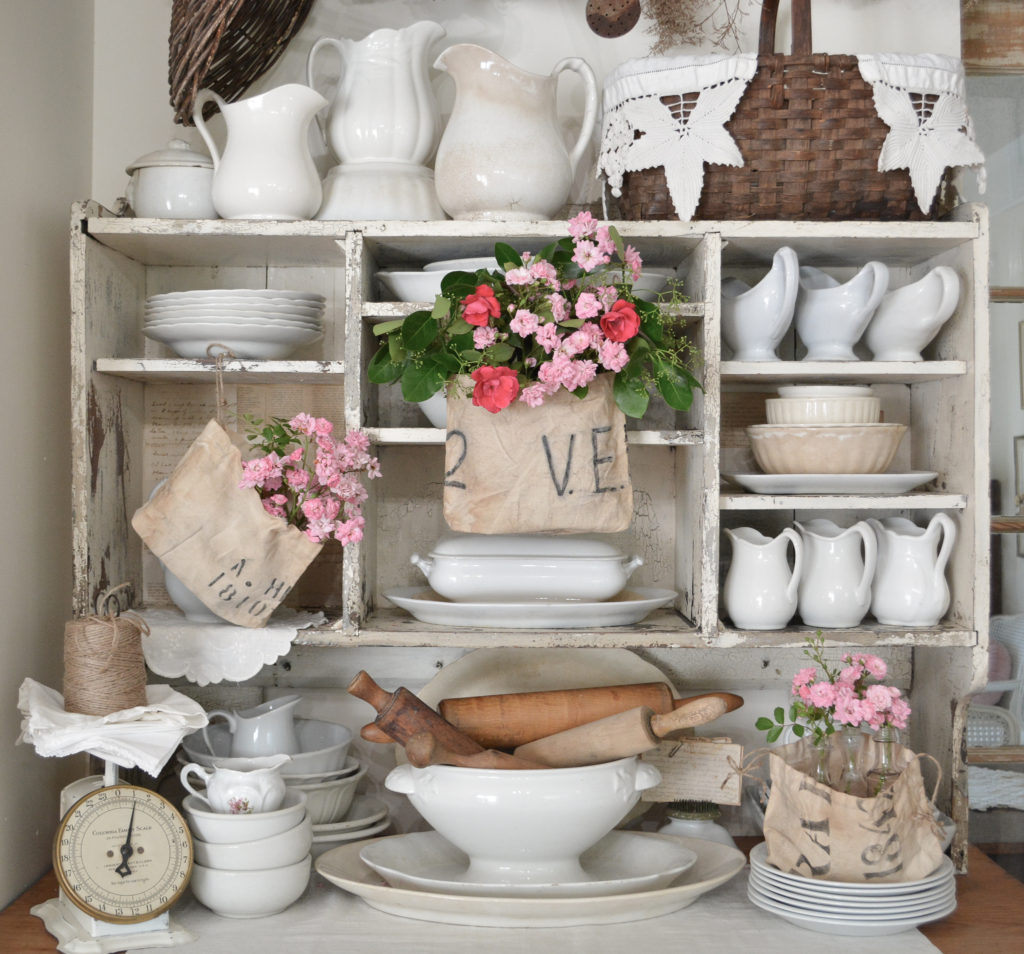
Ways To Display Antique Grain Sack Wall Pockets
I have made three so far, all painted a little differently.
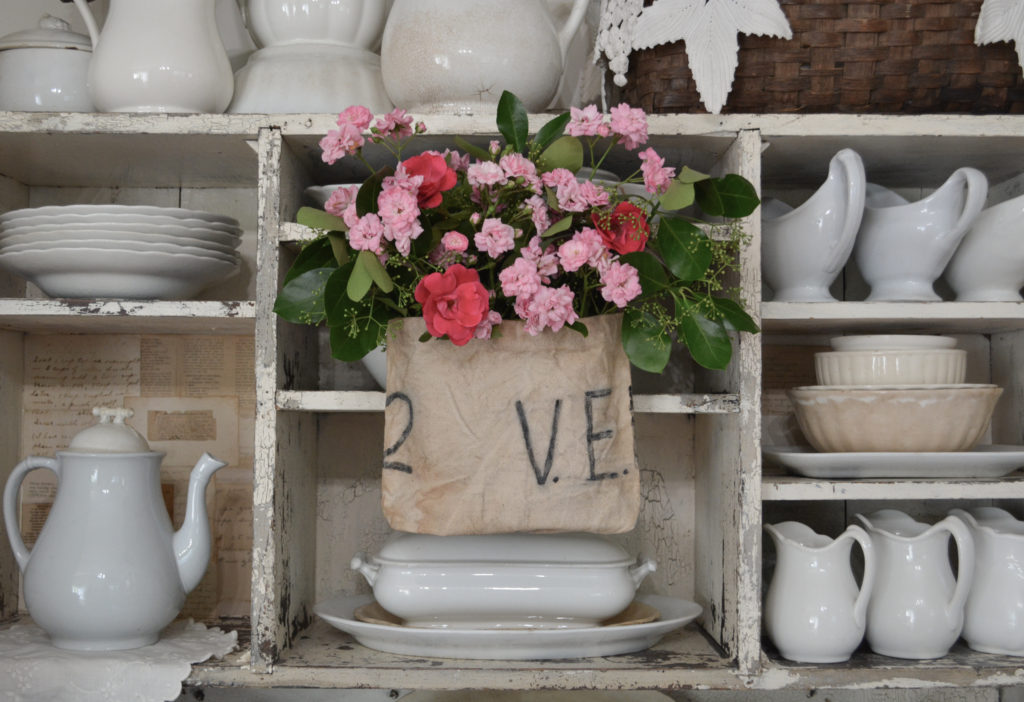
You can hang them in different ways.
Or fill them and place them on a flat surface.
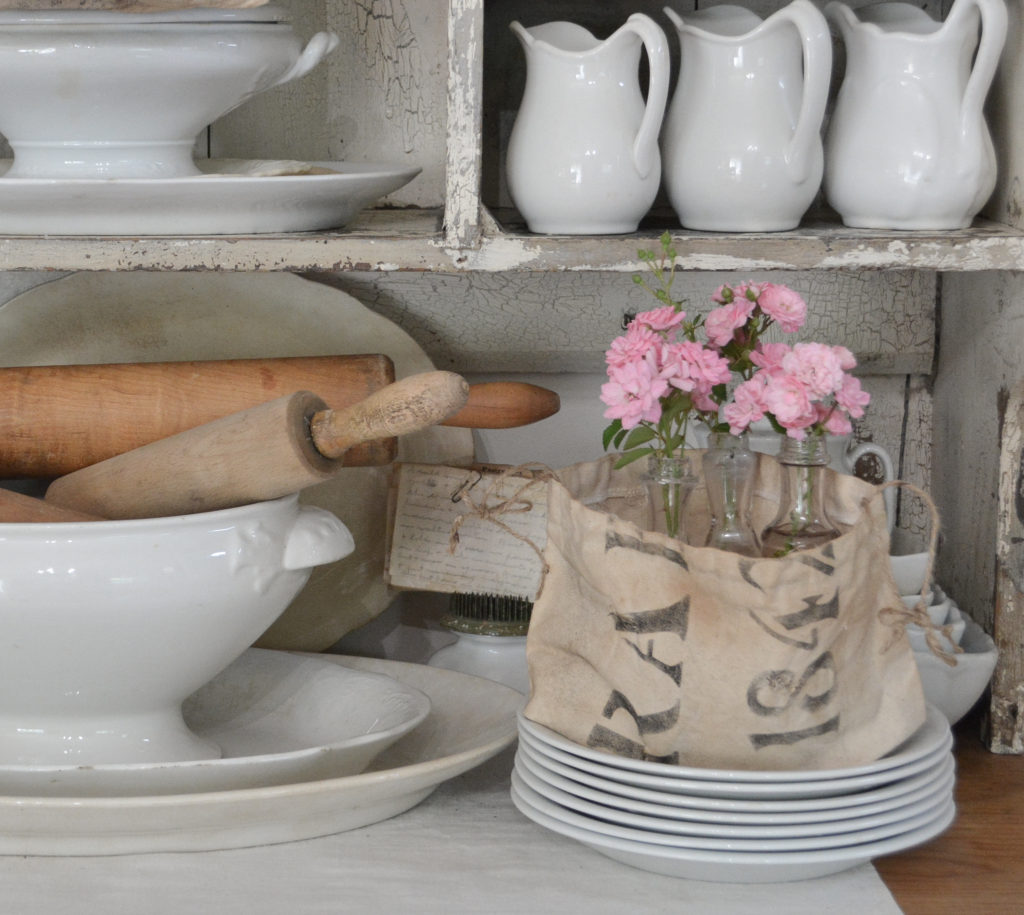
I have so many ideas on how to make and use these no sew antique grain sack wall pockets! I am going to try it out on a larger tote bag next, maybe cut some holes, and add some patches. Then hang it in the kitchen holding old rolling pins or potato mashers?
PIN IT FOR LATER!
Thanks for stopping by,
Janet
Hi Janet, I just love the ideas you come up with! They are beautiful and tangible for starving artists like myself to make and decorate with! There are so many possibilities!! Thank you so much for taking the time to share all of your awesome ideas with us. I wanted to ask you…I just love the chippy white cupboard your dishes, linens and all your lovelies are in. Did you make that? I want something similar to showcase all of my treasures. I do have a very long cabinet with many cubbies, I was thinking of taking some of the wood out of it to make larger areas for dishes and what not. It will still need something to sit on. I guess I will have to find that in my travels.😃 Is there another place on your blog to ask you some more in-depth questions? Just wondering. Take care.
Thanks Stacy! I love to create inexpensive projects! I did not make that chippy cabinet. It was a lucky antique store find. You can always send me an email. Go to where it says let’s connect (at the bottom of the page on mobile or in the sidebar on desk top) and click the envelope. I love hearing from my readers!
I love this tutorial and idea Janet! It makes me want to get crafty again! I think I’m going to try this. It looks amazing in your photos! You do a wonderful job explaining your projects with photos and details.
Thanks Sandy! This was a fun one! I’m always trying to improve my tutorials to make it easy for every one.
Where did you get stencils from?? Can’t wait to try this 👍🏻
The stencils are from Hobby Lobby. Have fun!
This is such a cool project!! I’m definitely pinning it for later!!
I hope you give it a try! It is really easy and so much fun!