
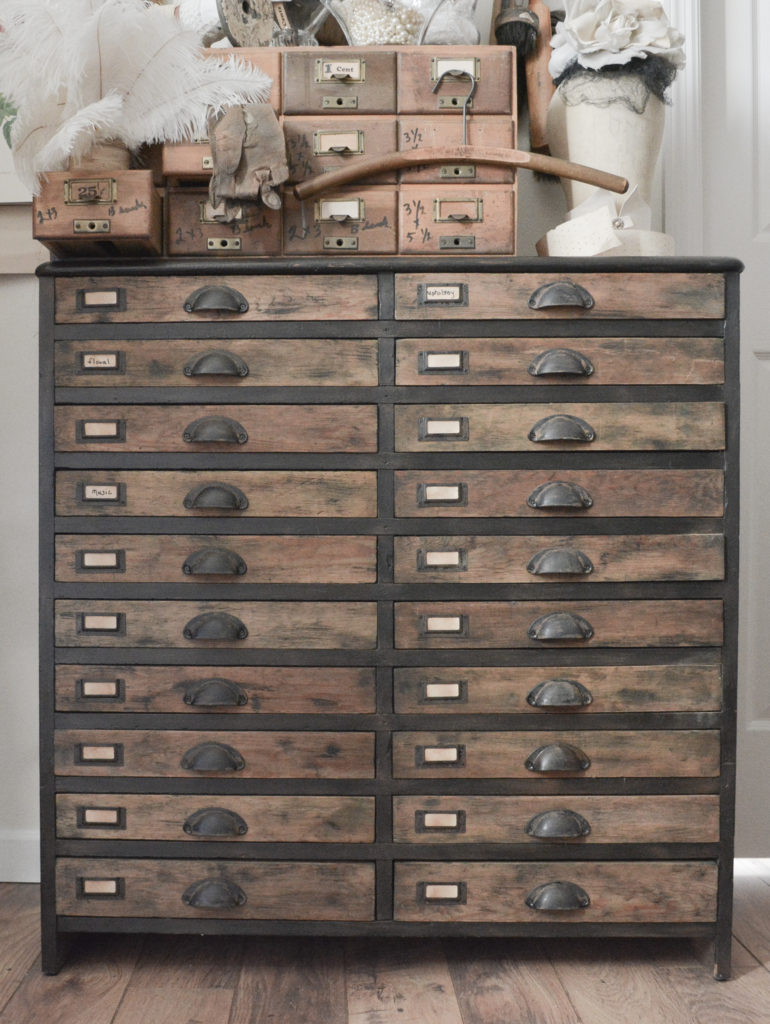
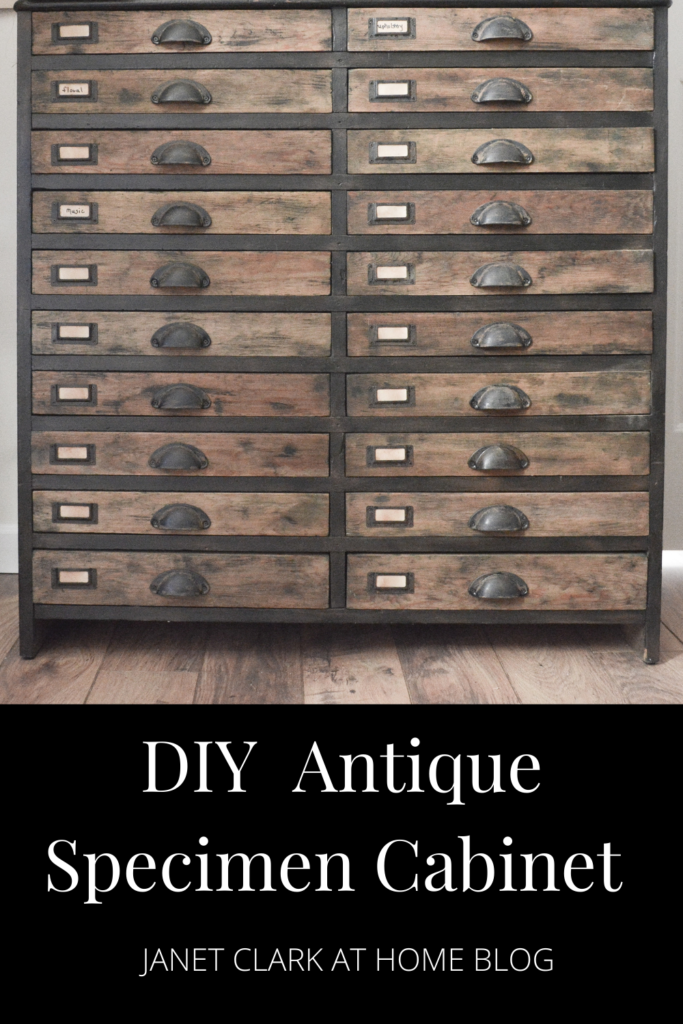
What has 20 drawers, 40 pieces of hardware, and 120 screws? This cabinet! Not that I am keeping track or anything. I found this old cabinet on Facebook Marketplace and fell in love with all the drawers. Who doesn’t love drawers, right? I had no place to put it, but I decided to worry about that later. All those drawers needed to be put to good use, so I rearranged my studio to make a place that it would fit. That’s when I knew I wanted to change the style. See how a painted green old cabinet becomes an antique specimen cabinet.
The Before
You have to see the before to appreciate the after. In this case, I actually liked the before. The green was a good green, although a little greasy and dirty. And I always like glass knobs, although half of these were broken. In my studio I have a bit of an industrial vibe going along with my not so industrial vintage clothing collection. I have a vintage industrial sewing machine and table, and a industrial style garment rack. Giving this cabinet more of an industrial look seemed the way to go.
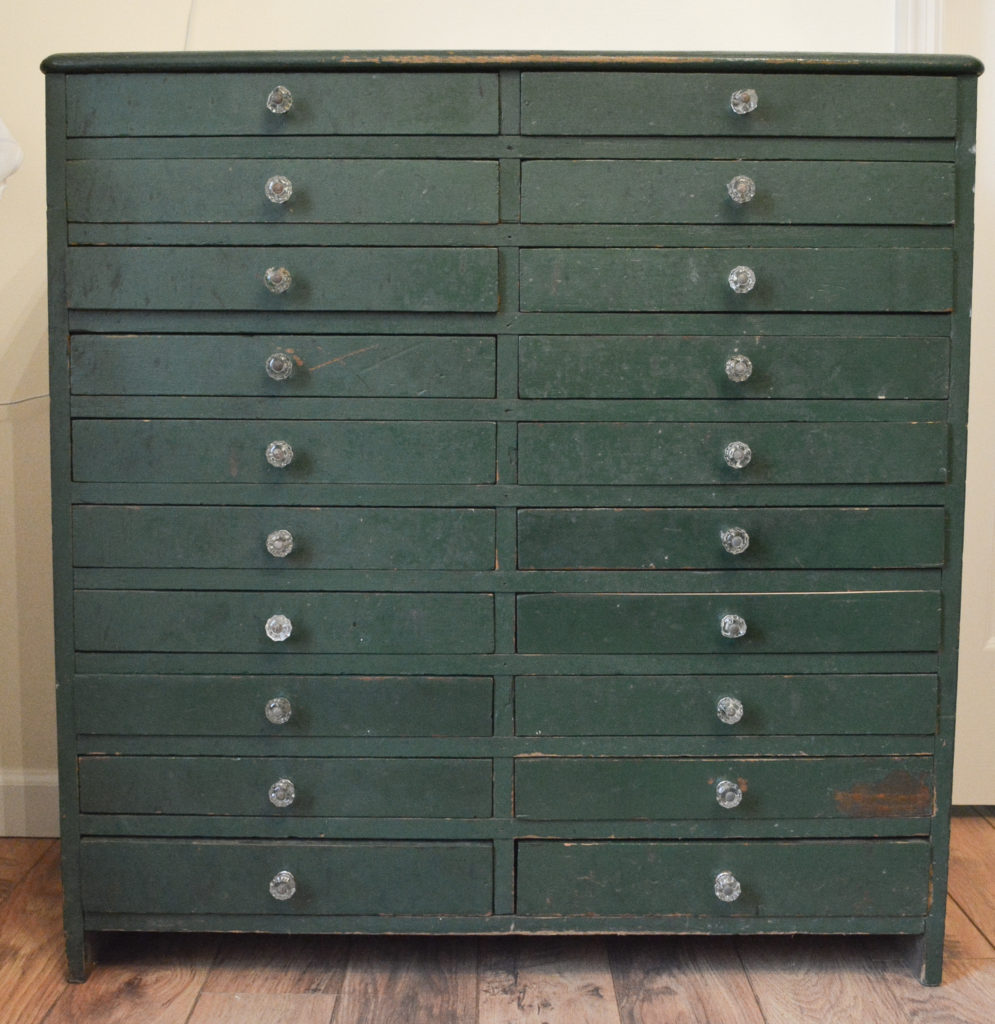
I should also mention that while this cabinet is older, it is not an antique. The wood seems to just be common boards and it is nailed construction. I definitely had concerns about what the wood looked like under the paint. You can see my little test spot on one of the drawers.
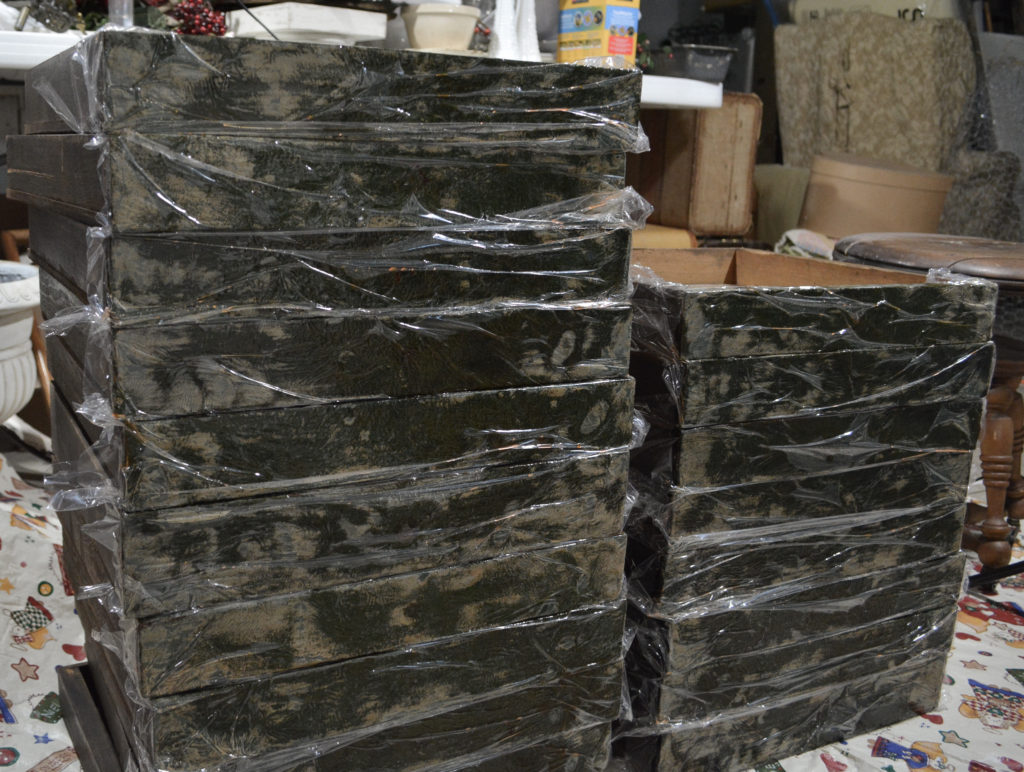
The test spot looked good enough to proceed with stripping the paint. So here are 20 drawers with Citristip applied and wrapped in plastic wrap for the night. I spent the next couple of days getting these stripped and clean. And I forgot to mention the hours I spent washing the insides of the drawers. The cabinet must have been used in the garage for tool storage in its final years, because it was filthy!
Finishing The Outside Of The Cabinet
I decided the outside of the cabinet would just get painted. The wood didn’t look very promising underneath the paint, so I painted it using a black satin paint.
I wanted to create an old faded black finish. Because the cabinet was painted green, I couldn’t age it by sanding the black paint back to expose the wood underneath. I needed a different way to make this look old. I tried one way and was unsure of the results, so I experimented with a second way.
Method One
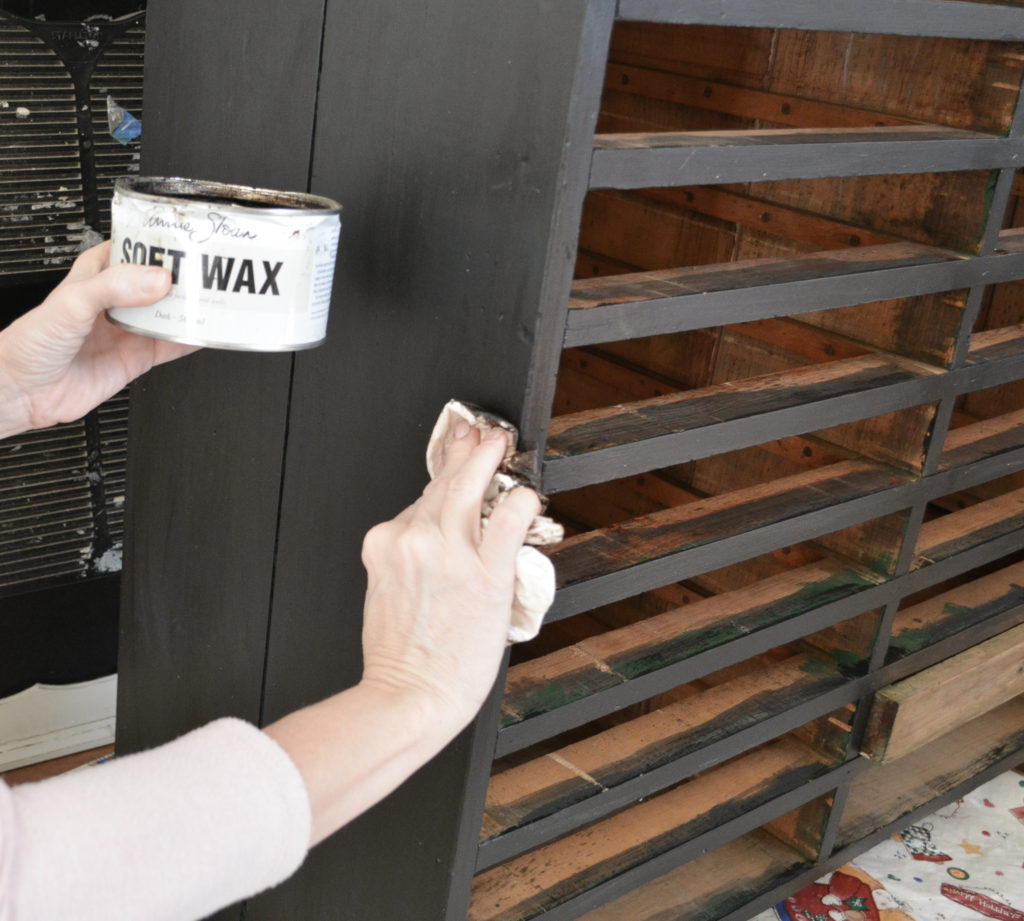
Applying a dark wax over the paint gave it a faded, “dirty” look.
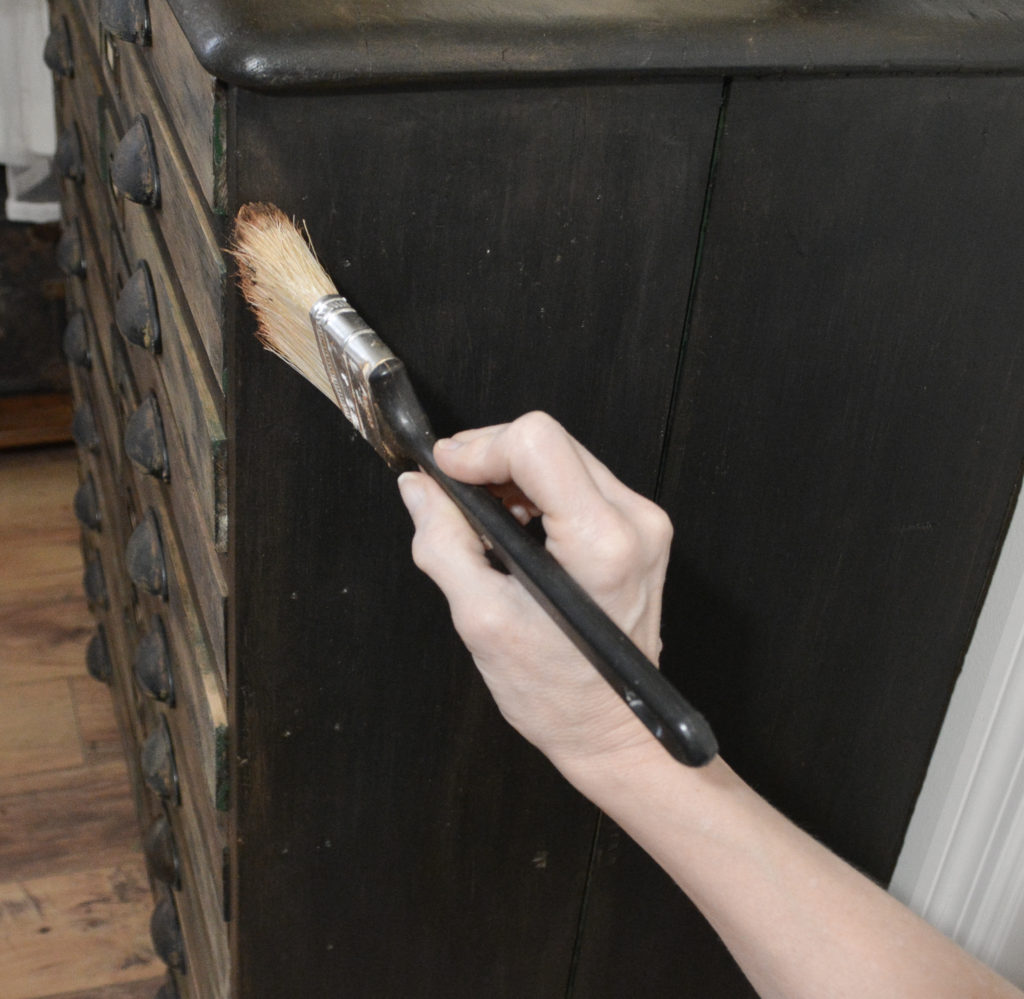
Before the wax dried, I brushed on some rust dust (Bragdon weathering powder). You can buy aging dust that is made for furniture, but this is something I had on hand. I worked in small areas, applying the wax and then the dust. After the wax dried, I buffed it with a cloth.
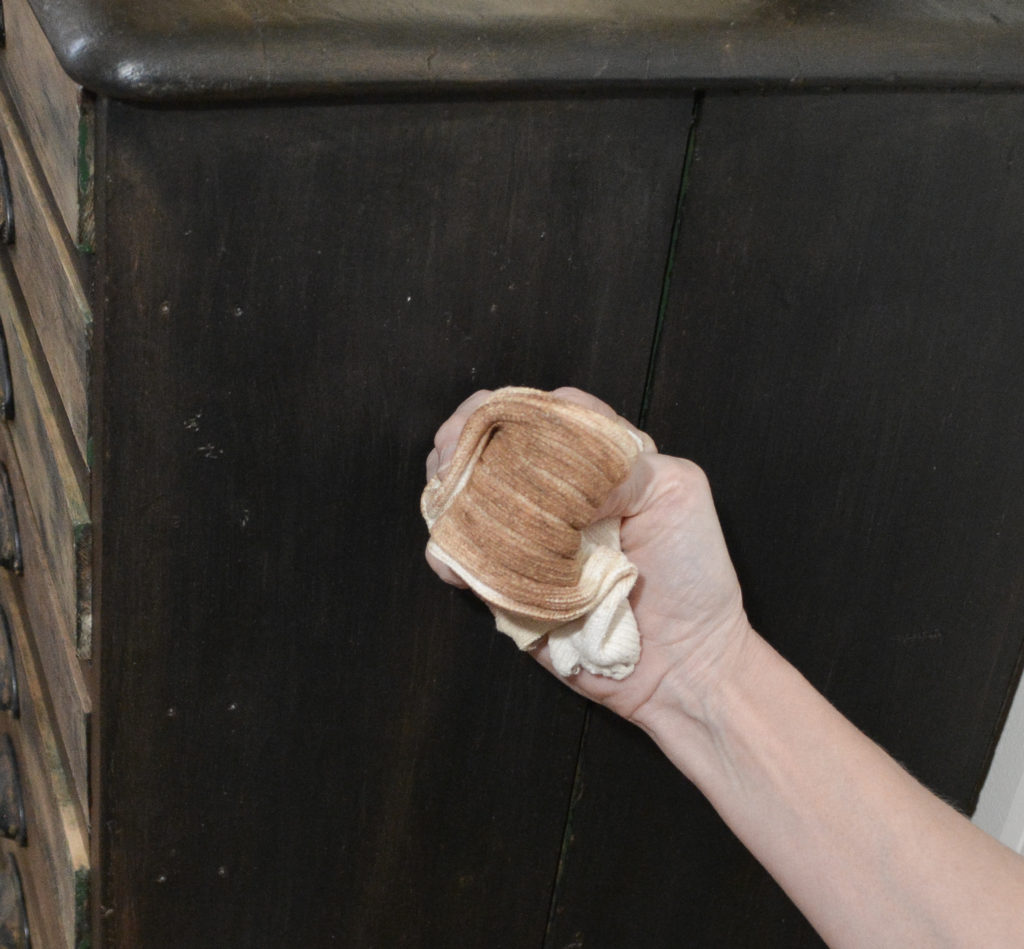
You can see how it removed a lot of the dust, yet a lot of the color remained? Having some concerns that the dust wasn’t actually going to stick permanently, I decided to test another method. The actual dust made for furniture probably would work as well, but I didn’t want to spend any more money!
Method Two
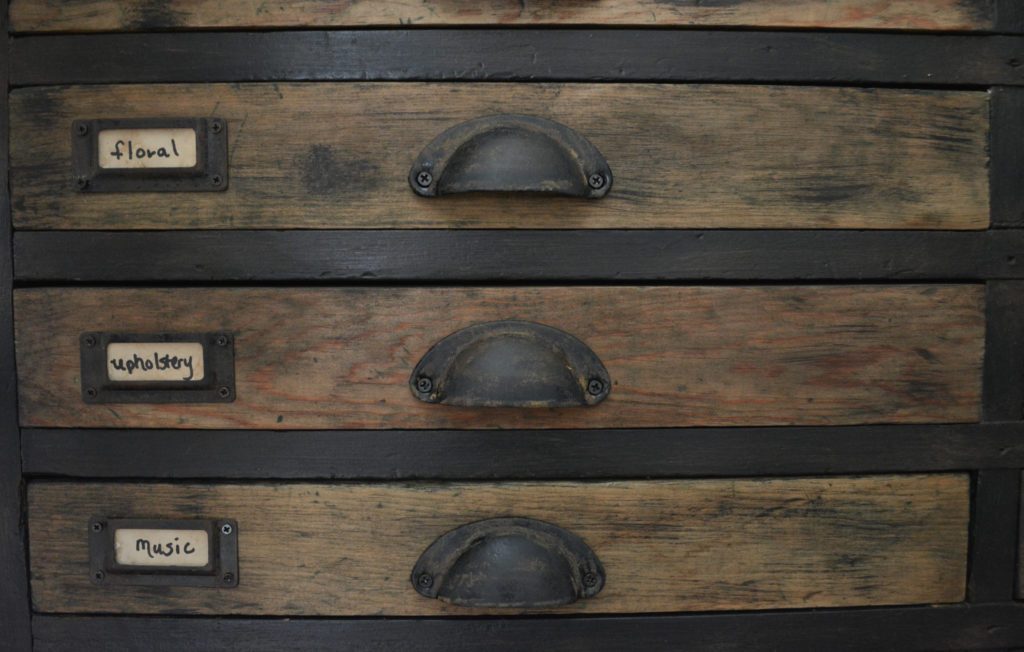
I applied the dark wax over the entire area. Then in a bowl, I mixed some dark wax with some rust dust until it was a rust color. This colored wax was applied in the areas that would have more aging, the same as the areas I brushed on the dust. The result was the same look, but the color should not come off. This is also how I aged my label holders, and it worked very well.

I just tested this second method on one side, and left the rest of the cabinet the way it was. If there are any issues with it, or if the rust comes off, I can always add the colored wax. It’s an experiment. Yeah, that’s it.
It’s hard to see the rust color in my photos, but it added the perfect aged touch.
The Hardware
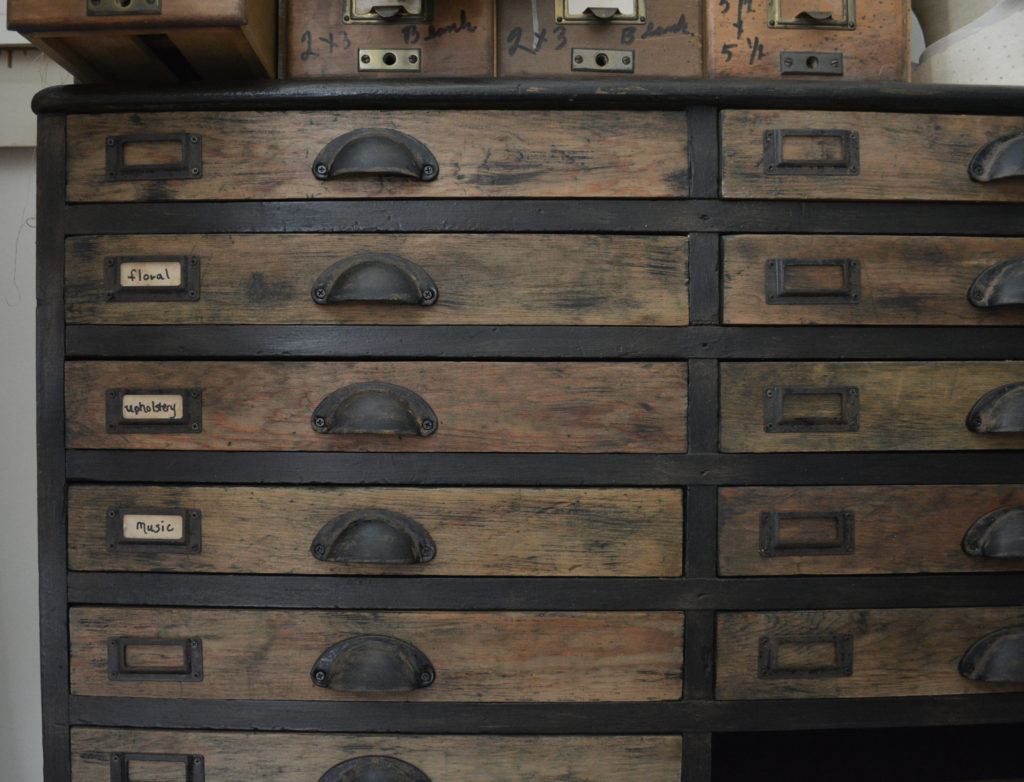
I wrote a separate post on the hardware and labels here. It only cost $22 for all the hardware. I transformed it from cheap shiny to antique rust. I also forgot to mention that I gave the drawers a little dry brushing with black paint. Some of the areas were a little stained by the green paint, so I camouflaged it with the black.
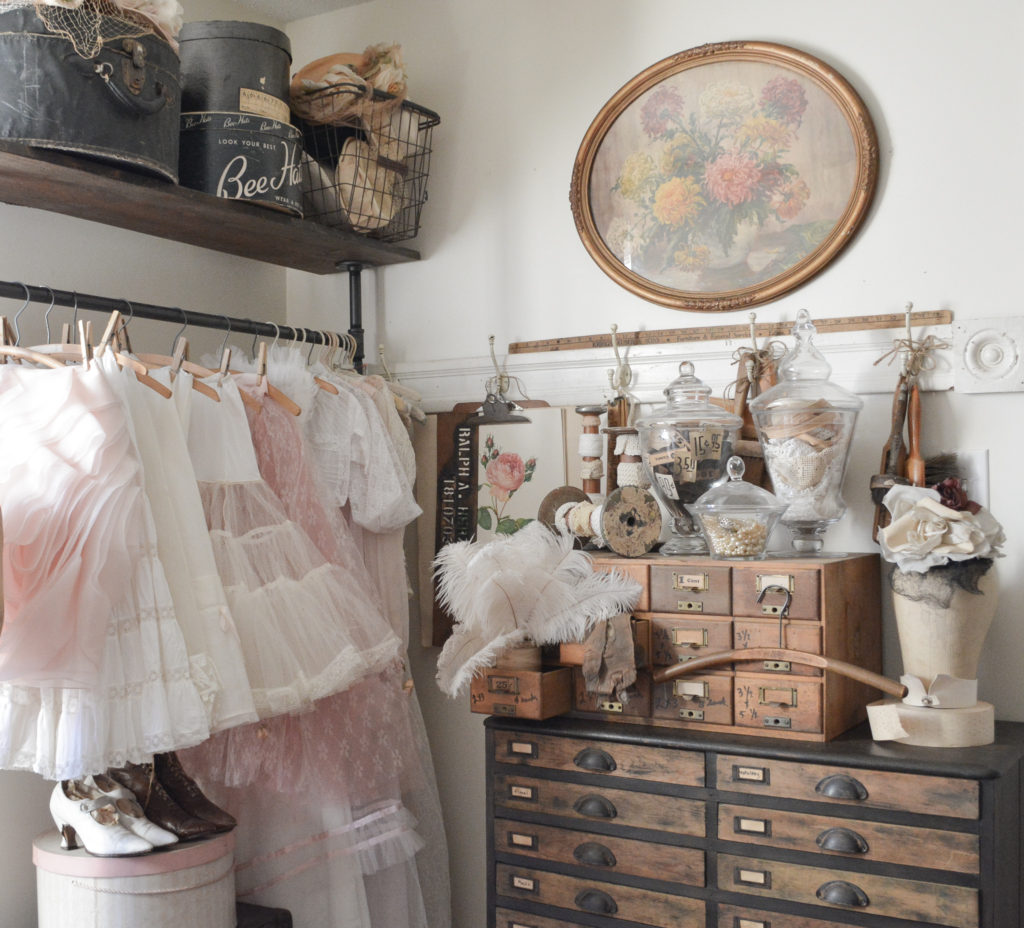
An old cabinet becomes an antique specimen cabinet for my studio! Its industrial look is a perfect contrast to all the frills. Not to mention all the storage I have now for my sewing supplies.
PIN IT FOR LATER!
Thanks for stopping by,
Janet
It’s absolutely gorgeous!
That means a lot, thank you!
this is an amazing piece of furniture, you did a wonderful job with the new look!
Thank you Debra!
It turned out beautifully!
Thank you Corine!