
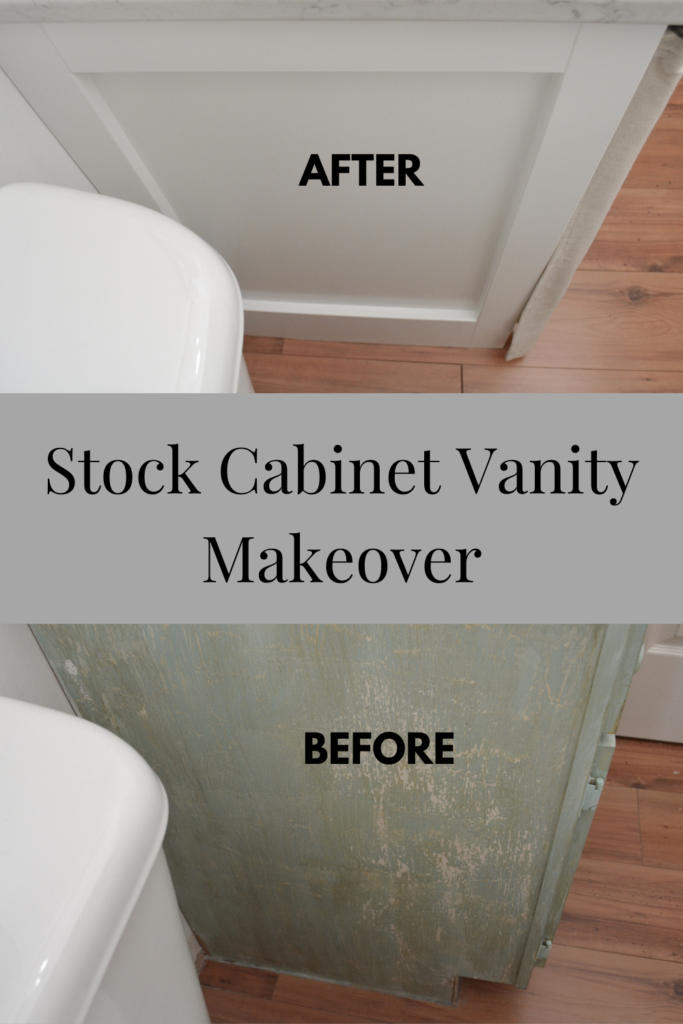
Powder Room Refresh – Part 2
A few (many) weeks ago I began a refresh of our powder room. As always, one of my main goals is to spend as little money as possible. So this meant giving the current vanity a facelift. Also, the flooring was put in around the vanity, so that was even more incentive to not have to replace it. Today I am going to show you one way to give a stock cabinet vanity a makeover.
You can see part 1 of the makeover here. I removed the wallpaper, added a wood beam, molding, and a chandelier.
To truly appreciate the makeover, let’s look at the before and afters first. Then I will show the process.
Before
The sink and faucet were the original builder grade we have throughout the house.

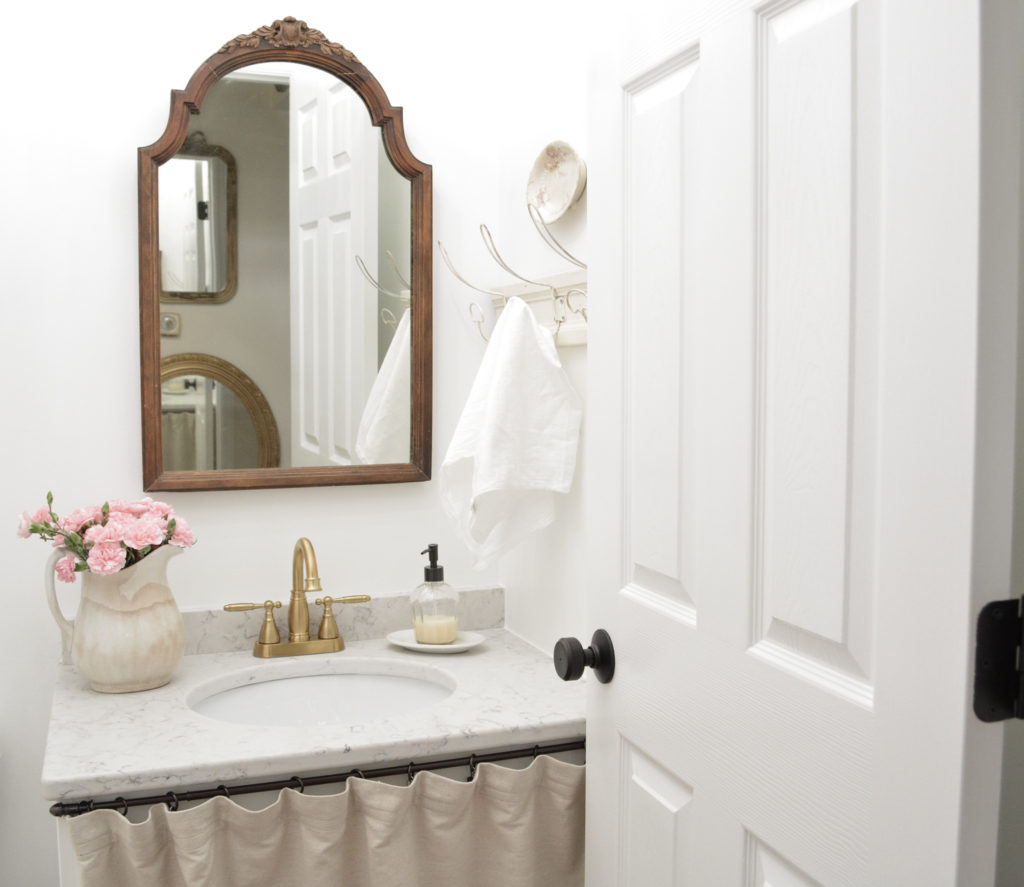
After
First step was a new vanity top and sink combo from Menard’s and a new faucet from Amazon.
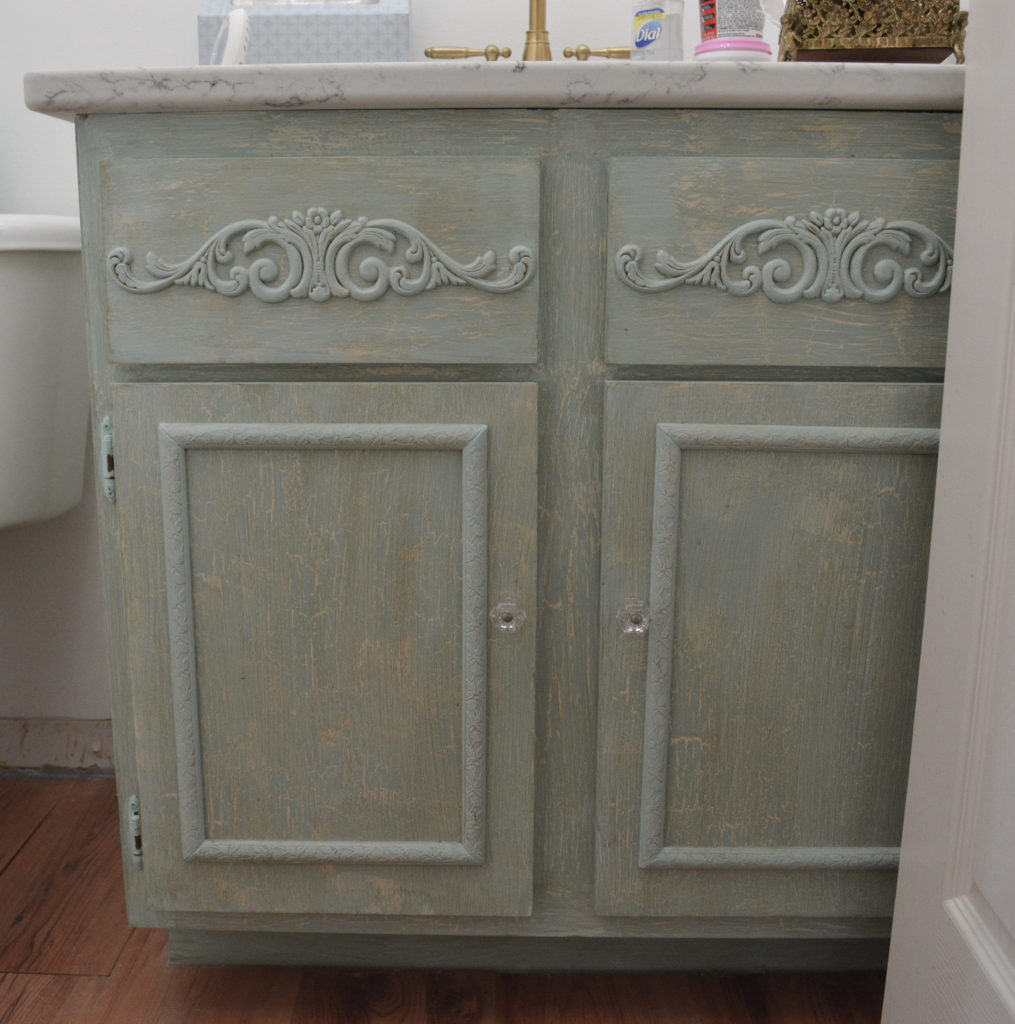
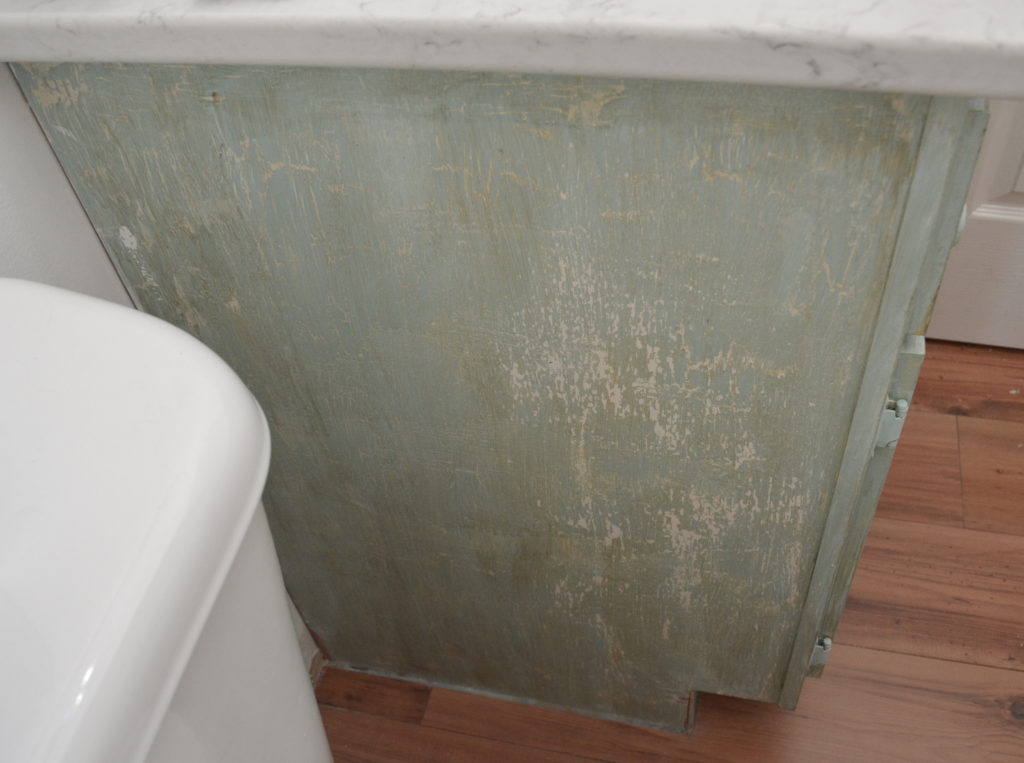
Before
When we first moved in, I had given the vanity a shabby chic look with a turquoise paint, crackle finish, and wood moldings
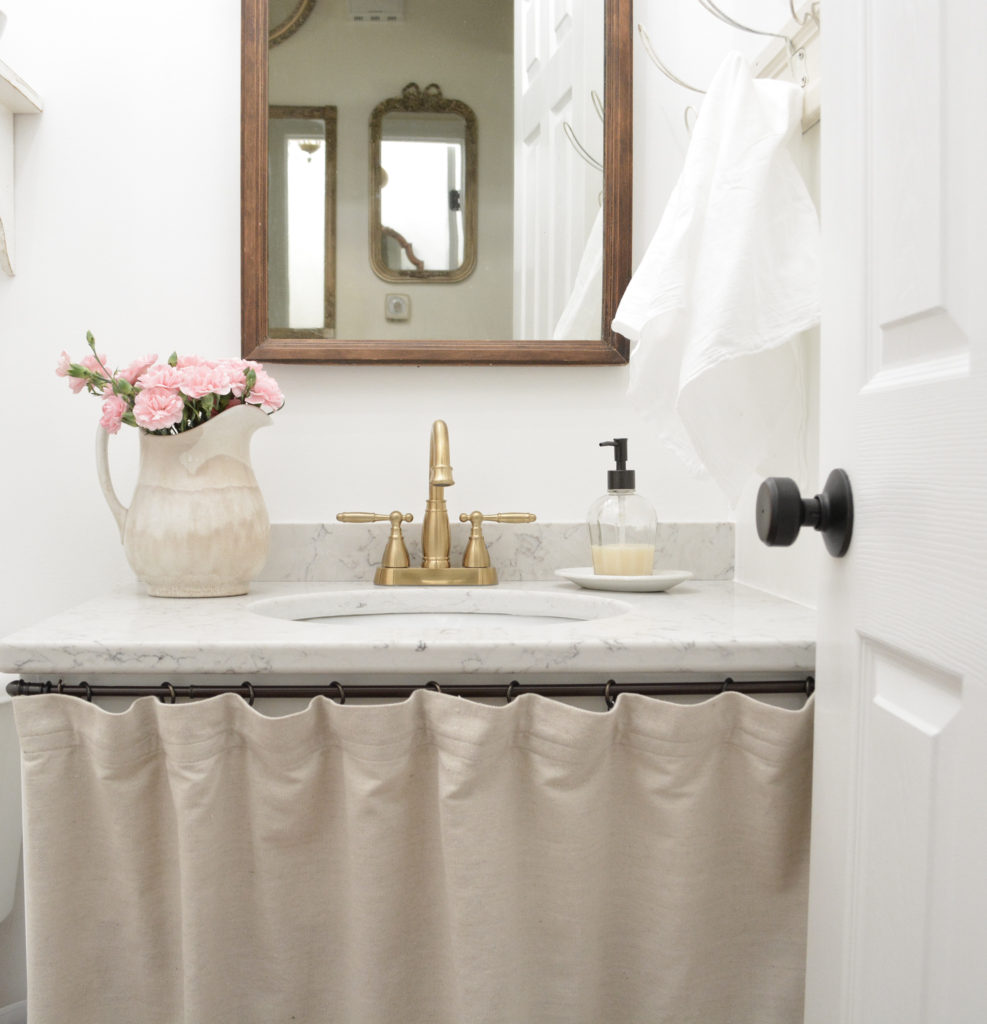
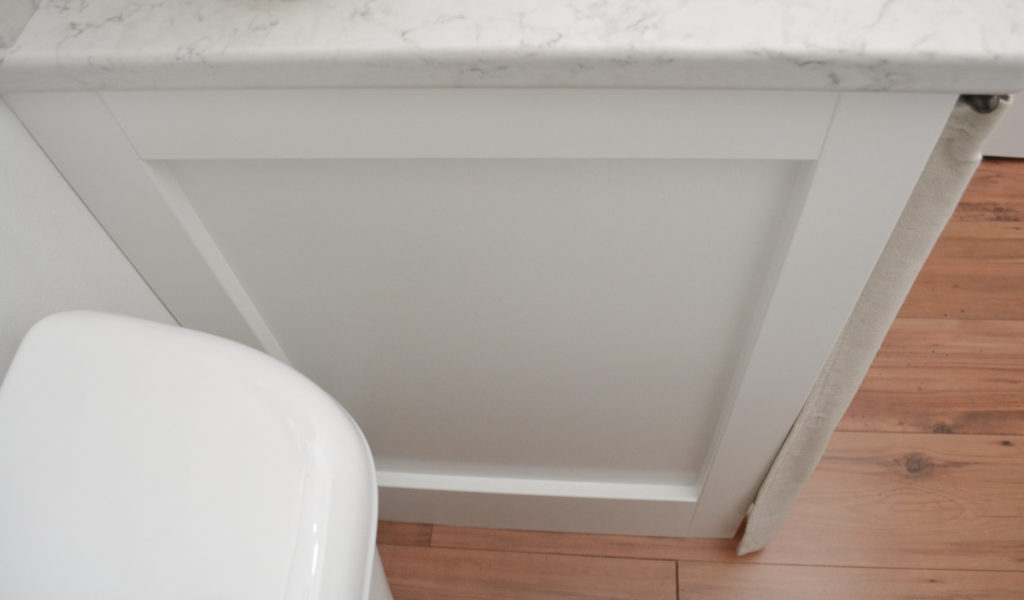
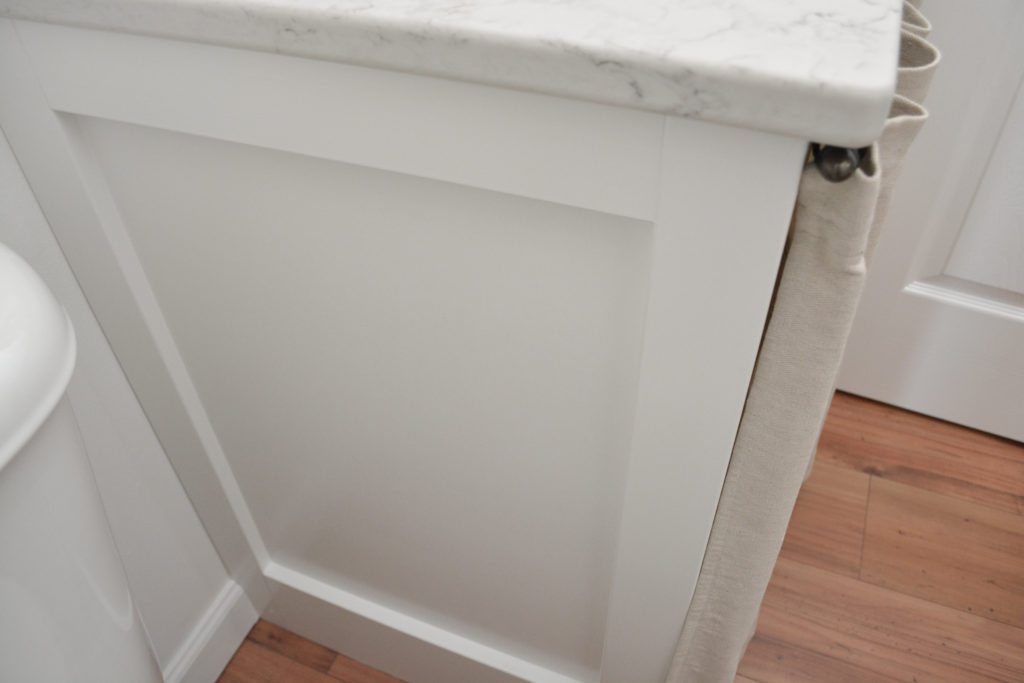
After
I removed the doors and added a rustic sink skirt.
Before
A picture is worth a thousand words here.
After
A new side panel and moldings were added.
How to Update a Builder Grade Stock Cabinet Vanity
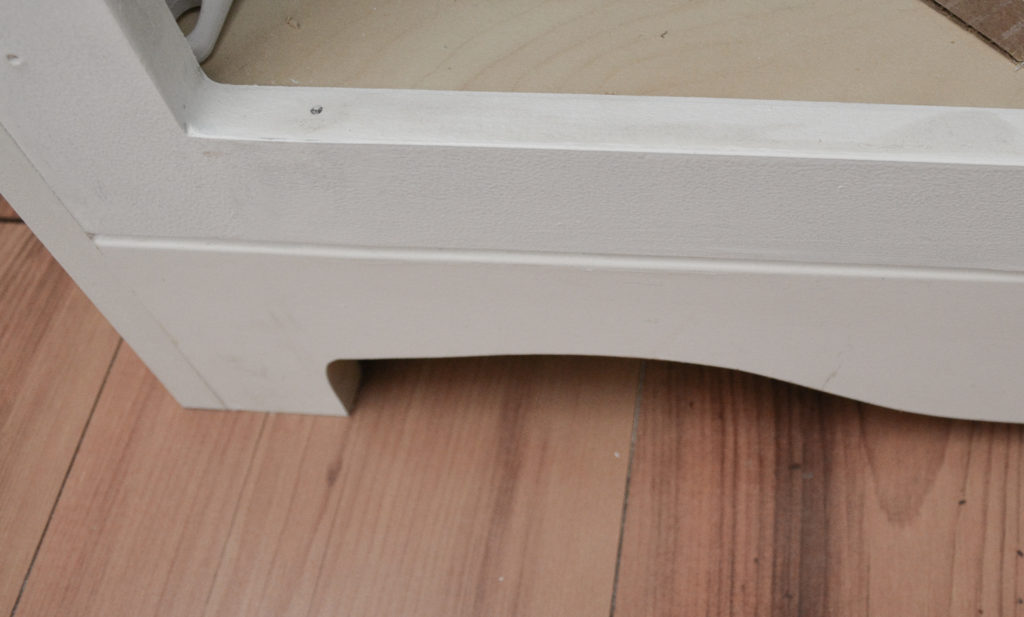
Our entire home, including our kitchen, has these builder grade cabinets. Adding moldings is the perfect way to customize them. The problem with adding molding to the sides of these cabinets is the piece of trim that sticks out along the front of the cabinet. This has to be evened out before any moldings can be applied.
My solution was to add a piece of underlayment to the side. The underlayment was the only thing I could find that was thin enough to work. This also covered all the old paint. In my kitchen, I added a piece of bead board paneling. It was also the perfect size.
Step 1 – even out the surface
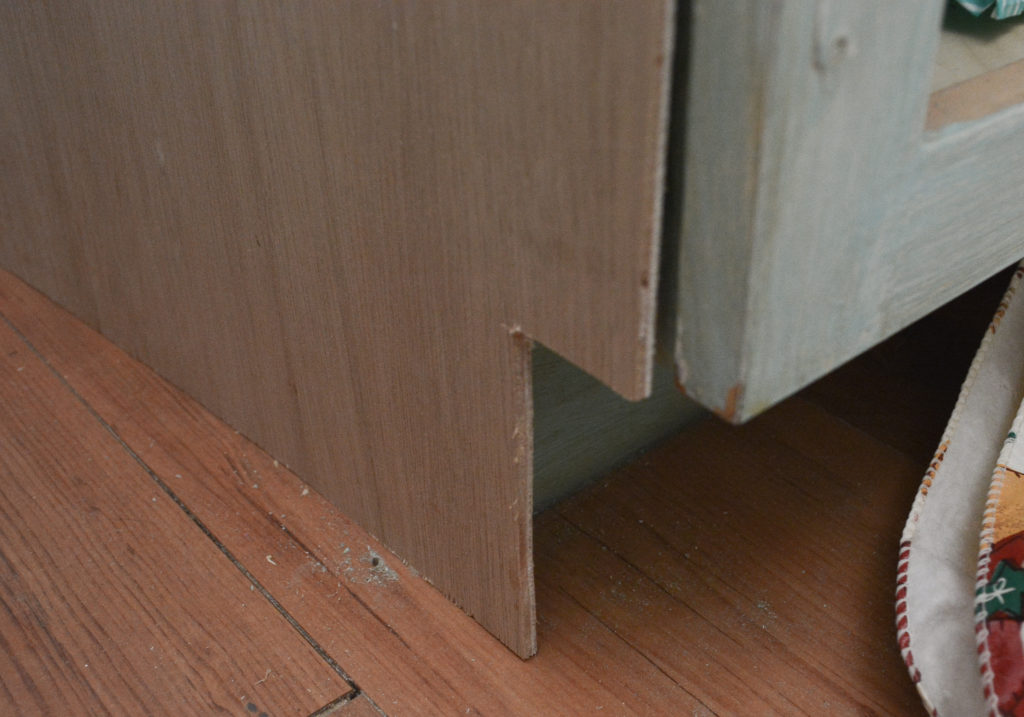
Cut a piece of underlayment to fit the side of the cabinet.
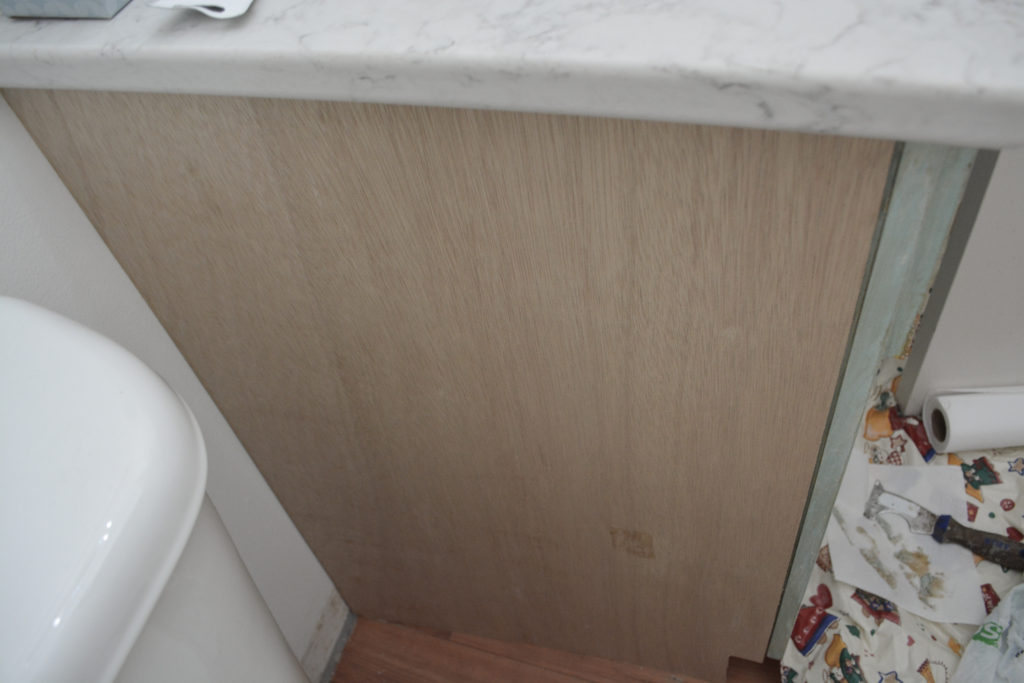
I planned on adding a board to the front, so I cut out enough of the underlayment to allow for the board to attach straight to the trim.
Construction adhesive was used to glue on the panel and a few nails along the top and bottom.
Step 2 – Adding the Molding
I used primed MDF boards for the molding. They were cut to fit and added to the side with nails.
Step 3 – Prepare the Front of the Cabinet
My original plan was to replace the doors, or refinish the old ones. It was a combination of the amount of work the old doors would take and some inspiration pictures, that swayed me toward the sink skirt.
Although the front was going to be covered, it still needed to be painted white. Unfortunately, painting over the crackle texture was not going to be an option, so out came the Citristrip.
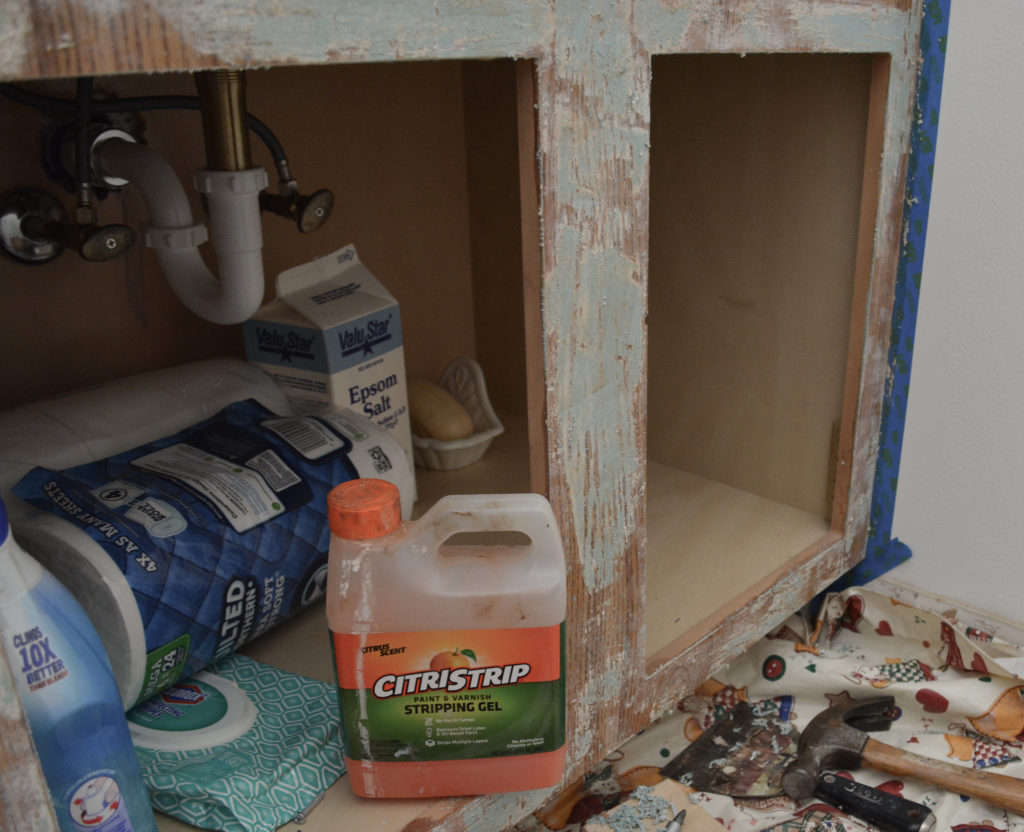
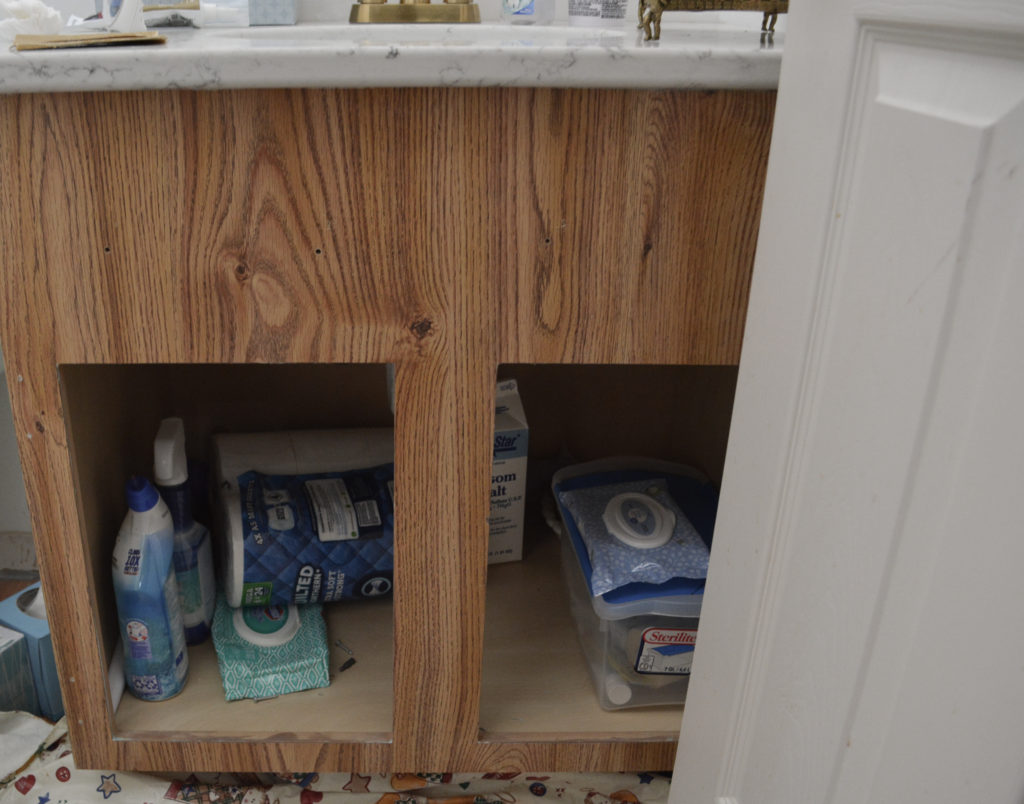
The cabinet was taken down to the original wood and then primed and painted.
Step 4 – Add a Decorative Front Piece
I wanted the cabinet to look more like a piece of furniture. Adding a decorative piece under the front of the cabinet was my solution.
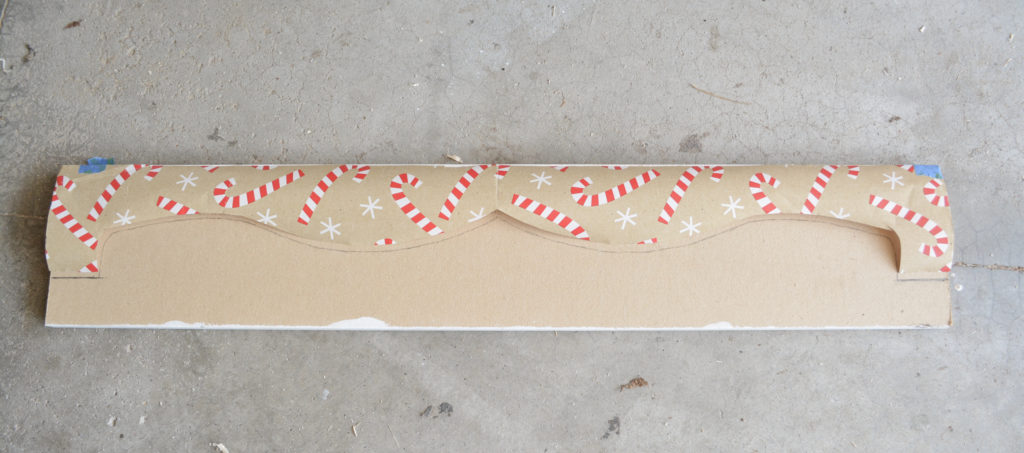
I drew a pattern on some wrapping paper and then transferred it to a piece of MDF and cut it out with my jigsaw.
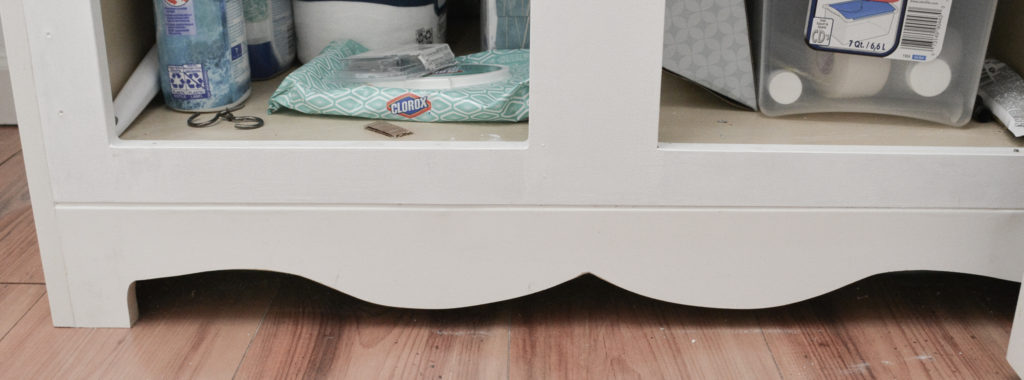
The board was glued and nailed through the top and side trim.
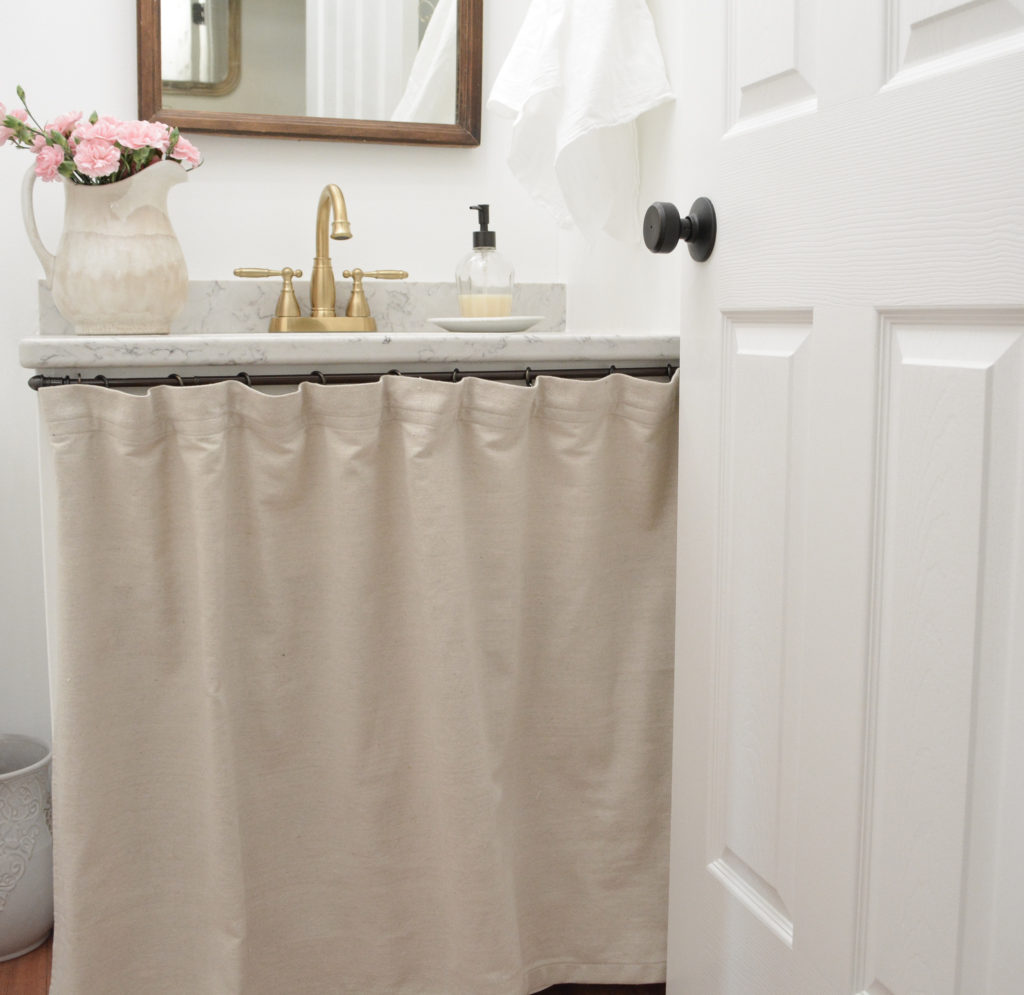
I thought this turned out really well. But then what did I do? I covered it with the skirt! The skirt was going to be hemmed short enough to show the detail, but I felt it just looked too “squat”, so there you go. I plan on doing something similar in the other bathroom, so it was good practice.

The skirt was made out of a drop cloth, and hung on an inexpensive rod and rings from JoAnn Fabric.
I think I achieved my goal. I have a clean, fresh, updated vanity, without spending a lot of money.
PIN IT FOR LATER!
Thanks for stopping by,
Janet