
So what do you do when you find a cute $2.00 basket at the thrift store and have no place to show it off?
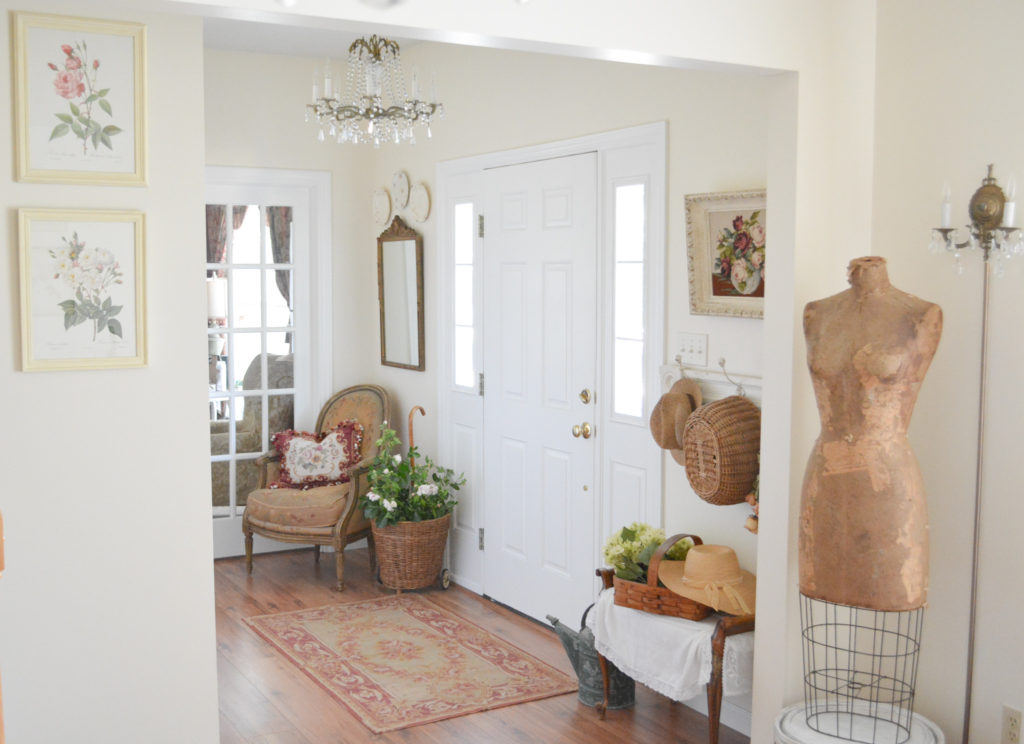
You redecorate your whole entryway of course!
Step By Step Summer Entryway
Today I’m sharing the step by step process of my summer entryway. Warning: It includes making and filling 12 holes in the wall!
So here’s where I began.
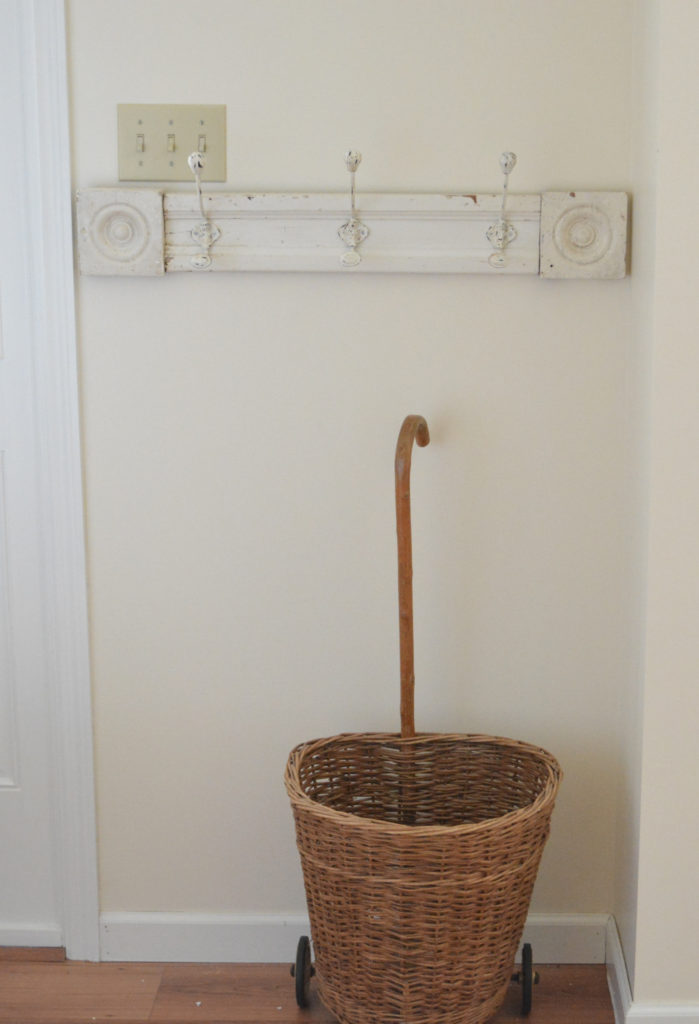
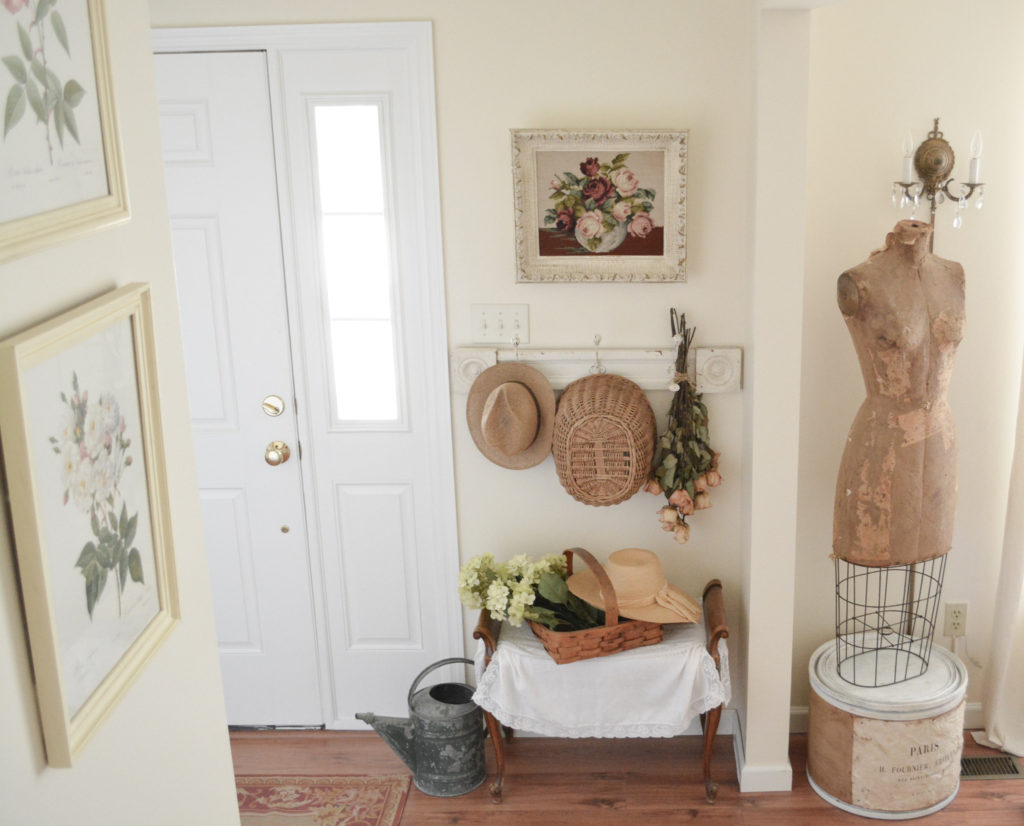
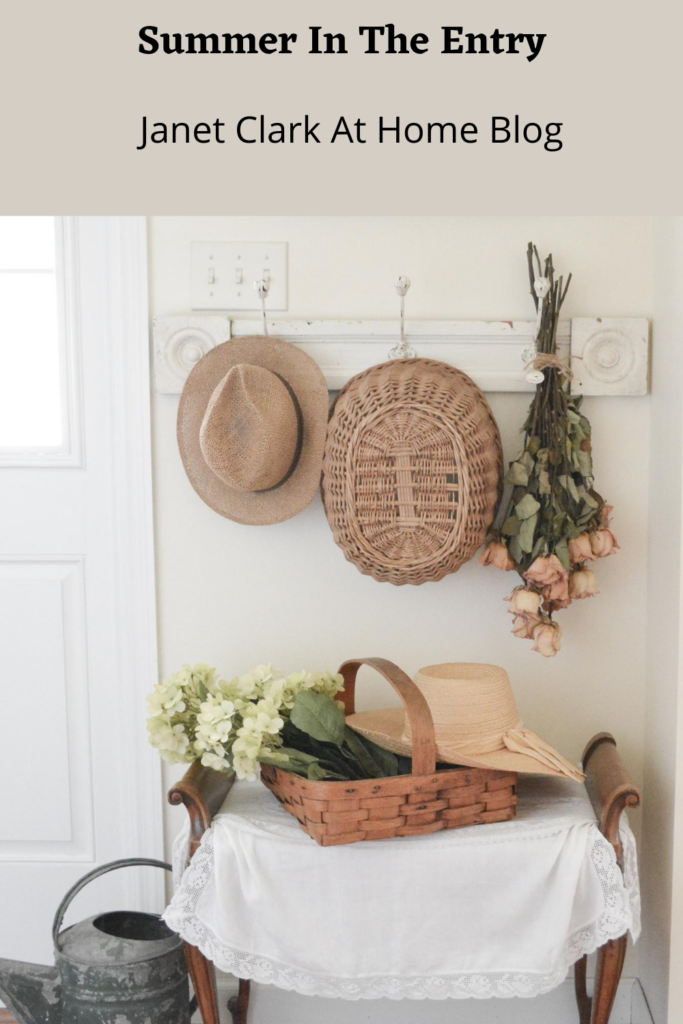
Step 1 – Hanging The Hook Rack
Actually I began with this hook rack hanging higher on the wall. I knew I wanted to add a picture over it, so I decided to move it down right over the light switch.
It still looked too high so I moved it below the light switch. Of course the perfect height was exactly where the light switch was.
That was six of the holes in the wall. Two extra because for some reason when the holes were level the rack was not! So that added two extra holes.
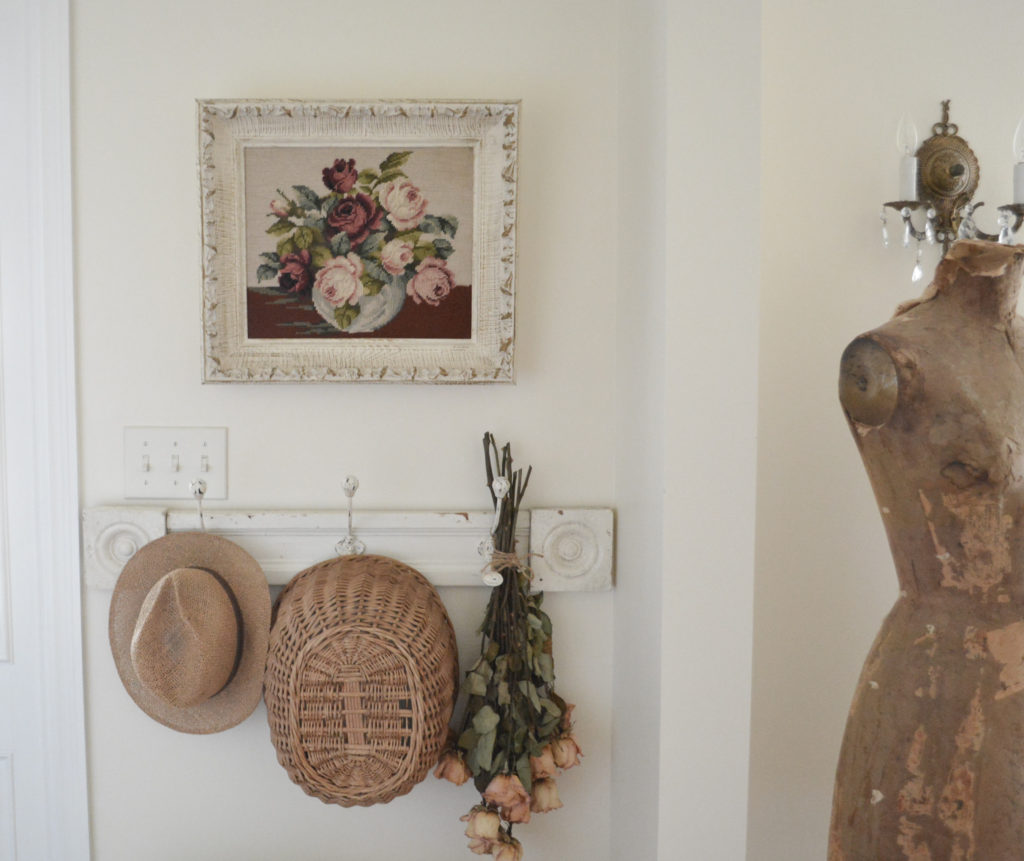
Step 2 – Adding Art
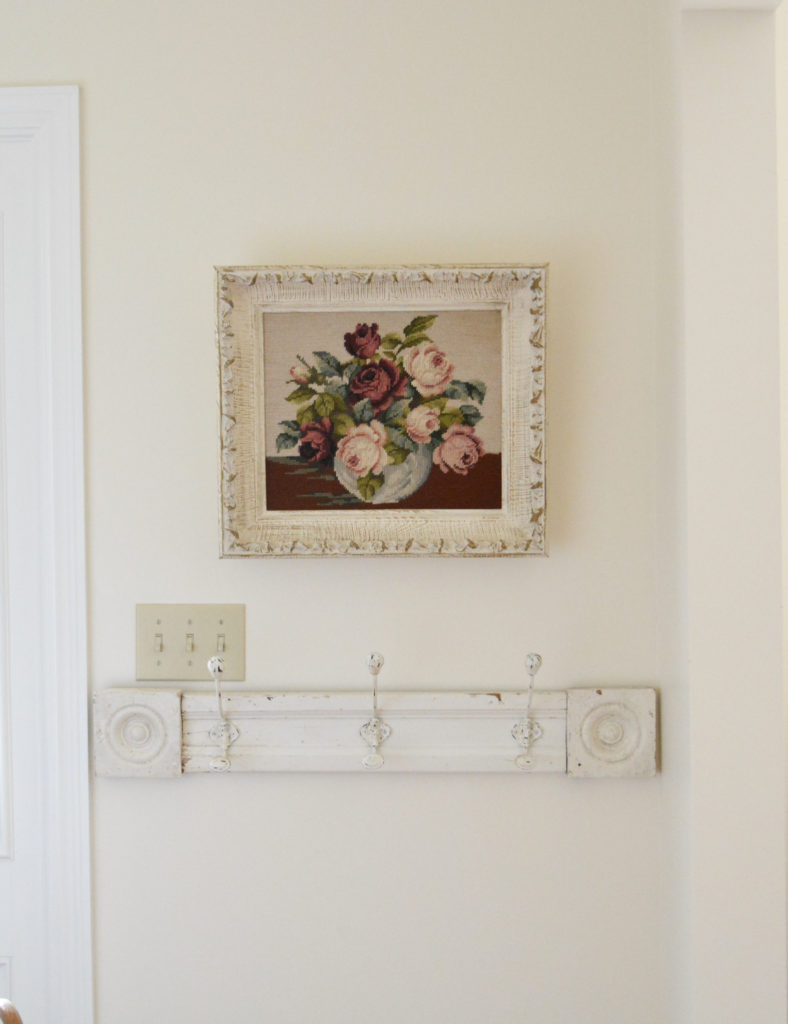
Then I added this estate sale find needlepoint picture.
Add six more holes. I’m not kidding. It needed to be just a little lower, a little lower, lower, lower, and lower. Oh, And I had already made a hole from hanging it before I moved the hook rack down.
Insert filling, sanding, and touch up paint for the holes here.
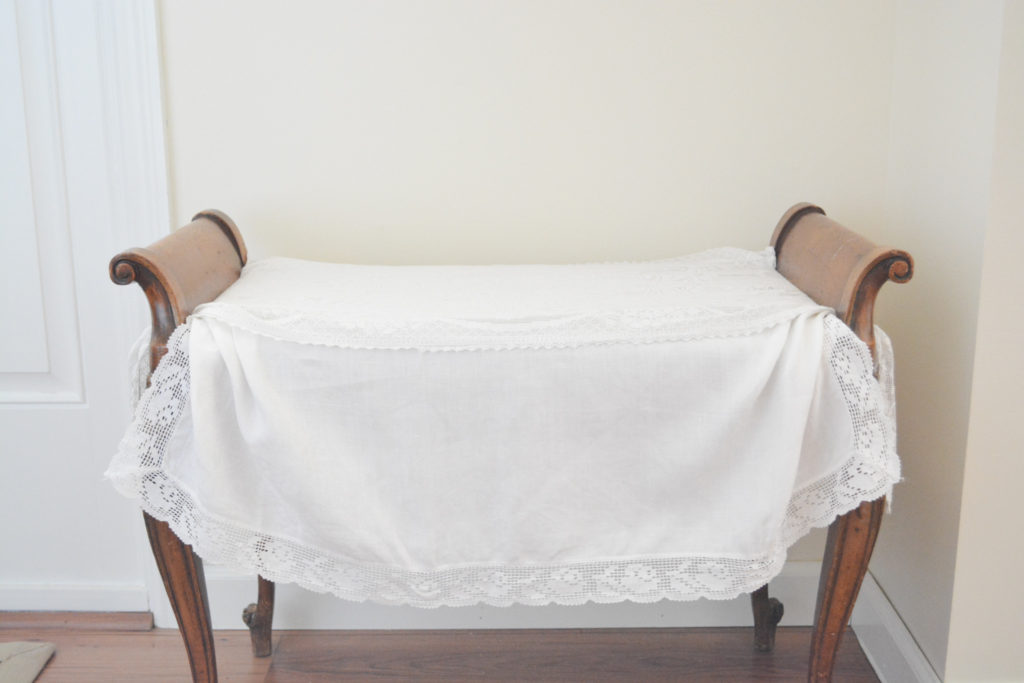
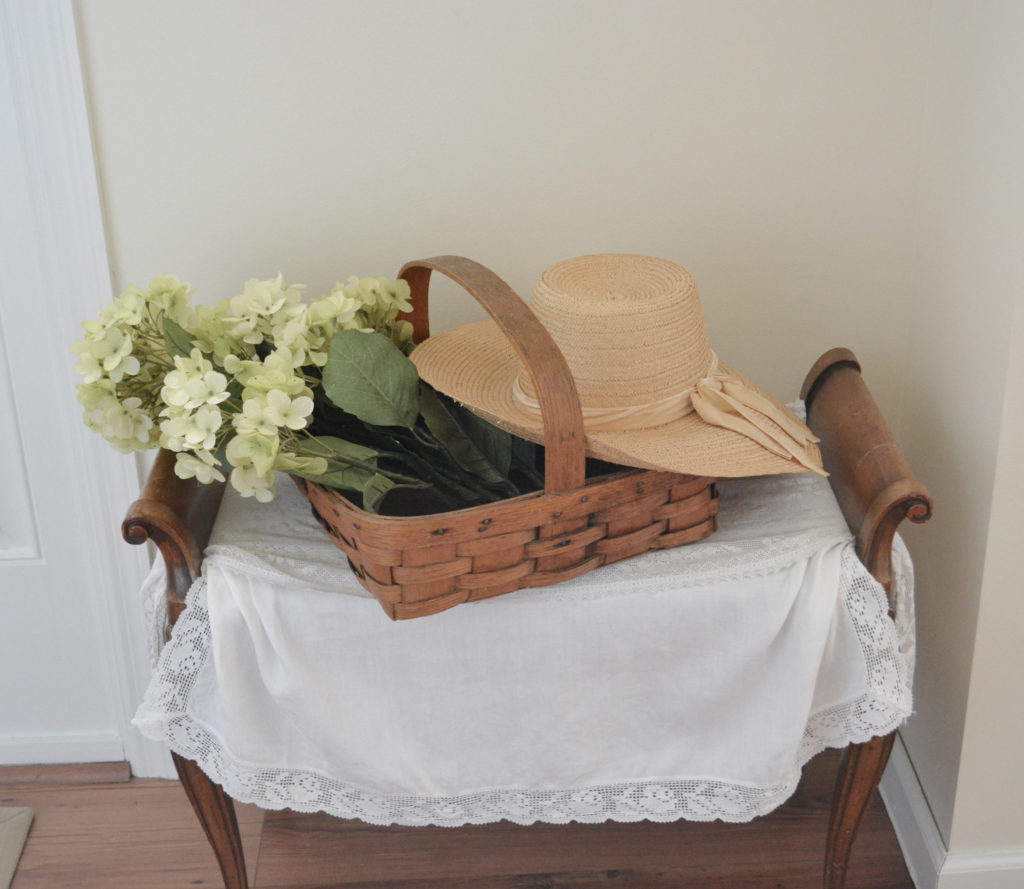
Step 3 – A Place For The Basket
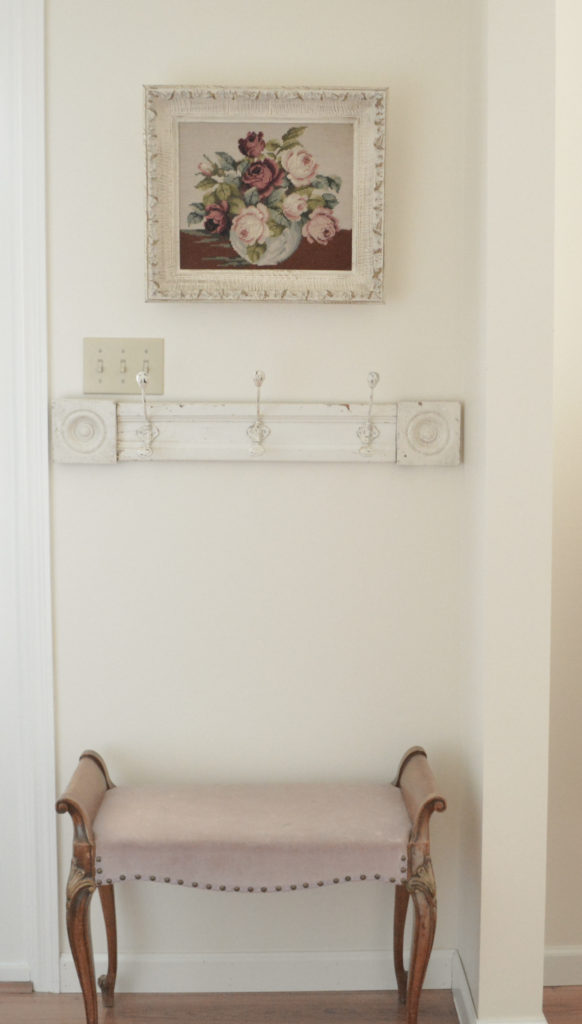
Since the whole point of this was to display my basket, I had to find something to put it on. I moved the market basket to the other side and brought up a project bench from the basement.
I did not want to reupholster the bench at this time, so I found some vintage linens to drape over it.
A tuck here, and a tuck there, and I was finally able to add the basket. I filled it with hydrangeas and topped it with a vintage straw hat.
Step 4 – Accessorizing The Hook Rack
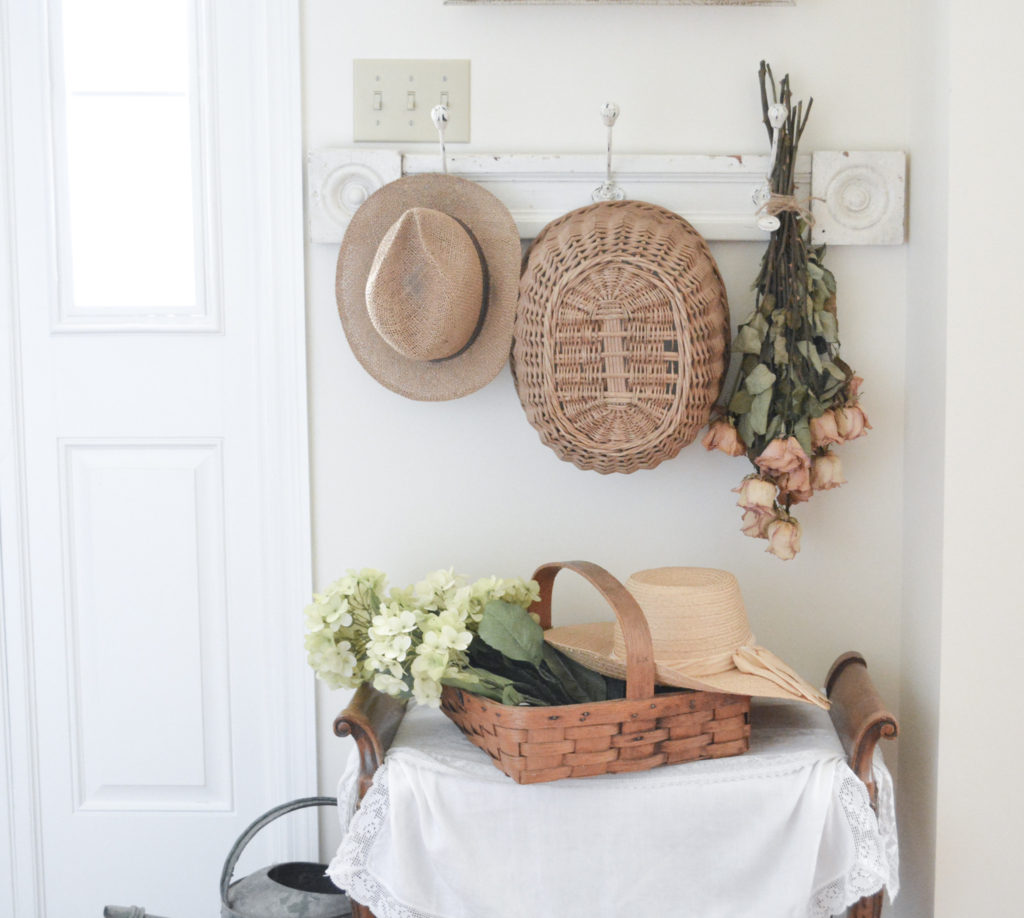
I added a man’s straw hat to the hook rack. Of course I had to use a man’s hat because the lady’s hat was on the bench. Does anyone else imagine a story as they decorate? Another basket and some dried roses complete the look.
Can you guess what was driving me crazy through this entire process?
That light switch cover. So I painted it.
Much better!
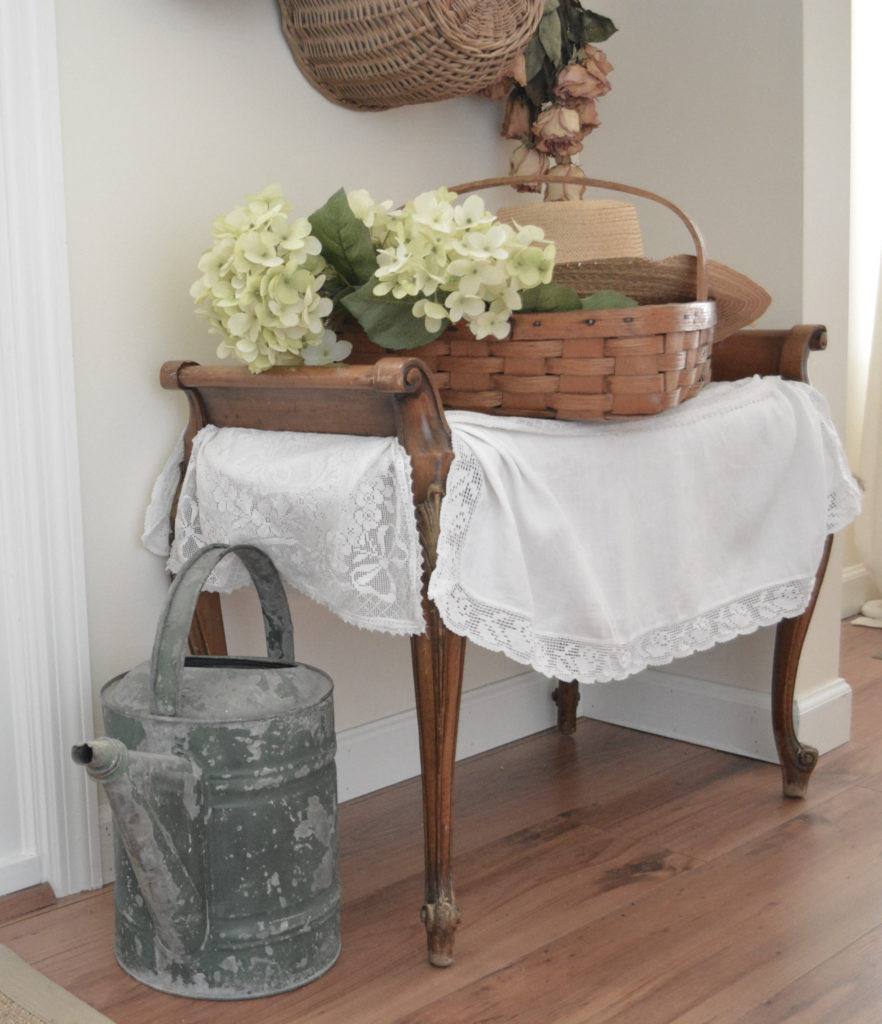
Finally, a chippy green watering can. And this side is done!
Step 5 – The Other Side
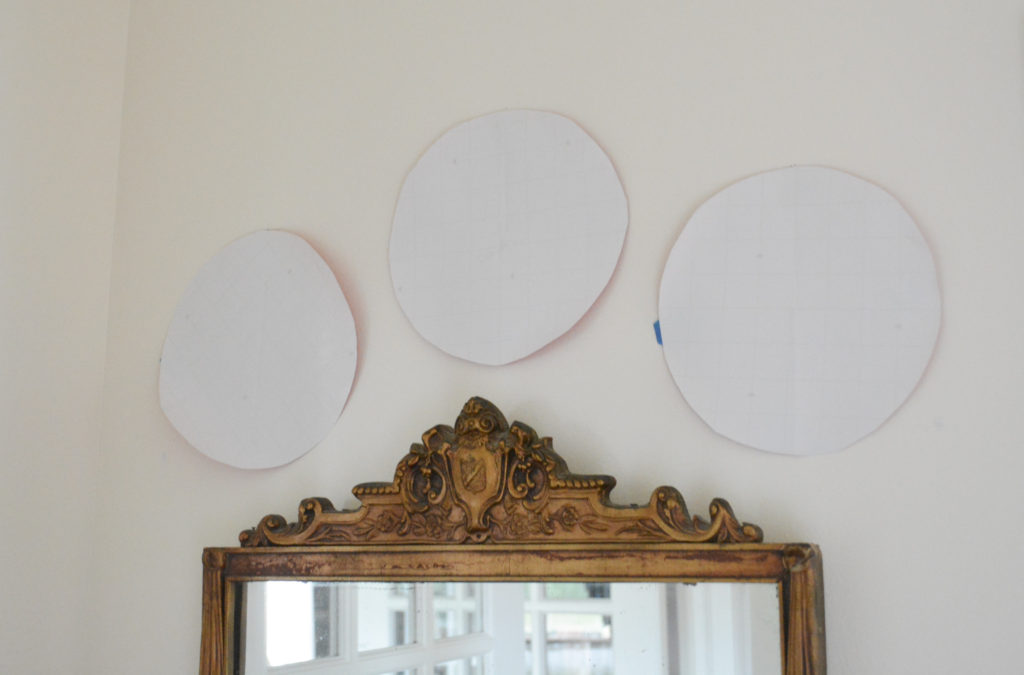
While I was waiting for the spackle to dry, I moved to the other side of the entryway. I hung an antique gold mirror over my french chair.
I wanted to add plates over the mirror, so I cut out paper circles to play around with the placement. After I found an arrangement I liked, I measured it all out.
A lot of people just “eye ball it” when they hang plates, but not around here. I must have crooked eye balls, because it never works for me.
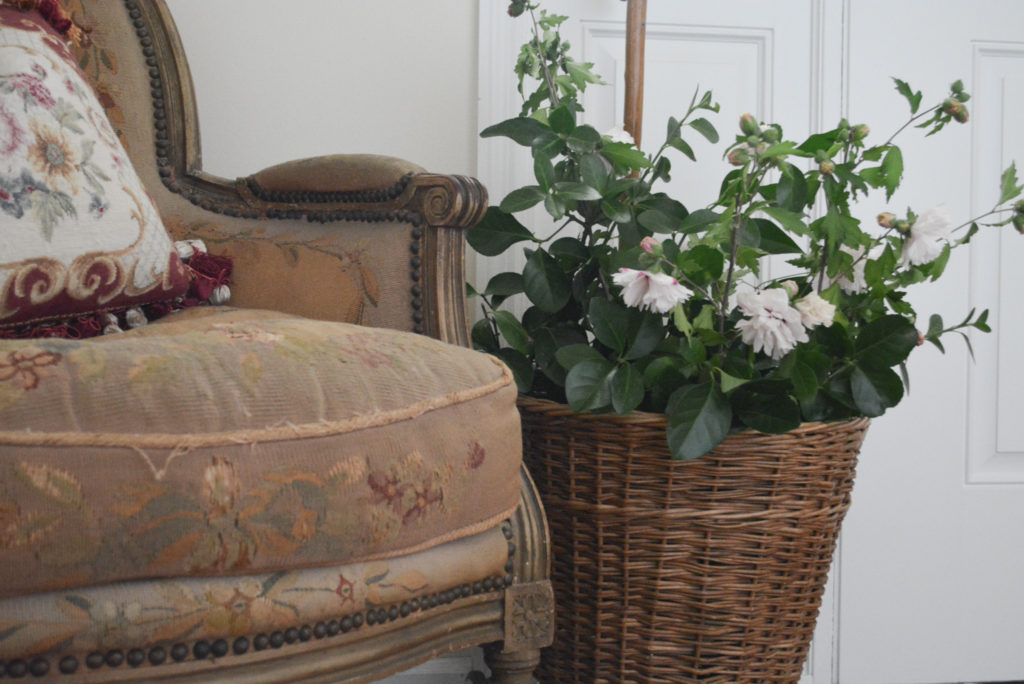
Lastly, I added some greenery from the yard and switched out the rug.
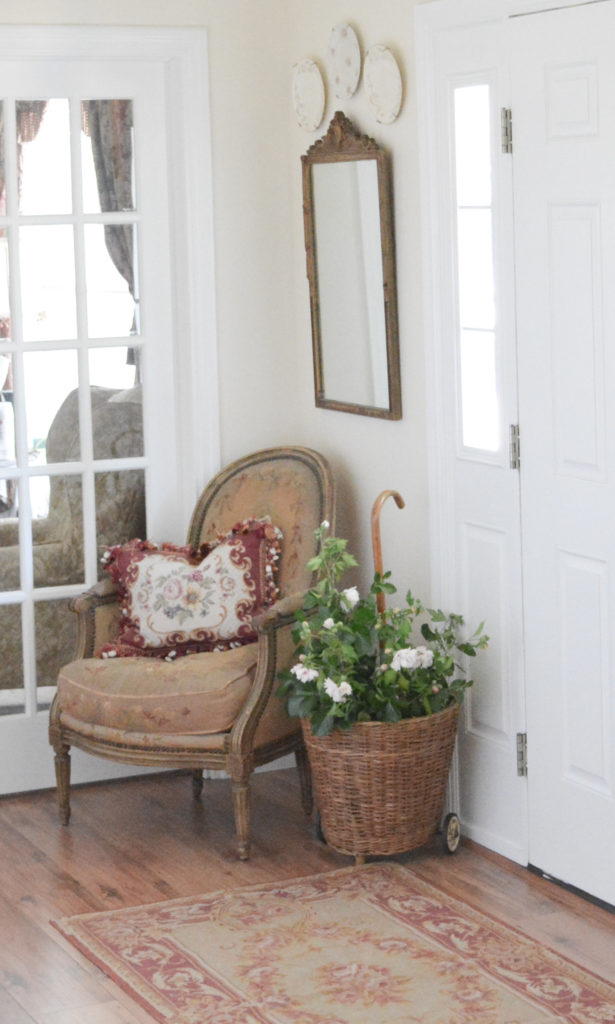
Well it was quite the process to display my new basket, but I am really happy with the result. I have neglected this area far too long.
So if you happen to find a cute something or other at the thrift store, don’t pass it up because you don’t have anywhere to put it. Make a place!
Pin It For Later!
Thanks for stopping by,
Janet