

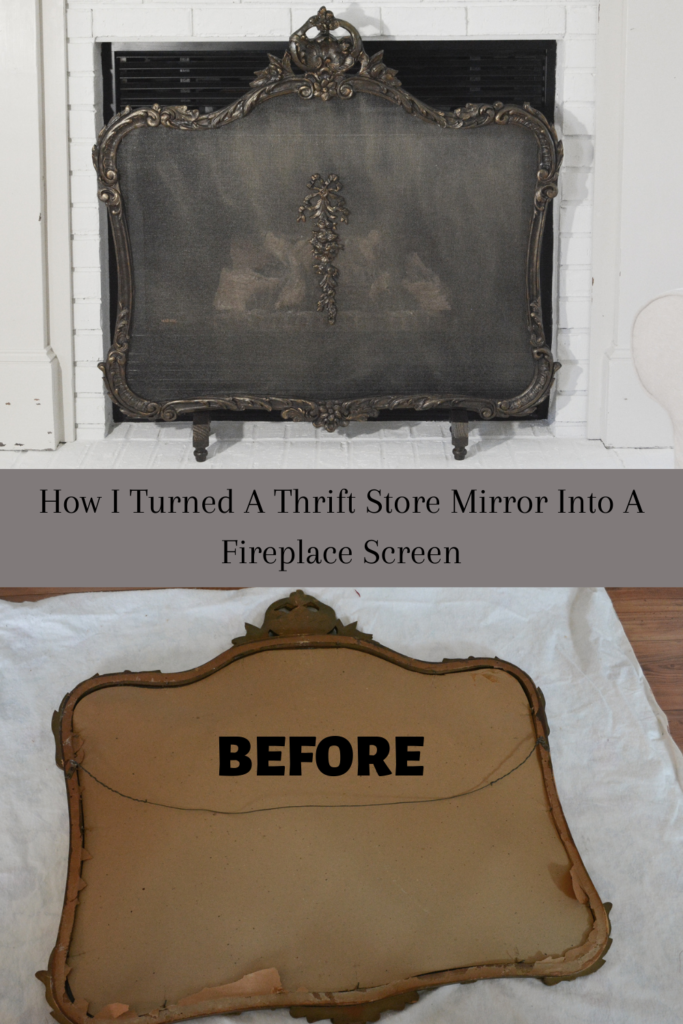
After I completed my fireplace makeover, I was on the search for a fireplace screen. Actually, I had been searching for one during the whole makeover process, but was unsuccessful. Now you know I had to have one to photograph my new fireplace mantel, so what’s a girl to do? Make one! So I am going to show you how to turn a frame into a fireplace screen. Oh, and this is purely decorative. I would not try to use it with excessive heat and fire.
I started with a $5.00 mirror I had picked up from the thrift store. This had been stored in my basement for a while because I wanted to change the finish before I used it. Well, I now had another idea for it.
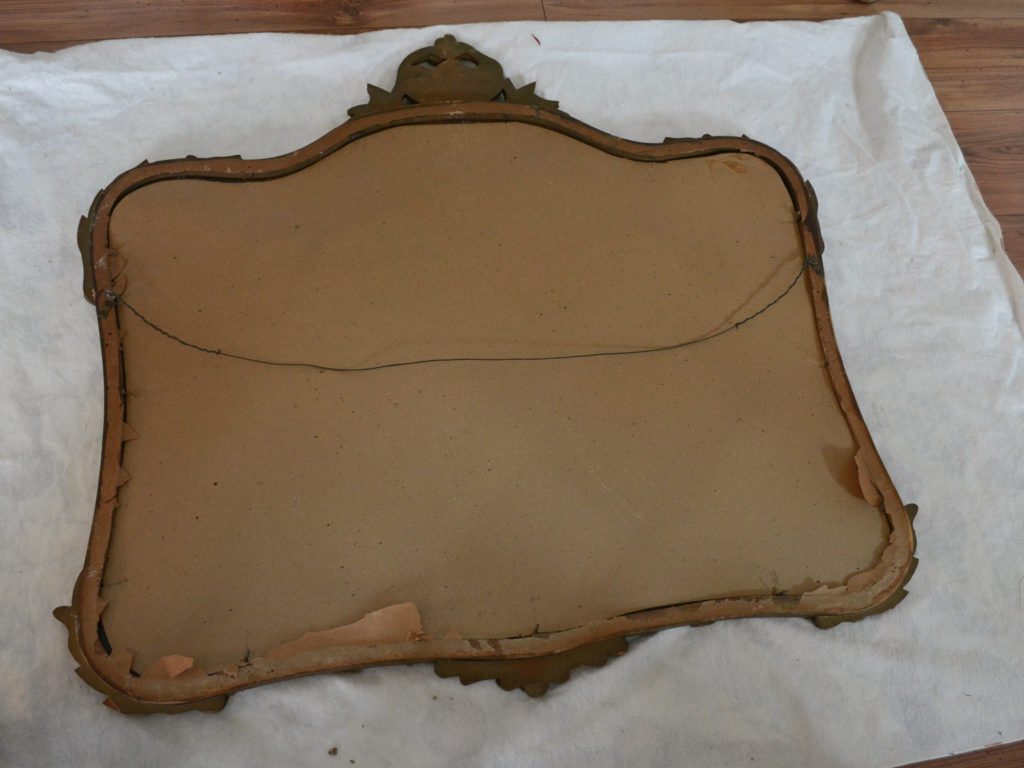
Step 1 – Removing the mirror
So first things first, I removed the mirror from the back. No harm has come to this frame or mirror, so if and when I find a real fireplace screen that I love, this can go back to being a mirror.
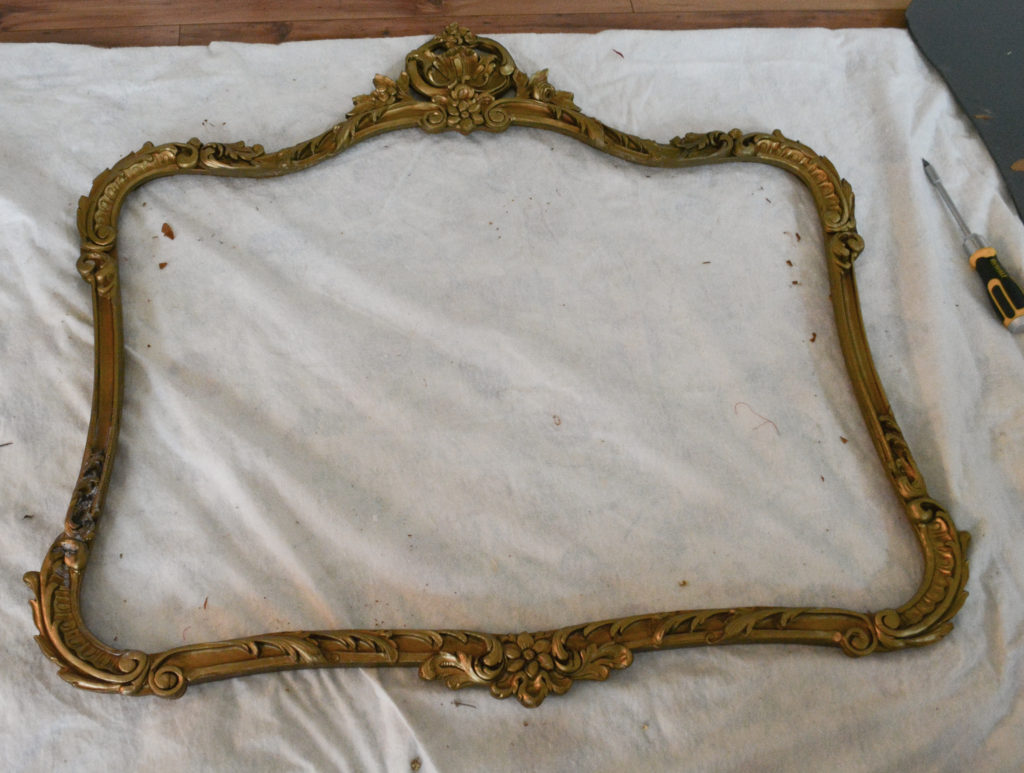
Normally I love a gold frame, but this one was just – “off”. I also wanted the fireplace screen to kind of blend in, so a darker color was going to work better.
Step 2 – creating the finish on the frame
I spray painted the frame oil rubbed bronze.
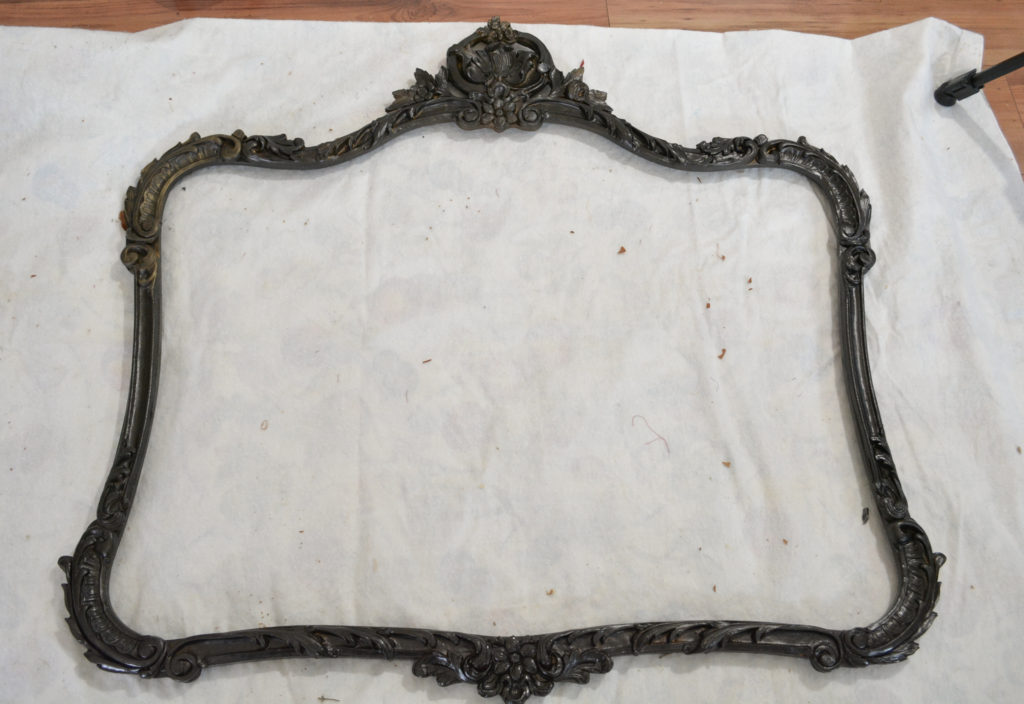
In order to highlight the bronze frame with gold, I thought a gold wax product would work well. Well this product was sold out at the time, so I decided to make my own.
Homemade Wax to Rub On and Buff Off
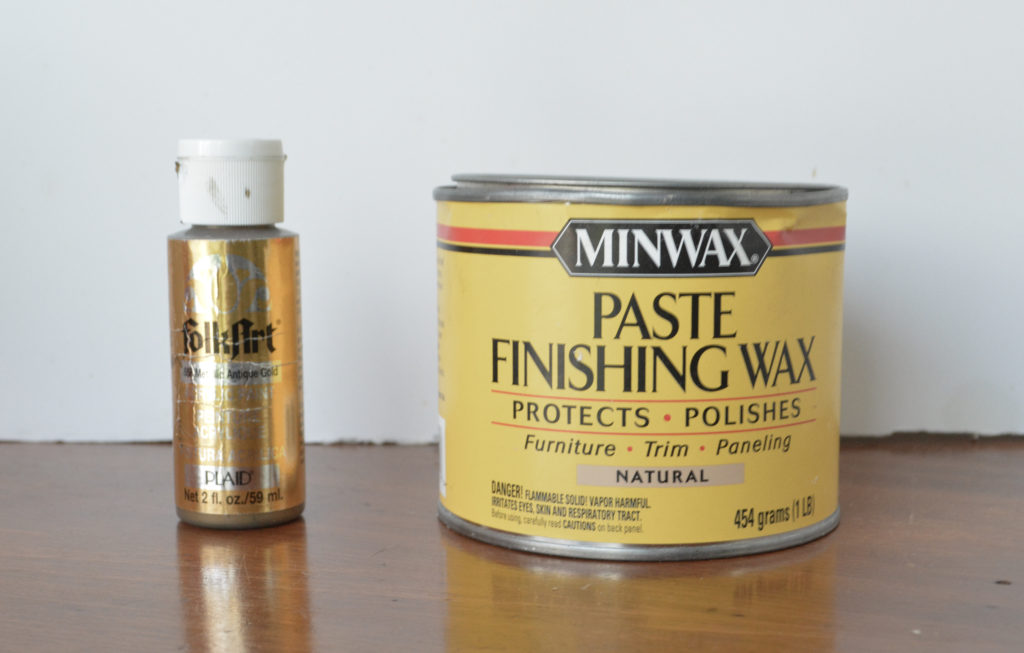
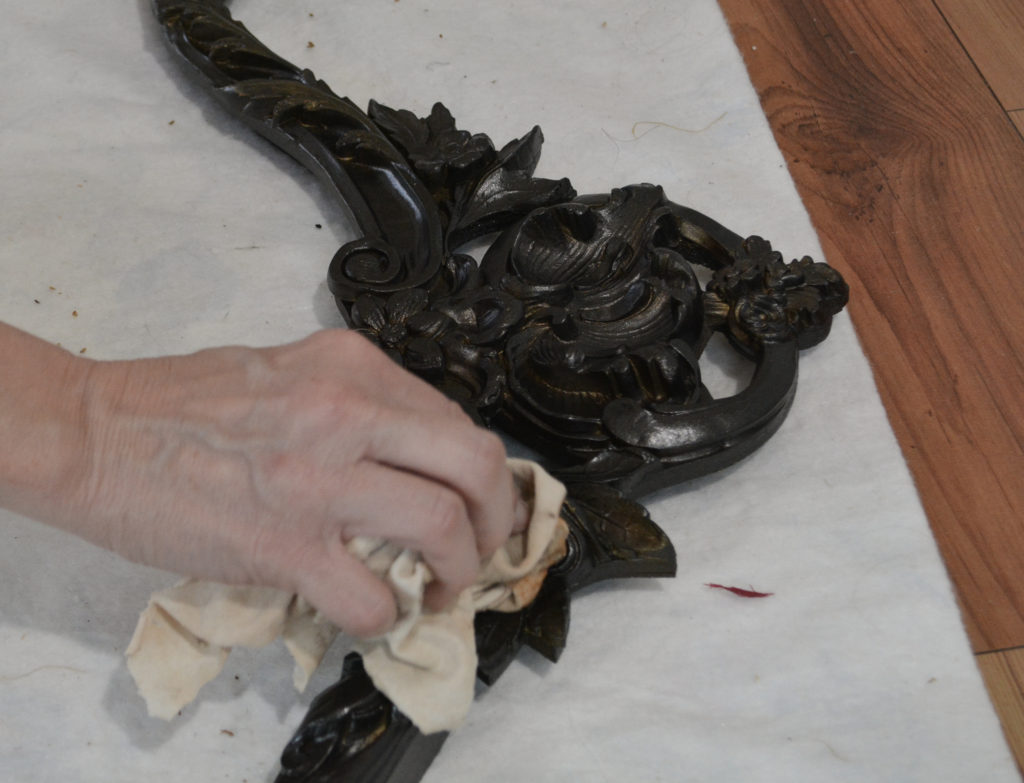
I mixed together a little of the wax with a little of the paint. The more paint you use the more color you get. Just test a spot until you get the color you are looking for. The paint color is metallic antique gold.

After it was mixed, I took an old cloth, dabbed it in the colored wax, and wiped it on.
Here is a close up of the finish.
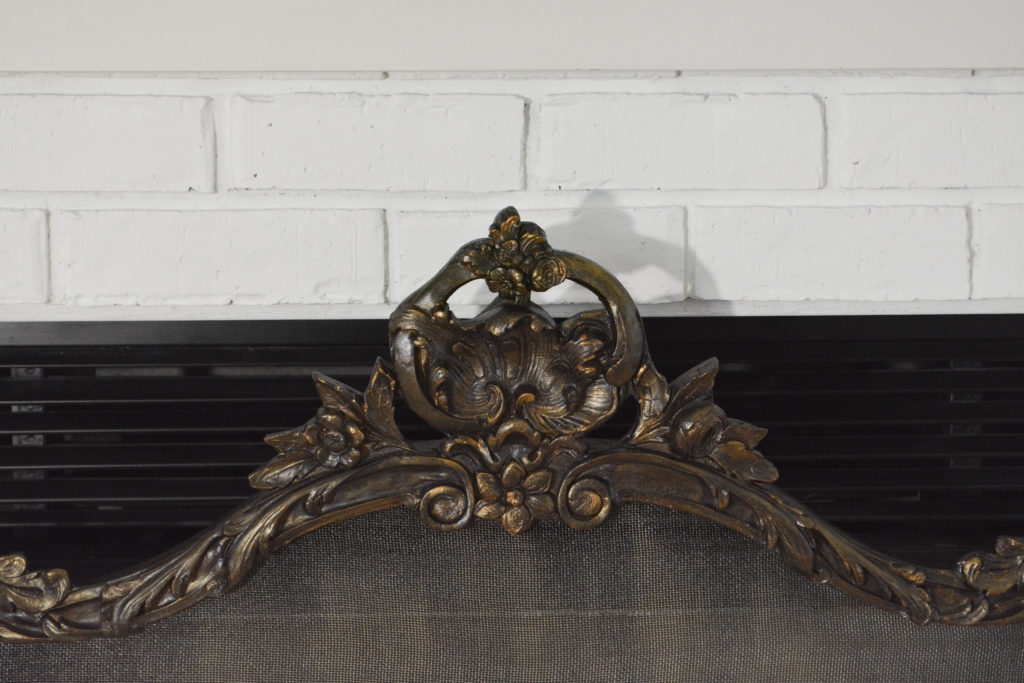
I did take a brush with straight paint and highlight a few areas. I think I achieved that timeworn patina , and it was quick and easy.
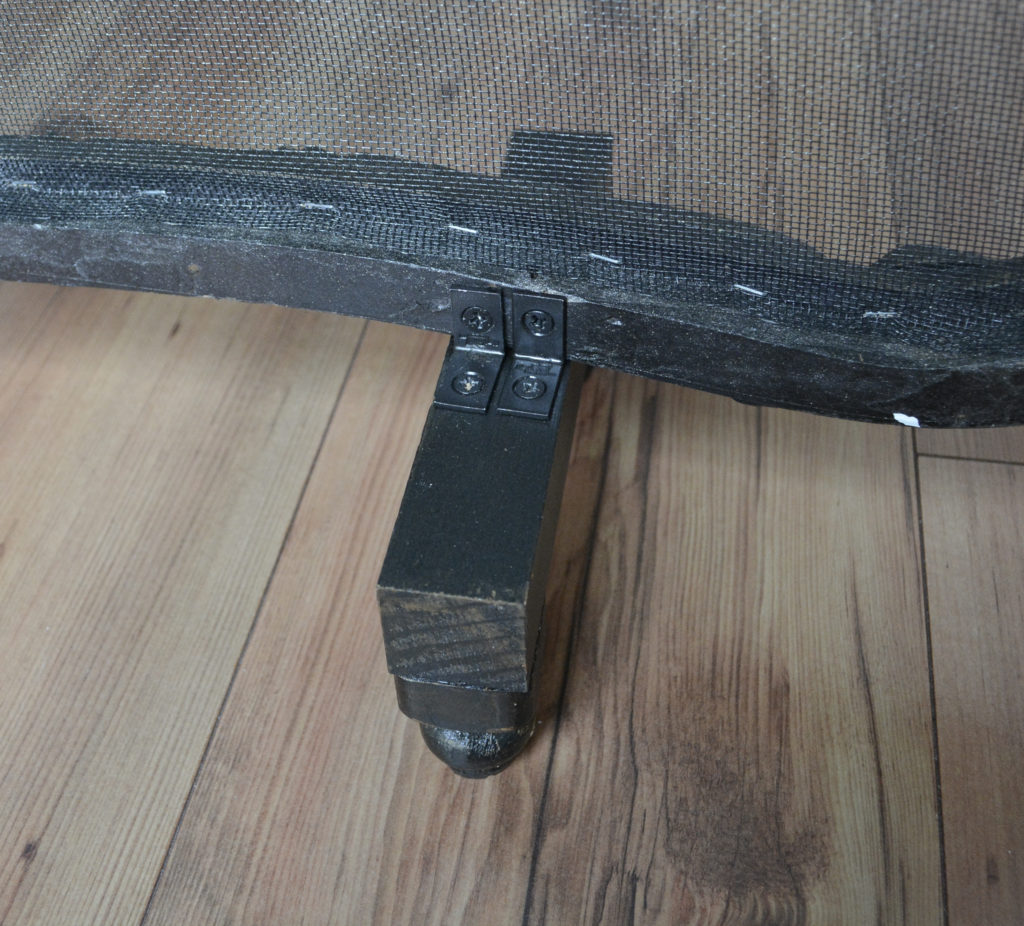
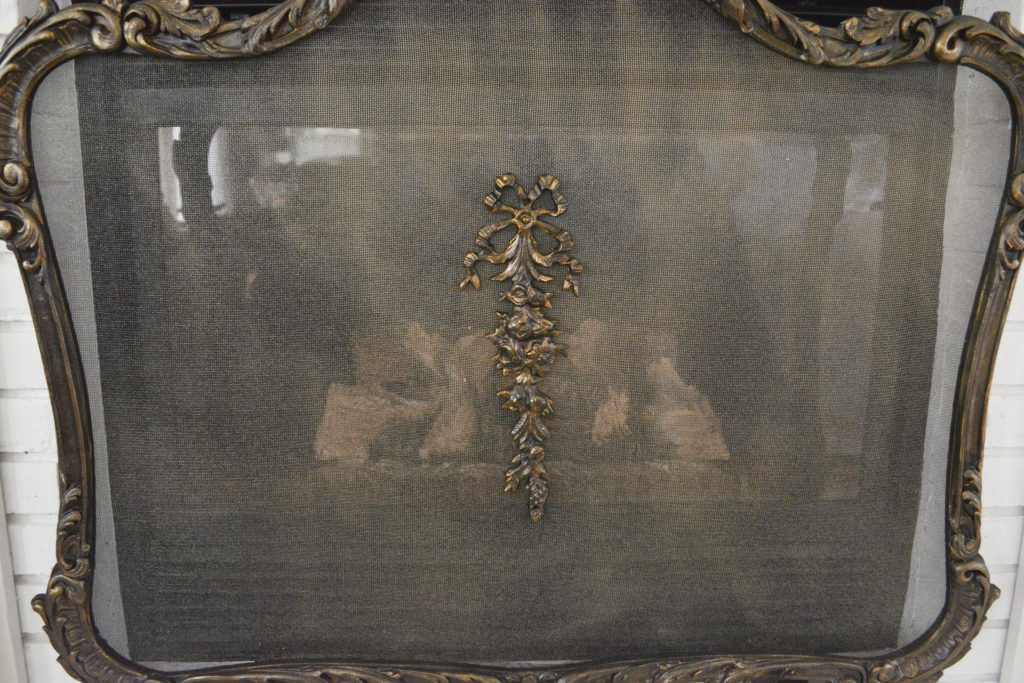
Step 3 – Add The Screen
It can’t really be a fireplace screen without a screen, so I added one. I used black window screen that I gave a light coat of gold spray paint. Again, this is decorative only.
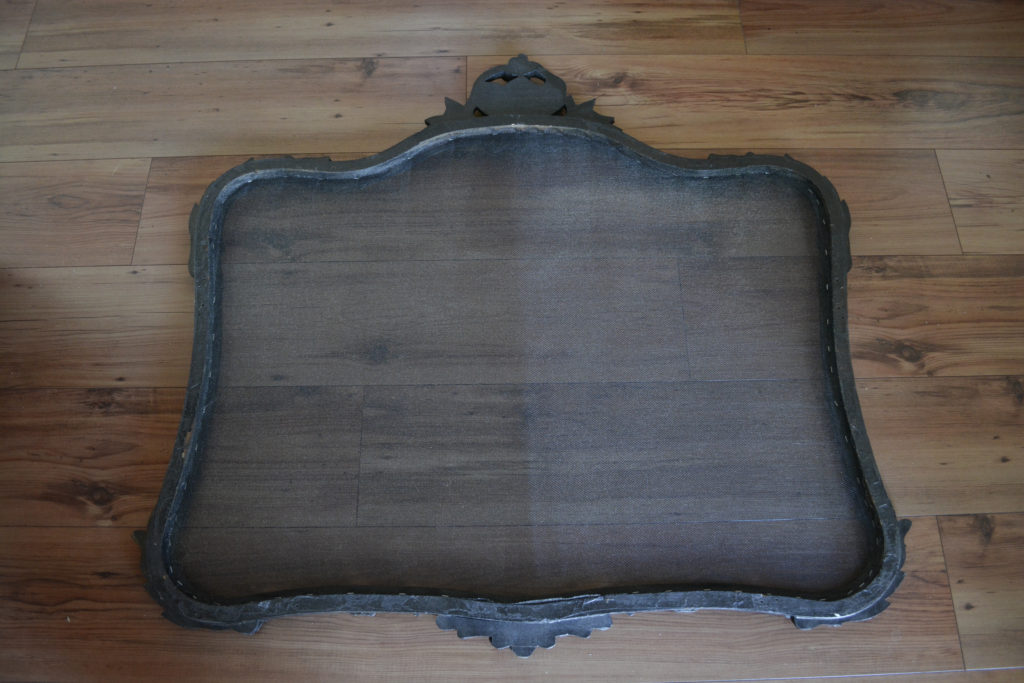
I cut to size, stapled it on, and trimmed to fit.
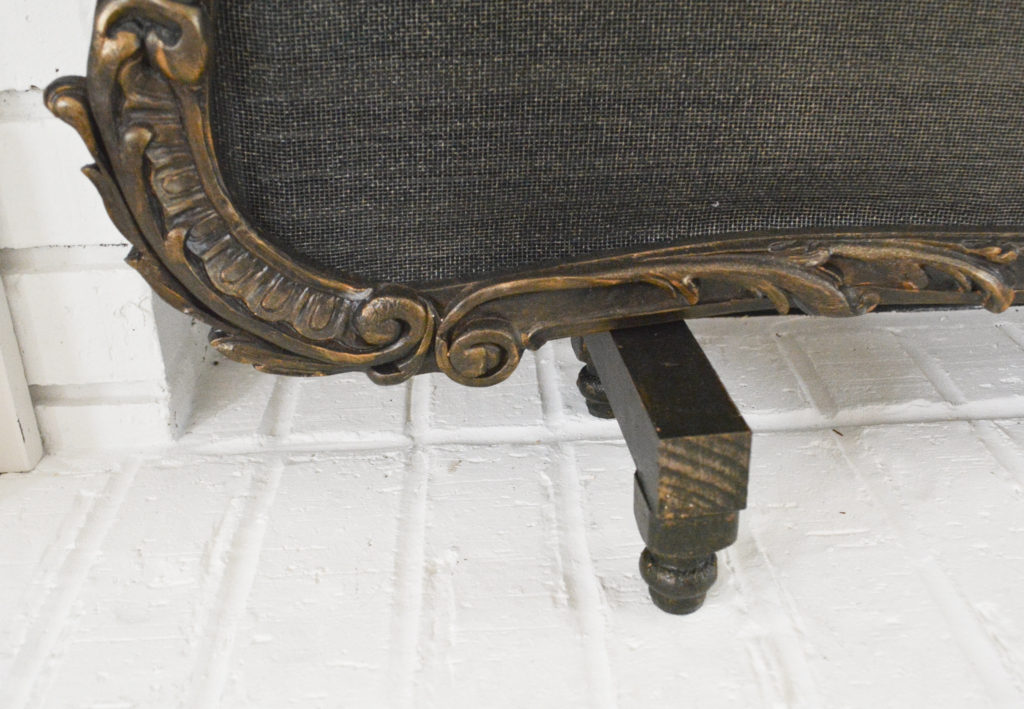
Step 4 – Make A Stand For The Frame
Figuring out a way for the frame to stand was the hardest part of the project for me. I tried brackets, furniture legs, and all sorts of things. This simple idea turned out to be the best. Continuing to use what I had, I cut down stair spindle parts that were left over from my Christmas ornaments.
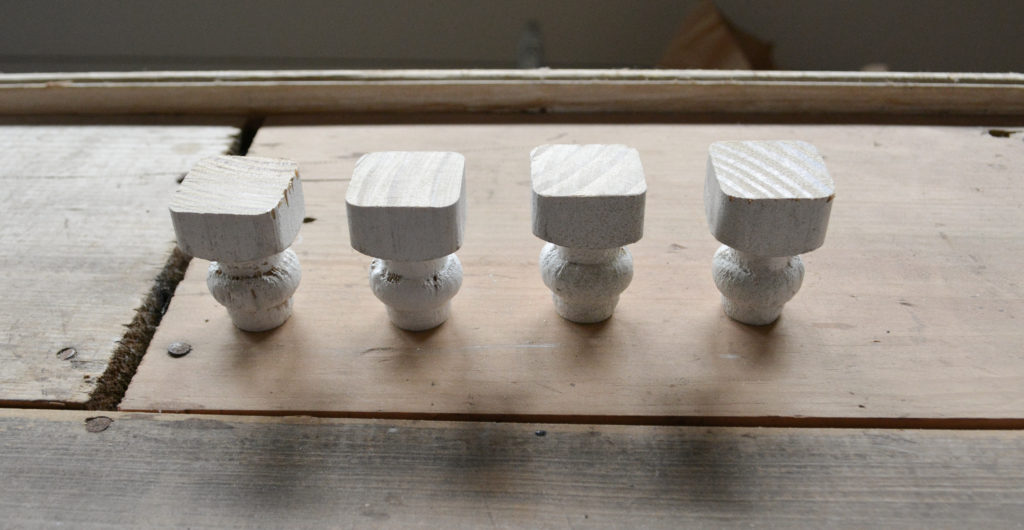
These are the feet that I cut.
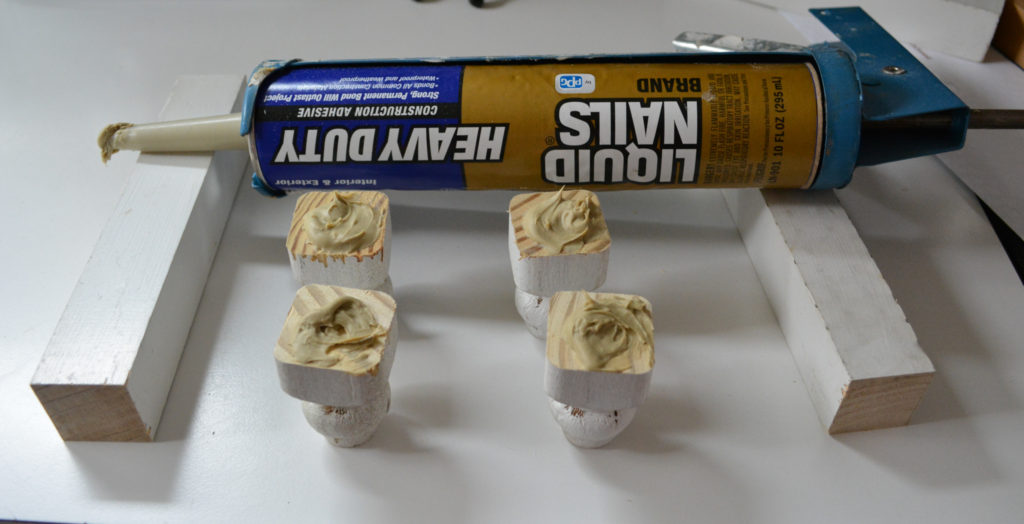
I used adhesive to glue the feet onto straight spindle pieces to form two stands, one for each side of the frame.
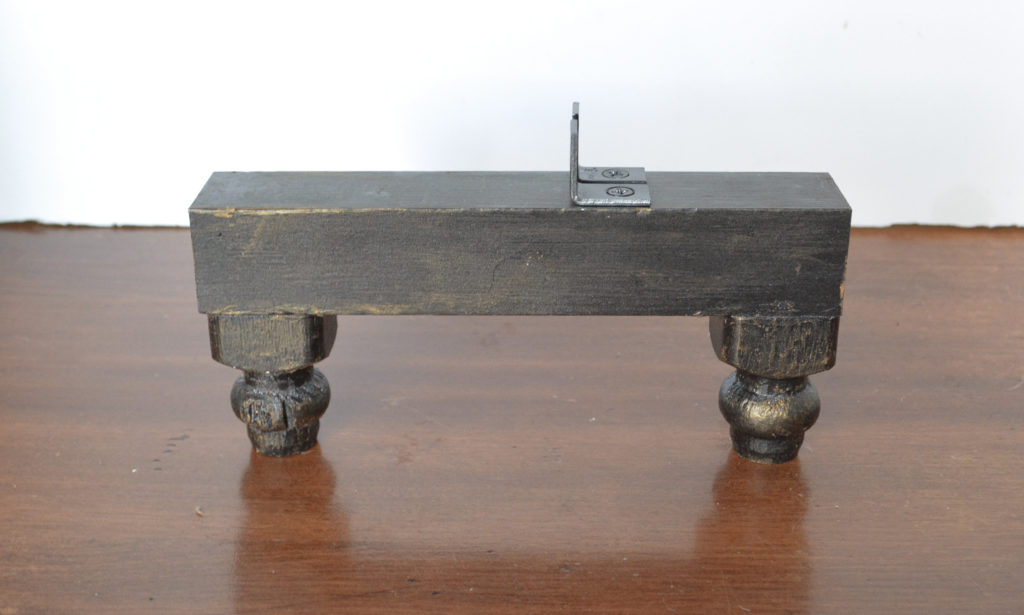
I gave the stand the same finish as the frame.
Step 5 – Add the stand
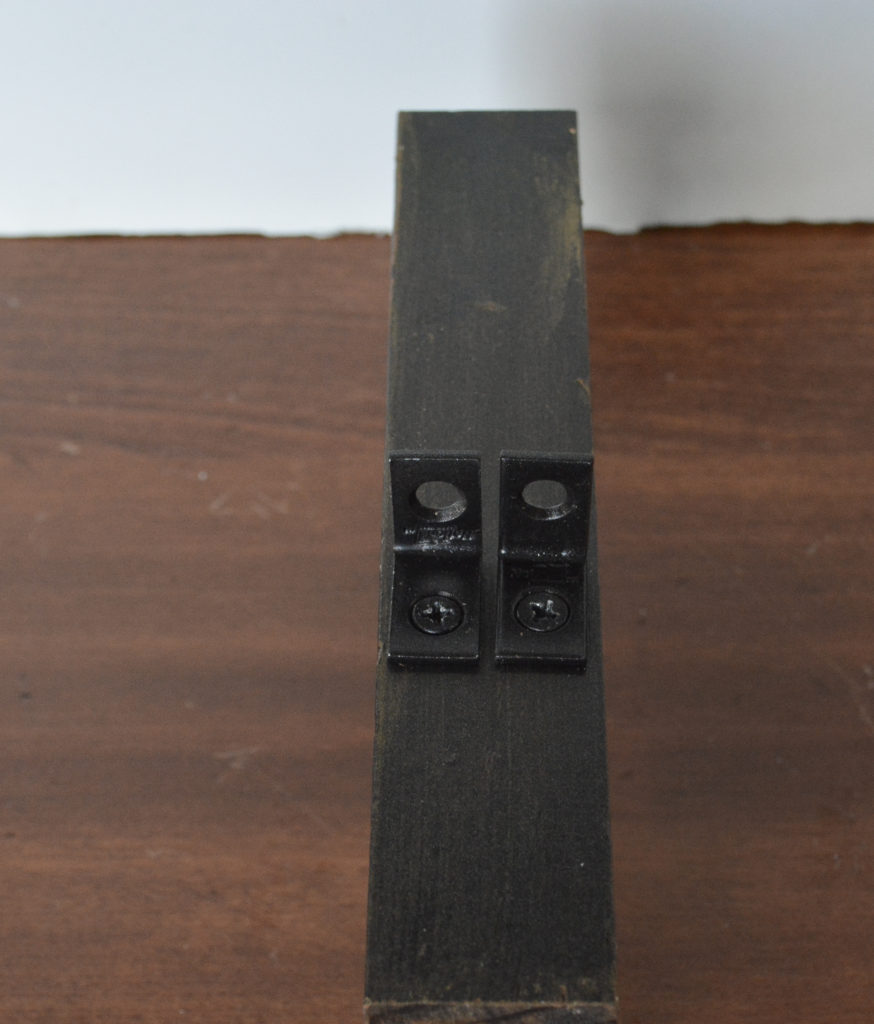
I used small brackets to screw the stand onto the back of the frame.
For a finishing touch, I wired on this brass accent piece that I finished to match the frame.
I hope this inspires you to make something if you can’t find it to buy, or just don’t like the price tag! Sometimes it takes a little thinking outside the box, but it is worth the effort.
Pin It For Later!
Thanks for stopping by,
Janet
I used these sma